DATE AND TIME: March 2nd, 2014 at 10:30 am
LOCATION: Chandler room 260, Chemistry lab at Columbia University
SUBJECT: molding with cuttlefish bone
Experiment Plan
Recipe(s): p091r_a2 Molding with Cuttlefish bone.
Narrative: tin casting in cuttlefish bone divided in two pieces.
Purpose of the Experiment: Determine how to cast with tin and cuttlefish bone.
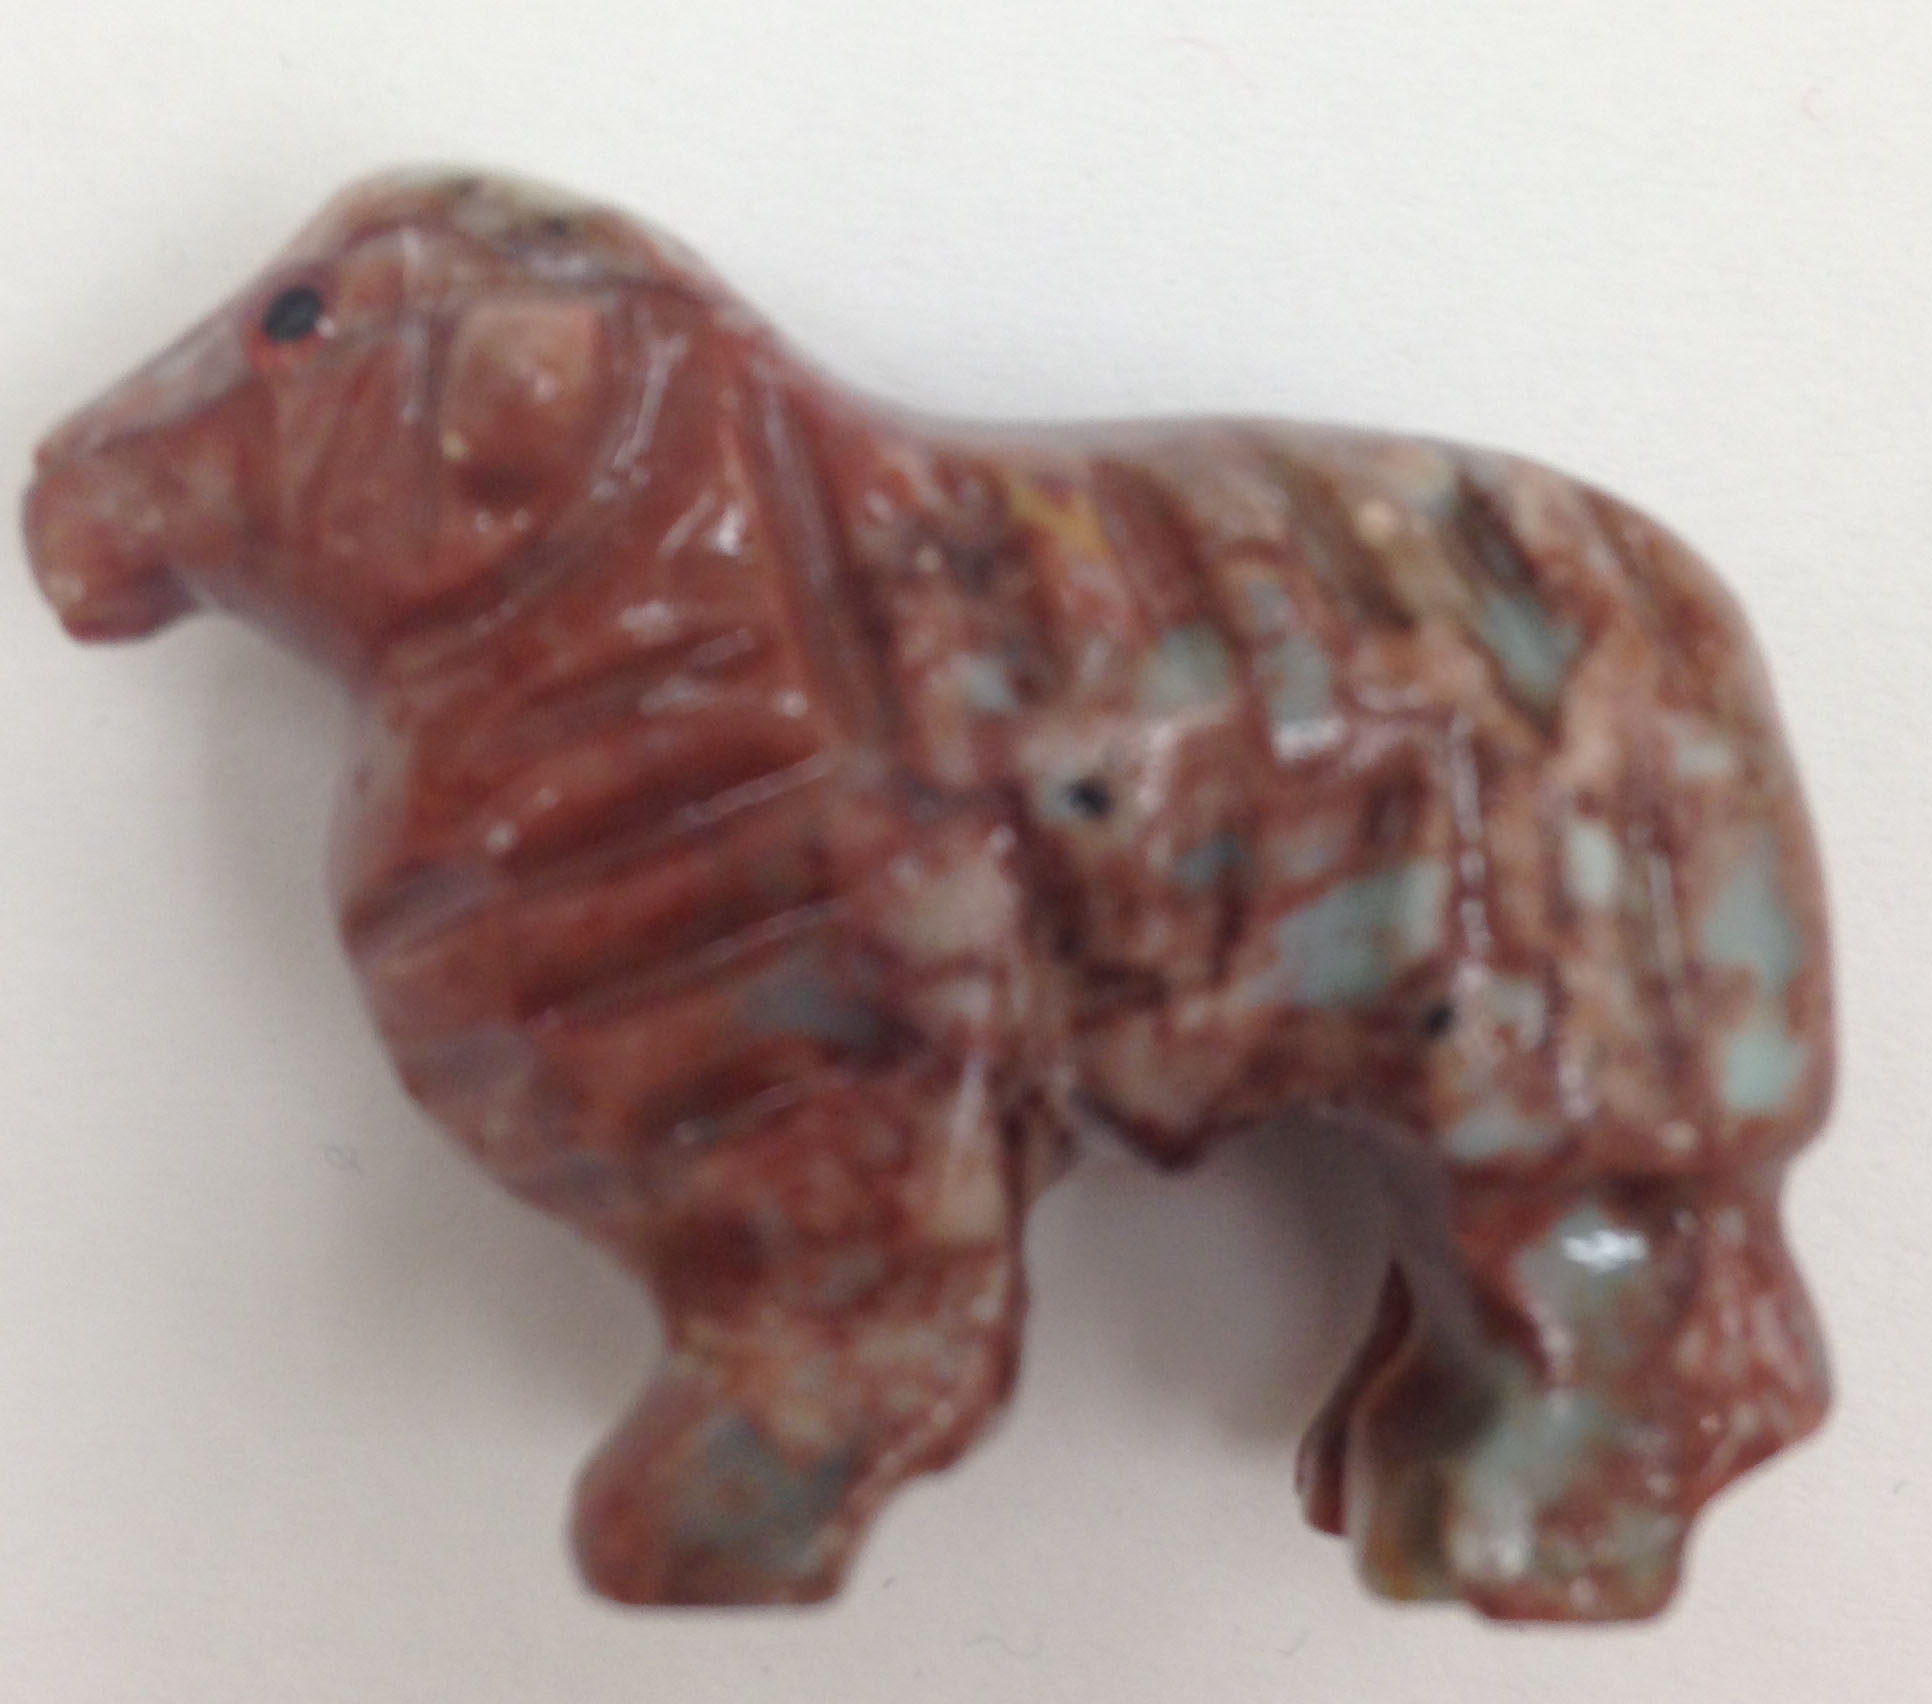
Object:

Dimensions: 1” x 1”
Agents: charcoal and brushed oil as separators
Variables: casting in two whole bones instead of half bone. In that case, use wooden pins to join the bones together, and clay to coat the joints
Controls: keep the bones in a dry place; cast at medium temperature; not grease the object too much; wait for the bone to cool before removing the object.
Materials: tin, 1 cuttlefish bone, charcoal, 1 small cast object, brush, oil, knife, smooth brick, chisel.
Procedure:
- Divide the bone in two pieces.
- Smooth the two parts with a knife.
- Trace the mold and hollow it with a knife.
- Polish the two parts of the bone with charcoal.
- Brush the cast object with oil and charcoal.
- Place the cast object on a flat surface (smooth brick).
- Take your bone and press it on the object using a stone big as the bone.
- Pour the tin.
- Remove the object
Hypothesis: He is performing tin casting in one side of a cuttlefish bone divided in two, while in p091r_b2b he is casting with two whole bones.
Explanation:
My object is a small but high relief piece. For this reason, I need to hollow the mold with a knife before proceeding. I will begin my experiment using one side of the bone.
Procedure
Donna showed me how to mount a jewelry saw in order to cut the cuttlefish bone. She also explained to me how to cut a cuttlefish bone without cracking it. After a few trials, I was able to cut it in half and be ready for my next step.In order to get smooth surfaces on both half of the cuttlefish bone I rubbed them to each other in the fume hood.
Andrew suggested to rub the surface until it became flat and large enough to accommodate the cast object, including one inch of extra space on each side.
I proceeded polishing the two half of the bone with willow charcoal.
After that
, I was ready to start hollow the mold on one of the two half of the bone. First, I placed my cast object on the flat surface of the bone, and I marked its outline with a sharp pointed metal tool.
Second, I began carving the outlined area with a knife. After 10-15 minutes of carving work in the fume hood, I thought to be ready to go, instead……
I showed my work to Andrew, which told me that I made a hollow that was too deep, suggesting to start again working on a new half of a bone. He also suggested to carve the hollow only on one half of the bone, leaving the other one flat.
I took one of the half bone available in the lab, without repeating the cut process.
After marking the outline of my cast object on the flat surface of the bone, I began making the hollow. This time I used a small sharp knife, and I tried do not repeat the same mistake. The cuttlefish surface is very soft, and it’s easy to make a hole instead of a hollow, if you are not careful with the use of your sharp knife.
I repeatedly placed the cast object on the hollow I was creating, pressing the object on it. In this way, I was able to check the deepness of the mold and assure that I was still working within the outline of the object marked on the bone surface at the beginning of the process.
Andrew approved my second attempt. Following the illustrations on the folio, I made three channel and the gate on the top of half bone with the hollow.
I joined the two half of the bone using an aluminum thread that was tighten around the two pieces of the bone.
My mold was ready to be cast.
In the fume hood Andrew placed my mold and other two in vertical position inside a bowl full of sand.
After that, he melted lead and tin together ( I have to check the right amount of each metal), and he poured them in the molds. One of those wasn’t tight enough, and the liquid metal was coming out from the bottom of it. Andrew palced some clay on the edges of this mold in order to close it better. The system worked, and he could complete to pour the liquid metal in all the molds.
According to the recipe, we need to wait for the mold to cool down for a long time before removing the object from it. For this reason, I haven’t seen the final object yet.