Cuttlefish Casting:
Jef Palframan & Emily BoydTuesday, 11/11/14, morning
Columbia U Chemistry Lab
CUTTLE BONE CASTING
Today we began our endeavors in cuttlebone casting. The first thing to be done, per the recipe was to heat the molds until they "cry and crackle" when you press them. We were a bit dubious about this, but we gave it a shot. Lacking a fire, we heated them over an electric burner, resting on a strainer. After a few minutes on the heat, they did indeed emit a noise very much like a cry and crackle without having to be pressed.

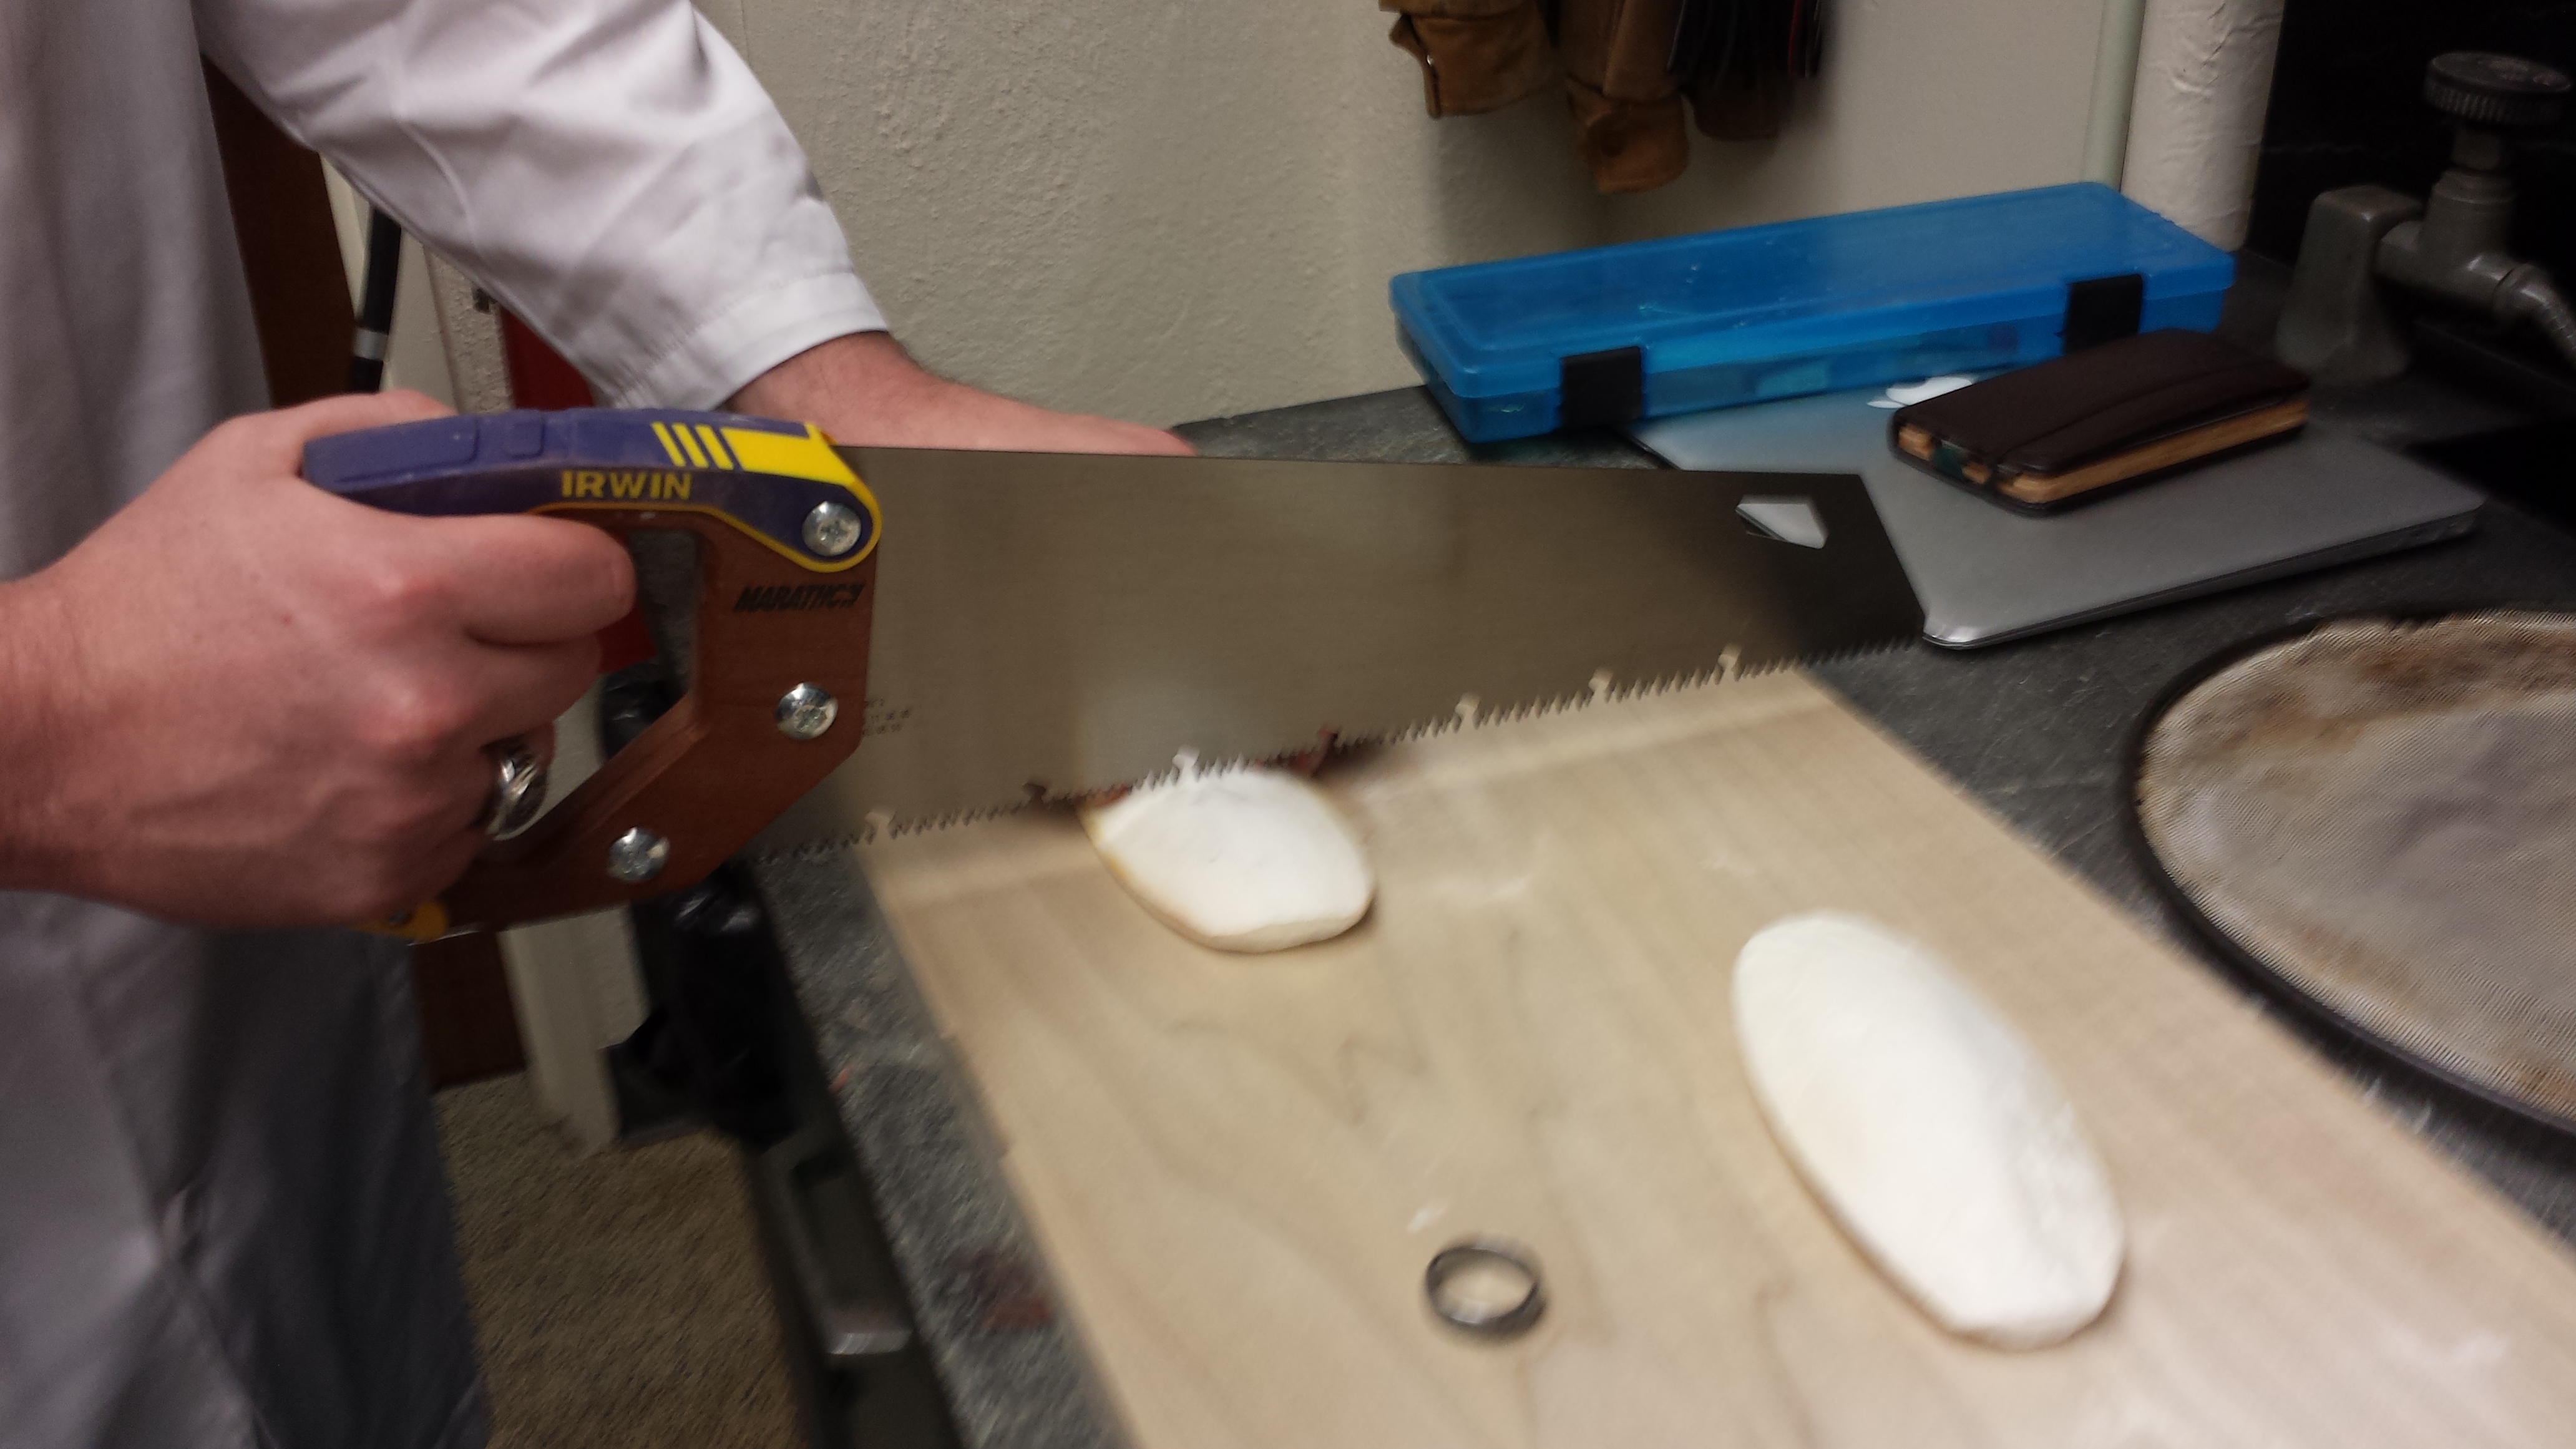
We then experimented with sanding them down so that they are flat, and cutting them in half as the recipe states. Unfortunately this was difficult to do with the tools at hand - we had only a large wood saw and it was too large a tool for so delicate a task, and it broke our cuttlebones.
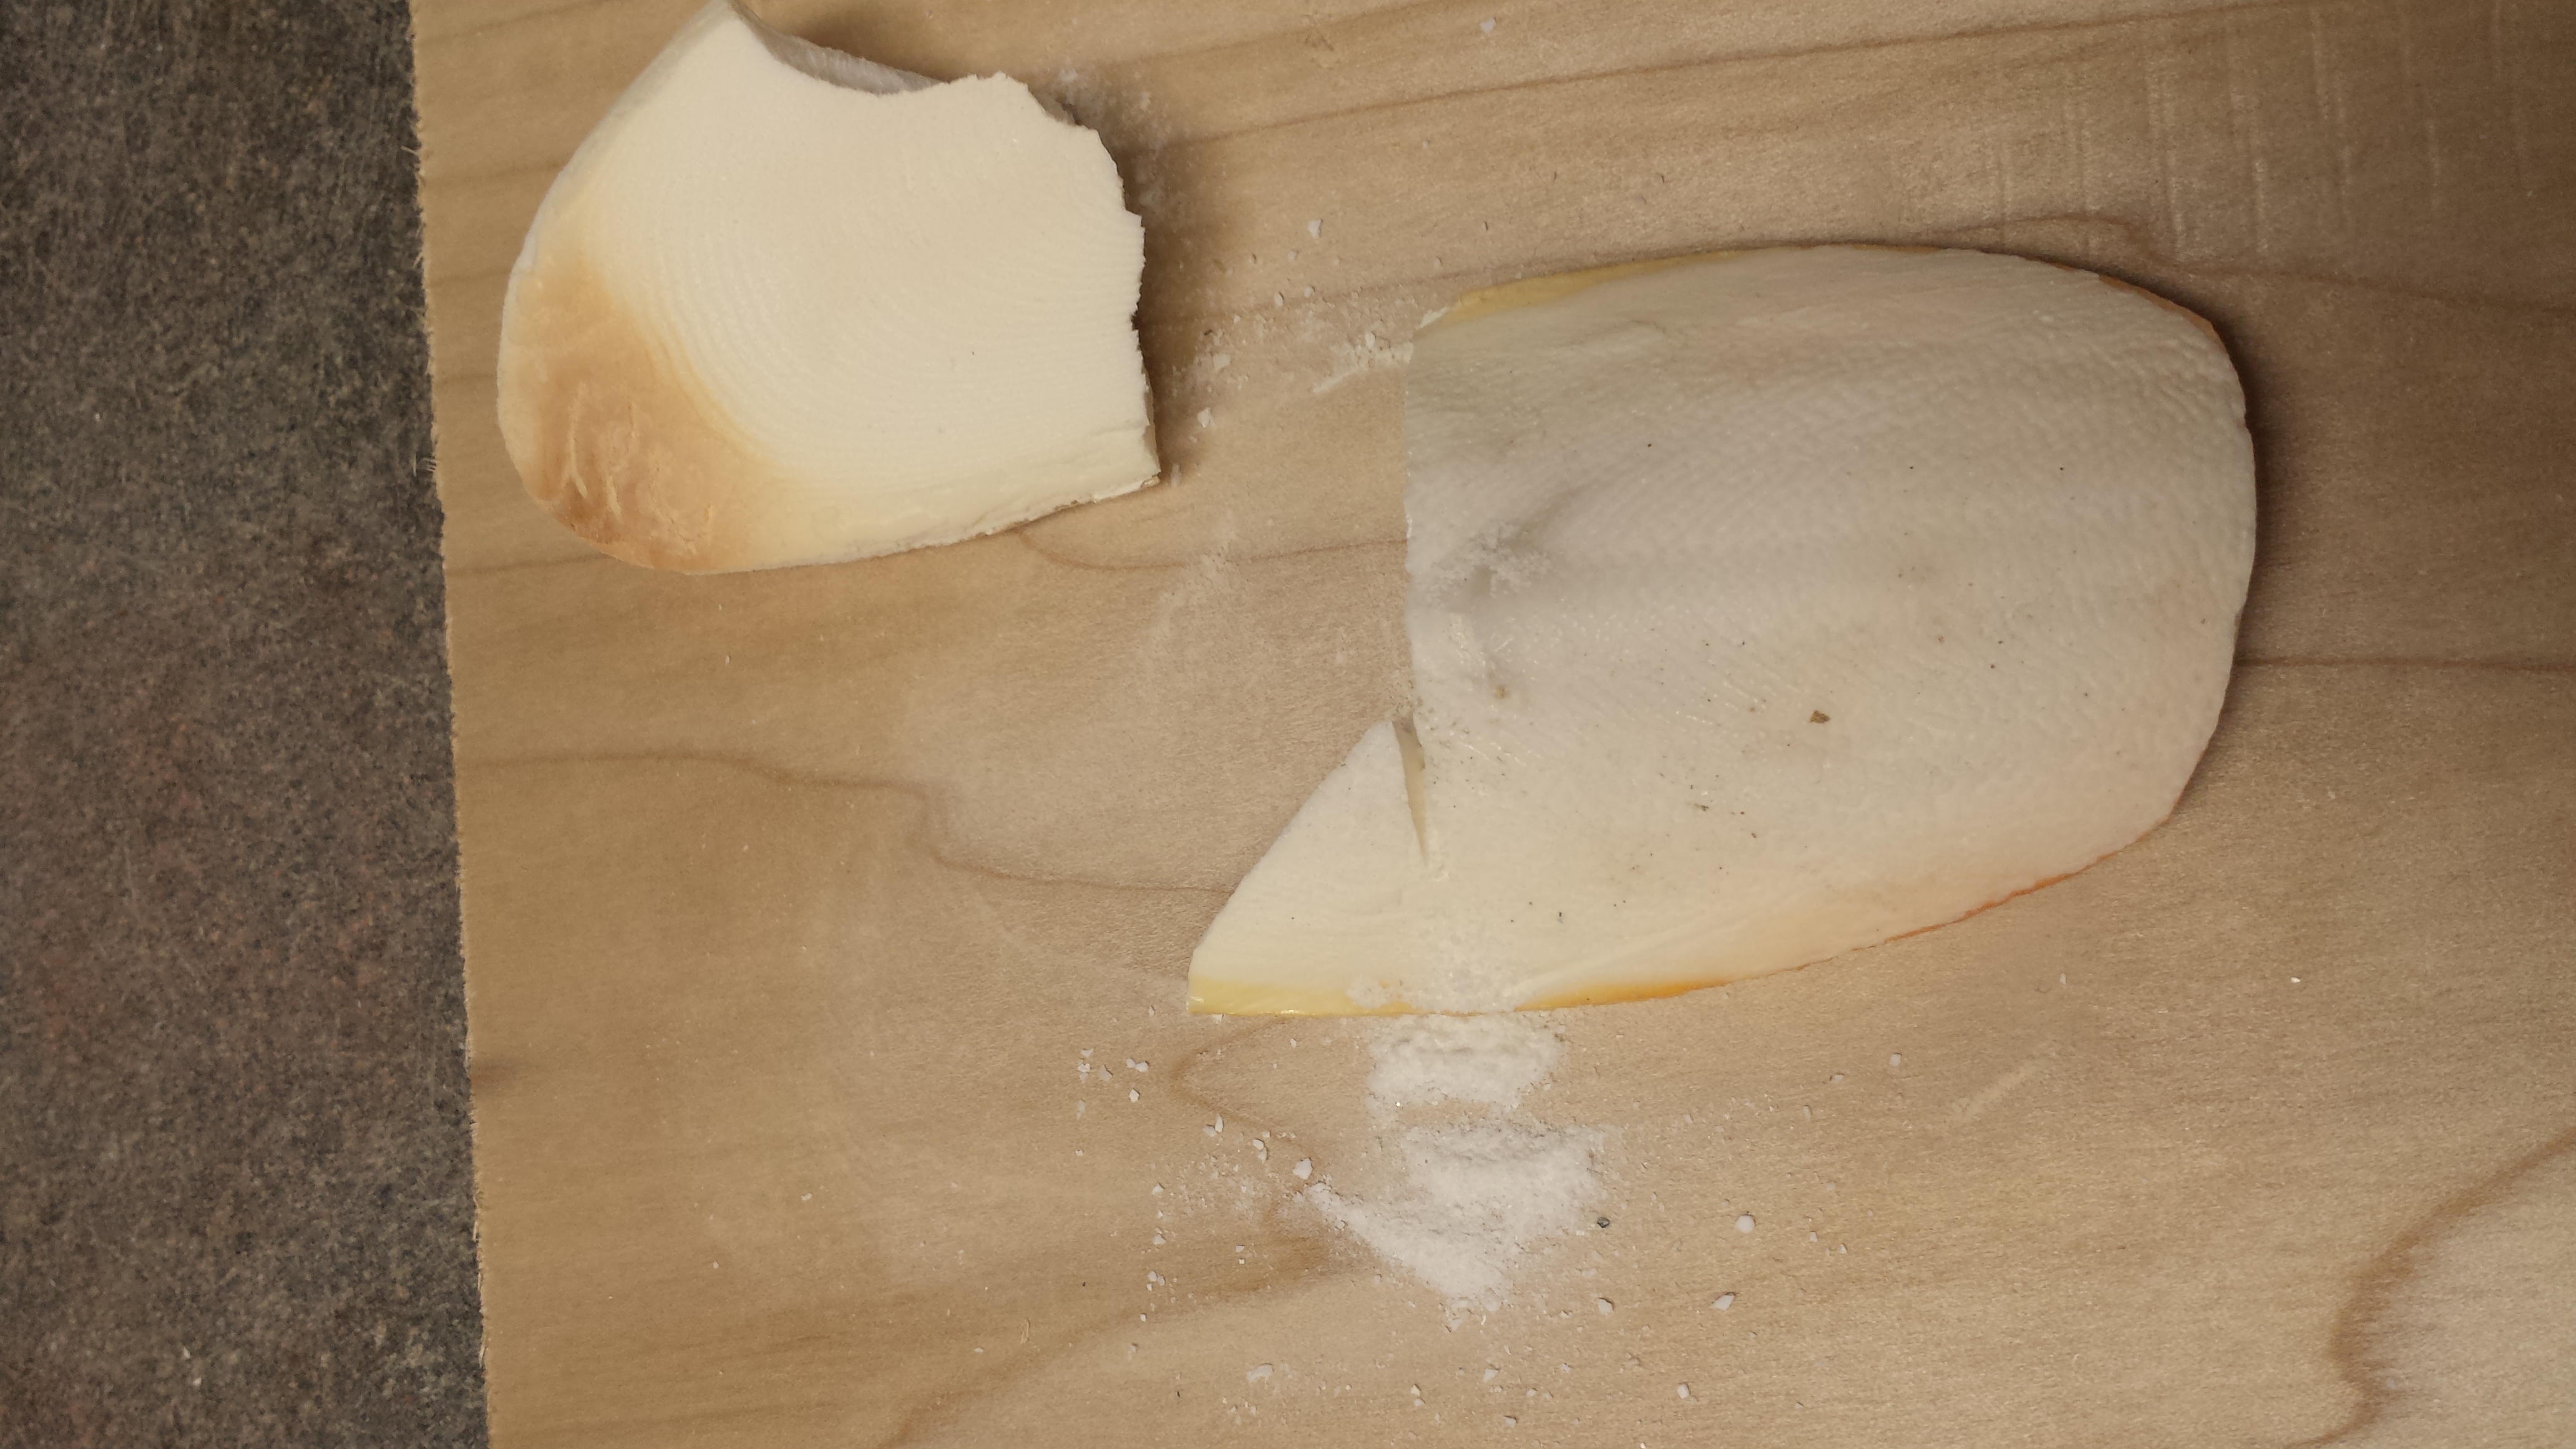

We also experimented with pressing objects into the cuttle bone...this will also be a delicate task...it's difficult to ascertain the right amount of pressure.
Emily Boyd (Jef out sourcing ingredients)
Friday, 11/14/14, morning
Columbia U Chemistry Lab
CUTTLE BONE CASTING
Today once the jewelry saw arrived I was able to make some serious headway with figuring out how best to prepare these molds. After one or two tries with the jewelery saw, I figured out a methodology. It's best to saw through the soft part of the cuttle first, creating a groove you can use to guide your saw, as you laboriously make your way through the hard shell (I don't think it's really a shell but that's what I've come to think of it as). The first failed attempt:


It was SO frustrating to break that piece after I had sanded it down already, and then been sawing away at it for several minutes. But, I realized it is important to cut the cuttlebones in half before sanding them down, because they are more likely to break when cutting than when sanding...this saves time and effort because the labor of sanding a cuttlebone doesn't go to waste on bones which break when being sawed.
So I cut them in half (the most difficult cut), then saw off the top and bottom of the oval shaped shell to insure the mold will have a flat bottom and top. I try to make the two halves even with one another so the pieces will fit together into a mold that will most importantly have a flat bottom. We are now amassing quite a collection of spare cuttle bits and bobs. I hope the laboratory will be able to use them for something else. I can't imagine that an early modern maker would have just thrown out the inevitable remains of such a brittle substance. He must have repurposed it in some way. Below you can also see our first trial at making an impression (didn't get a picture last week) on the righthand side of the image. We impressed a small cameo, and in the bottom corner, Jef's wedding ring.

It is still slow going cutting through the hard "shell", but much better progress than with the big saw. I was able to create three double-sided molds today. Not sure yet how many we'll need, but we want to make enough that we can do several trials if necessary.

Jef Palframan & Emily Boyd
Tuesday, 11/18/14, morning
Columbia U Chemistry Lab
CUTTLE BONE CASTING
We have now prepped 9 cuttlefish molds. We “roasted” six cuttle bones using the procedure previously devised, using a strainer to hold them over an electric burner until they “cry and crackle”.
These bones are significantly easier to saw than the last group – they were sourced from a different place (Petco on 96th), so perhaps that is the reason. Were they treated differently? Finished the first bone – all cutting – in 7 minutes!
We made quick work of five more bones (cutting in half, then cutting off the rounded edges so that they would have a flat bottom and be equal sized). Tomorrow they are ready to be sanded flat with one remaining to also be sawed. We left the lab by 1pm.
Jef Palframan & Emily Boyd
Friday, 11/21/14, morning
Columbia U Chemistry Lab
CUTTLE BONE CASTING
Today we perfected our impression technique. We broke several cuttlebones as we experimented with the appropriate amount of pressure. We tried pressing using only our fingers, and it was possible to get a shallow impression but difficult to get a deep one. If the cuttle is on the counter and you press the object into it, the cuttle bone breaks. If the object is on the counter and you press the cuttle onto it, it is less likely to break, although it still can if enough pressure is applied. Molding with your foot almost definitely breaks the object because it's difficult to gauge the appropriate amount of pressure. But perhaps with more time, finesse in this area would be possible. The best method we found uses a combination of hands and knees: the ring is first pressed partly into one side of the mold with the fingers. Then the other half of the mold is used to sandwich the ring in between. We sit in a chair and hold the mold in our palms with our hands between our knees, using our knees to apply pressure and our palms to guide and moderate the pressure. This produces a very good impression very easily.
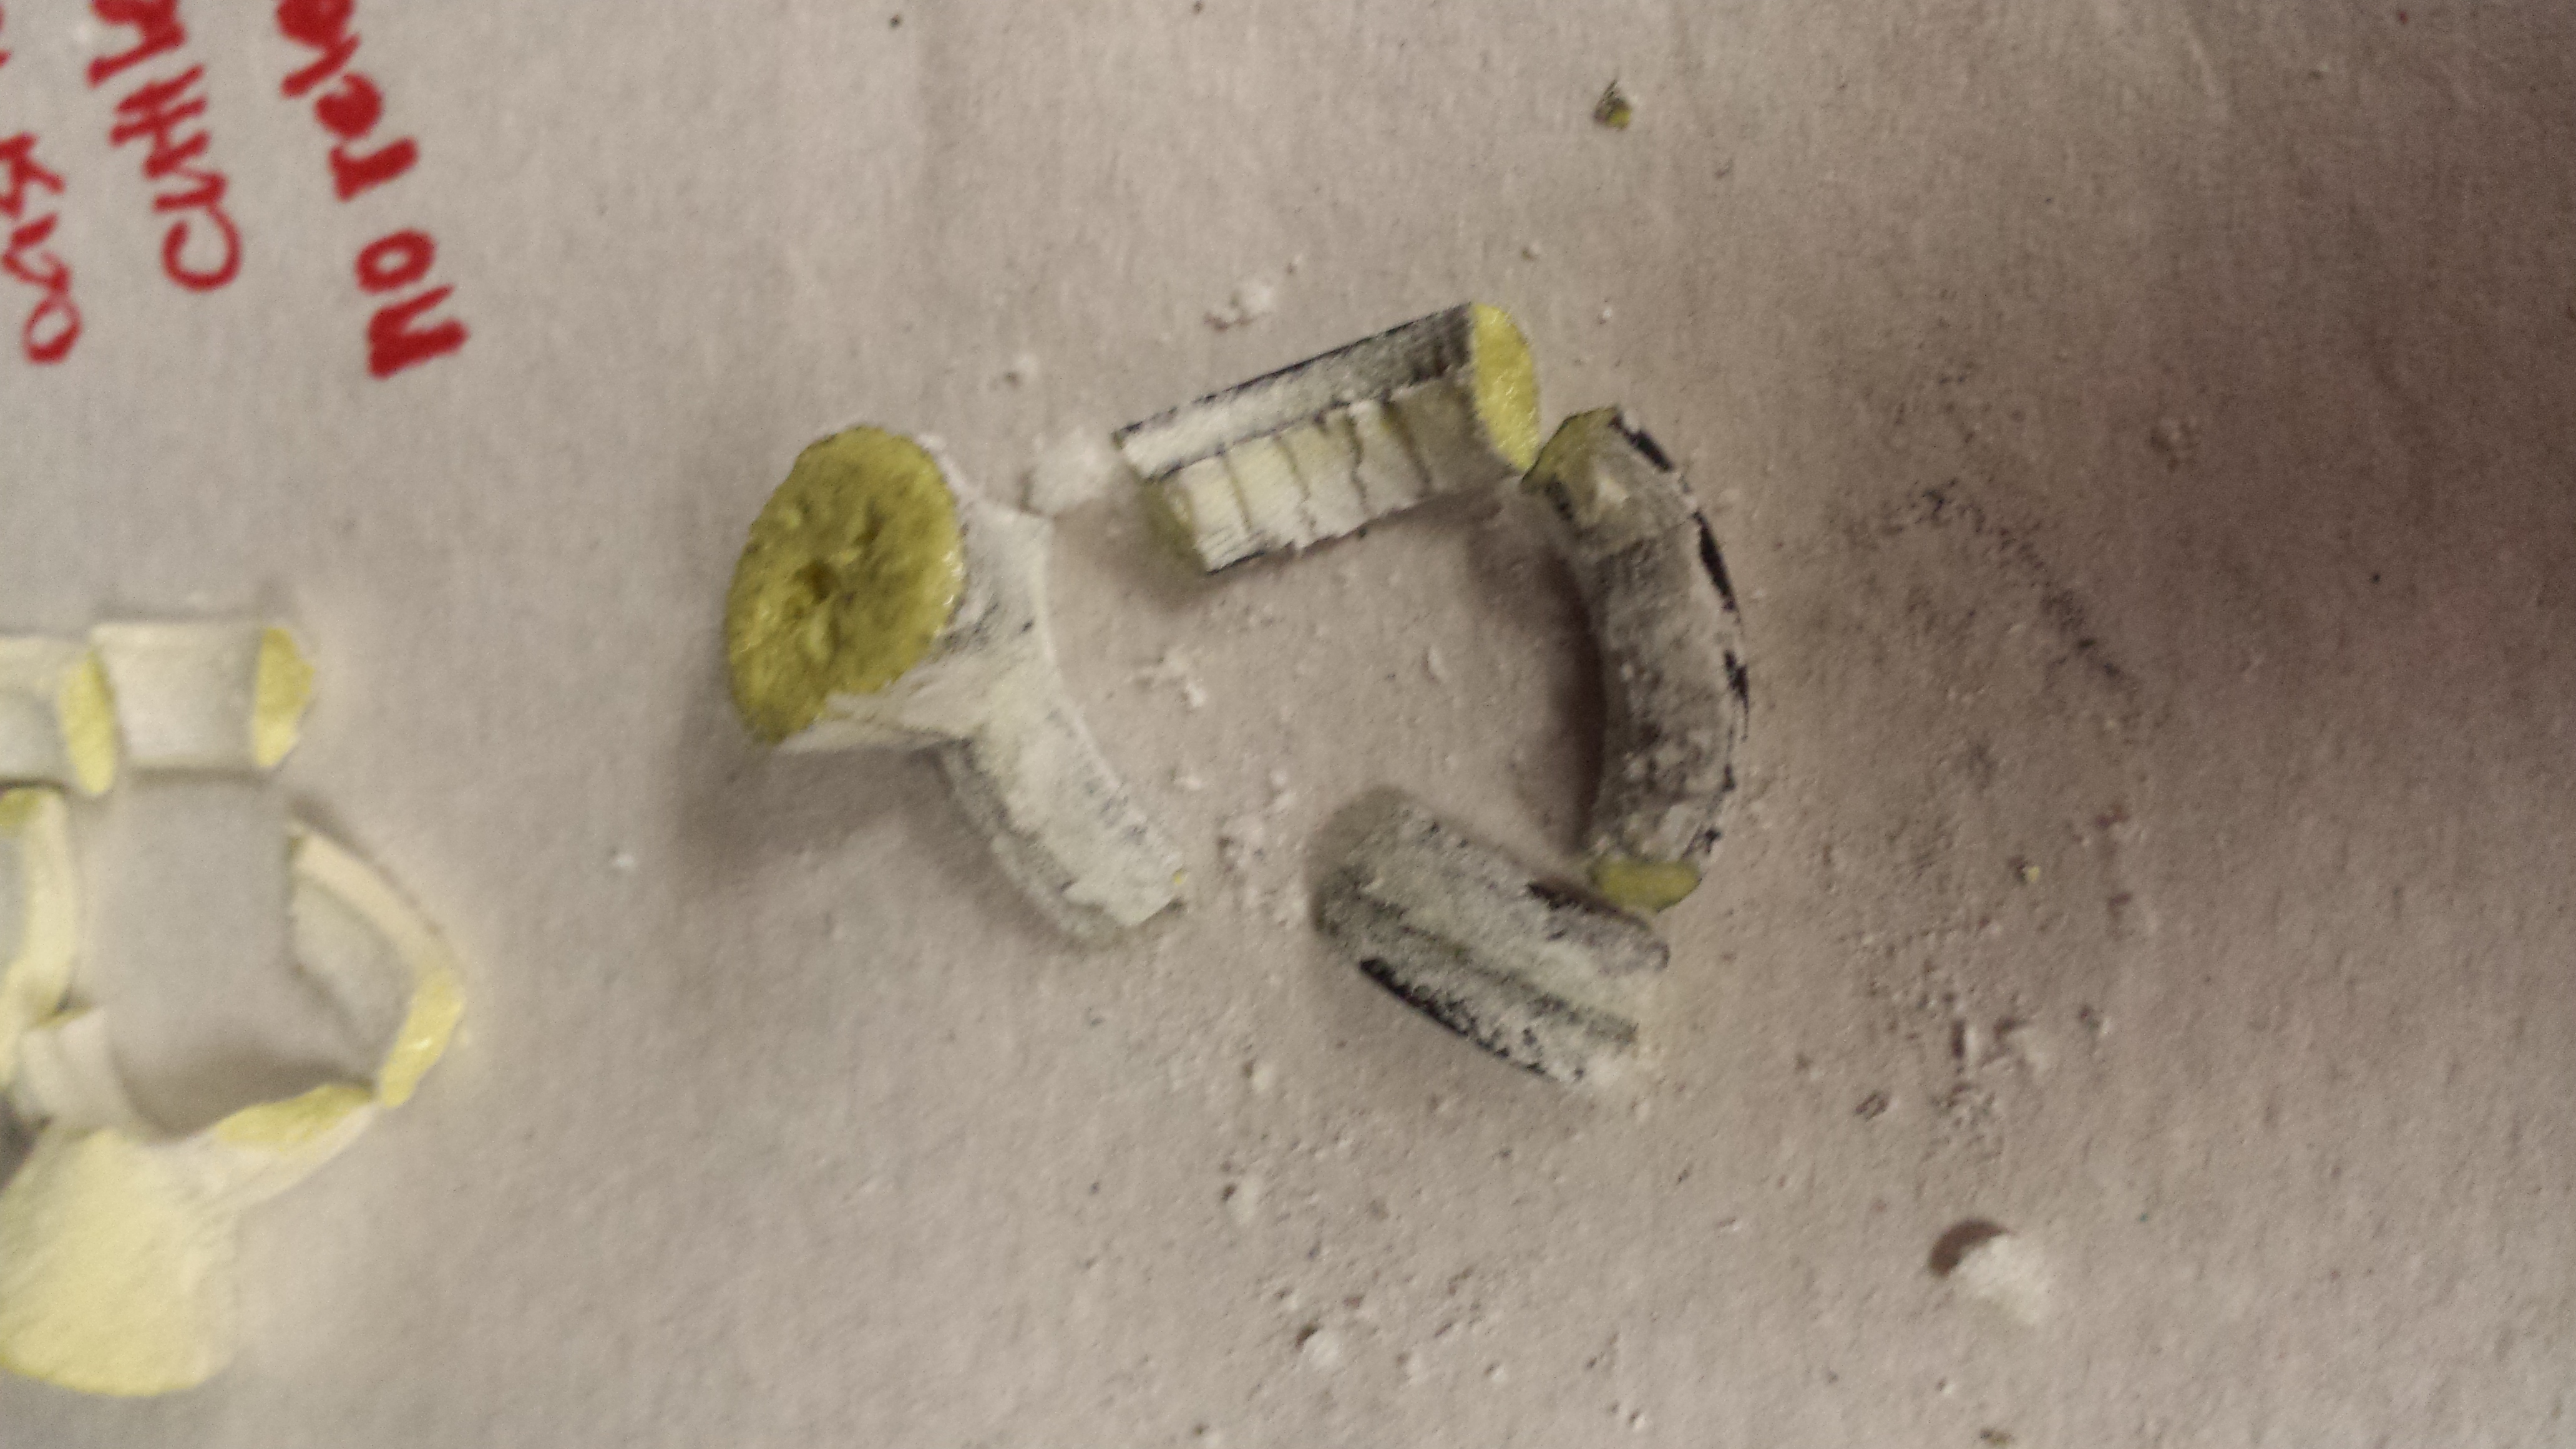
After achieving a successful impression, we decided to try a pour, so we heated some beeswax and poured it into our mold. The result was remarkable: the beeswax was completely absorbed by the mold and we were not able to get a casting of any kind. Next we tried sulfur. The sulfur took an excellent cast, but it was impossible to remove, being so brittle, and it broke into many pieces when we tried to pry it out. In the process we completely ruined our mold. So it's no wonder there's no mention of casting sulfur in cuttlefish in the manuscript. Before leaving we did another trial, dusting the mold with charcoal as is mentioned in the recipe, but we did not get to open it today.
Jef Palframan & Emily Boyd
Tuesday, 11/25/14, morning
Columbia U Chemistry Lab
CUTTLE BONE CASTING
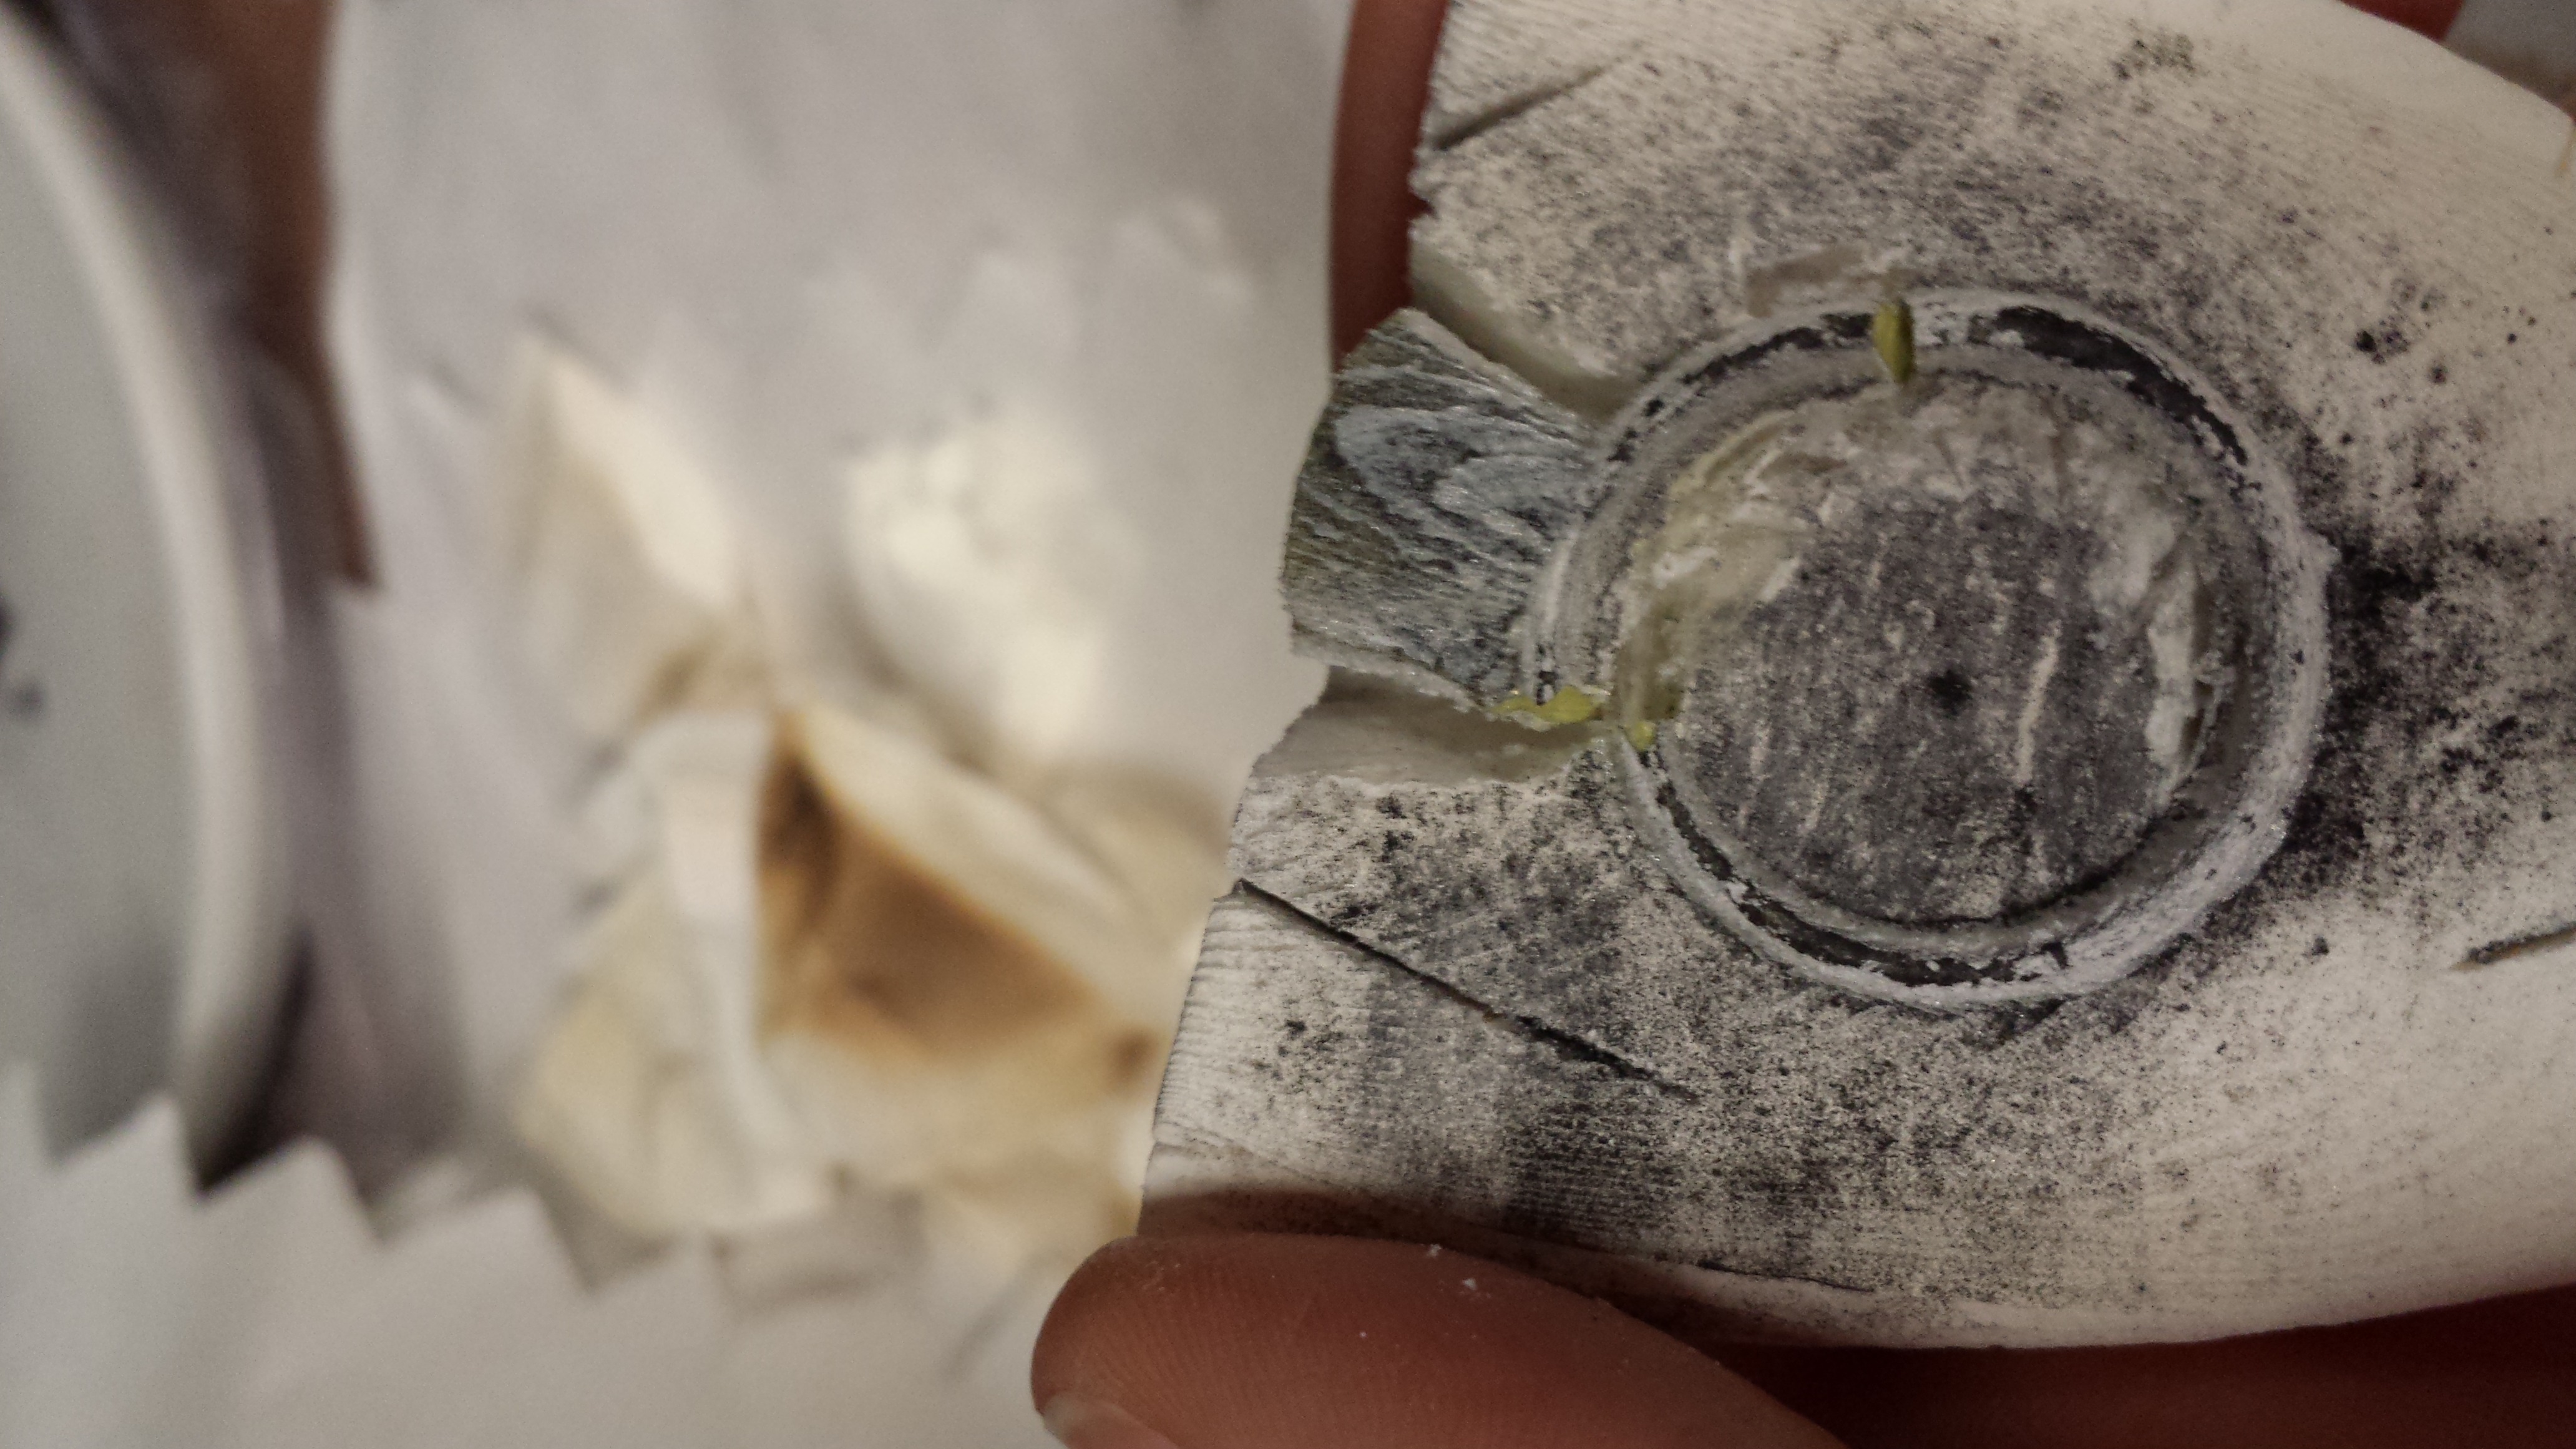
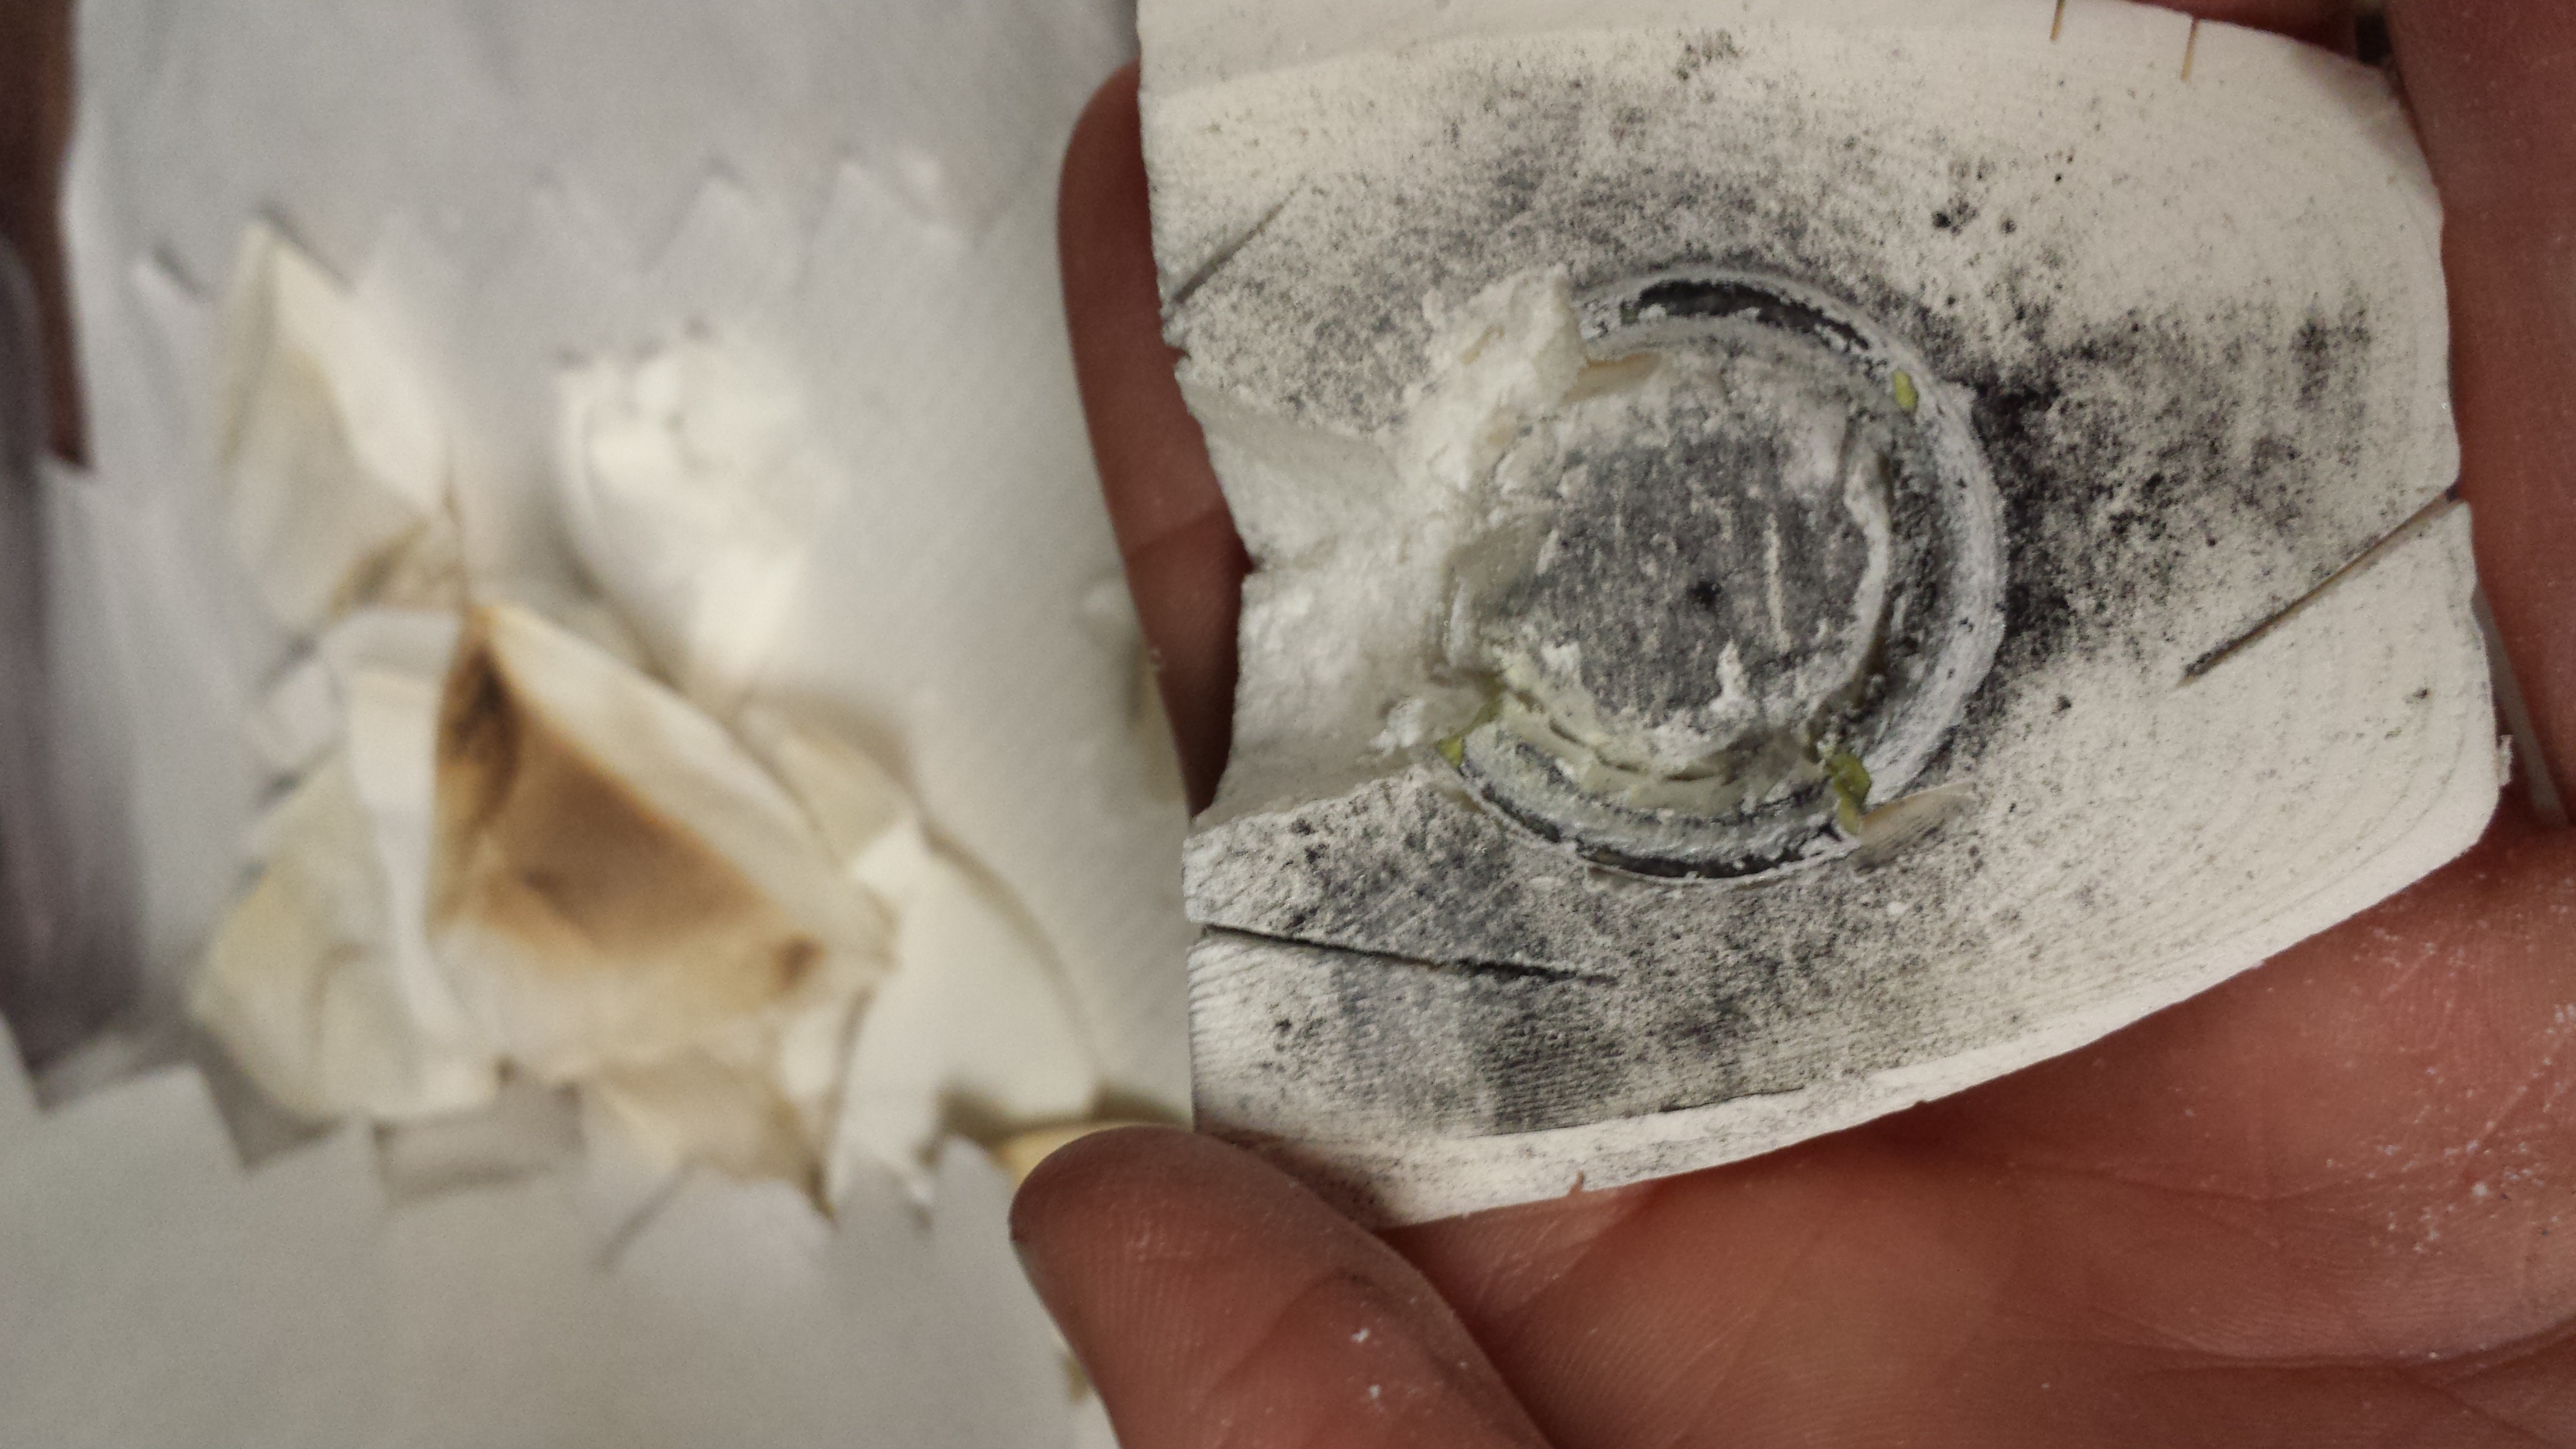
We opened our second sulfur casting. Here you can see it from two angles:
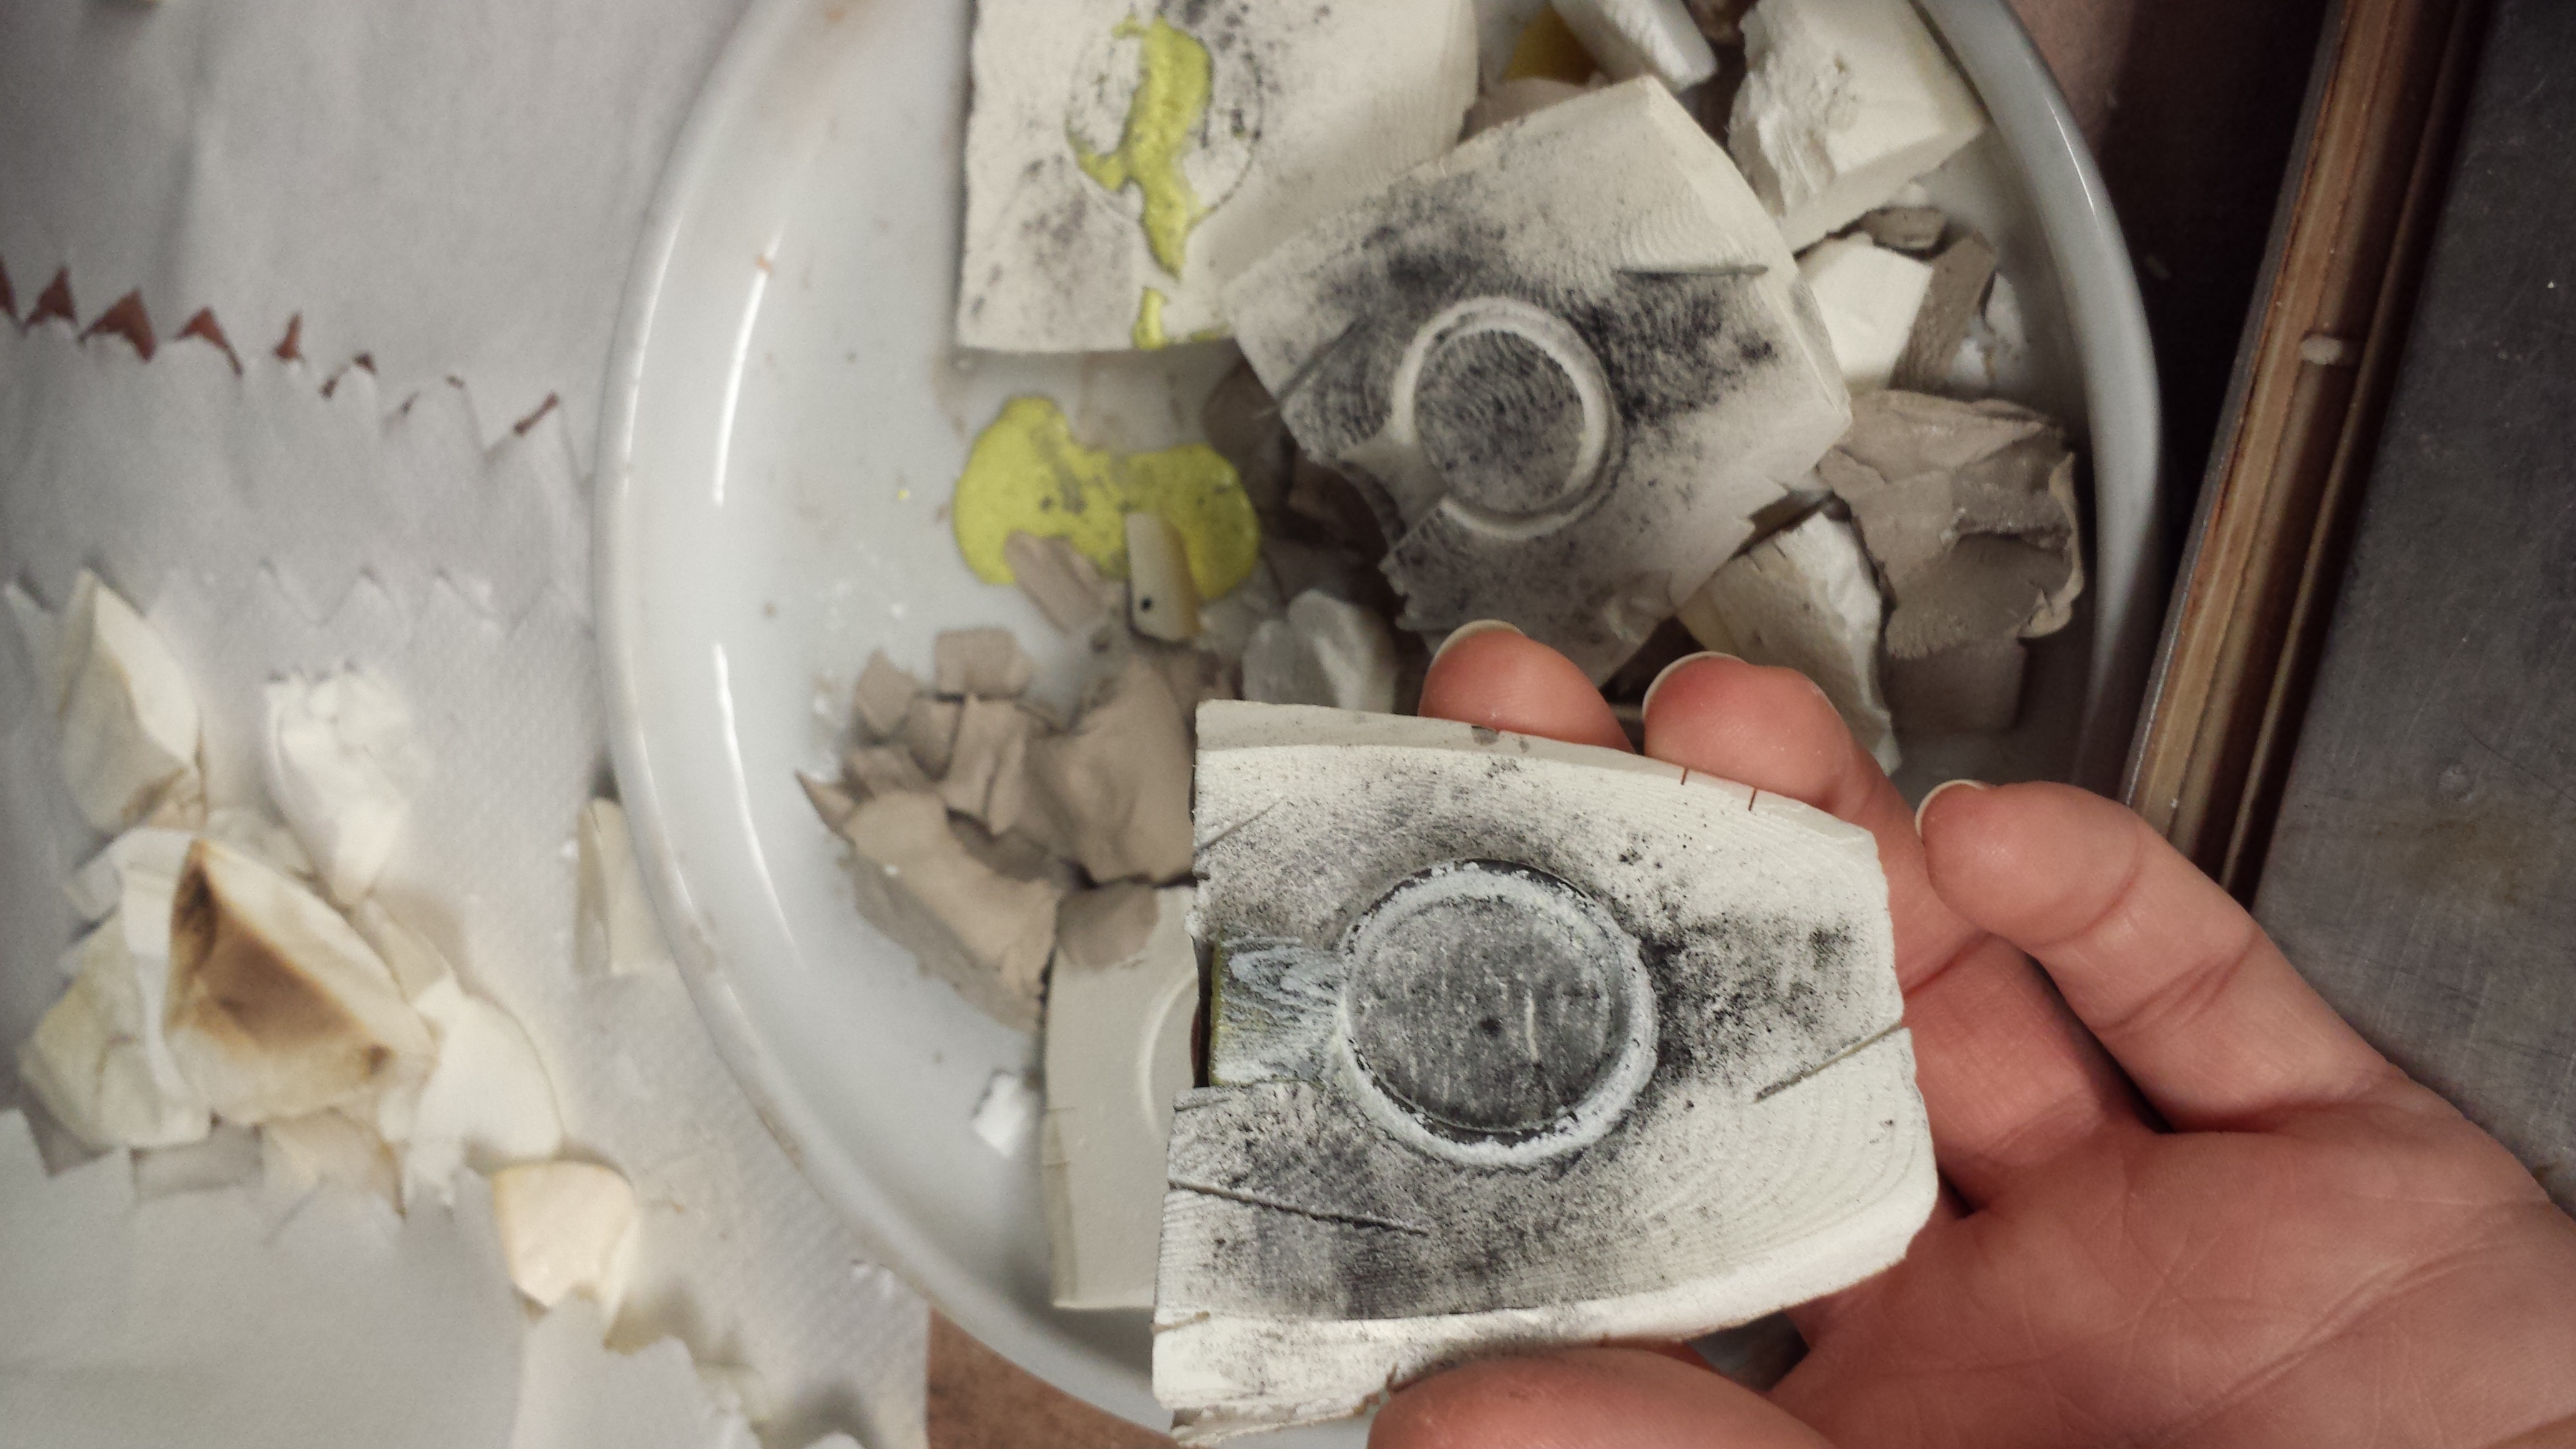
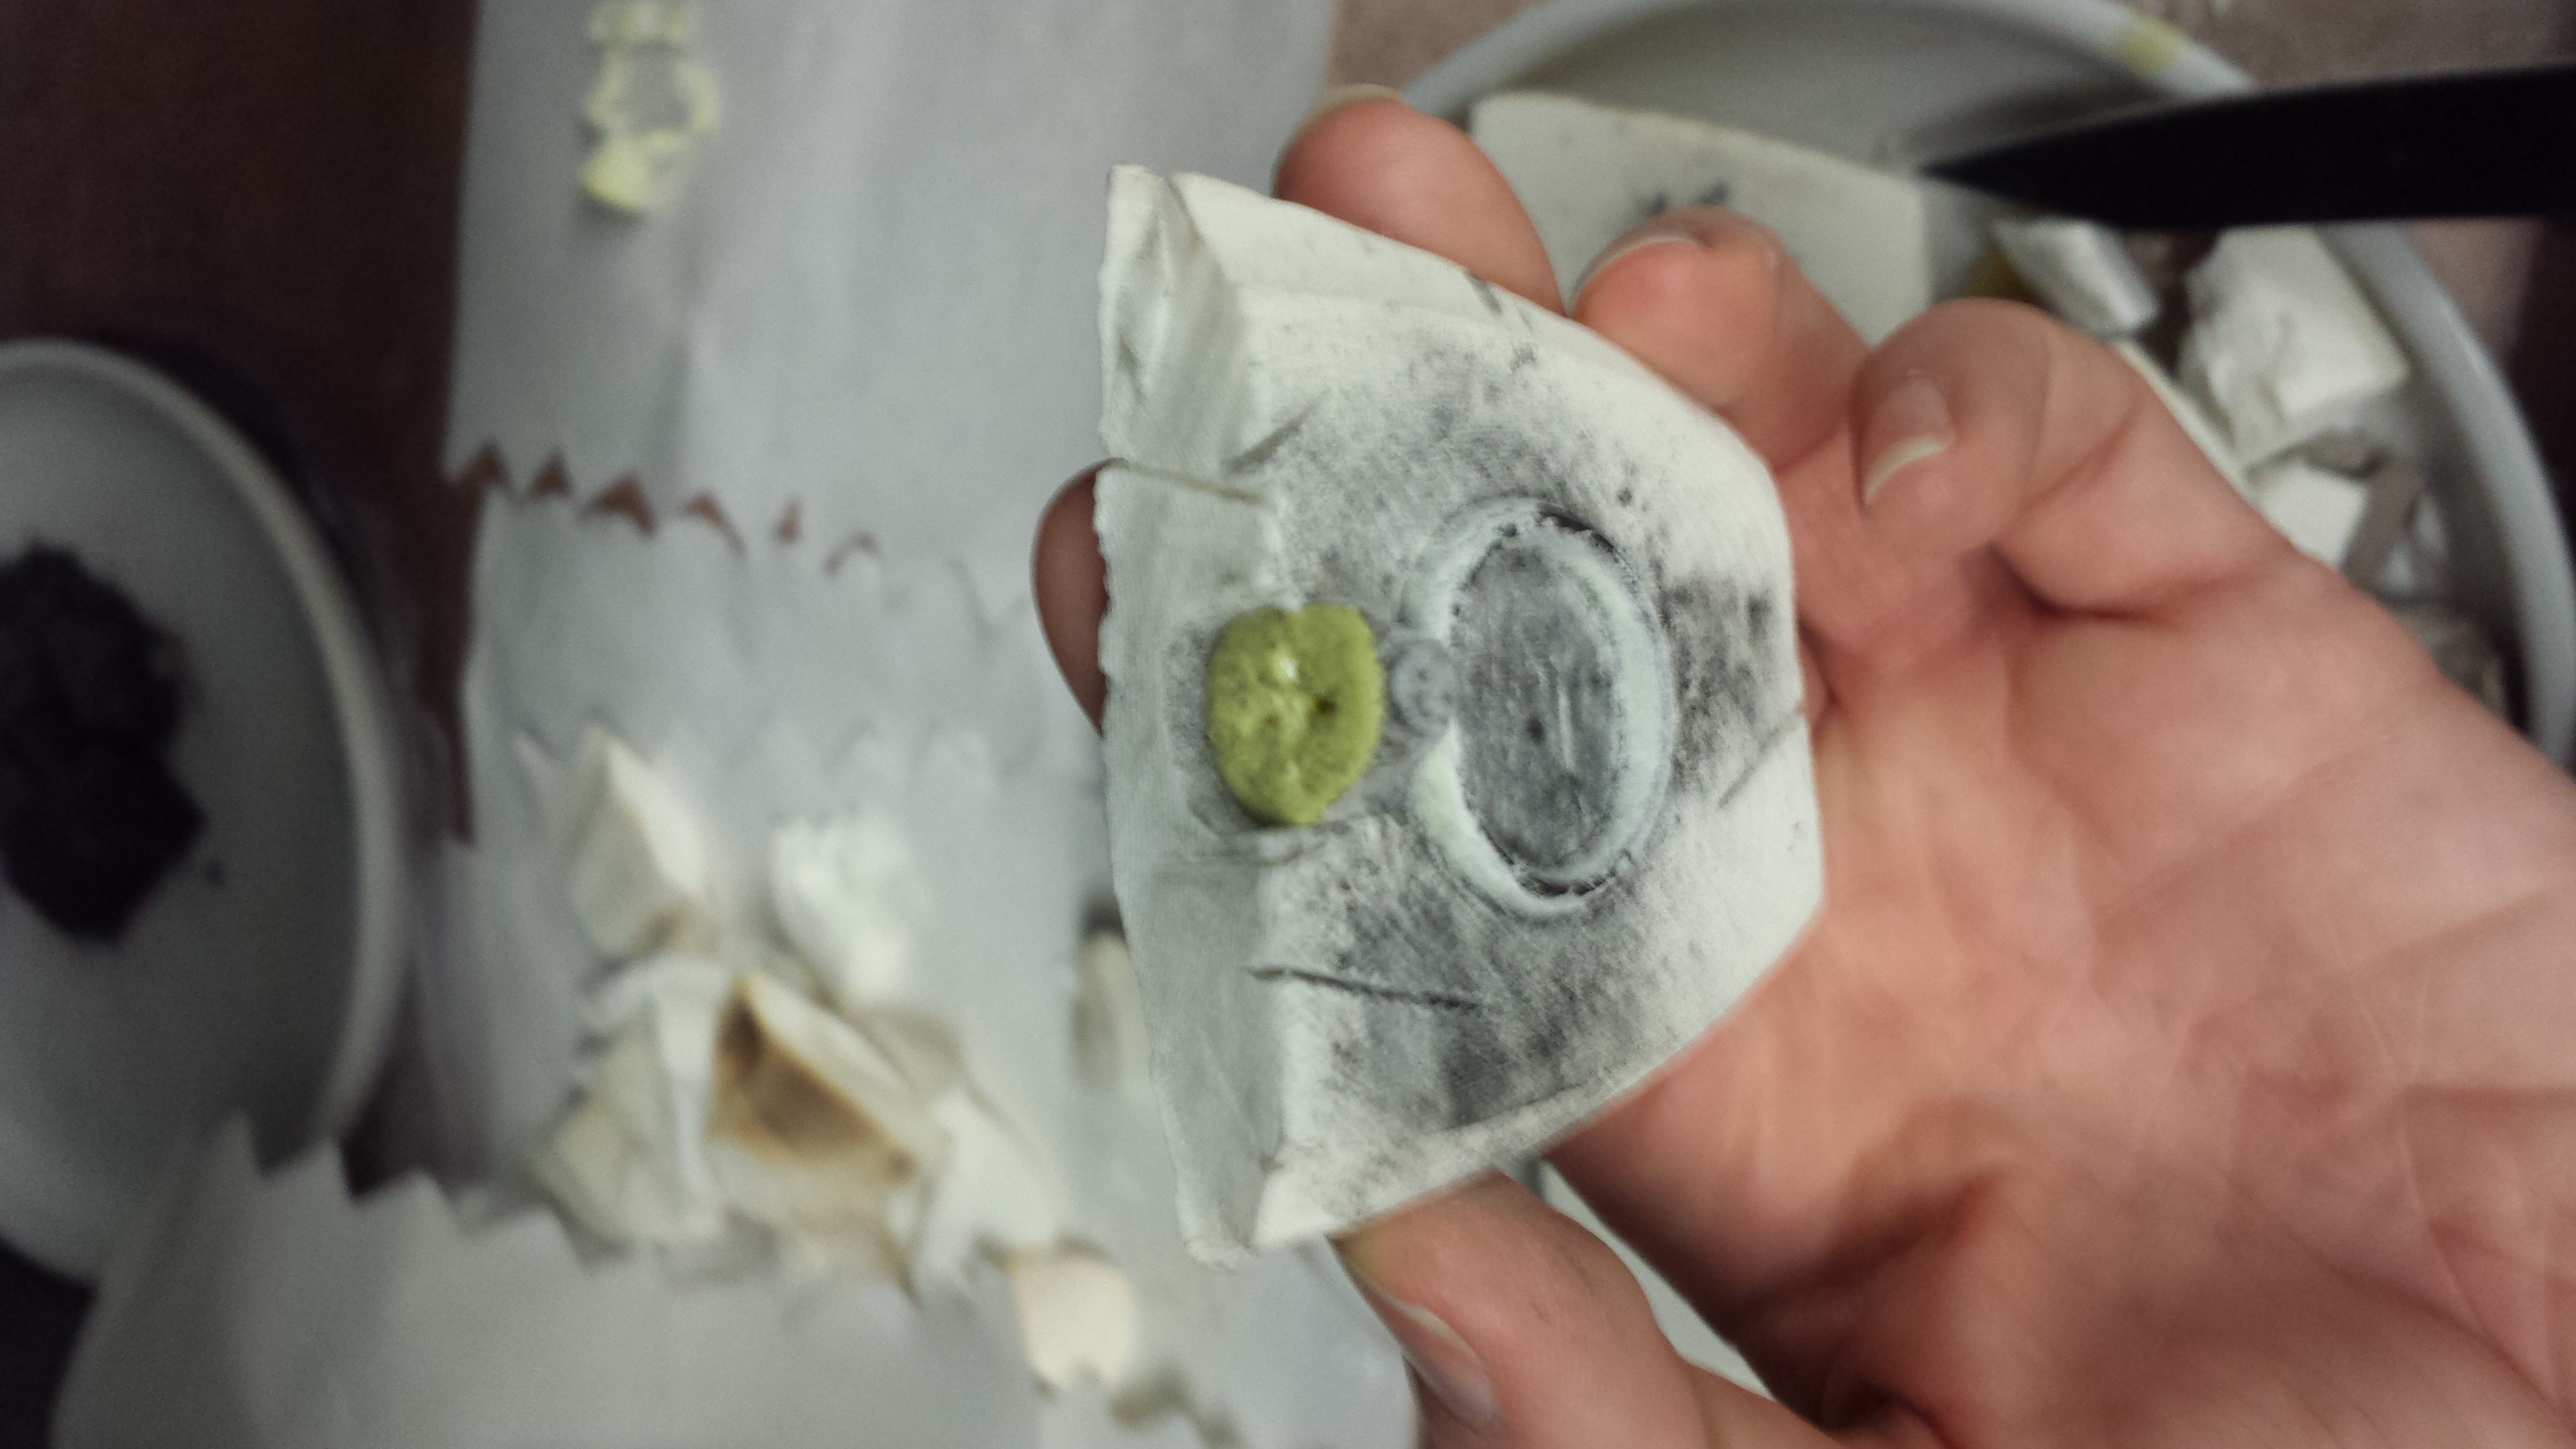
The charcoal may have helped a bit as a release agent, but not terribly much because the sulfur cast still broke this time, although into fewer pieces than before.
Here you can see the final results of our two sulfur trials, with and without the release agent:
The next thing will be to try casting in tin. This has a low melting point, like sulfur and wax, but it is firm and won't break like the sulfur. Additionally it is mentioned in the recipe so best to give it a go next time.
Jef Palframan & Emily Boyd
Friday, 12/5/14, morning
Columbia U Chemistry Lab
CUTTLE BONE CASTING
Today we poured our first trial in tin. It worked remarkably well. We used a mold, prepared in the same way as we had previously, except this time with vents (Donna showed us how to make these). We bound the mold in binding wire and used wet clay to keep it in place. We have decided not to use clay for daubing the joints when casting with metals as described in the recipe because we feel having molten metal poured onto damp clay is too dangerous.
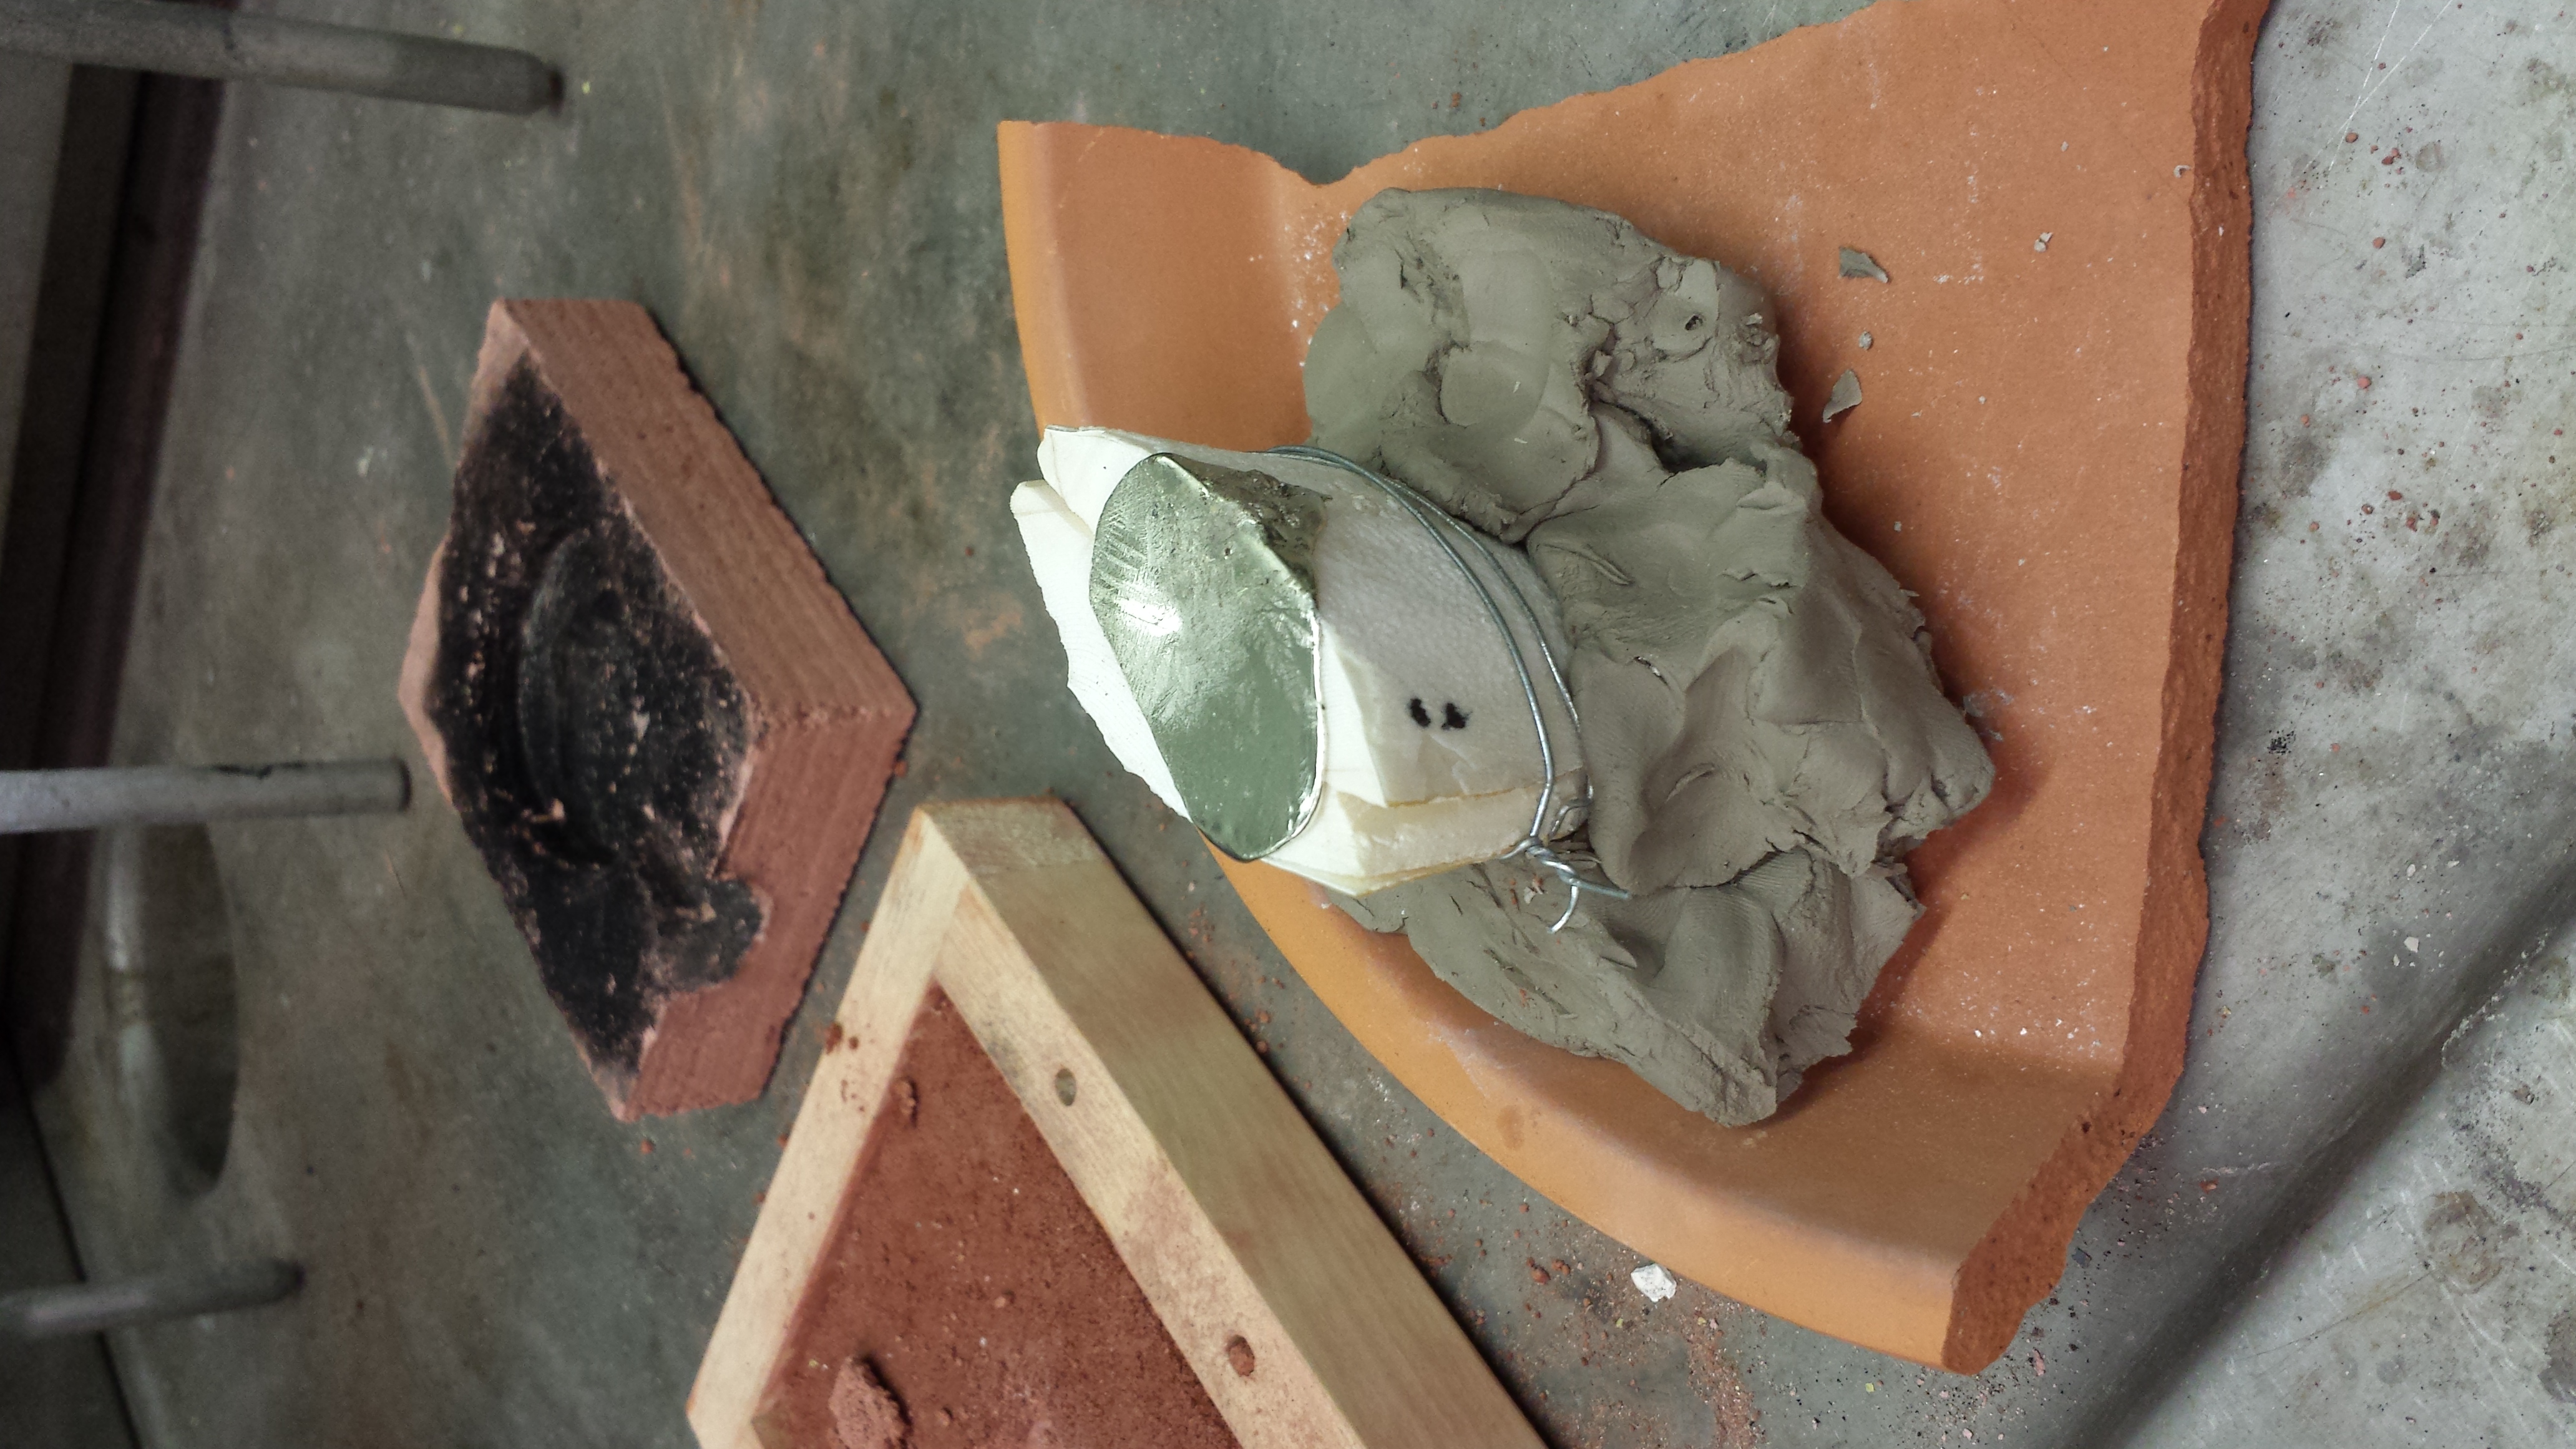
As you can see, it came out wonderfully, although our technique in aligning the two sides of the mold could use improvement.
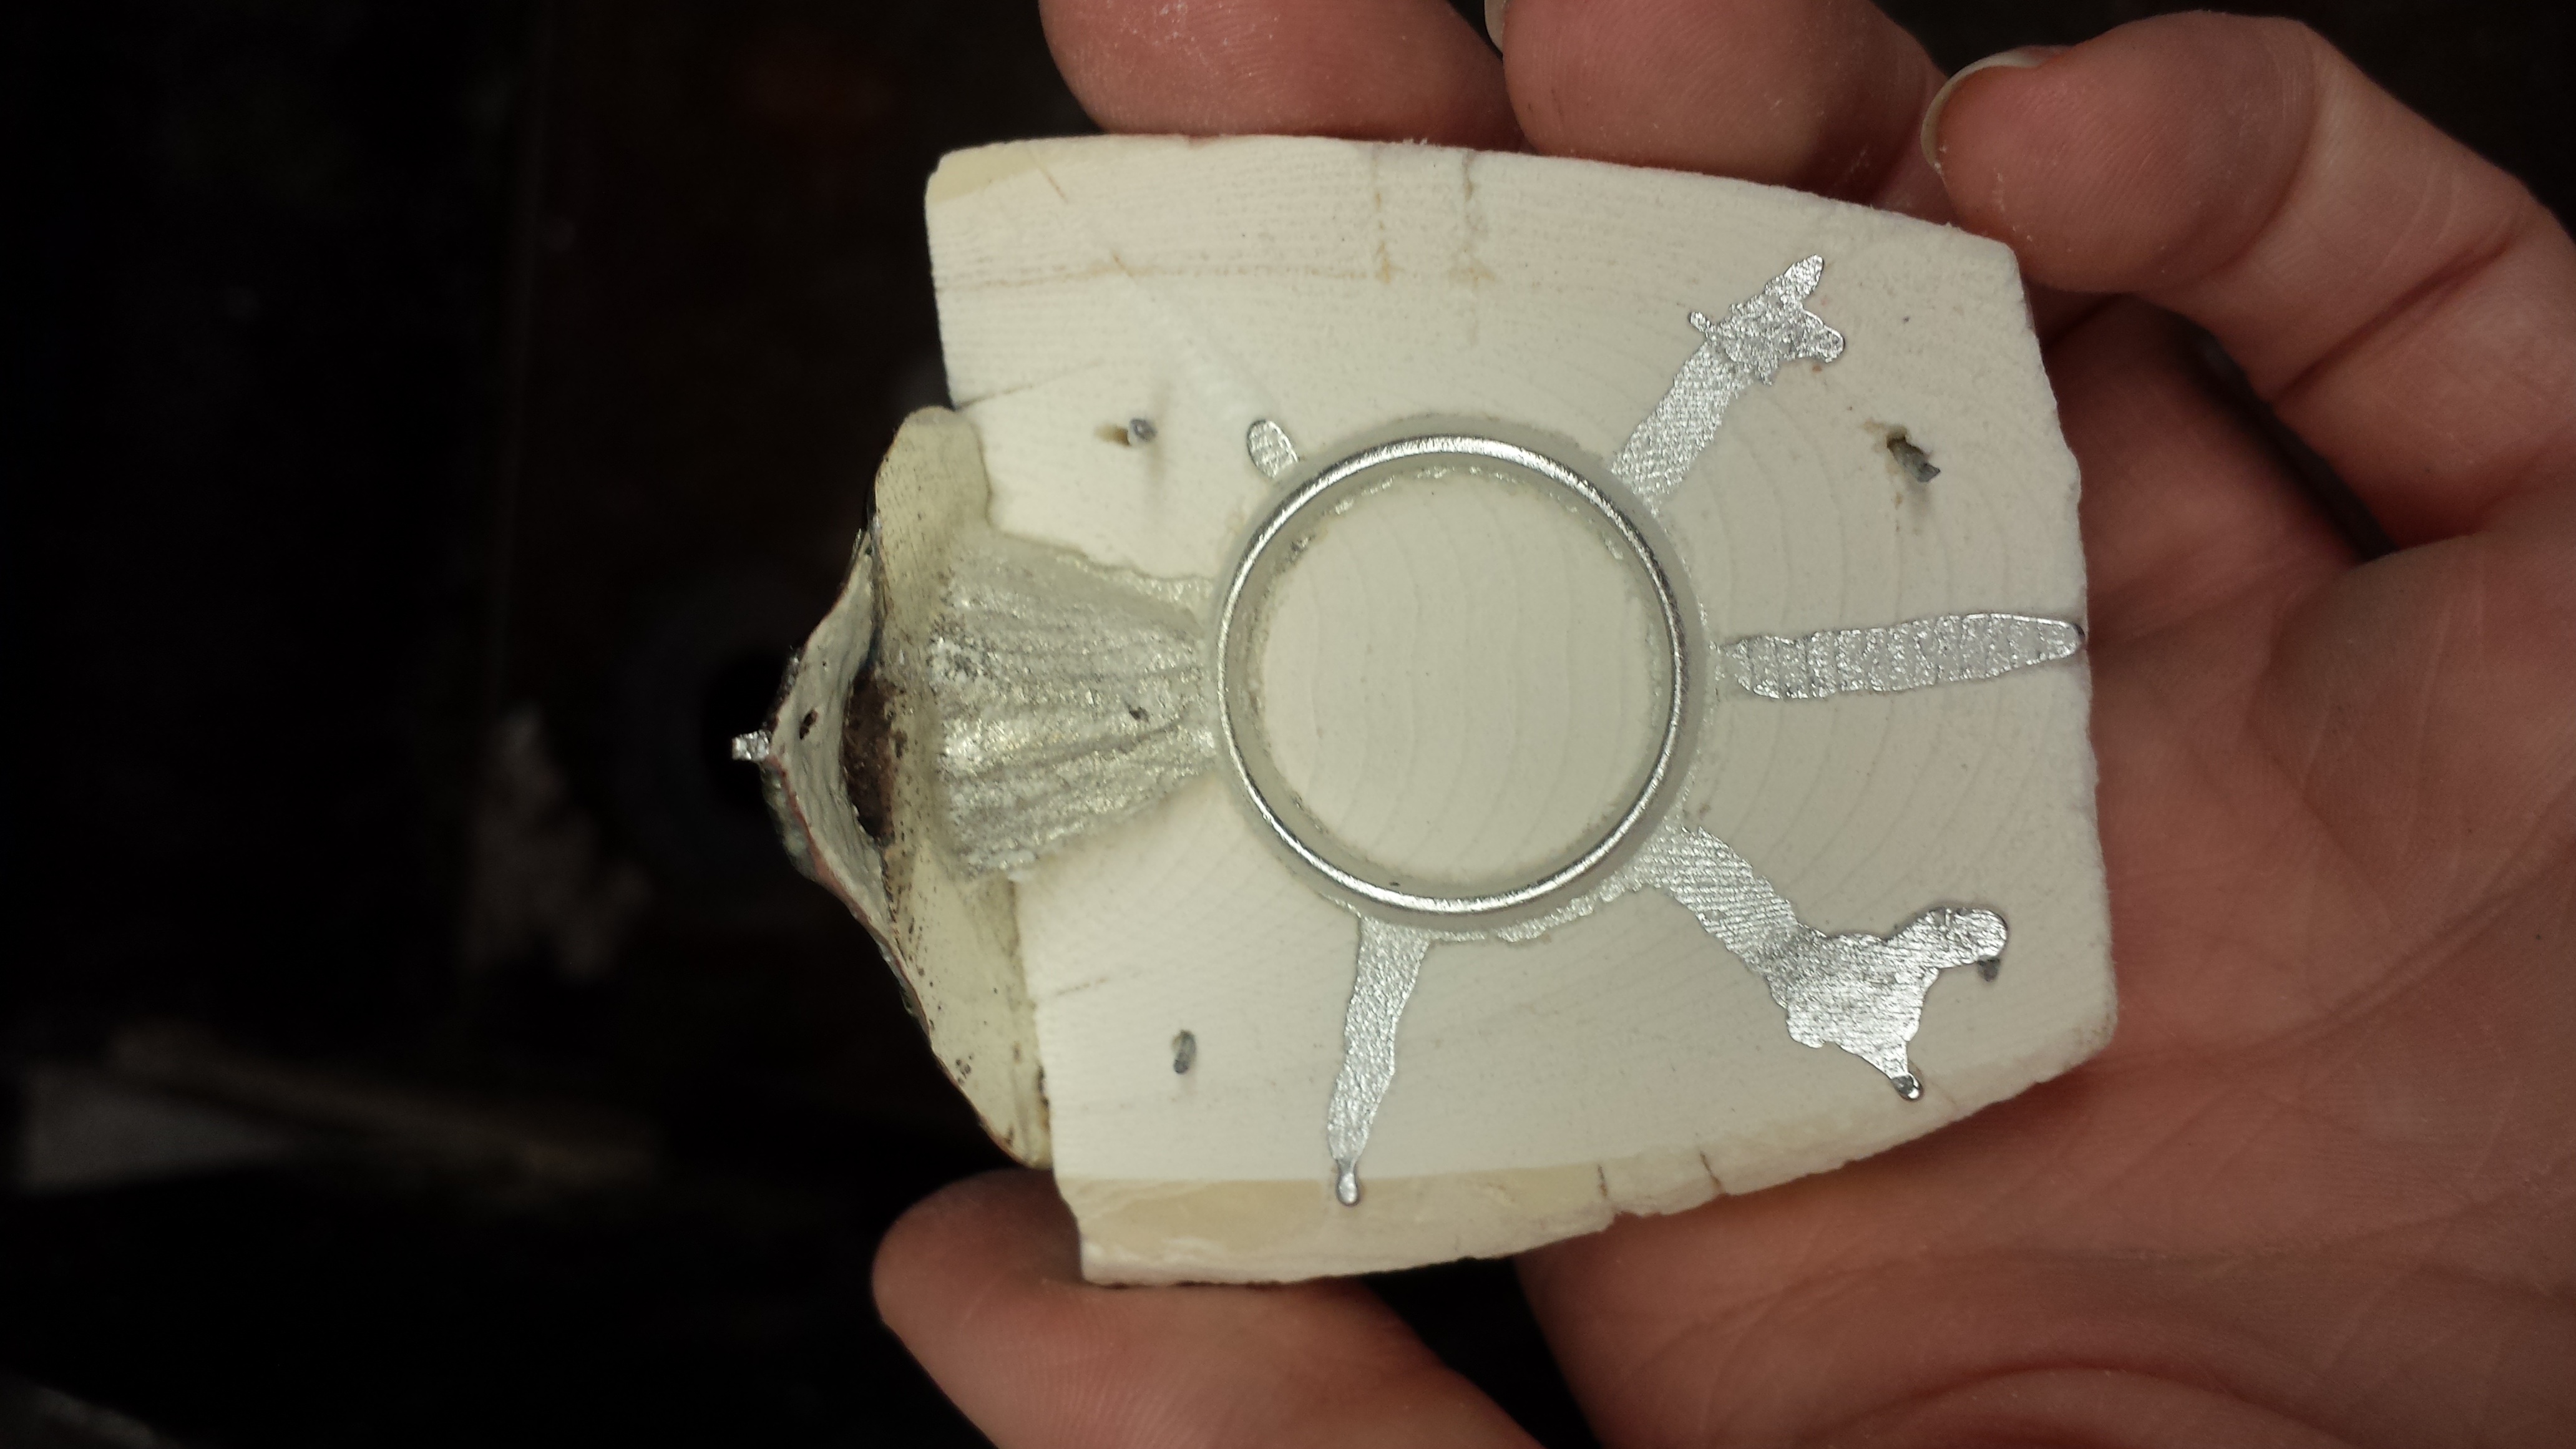


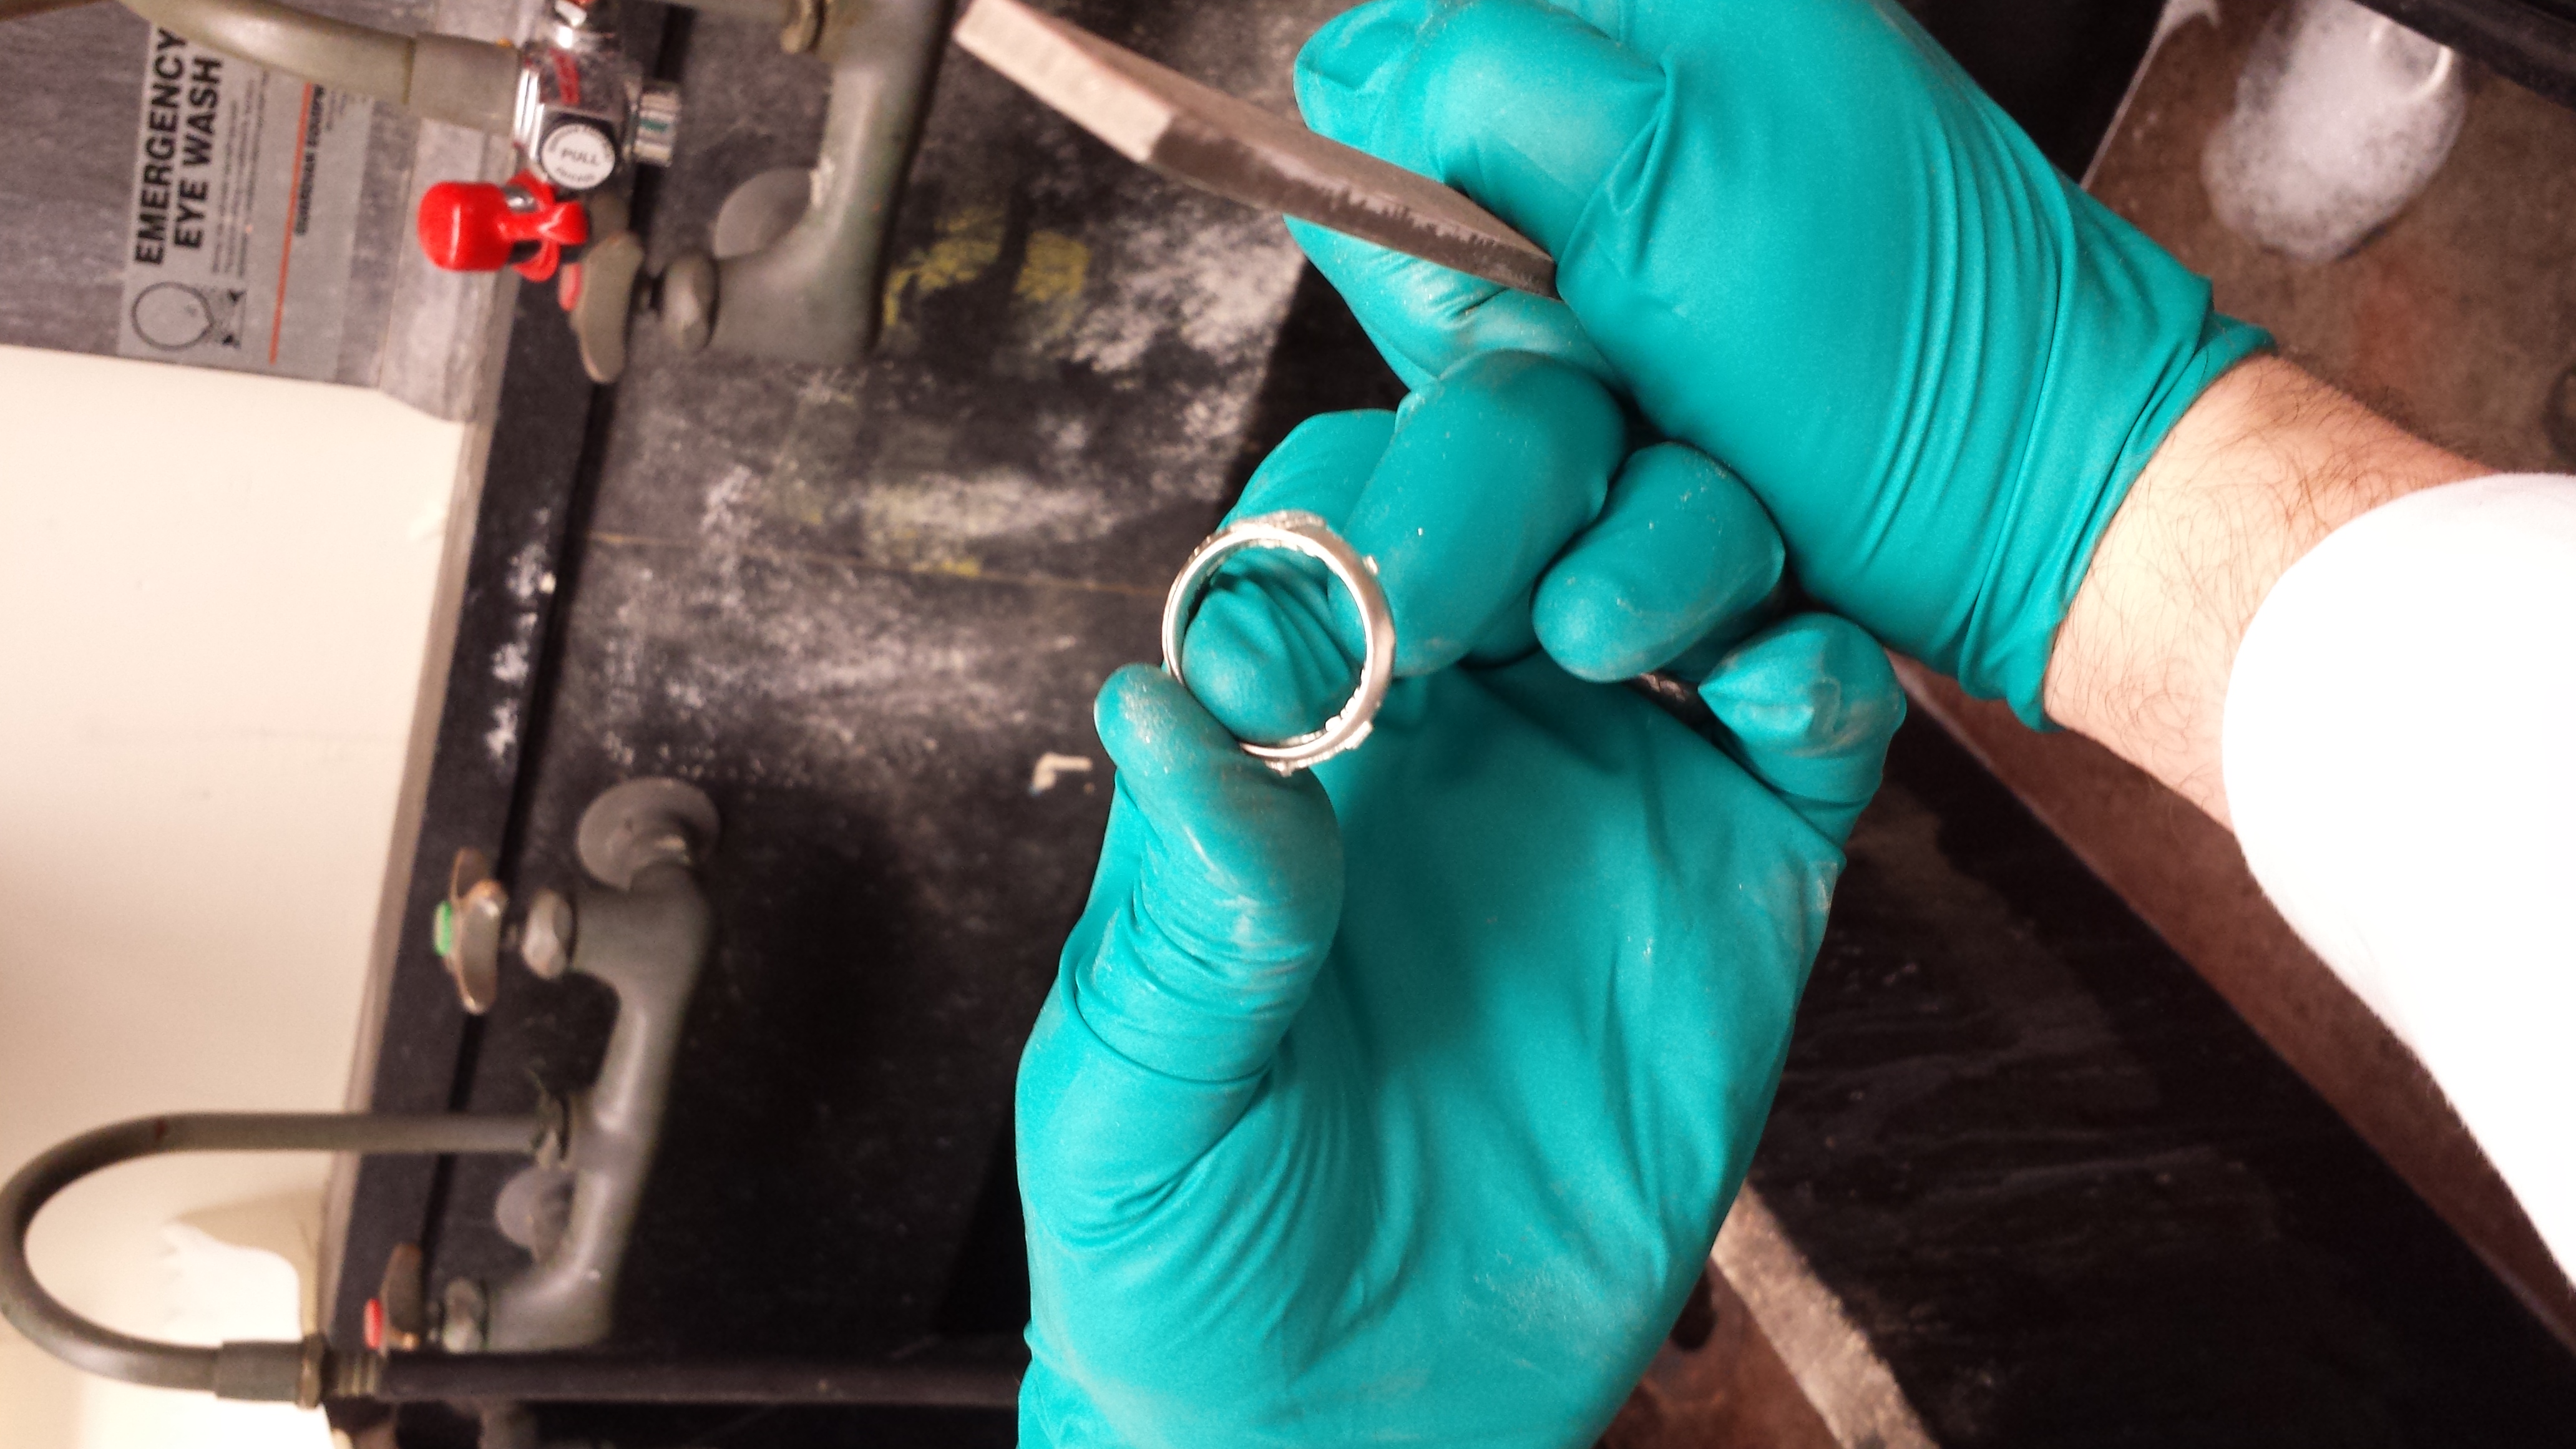
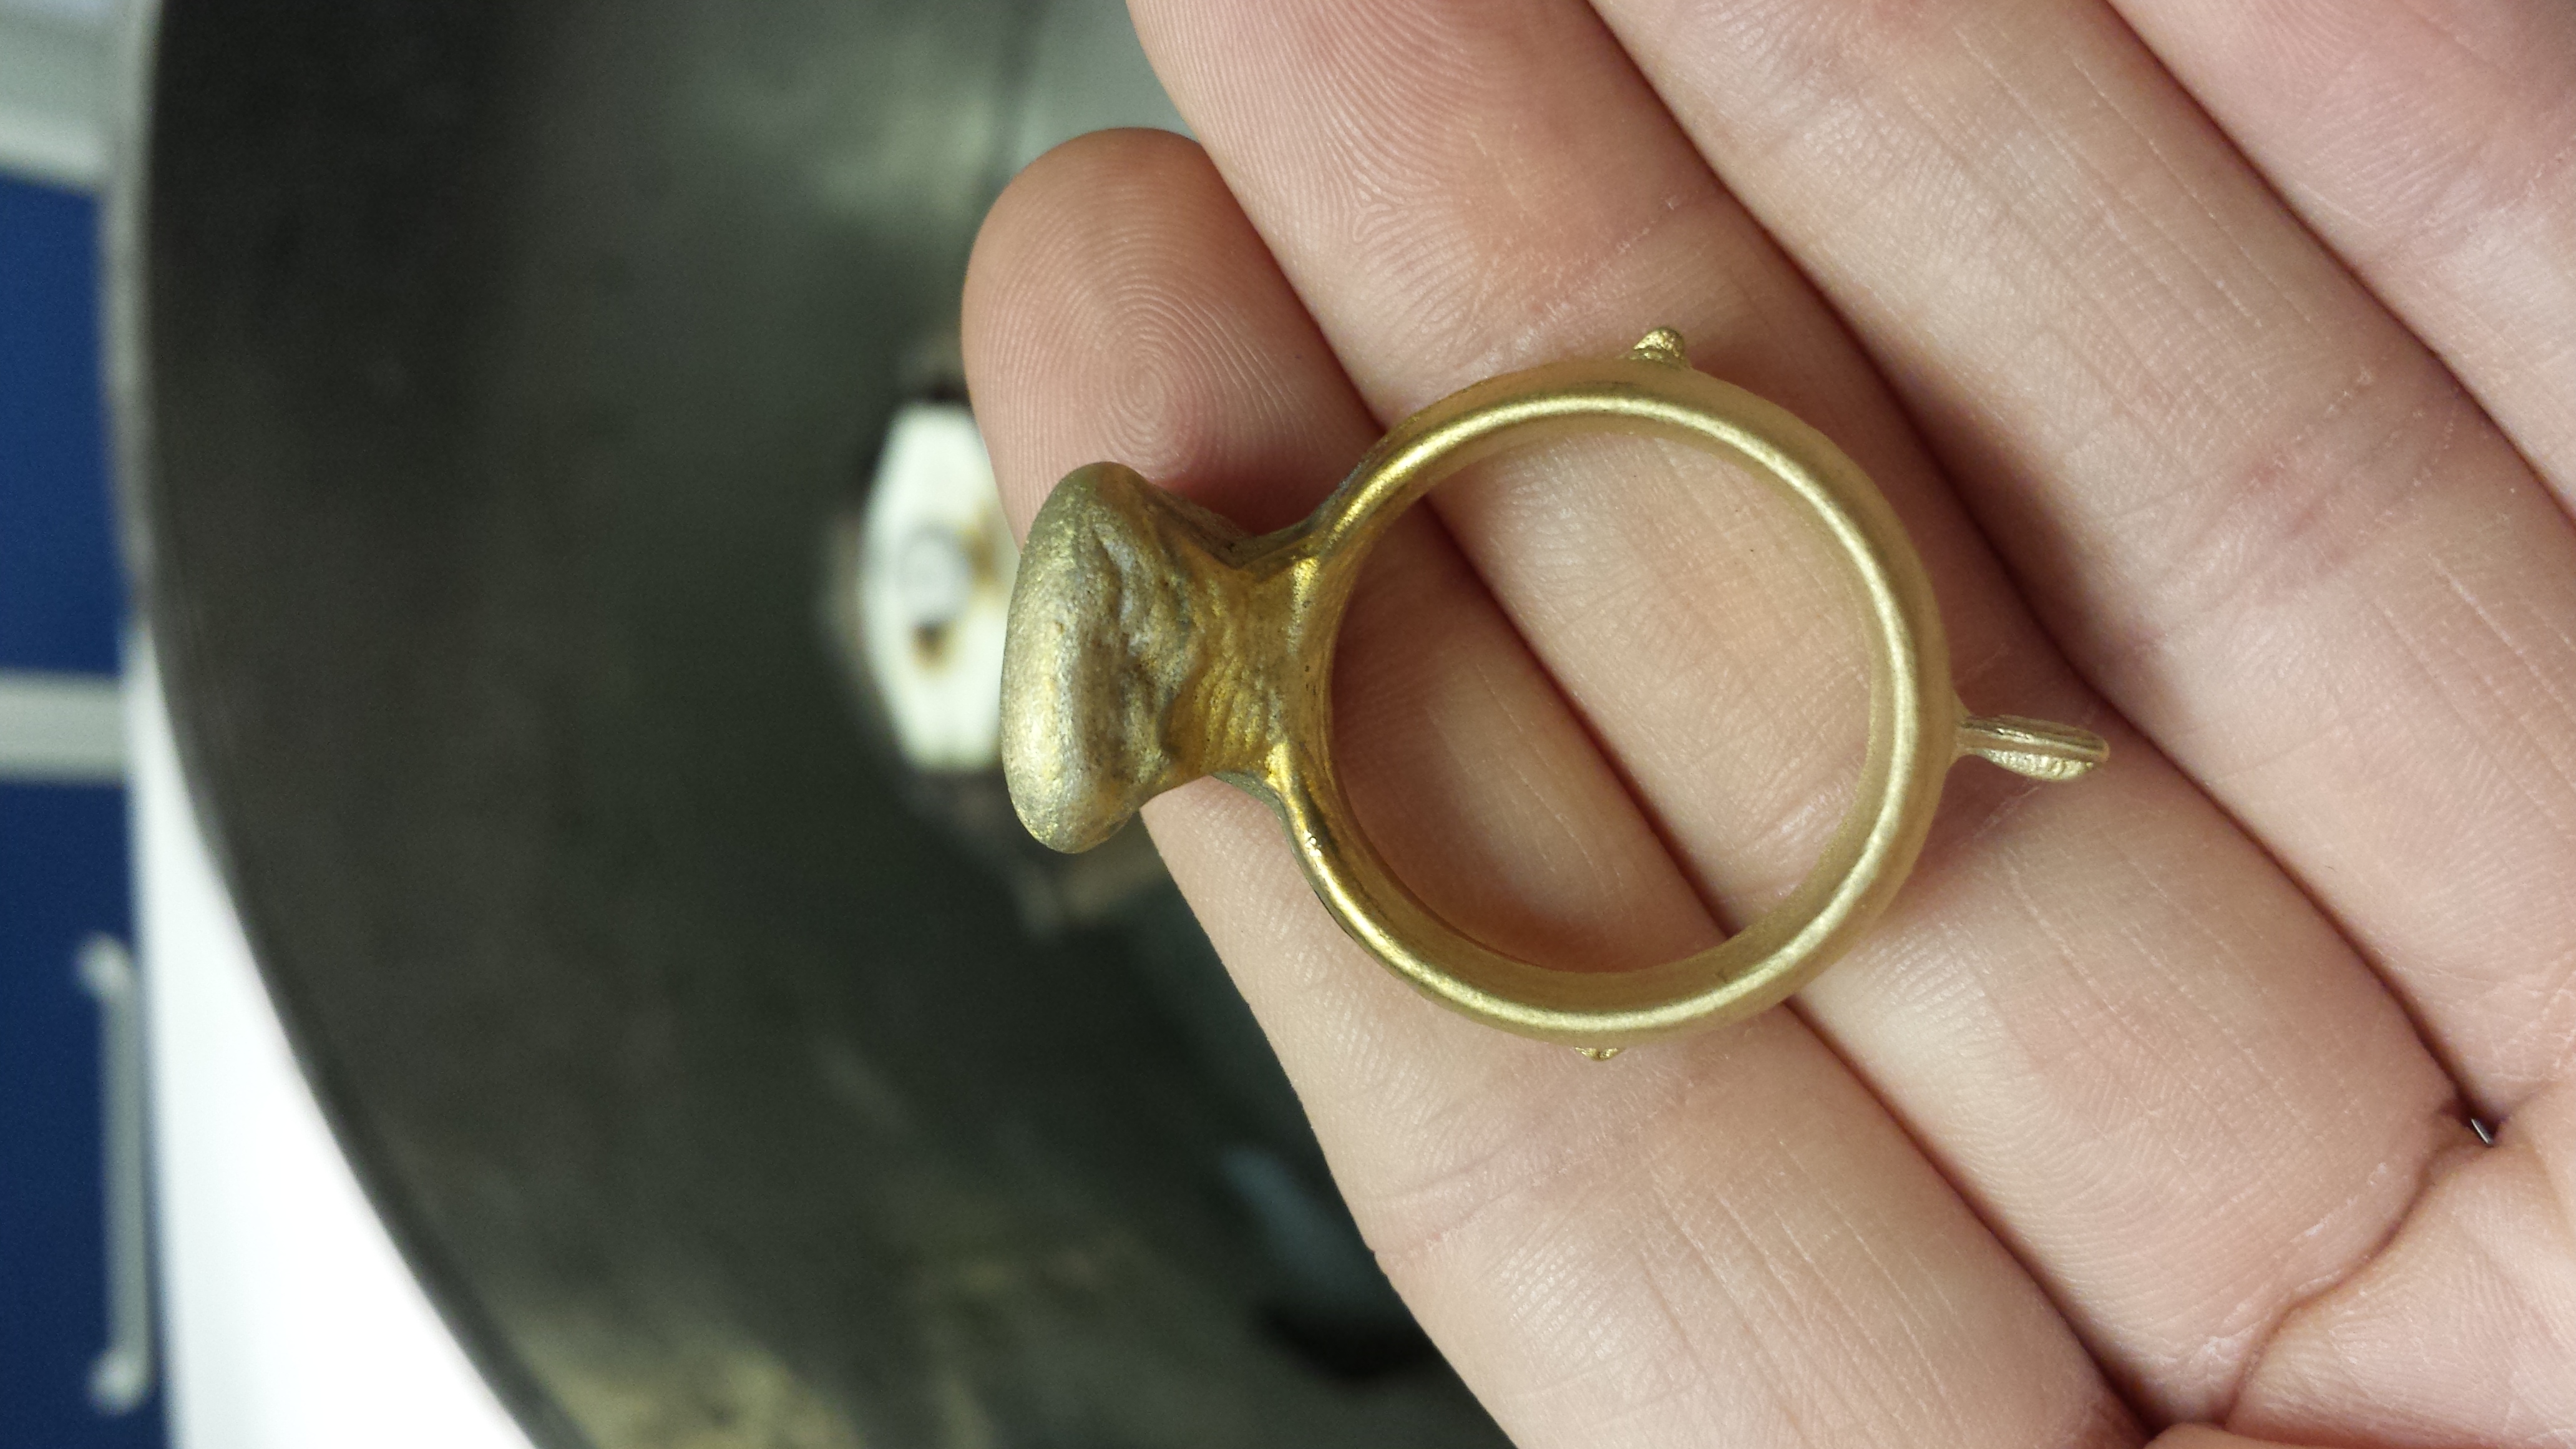
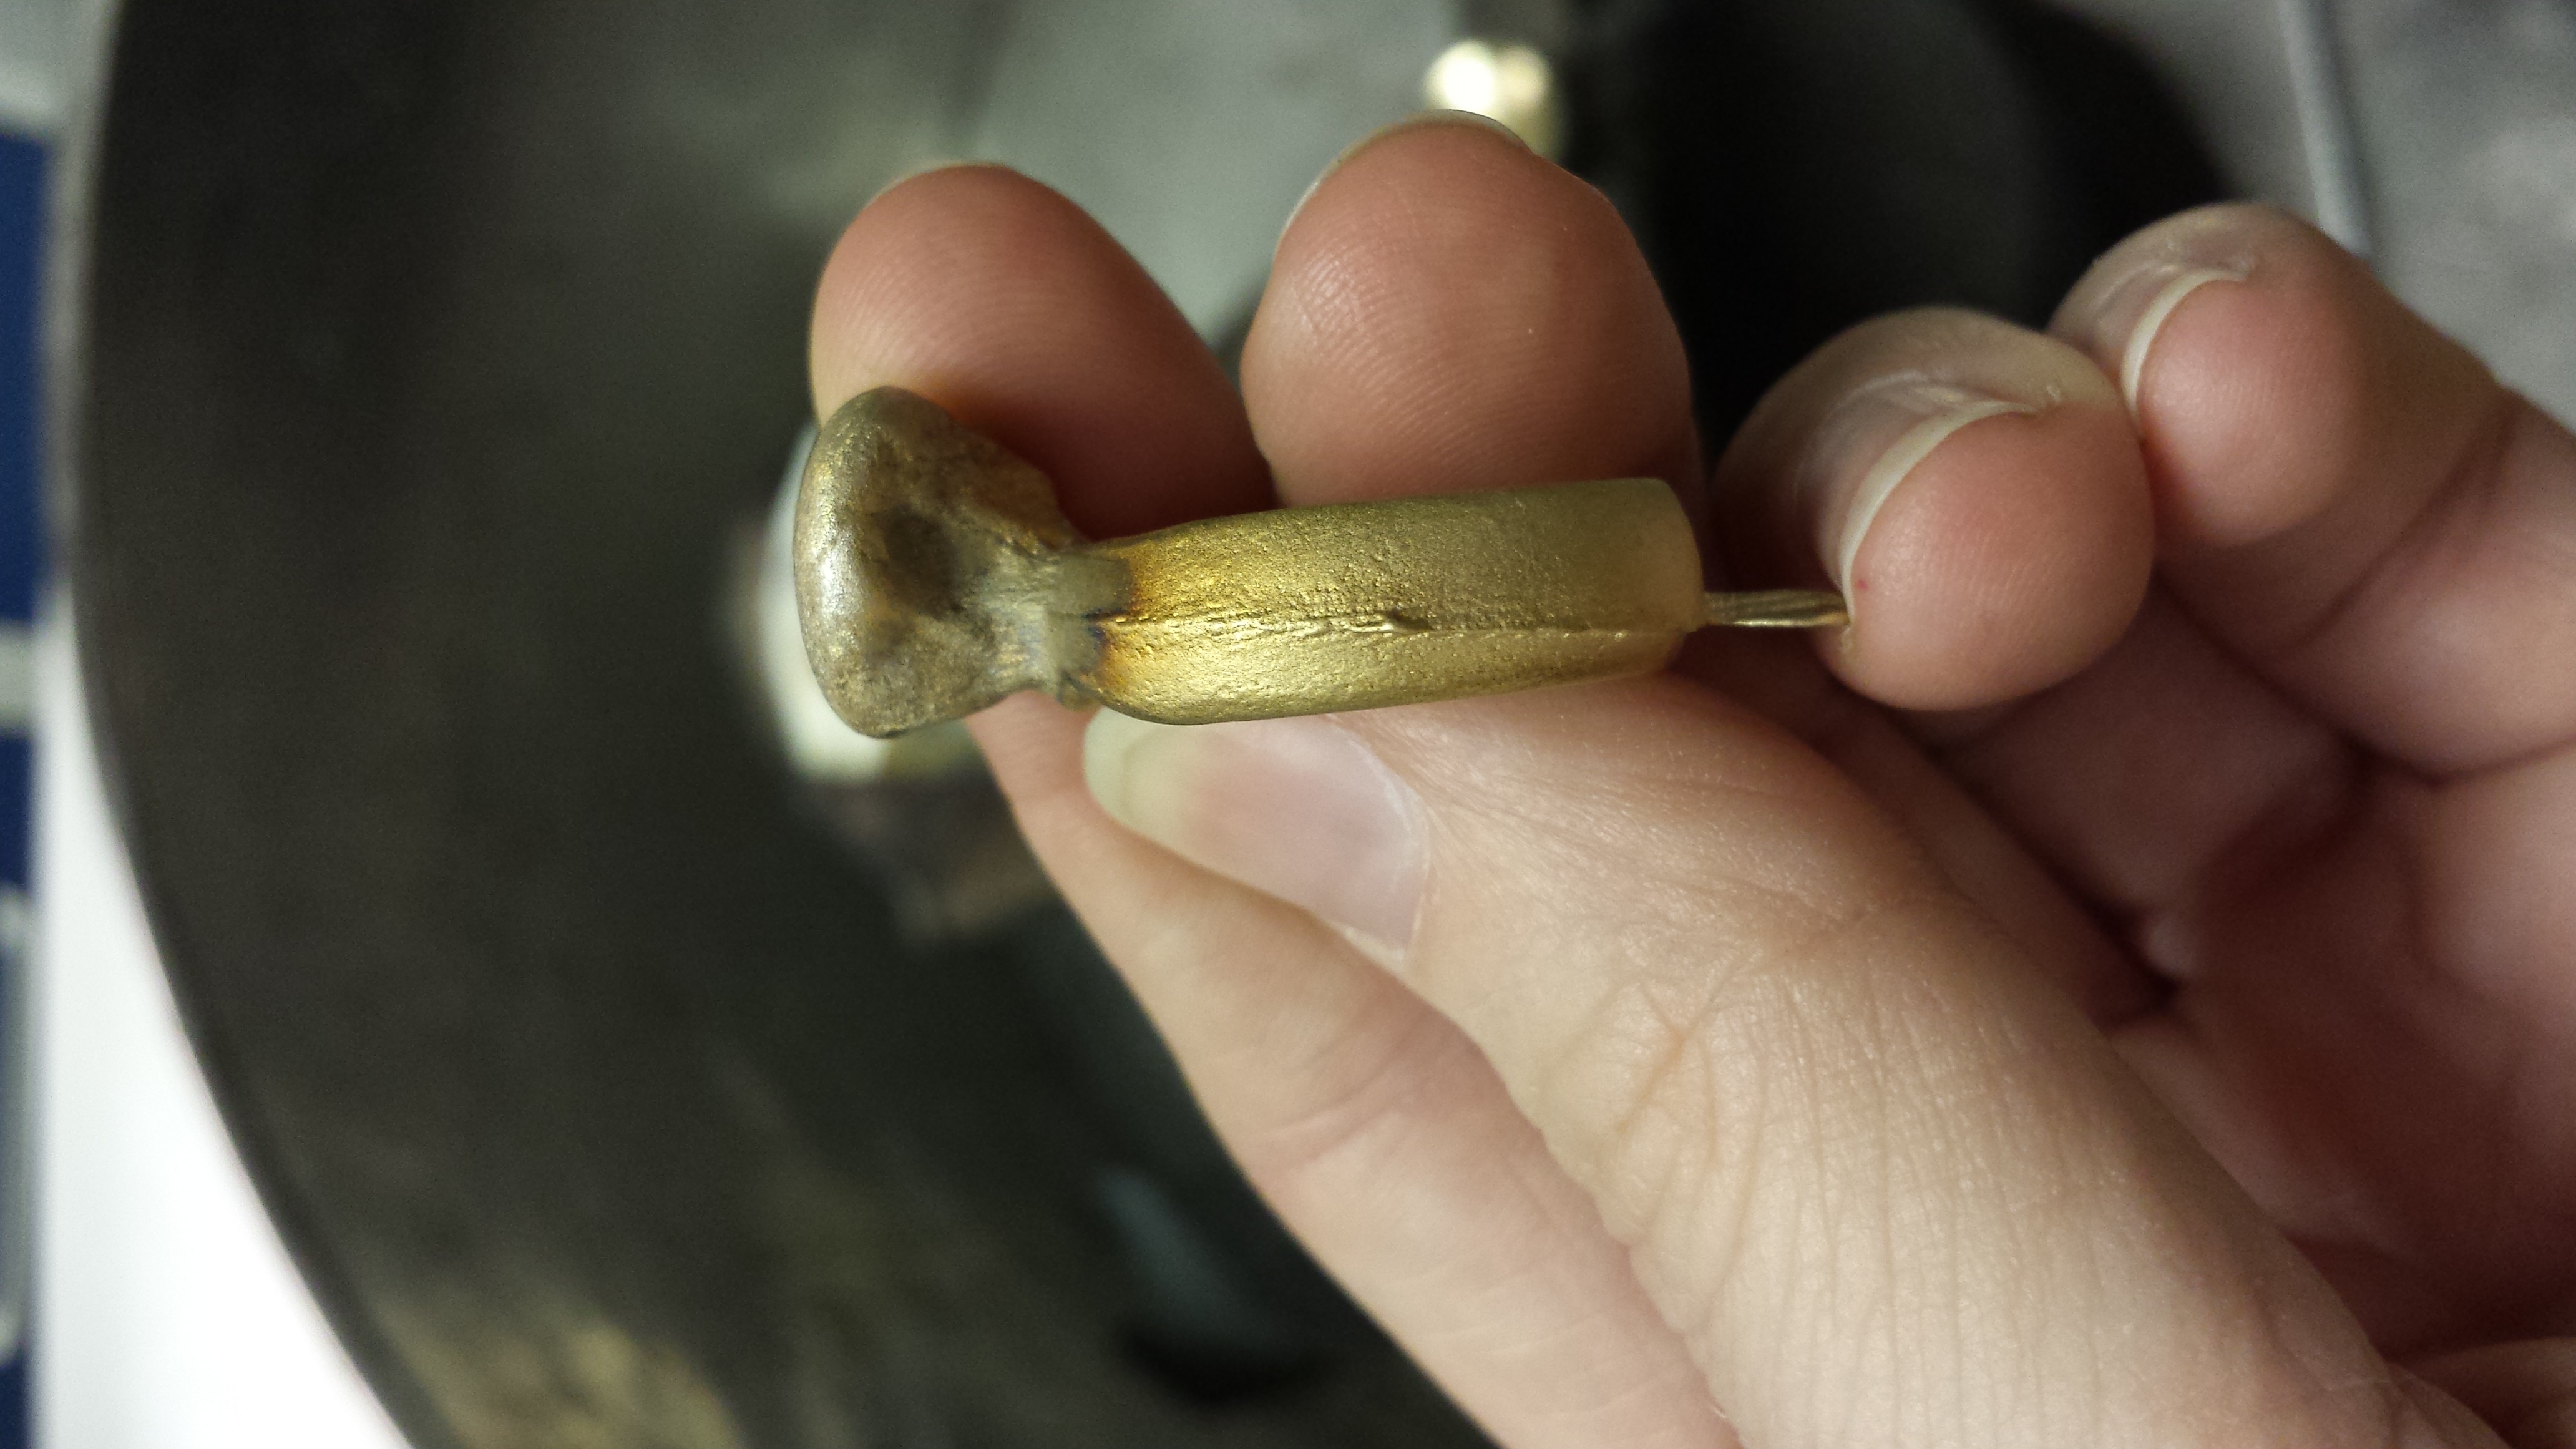
The most remarkably thing about the tin casting is the fact that the molten tin did not damage the mold AT ALL. The mold looks as good as it did when we first impressed it. It almost seems like we could pour another of the same ring directly into this mold again. Very exciting. It's no wonder that the maker says cuttle is ideal for casting lead...tin and lead have similar melting points and obviously if it doesn't even burn the bone at all, much labor is saved by being able to use the same mold for multiple casts. We have developed a suspicion that this is what is meant by "comes out clean" in our recipe. So the hypothesis is that the gold, when we cast it, will burn the bone and ruin the mold, hence not coming out clean. This is confirmed by Donna's experience attempting to cast silver in a cuttle mold, but we will try it out with gold and see.

Jef Palframan & Emily Boyd
Friday, 12/9/14, morning
Columbia U Chemistry Lab
CUTTLE BONE CASTING
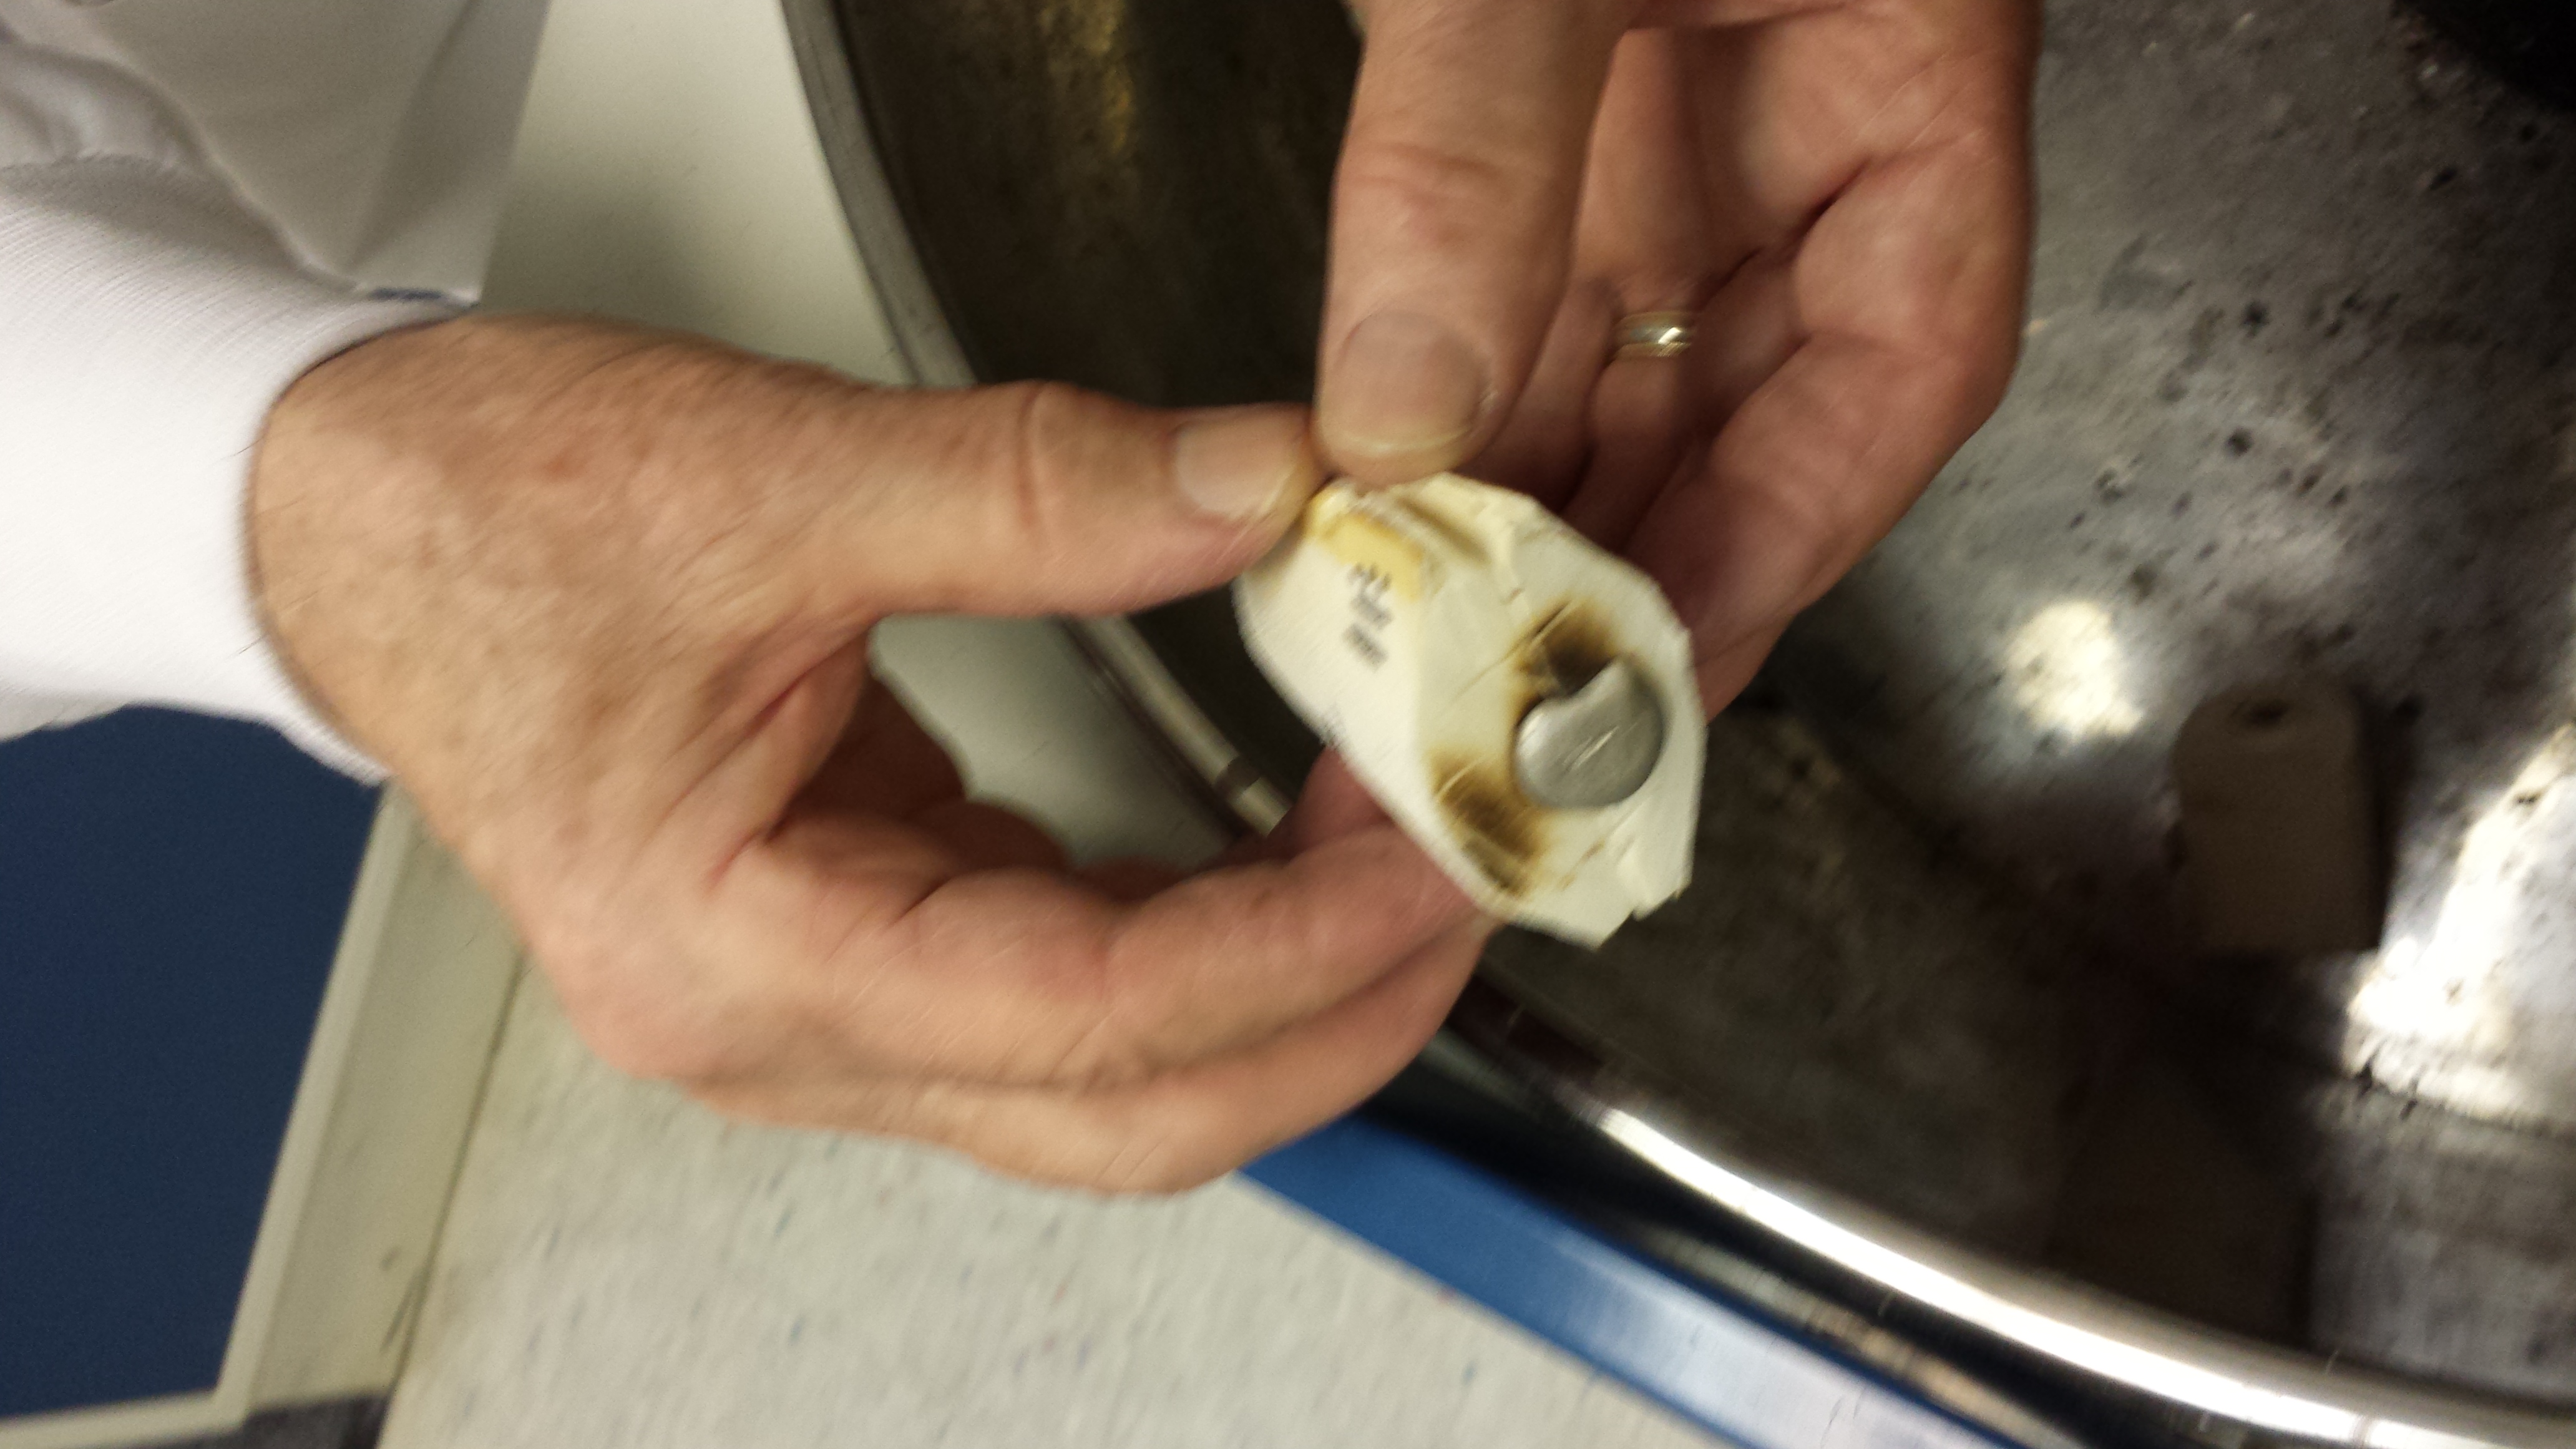
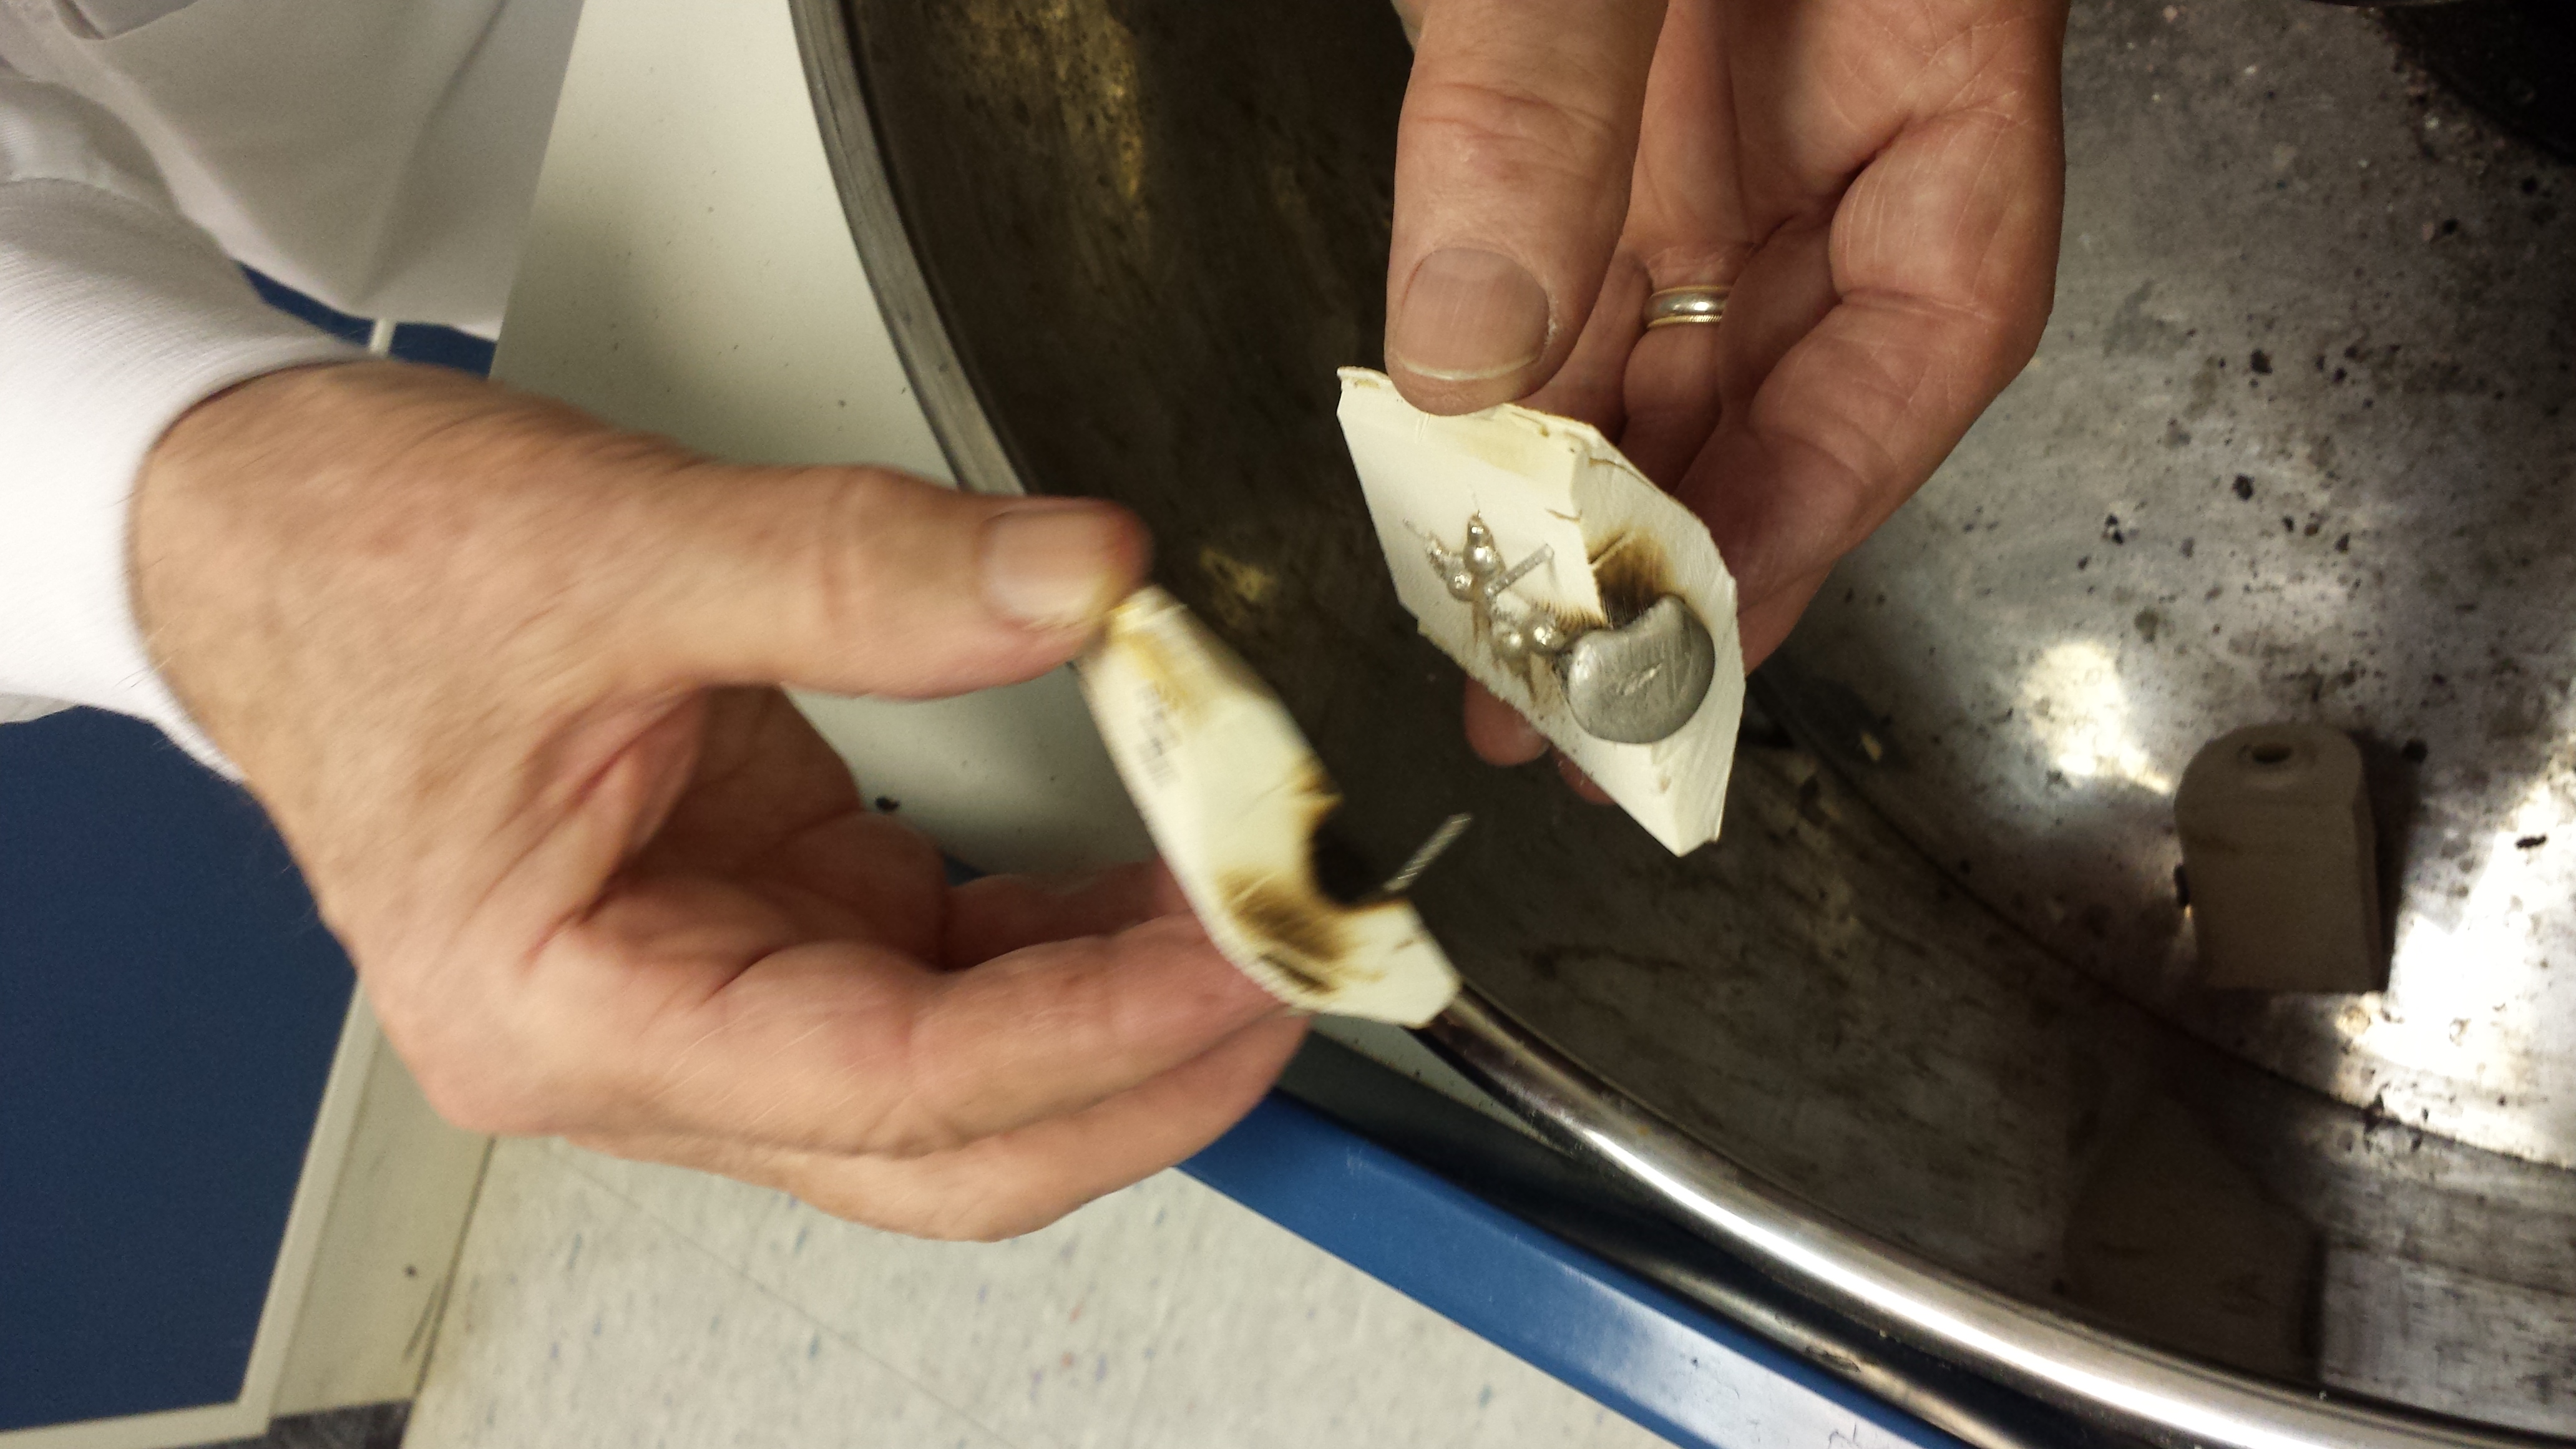
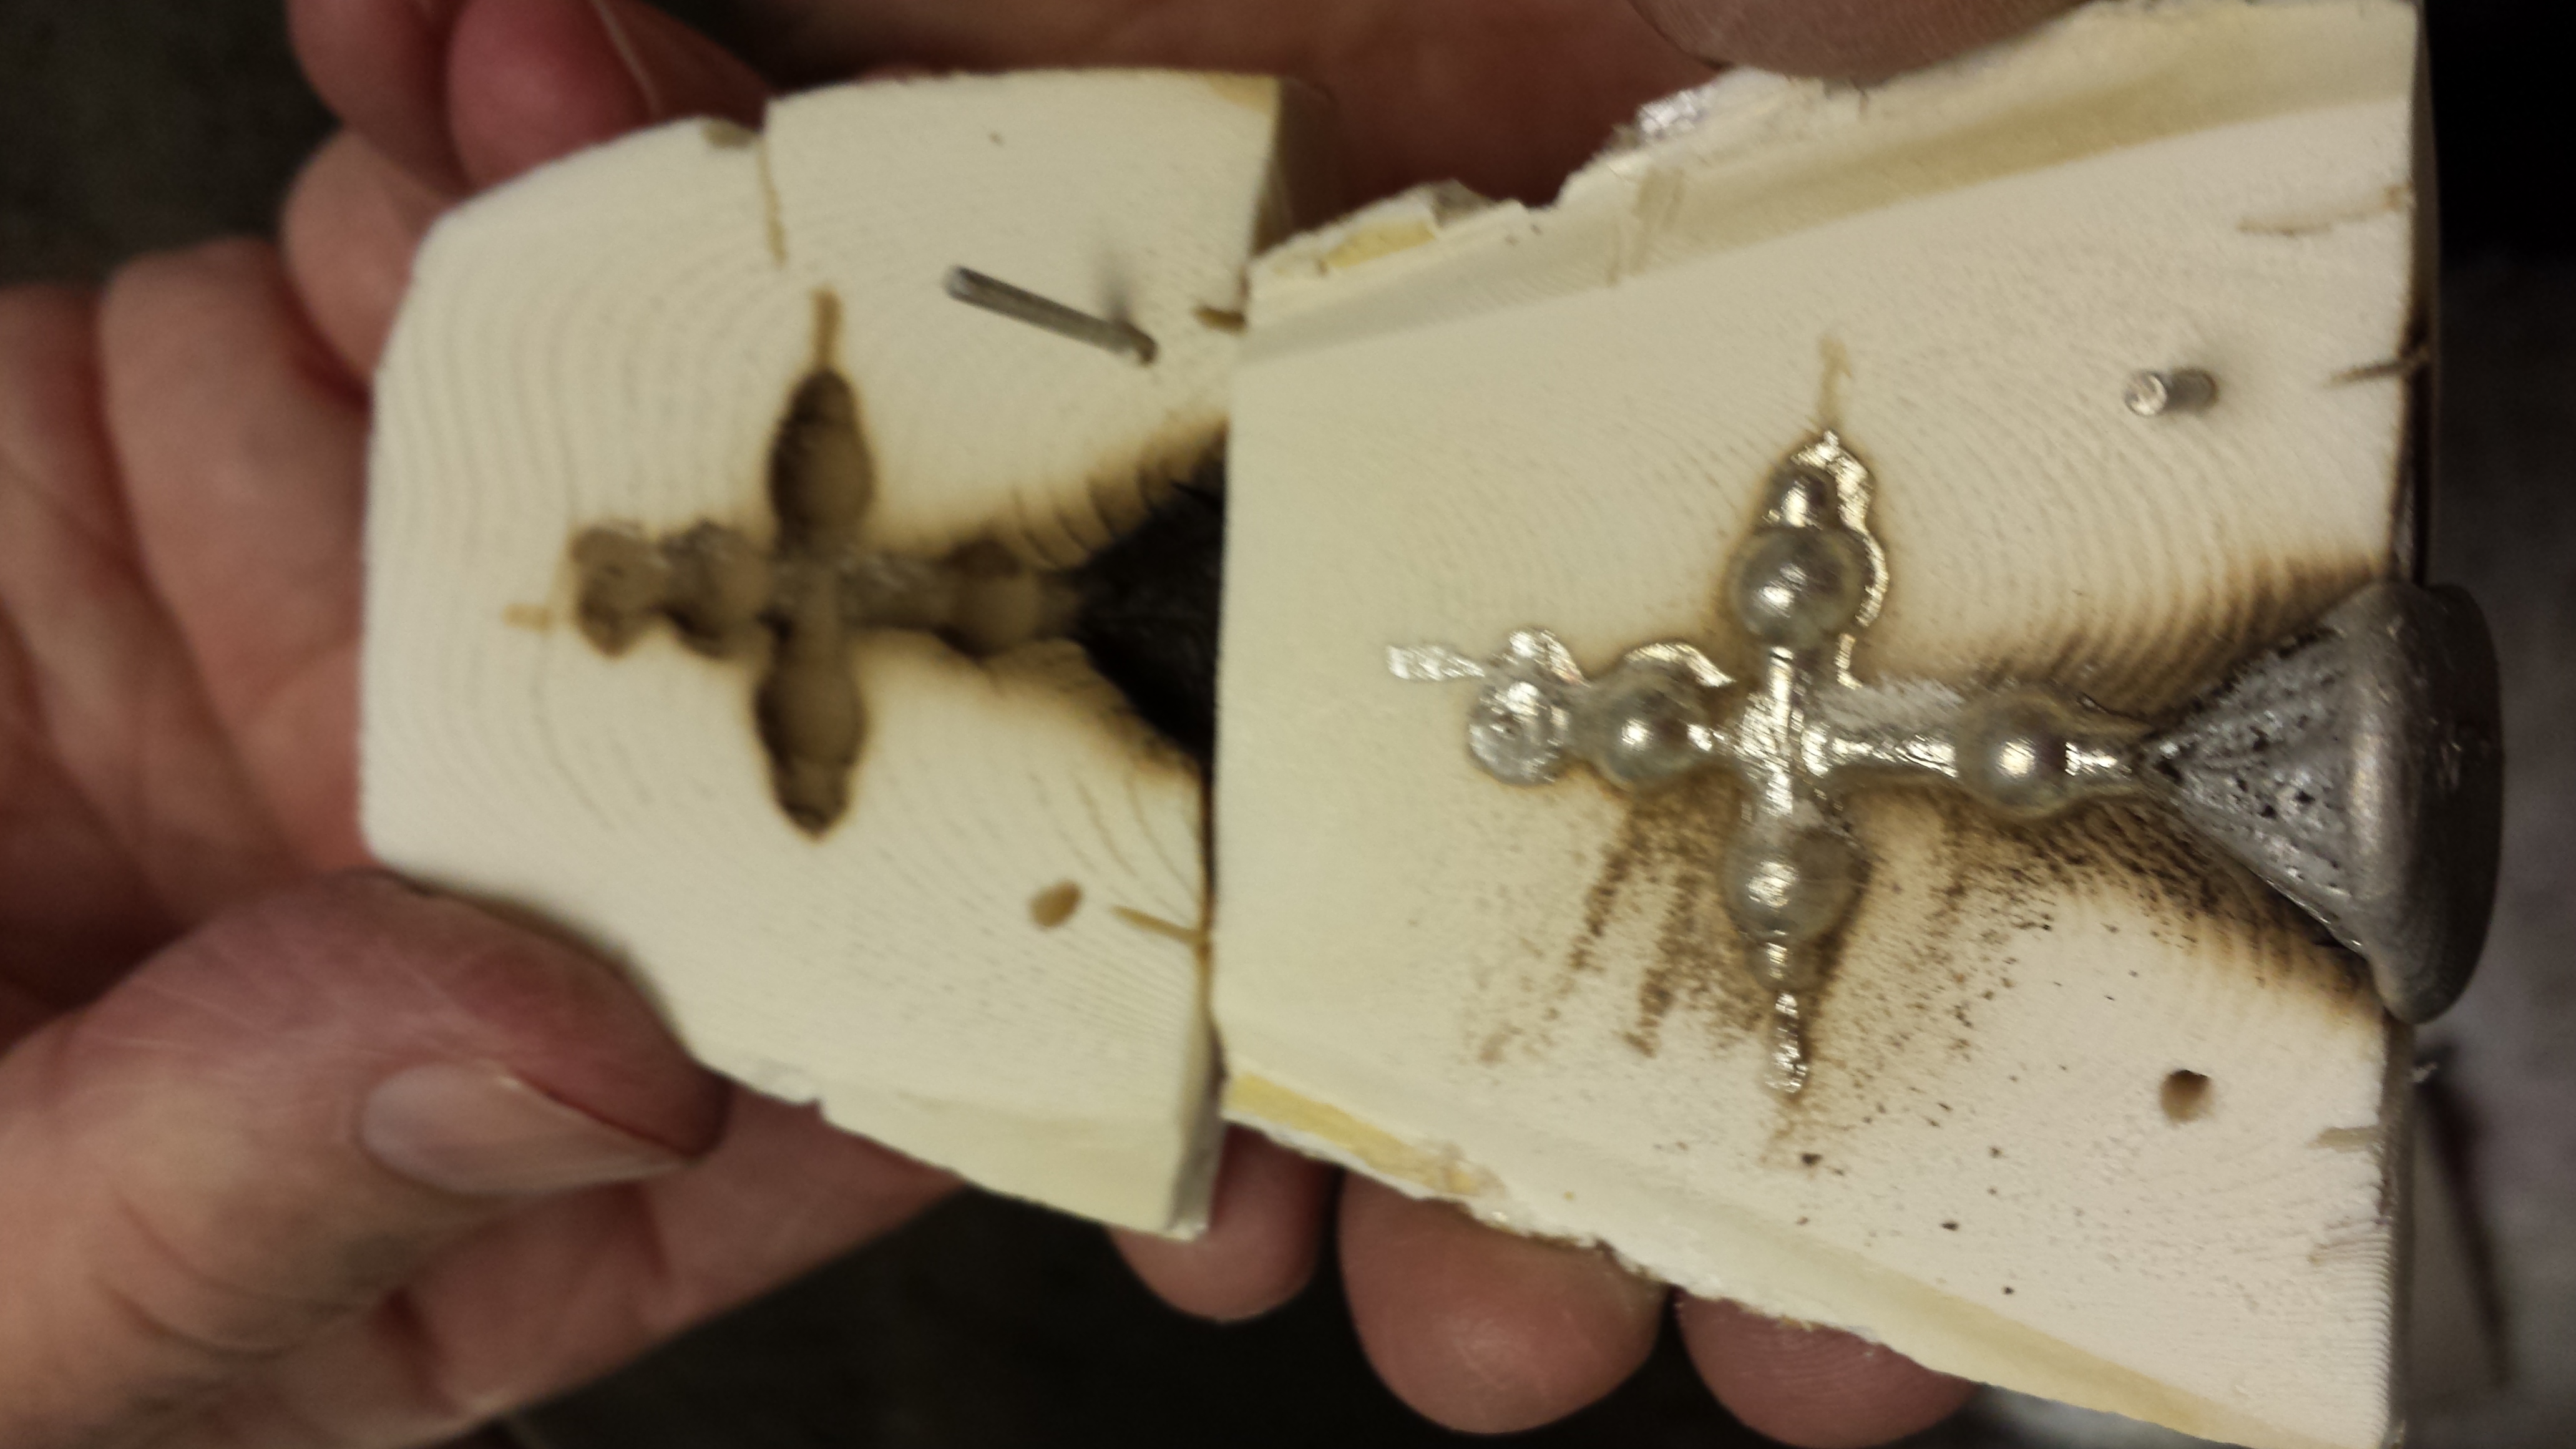
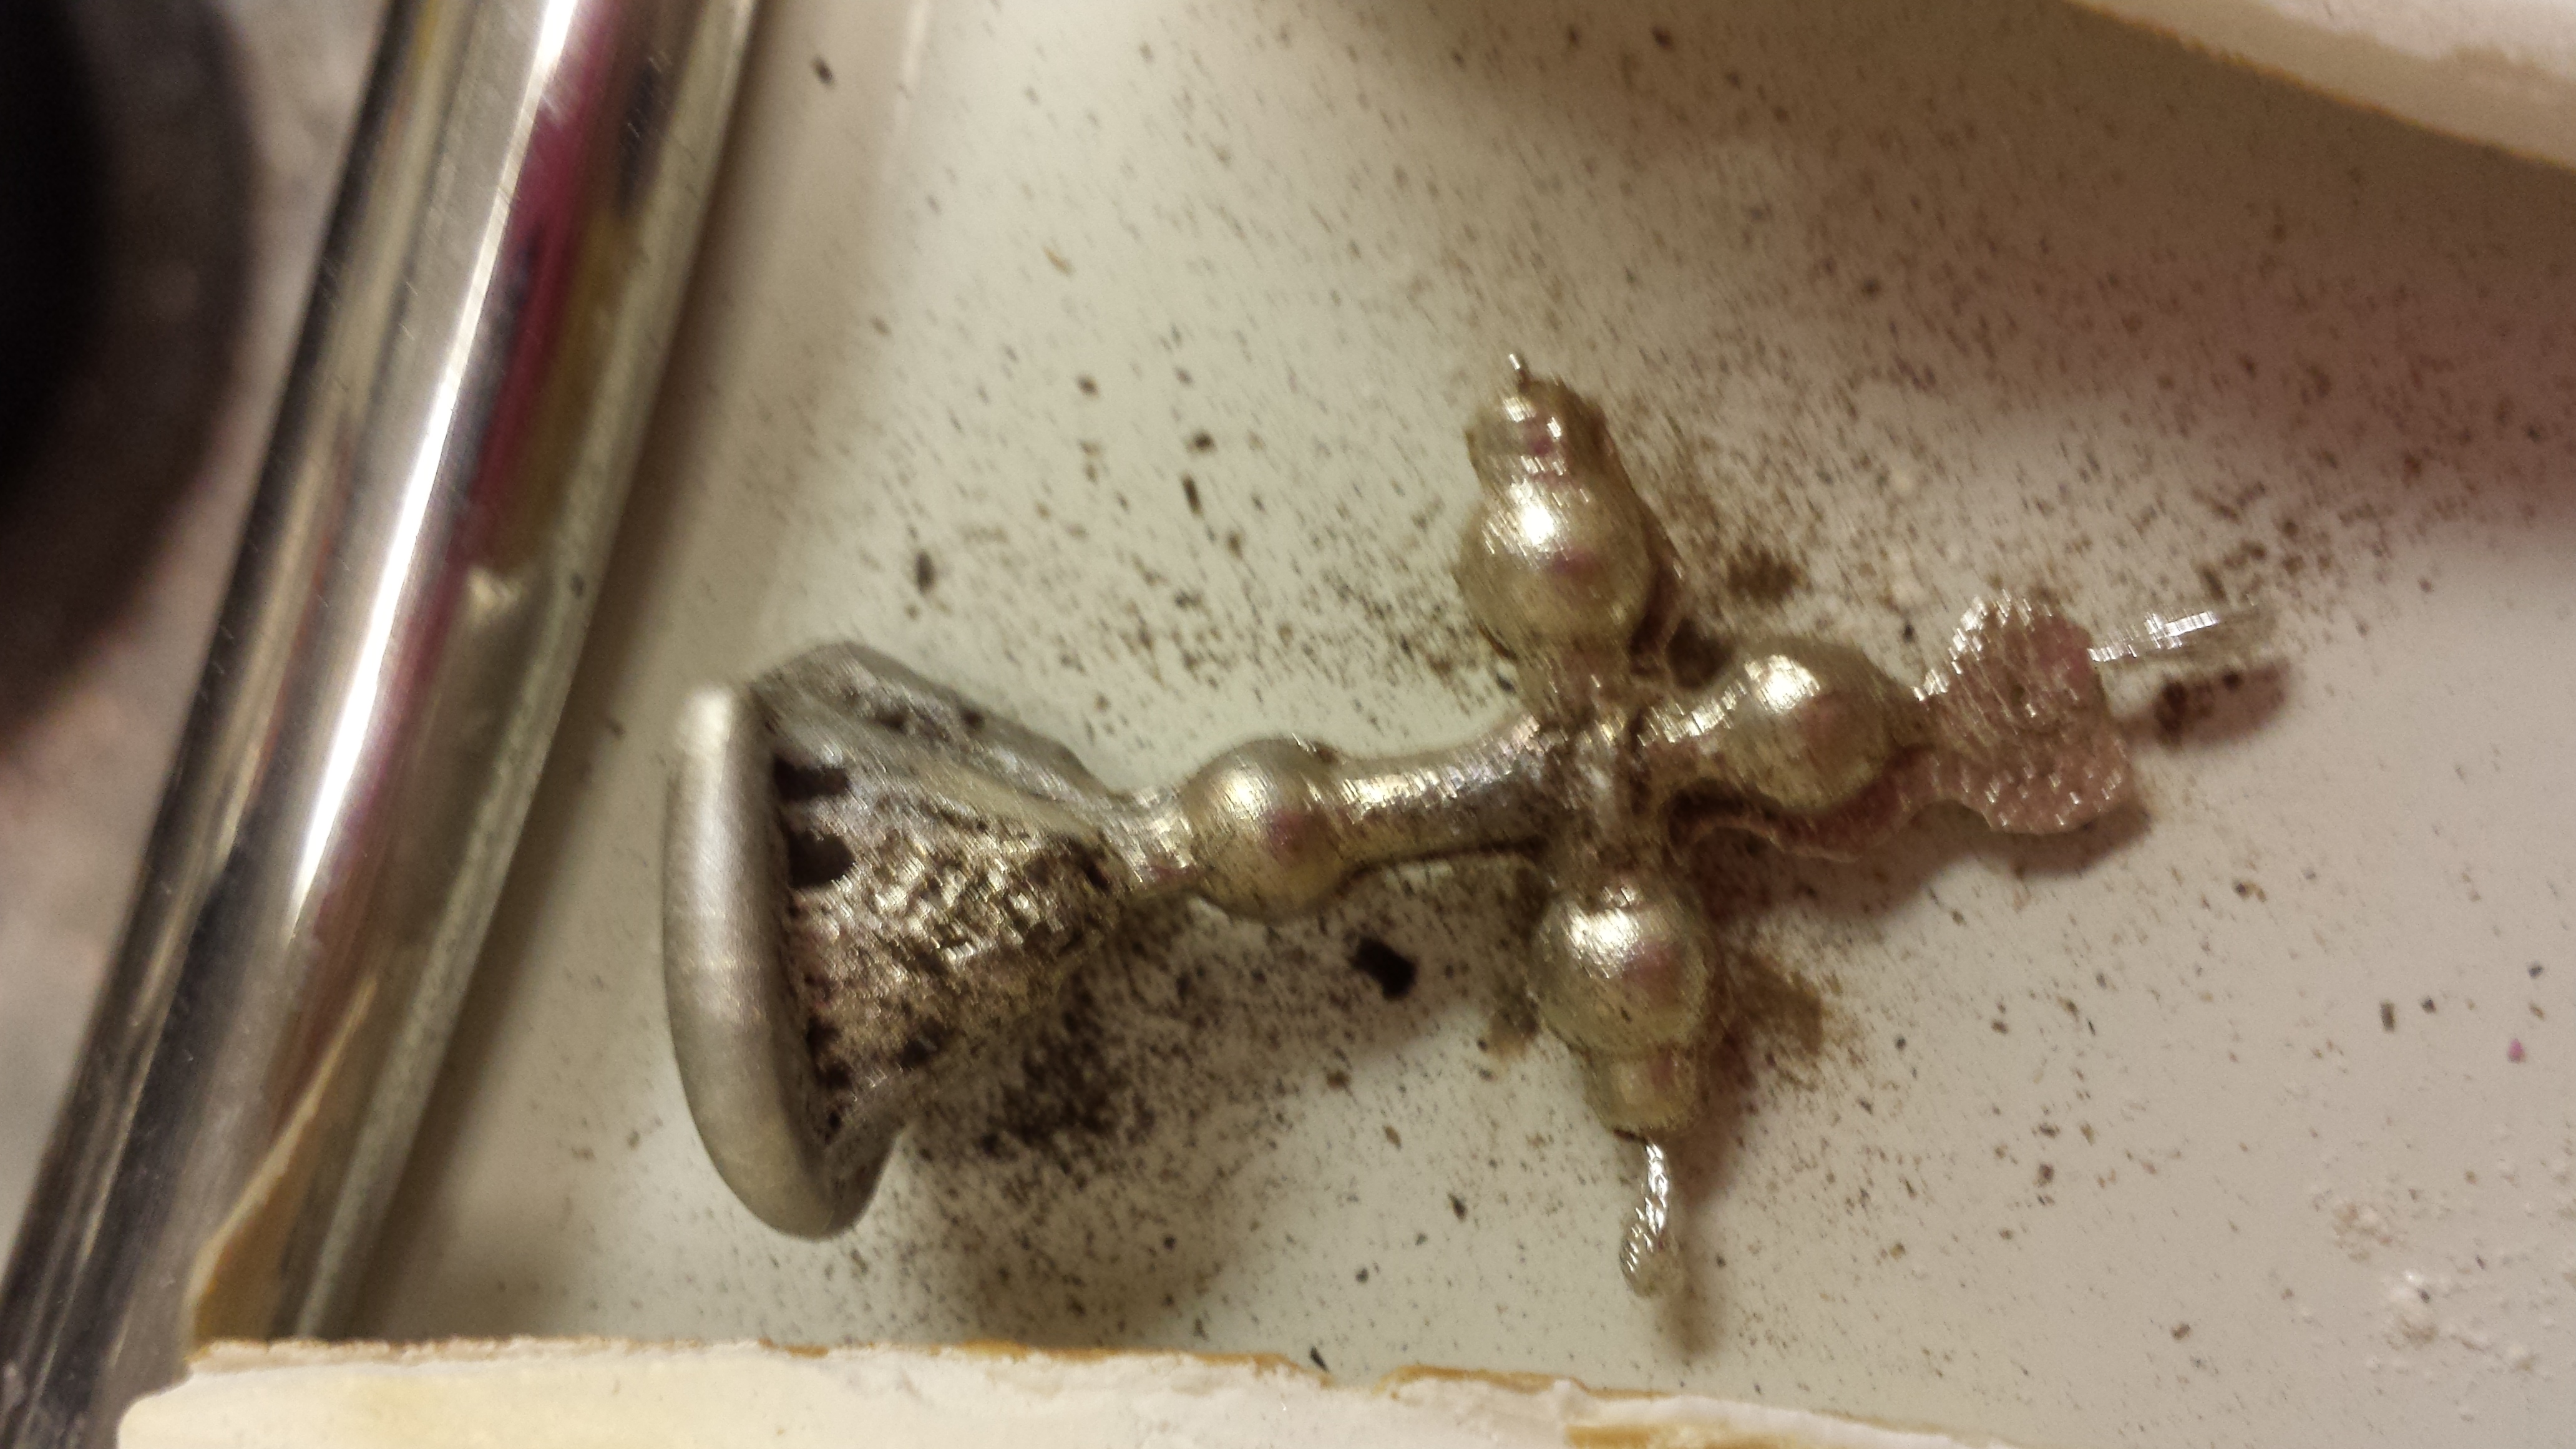
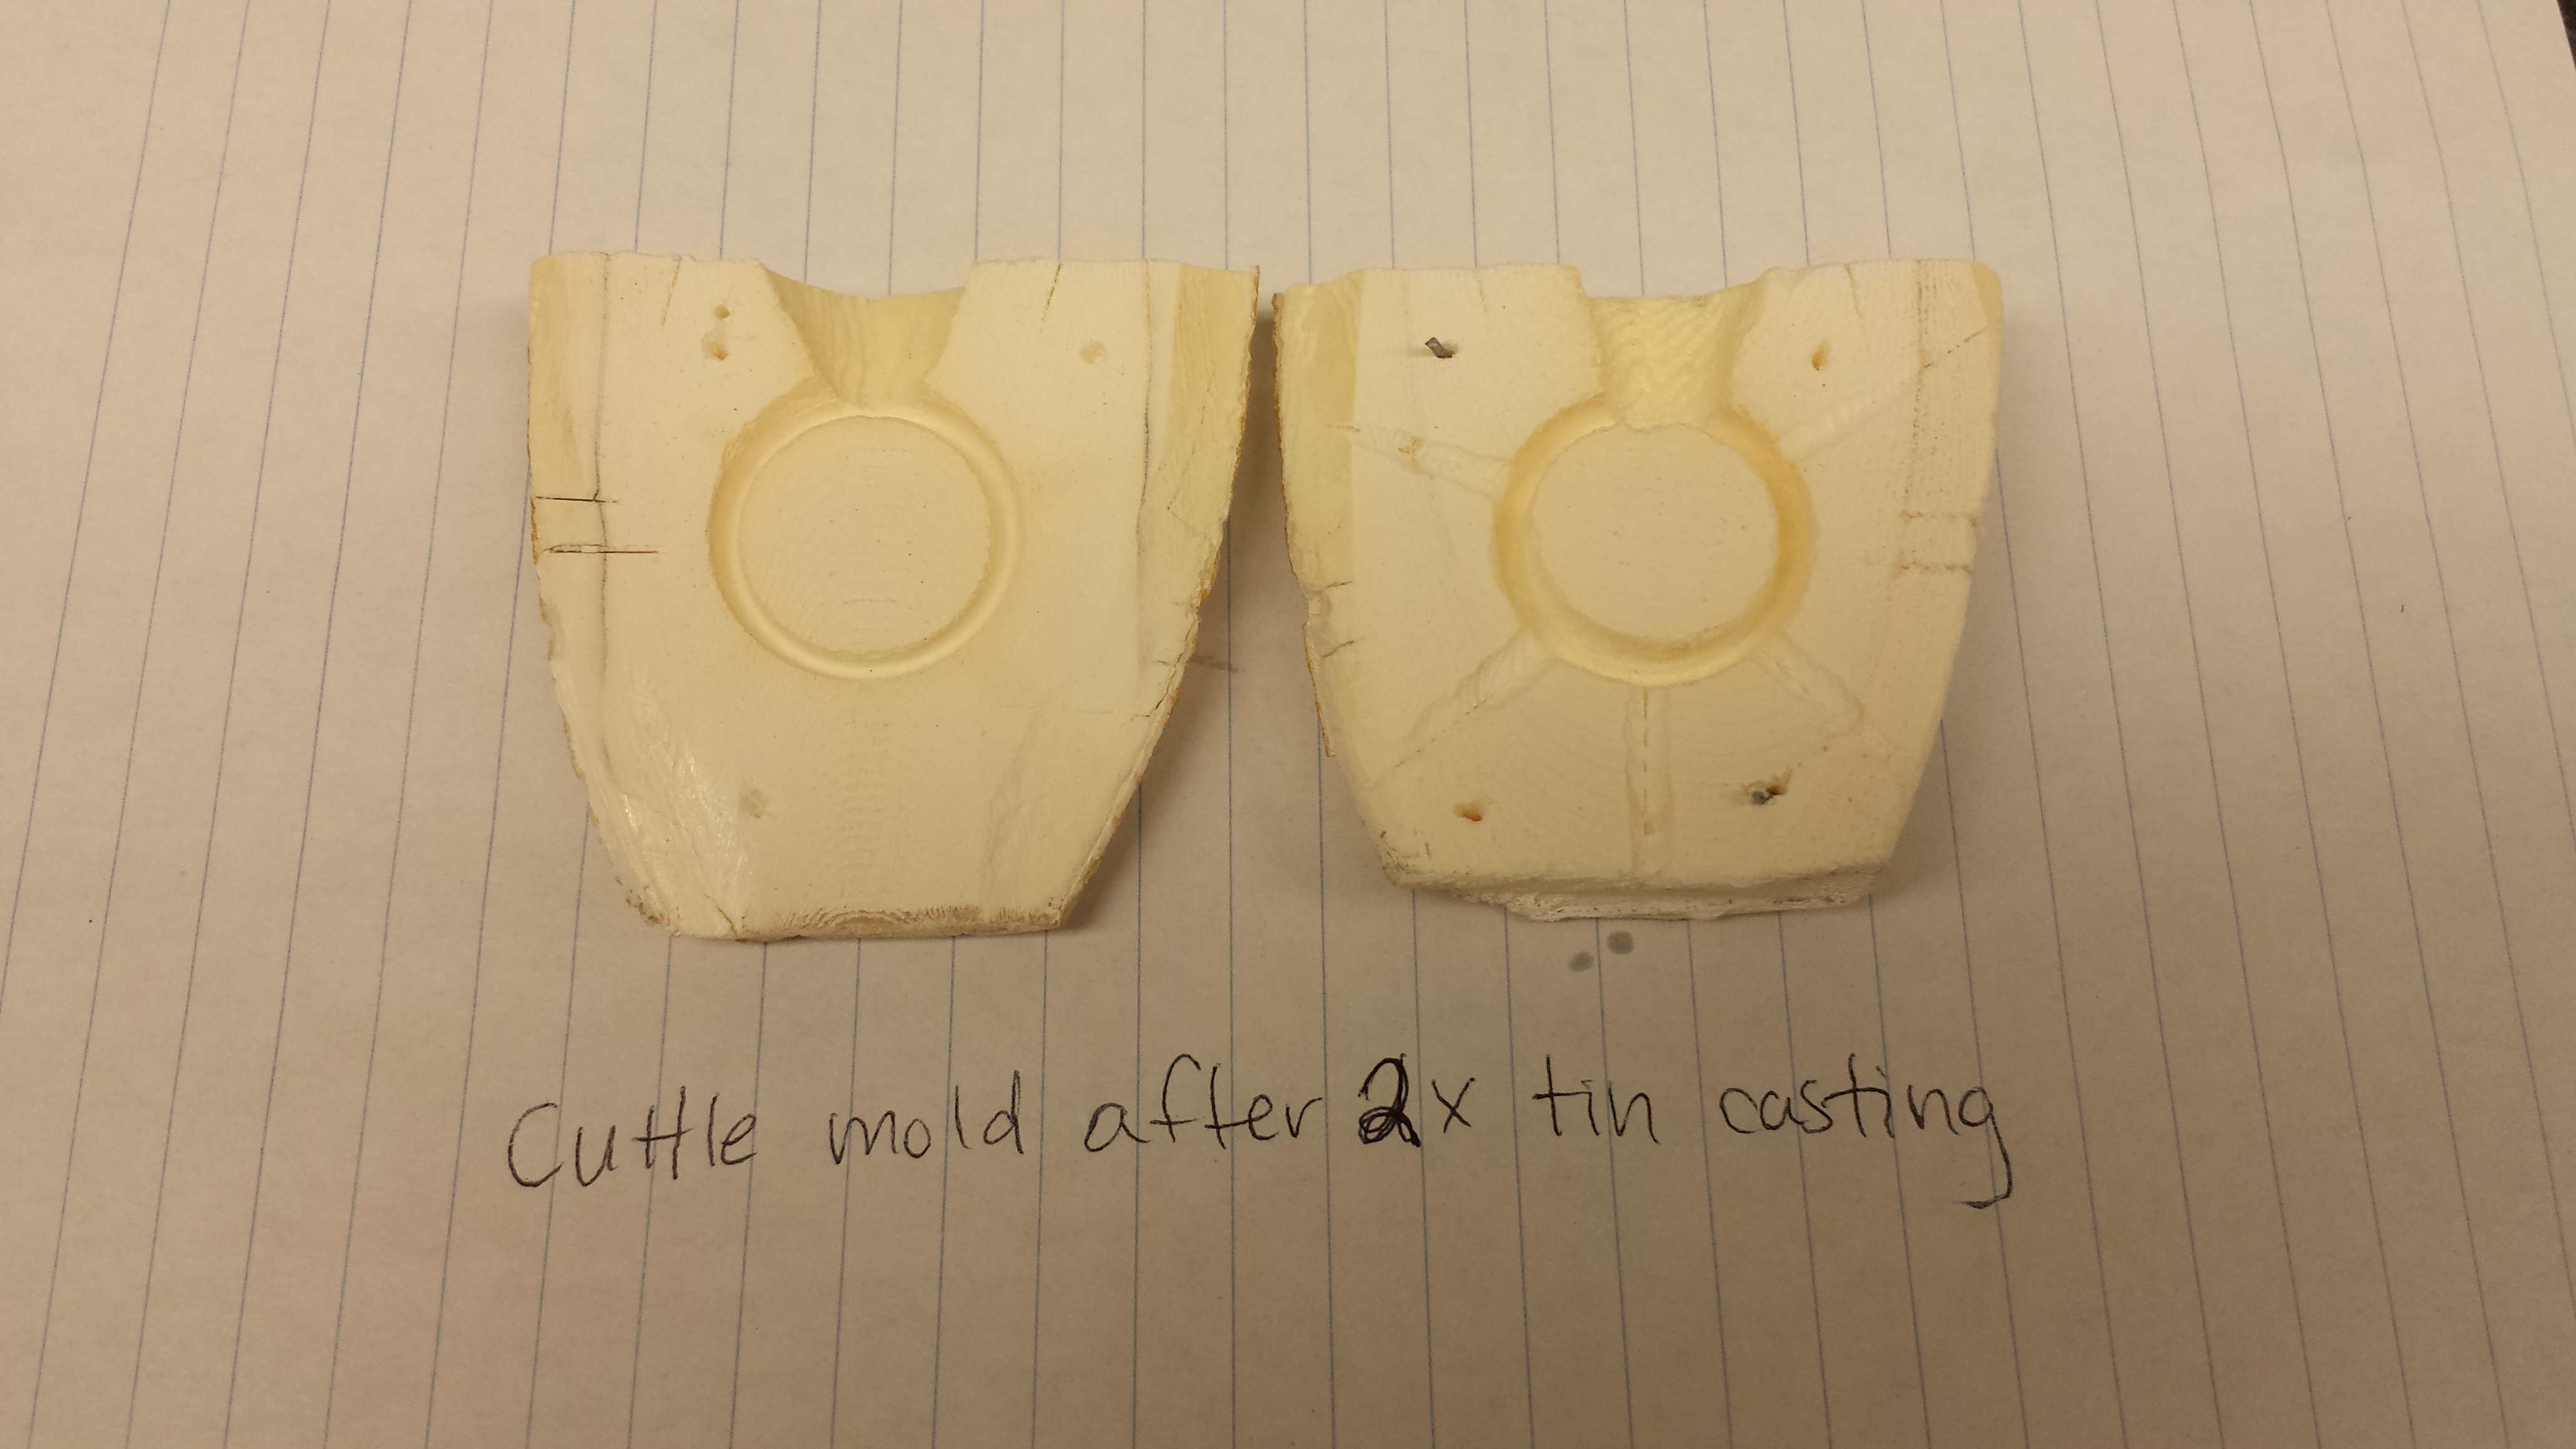
Today is the day that we will be casting in gold so we mostly spent our time today getting ready to cast. We made sure had several molds impressed and prepared, and packed up our supplies, including safety gear. We also had to see to finishing off mixing the flux with our lovely verdigris. Last, we did another cast in tin in the same mold as the one we had used last time, just to see if the mold had become degraded. It appeared that it hadn't, and we took an excellent second cast.

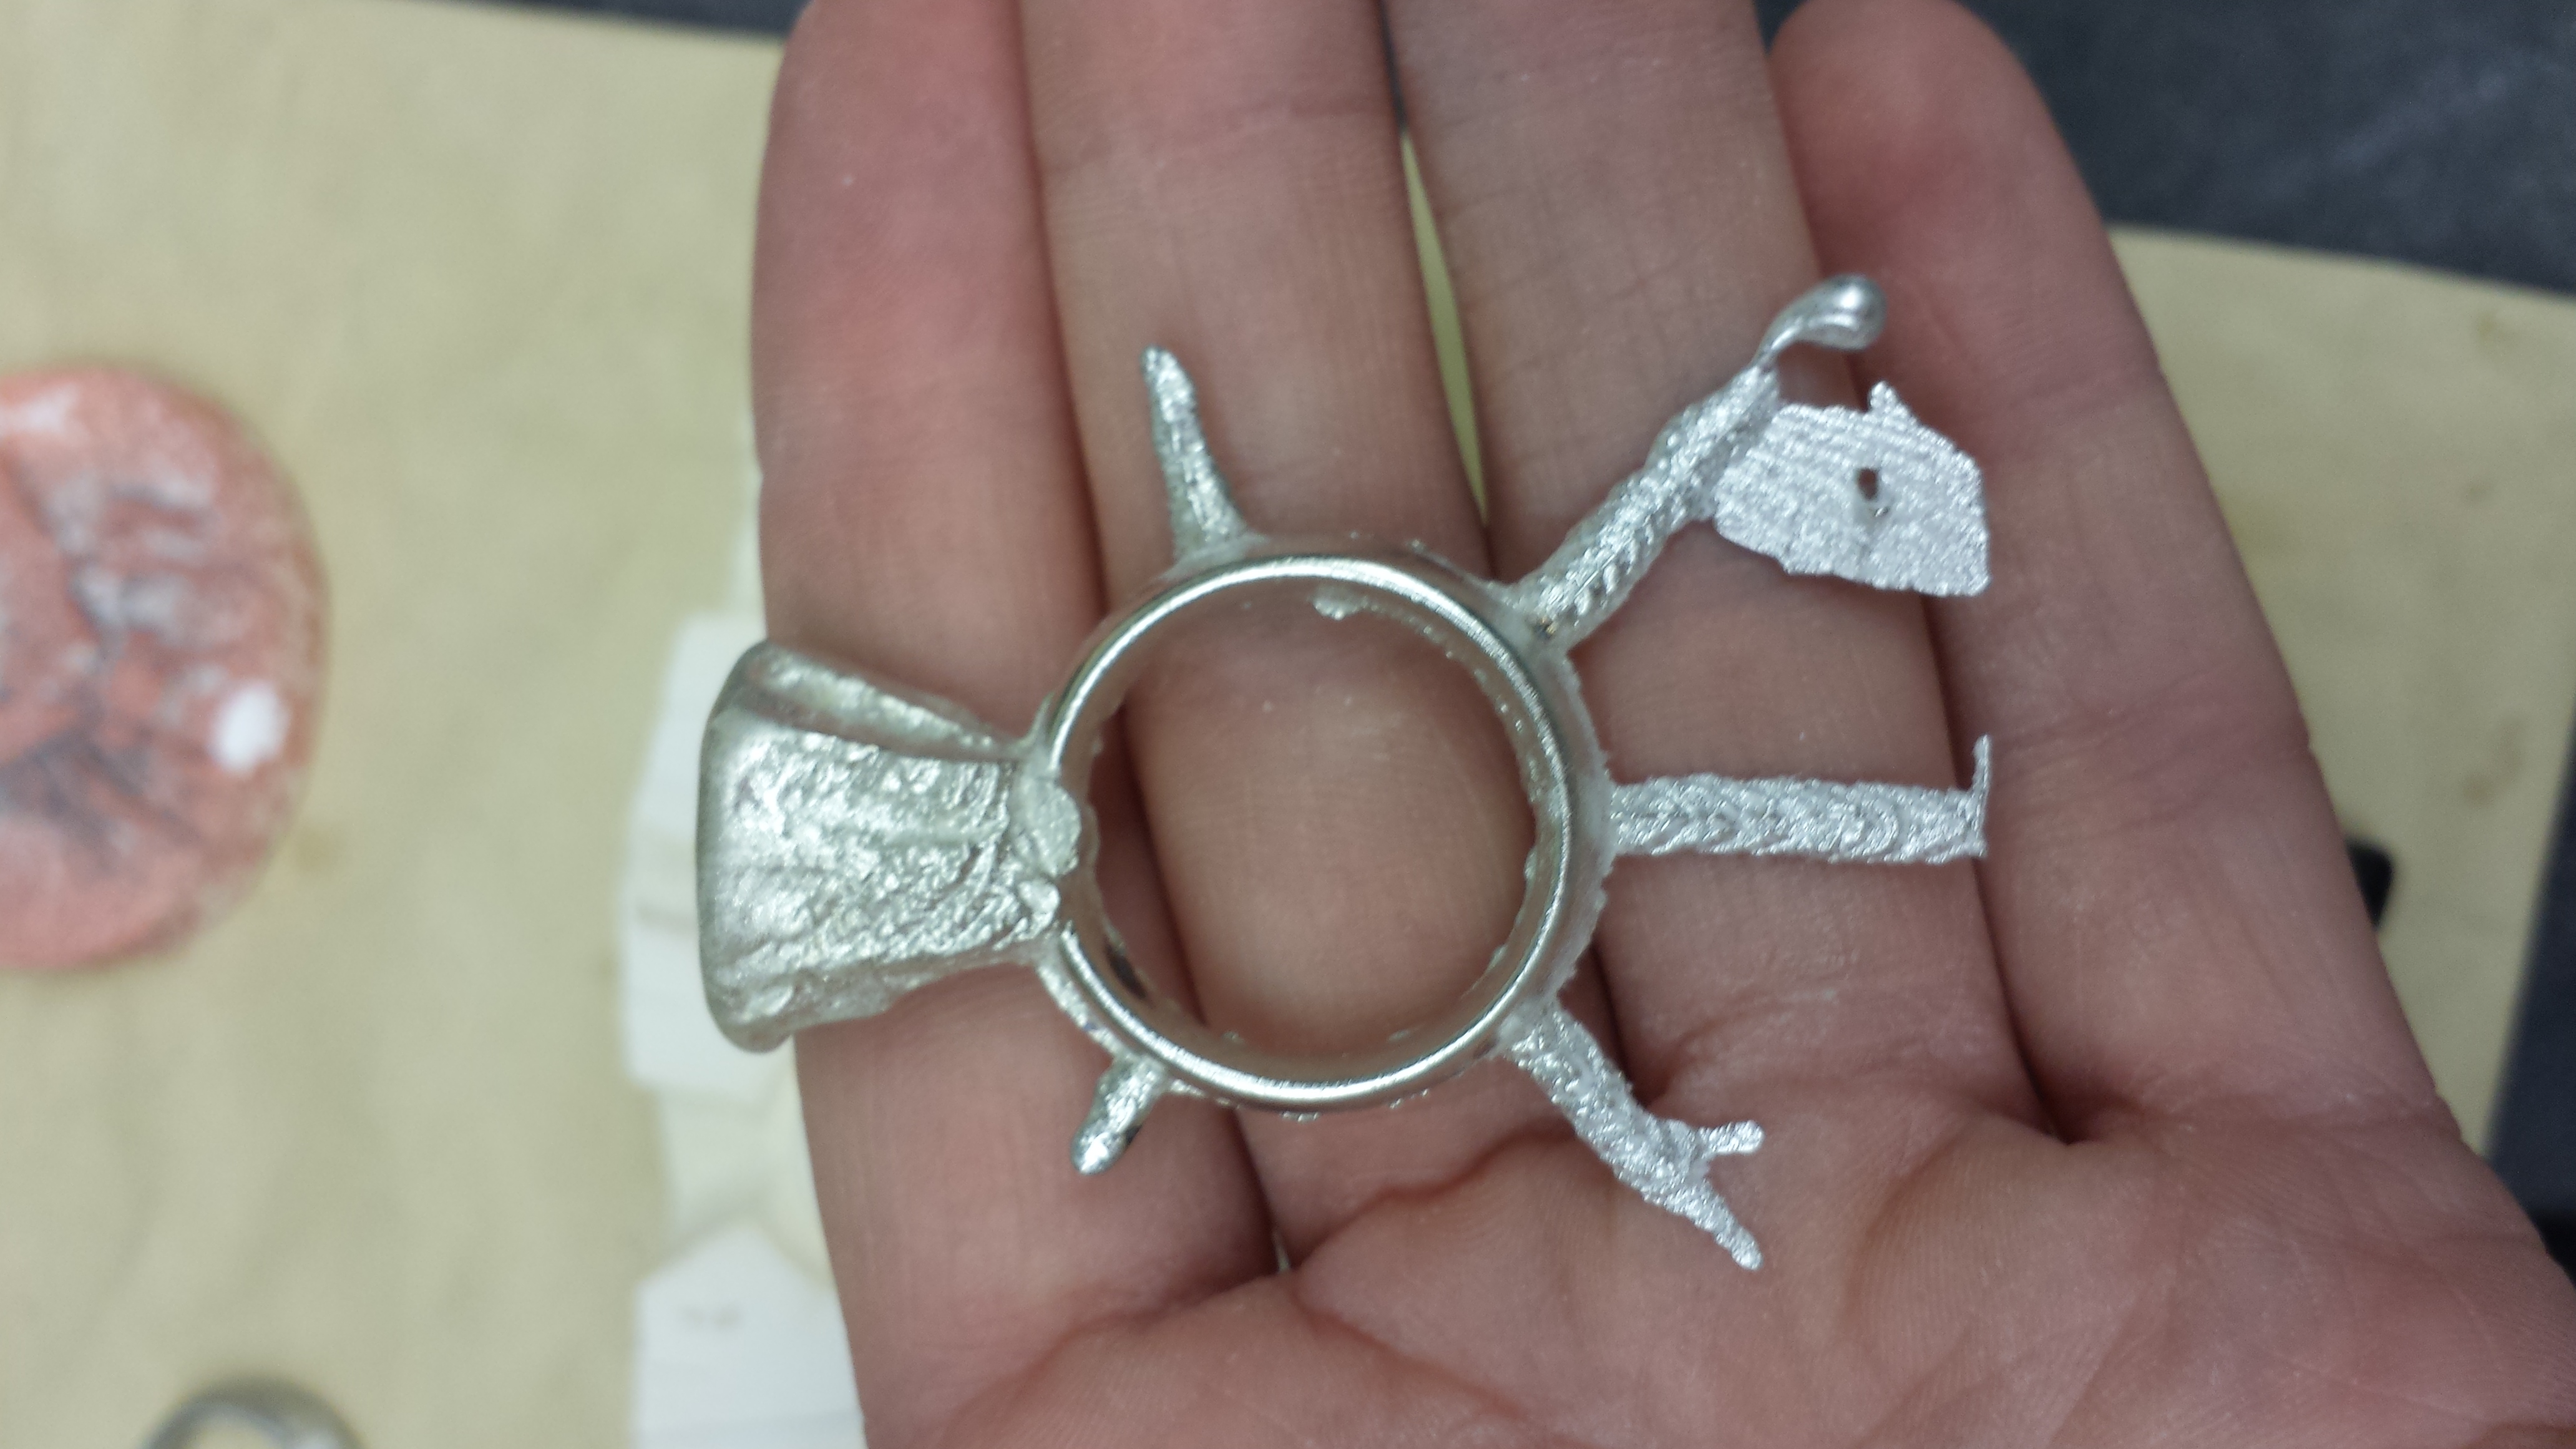
You can see that we took another excellent cast that came out very clean. The mold is beginning to degrade a bit, but definitely it would be possible to pour in it again at least once if not multiple additional times.
We left tin and moved to the Dental Lab to cast in GOLD.
Jef Palframan & Emily Boyd (with Dr. Norman Boyd, Jr.)
Friday, 12/9/14, 5:30pm
Dental Lab, 515 Madison Avenue, 16th floor
CUTTLE BONE CASTING
PREP:
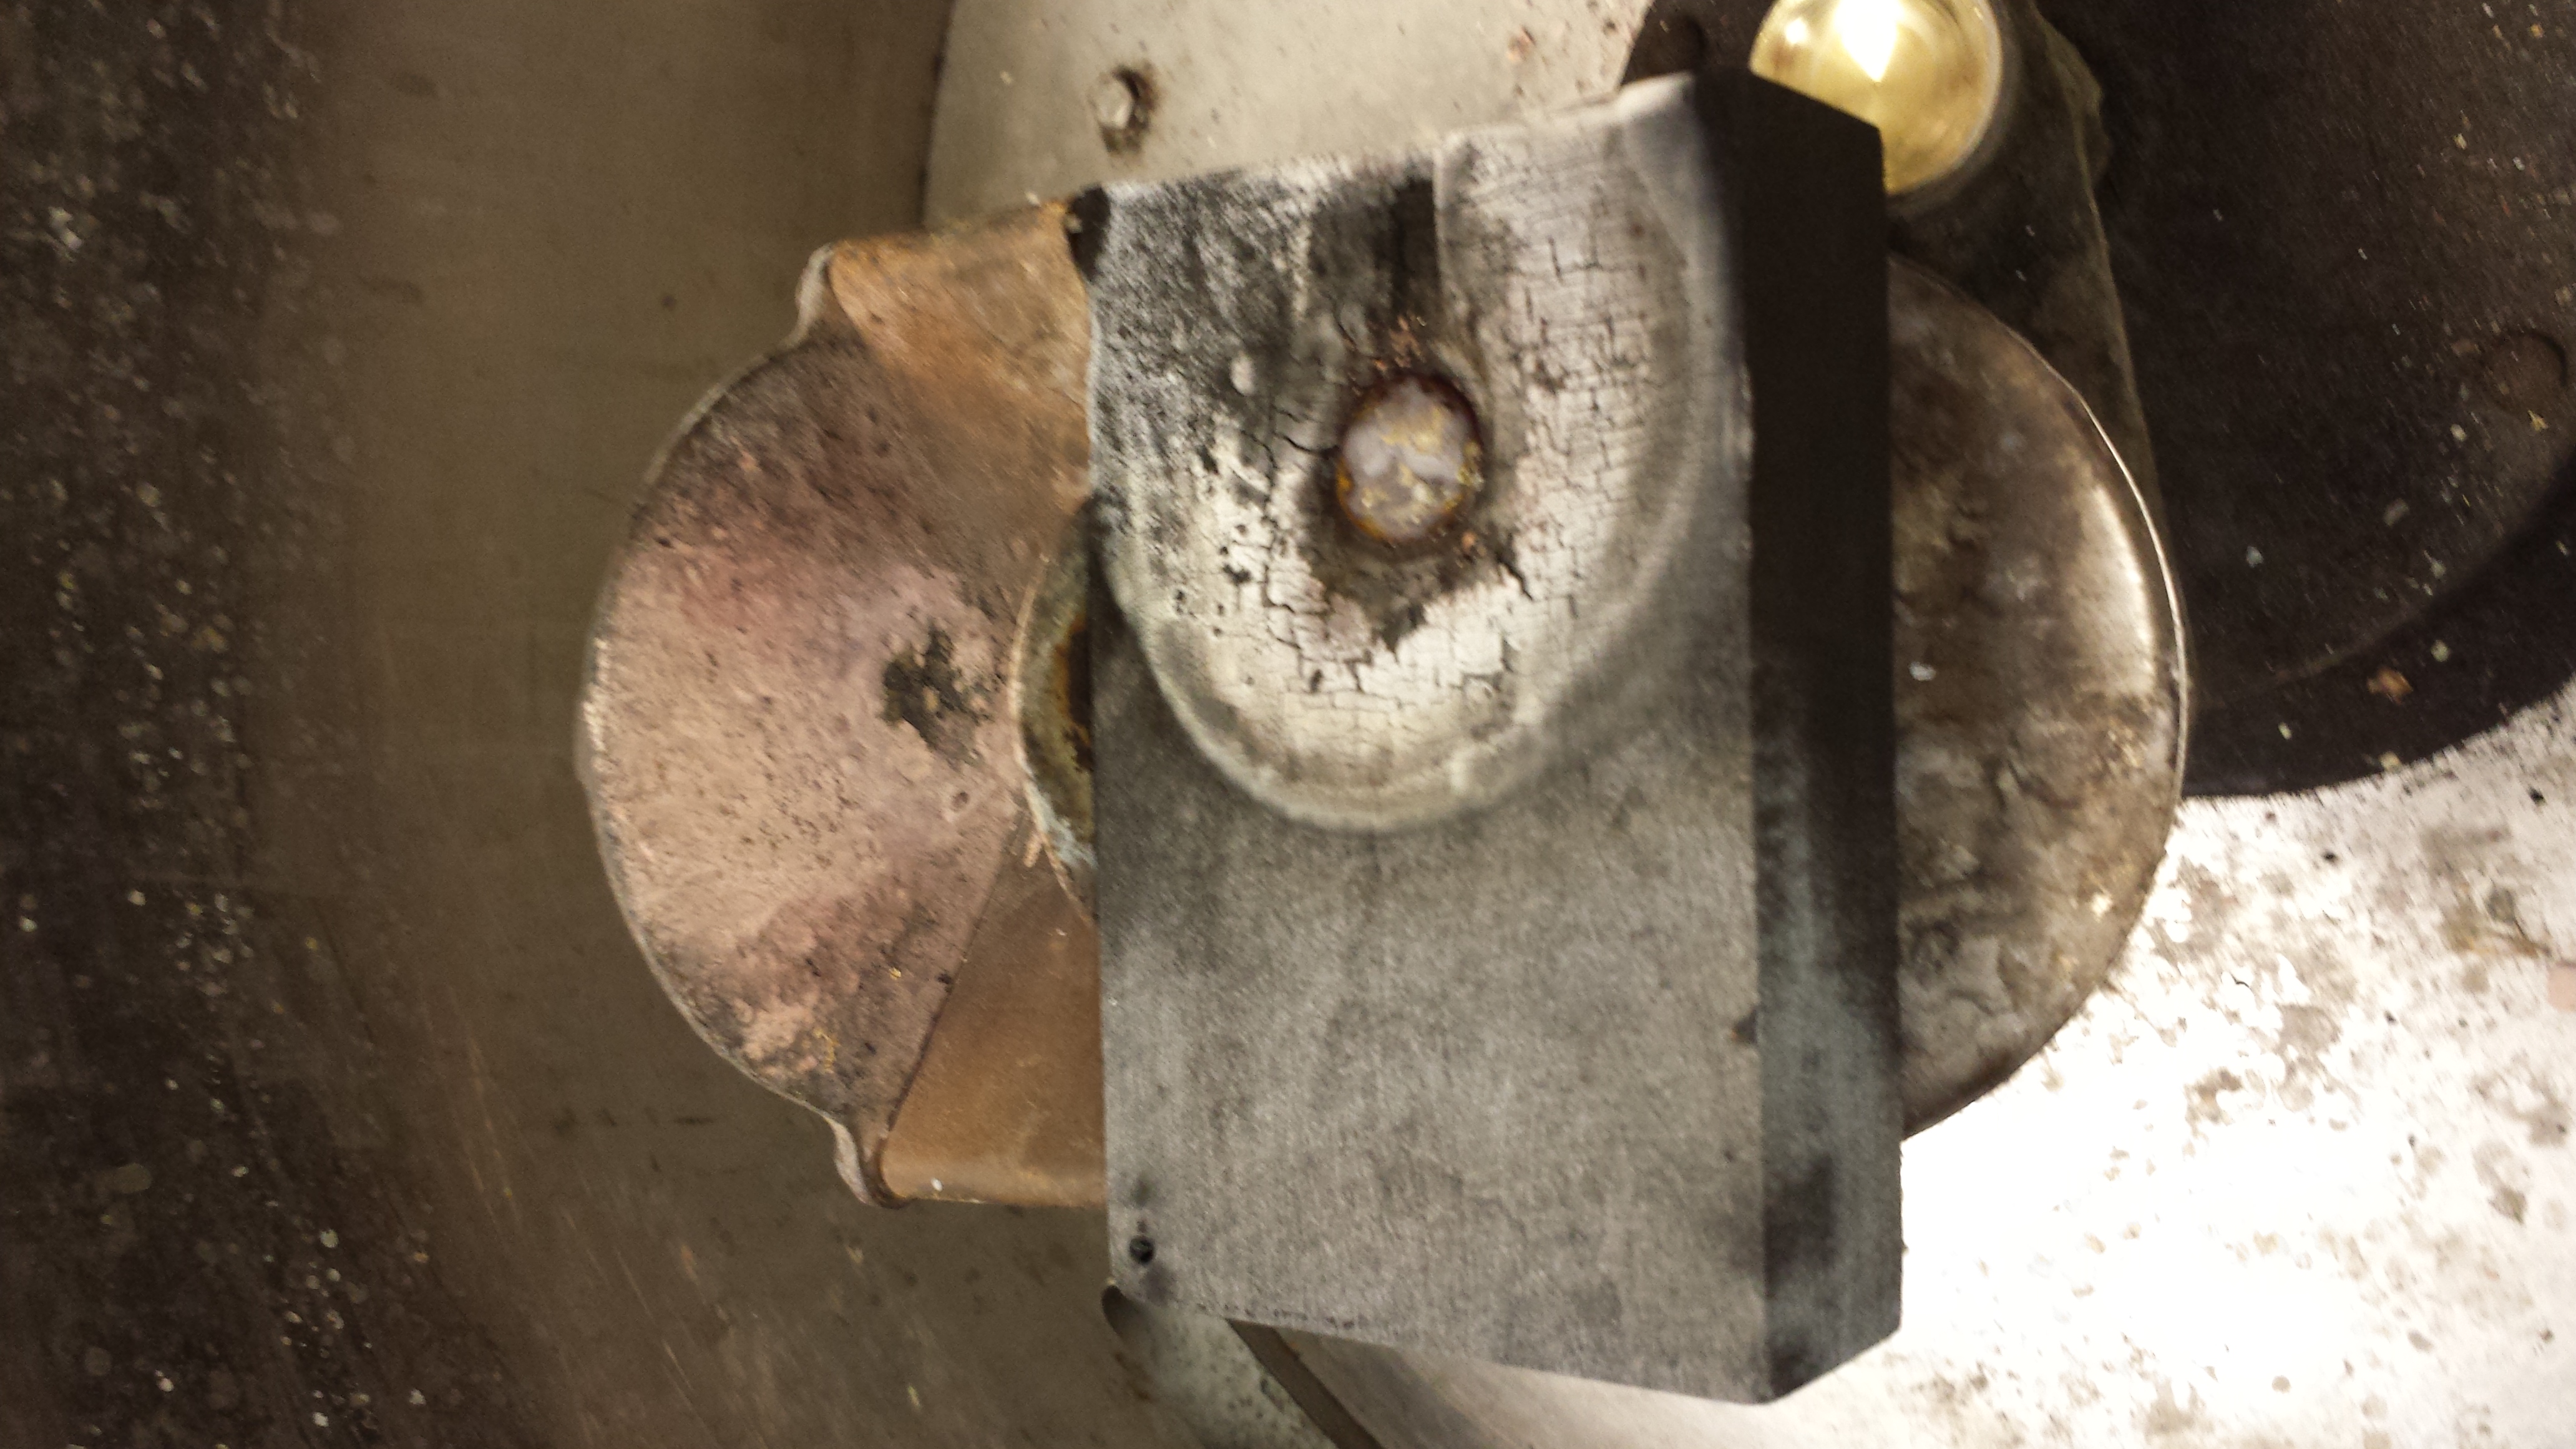
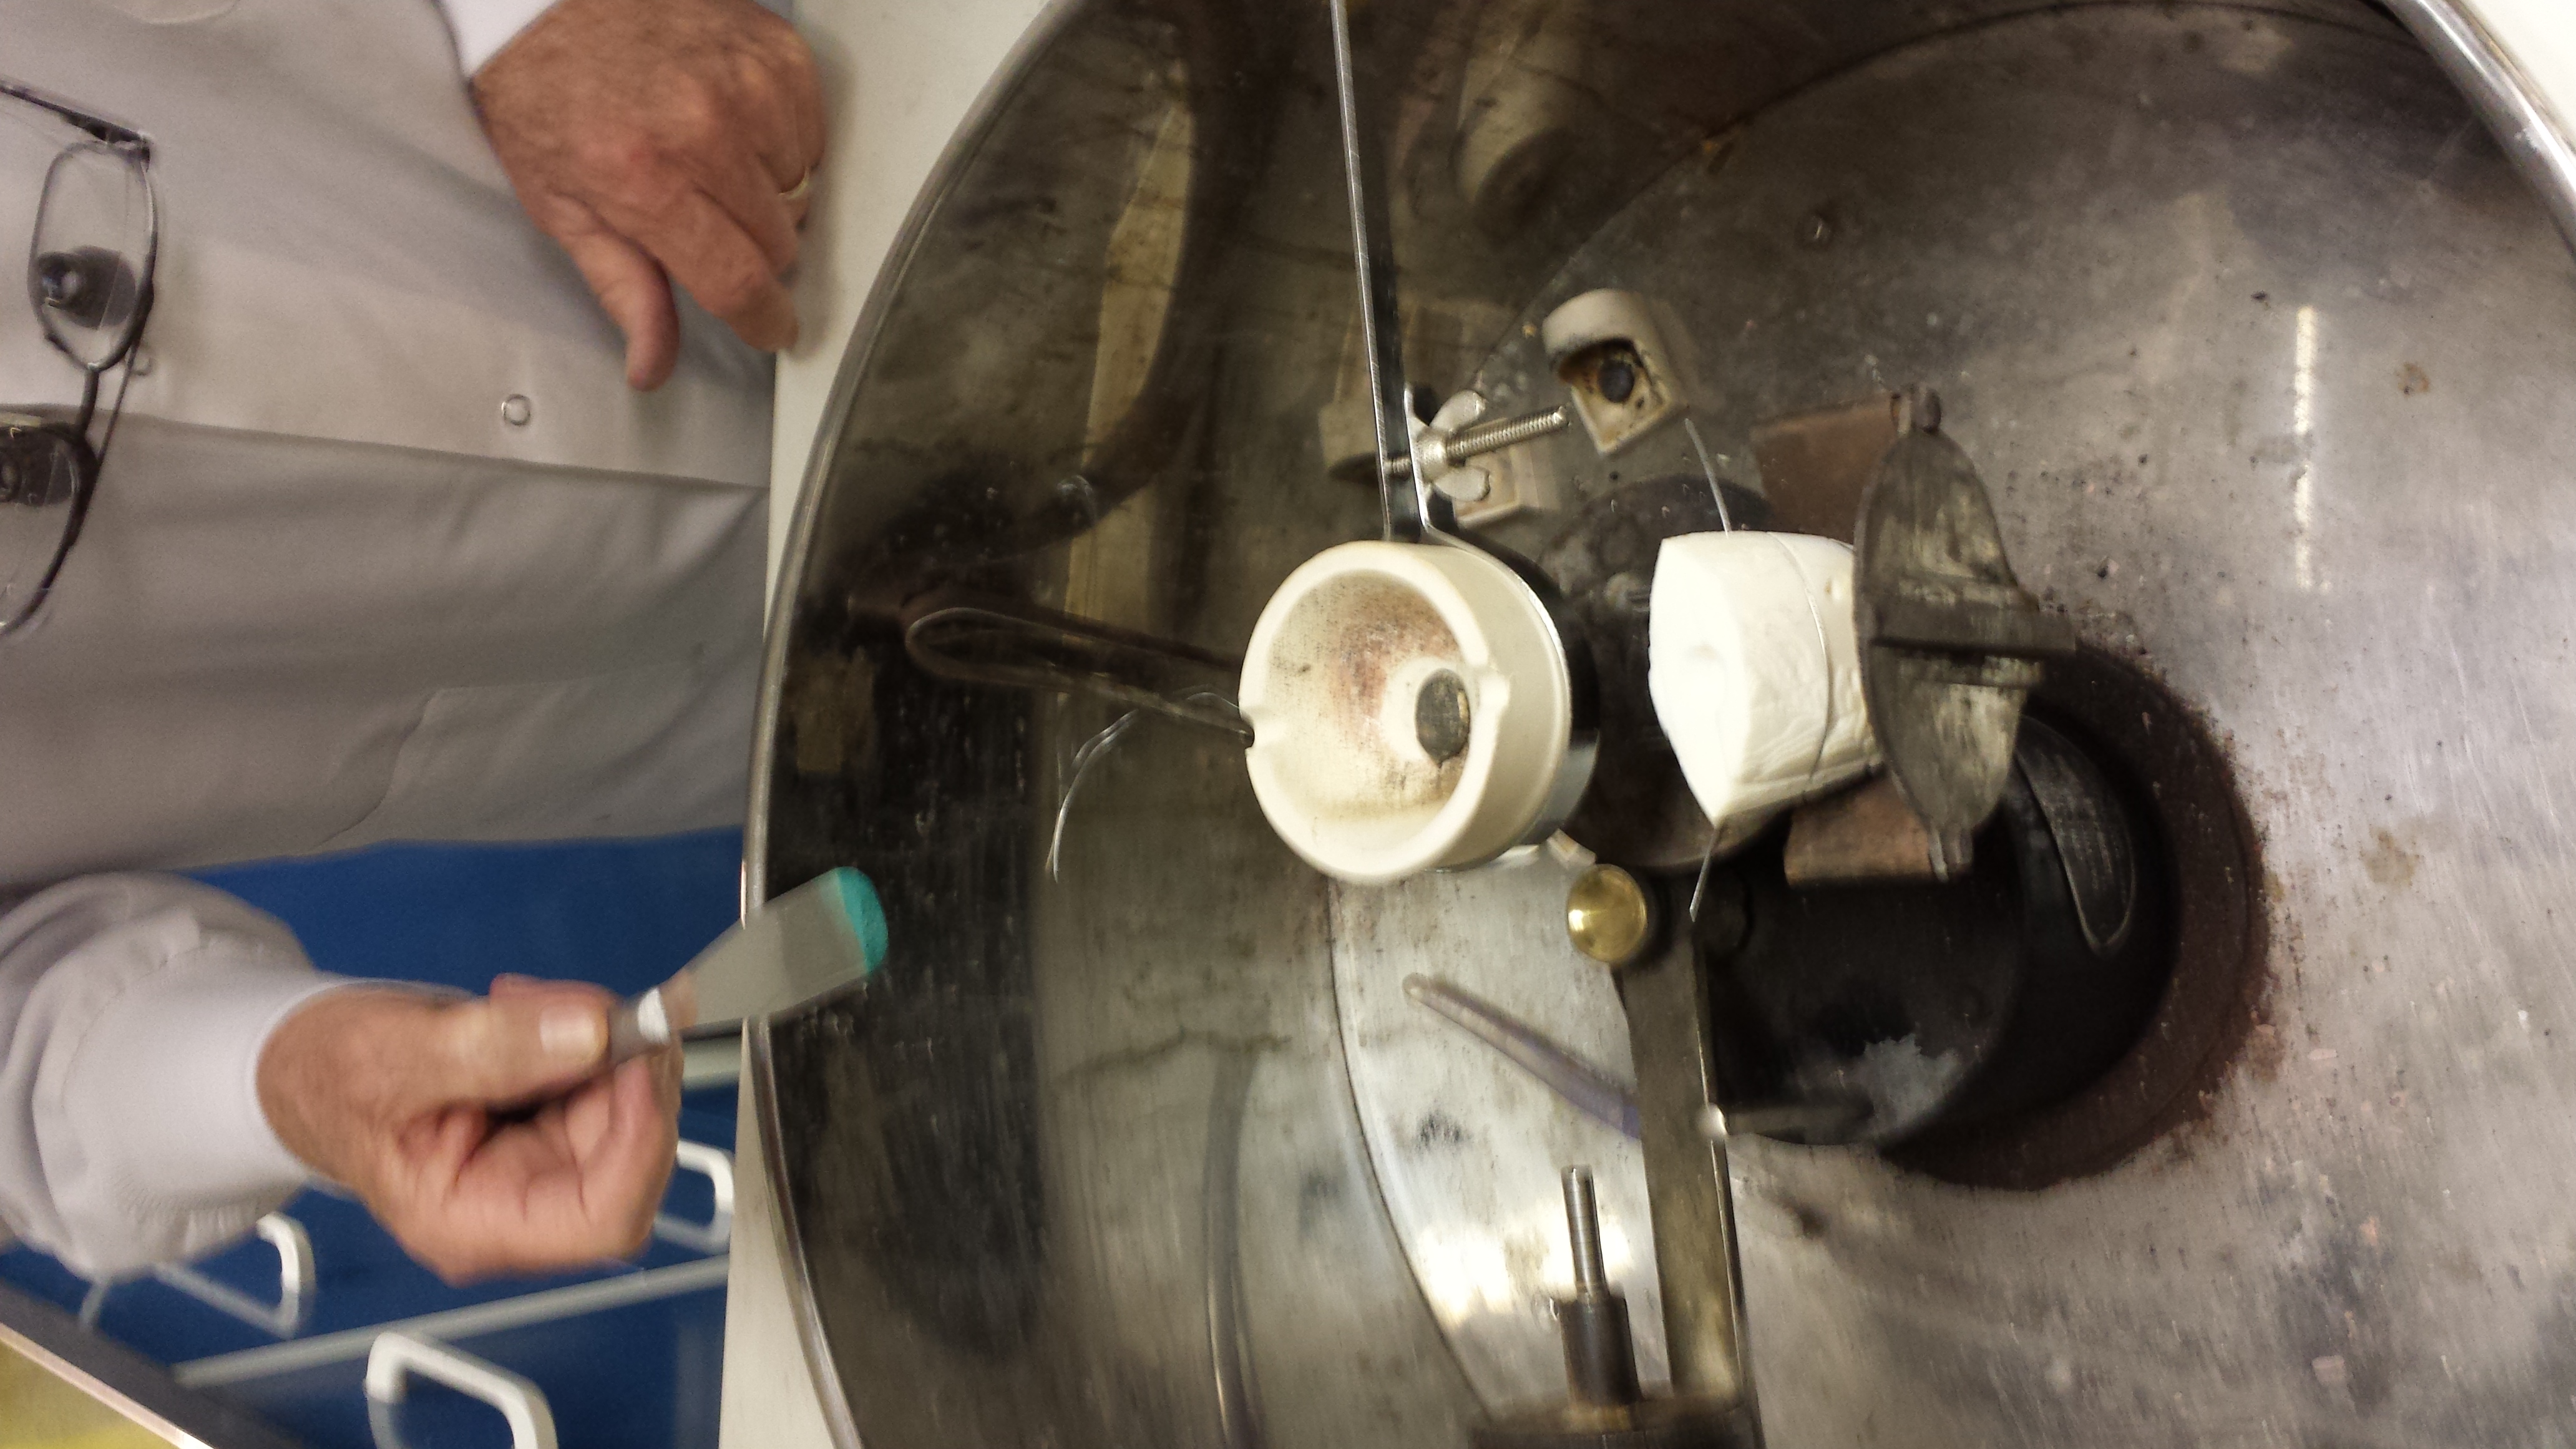
FIRST TRIAL
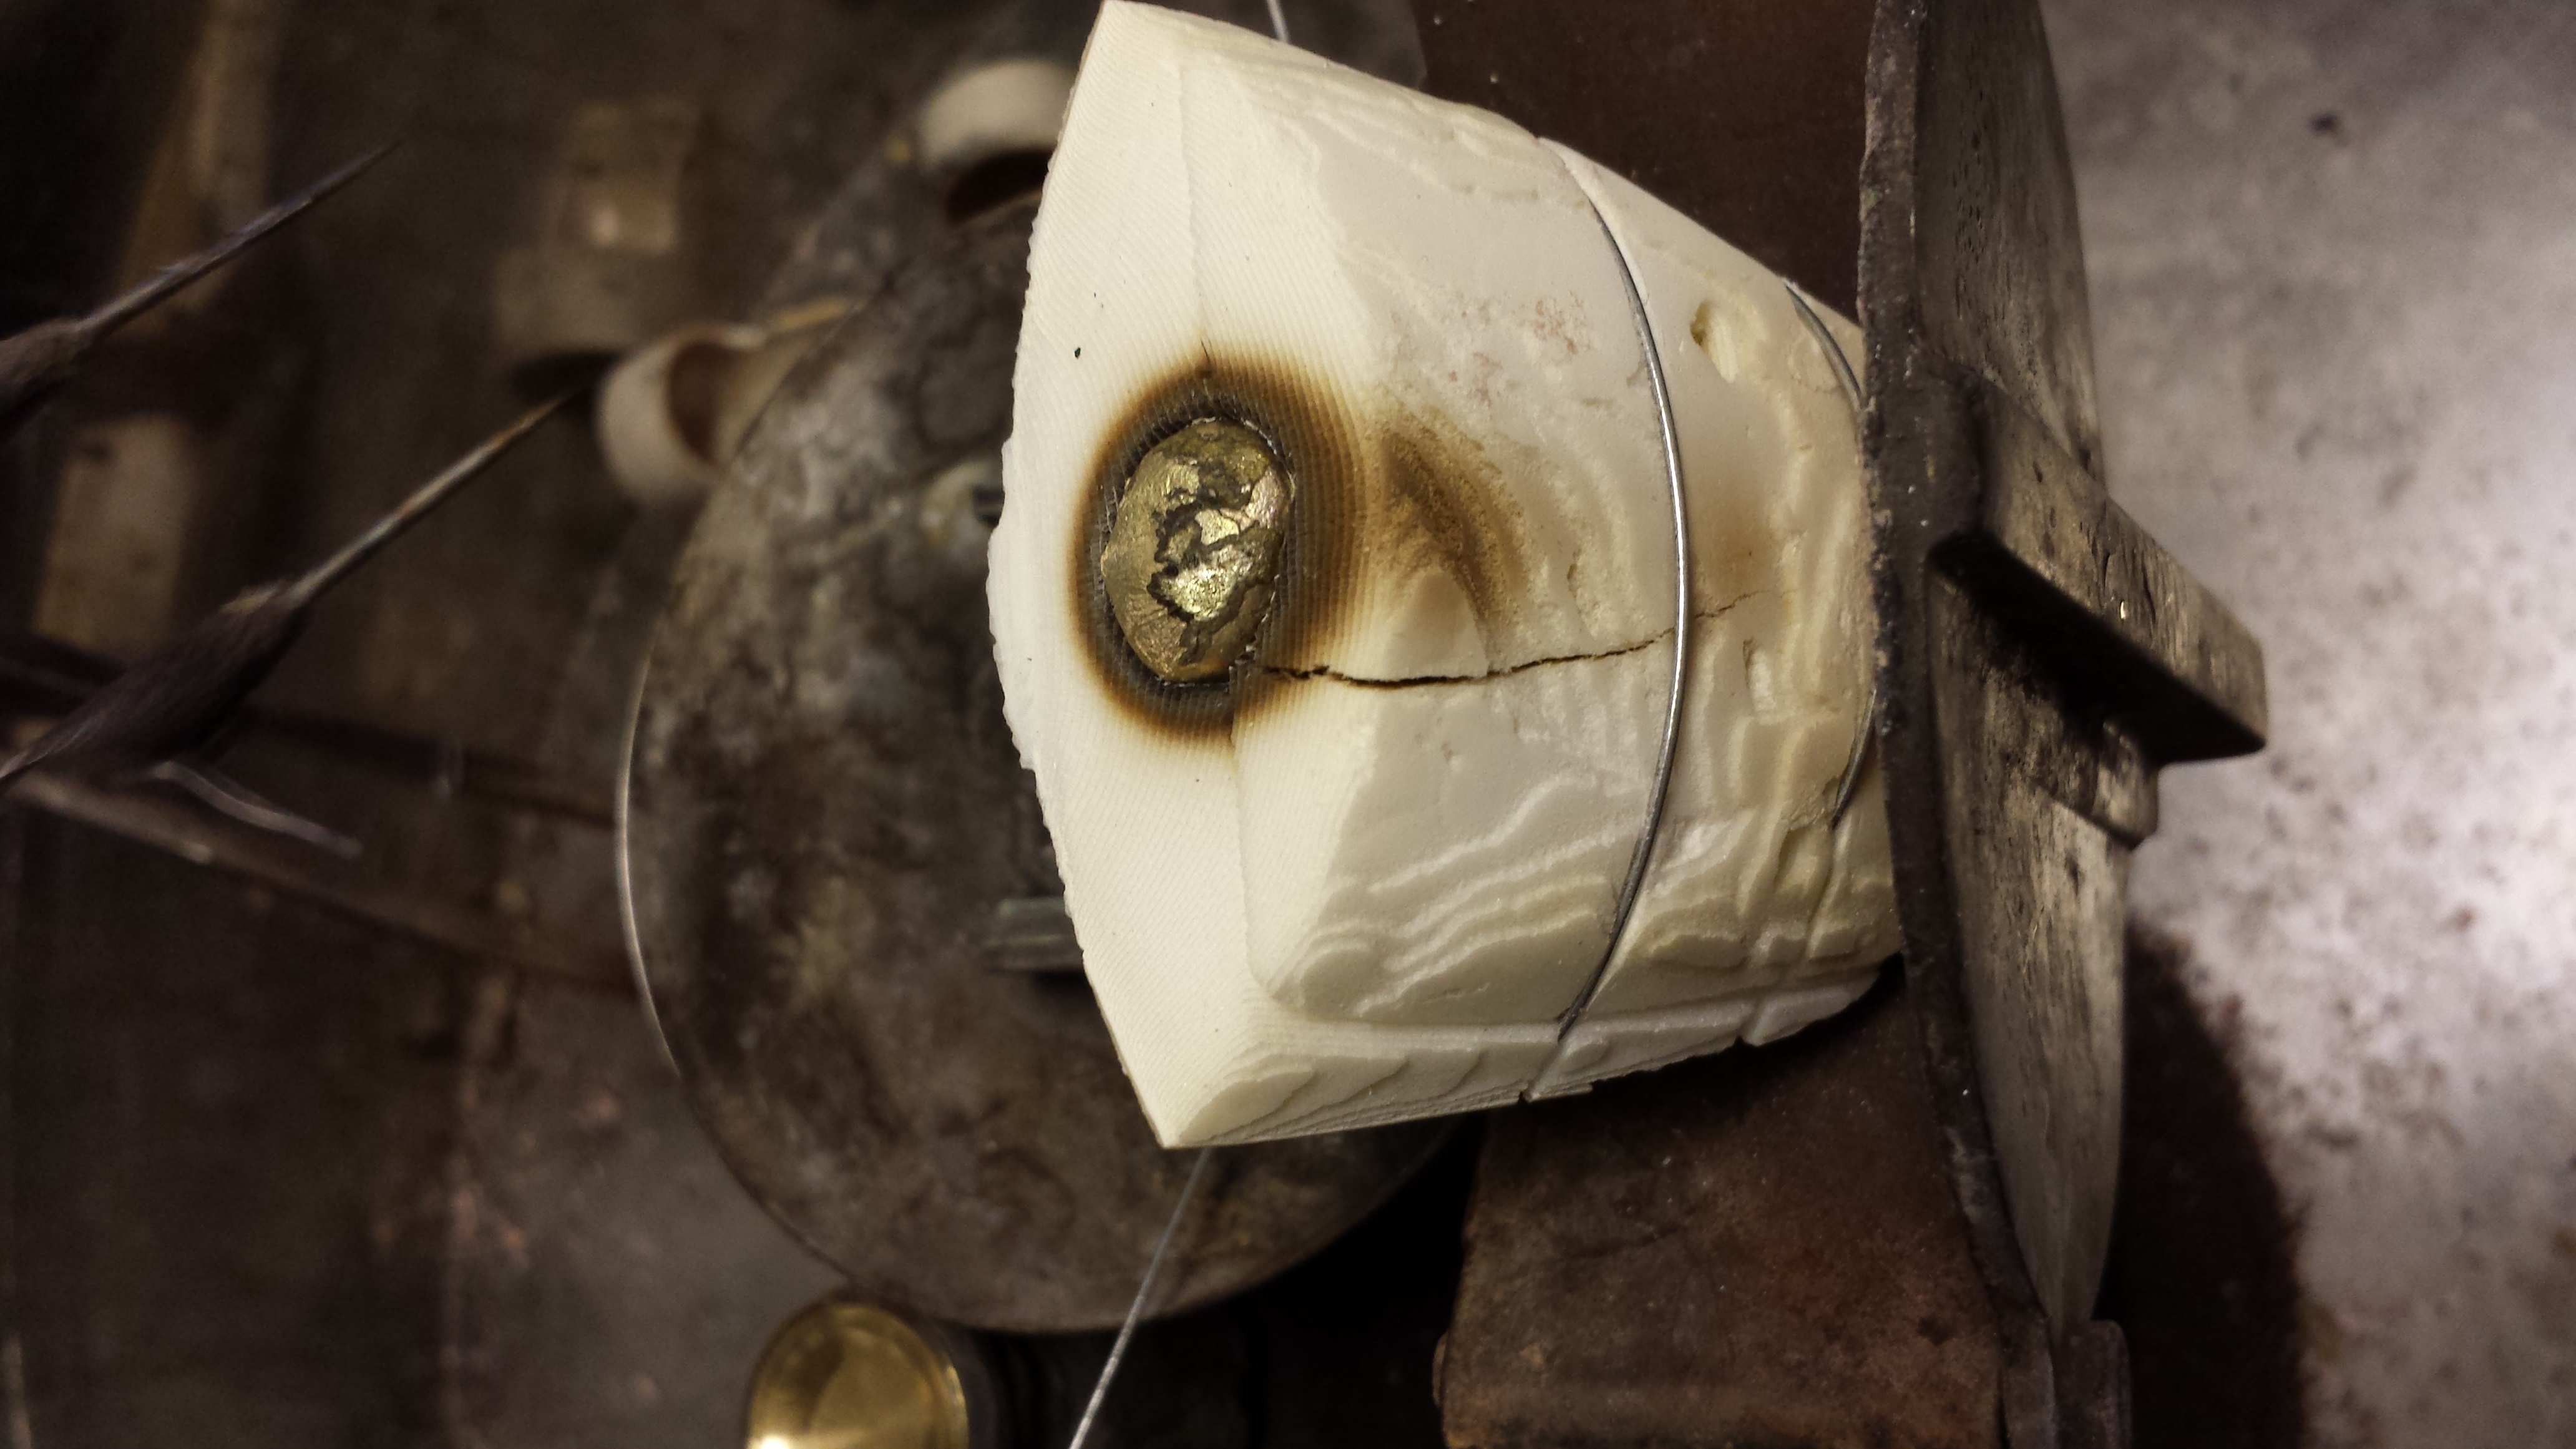
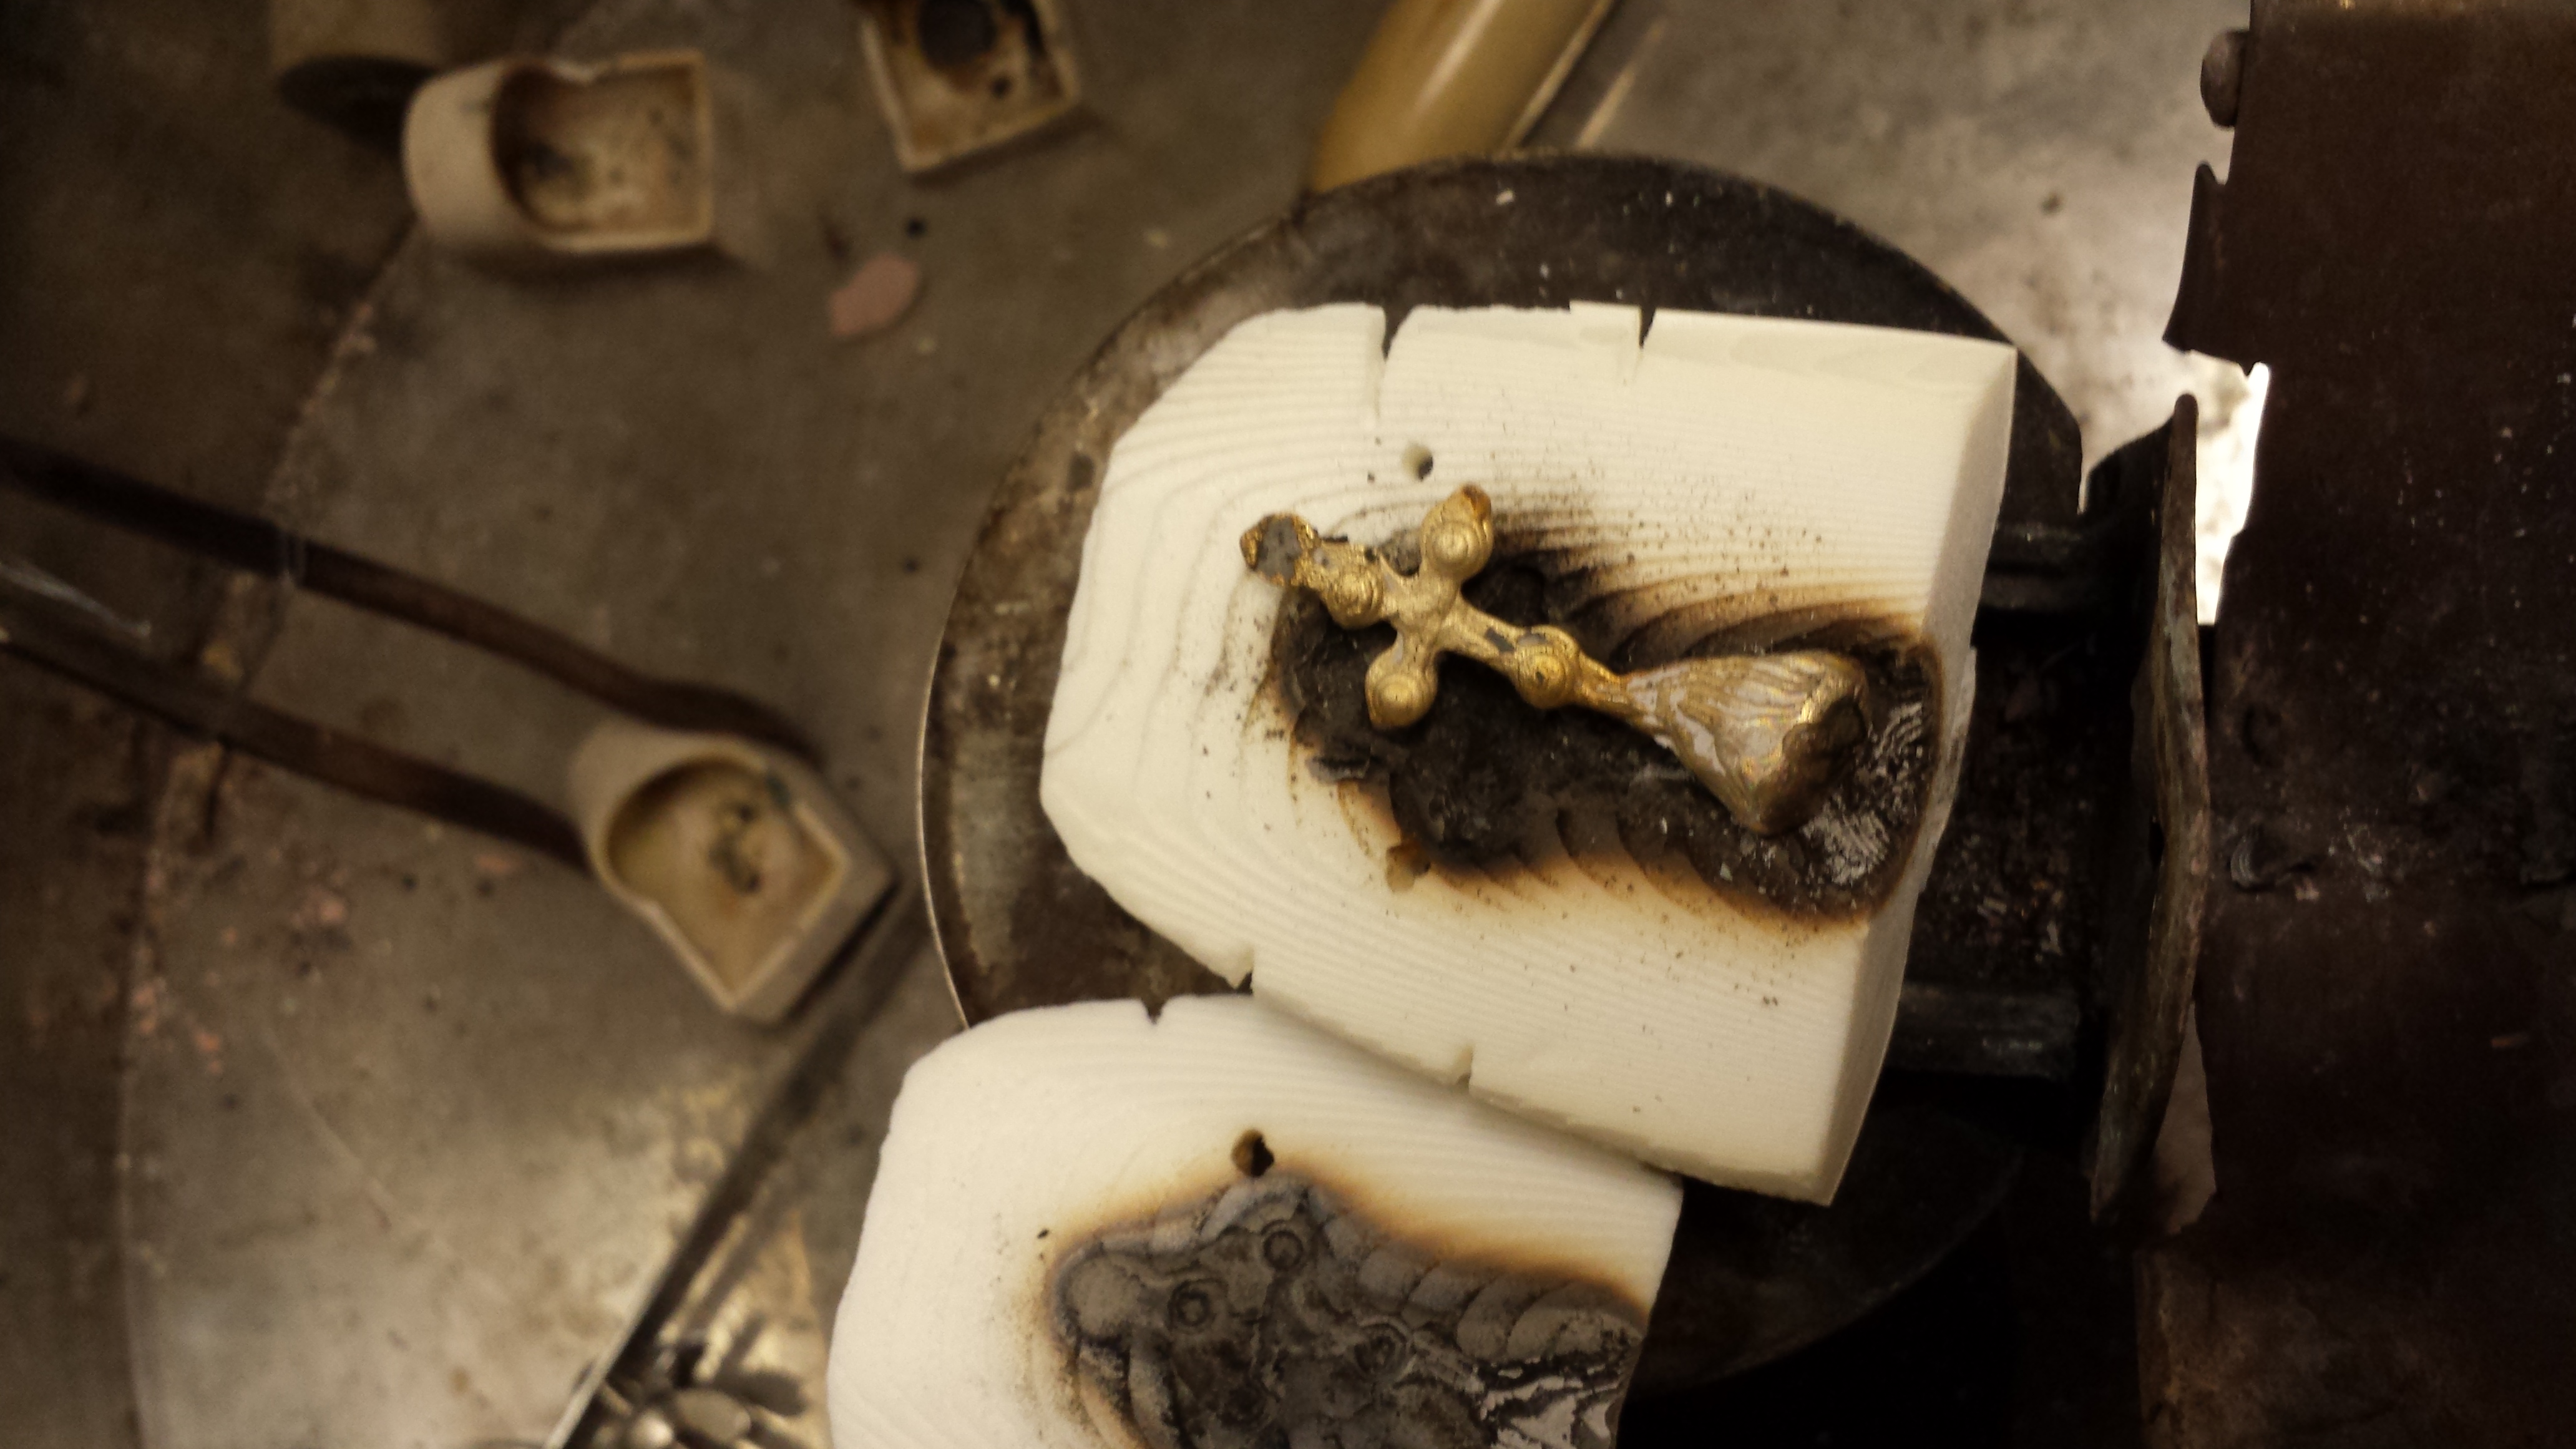
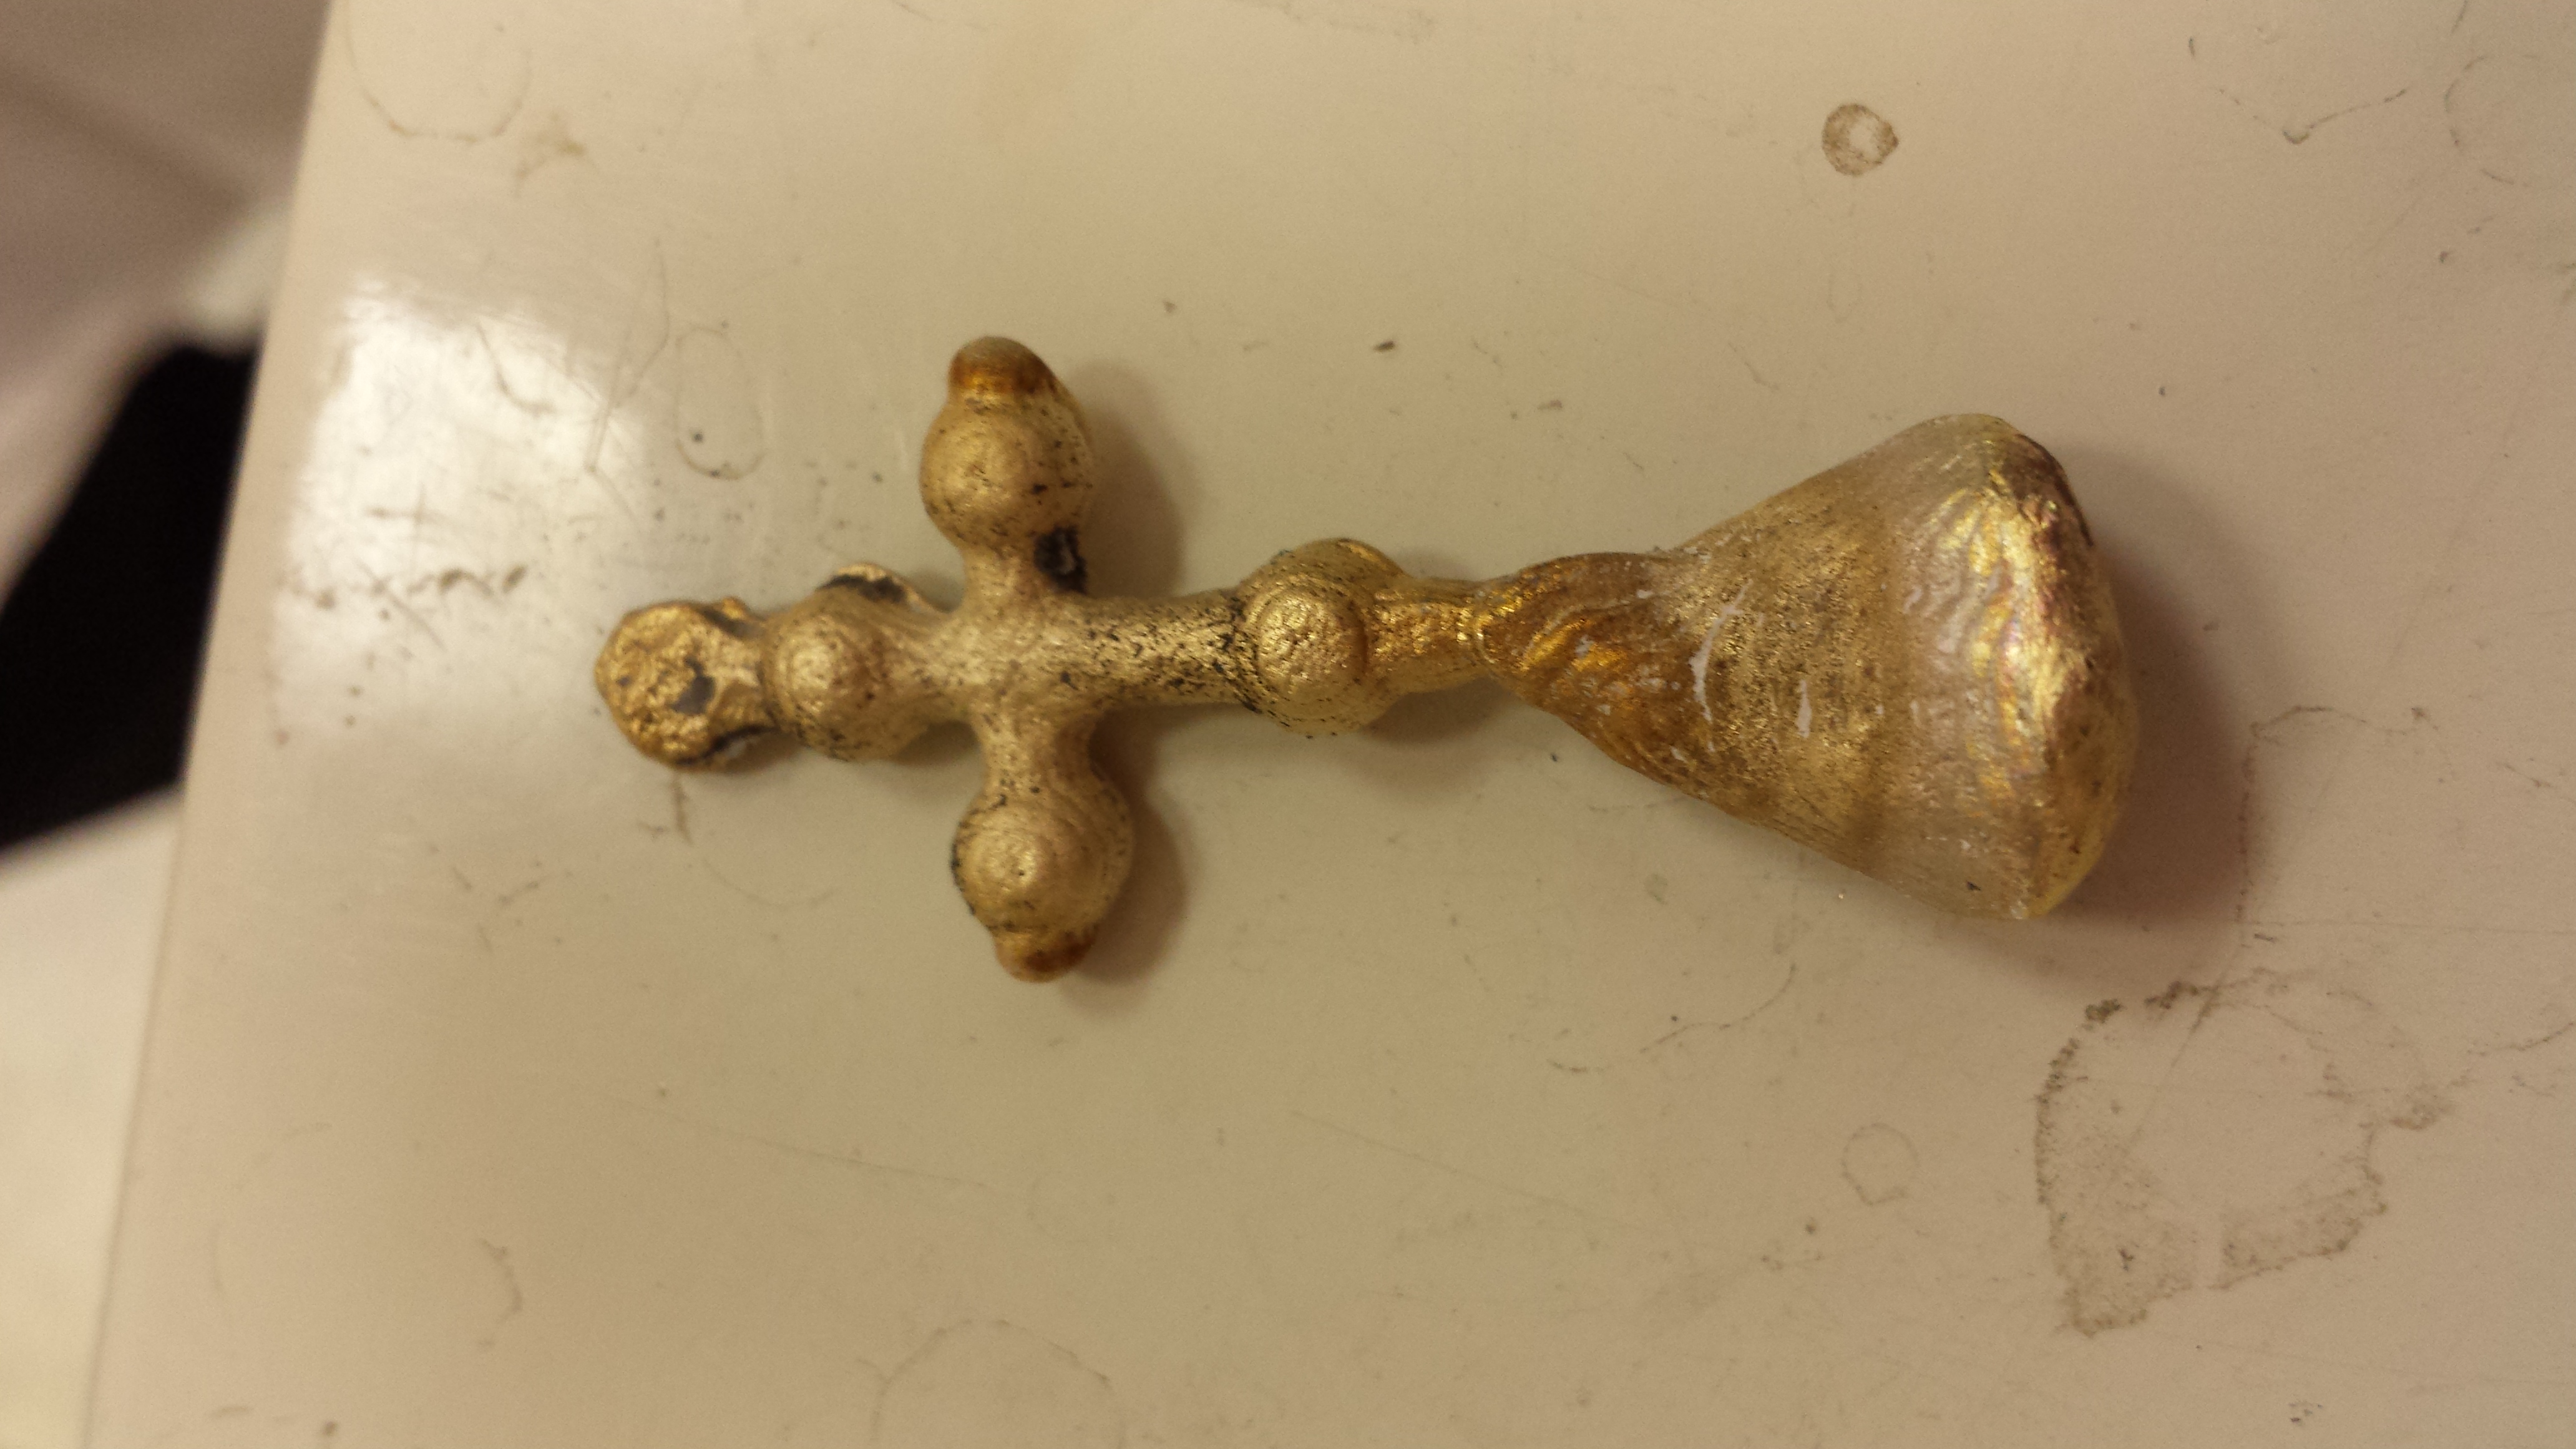
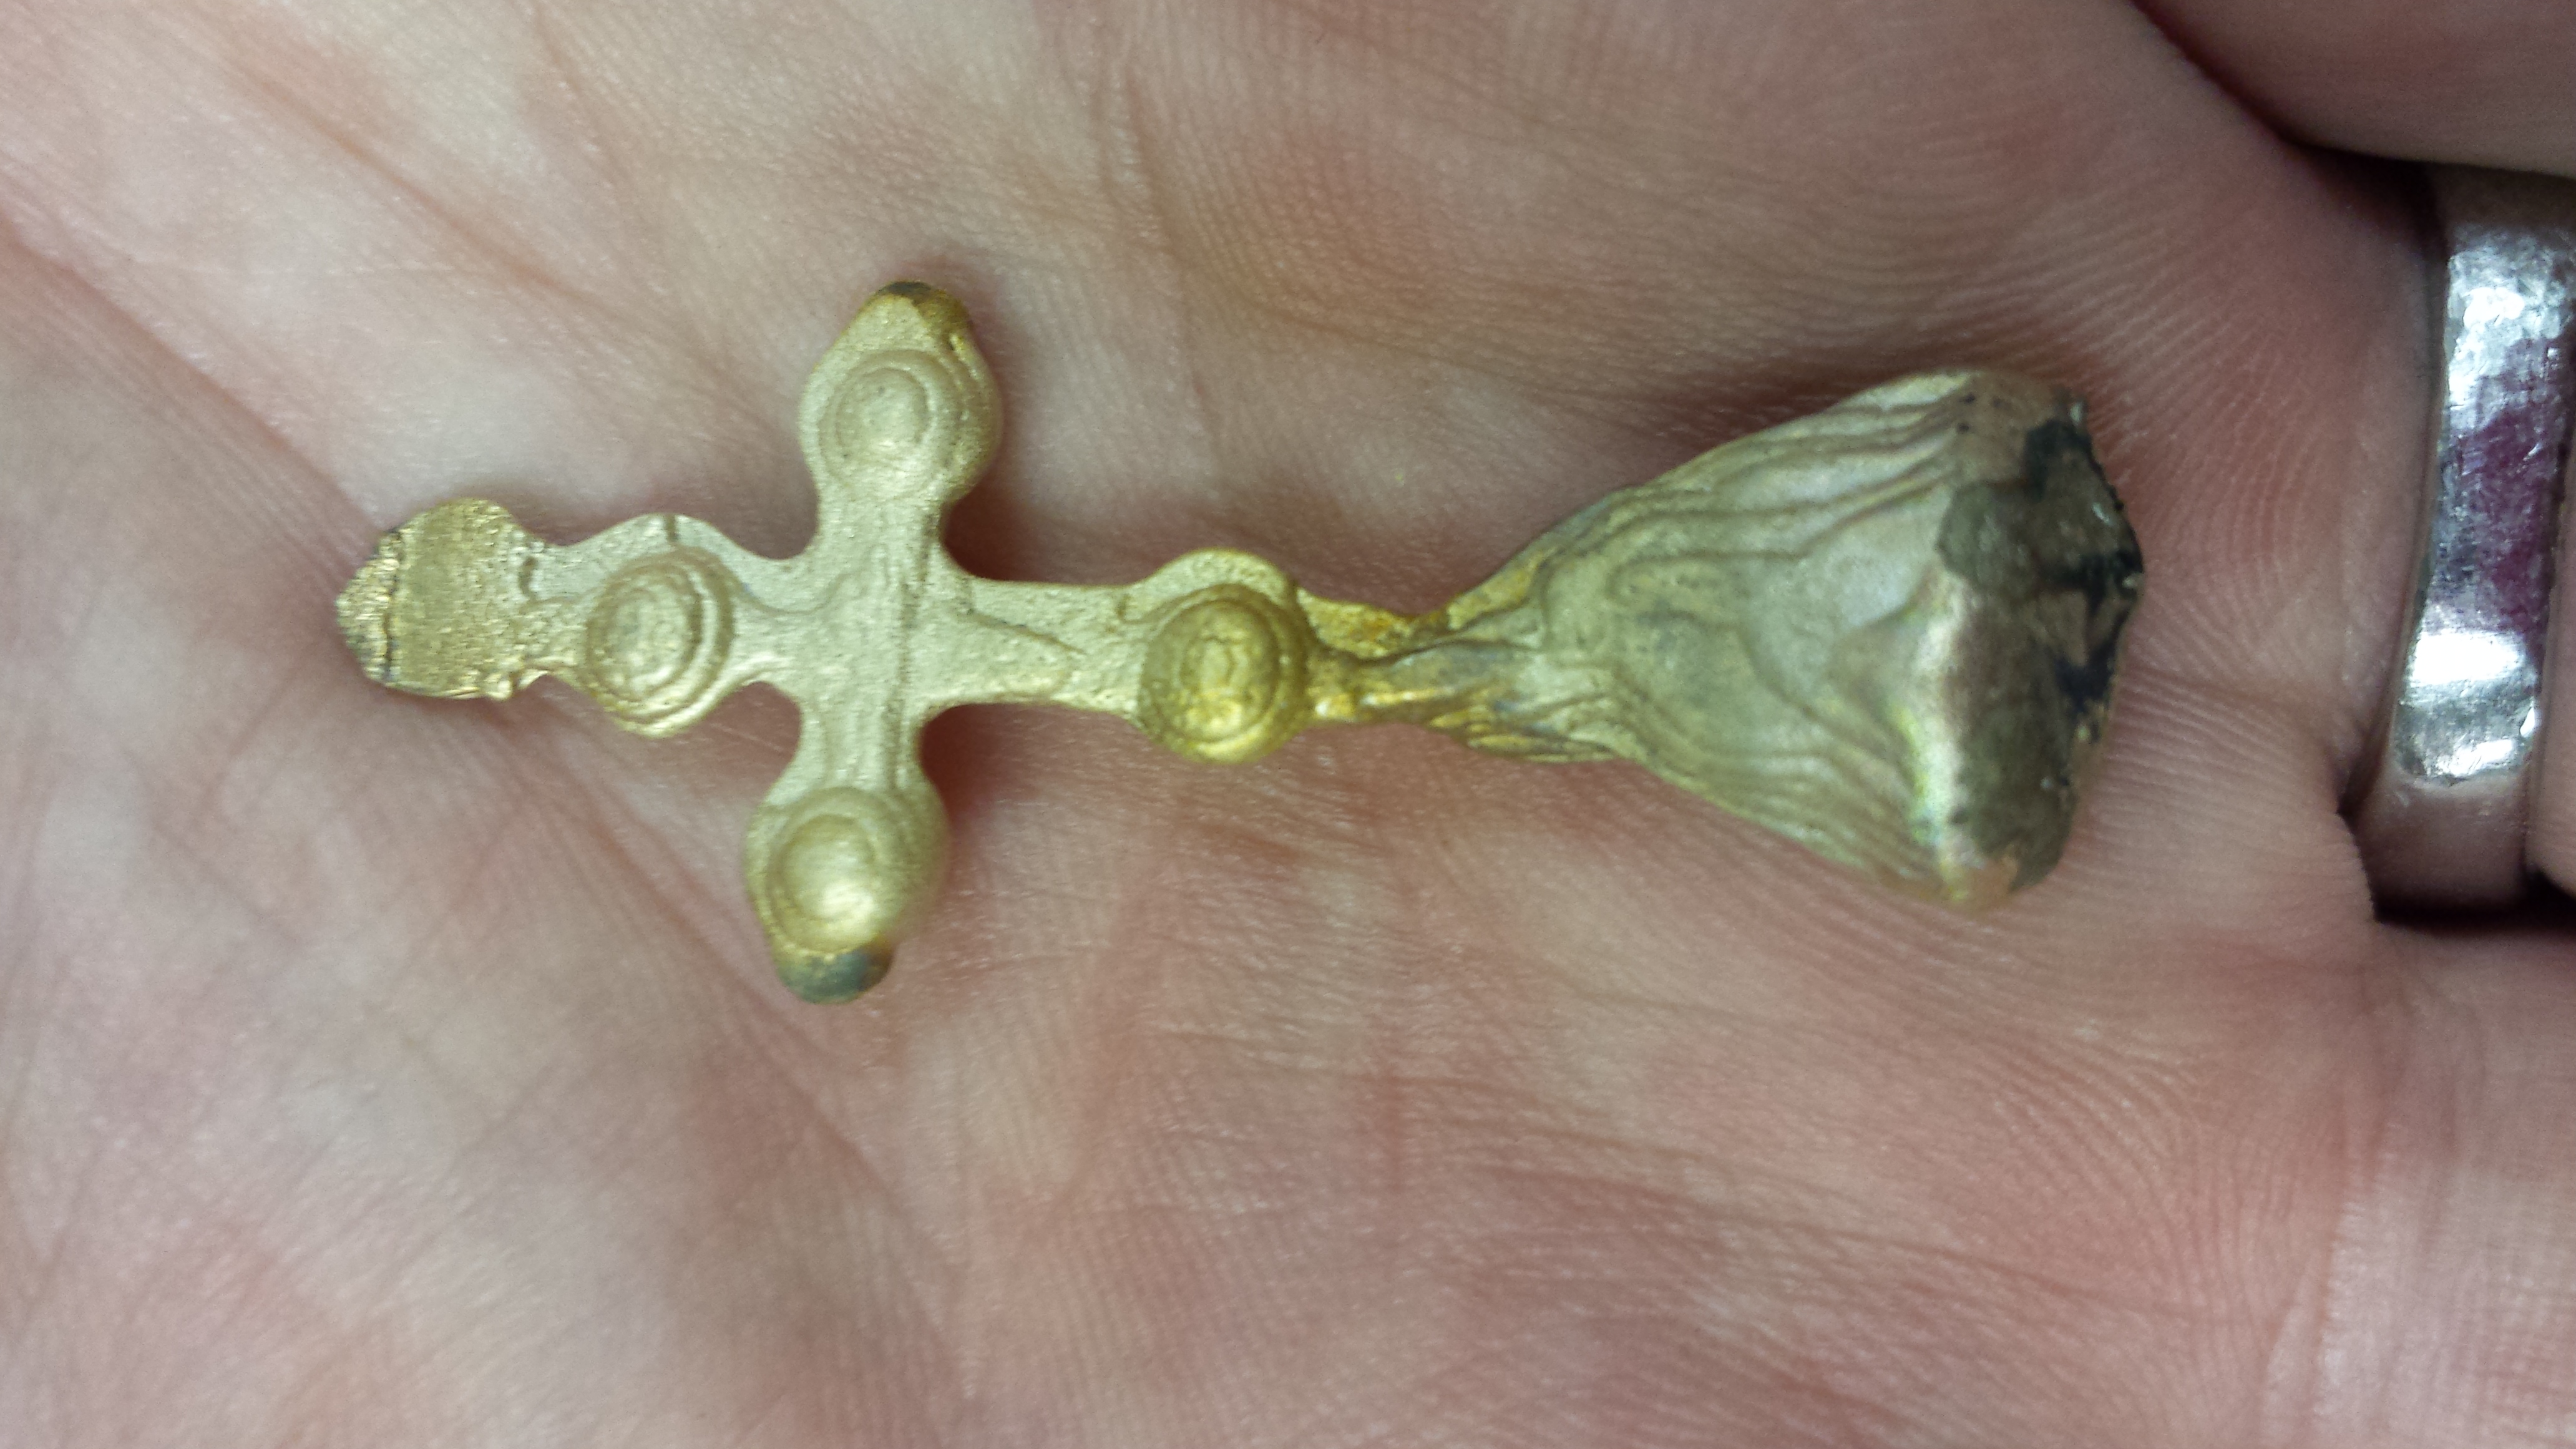
TRIAL 2
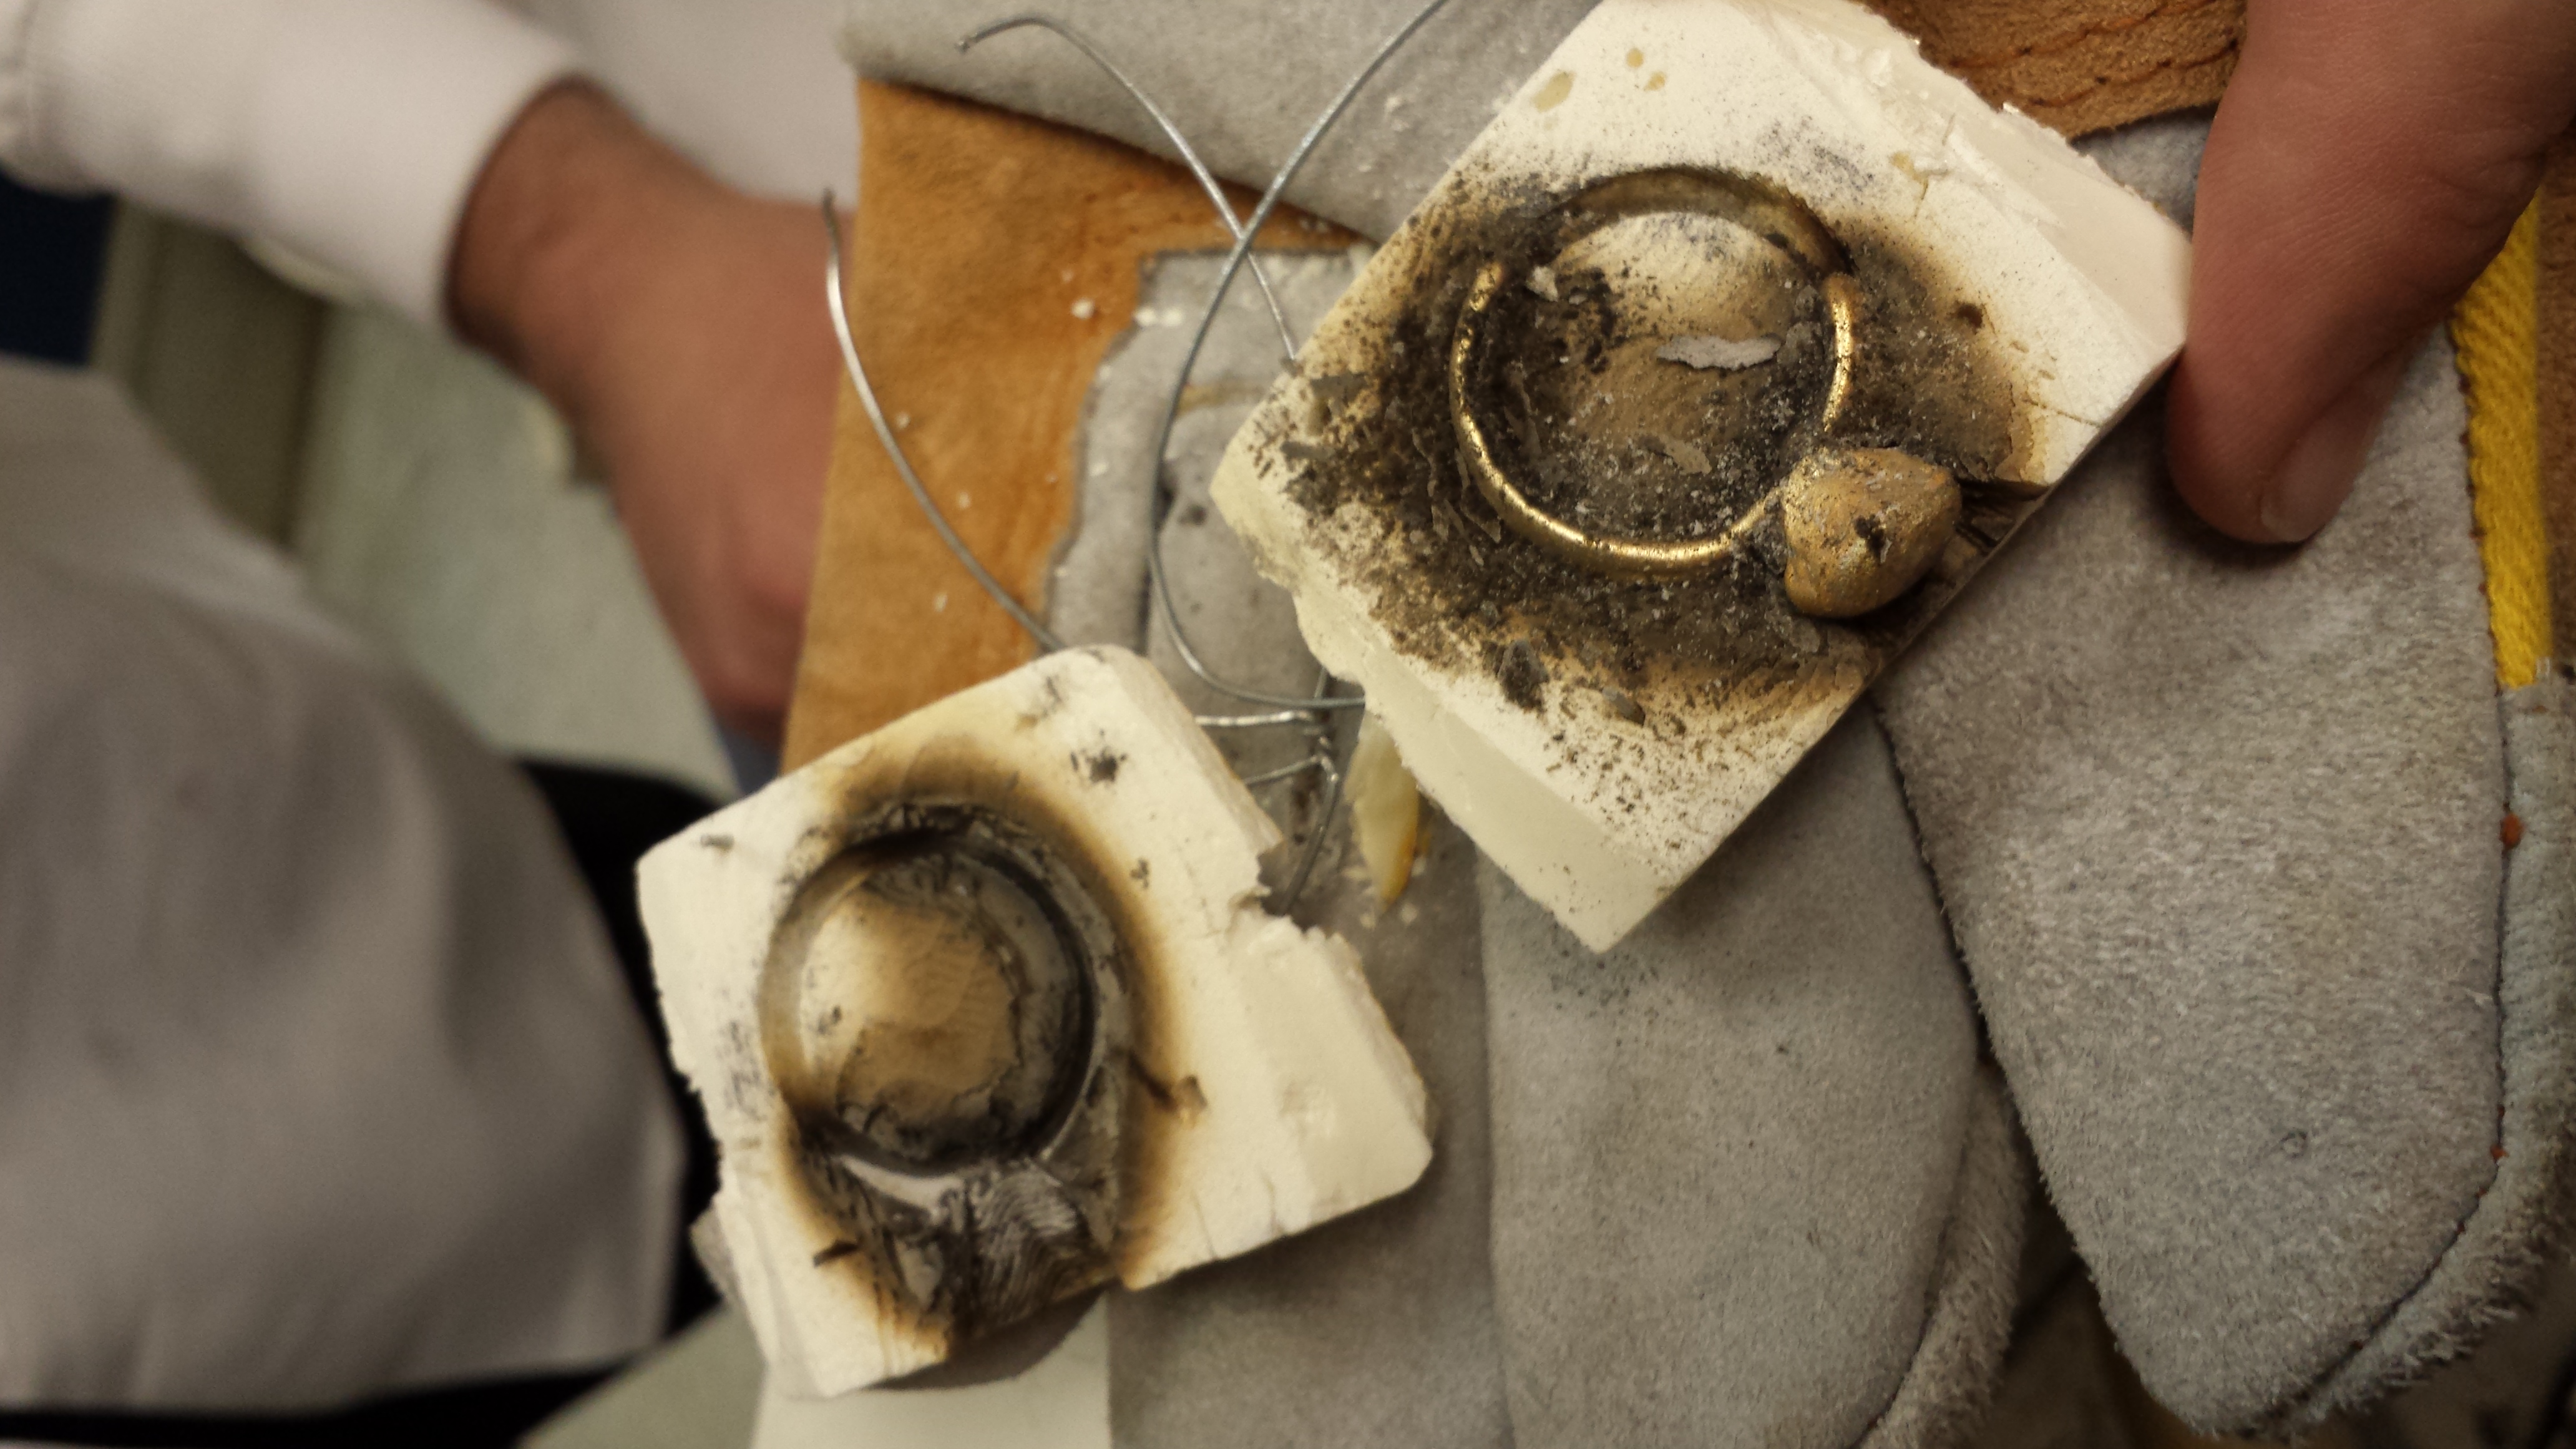
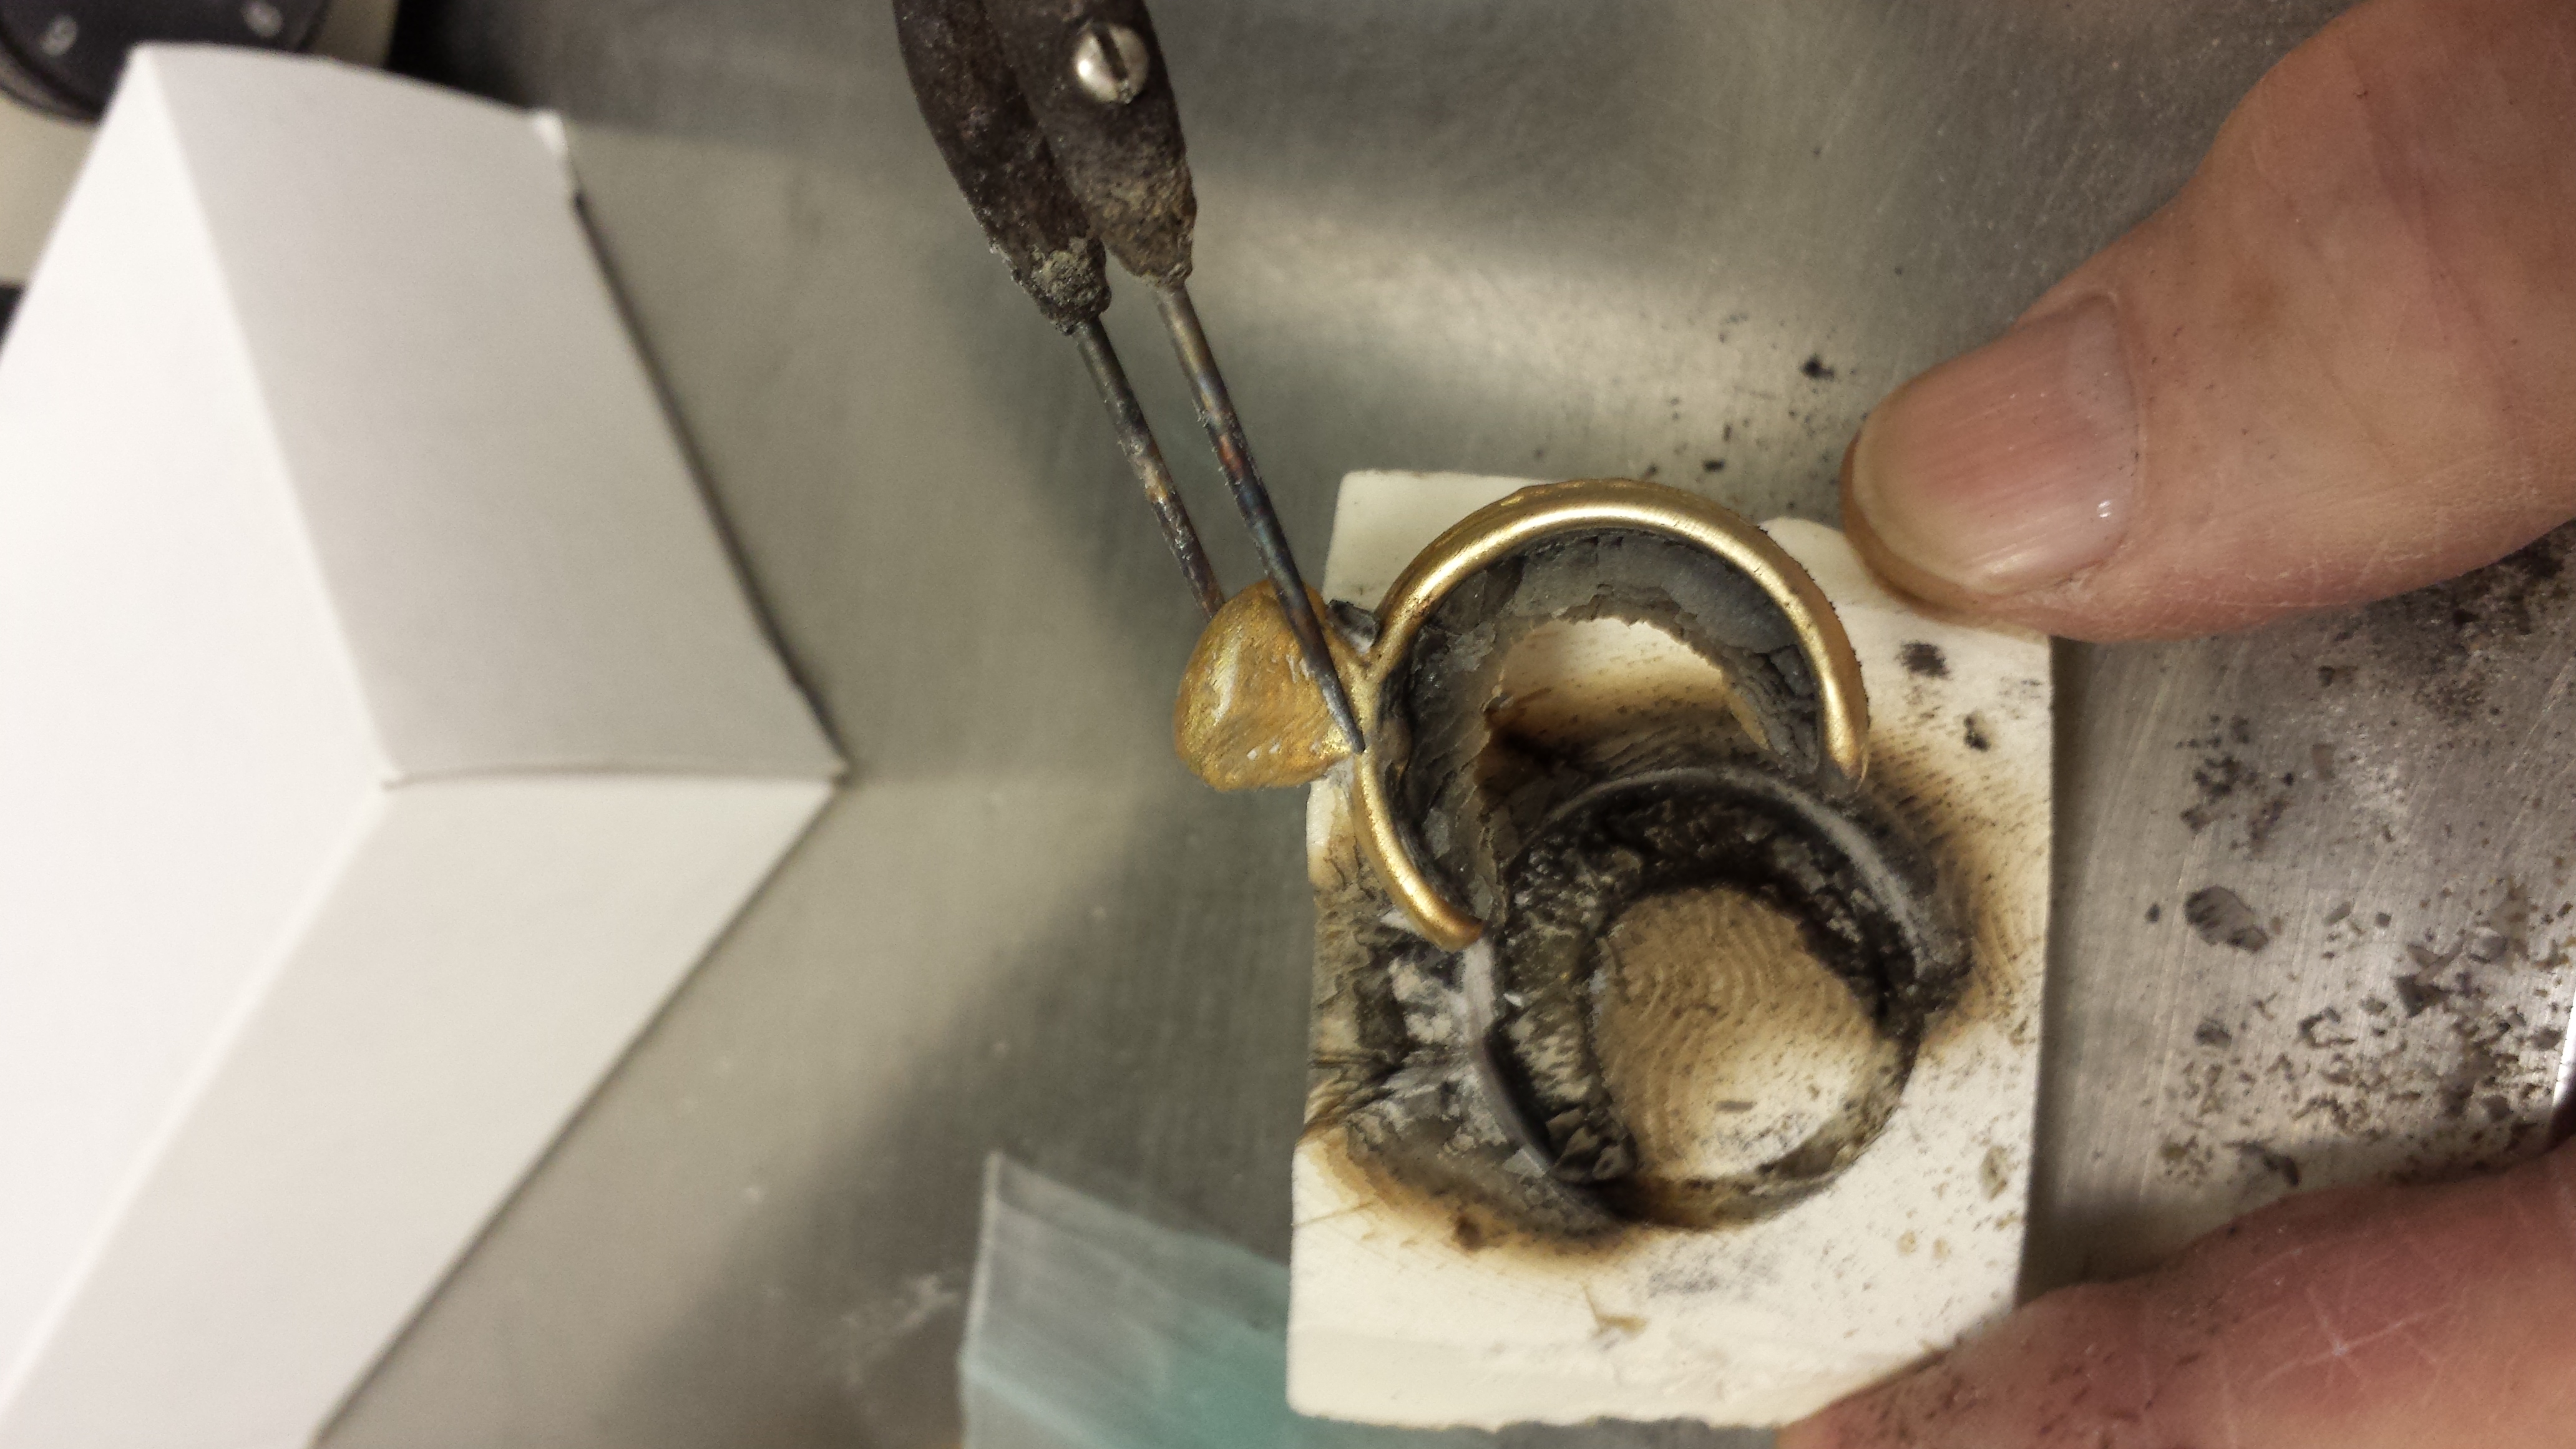
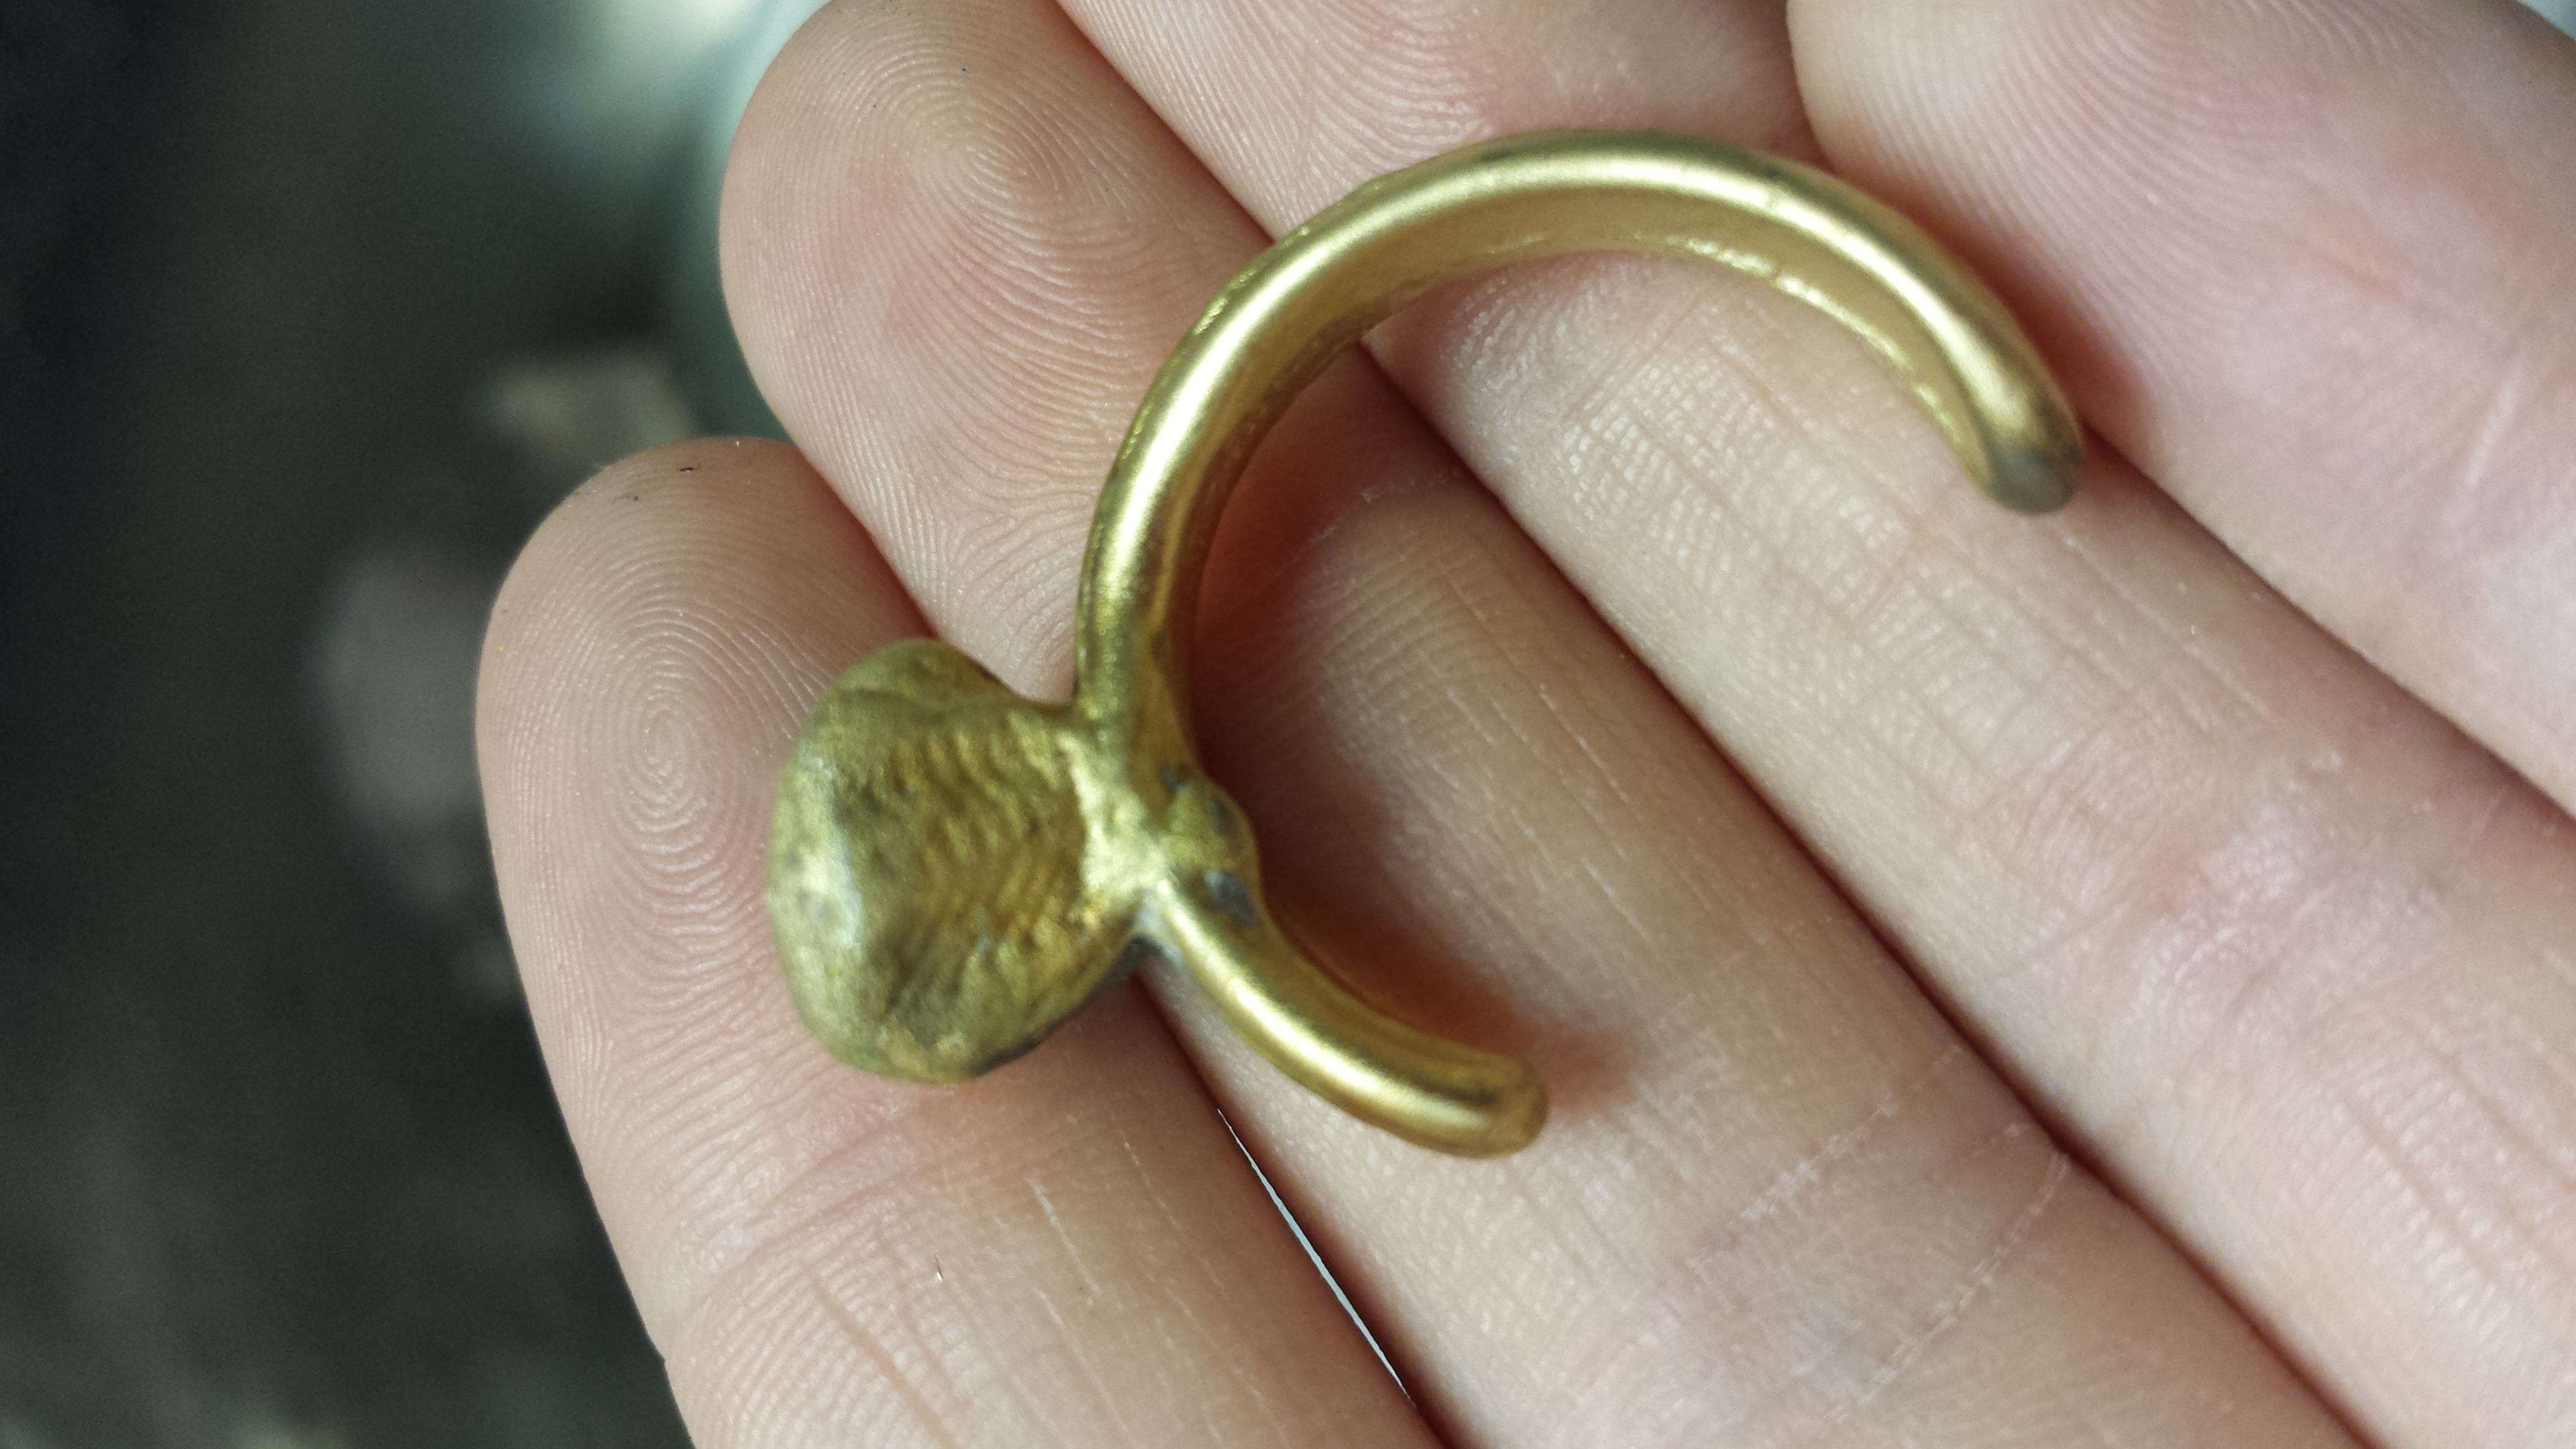
TRIAL 3
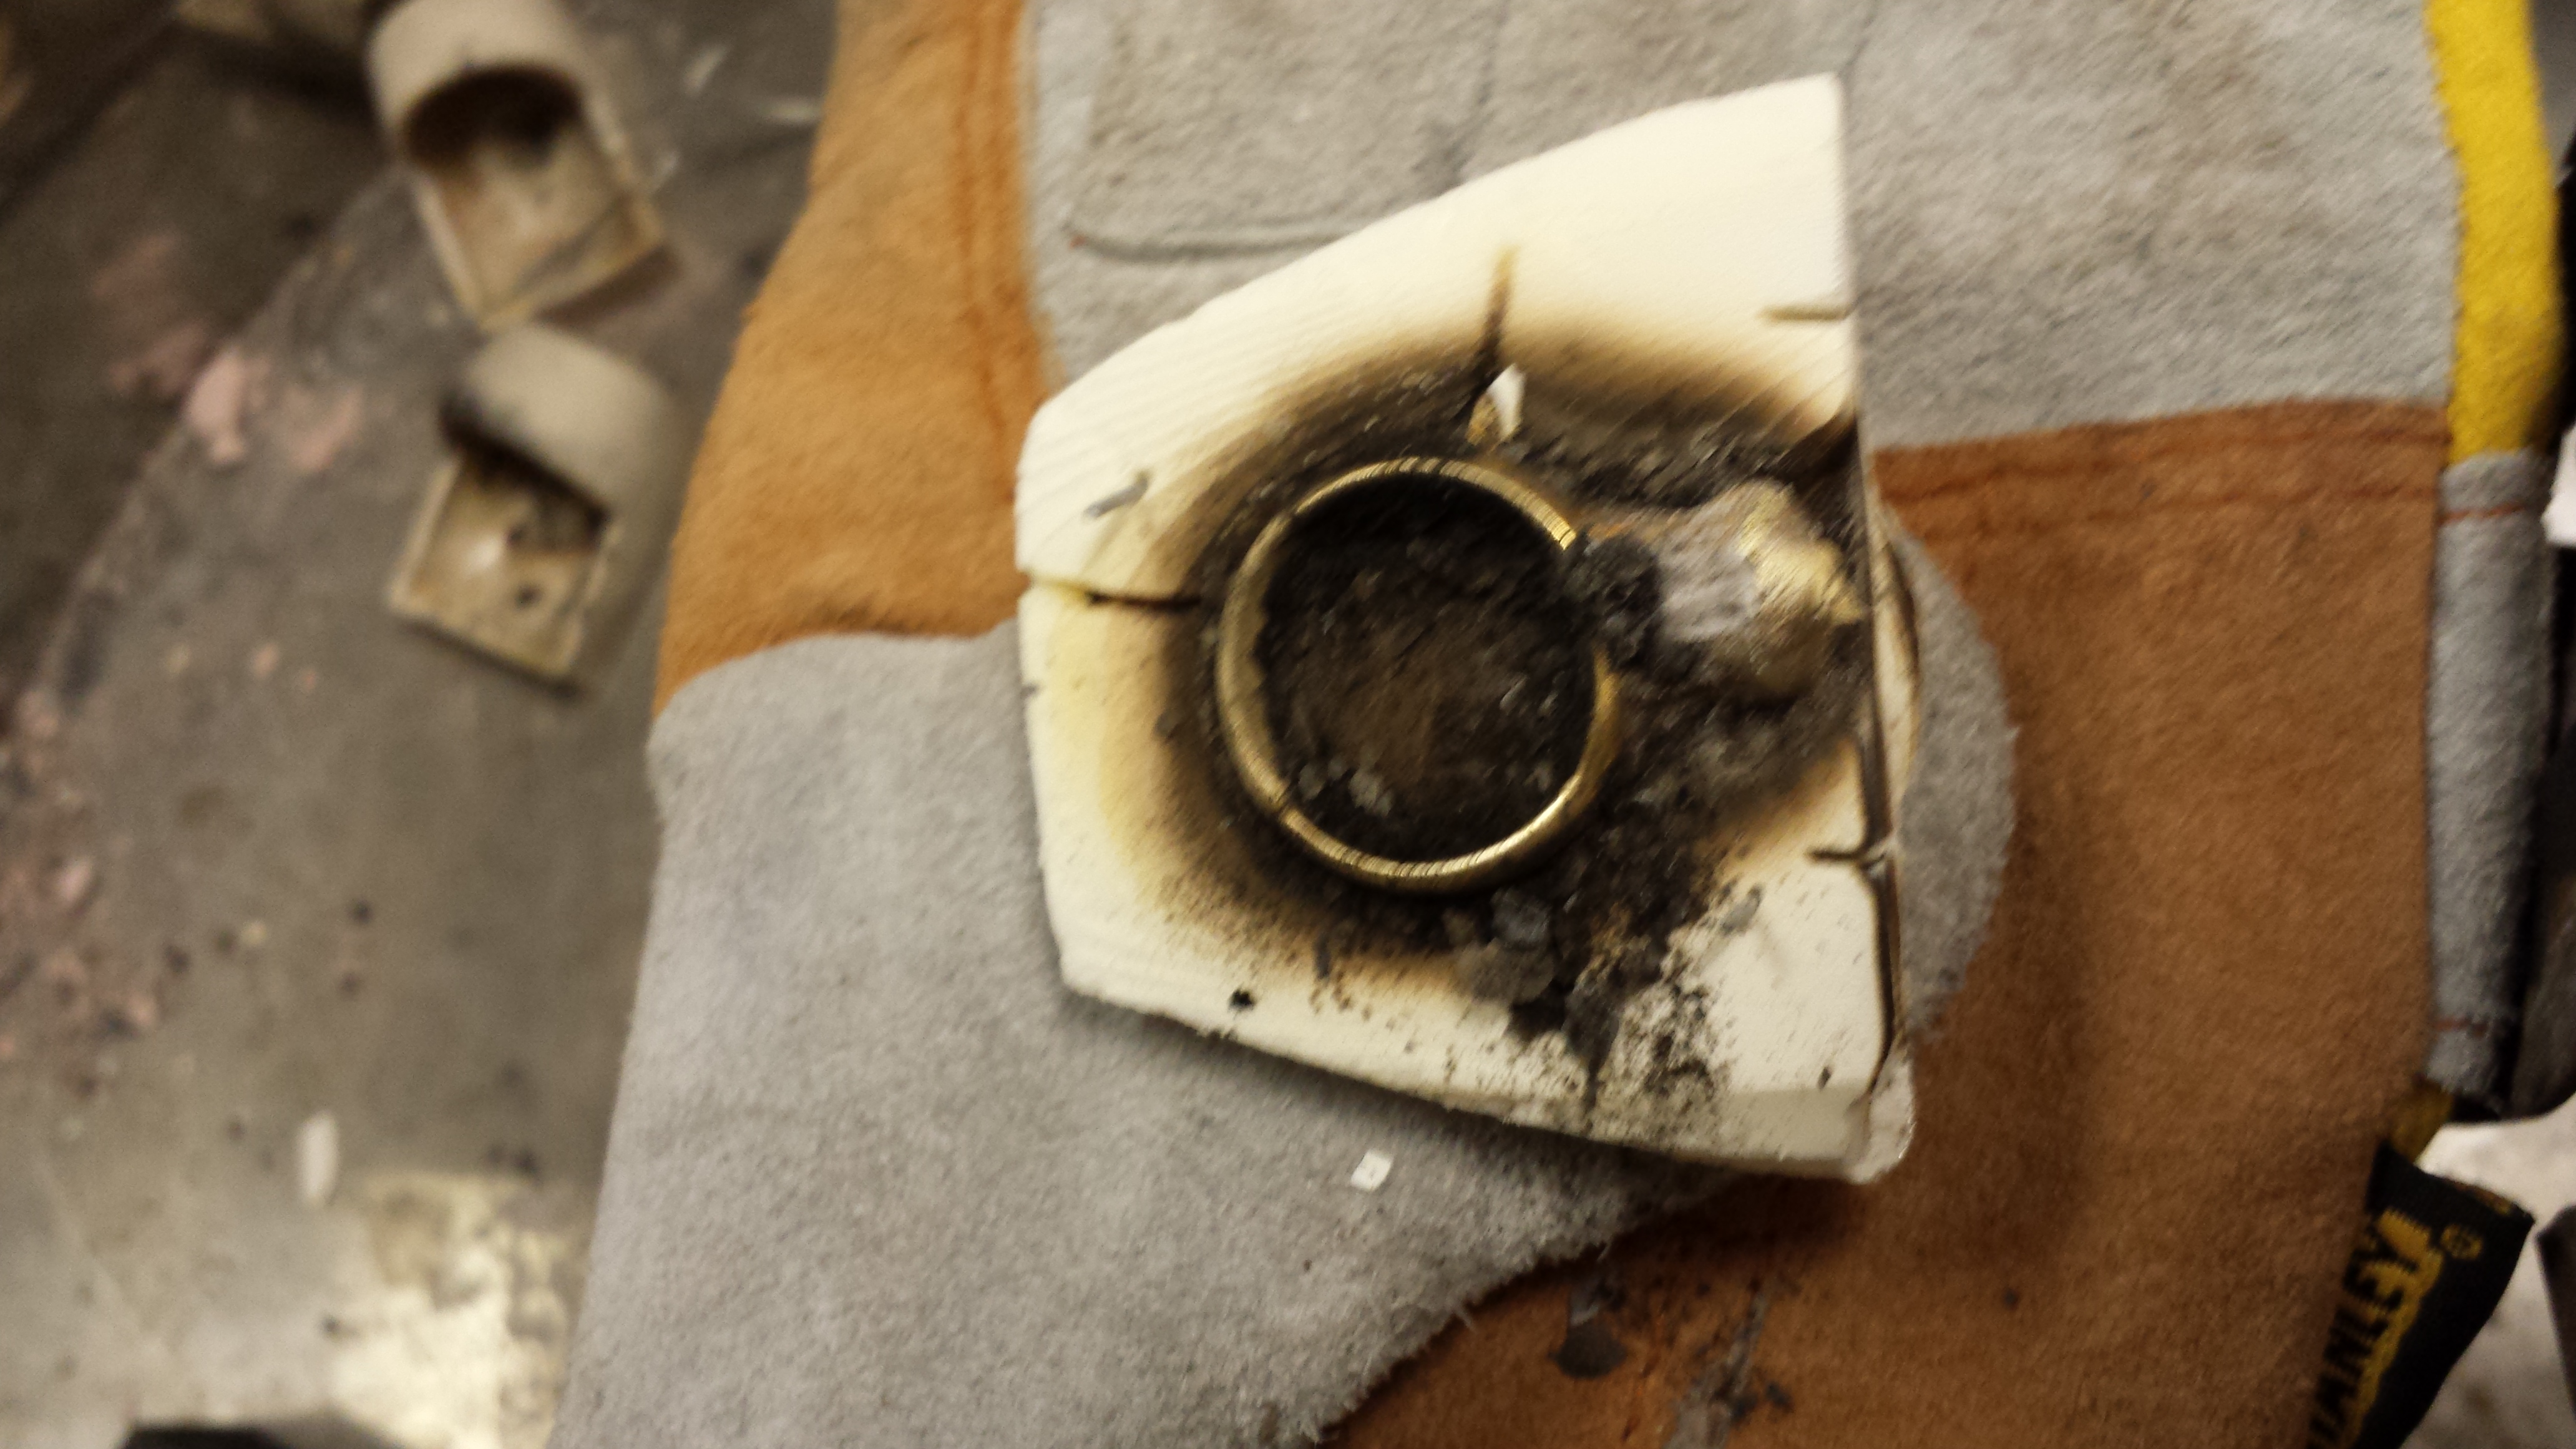
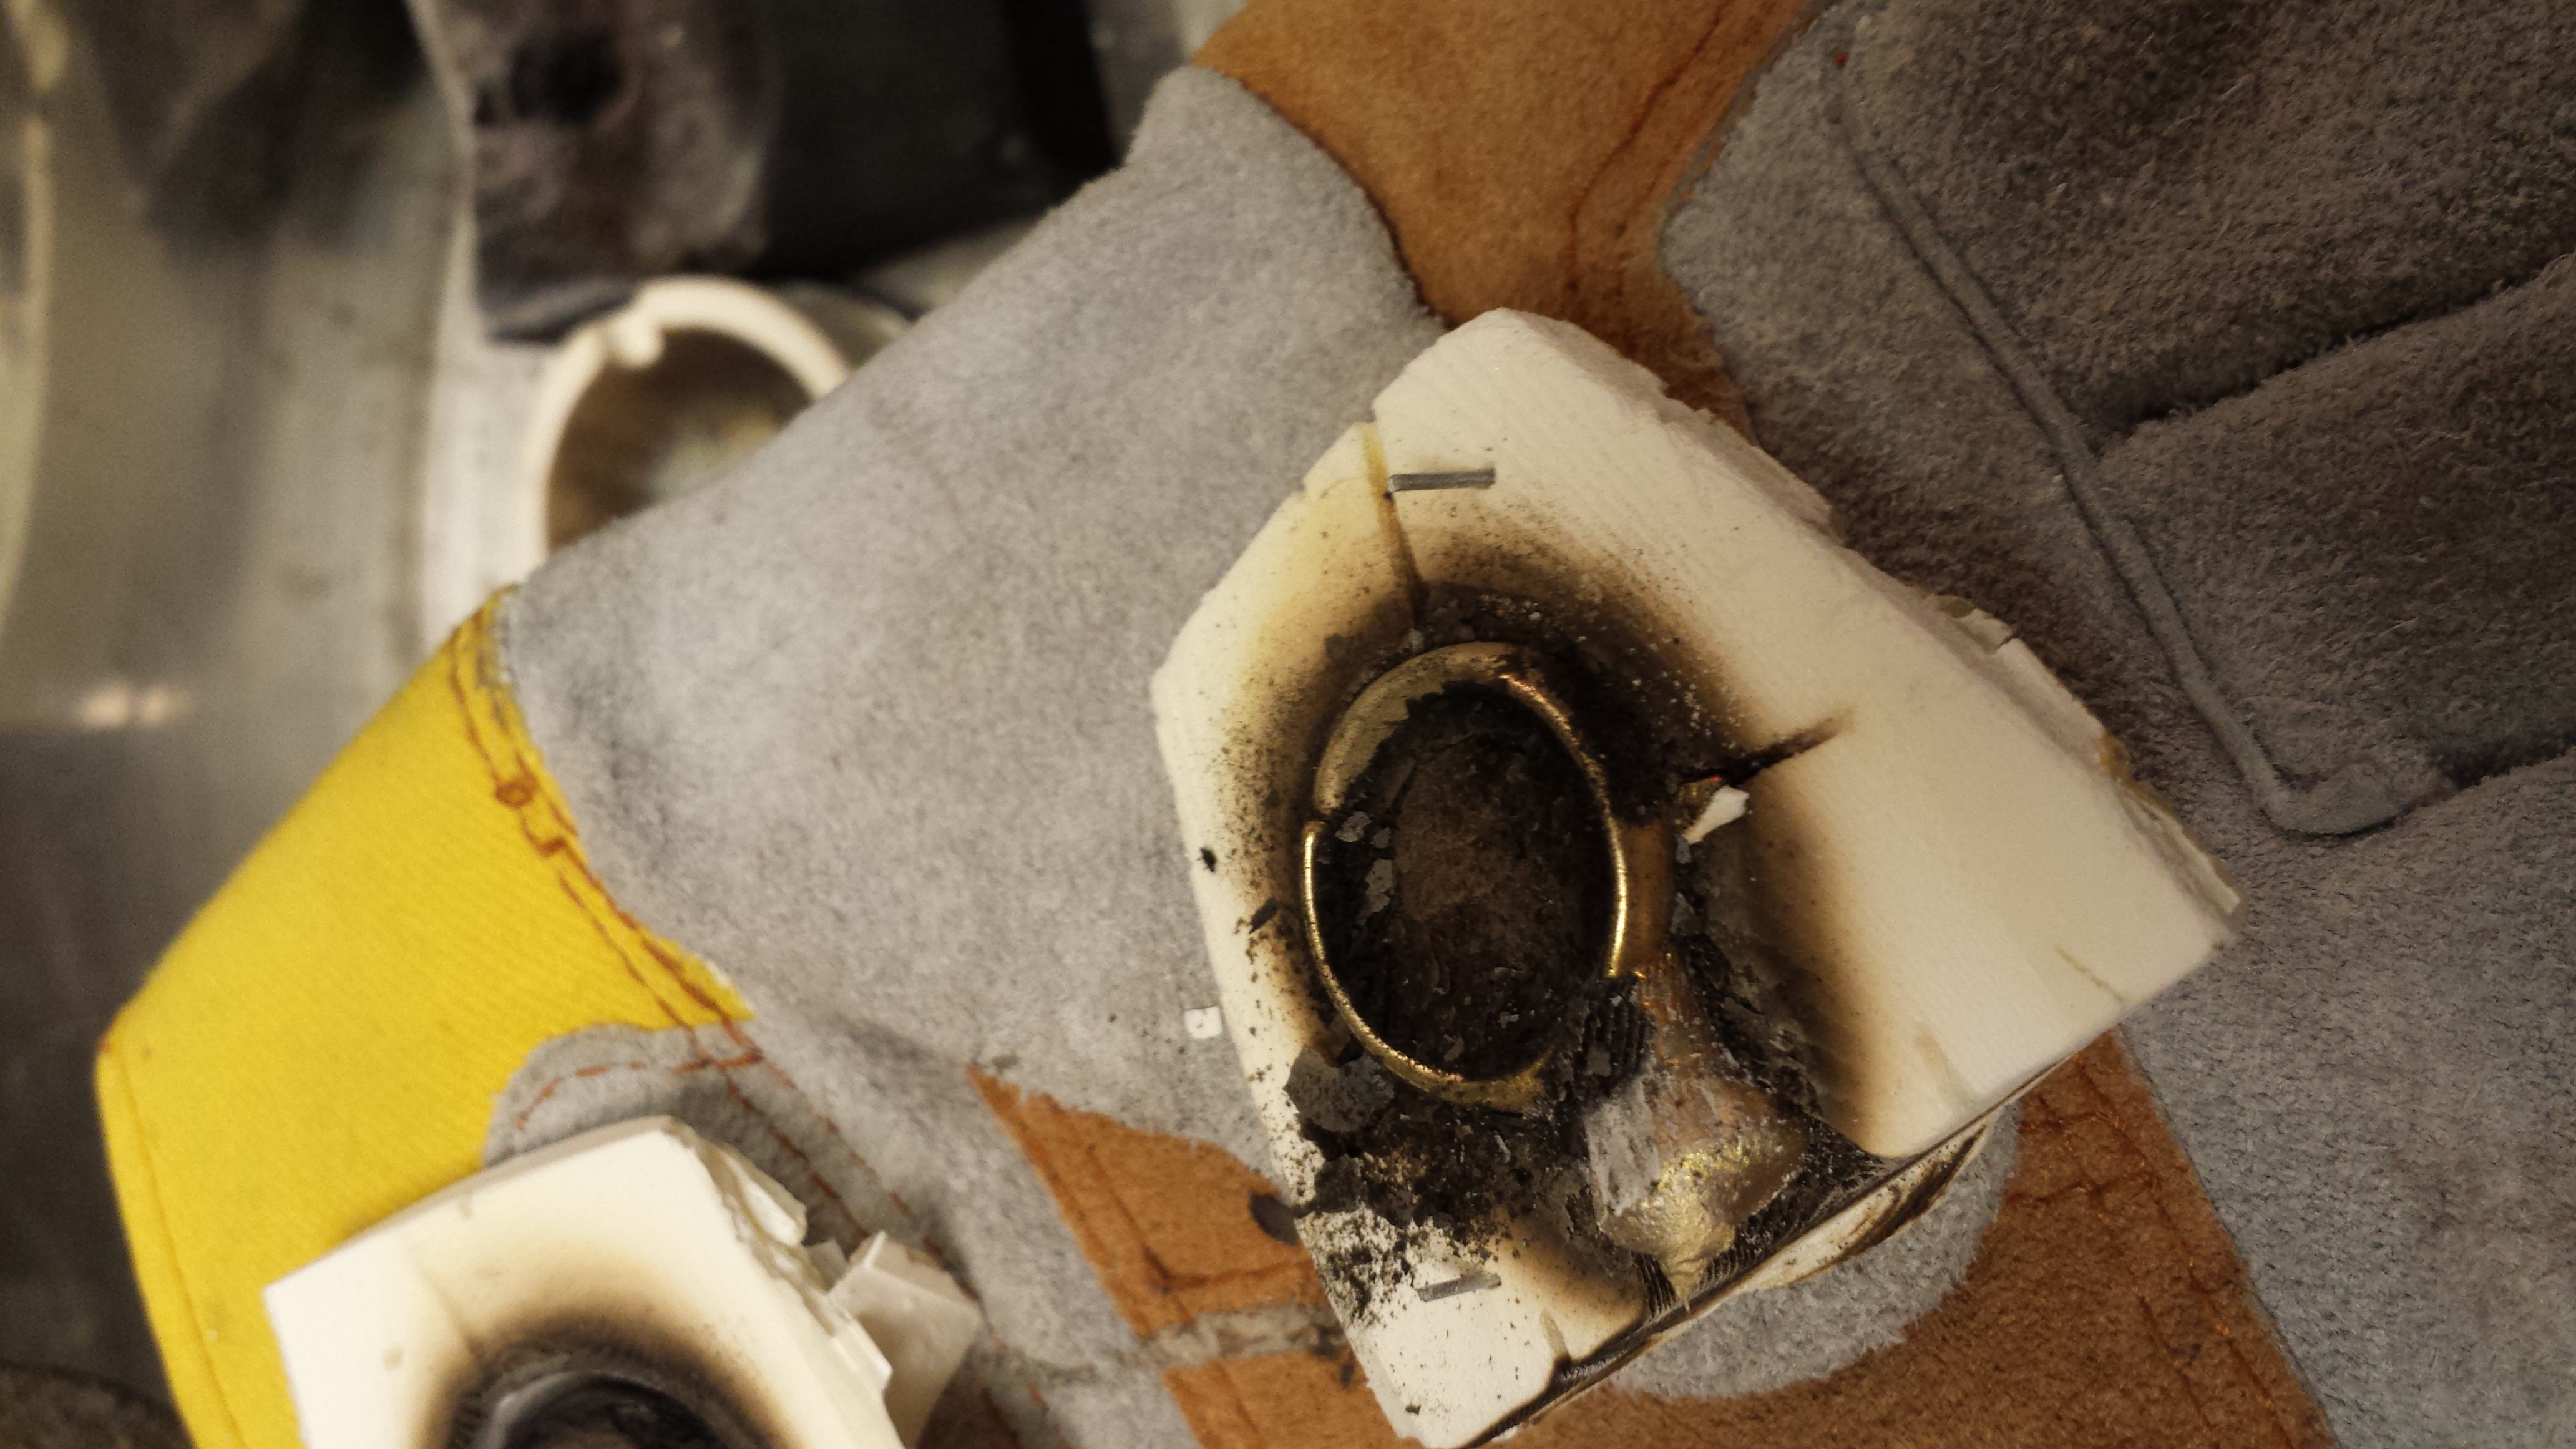
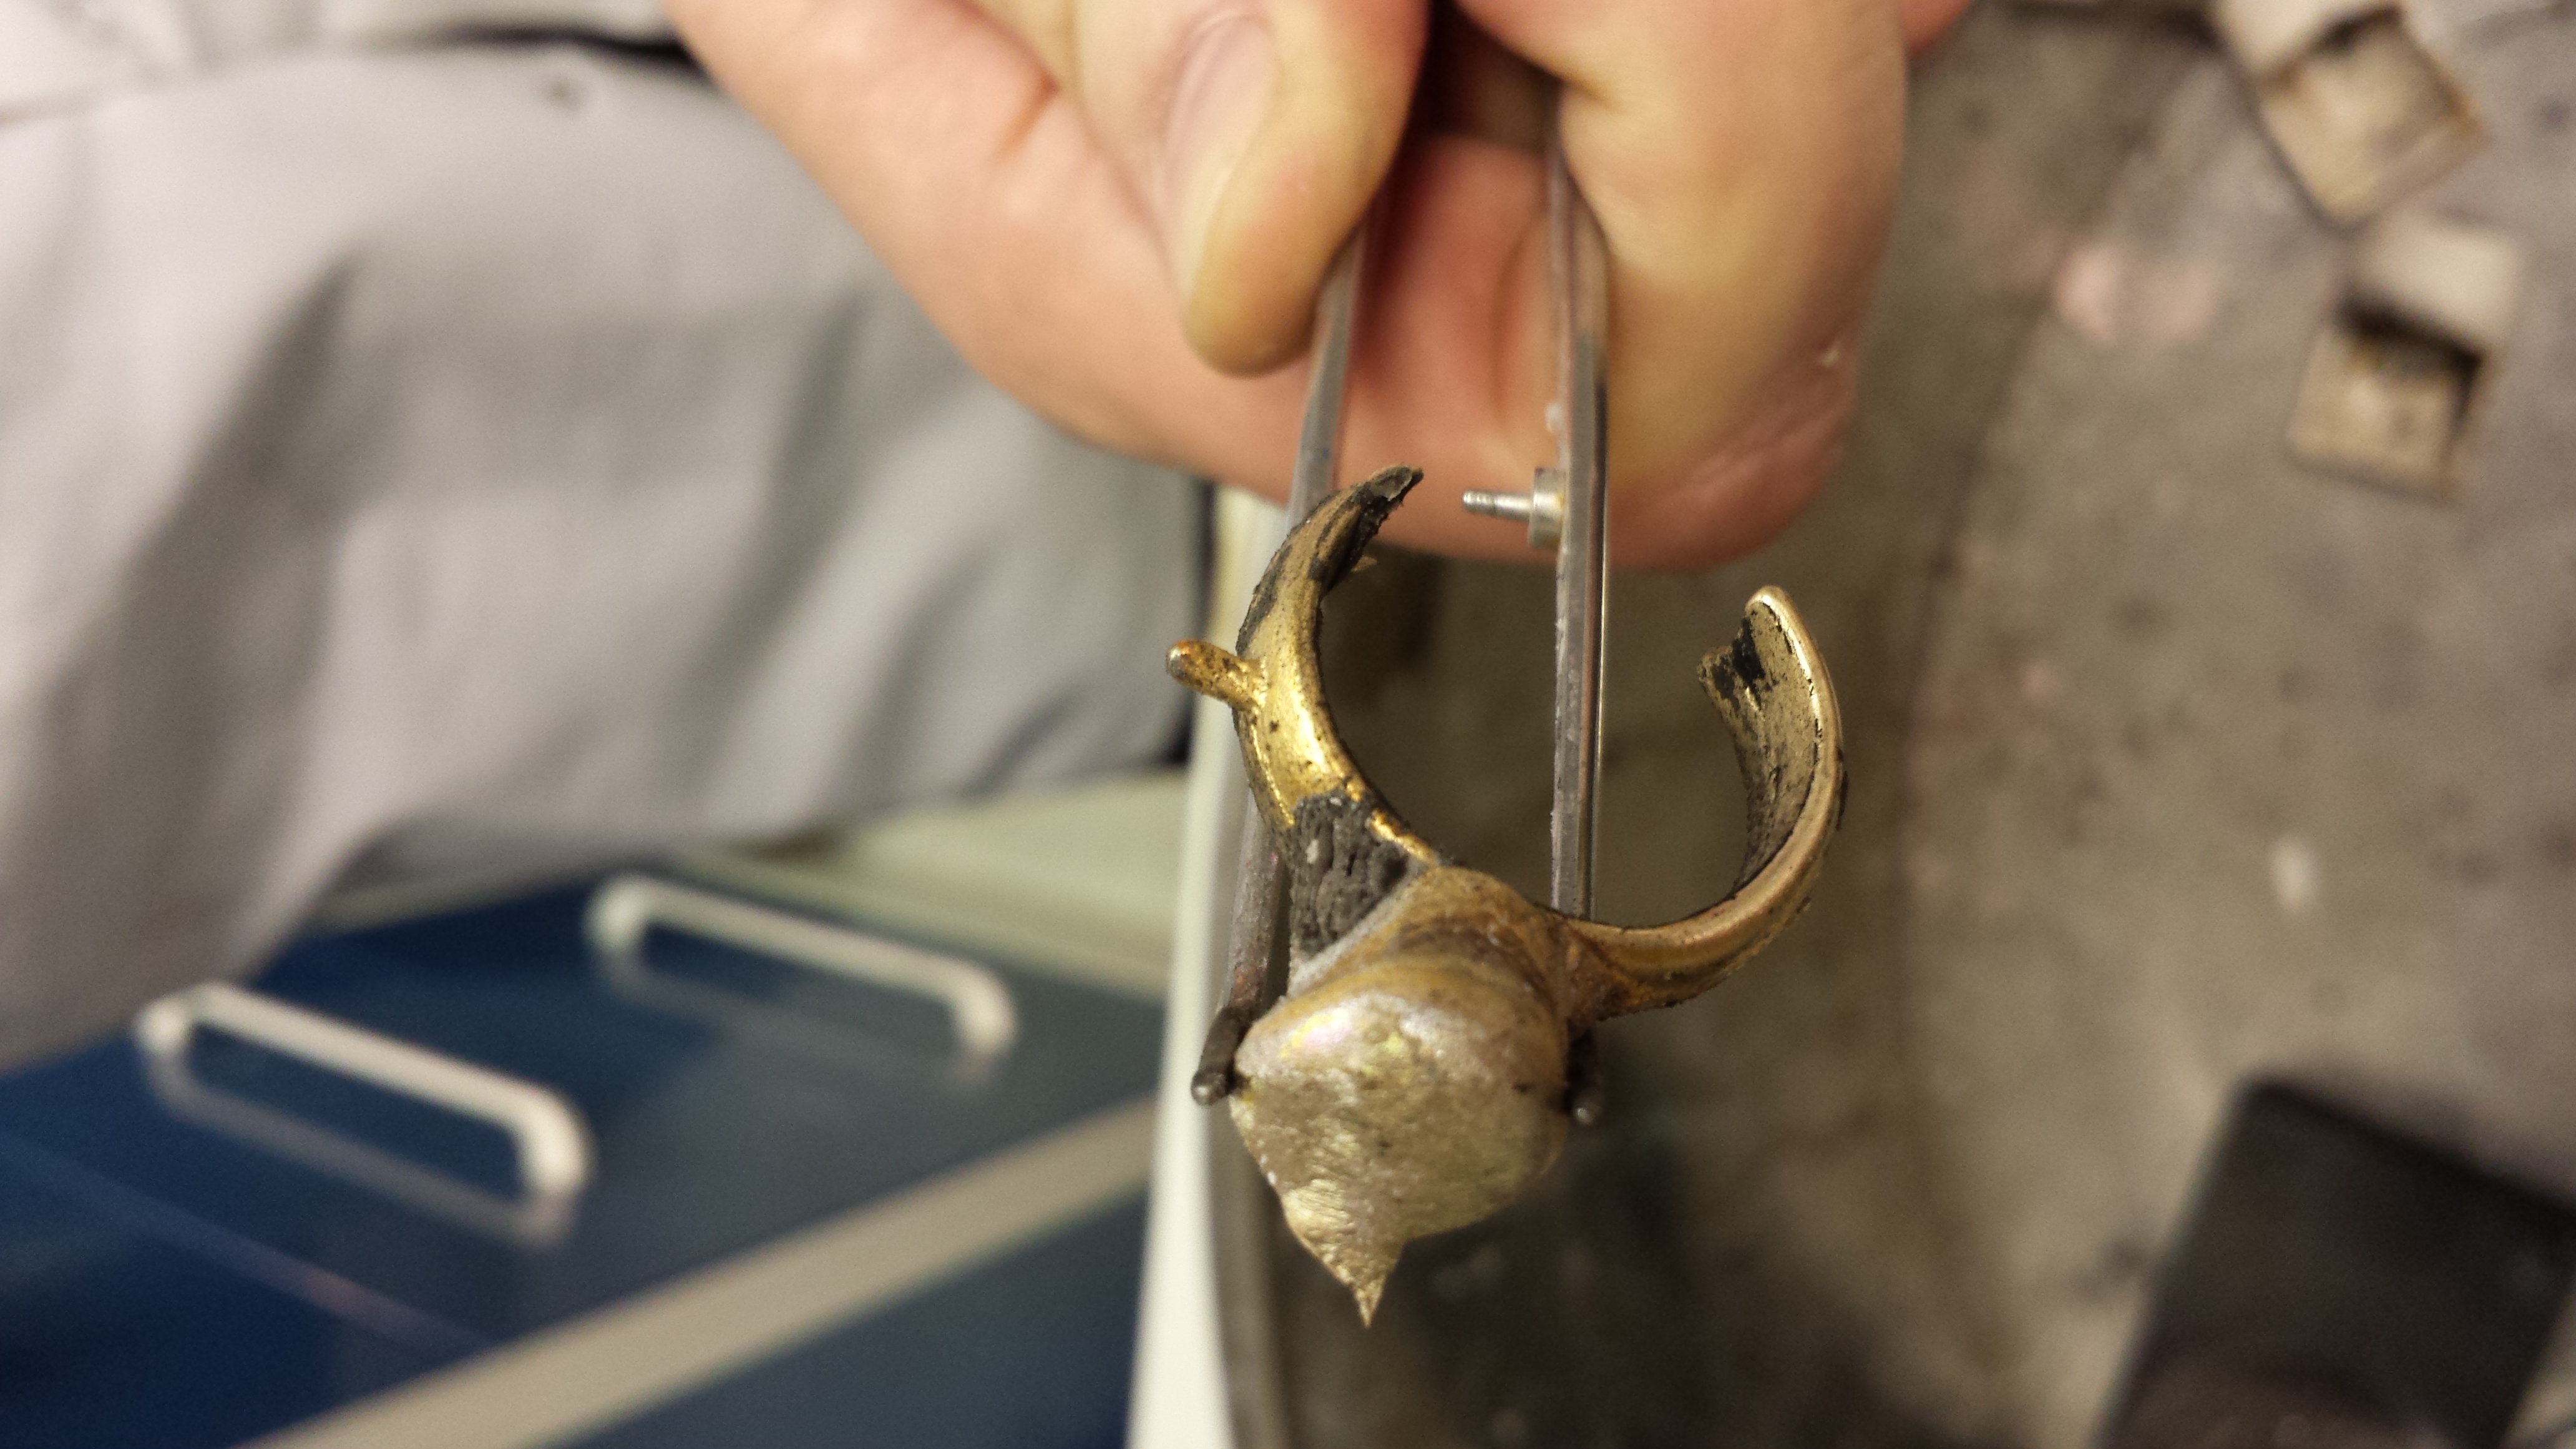
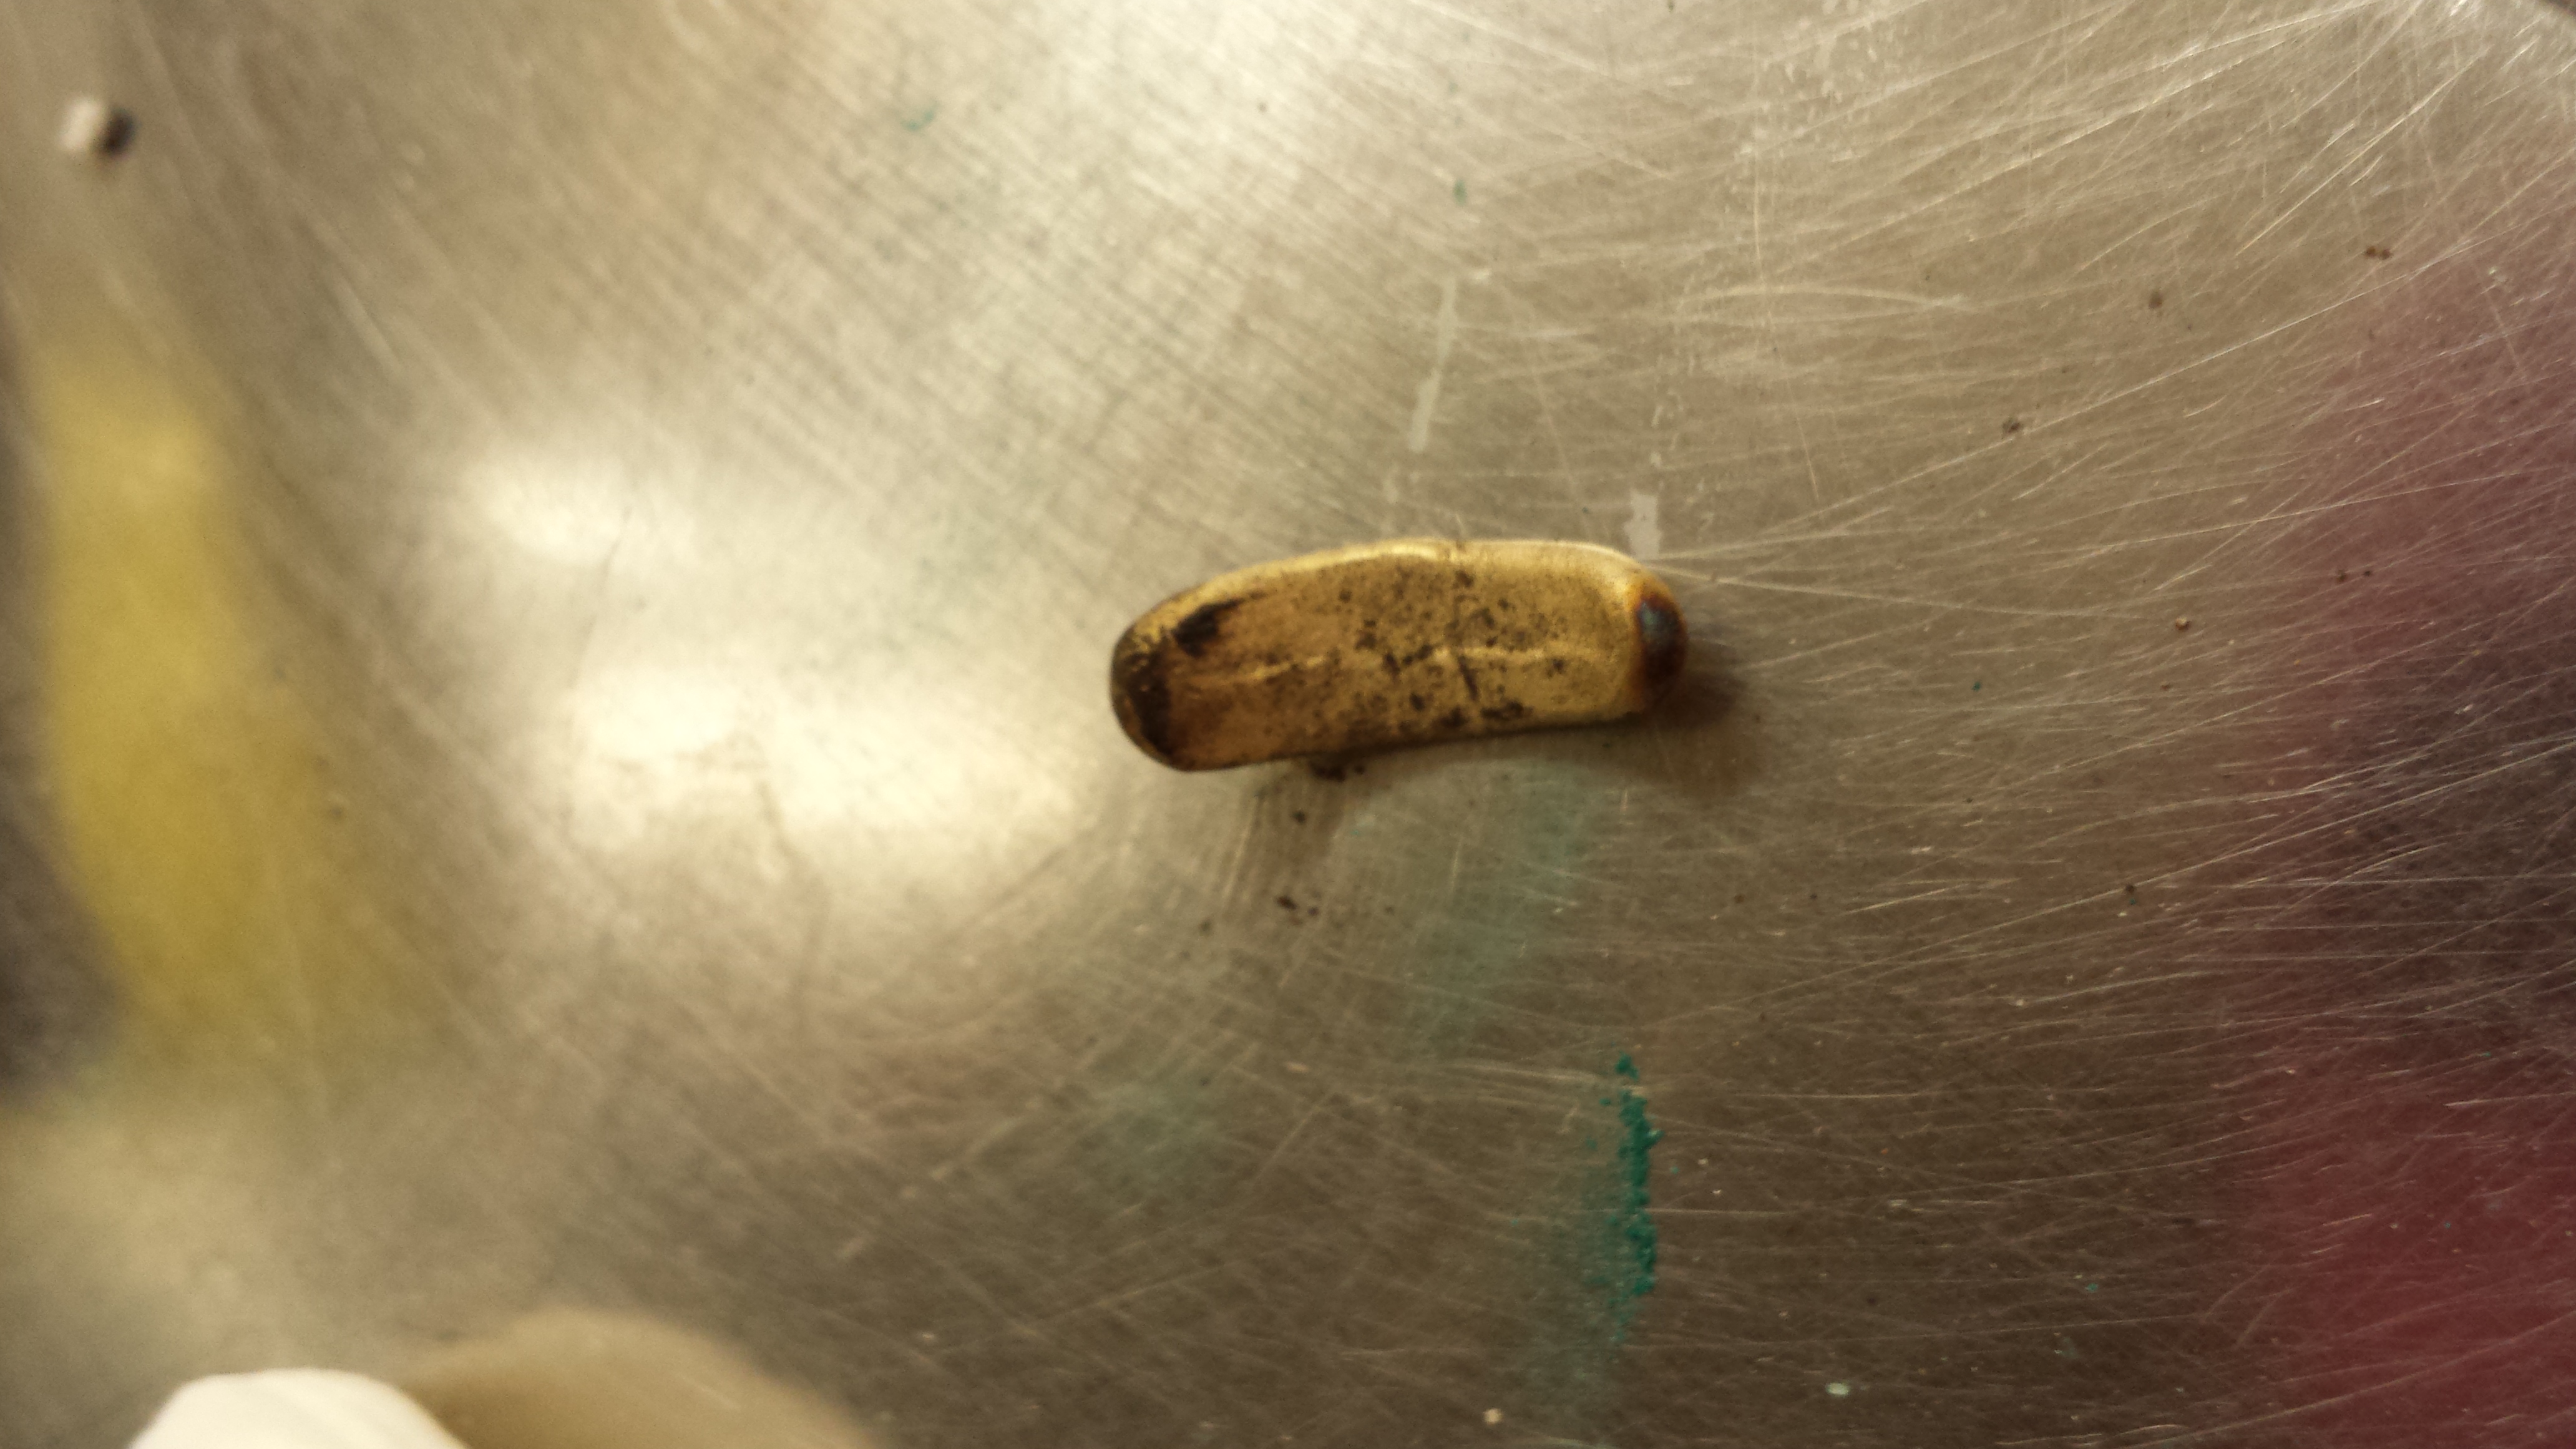
TRIAL 4
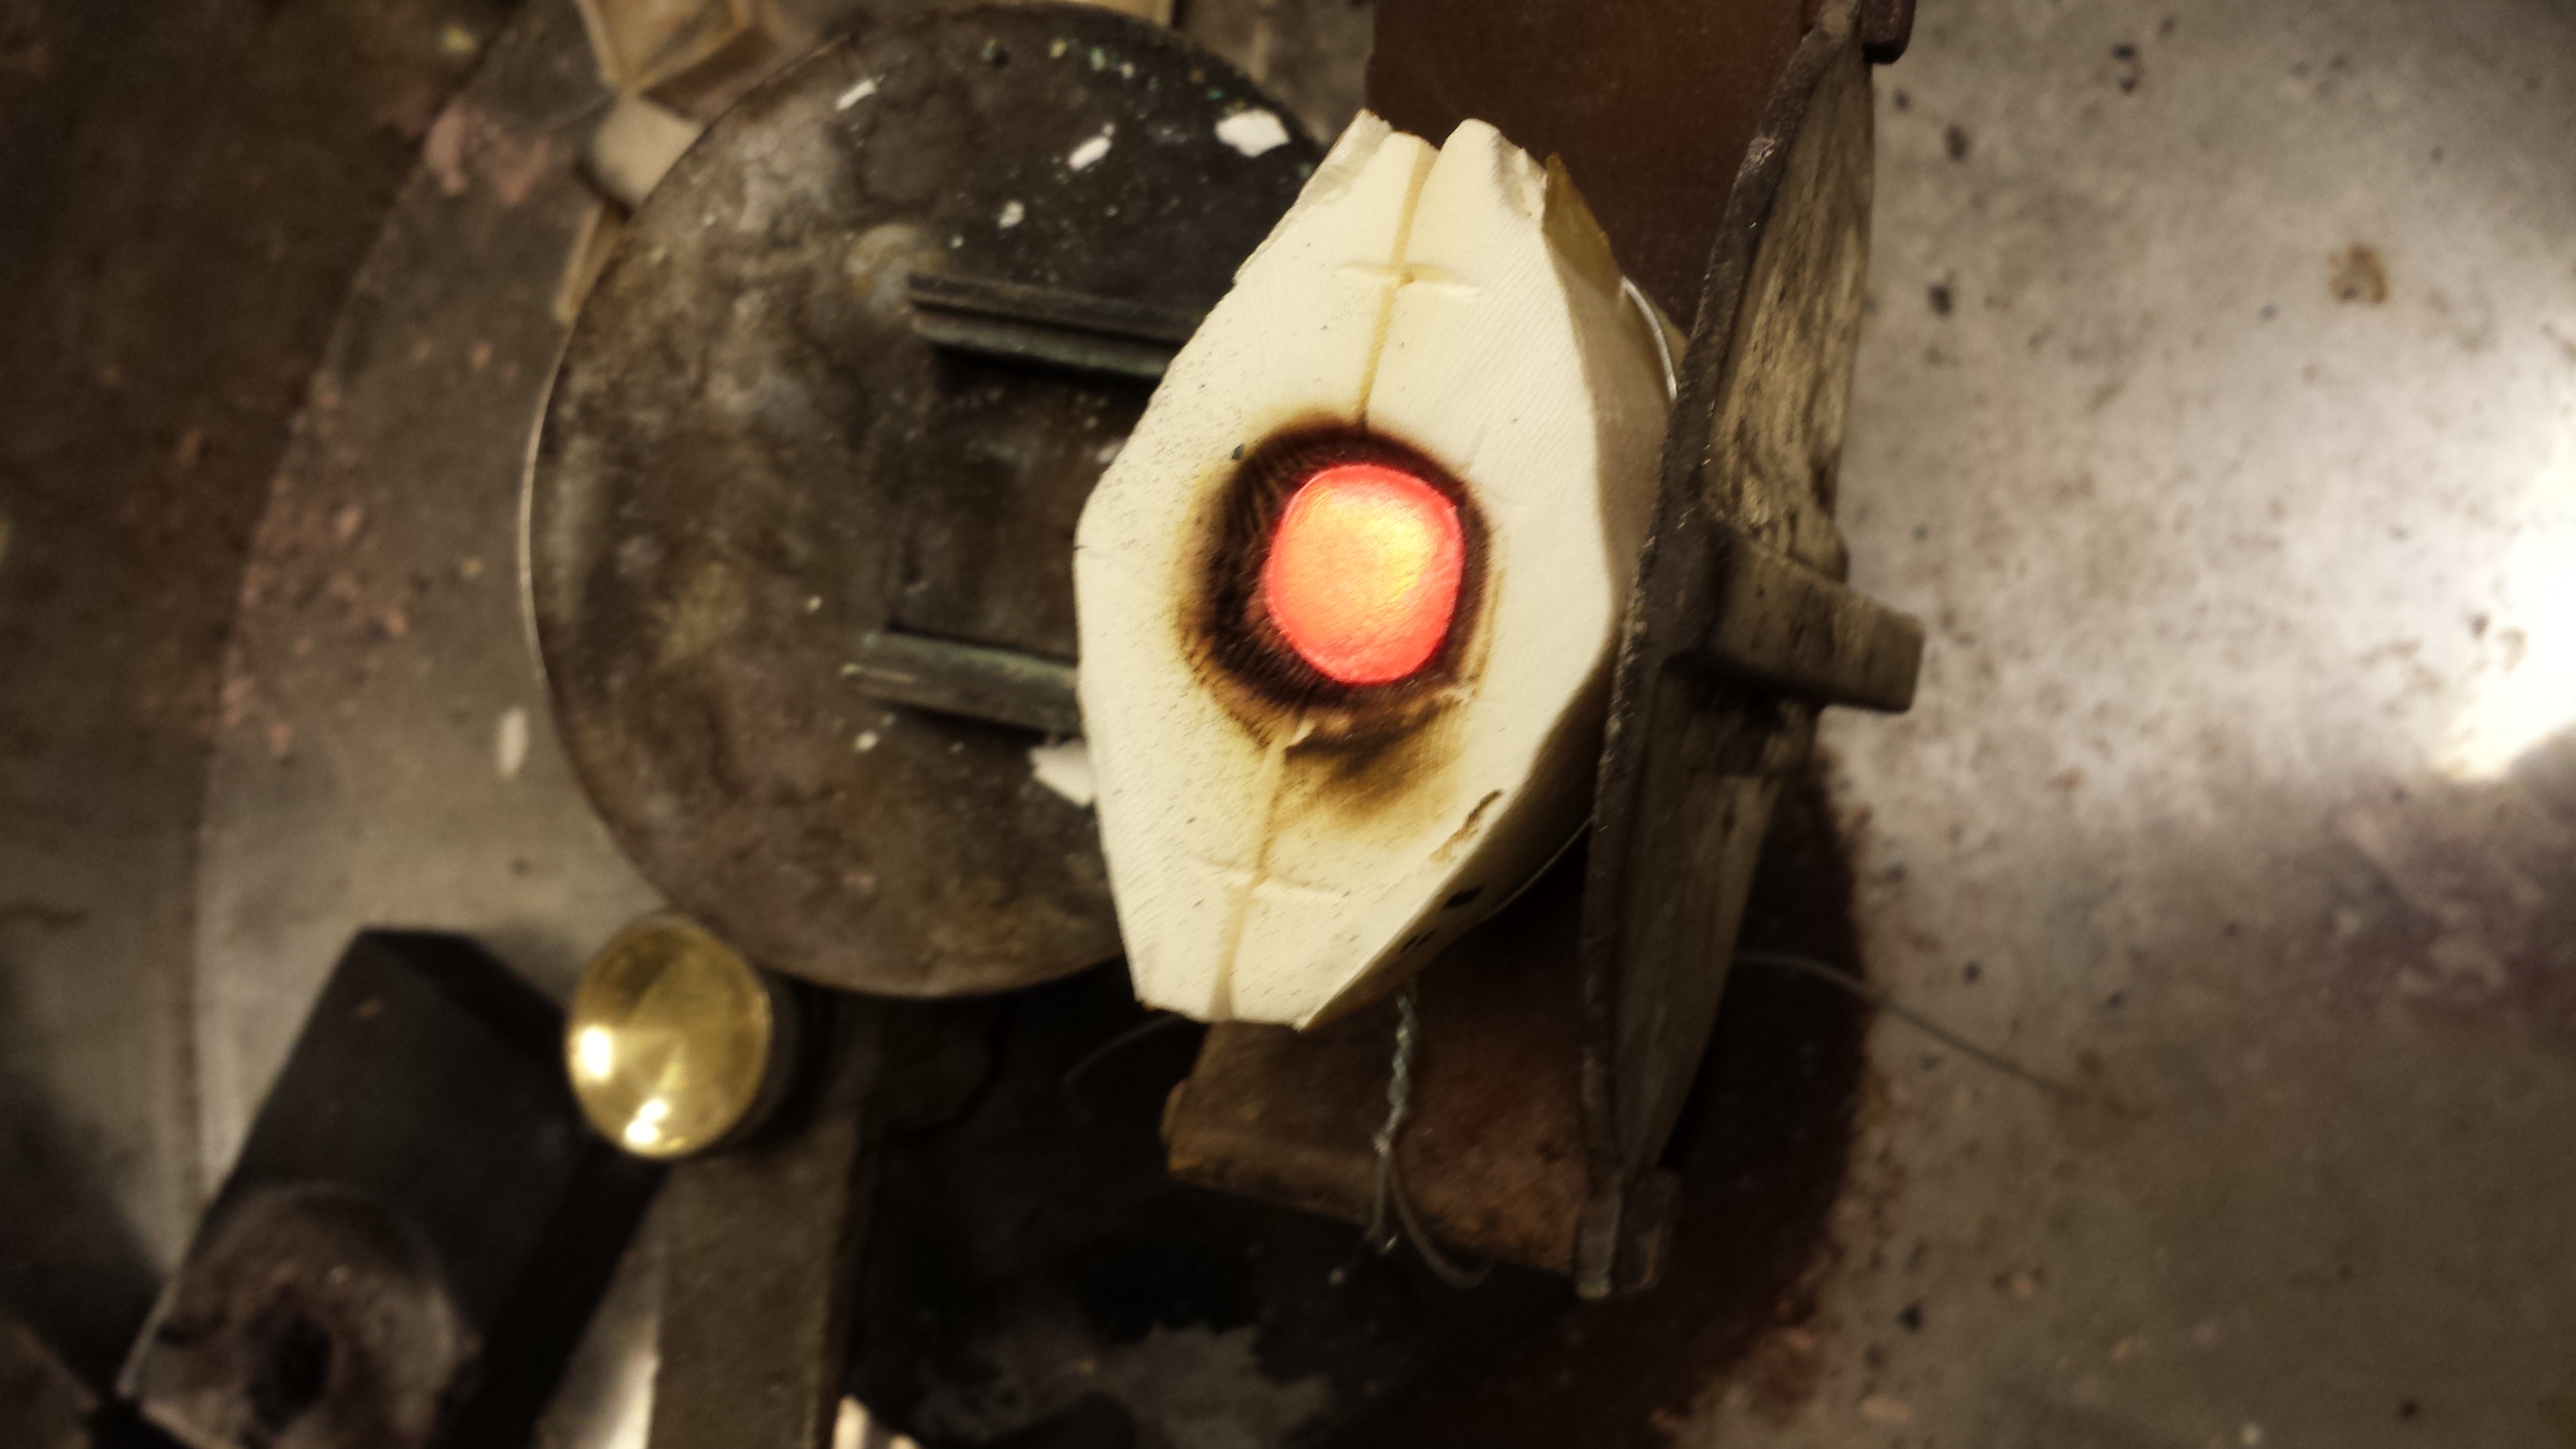
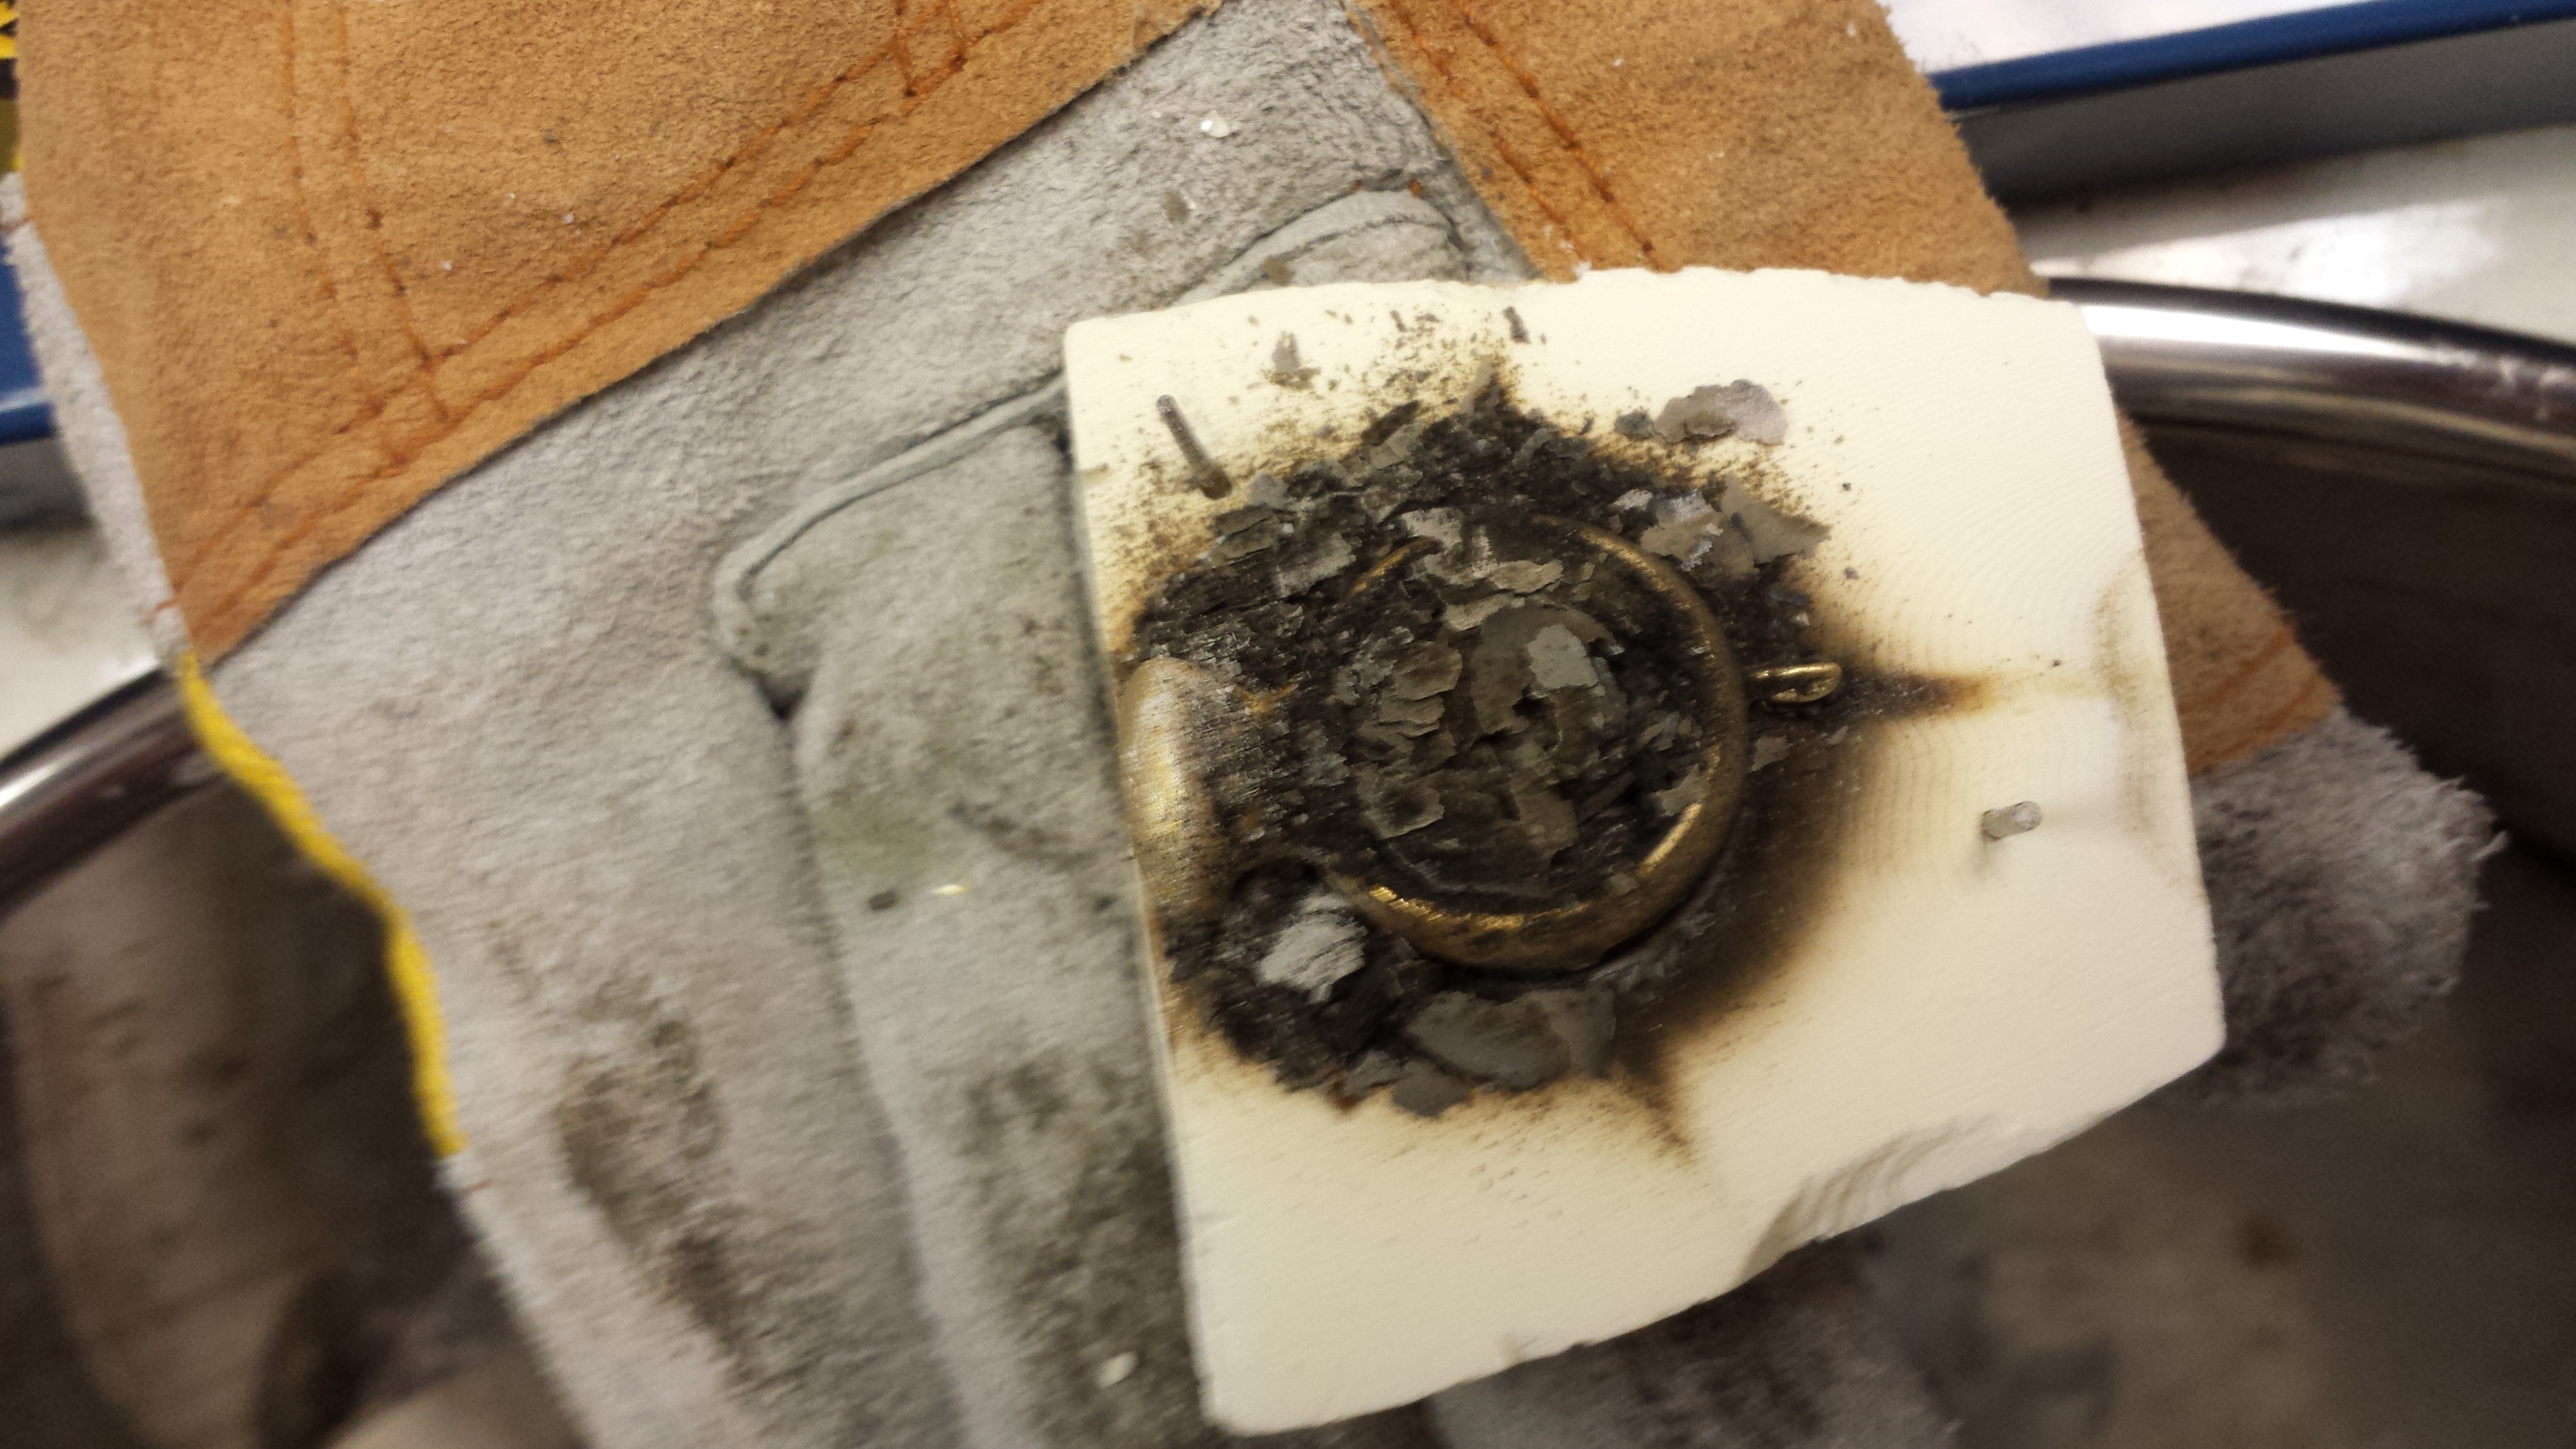
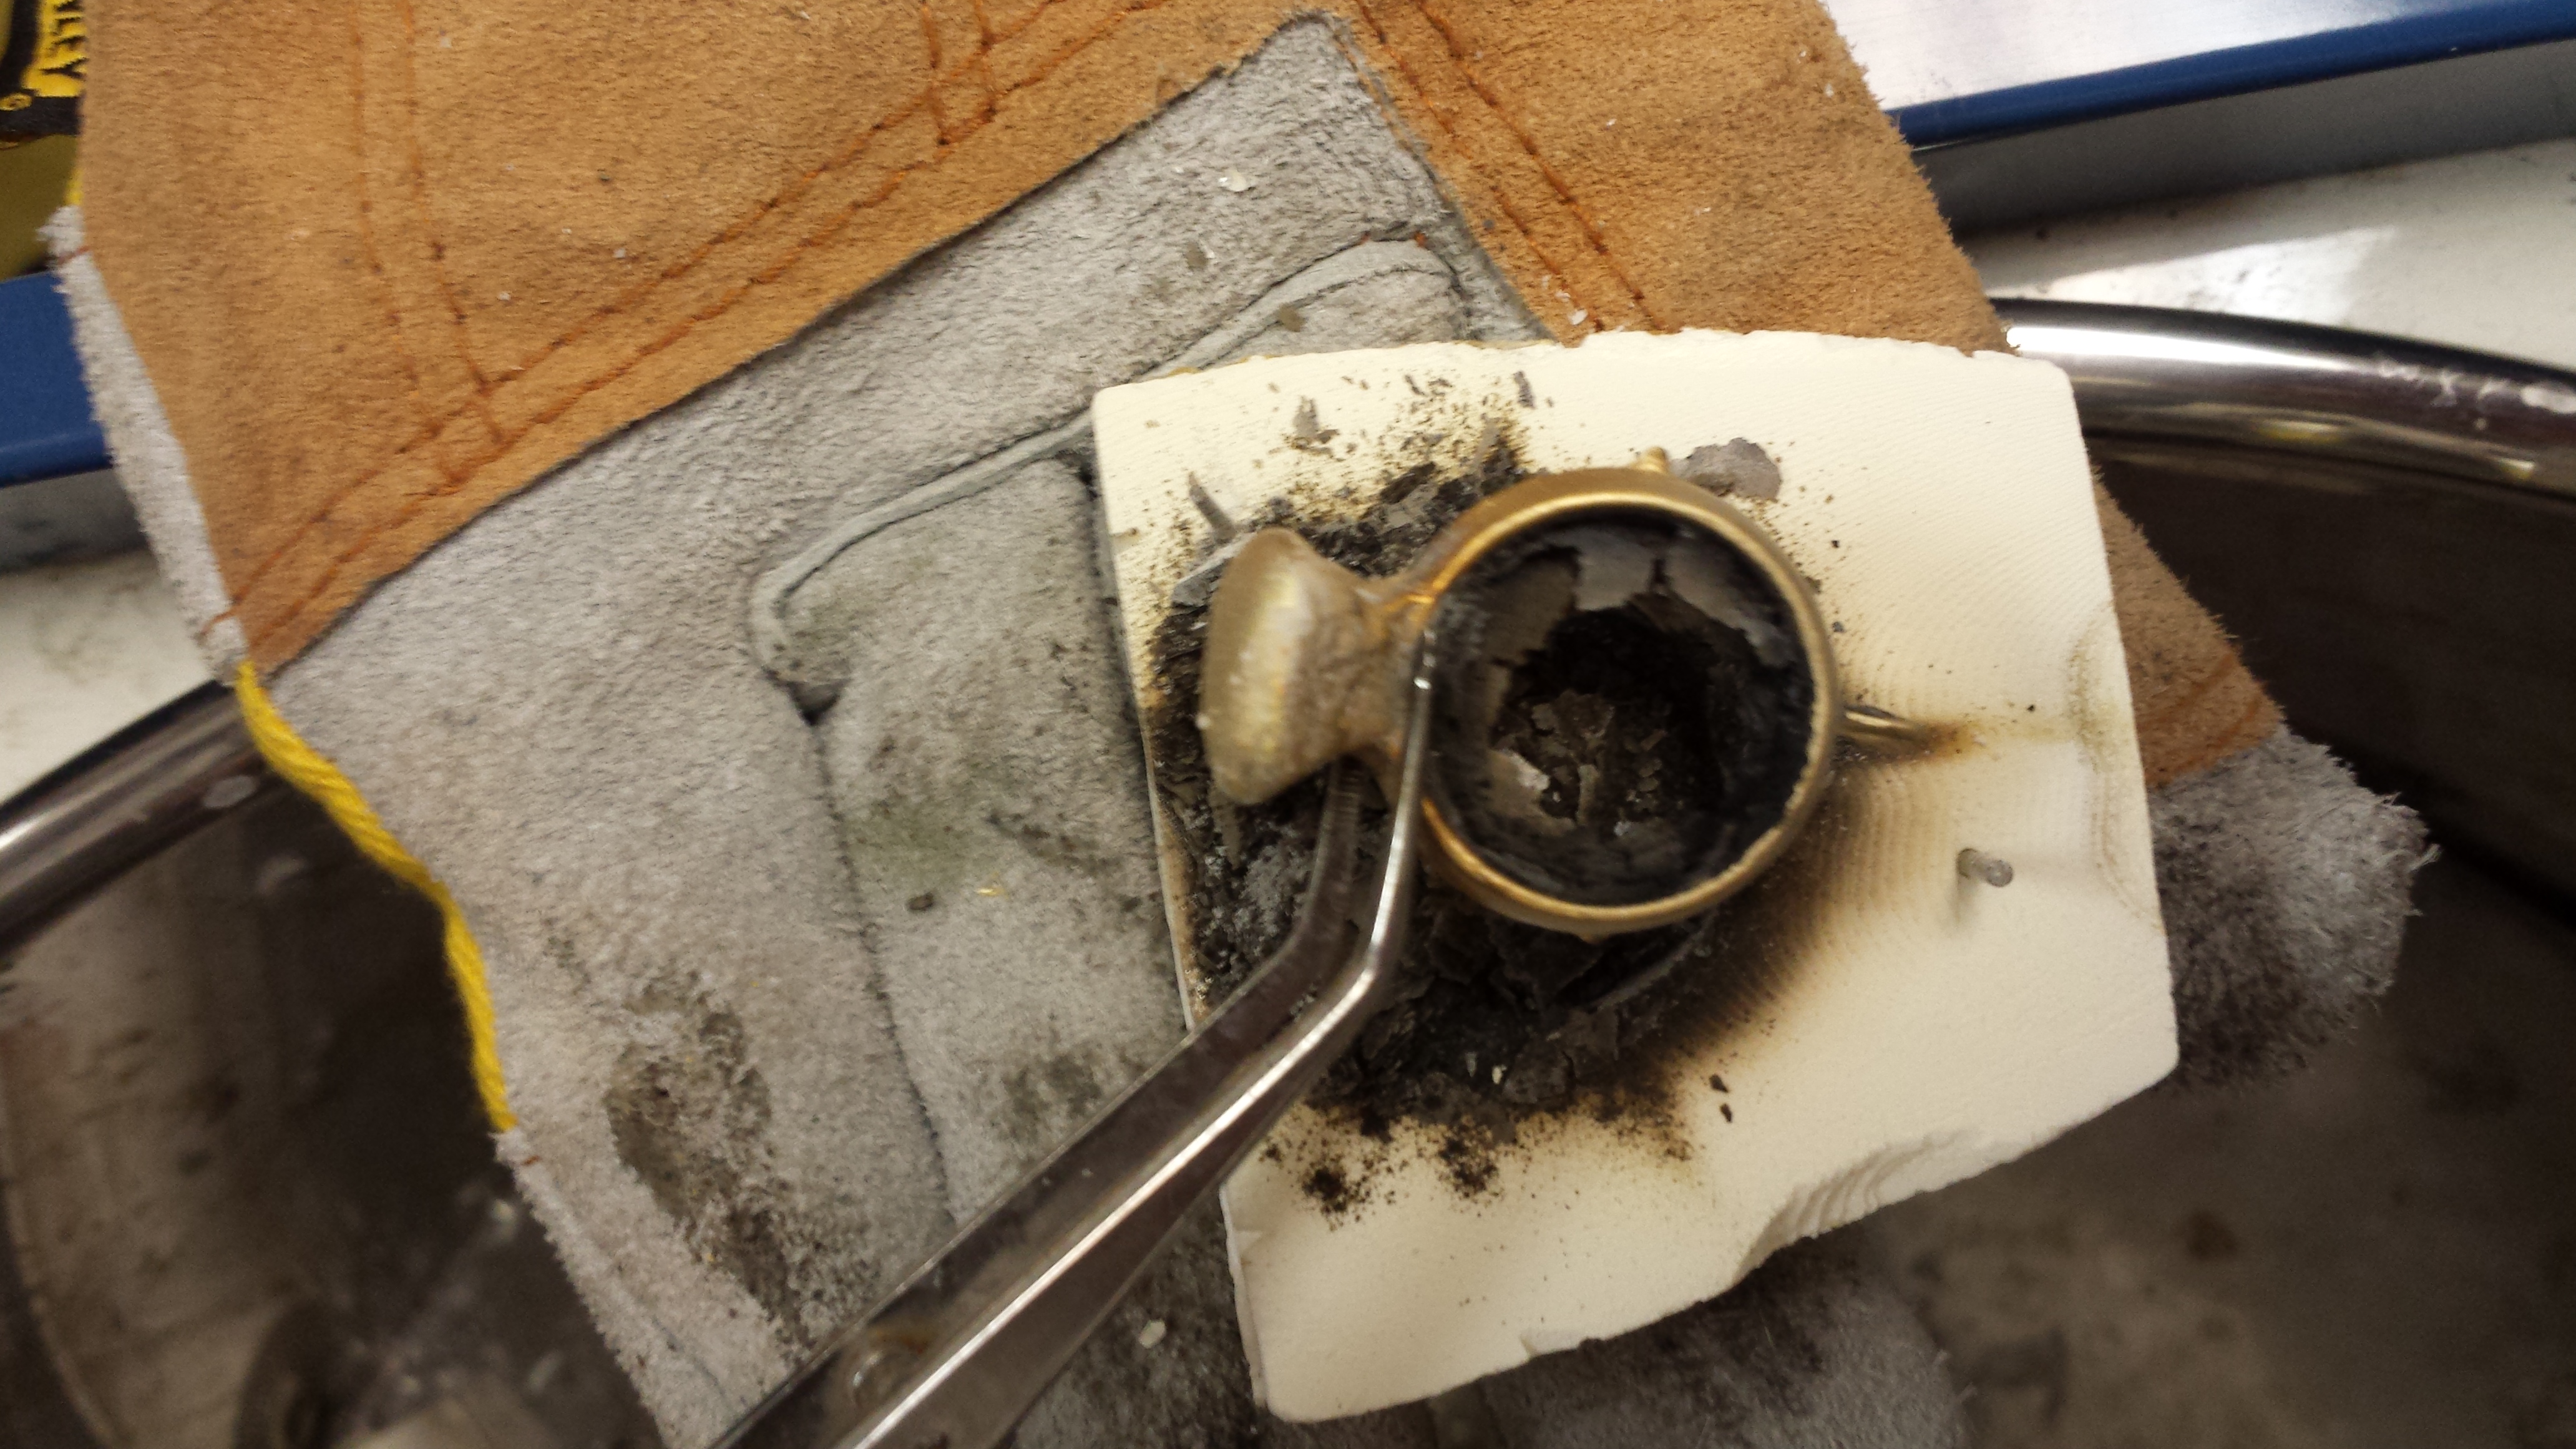

TIN CROSS TRIAL
