Breadmolding
Name: Xiaomeng Liu
Table of Contents
2017.February.03, 11:00am-10:00pm]
Location:Apartment at W 106 St.Subject: Bread making with sourdough starter, first attempt


Name: Xiaomeng Liu
Date and Time:
2017. February.18, 1:00pm-12:30am
Location: Apt. at W 106th St.Subject: Bread making and molding (Pain de Common)
My first bread making with sour dough starter seems not bad, except that the taste is plain and sour. Prof. Smith told me it could probably due to the lack of salt in the bread. I never made bread before, but I come from North China, where people mostly eat food made from wheat floor rather than rice. I do make Chinese steamed bread or bun, dumpling, pancake, so I’m familiar with kneading and shaping the dough. I drew on my previous experience in Chinese cuisine to make my first bread. I don’t know the proportion of each ingredient used in the bread, and have no idea how to make it tasty. The things I do were simply mixing the flour, sour dough starter, water together, letting the dough rise, kneading for one time, letting it rise again, then kneading, shaping and baking.
I need to be more prepared to make the bread for the molding assignment. First thing I need to do is find a recipe. I went though some of the lab notes of students from previous semesters, and found the recipes all came from multiple sources like journals, books, and manuscripts. The sources listed in the assignment page also helped a lot. I’m particularly interested in “John Evelyn’s bread recipes” as it consists of both recipes and instructions on how to make good bread. However, the handwriting is quite hard for me to recognize, and moreover, the spell of the words are different from modern English. Though I can roughly understand the meaning of each paragraph, it’s still far from getting a detailed recipe to follow.
Then I found some of John Evelyn’s recipes has already been transcribed in a book: Christopher Driver, John Evelyn, Cook: The Manuscript Receipt Book of John Evelyn, Totnes: Prospect Books, 1997. Three (199, 269, 343) out of 343 recipes in the book are on the bread making, two of which have the same headline as “To make French Bread”. All of the three recipes all require ingredients include fine flour (spelled as flower), Ale yest (sic), milk, eggs, salt, and two of them require butter. They don’t seem like the kind of bread that common people in seventeenth century could afford.
On the same shelf in Butler Stacks, there are a butch of recipe books and cookbooks. I selected some of the them and try to find any other useful recipes. The the book Martha Washington’s Booke of Cookery (New York: Columbia University Press, 1995) came to me, and I find anther recipes titled “To make French bread” (92). The author of the book, Karen Hess, does not only provide transcriptions of the original recipes from the seventeenth century manuscript, but also gives detailed annotations and suggestions for reconstruction for each single entry. This recipe also uses flour, salt, ale yeast and milk to make the dough. In the annotation, Hess writes,
“Historically, French bread in England denoted a very different loaf from bread to be bought in a French boulangerie, it was also different from ordinary traditional bread in England where, as in France, bread was normally made with flour, water, salt, and leaven or yeast. One telling difference between French and English baking methods lay in the widespread use of ale yeast in England, accounted for by the prevalence of home brewing; the French were vintner, and the use of levain (sour dough) was nearly invariable. (The long maturing process and more vigorous kneading techniques are related to the sour dough method, as well as to differences in flour.)” (p.113)
Then I realized the “French bread” recipes are not really French, but British. The Ale yeast is a typical ingredient that used in the bread making in early modern England. According to Karen Hess, the bread in French is simply made with flour, water, salt, and leaven or yeast. This point is also confirmed by another useful book I found in the BNF Ms. Fr. 640 annotations. Steven Laurence Kaplan’s The Bakers of Paris and the Bread Question, 1700-1775 (Durham and London: Duke University Press, 1996) is quite informative in providing detailed information on every step of making bread, but it does not give a single recipe including the amount of each ingredient applied. It could be a reasonable guess that the recipe for traditional French bread varied through time and place, and even different households, different bakers had different recipes (or they didn’t even have one, but gaining the knowledge of making bread through years of practice, adding each ingredient by their intuition rather than standard measurement). It was also true for the “French bread” made in England. Karen Hess’s book has another recipe for making “white bread” that applied basically the same kind of ingredient as the “French bread”. Hannah Glasse (1708-1770) recoded similar recipe as showed in Martha Washington’s Booke of Cookery. (The Art of Cookery: Made Plain and Easy, Totnes: Prospect Books,1995), but the amount of ingredients are different.
As the “French bread” could be a symbol for bread of best quality in early modern England, it required better flour, more ingredients rather than more “techniques”, it doesn't seem like the kind of bread that ordinary household in England would eat in daily life. Therefore, when William Ellis, a brewer live in Hertfordshire in 1700s, wrote The Country Household Family Companion (Totnes: Prospect Books, 2000), the recipe “Of making common Wheaten-Bread fro a private Family in Hertfordshire” has a similar feature as the common bread in French in terms of ingredient used. Moreover, the recipe also gives detailed guidelines for rising, kneading and baking. The pages followed further provides some recipes for making bread with different mixtures of flour, including barley, bean, pea, and oat.
Then I went back to John Evelyn’s manuscript, the recipes recorded are different from the three transcribed in the modern book. They are some kinds of bread that actually made in French, rather than the English style. I tried to transcribe the manuscript, but it’s difficult for me at first and took me a few hours, until I unexpectedly found this webpage:
18th century French bread
This webpage lists 16 kinds of bread made in 18th century France, each of which follows with one or more old recipes from Bonnefons and The Encyclopedie. Here Bonnefons refers to Nicolas de Bonnefons, a 17th century write who published a cookbook in 1654 called Les Delices de la campagne. The recipes for Pain du common, Pain bourgeois, Pain de Gonesse, and Pain bénit and brioche are basically the same as the first three and the 8th recipe in John Evelyn’s manuscript. Sometimes they use different words to express the same meaning, as for the Pain du common, the webpage uses “common bread” and says it is for the “valets” while John Evelyn uses “household bread” and “servants”. This can be seen as different translations of the same original French texts. The webpage mostly uses the measurements used in France such as “minot”, while John Evelyn changes it into “bushel”. This further indicate some recipes of John Evenlyn are originated from Bonnefons’ cookbook.
The Pain du common has the most detailed recipe, it reads:
And for the Making we will first speak of common Bread, which will be that much better, the more flour there is; nonetheless, if you want to make a good sort of Bread for Valets, you will put in the Mill four minots of rye [or coarse] Wheat and a minot of Barley; (which is about enough for a Batch,) and have it sifted with the large Bolting Cloth.
From this flour, you will take about a Minot at ten o'clock in the Evening, and will put it with leavening, which you will cover well with the same Flour.
To soak it, in Winter, use Water as hot as you can bear on your hand; in Summer, it is enough that it be a little warm, and thus in proportion for the two other temperate seasons.
The next day at the break of day, put the rest of your Flour with leavening, and knead all this, working your Dough for a long time, keeping it rather firm; because the softer it is, the more Bread you will have, but also it will last you less time, as more is eaten when it is light, than when it is firm.
Your Dough being well-kneaded, put it back in the Bin, turning it over, and push your fist into the middle of the Dough, until the base of the Bin, in two or three places, and cover it well with bags and covers.
When at the end of some time (more in Winter, and less in Summer) you look at your Dough, and you see your holes completely closed up; it is a sign that the Dough has risen enough, you can have the Oven warmed by a second person, (because it is almost impossible that one alone can be spread between the Oven and the Dough) you will divide it into pieces, and make them about sixteen pounds each, or a little more; then you will form this dough into loaves, and lay it on a Tablecloth, making some space between each loaf, lest they touch in swelling.
Your Oven being hot... take out the Firebrands and Coals, lay some lit Coals on a side near the mouth of the Oven, and clean it with the maulkin which will be made of old linen, which you will moisten in clear water, and twist it before scrubbing, then you will block it up to let it bring its heat to bear which will blacken the bread and a little after you will open it, to fill the oven as neatly as you can, putting your largest Loaves at the rear and along the sides of the Oven finishing by filling it in the middle.
...The bread being put in close the Oven up well, and seal it all around with moistened cloths, to keep the heat in well: four hours later, which is about the time needed to cook large Loaves: take one out to see if it is cooked, and particularly on the underside, what is called “having some Star”, and tap it with the end of your fingers: if it resounds, and if it is firm enough, it will be time to take it out, if not leave it still some time, until you see it cooked, experience will soon teach you: because if you leave it in the Oven too long after it is just right, it will redden inside and will be disagreeable.
When you have taken your Bread out, rest it on the side that is most cooked...
Let your Bread cool, before enclosing it in the Bins, where you will always rest it on the side..
To make Townsfolk's Bread or Master's Bread, measure from the Flour what you want to cook, take the sixth part to put with leavening and make a hole in the Dough with the Fist, as for the common Bread: when it has risen, you will exchange yet as much Flour as you soak with this leaven and let it rise again and prepare it as above; when ready, put in the rest of your Flour with water in proportion, and let it all rise again, then form the Loaf, and handle it like the preceding one.
As this is the most “common bread” in a 17 century French household, I assume this should be the most suitable recipe I need to follow. However, I have to translate it as steps that can be easily follow in a modern kitchen, i.e. modernize it.
First, the choice of flour
What kind of flour shall I use? As Eleanor Scully describes, "From the very finest, the simnel loaf (known even in Roman times as the siminellus and made from the best wheaten flour, called simila), down to the coarsest miscellany of “unknown” grains and grasses—with chips from the millstones left in for good measure—all sorts of bread could be had in medieval France and across Europe. However, the most commonly available bread at this time was miscelin or meslin bread, the bread eaten by ordinary bourgeois, and bought by the wealthy to feed to their servants. The name of this bread, deriving as it does ultimately from the Latin verb miscere, “to mix,” points to its alloyed composition, an economical compromise between quality and cost." (Early French Cookery: Sources, History, Original Recipes and Modern Adaptations, The University of Michigan Press, 1995)
For the purpose of this reconstruction, I chose to use the mixture, whole wheat and rye flour, make the dough of bread.
Second, the amount of ingredients
Most of the early modern recipes does not specify the amount of each kind of flour and water used in the dough. It was tacit knowledge that early housewife knew quite well. Possibly no standard measuring instruments was used during the making of bread in household. In this case, I can make my own decision. I used a one cup of rye flour, two cups of whole wheat flour, two teaspoons of sour dough. The amount of water is not so easy to determine before the mixing process.
Third, mix ingredients and rising
I gradually added water into to the mixture, while stirred it with a pair of chopsticks. When the mixture of flour and water start to form a flocculent texture and little dry flour is left in the bowel, it indicates I’ve already added enough water. Then I started to kneed the dough by hand, as shown in the video.
When the dough is ready, I pressed a hole in the middle of the dough by my fist. According to the recipe quoted above, when the hole disappears along with the rising of the dough, it indicates the the completion of a rising cycle.
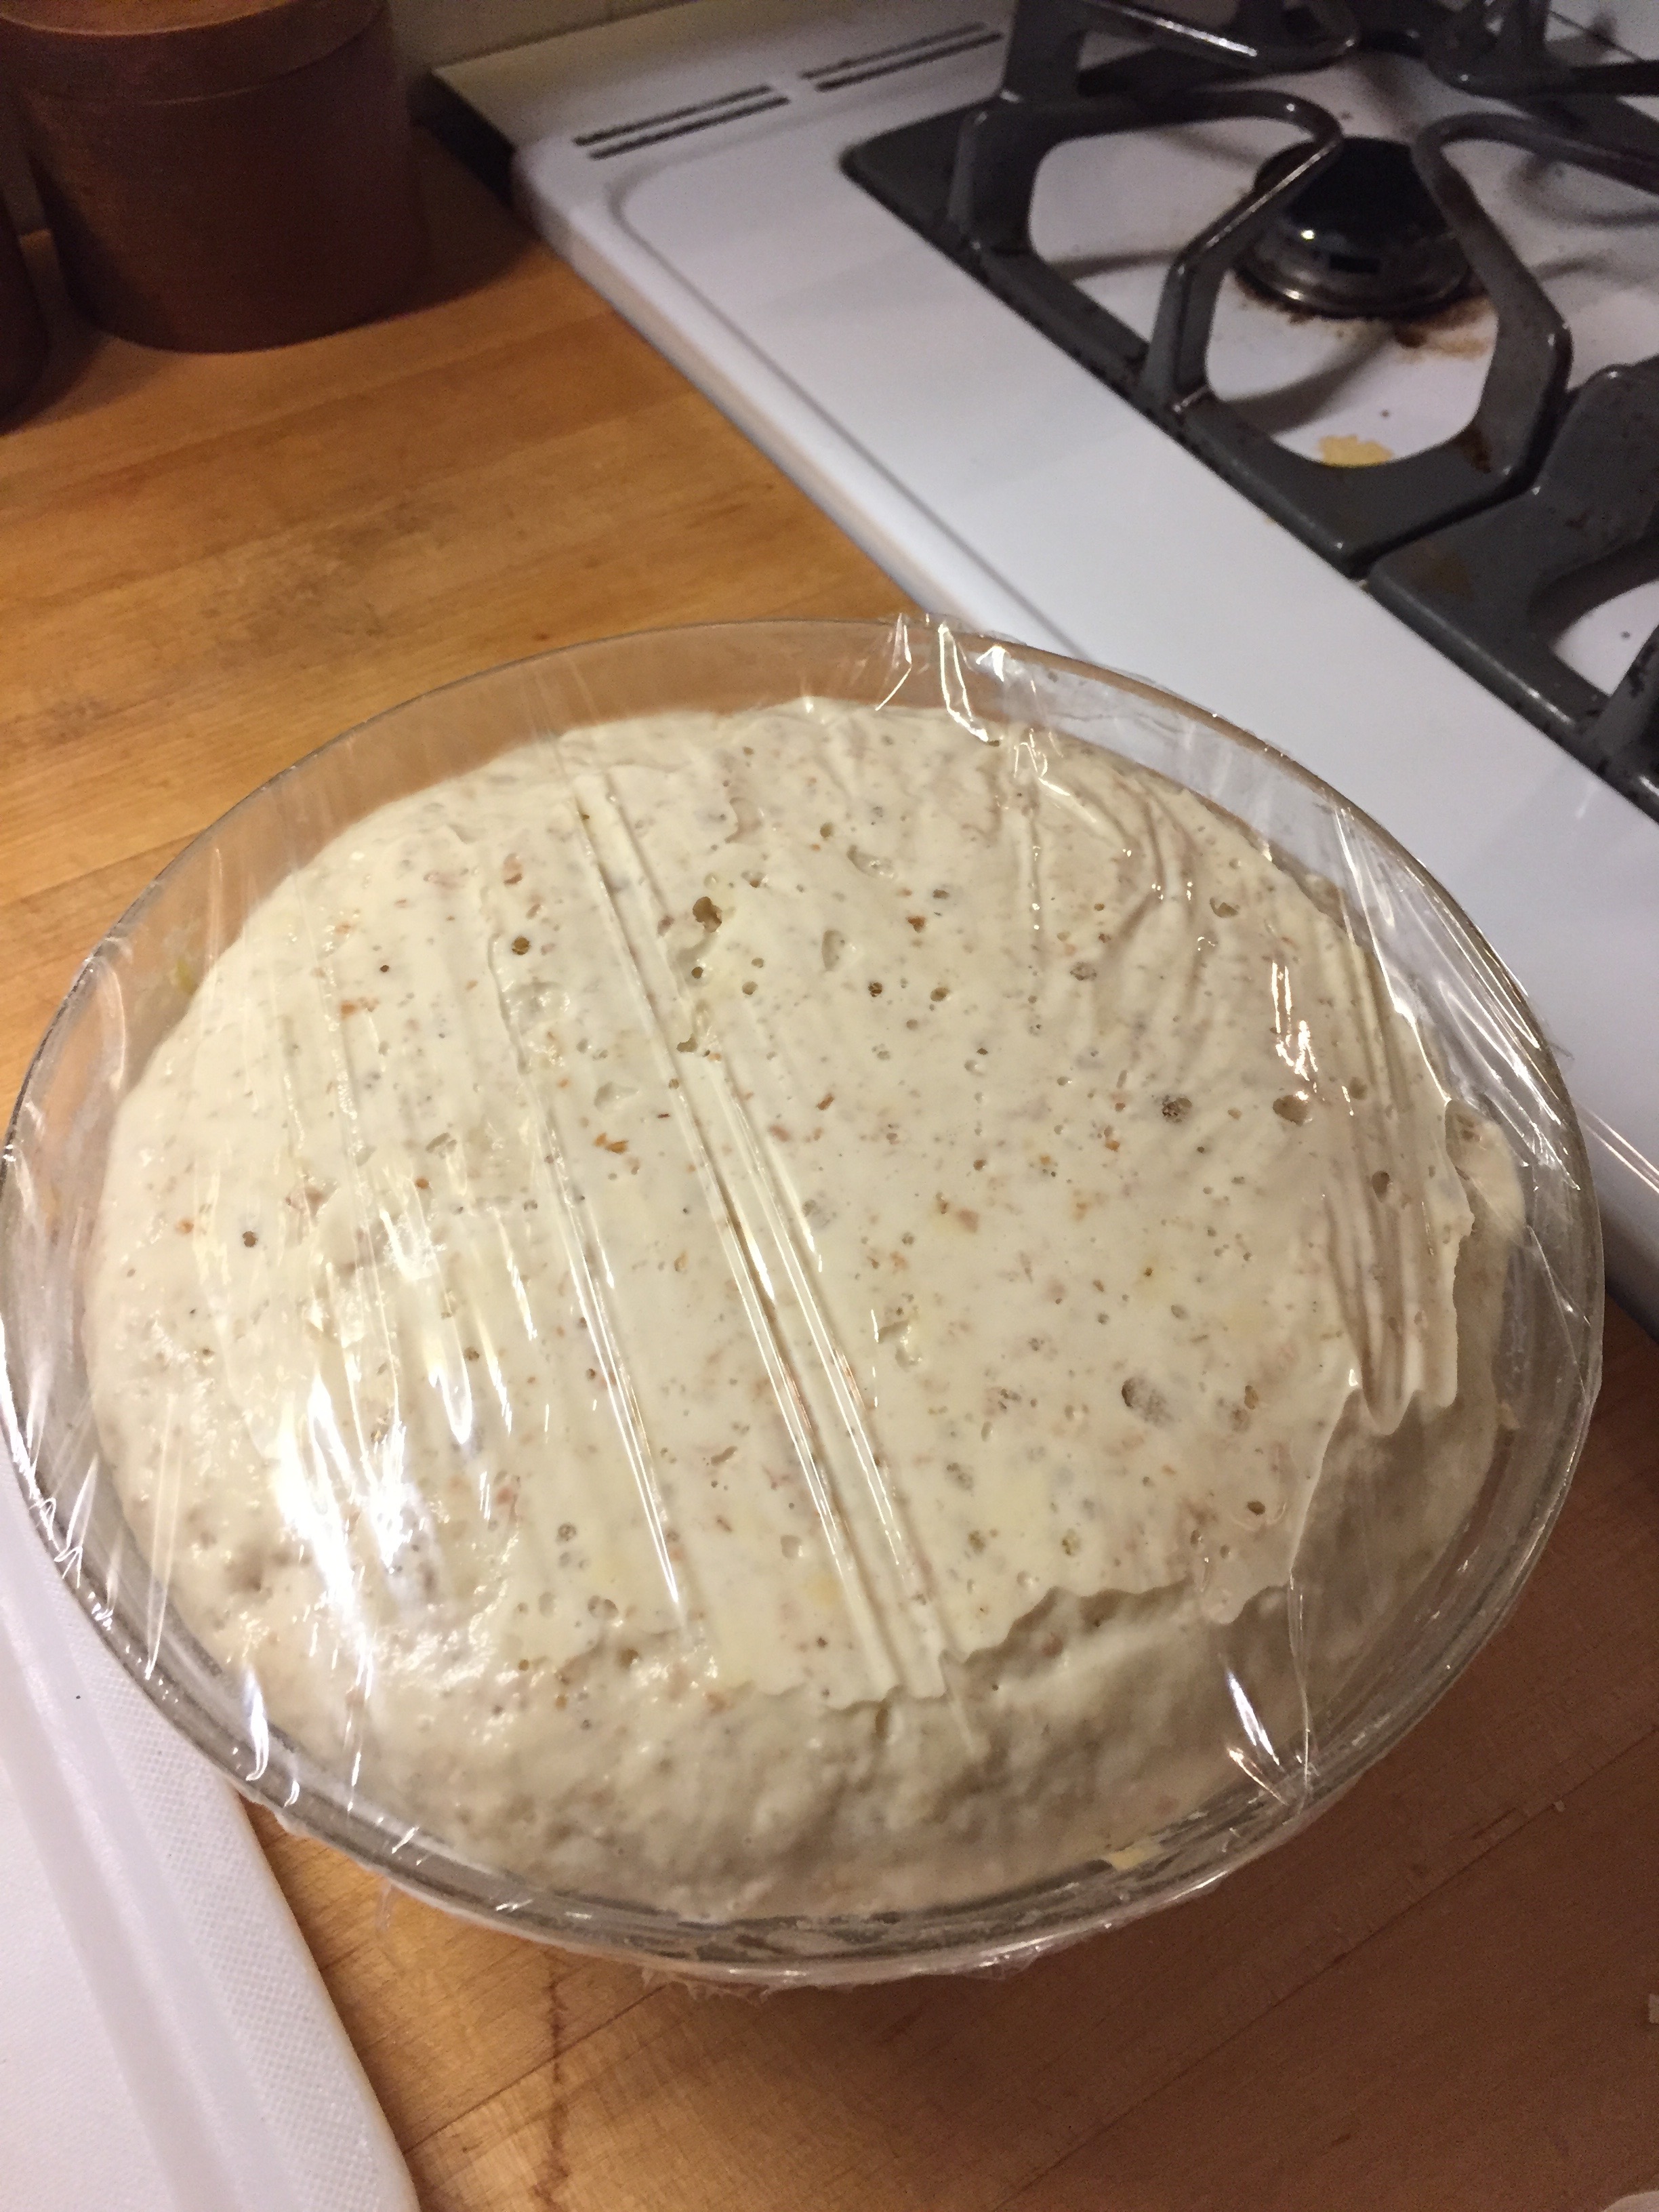
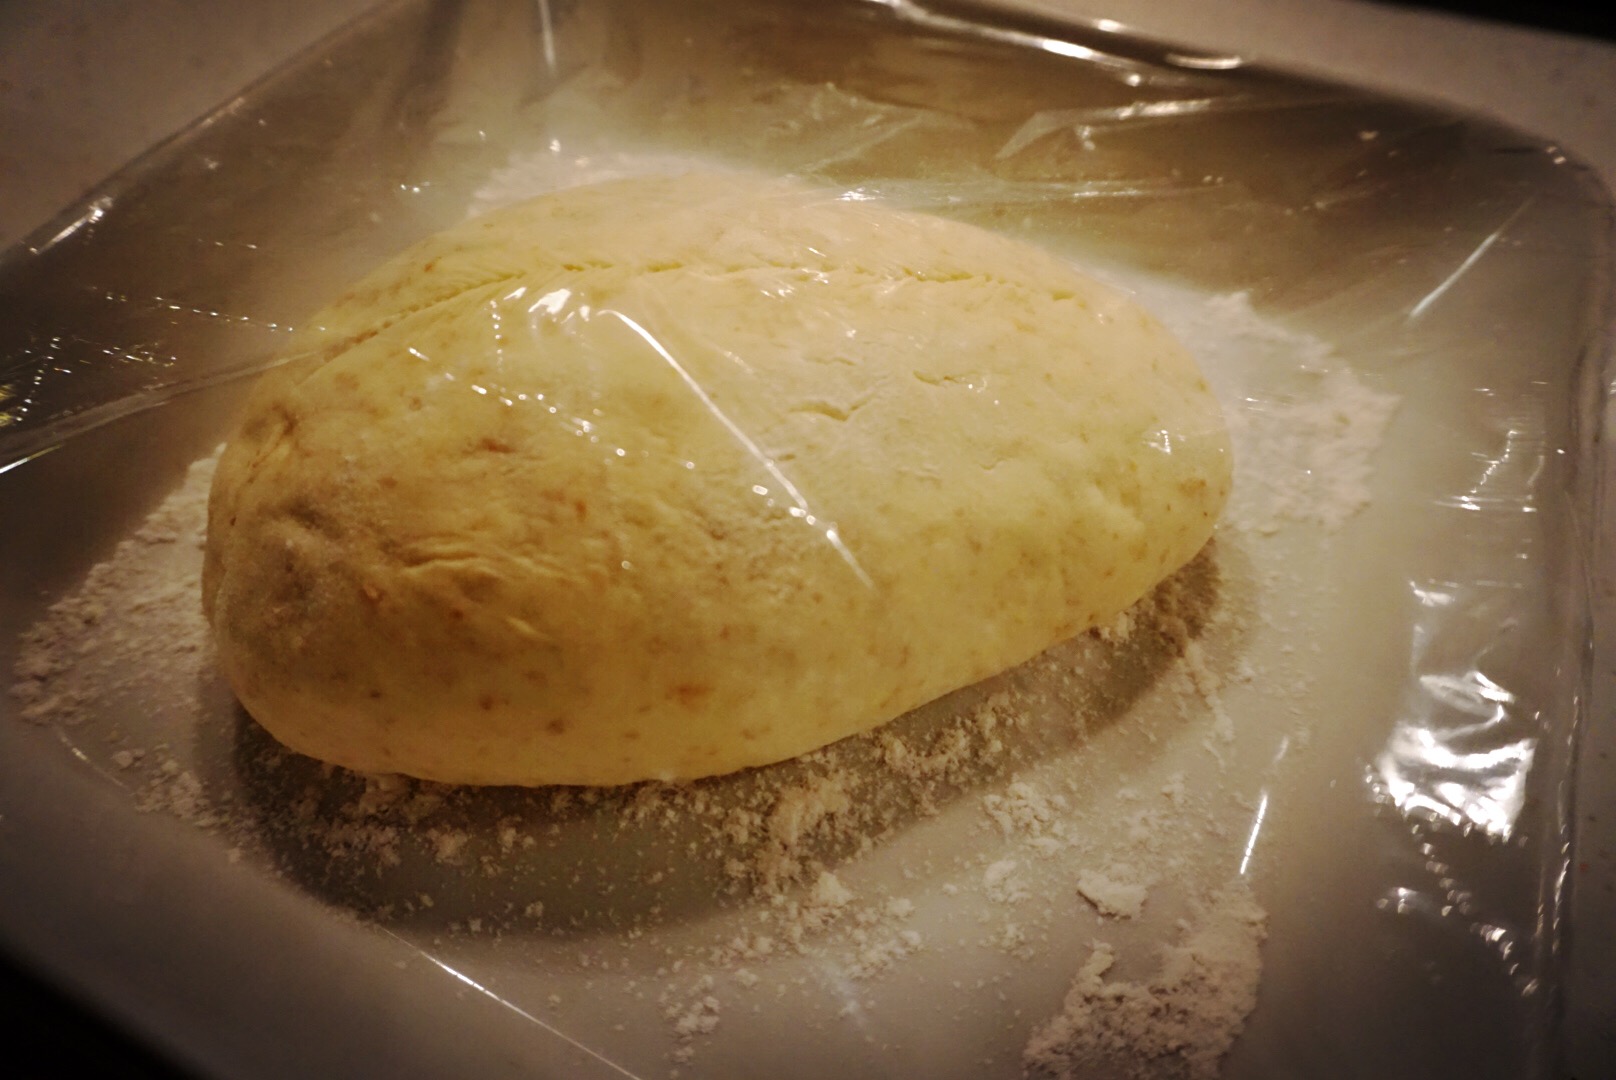
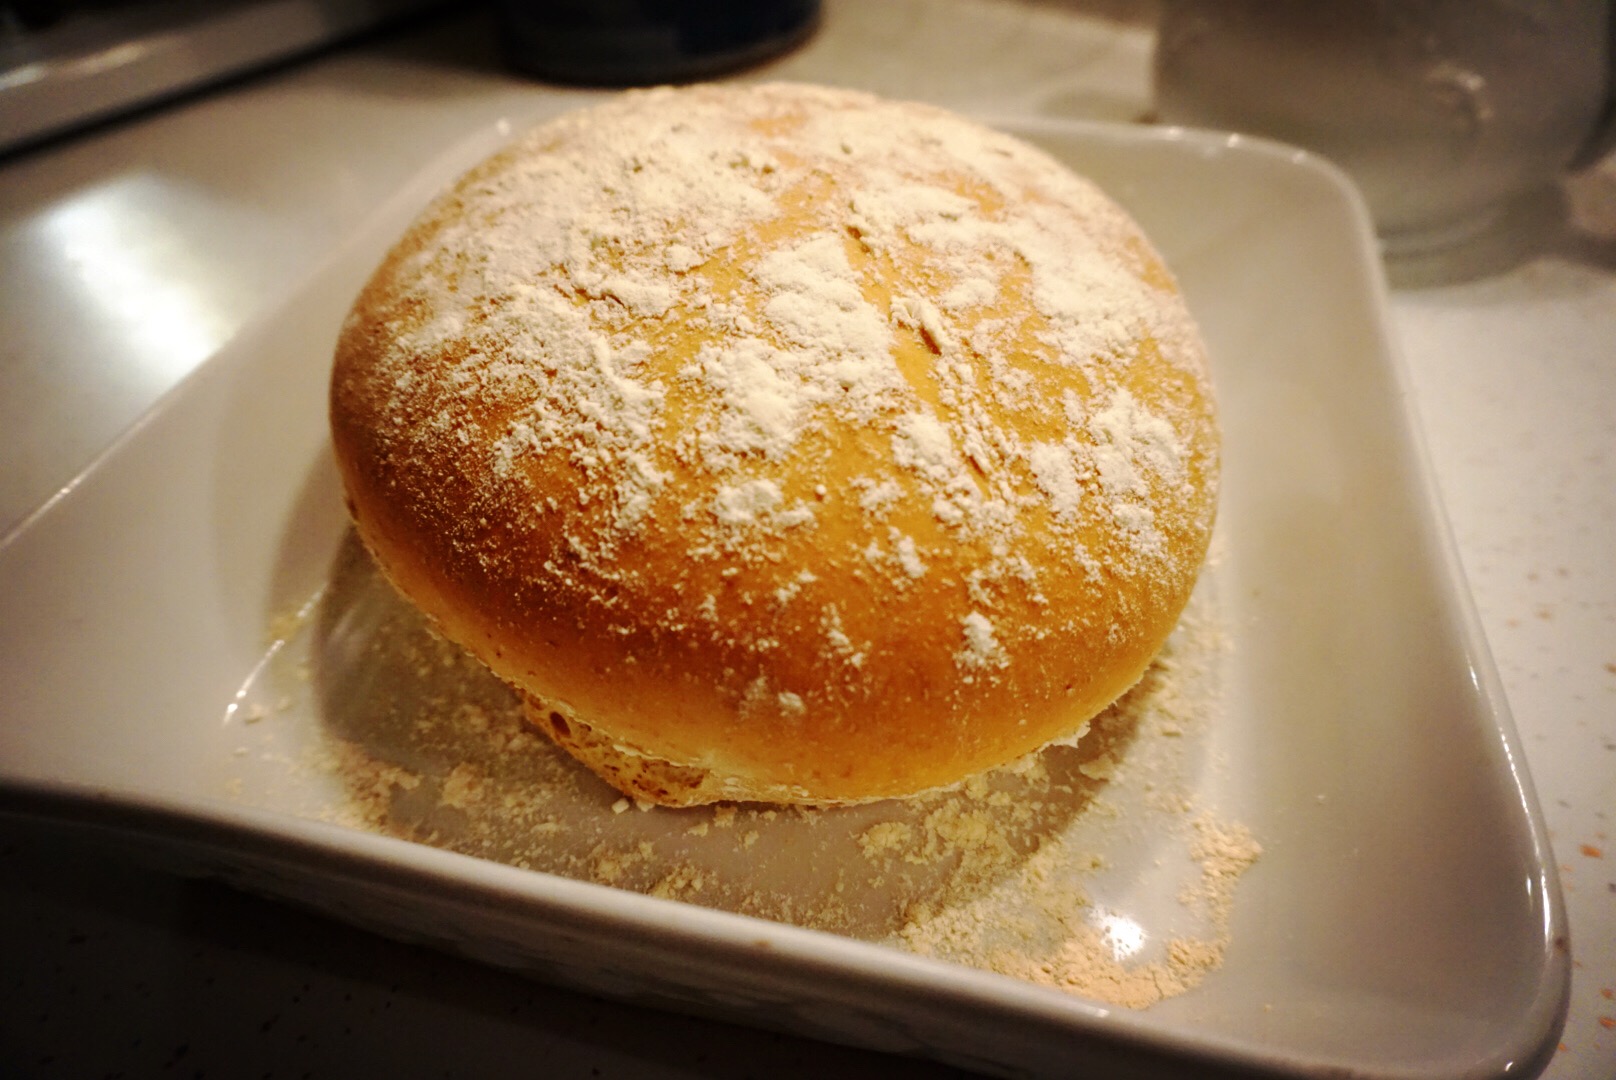
Keep the dough in a warm place. In my case, I put it in a closet in my kitchen. After about 7 hours, the dough was fully risen. I took it out from the closet and knead it again to better develop the structure formed by the gluten in the dough. After splitting and shaping the dough into two round bread loaf, I put it back in the closet for about two hours. This time, the doughs rose much faster. As I did not use any mold, the doughs became flatter after sitting for hours.
Fourth, baking
Preheat the oven to 450℉, put the doughs in the oven on ceramic plates, bake for 15min. Then adjust the temperature to 350℉, bake for 20 min.
Finally, Molding
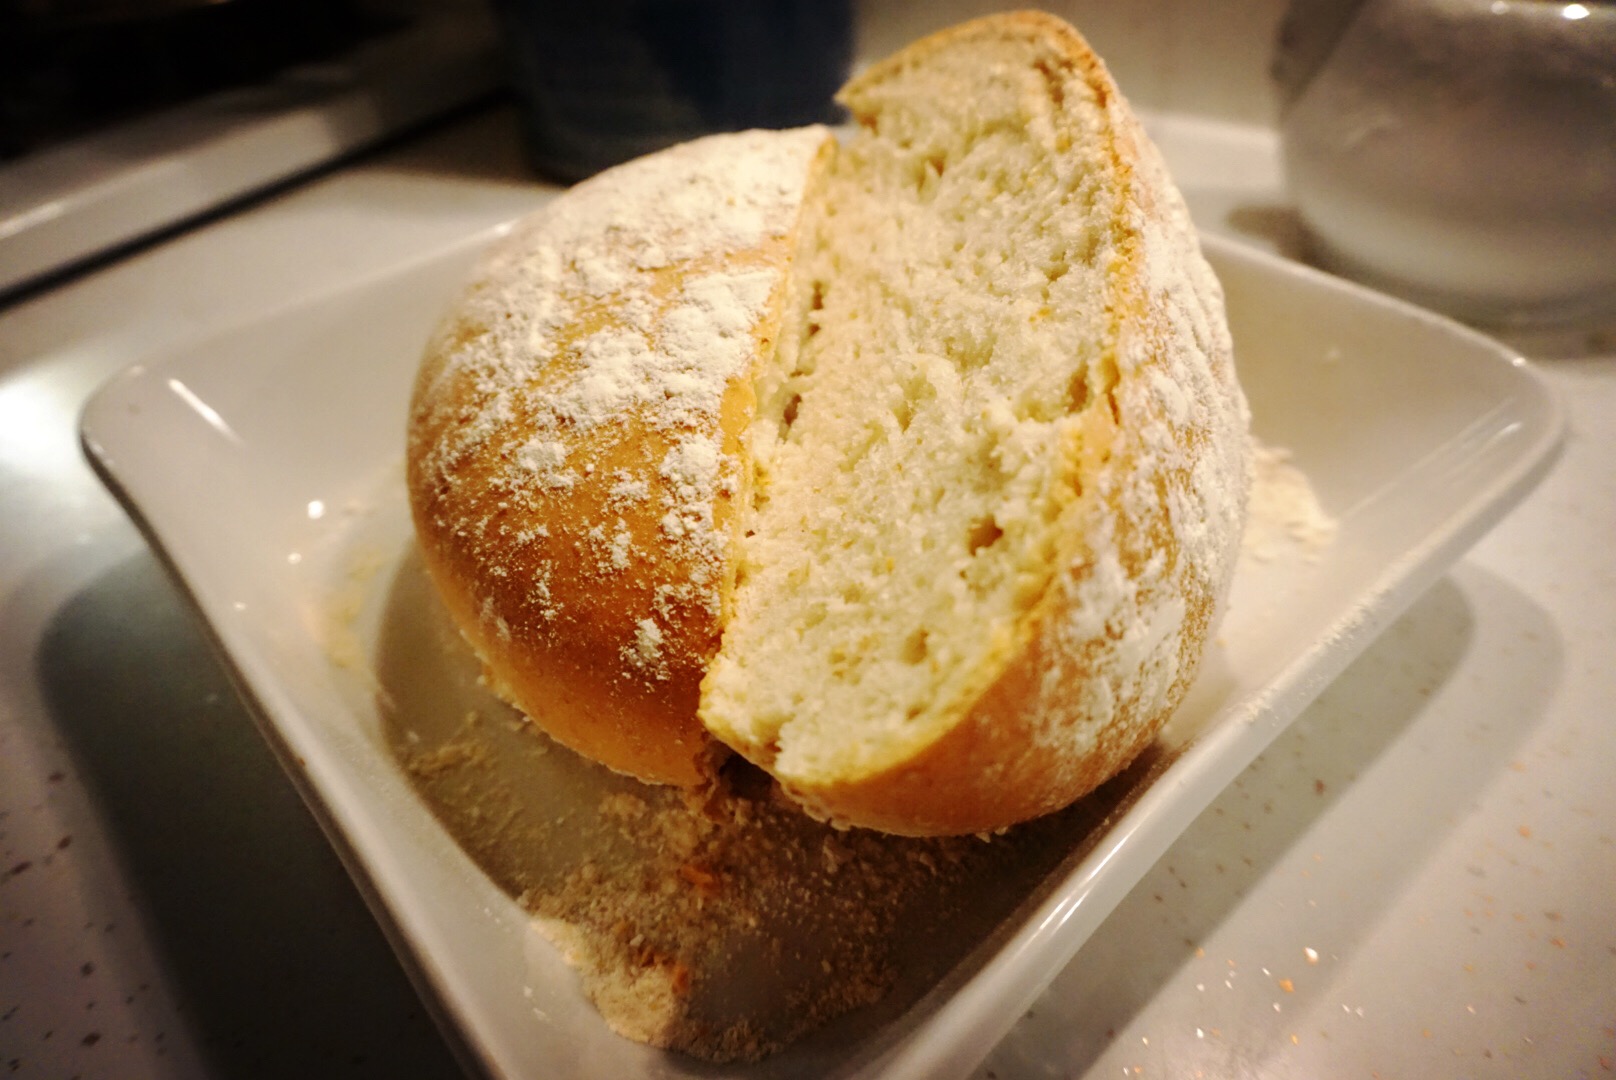
When the two bread were ready, I saved the smaller one for the bread tasting session in the class, and cut the other one into two halves for molding while it was still hot.
I chose a lion-shape keychain, a small sword, and a citrus reamer to make the mold. I pressed all of the three things into the soft pith of the bread. Let it sit overnight. After the pith became dry and hard, carefully take the shaping material out of the breads. I didn’t try to make a two-piece mold in this experiment.
The sword and keychain mold was on the same piece of bread, while reamer on the other.
Name: Xiaomeng Liu
Date and Time:
2017. February .19, 09:00am- 03:30pm
Location: Apt. at W 106th St.Subject: Bread making and molding (French bread in early modern England)
I'm not very satisfied with the molds I made in the first time. So I decided to try another recipe of bread.
This time, I used four cups of wheat flour, one cup of milk, 1/2 cup of sourdough starter, one egg, and two teaspoons of salt to make the dough. Following by the same procedures I did the last time. I got two loaves of white bread. I saved one loaf for my breakfast, and cut up the other one for molding.
I cut the bread into three parts. At first, I want to try a two-piece mold by press half of a glass into one piece of bread, and then close the mold by another. But this did not work well, it was hard to form the other half of the imprint by this method. I gave up the idea, and made several one-piece molds by the glass, reamer, keychain, and sword.
(During the casting lab work, Prof. Smith told me I need to take the hot pith out from the bread in order to form a two-piece mold)
After comparing with the mold I made last time. I chose four relatively well-formed molds for the casting in the lab work.
Name: Xiaomeng Liu, Joel A. Klein, Donna Bilak, Tianna Uchacz
Date and Time:
2017. February. 20, 1:00pm-12:30am
Location: Chandler 260Subject: Casting
I chose to make sulfur cast to the keychain and sword molds, and beeswax cast to the glass and reamer molds.
Heating sulfur will generate hazardous gas, so the sulfur casts was made in the fume hood, and beeswax casts made on the counter.
The melting point of sulfur is 115.2 °C. Monitor the temperature of the sulfur by a thermo detector to avoid over-heating.
When the sulfur/wax is fully melted, I slowly poured the liquid in the mold. Let is sit until the liquid is solidified. For the sulfur cast, I didn’t add any releasing agent before casting. For the reamer and glass casts, I painted tallow and linseed oil respectively on the molds before casting.
It turned out that the cast with out releasing agent was harder to get out from bread mold. Bread residue sticked on the cast and was hard to be removed. The reamer cast was the most successful one. Tallow made the cast easy to remove from the mold and get a clean and nice cast. The glass cast was not so successful as the mold leaked when pouring beeswax in.
ASPECTS TO KEEP IN MIND WHEN MAKING FIELD NOTES
- note time
- note (changing) conditions in the room
- note temperature of ingredients to be processed (e.g. cold from fridge, room temperature etc.)
- document materials, equipment, and processes in writing and with photographs
- notes on ingredients and equipment (where did you get them? issues of authenticity)
- note precisely the scales and temperatures you used (please indicate how you interpreted imprecise recipe instruction)
- see also our informal template for recipe reconstructions