DATE AND TIME: March 9, 2015, 10:00 am
LOCATION: Chandler 260
SUBJECT:Molding Asparagus with plaster
p126v - Plaster
Table of Contents
Recipes/ notes used
<title id=”p126v_a3”>Plants that are burned in the core with difficulty</title>
<ab id=”p126v_b3a”>Every kind of herbage which have a stem as hard as wood, like asparagus or thyme, are burnt in the core with difficulty, because these stems turn into coal inside the small pipes, and do not turn into ashes, that’s why it isn’t possible to empty and clear the mould. For this reason some people do reheat it twice or 3 times. Other people mix several herbages in the mould, and put a fillet through the herbages and the rounds made of earth and where you put the soaked sand.</ab>
note id="p117v_c1a">La tige de lasperge est si</lb>
dure que le plus souvent elle demeure</lb>
en charbon par ainsy fais la</lb>
plustost seicher ou la trempe dhuile</lb>
de soufre & de tourmentine</lb>
Ou bien gecte</lb>
separement les</lb>
petites branches</lb>
& les soulde sur</lb>
une grosse tige tiree</lb>
par la filiiere</note>
note id=”p117v_c1a”>The asparagus stalk is so hard that most often it perseveres as charcoal. Because of this, do it rather dried out or wet it with sulfur oil & that of turpentine, or indeed cast the little branches separately & solder them onto a fat stalk drawn through with a wire.</note>
Materials:
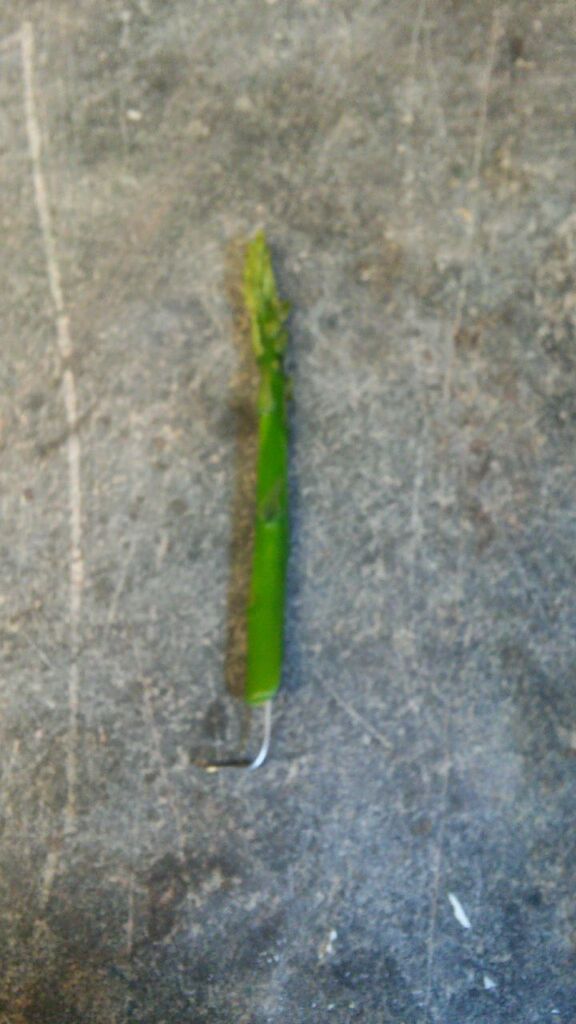
- 1 stalk of asparagus, bought from turkish fruit stand
- wax gate and sprues
- clay for making the base
- sand (plaster, brick dust, water, sal ammoniac)

Fixing the asparagus
- The asparagus was think enough that a wax base was not needed. However, a note in recipe 117v prescribes to draw through the middle of the stalk with a wire. I fashioned a wire and stuck it through the middle of the stalk. I then bent the end of the wire so it would stick into the clay base and allow the stalk to stand up.
- The note also calls for turpentine and sulfur oil to burn the hard asparagus stalk, because there is a worry that it will become charcoal and will be difficult to be burned out of the mold. However, this stalk was thin enough to forego the turpentine and sulfur oil.
Building the Base and Sprue System
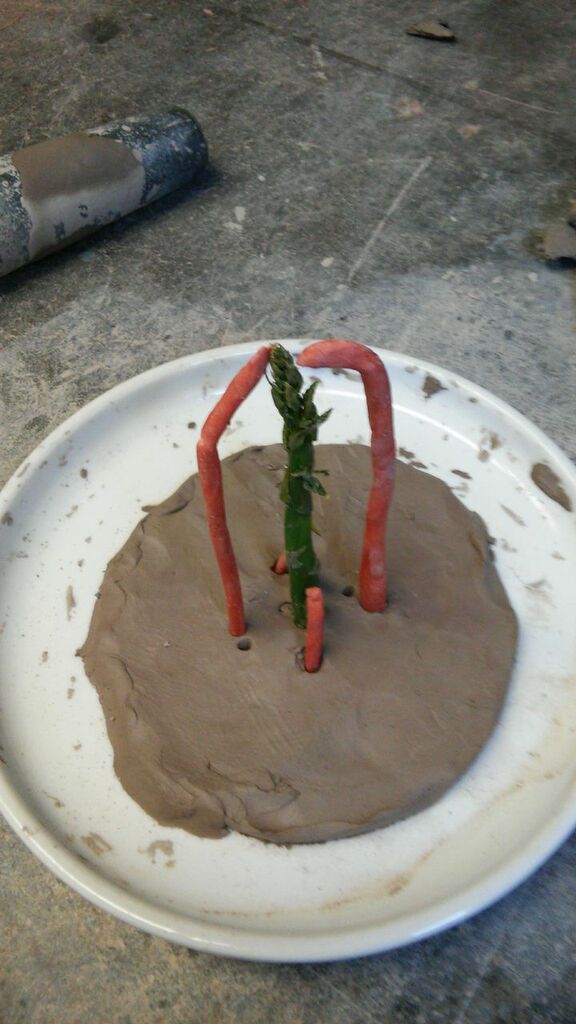
- After rolling out the clay, I stuck the asparagus stalk into the base and began to think about the sprue system.
- Under the advisement of andrew lacy, I fashioned 4 sprues--two at the base of the stalk and two connected to the top.
- I then used the soldering pen to melt the wax onto the stalk
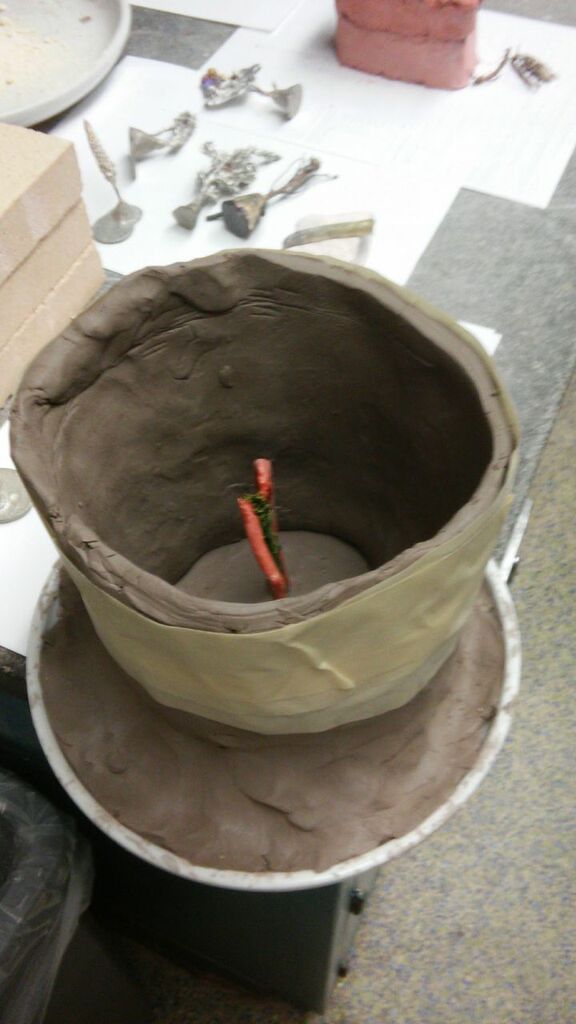
- I build the clay siding, and unfortunately the clay was too thin, so I wrapped the whole mold in masking tape.


Mixing the Sand/ Pouring the mold
- The recipe we used called for 2 parts plaster one part brick dust, which we mixed together first in a large bowl.
- We put water into the flexible bowl, filling it 1/4 of the way up.
- I poured the brick/plaster mixture into the water, continuing to pour until I could feel the consistency with my hands.
- The sign that the mixture was ready to be poured was just when you can feel the liquid begin to thicken, and start to feel like salad dressing
- We poured the mixture into the mold and let it set for a few days until it was fired into the kiln
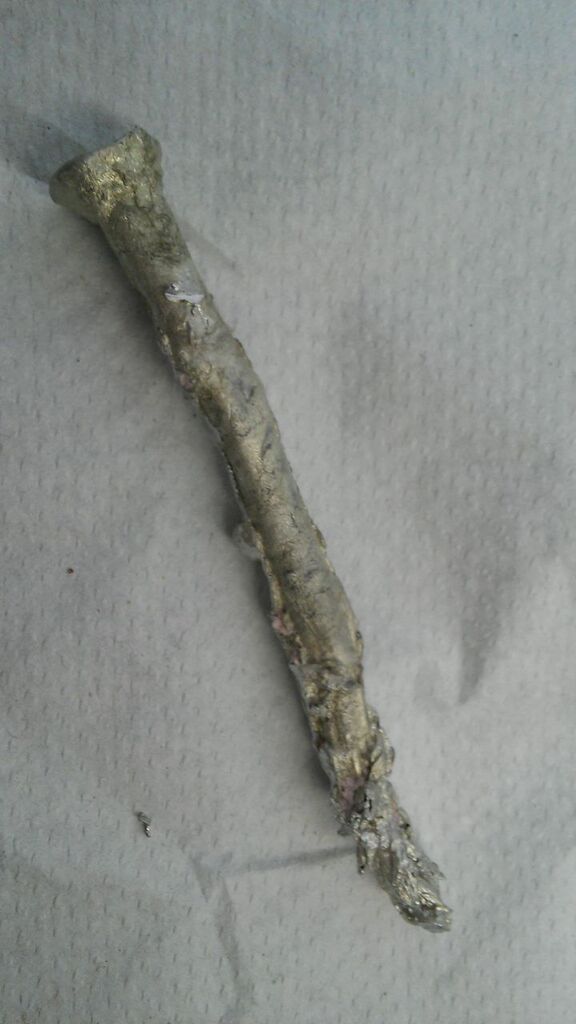
- Unfortunately, the asparagus came out a bit discolored
ASPECTS TO KEEP IN MIND WHEN MAKING FIELD NOTES
- note time
- note (changing) conditions in the room
- note temperature of ingredients to be processed (e.g. cold from fridge, room temperature etc.)
- document materials, equipment, and processes in writing and with photographs
- notes on ingredients and equipment (where did you get them? issues of authenticity)
- note precisely the scales and temperatures you used (please indicate how you interpreted imprecise recipe instruction)
- see also our informal template for recipe reconstructions
