Participants: Ana Matisse Donefer-Hickie and Caitlyn Sellar
Location: Lab
Dates: 24/10, 25/10, 28/10, 31/10
Session #1
24/10
Materials
- 6g Madder
- 180 ml Distilled Water
Tools
- 250 ml Beaker
- Stone Mortar and Pestle
- Cheesecloth Bag
- String
- Scale
- Plastic container
- Scupula
Procedure [with Notes]
- Measure out madder
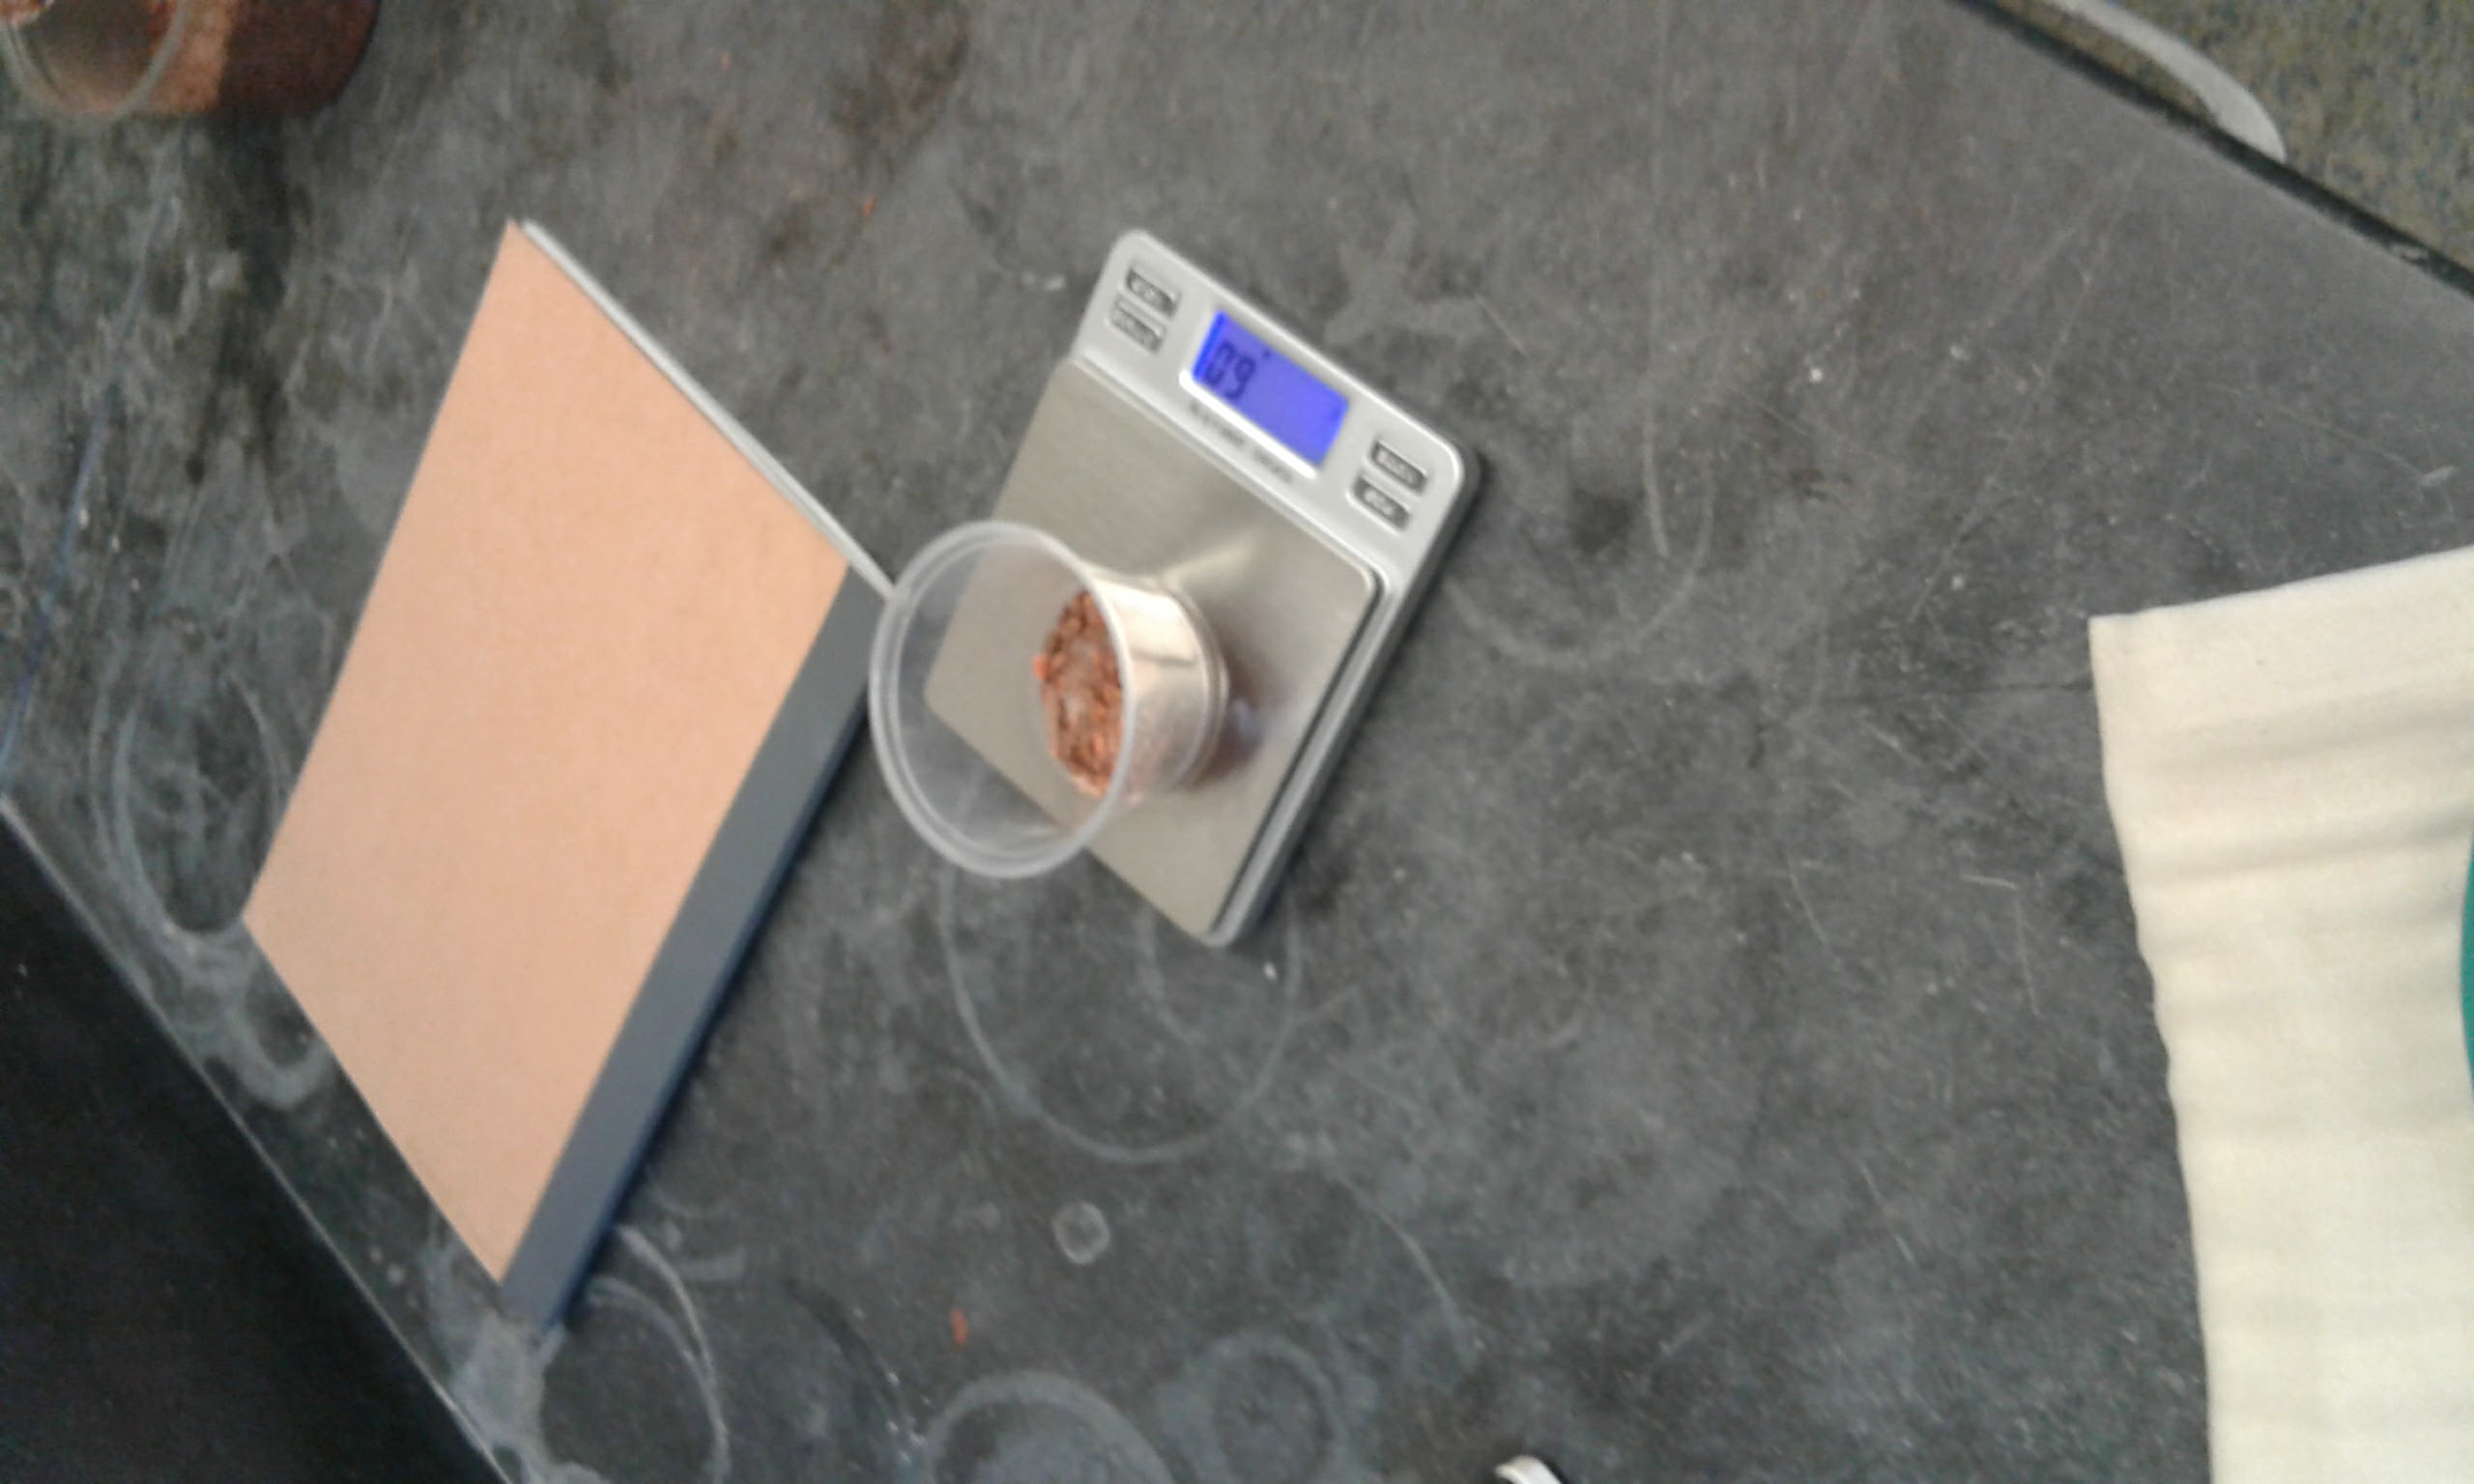
Image pictures madder being measured out in a plastic cup on a scale.
[AM] The madder was composed of both larger pieces and a loose powder. As we were measuring it out with the scupula, we tried to get a mix of larger pieces and powder so that it would not be too difficult to grind but also would not be so powdery that it went through the cheesecloth bag.
- Crush madder
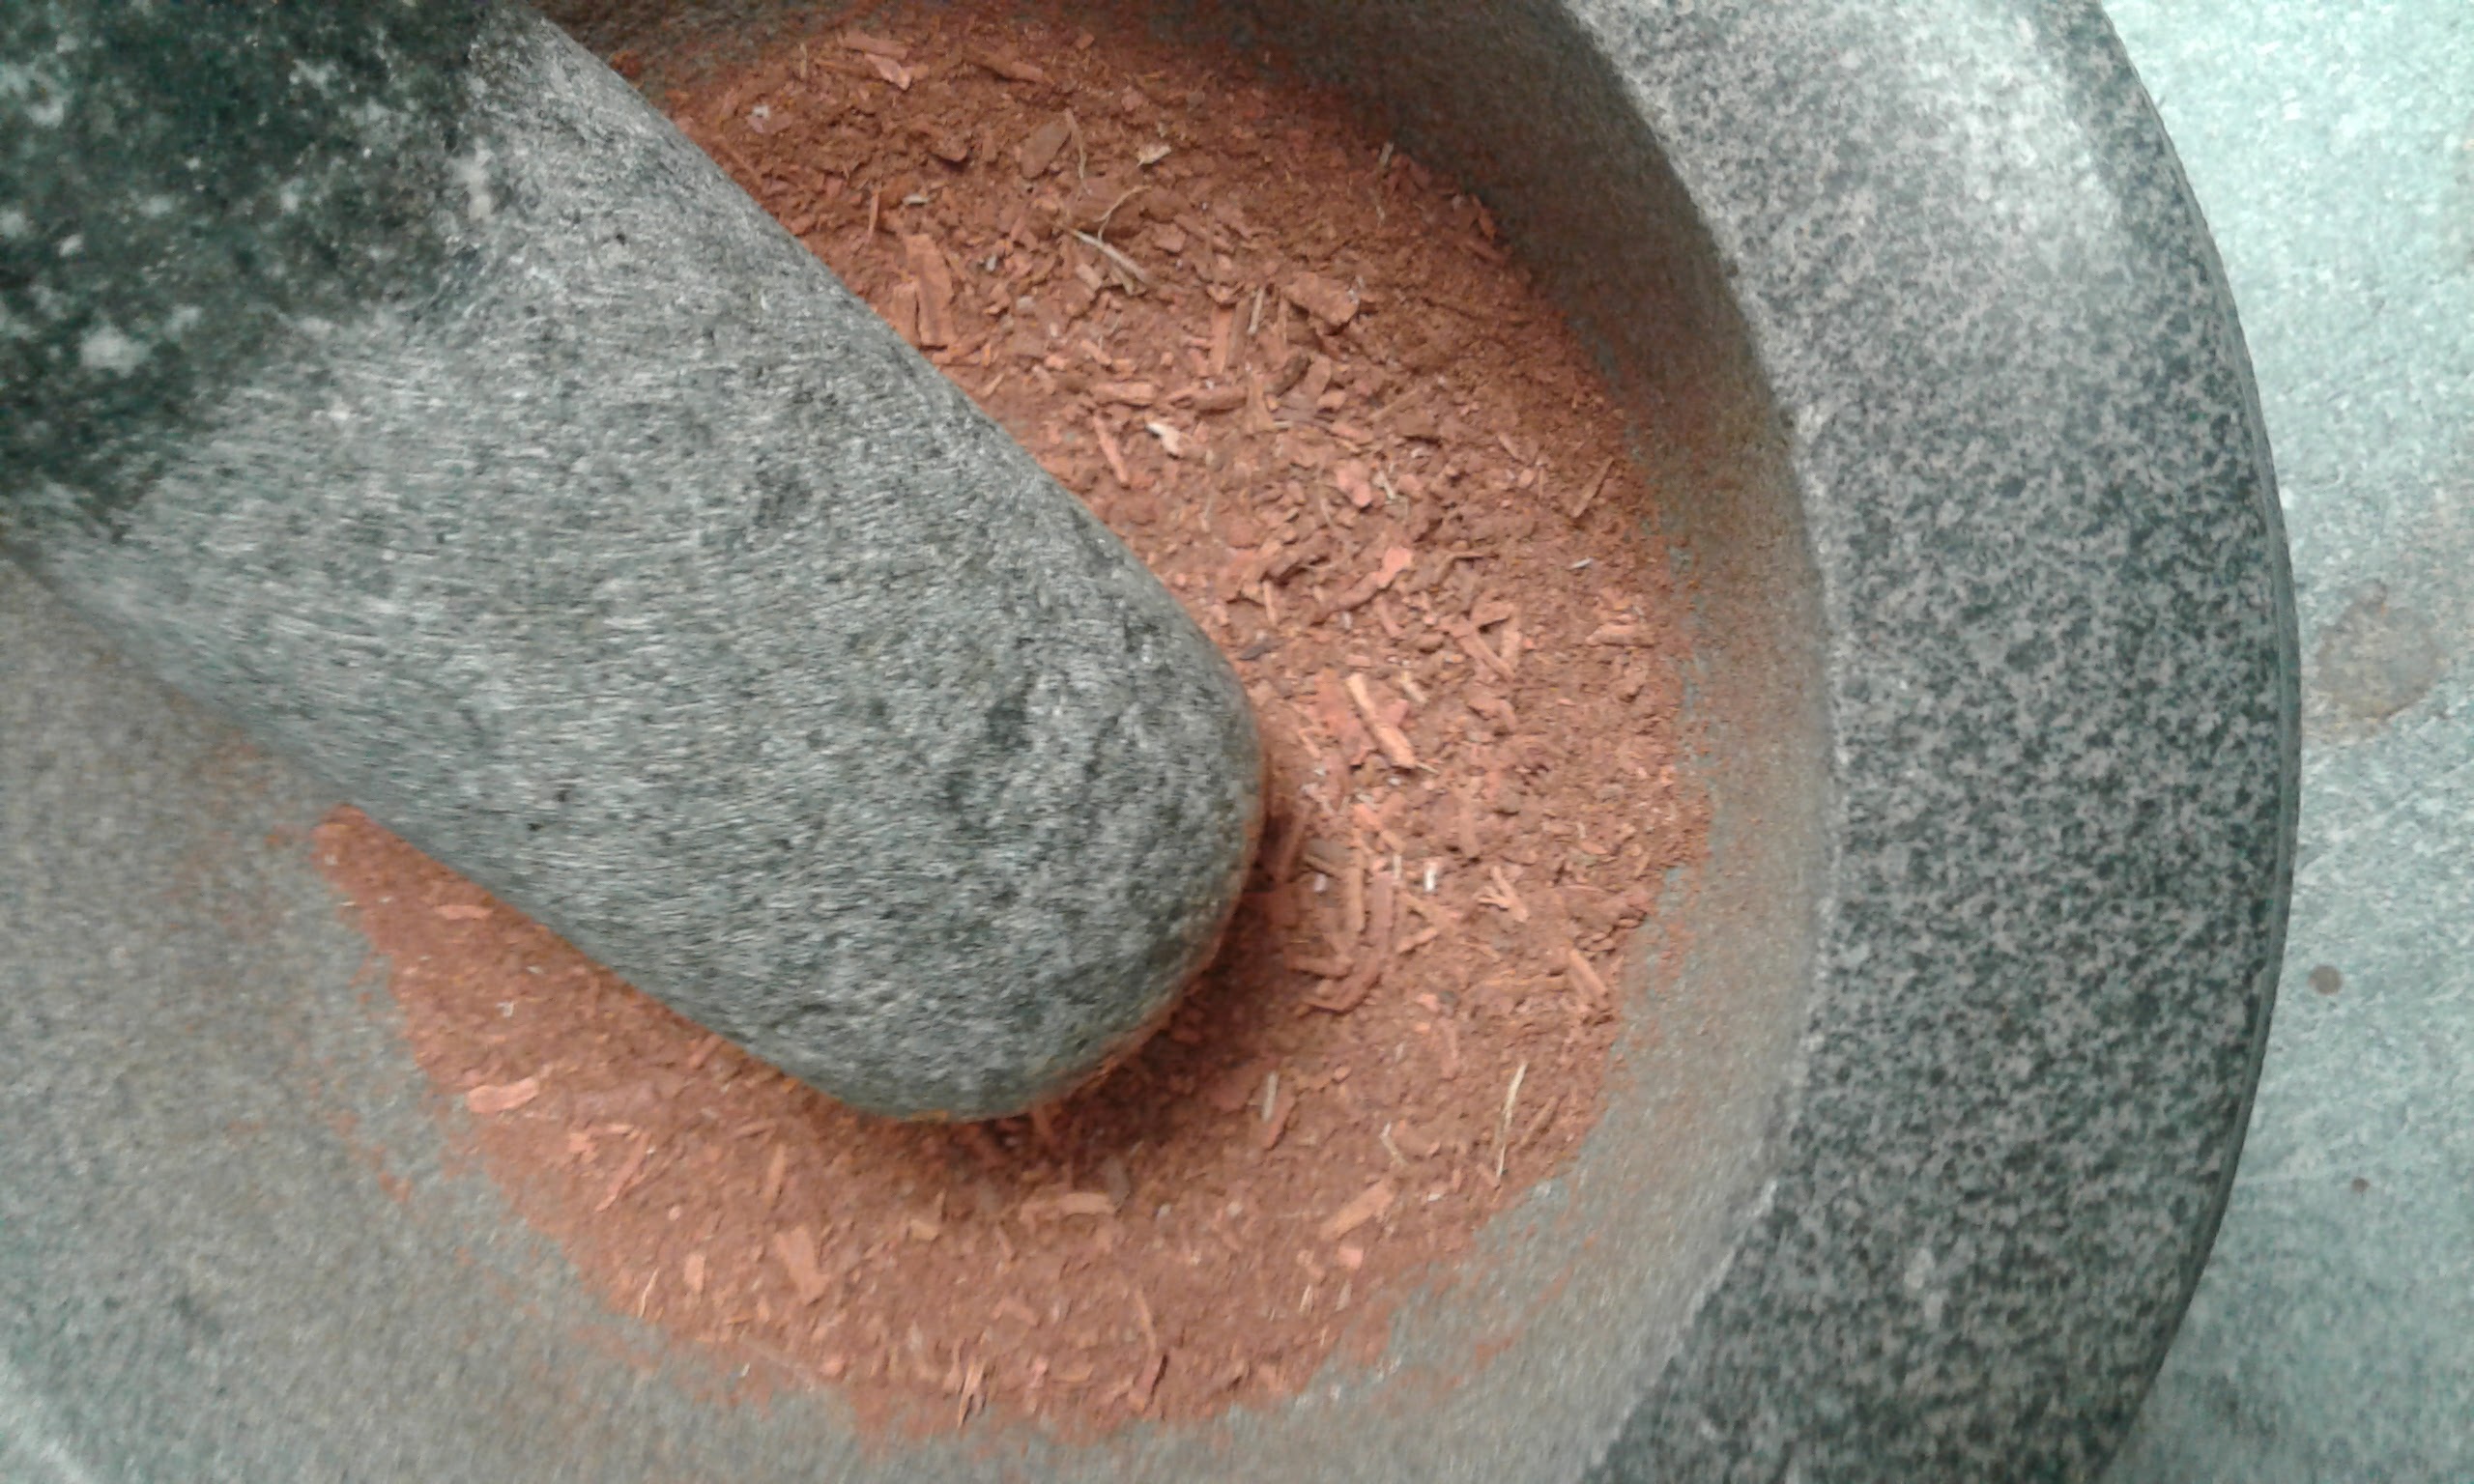
Image pictures CS crushing the madder in a mortar and pestle.
[AM] Caitlyn used a mixture of circular grinding motions and more straightforward pounding motions. We found that the circular motions worked better to break down the larger particles of madder. The large bits of madder felt coarse and springy and even though we were breaking them down it was difficult to feel this through the pestle.
- Place madder in bag and tie with string
- Fill beaker with water
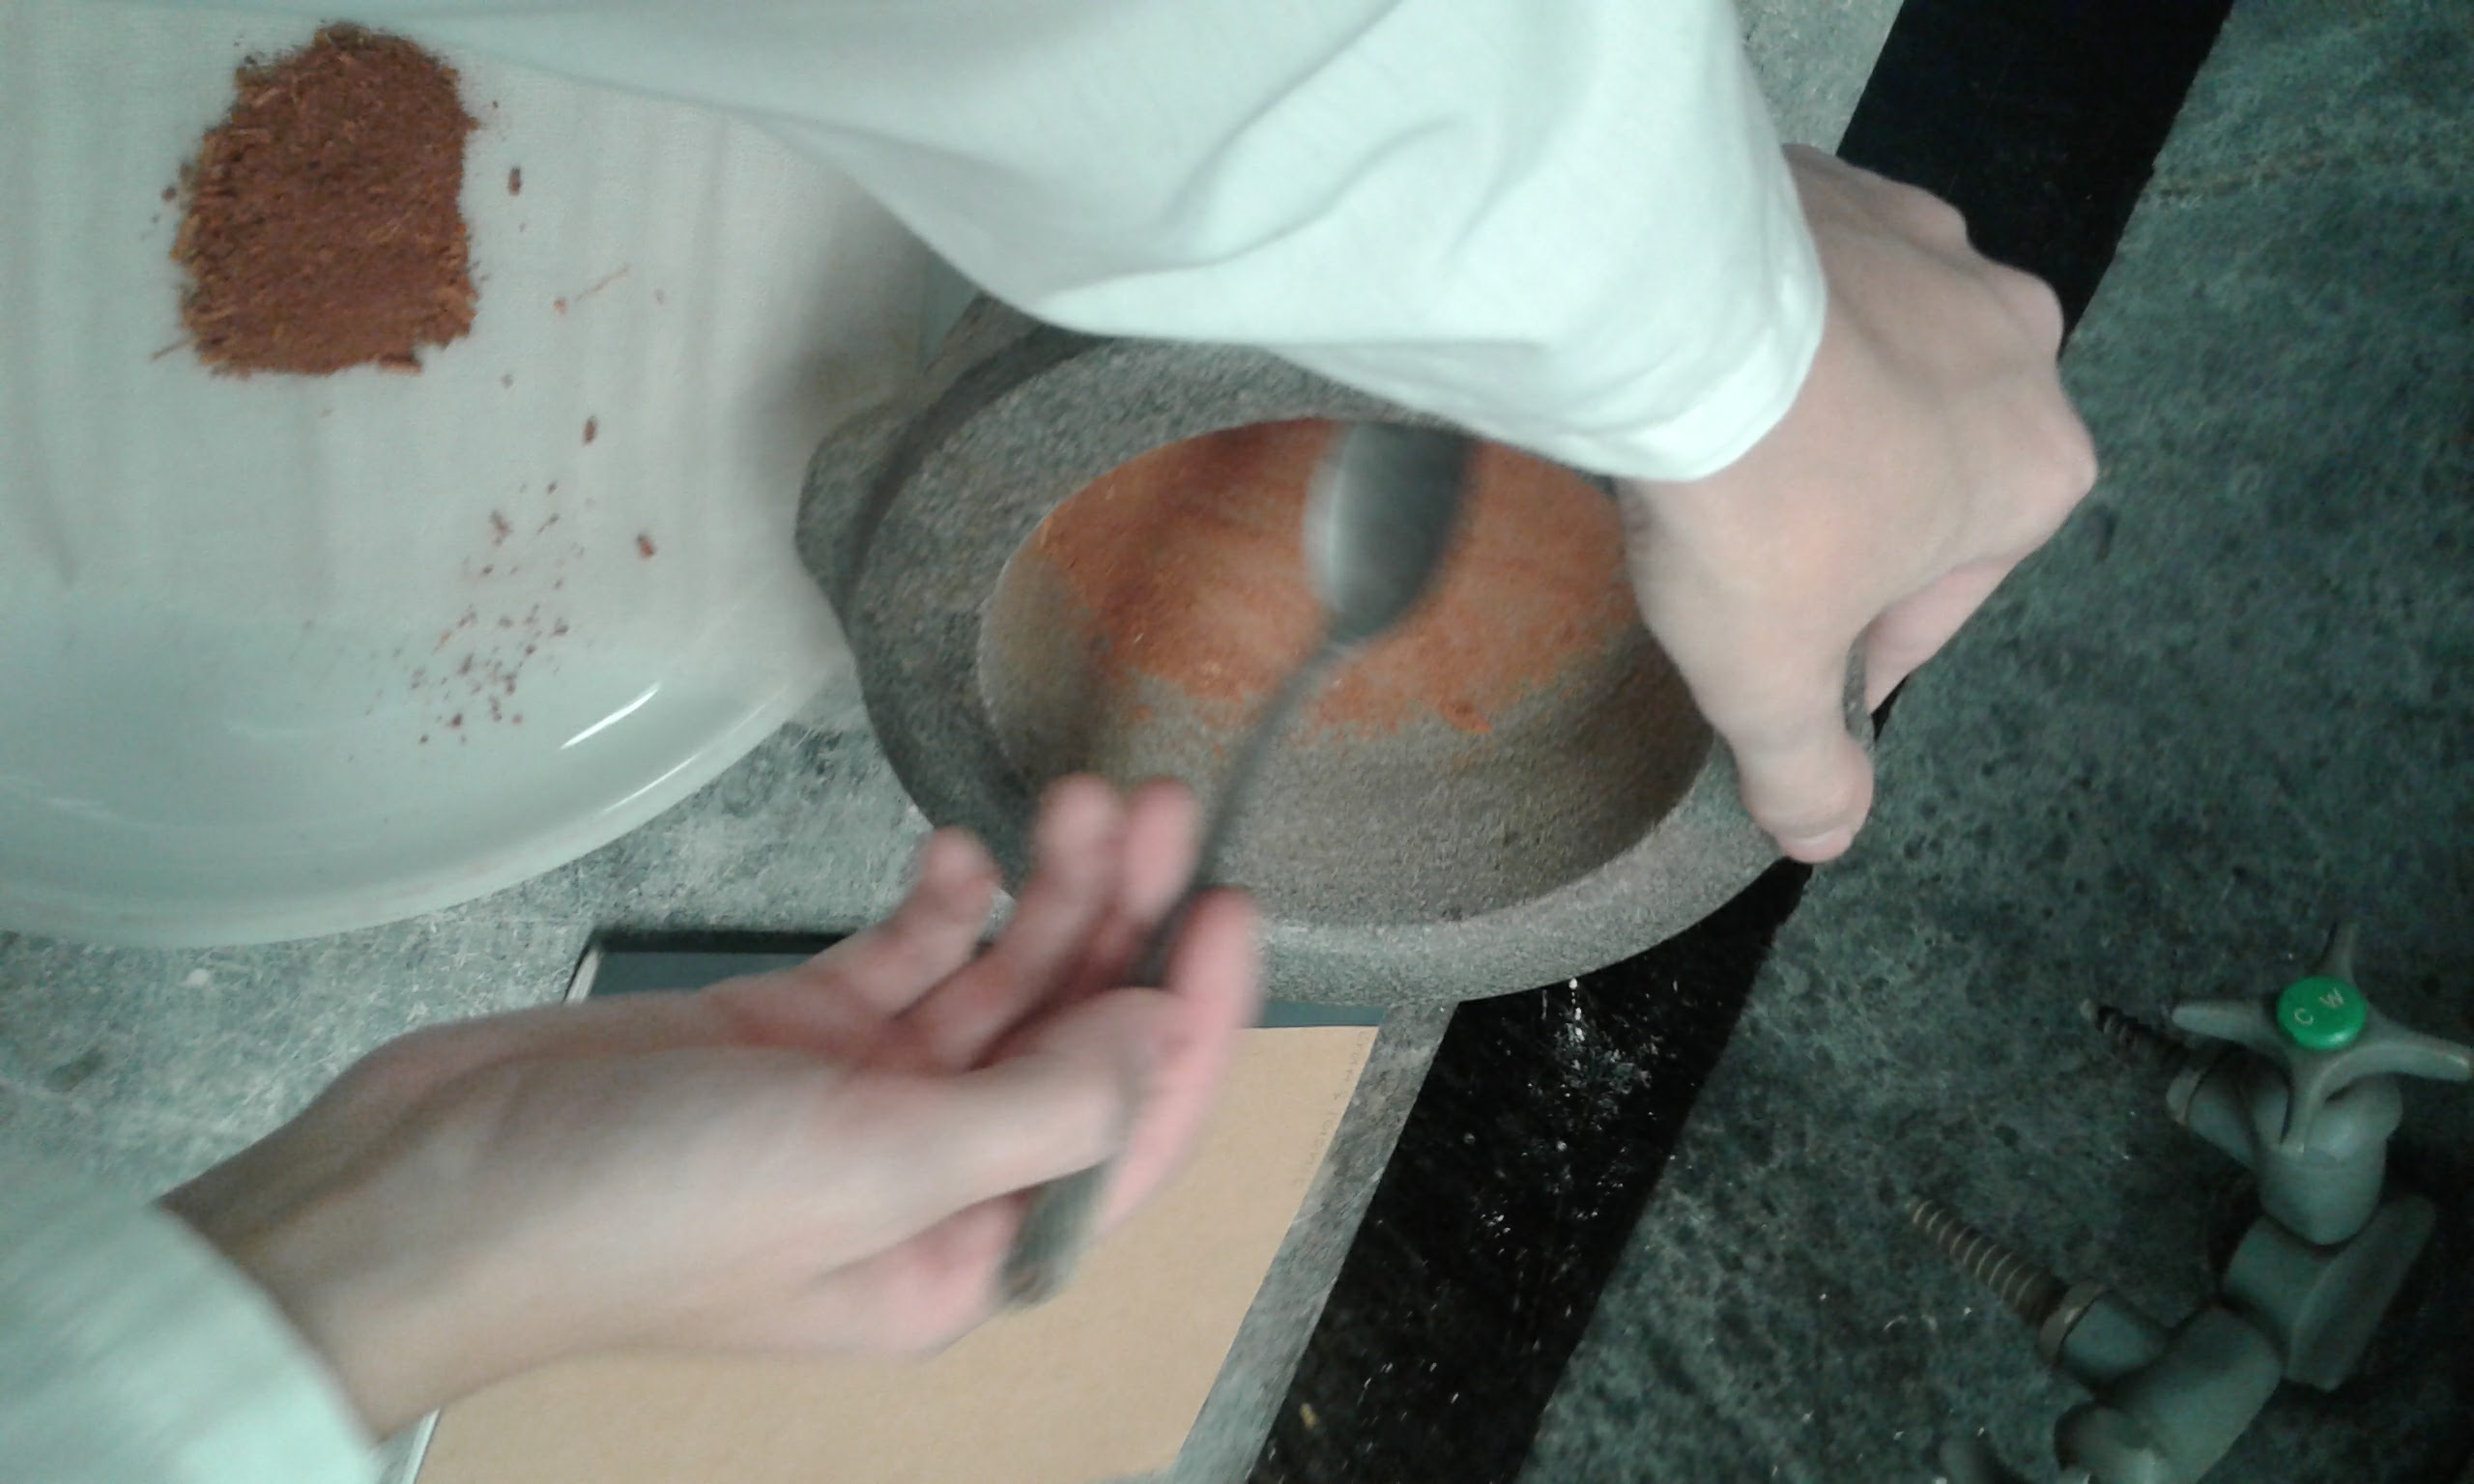
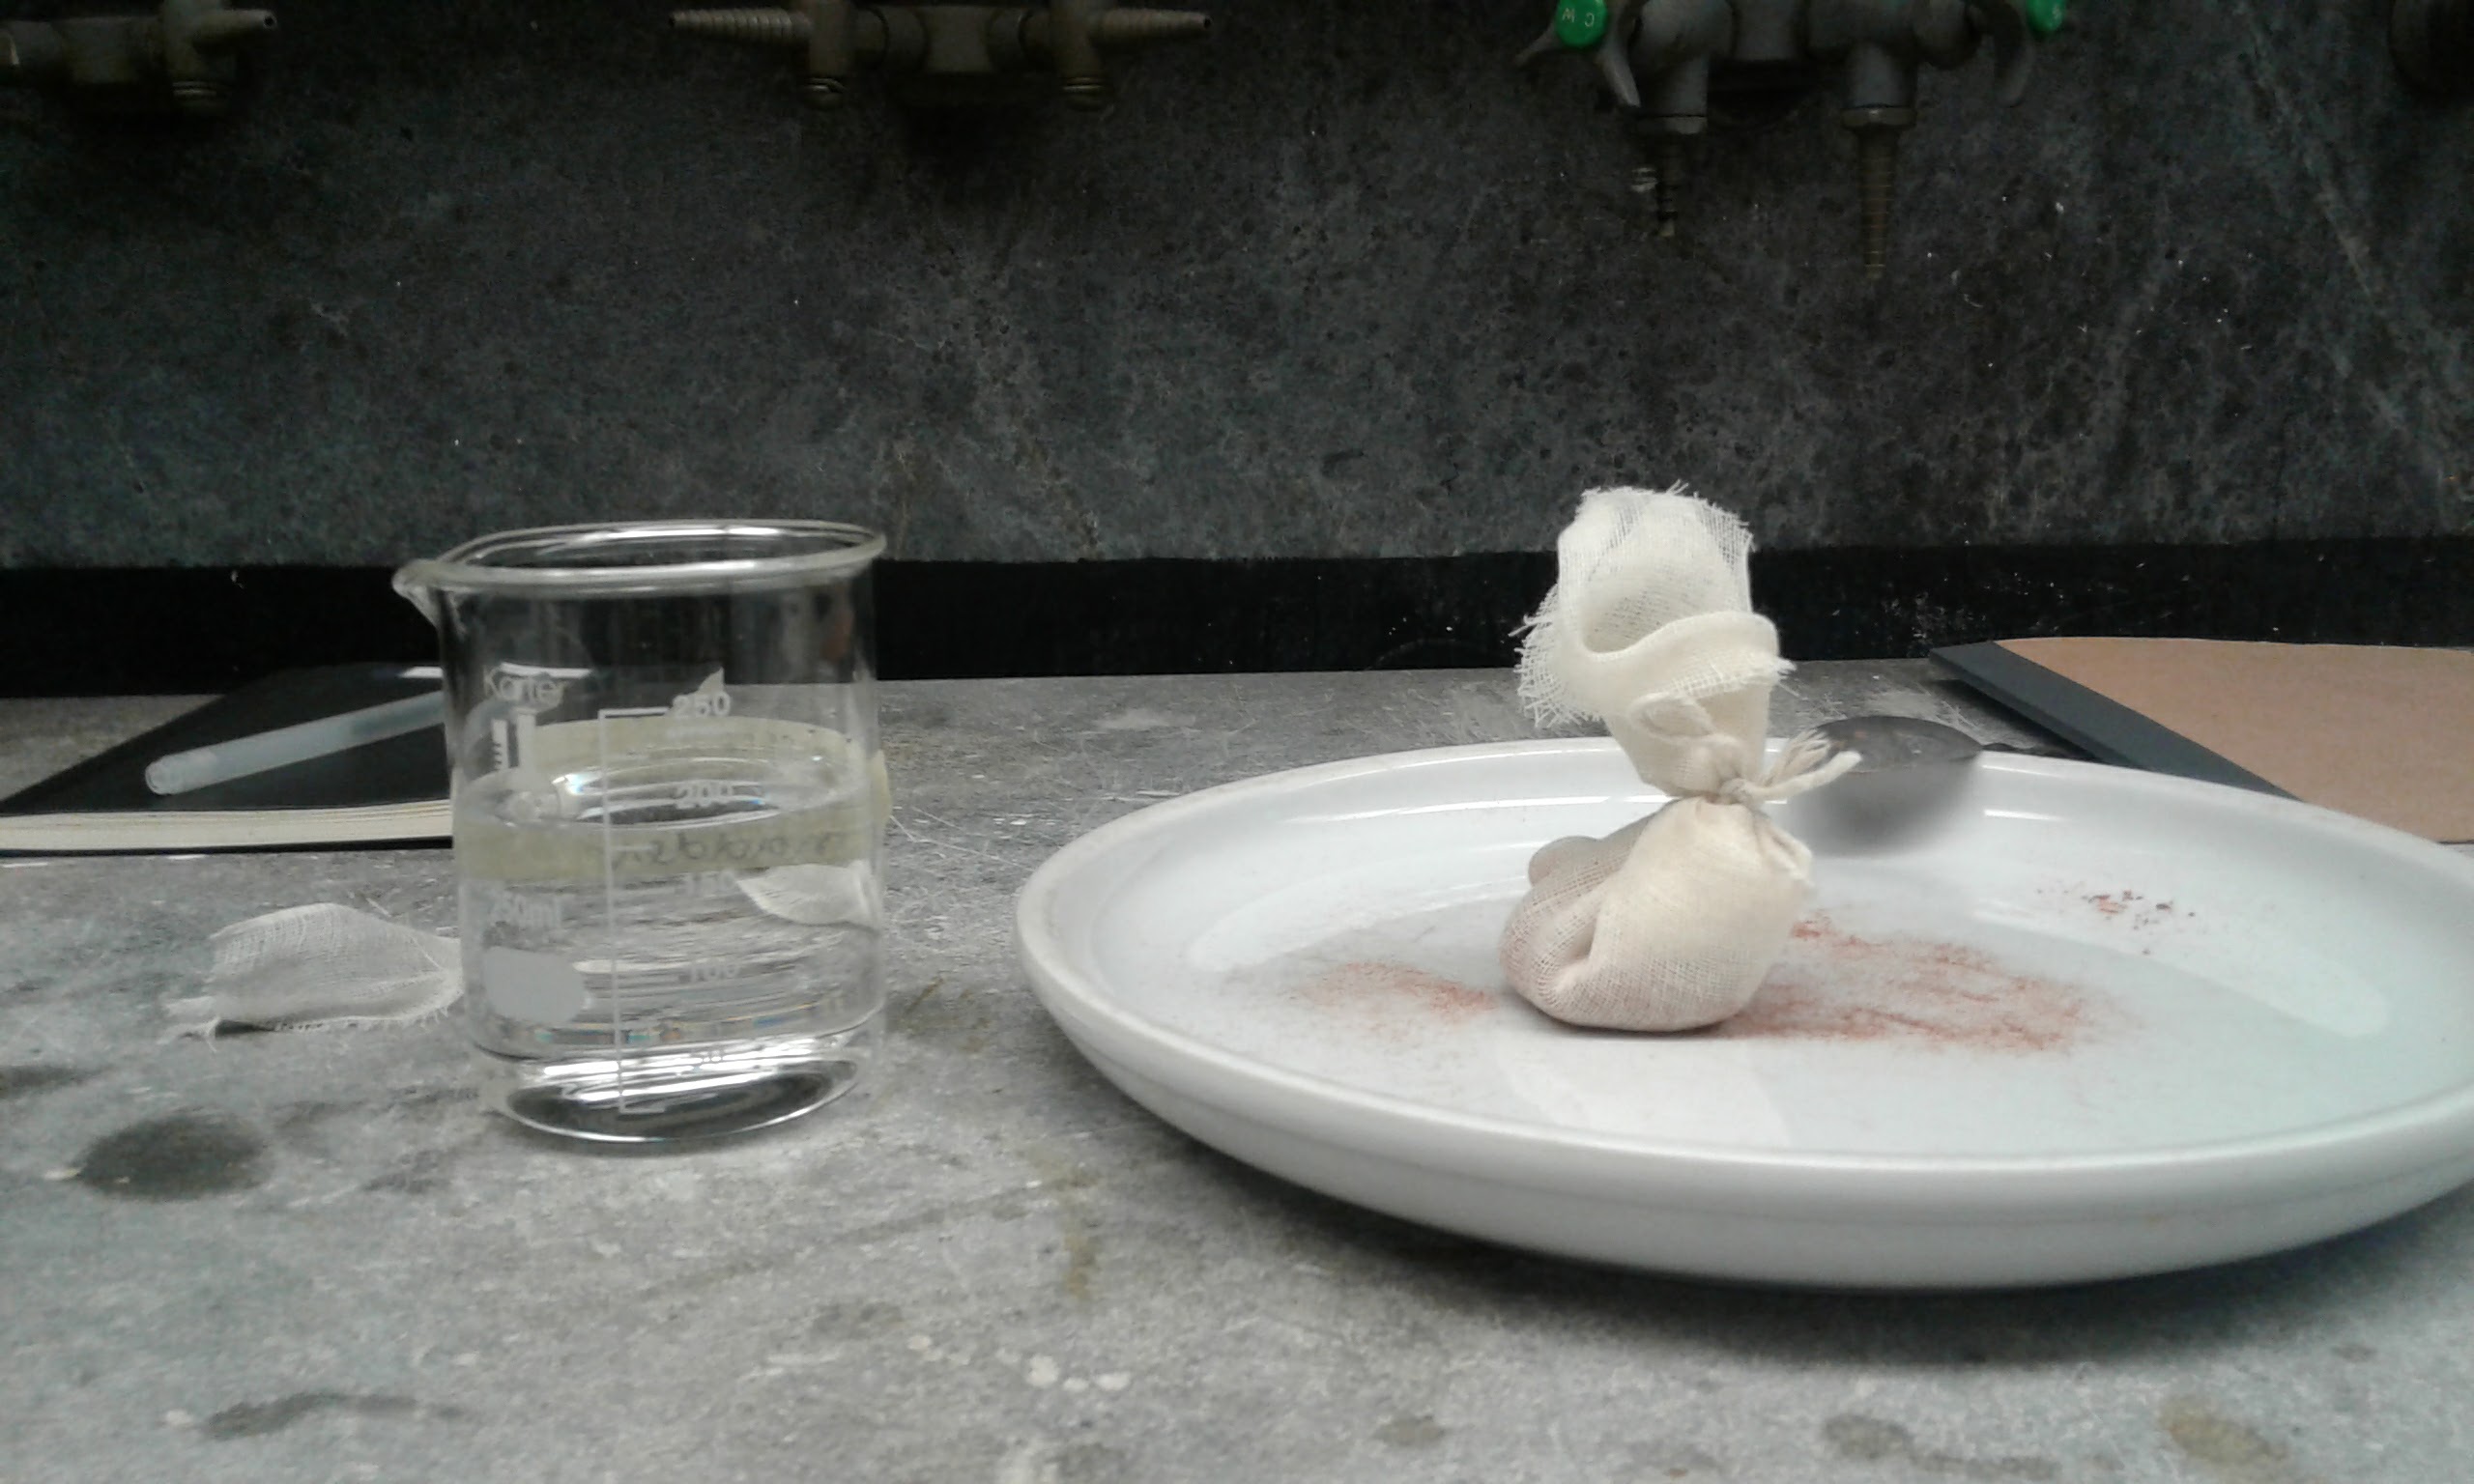
Images picture Caitlyn scooping madder out of the mortar and onto the cheesecloth, which is spread out on a ceramic plate. Underneath is the tied madder baggy and beaker filled with 180ml of distilled water.
[AM] The madder was pretty soft and powdery at this stage. As is evident from the picture on the bottom, we lost some of the most powdery madder onto the plate. It was a bit tricky to get the madder to stay in place as we tied the bag shut, as it was still a mixture of fine powder and slightly larger bits.
- Submerge madder in water, cover and soak overnight
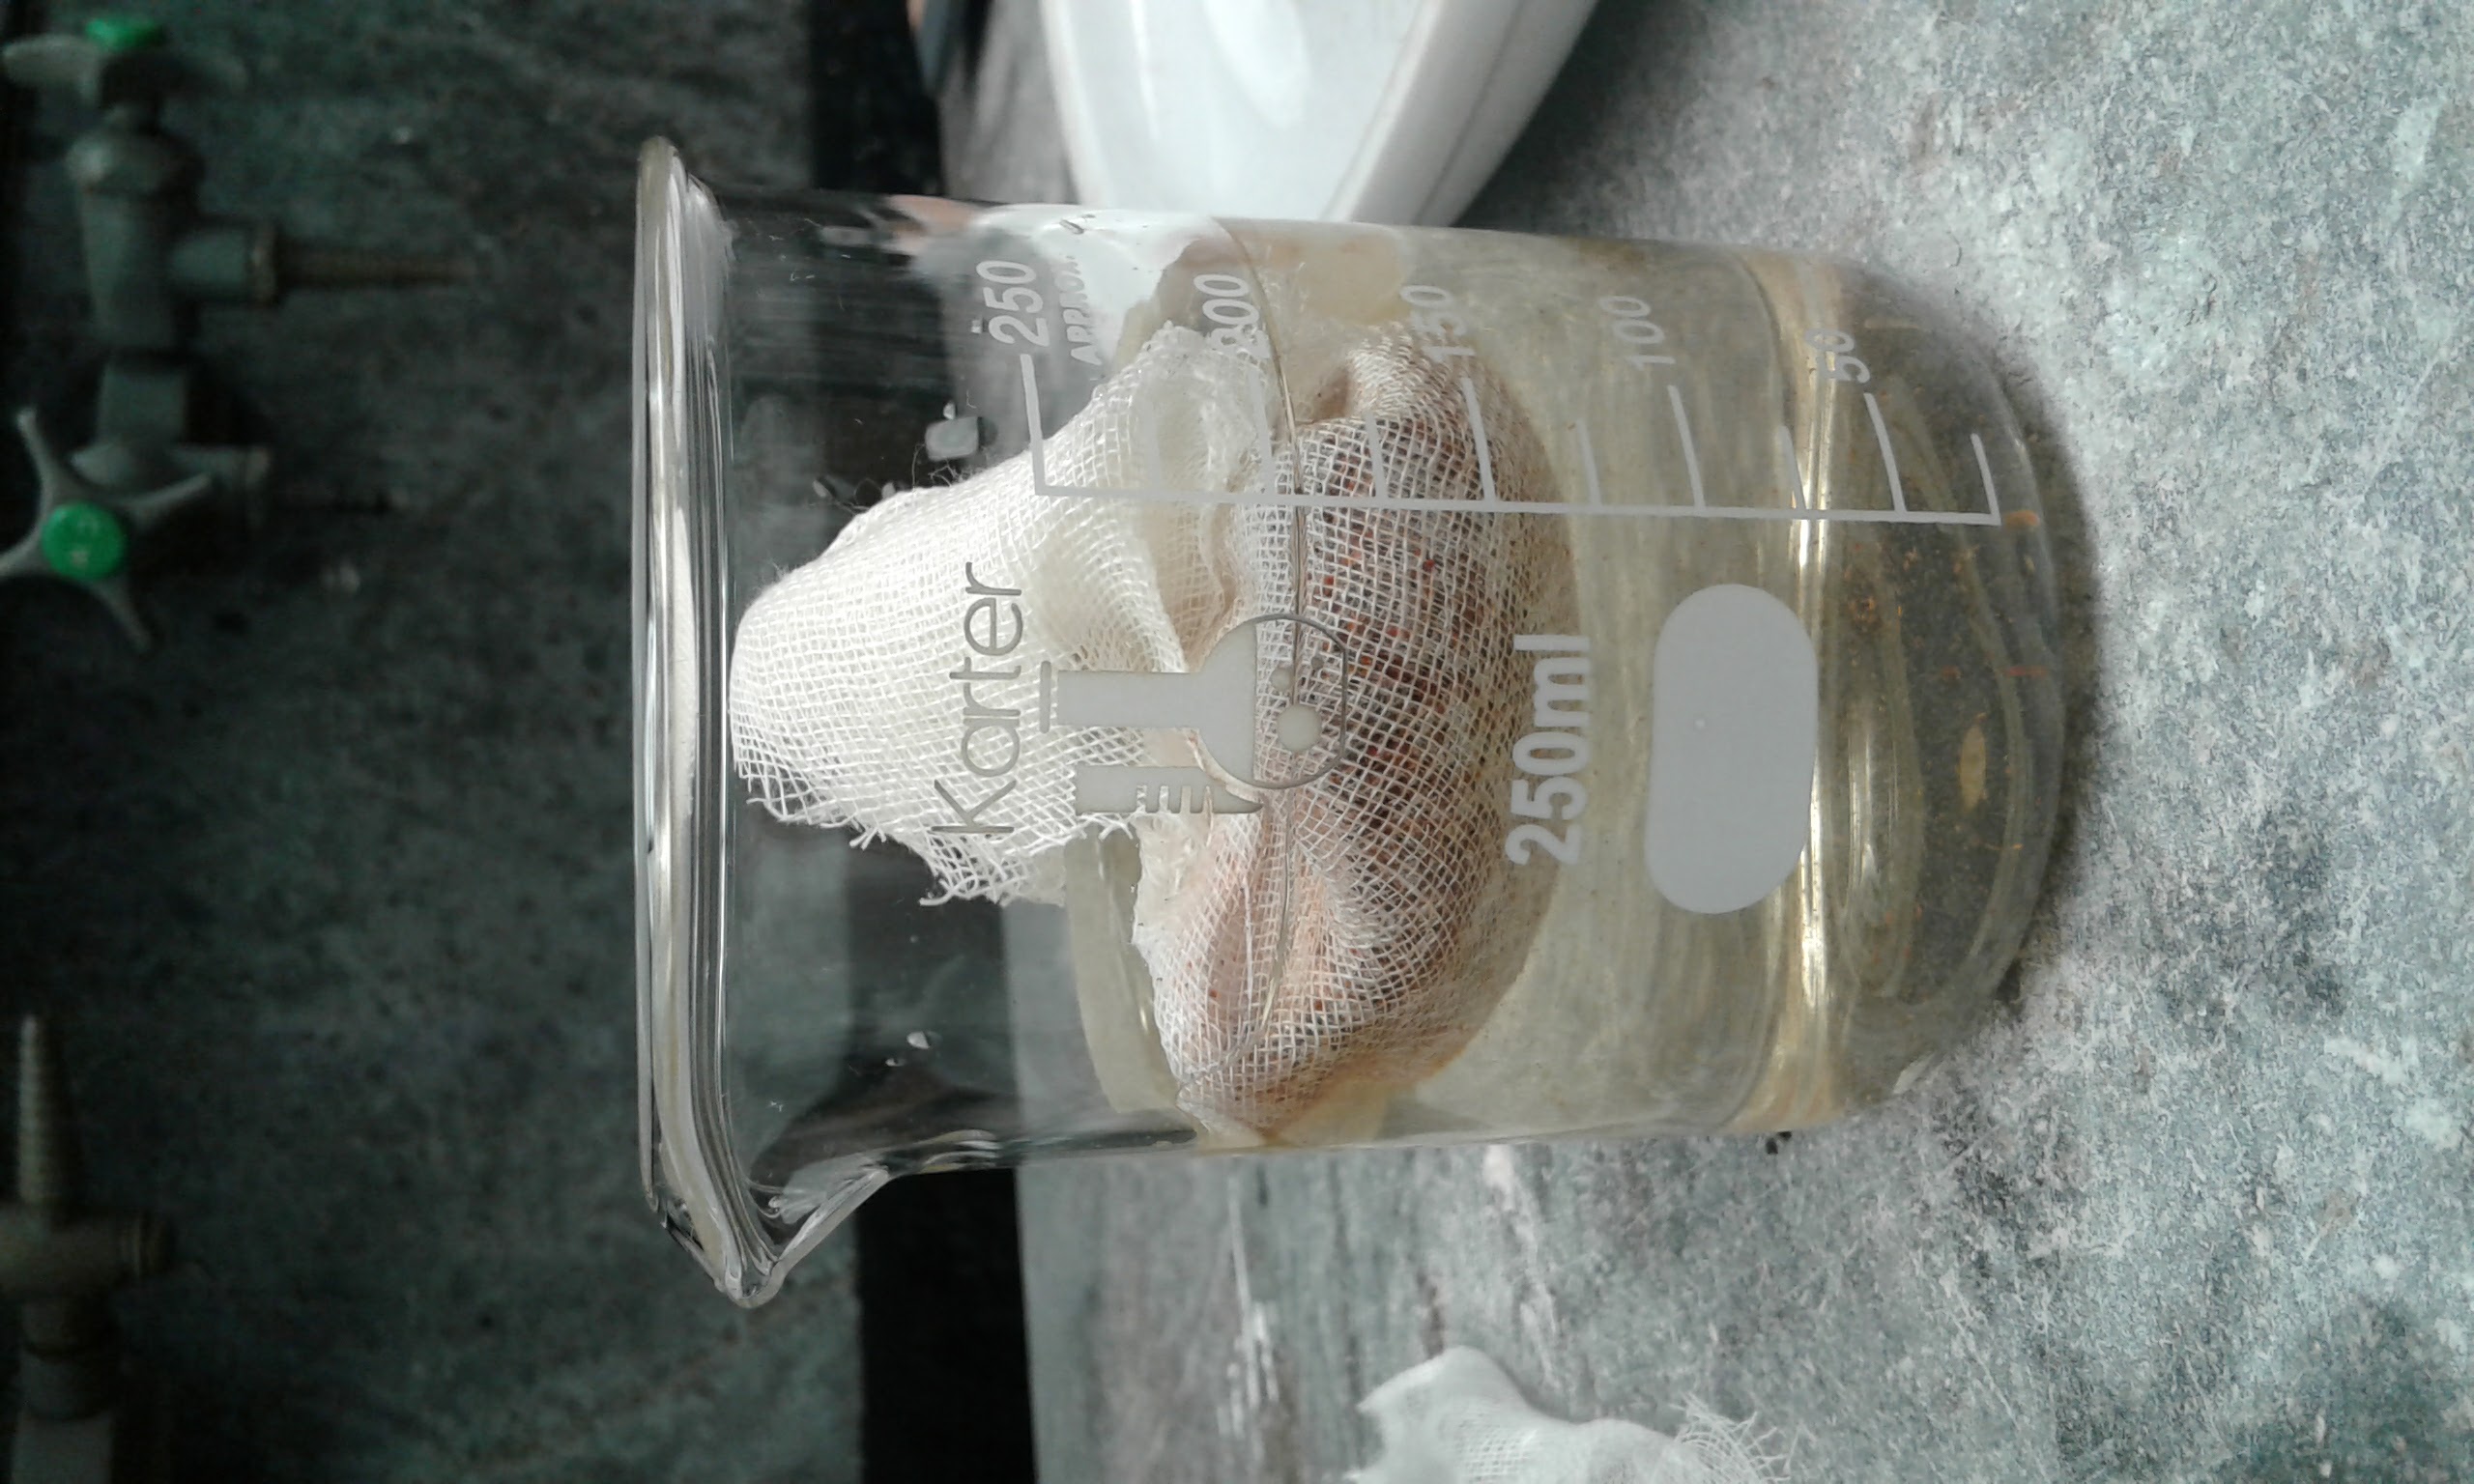
This image shows the madder bag only a few seconds after being submerged in water.
[AM] The madder bag had lost of air in it as well and did not want to sink easily.
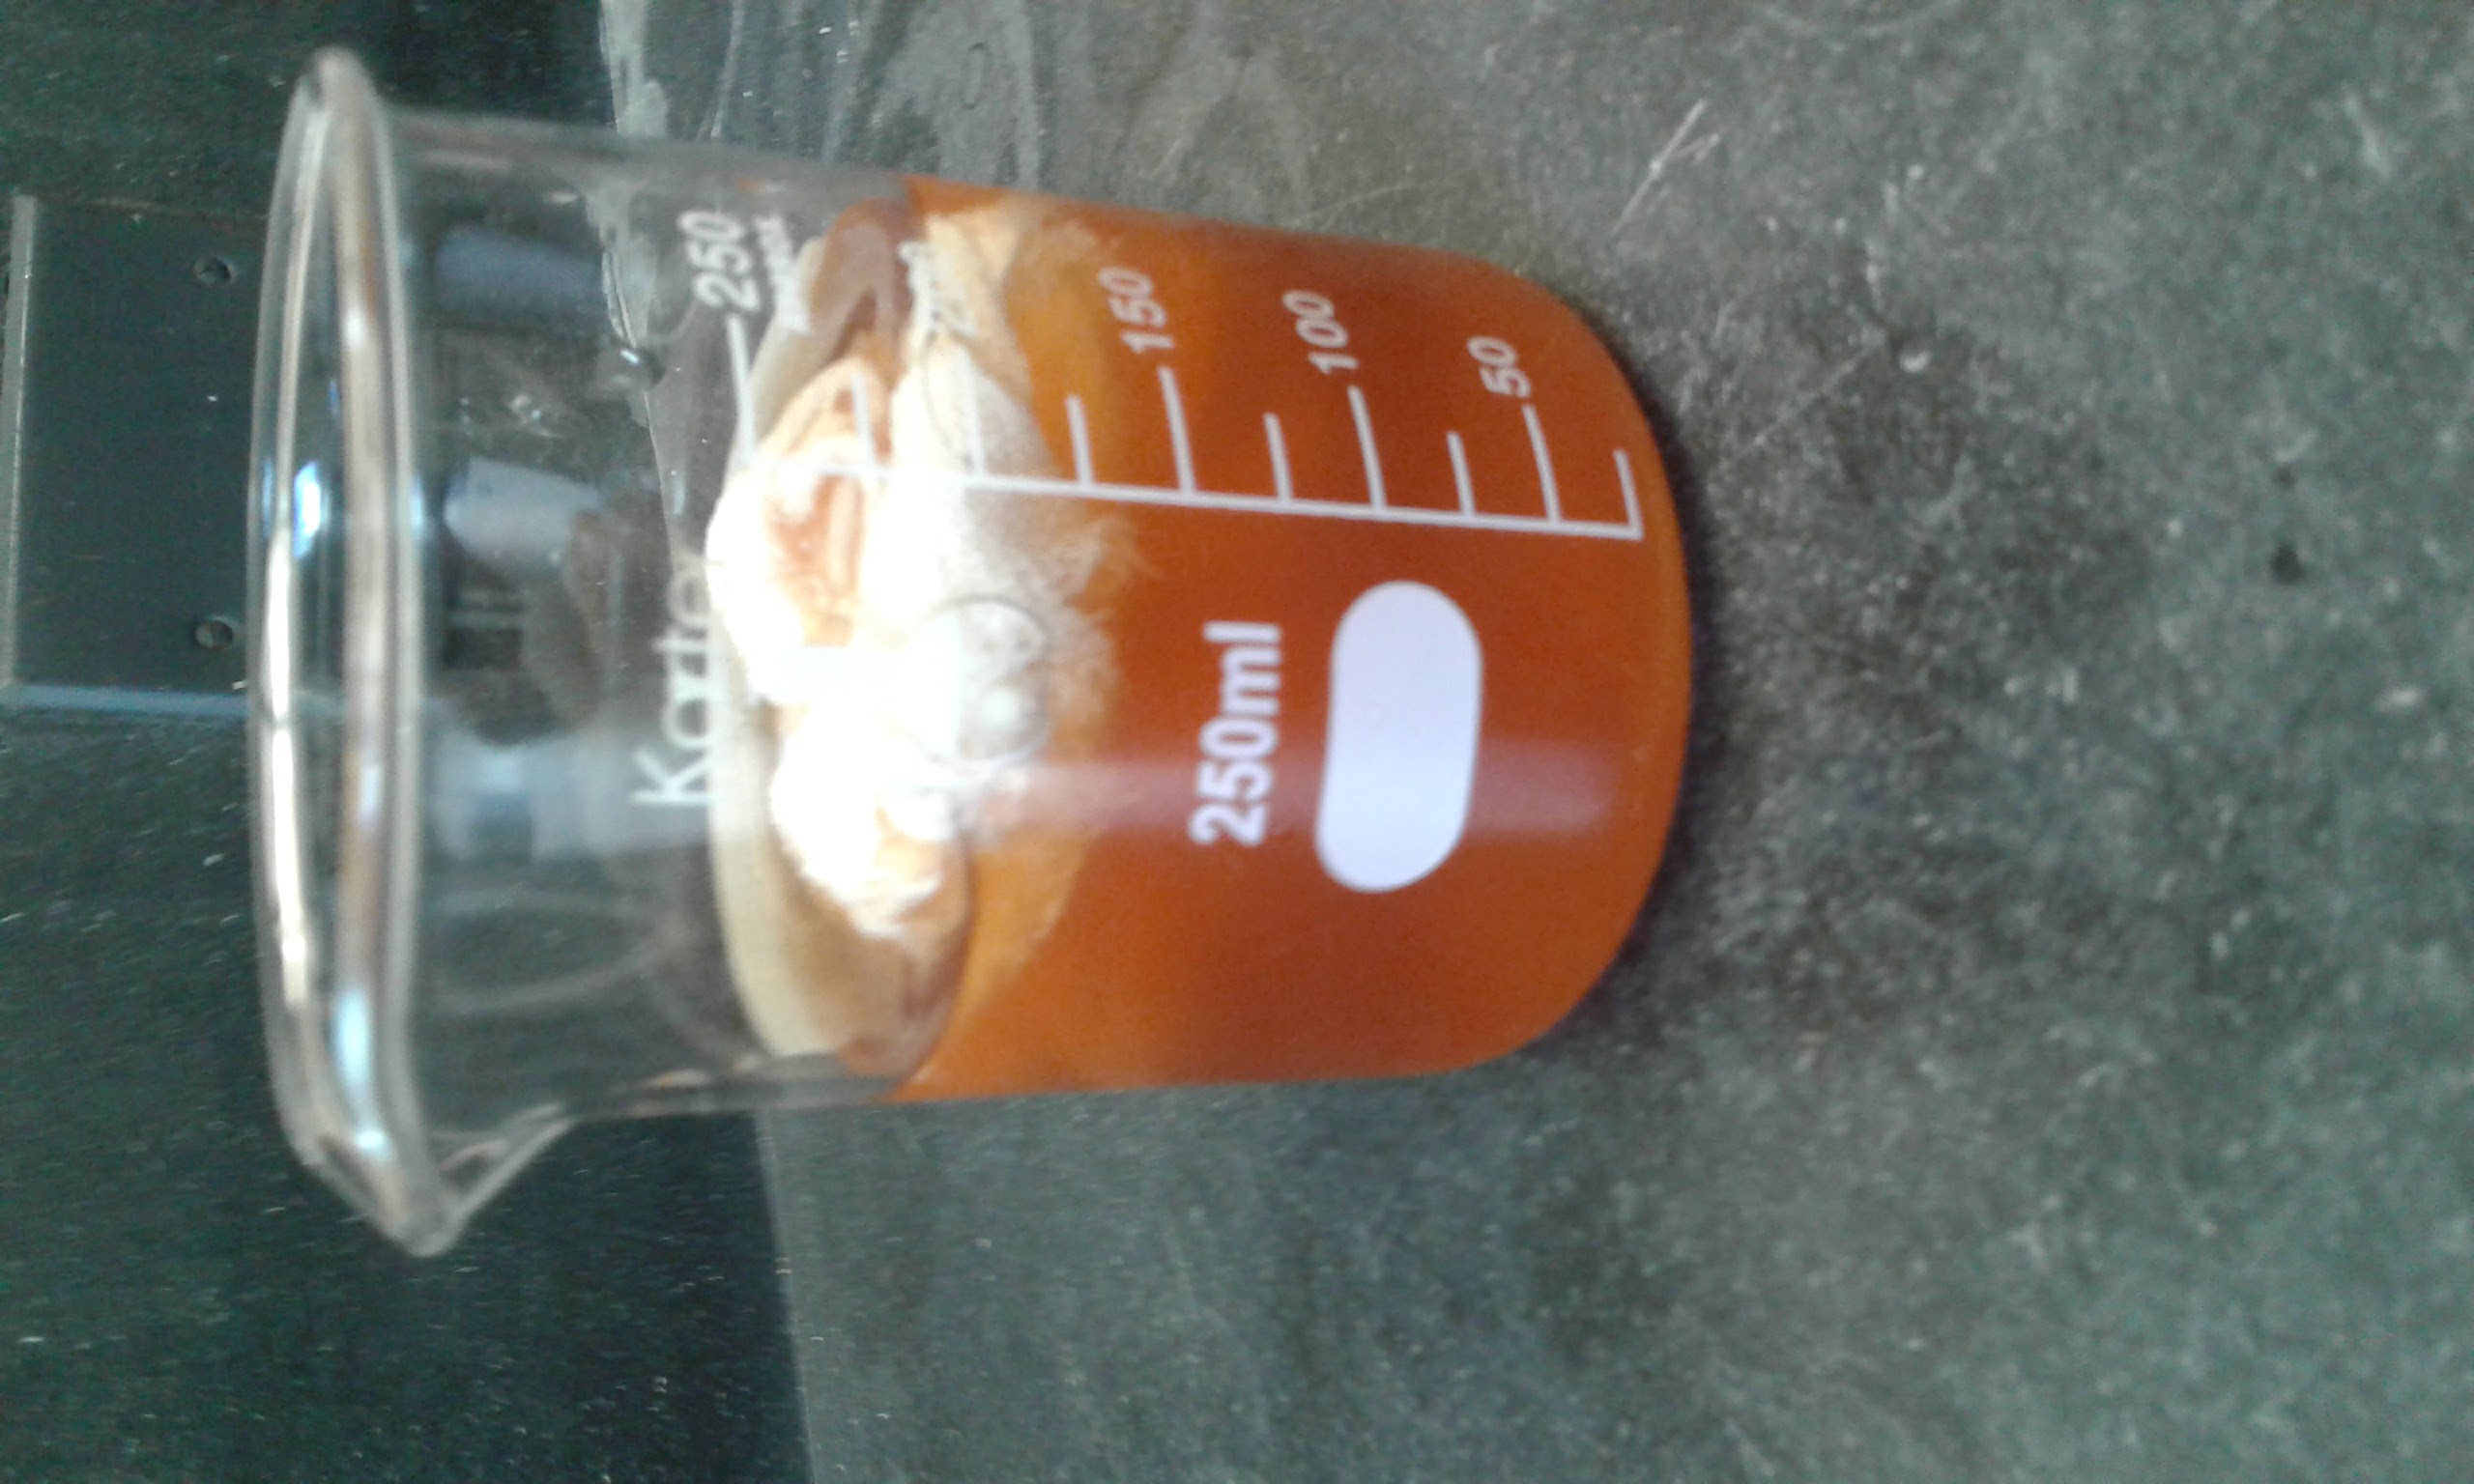
[AM] After a few minutes and some agitation with a chopstick (to get more of the bag under) the water had already turned this bright pinkish orange color.
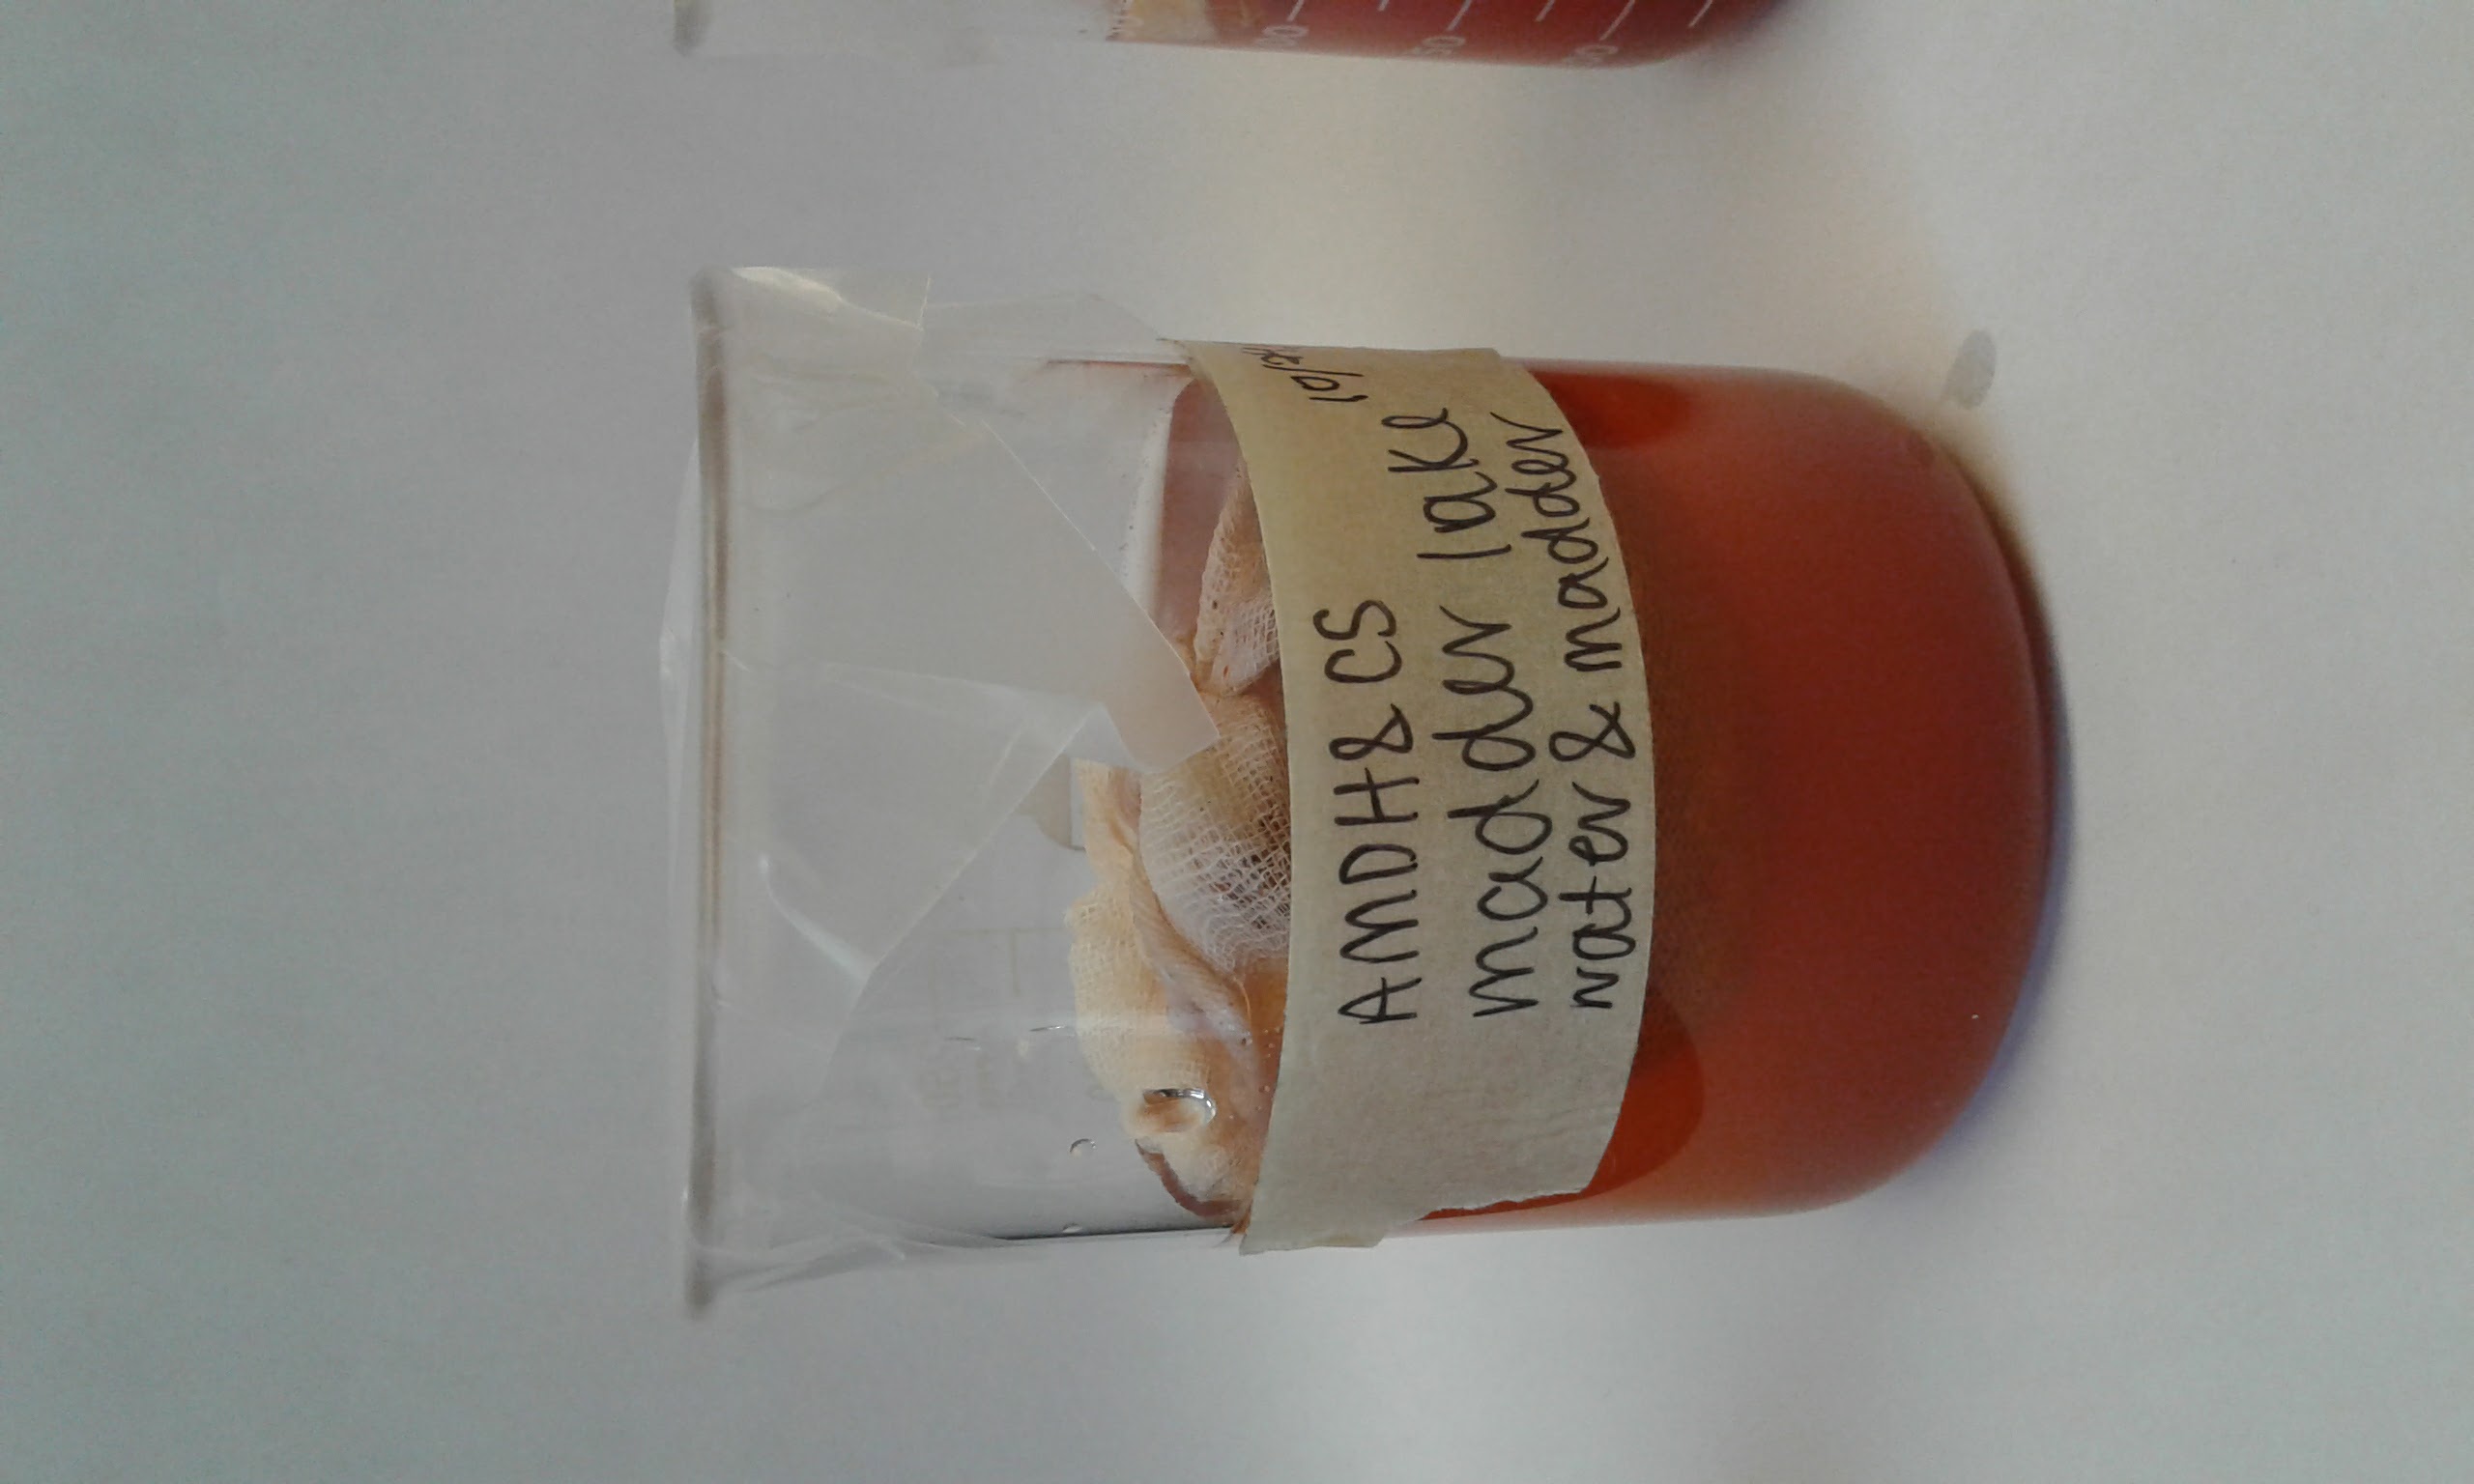
[AM] This is how we left the madder in water solution. It was covered with a piece of cling film to prevent anything falling into it overnight. The bag was mostly submerged but some of it floated at the top and peeked out from the liquid.
Session #2
25/10
Materials
- 3g Potash Alum
- 1.2g Potassium Carbonate (potash)
- 120ml Distilled water
Tools
- Hotplate
- 600ml glass Beaker
- Chopstick to stir
- pH strip
- Thermometer
- Plate
- Scale
- Plastic container
- Scupula
- Filters
Procedure [with Notes]
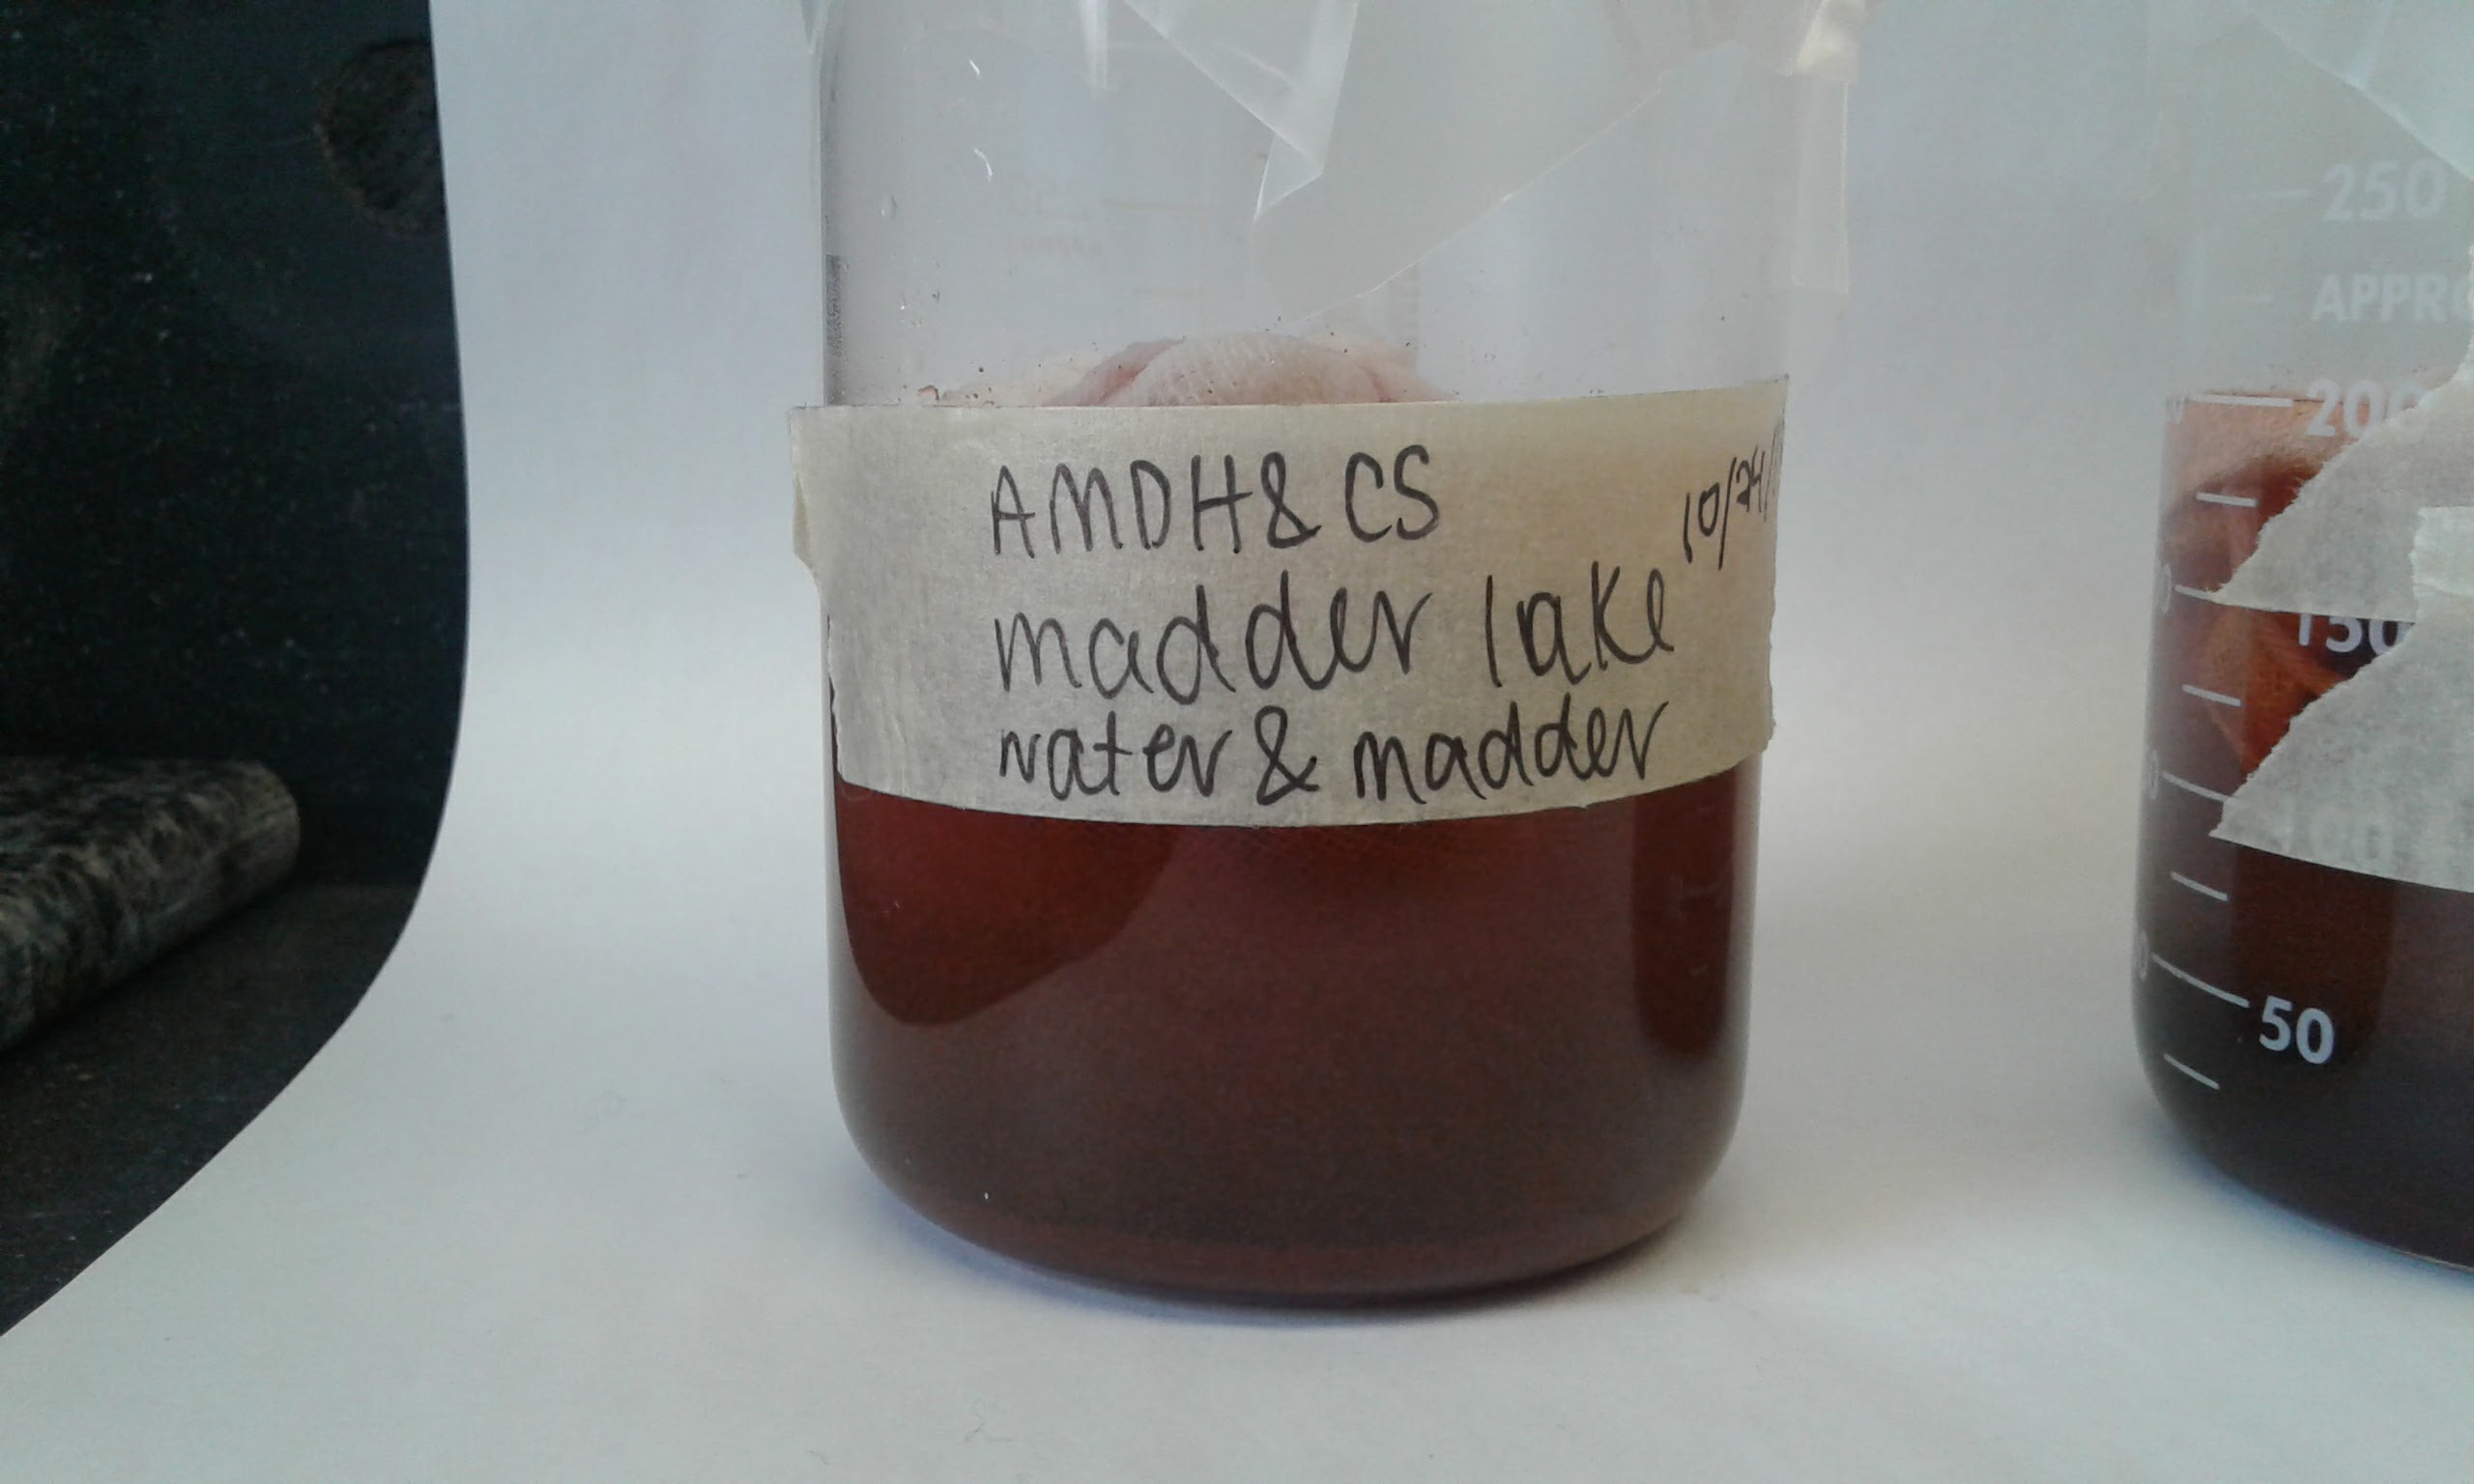
Image pictures the madder solution as soon as we got to the lab after leaving it overnight.
[CS] The madder solution had darkened considerably overnight.
[AM] Bits of the bag were still protruding from the water, but most of the madder had remained submerged.
- 2:58PM - 3:28PM: After soaking, heat solution to 70C and extract dye at this temperature for 30 min
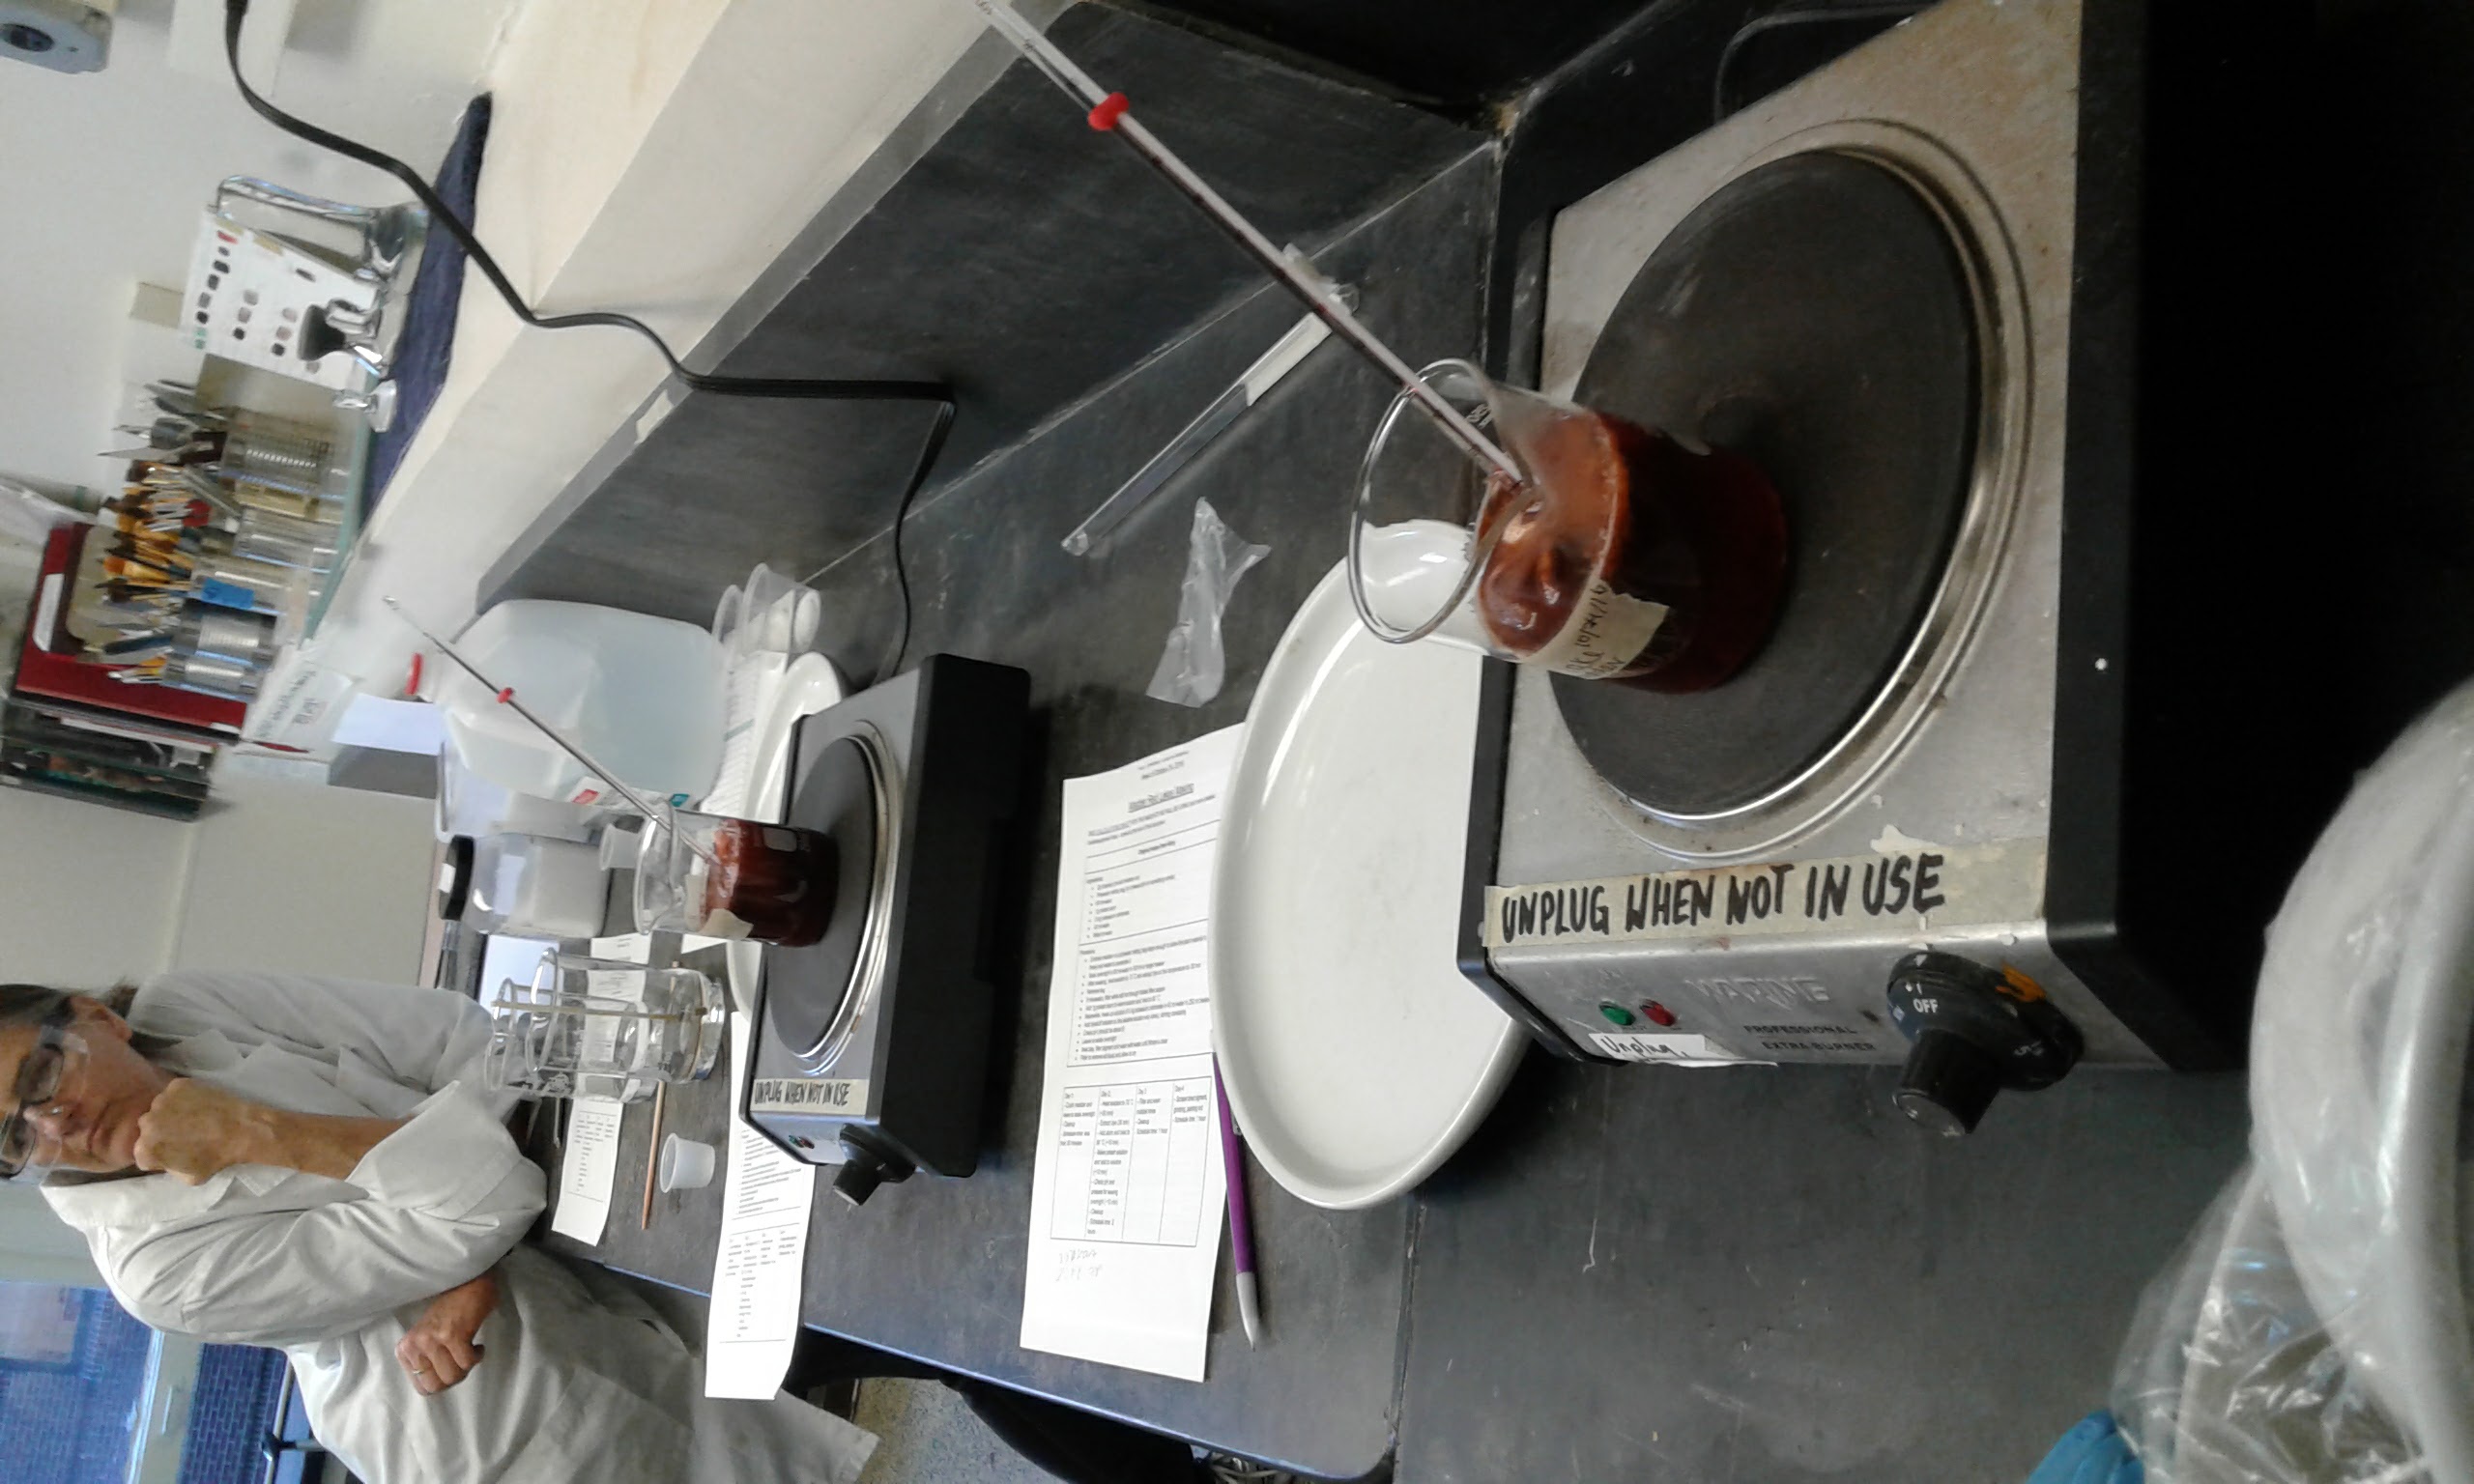
Image pictures our dye solution (as well as Emma's, in the background) extracting over heat.
[AM] We found it necessary to occasionally stir or remove our liquid from the heat for short periods as sometimes it got too hot. To stir we used either the thermometer itself or a wooden chopstick. The madder solution was quite a dark red but we could see particles floating around in the bottom. Lighter foam rose to the top.
- If necessary, filter while still hot through folded filter papers
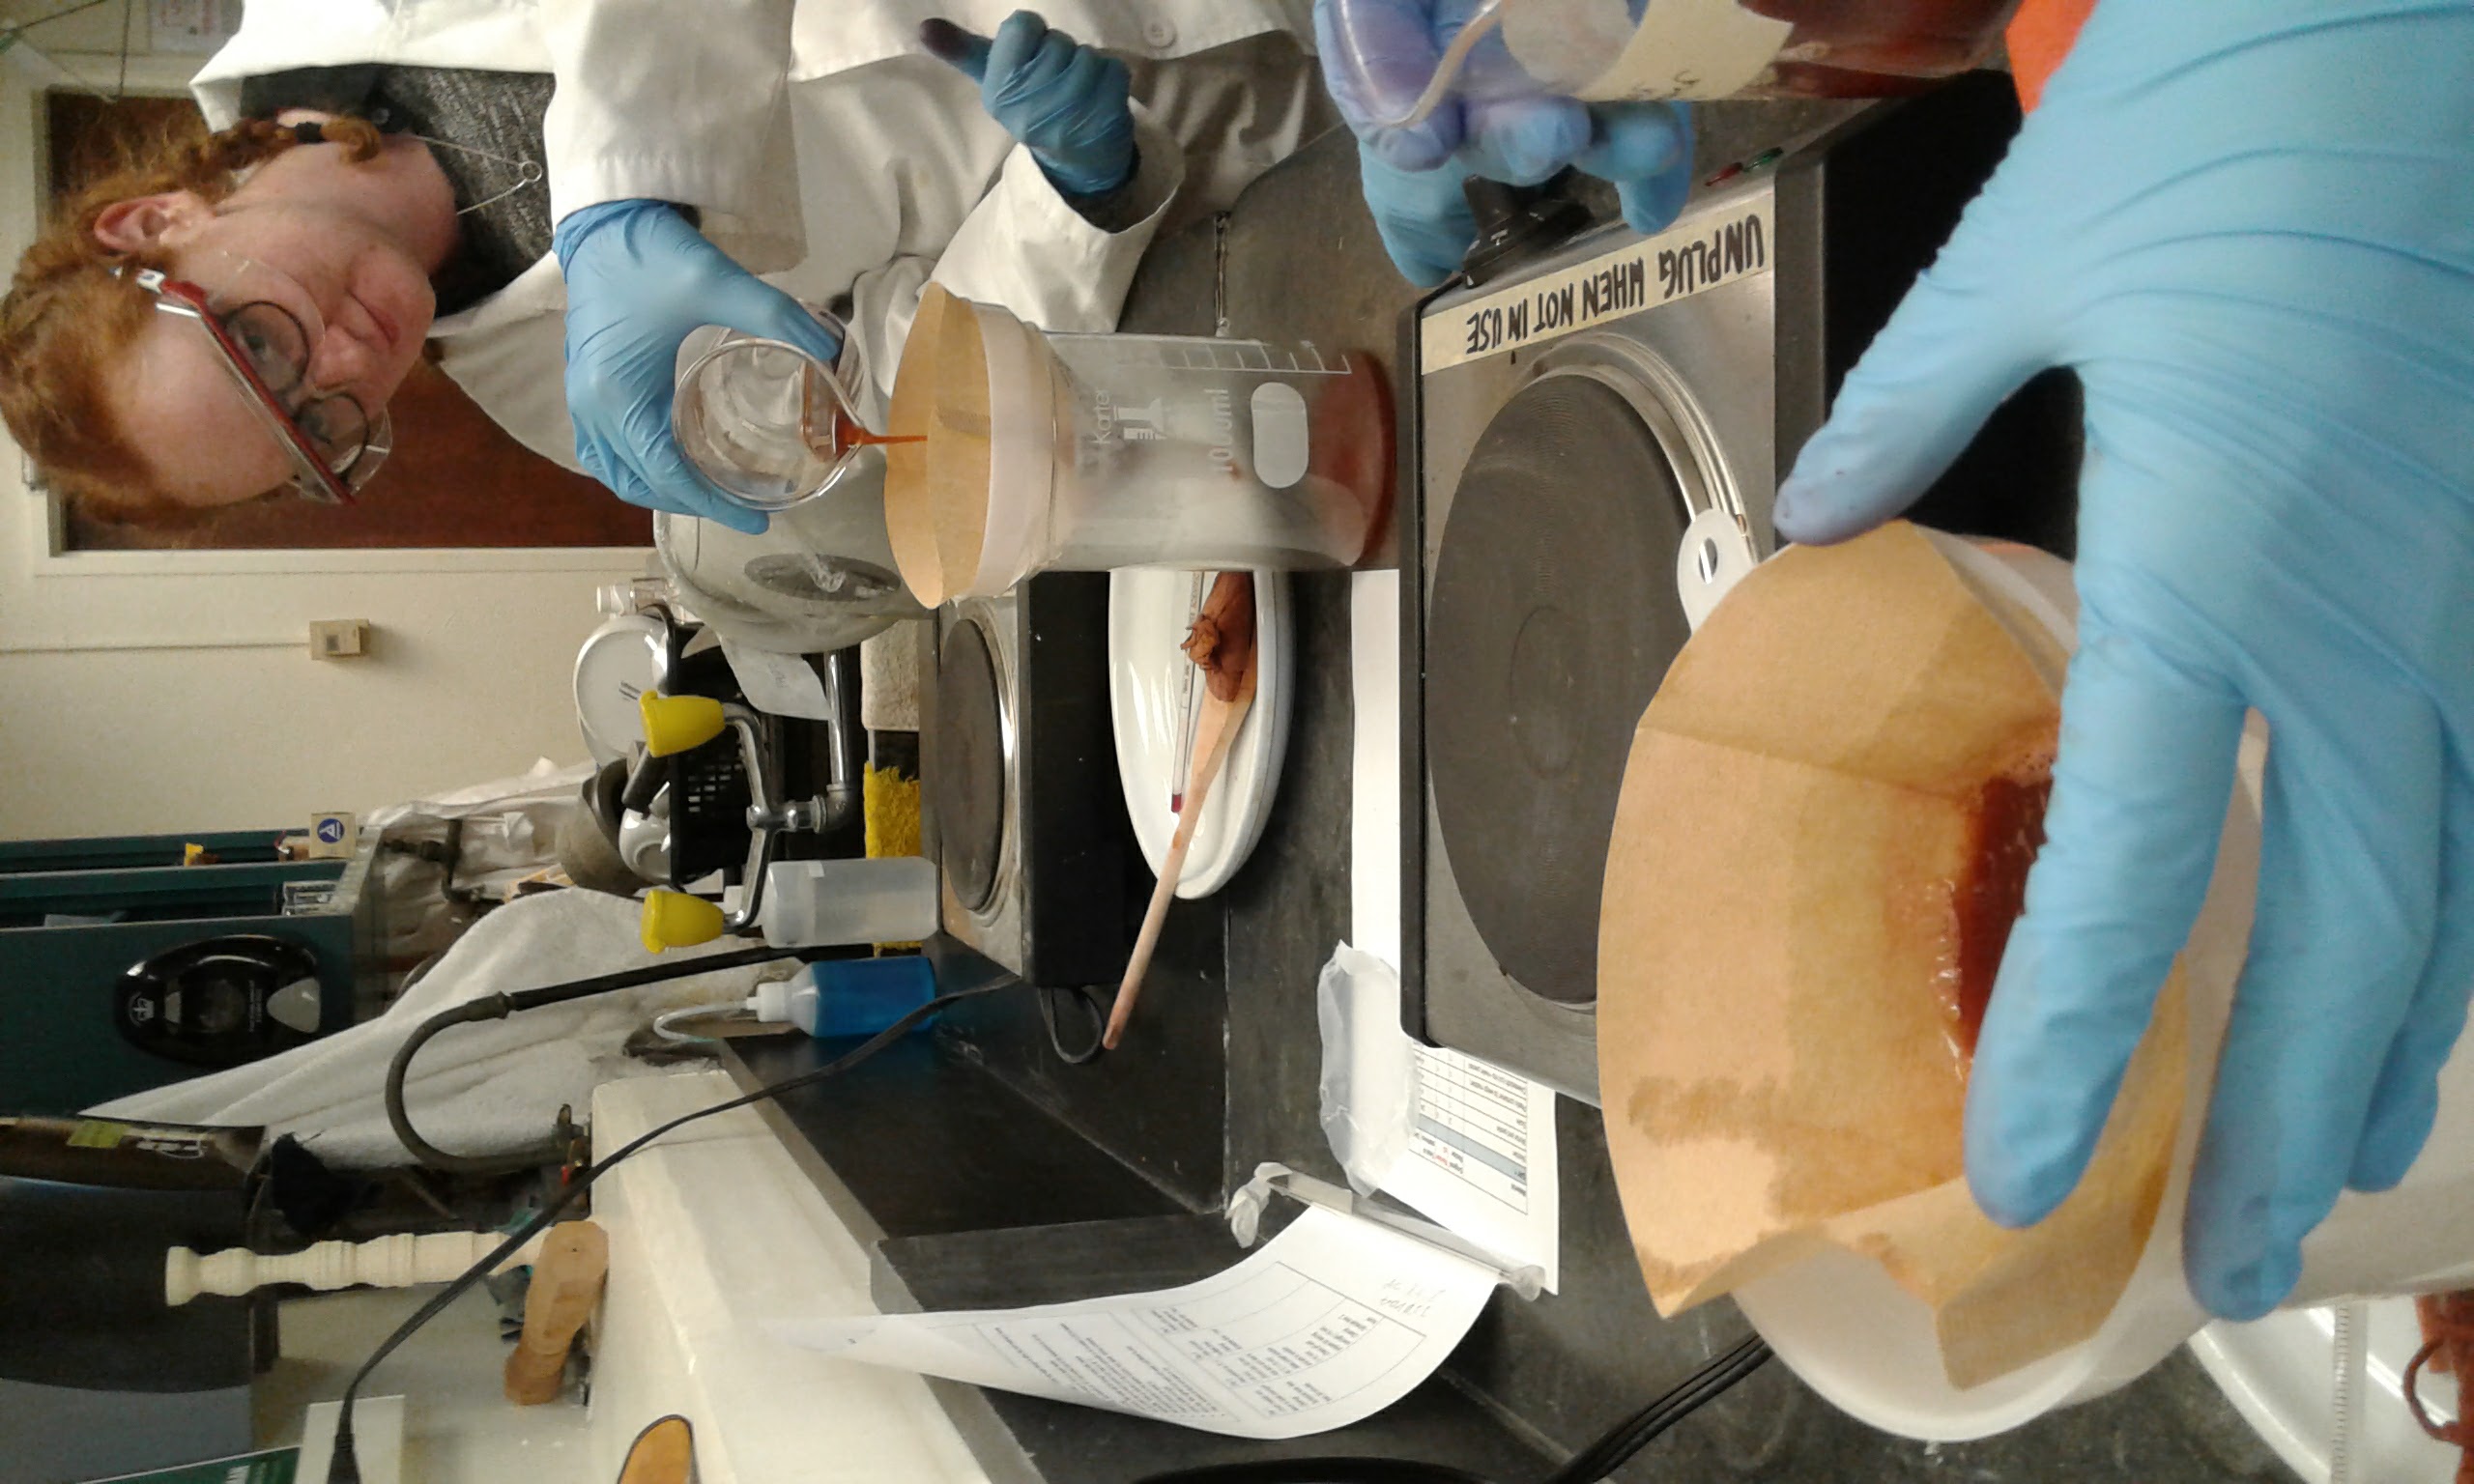
Image pictures us using funnels and coffee filters to filter the larger particulates of madder out of the solution.
[CS] We filtered the madder solution into larger beakers.
[AM] We removed the bag of madder, squeezing out as much excess moisture as possible (which was difficult because it was so hot) back into the solution. Then we filtered all of the solution into a larger beaker. At this stage we think we had a small tear in our filter and so didn't filter out as much madder particulate as perhaps we should have done. The madder solution was quite dark brown at this stage and very warm. We discarded the particulates left in the filter and the bag of madder.
- 3:43PM: Add potash alum to warm solution and heat to 80C
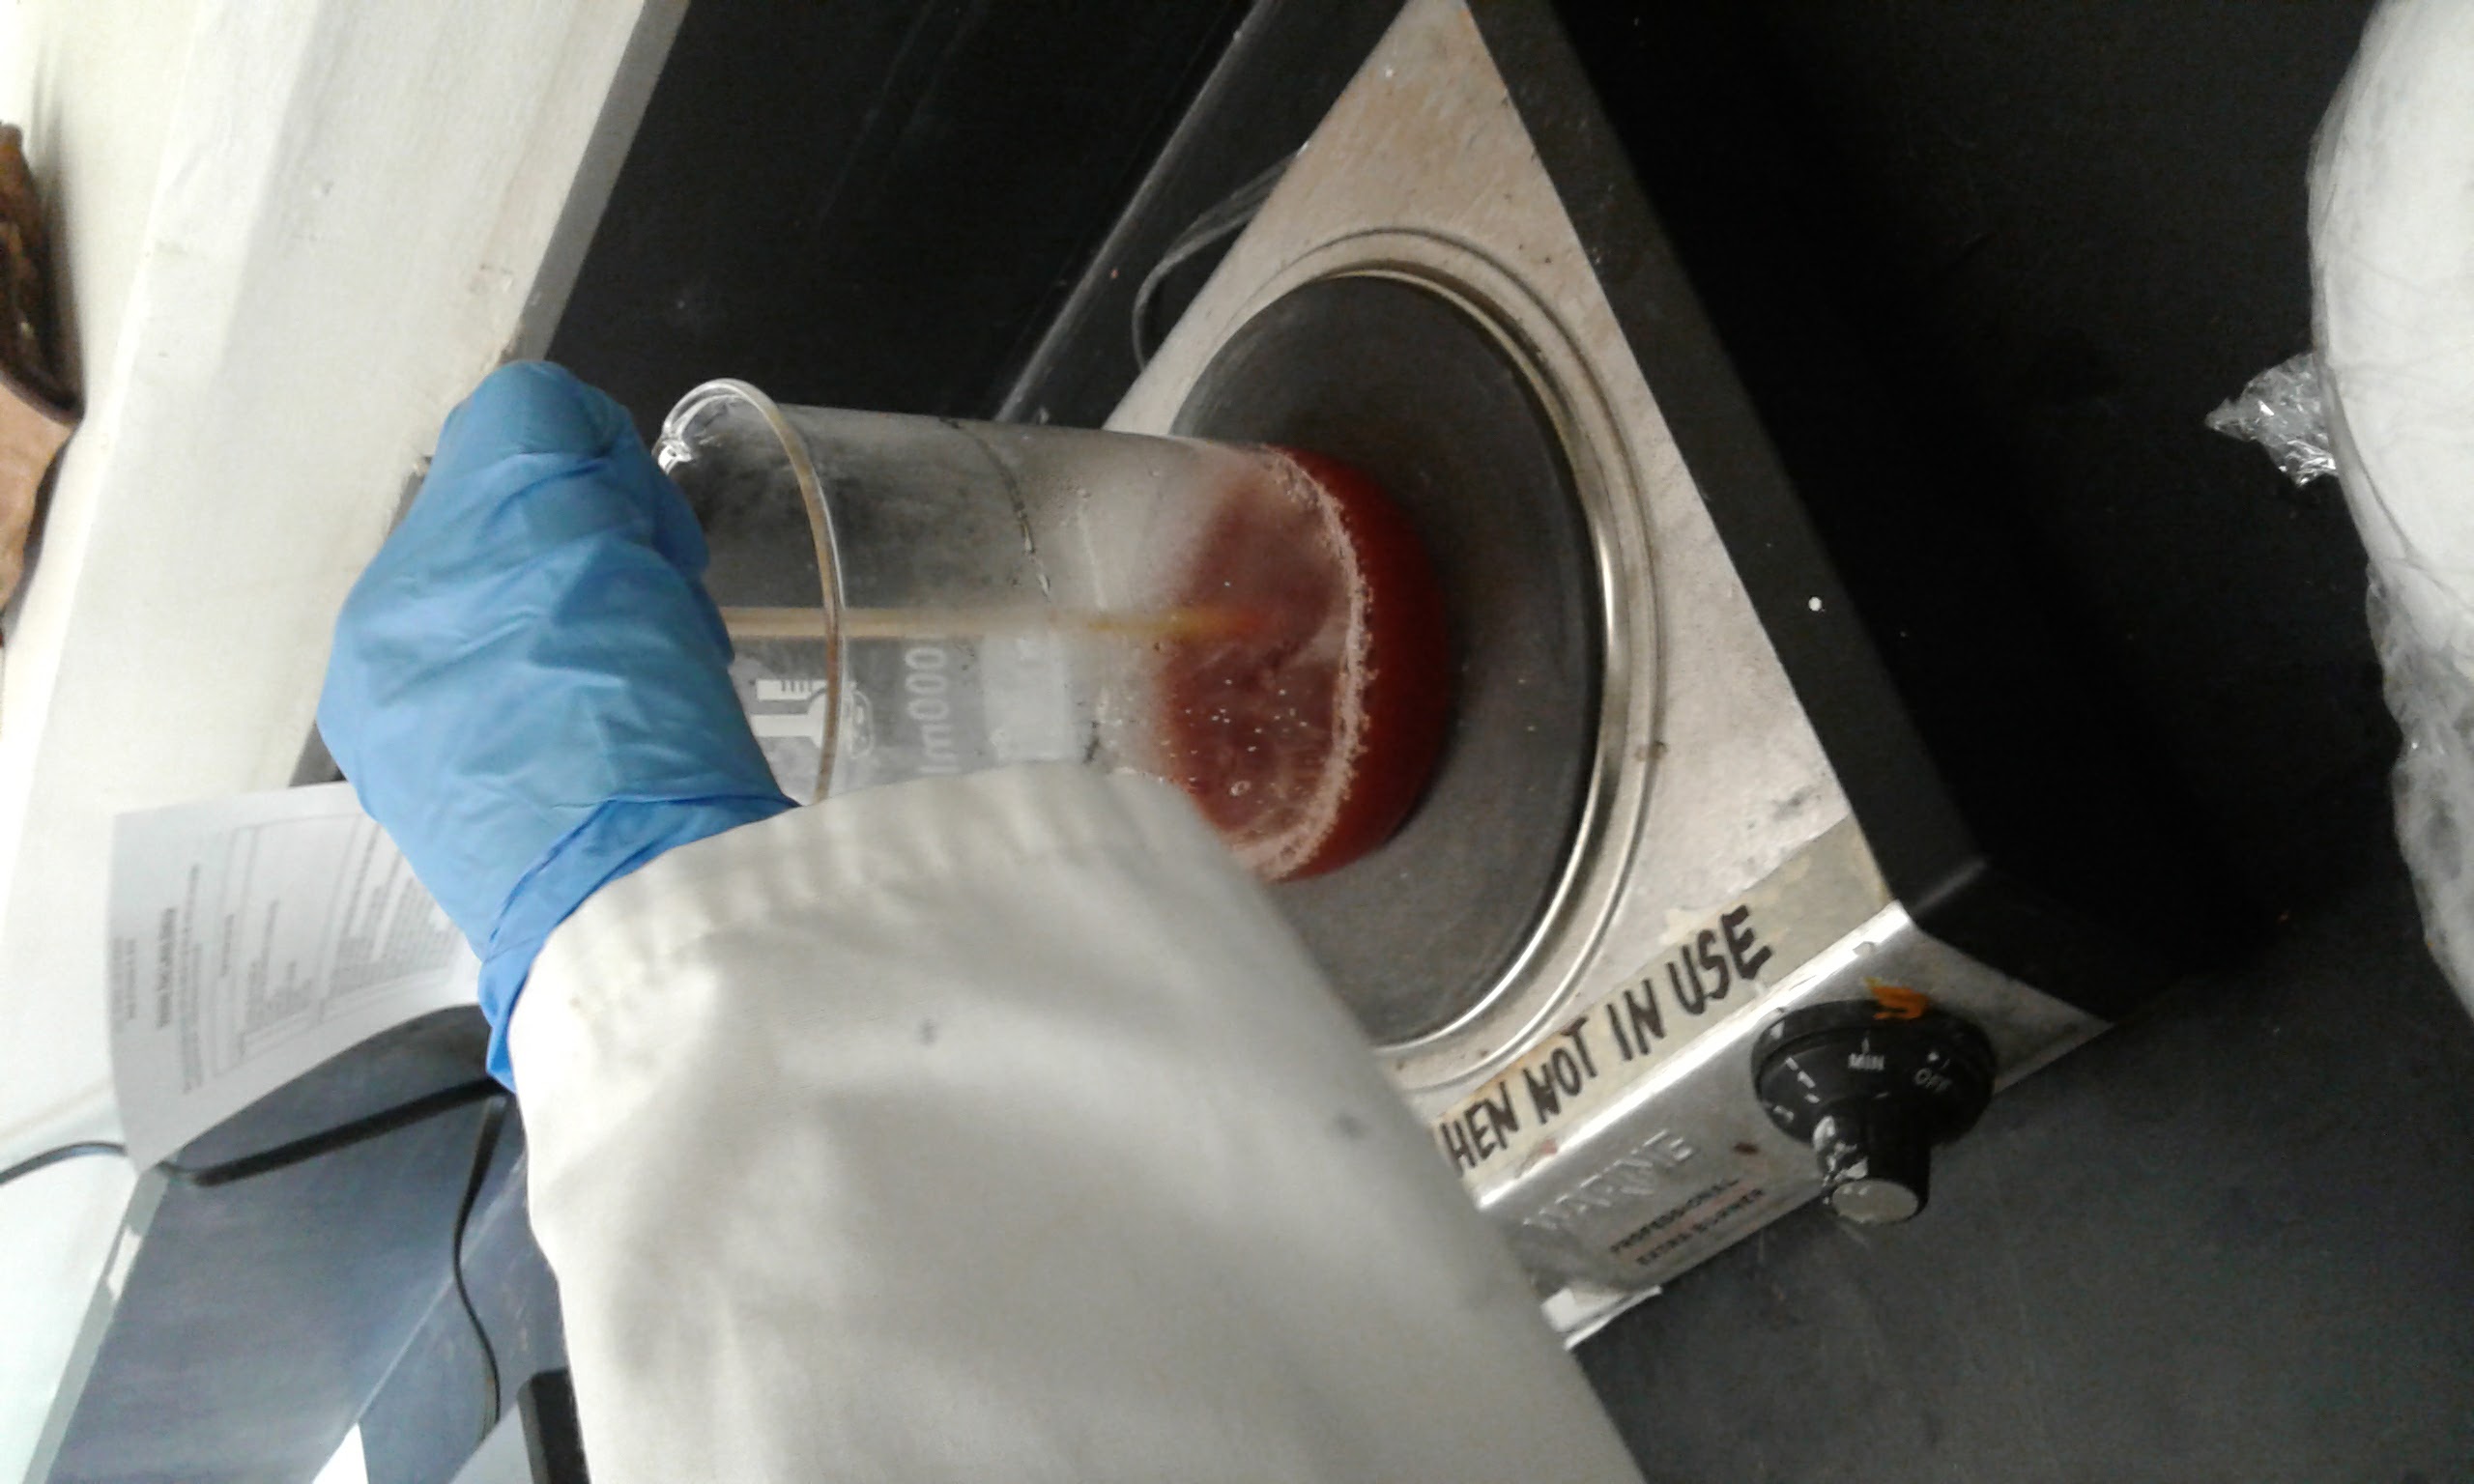
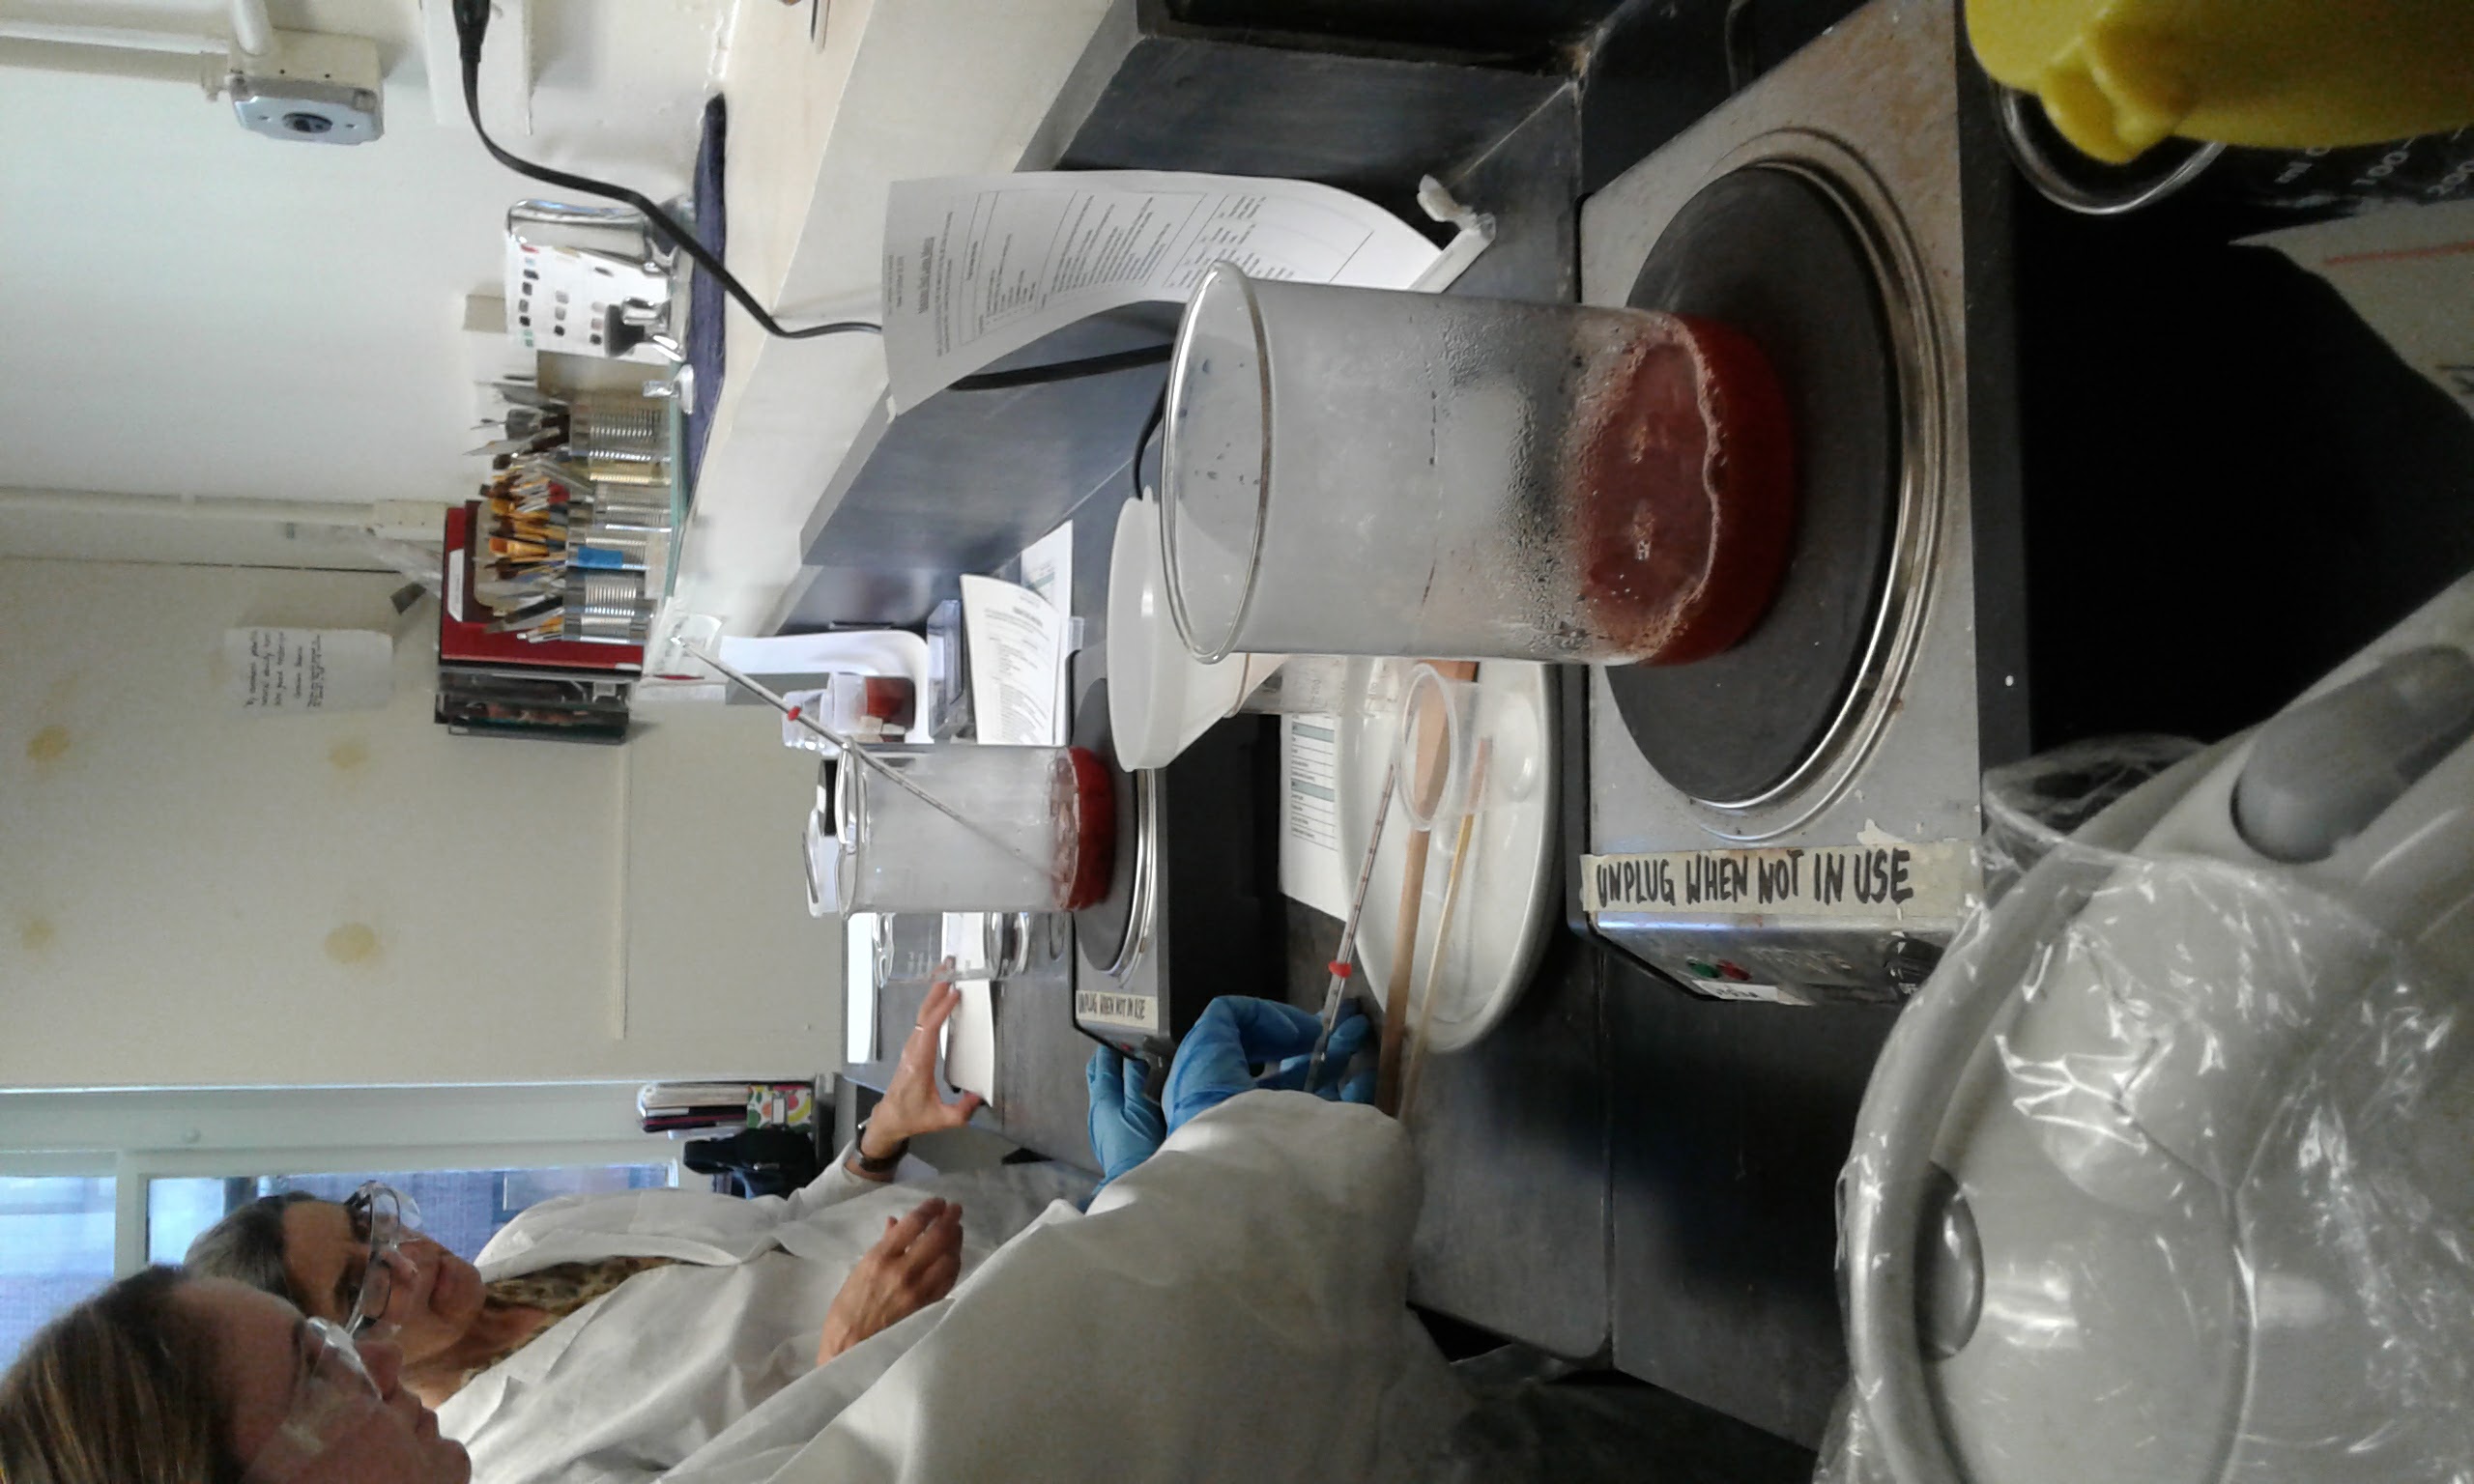
Image pictures us stirring in the potash alum to the warm solution on the heat.
[AM] We still had some particulate matter in our solution. We did not notice any great change when we added the potash alum powder to the madder solution. We left it on the heat, again stirring or removing or lowering the heat if it started to get too hot.
- Meanwhile, make up solution of potassium carbonate in water in 600ml beaker
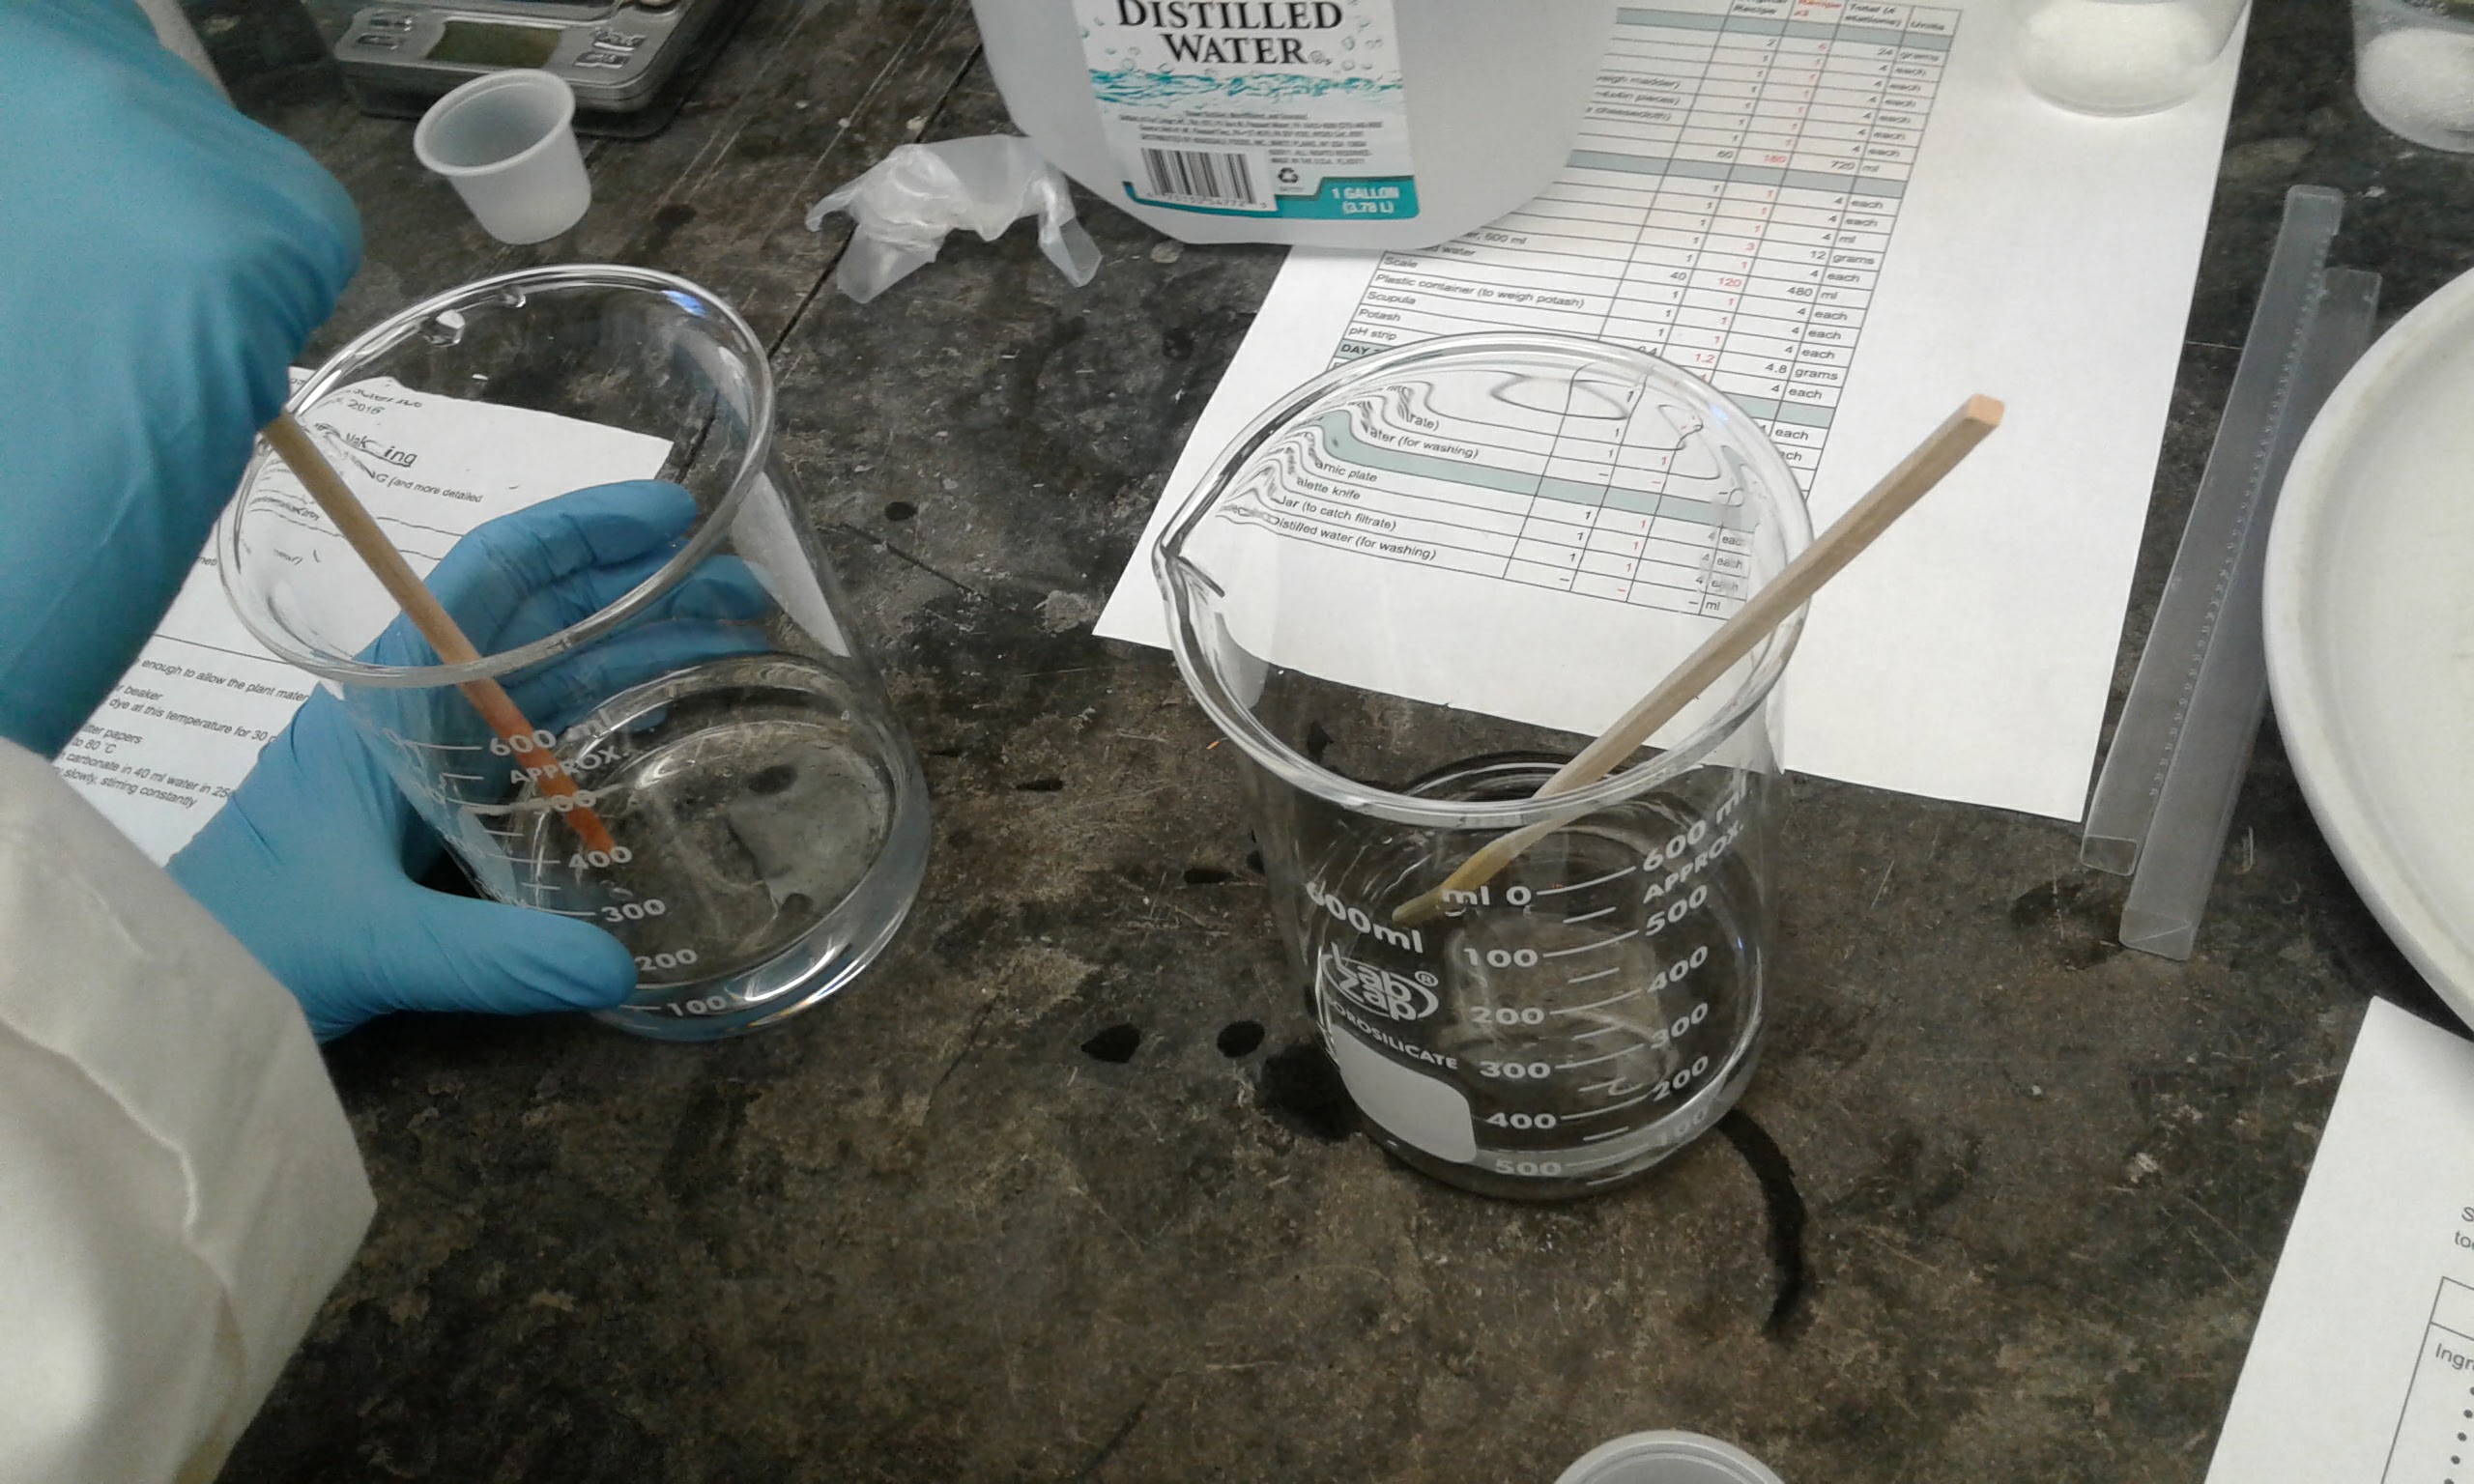
Image pictures us stirring potassium carbonate into water.
[AM] The potassium carbonate dissolved quite easily
- 3:50PM: Combine dyestuff solution and alkaline solution very slowly, stirring constantly

This image is of the foam that formed on the top of the solution as we vigorously stirred the alkaline solution in with a chopstick.
[AM] I took a video of this but have not figured out how to put videos up on the wiki yet. I will have to check with the team about how to do this. We took the madder off the heat and placed the beaker on a ceramic plate to mix in the alkaline solution. We stirred the madder for what felt like a very long time. We noticed that during this stirring our solution had a very strong earthy scent. In addition, the bubbles that formed on the surface of the solution from the agitation of stirring were really small, particularly in comparison to Emma's solution, which had much bigger bubbles.
- Check pH (should be about 6)
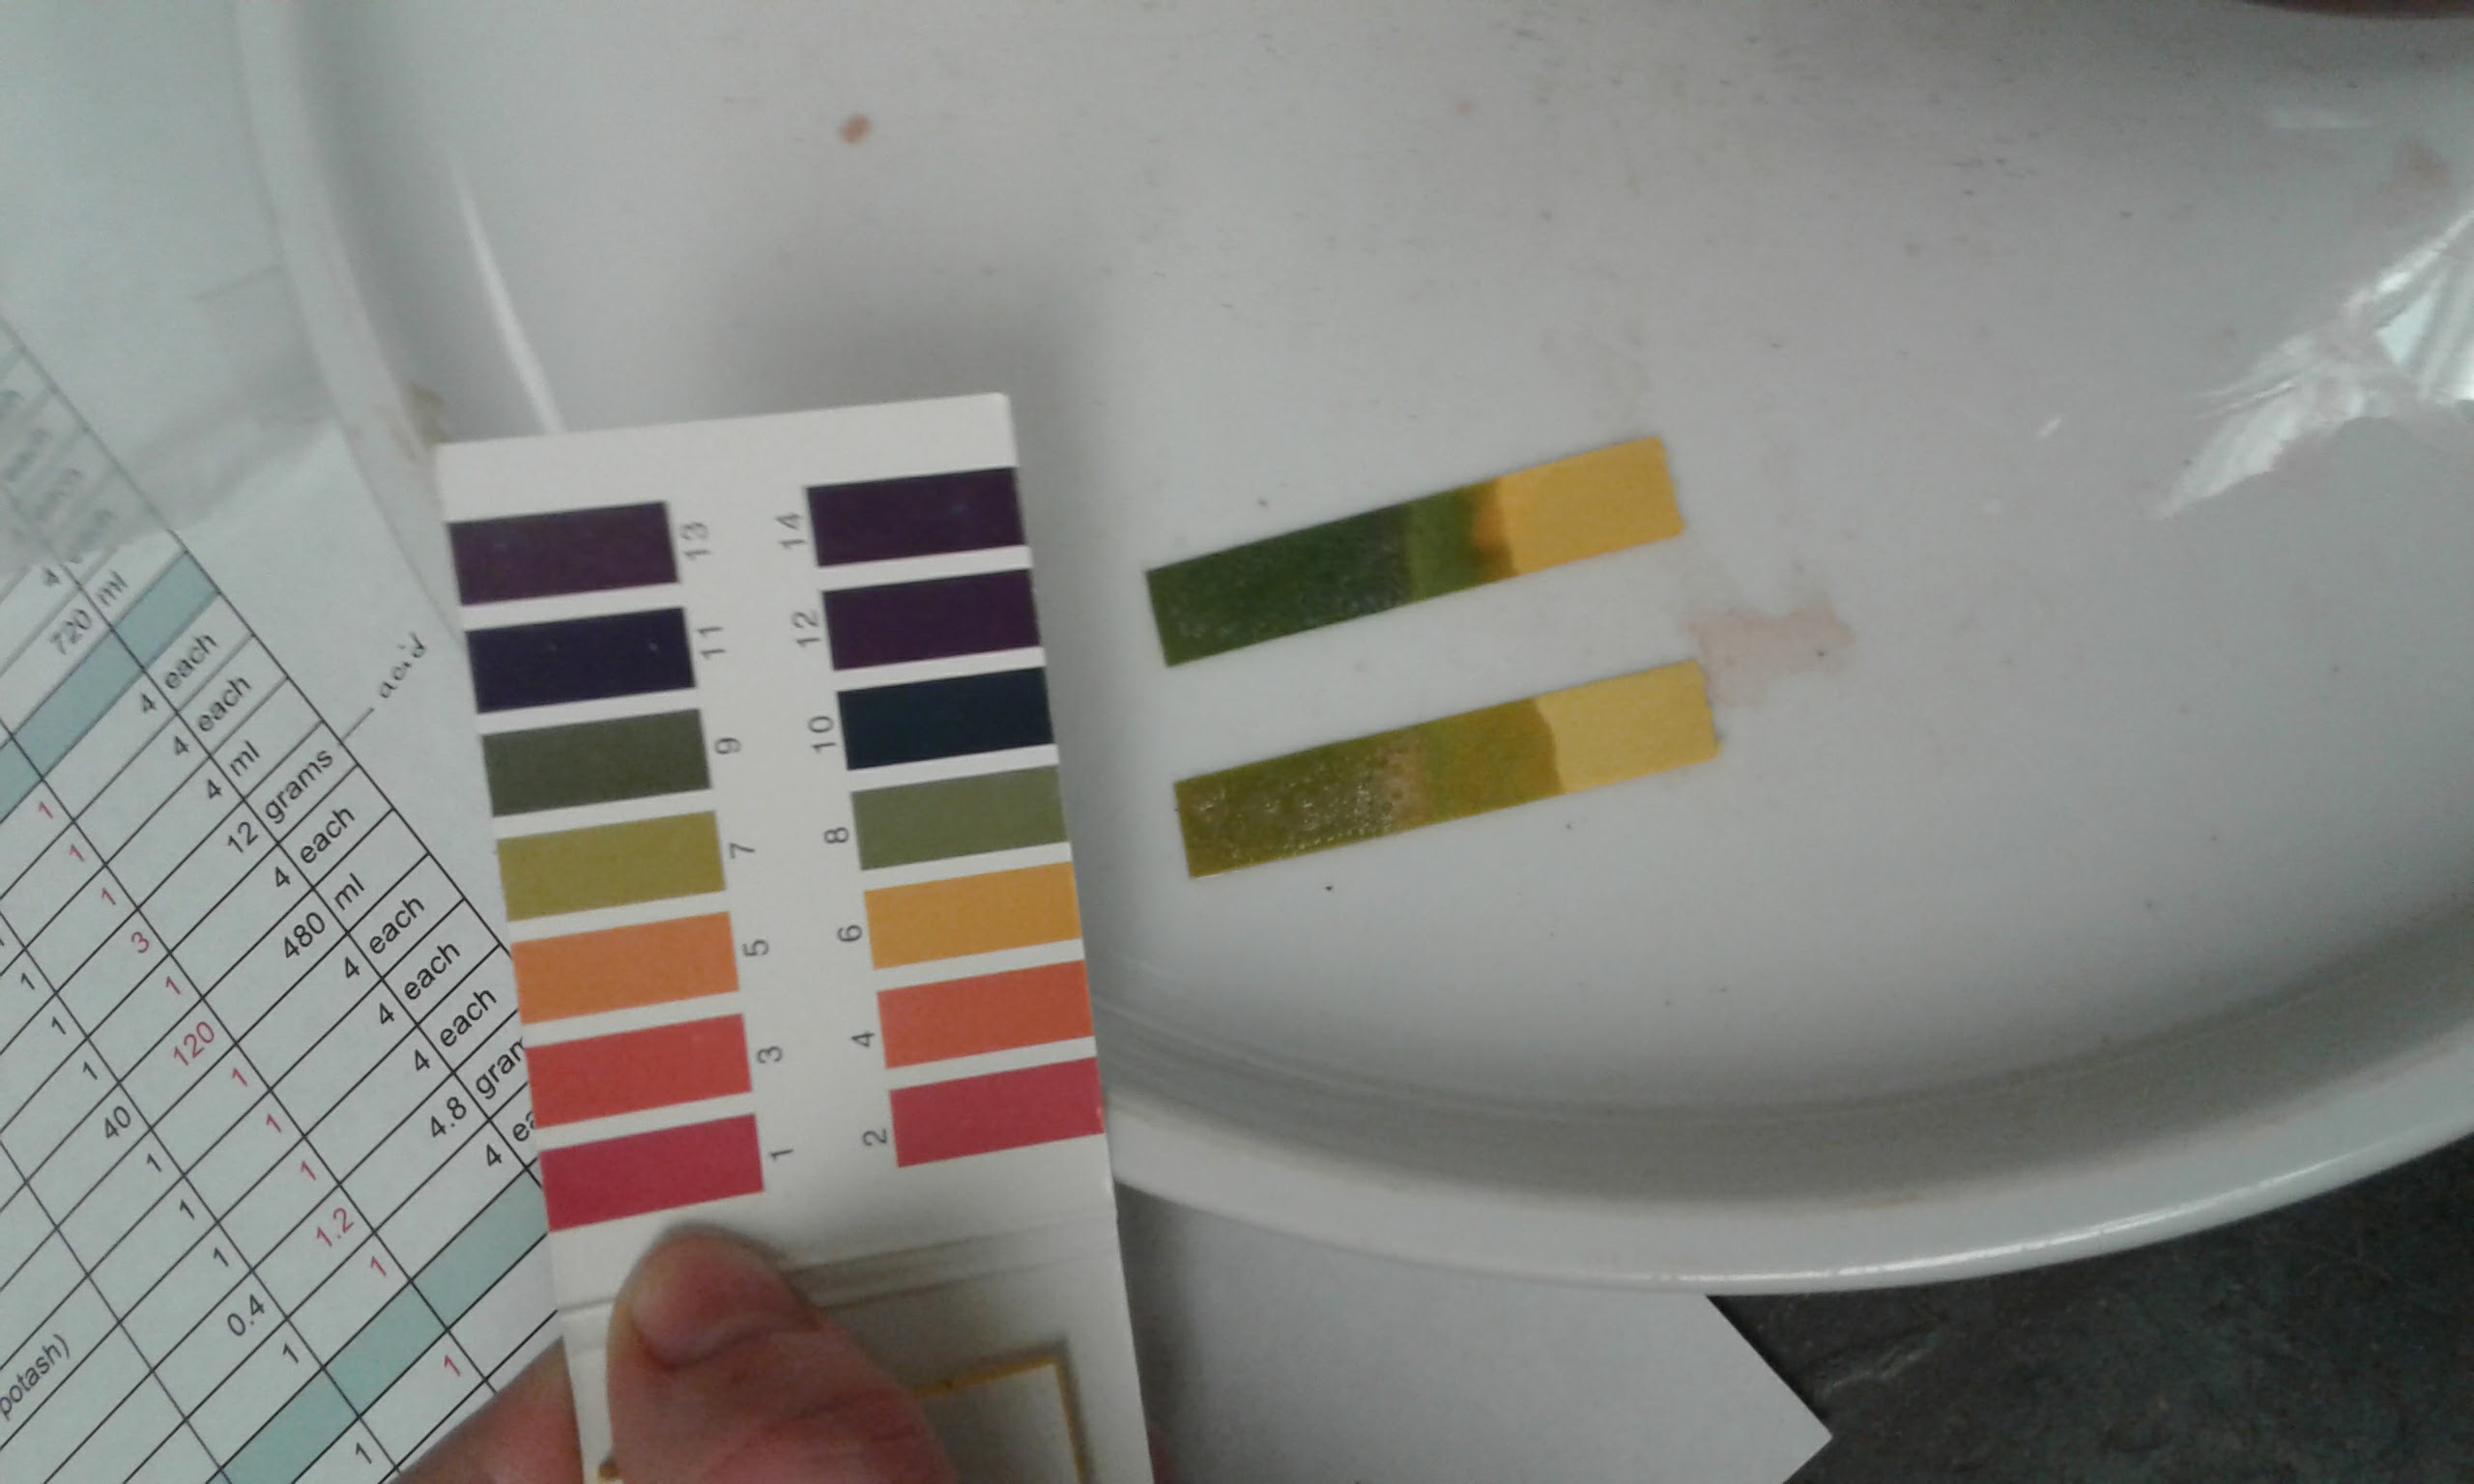
Image pictures our ph strip on the top. It was somewhere between a 7 and an 8, which is a little higher than ideal.
[AM] Our pH was lower than desired, which we explained through the excess madder particles in our solution because of the hole in the first filter. Emma's solution, which had no hole and also bigger bubbles, looked to be a 6 (maybe edging closer to 7). After checking the pH, we stirred the madder again for a little while and then checked the pH again. There was no change.
- Leave to settle overnight
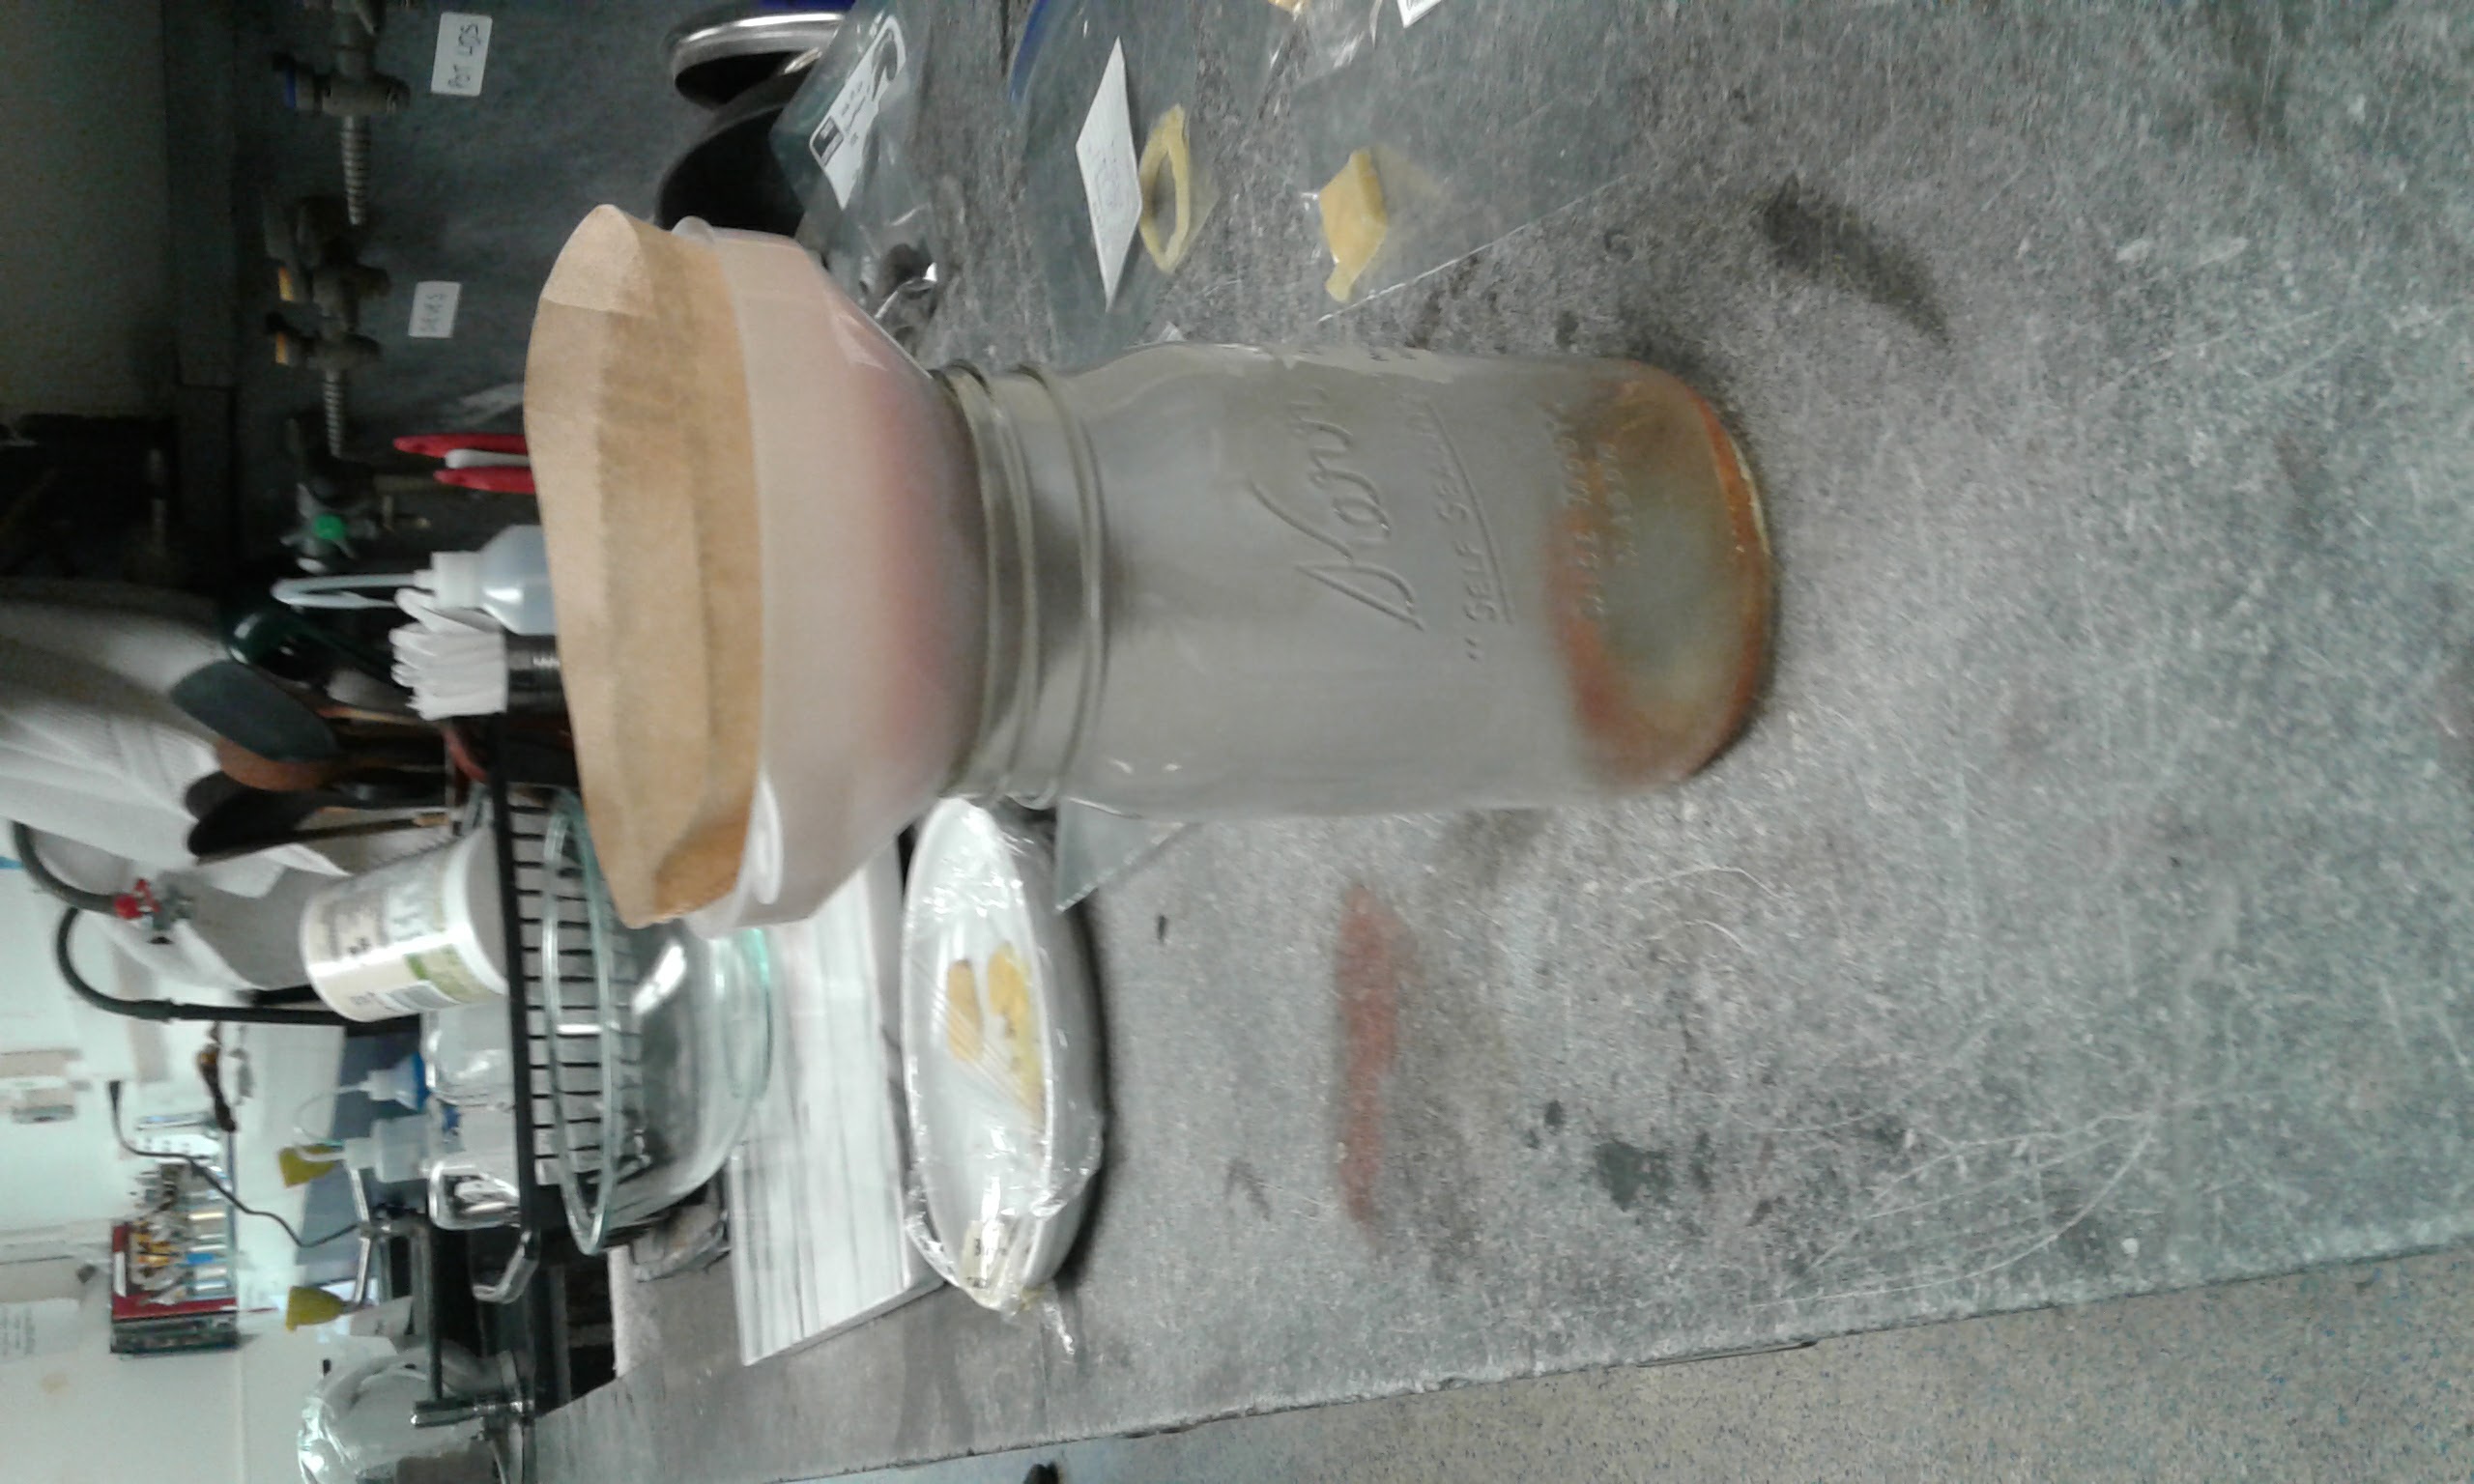
Image pictures our madder left to filter through a coffee filter and a funnel into a large jar.
[AM] Instead of just leaving it to settle, due to a minor error following the procedure we instead filtered (washed) it prematurely and left it for a few days.
Session #3
28/10
Materials
- Distilled water
Tools
- Filter
- Funnel
- Jar (to catch filtrate)
Procedure [with Notes]
- Filter and wash multiple times
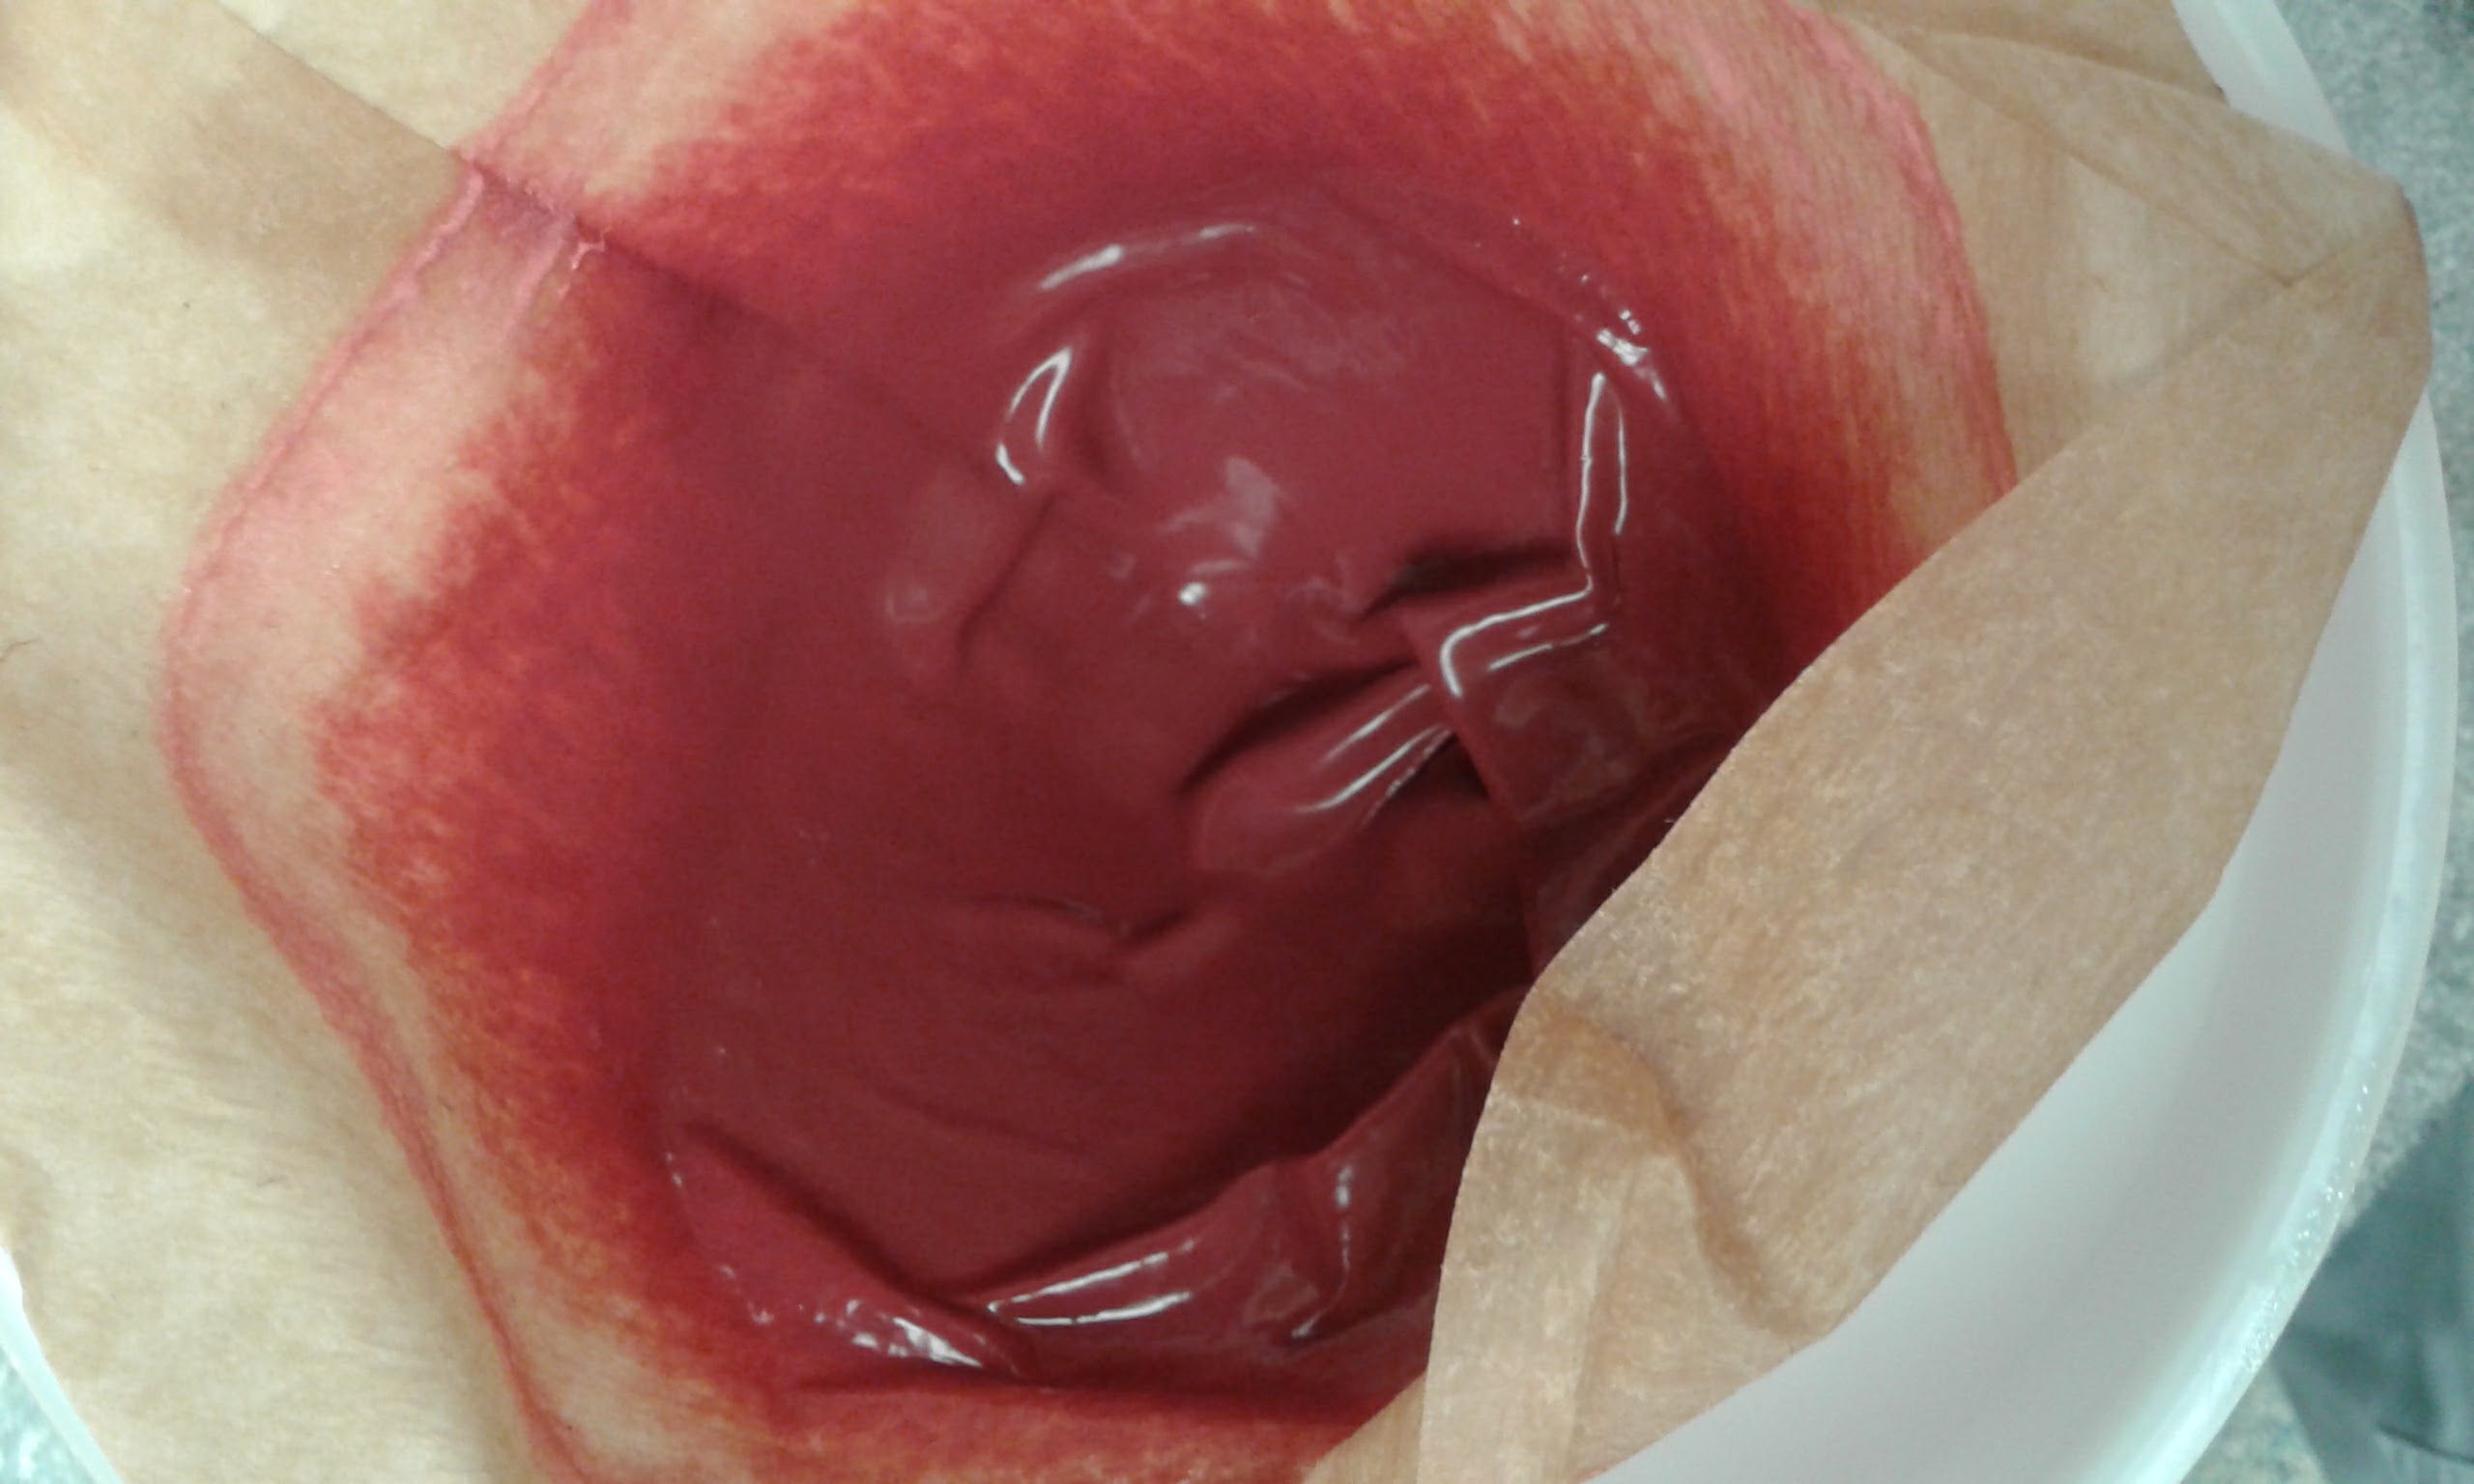
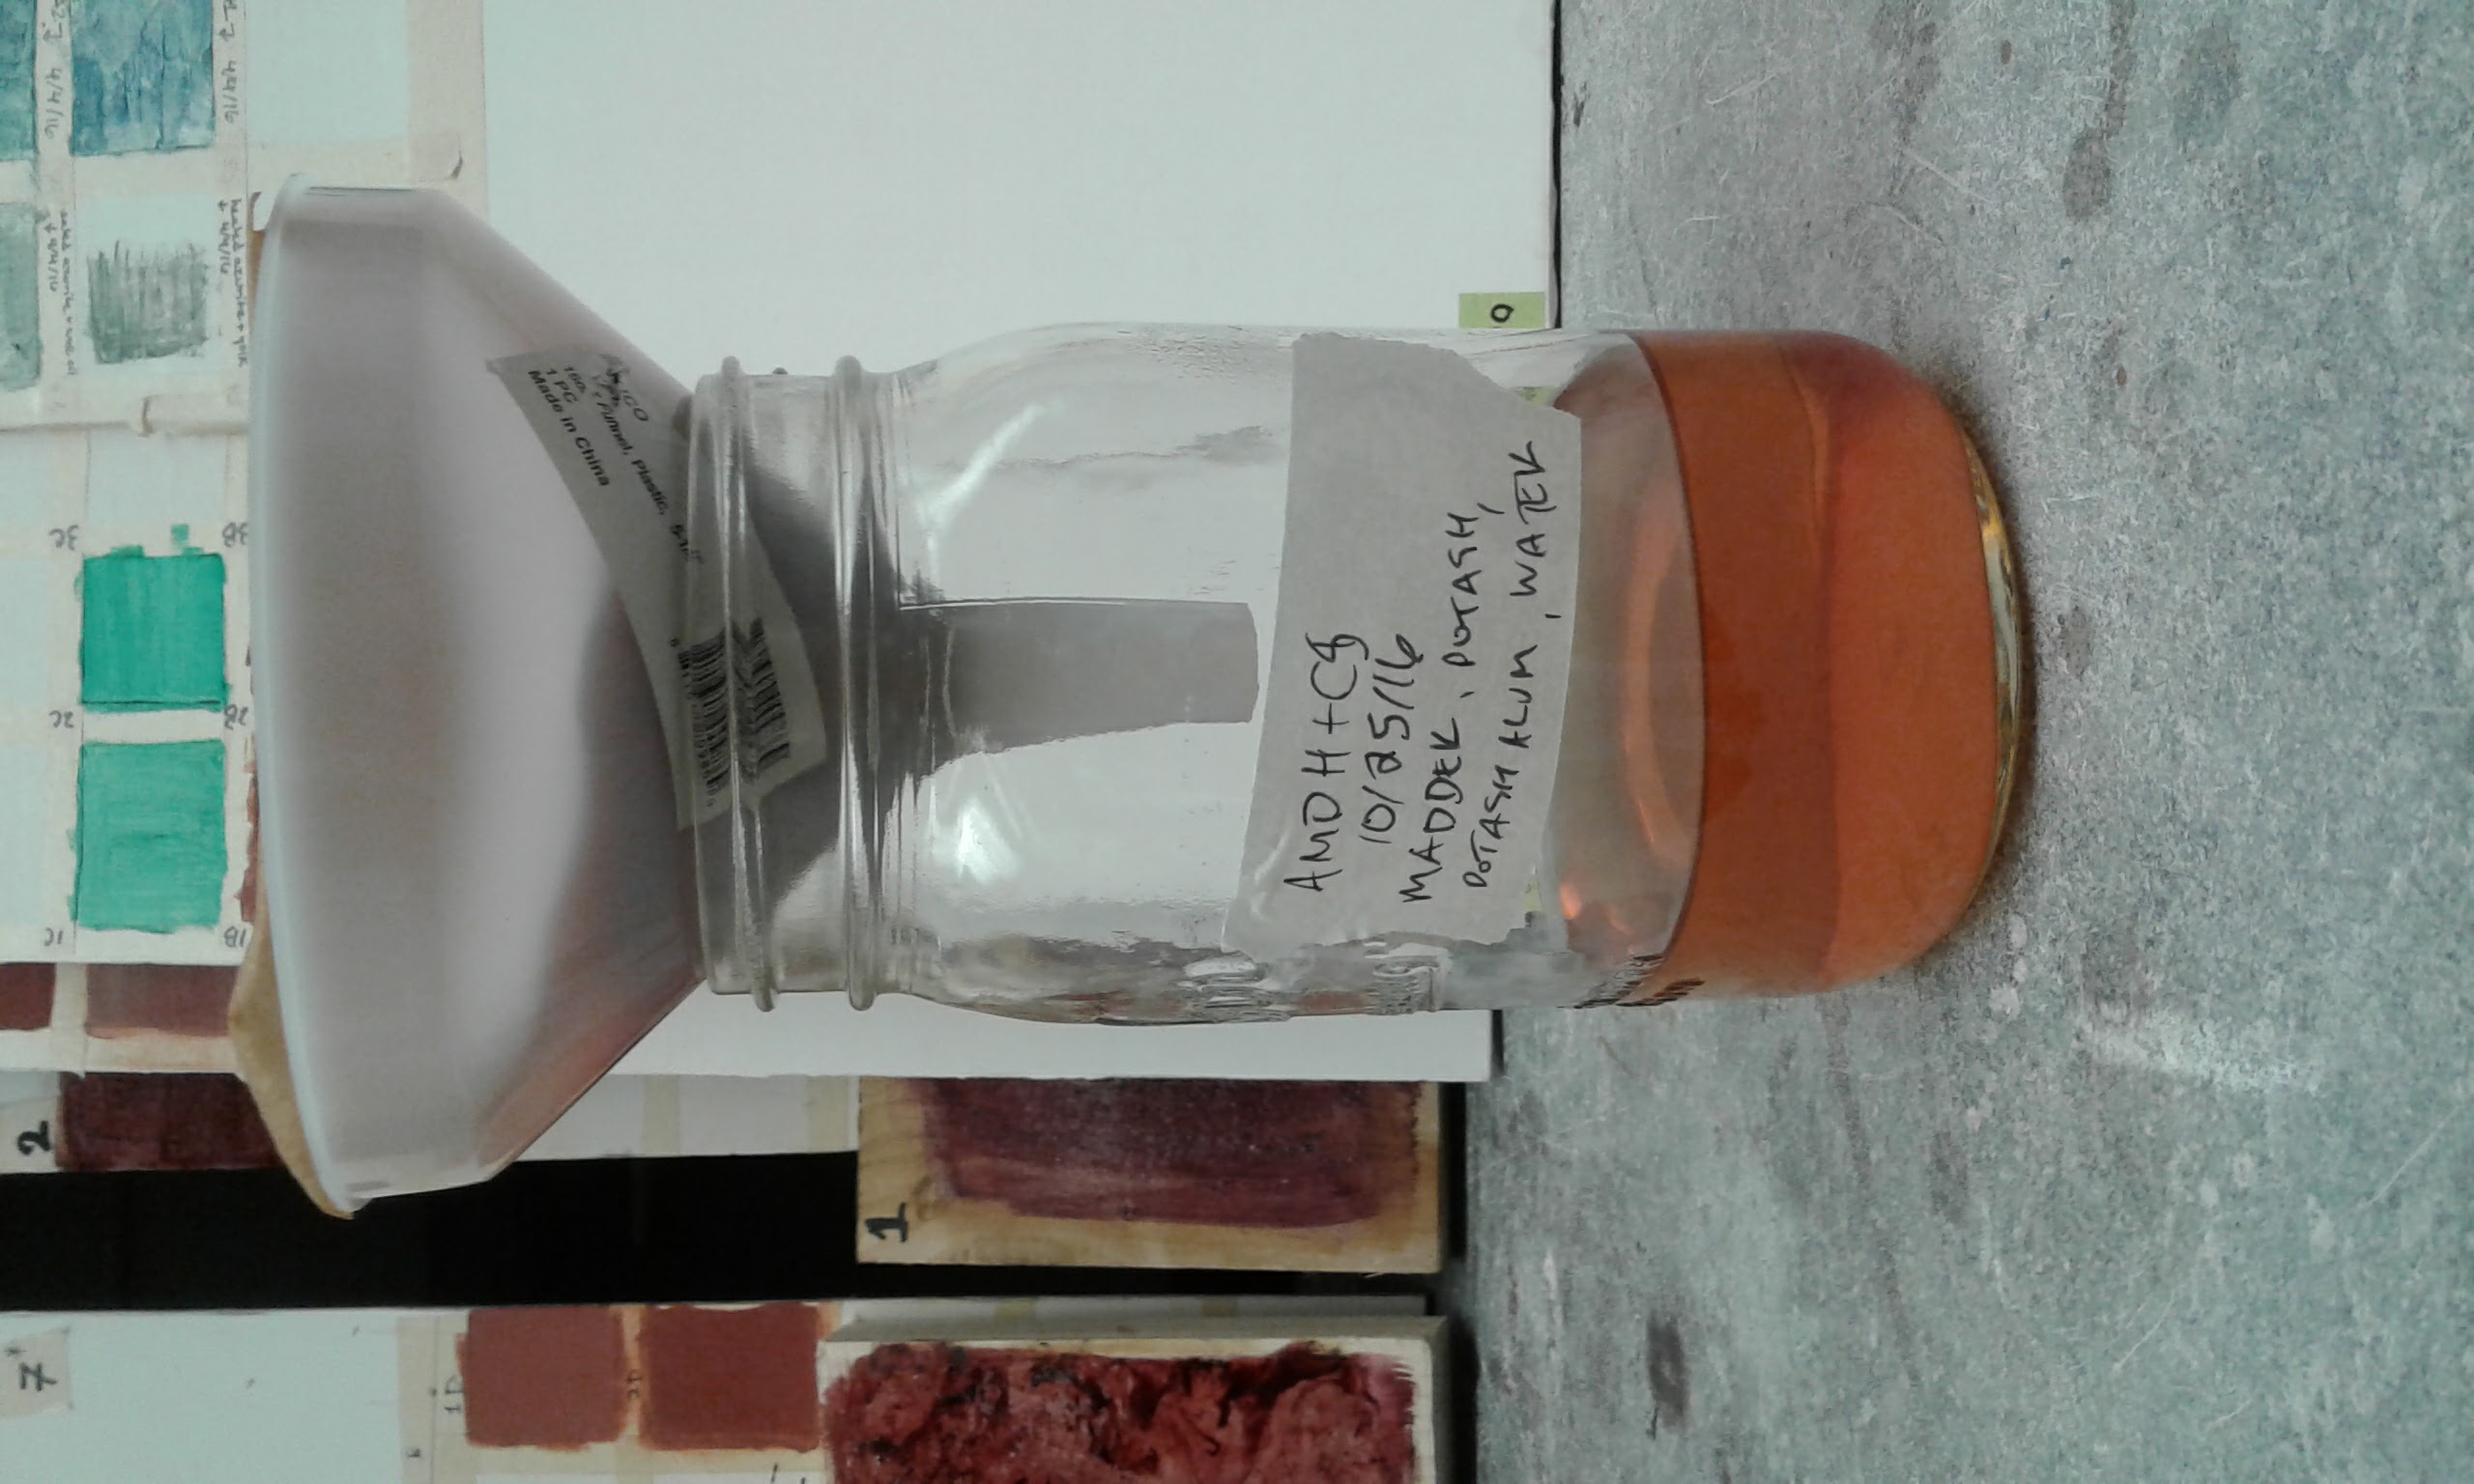
This is what the filtered madder and madder left in the filter looked like when we returned on Friday to filter it.
[AM] Including the overnight filter, we ended up filtering our madder four times through two filters, since we thought we had a hole in the bottom of our first one when we filtered for the first time after leaving it to for a few days.
[AM] When we arrived the madder in the filter was thick and still pretty wet, probably since we had left it for so long before commencing our second wash. The water in the jar was quite dark pinkish orangey-red (pictured above). We removed the funnel, discarded the colored water from the jar, replaced the funnel, and added ~100 or 150ml of water to the filter in the funnel. At this stage we noticed that the water was dripping out of the funnel very very slowly so we agitated the filter a bit to break up the slimy madder inside.
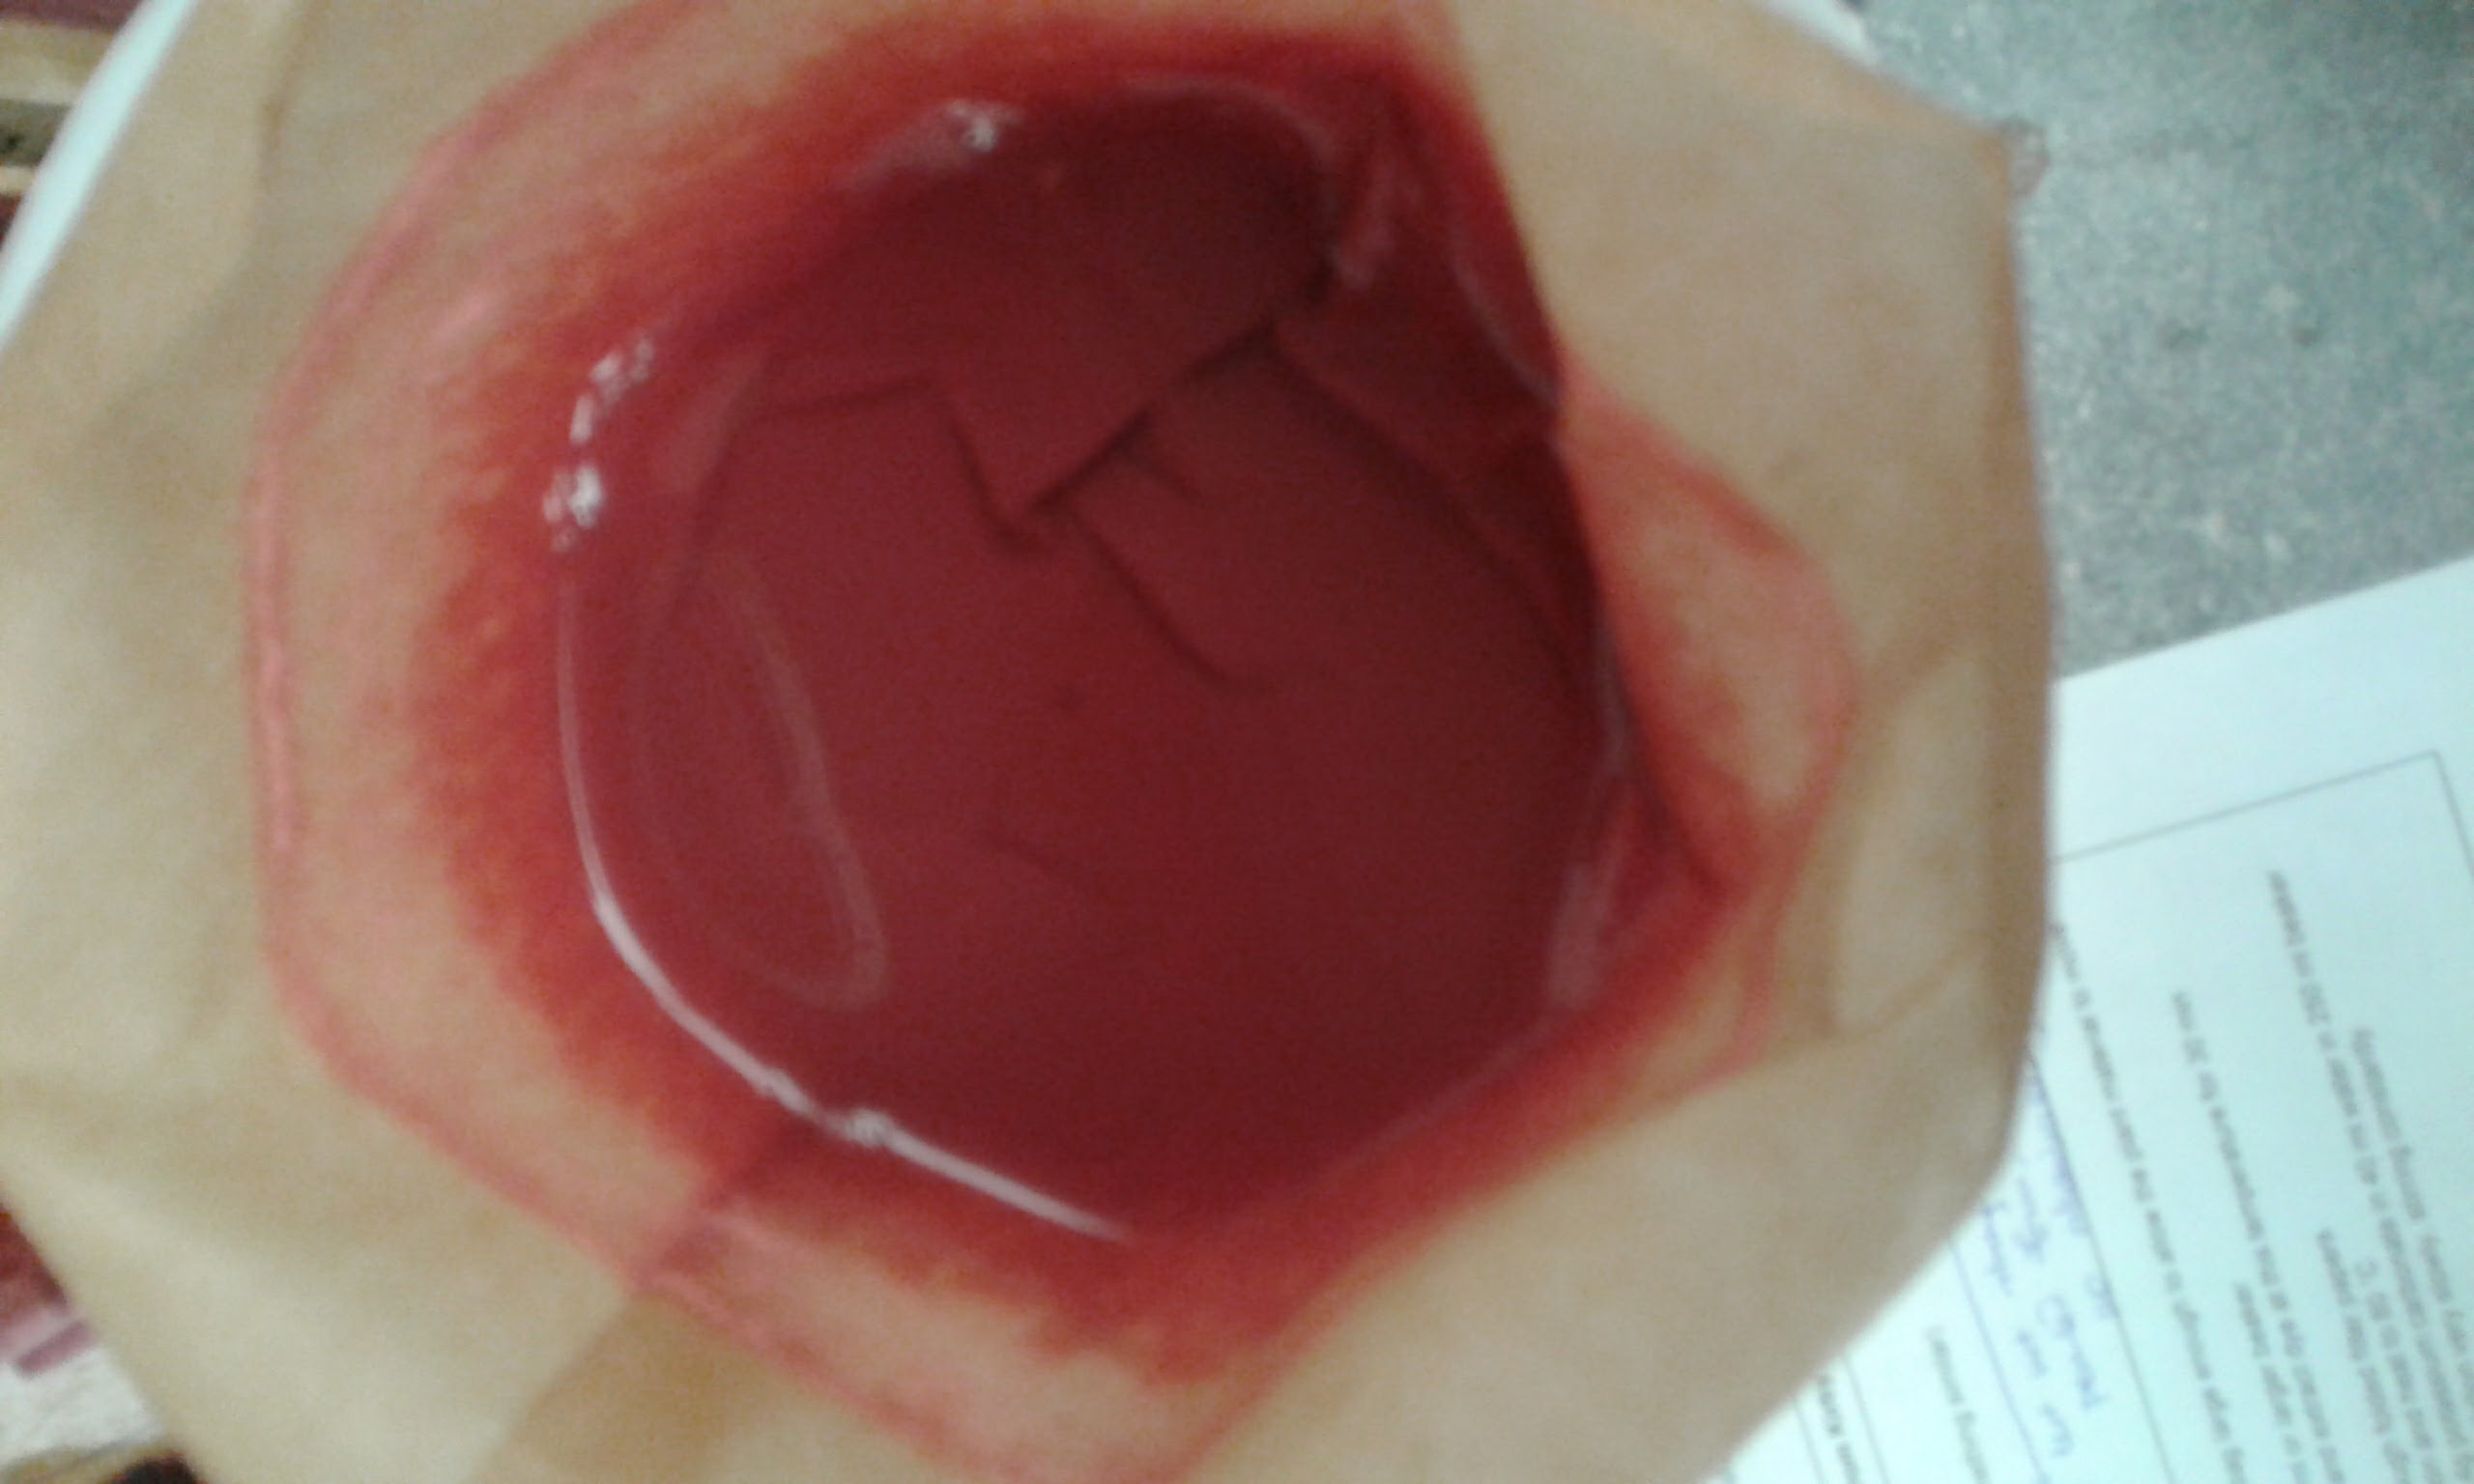
Image pictures thick madder with water on top in the filter. The water was having trouble running through.
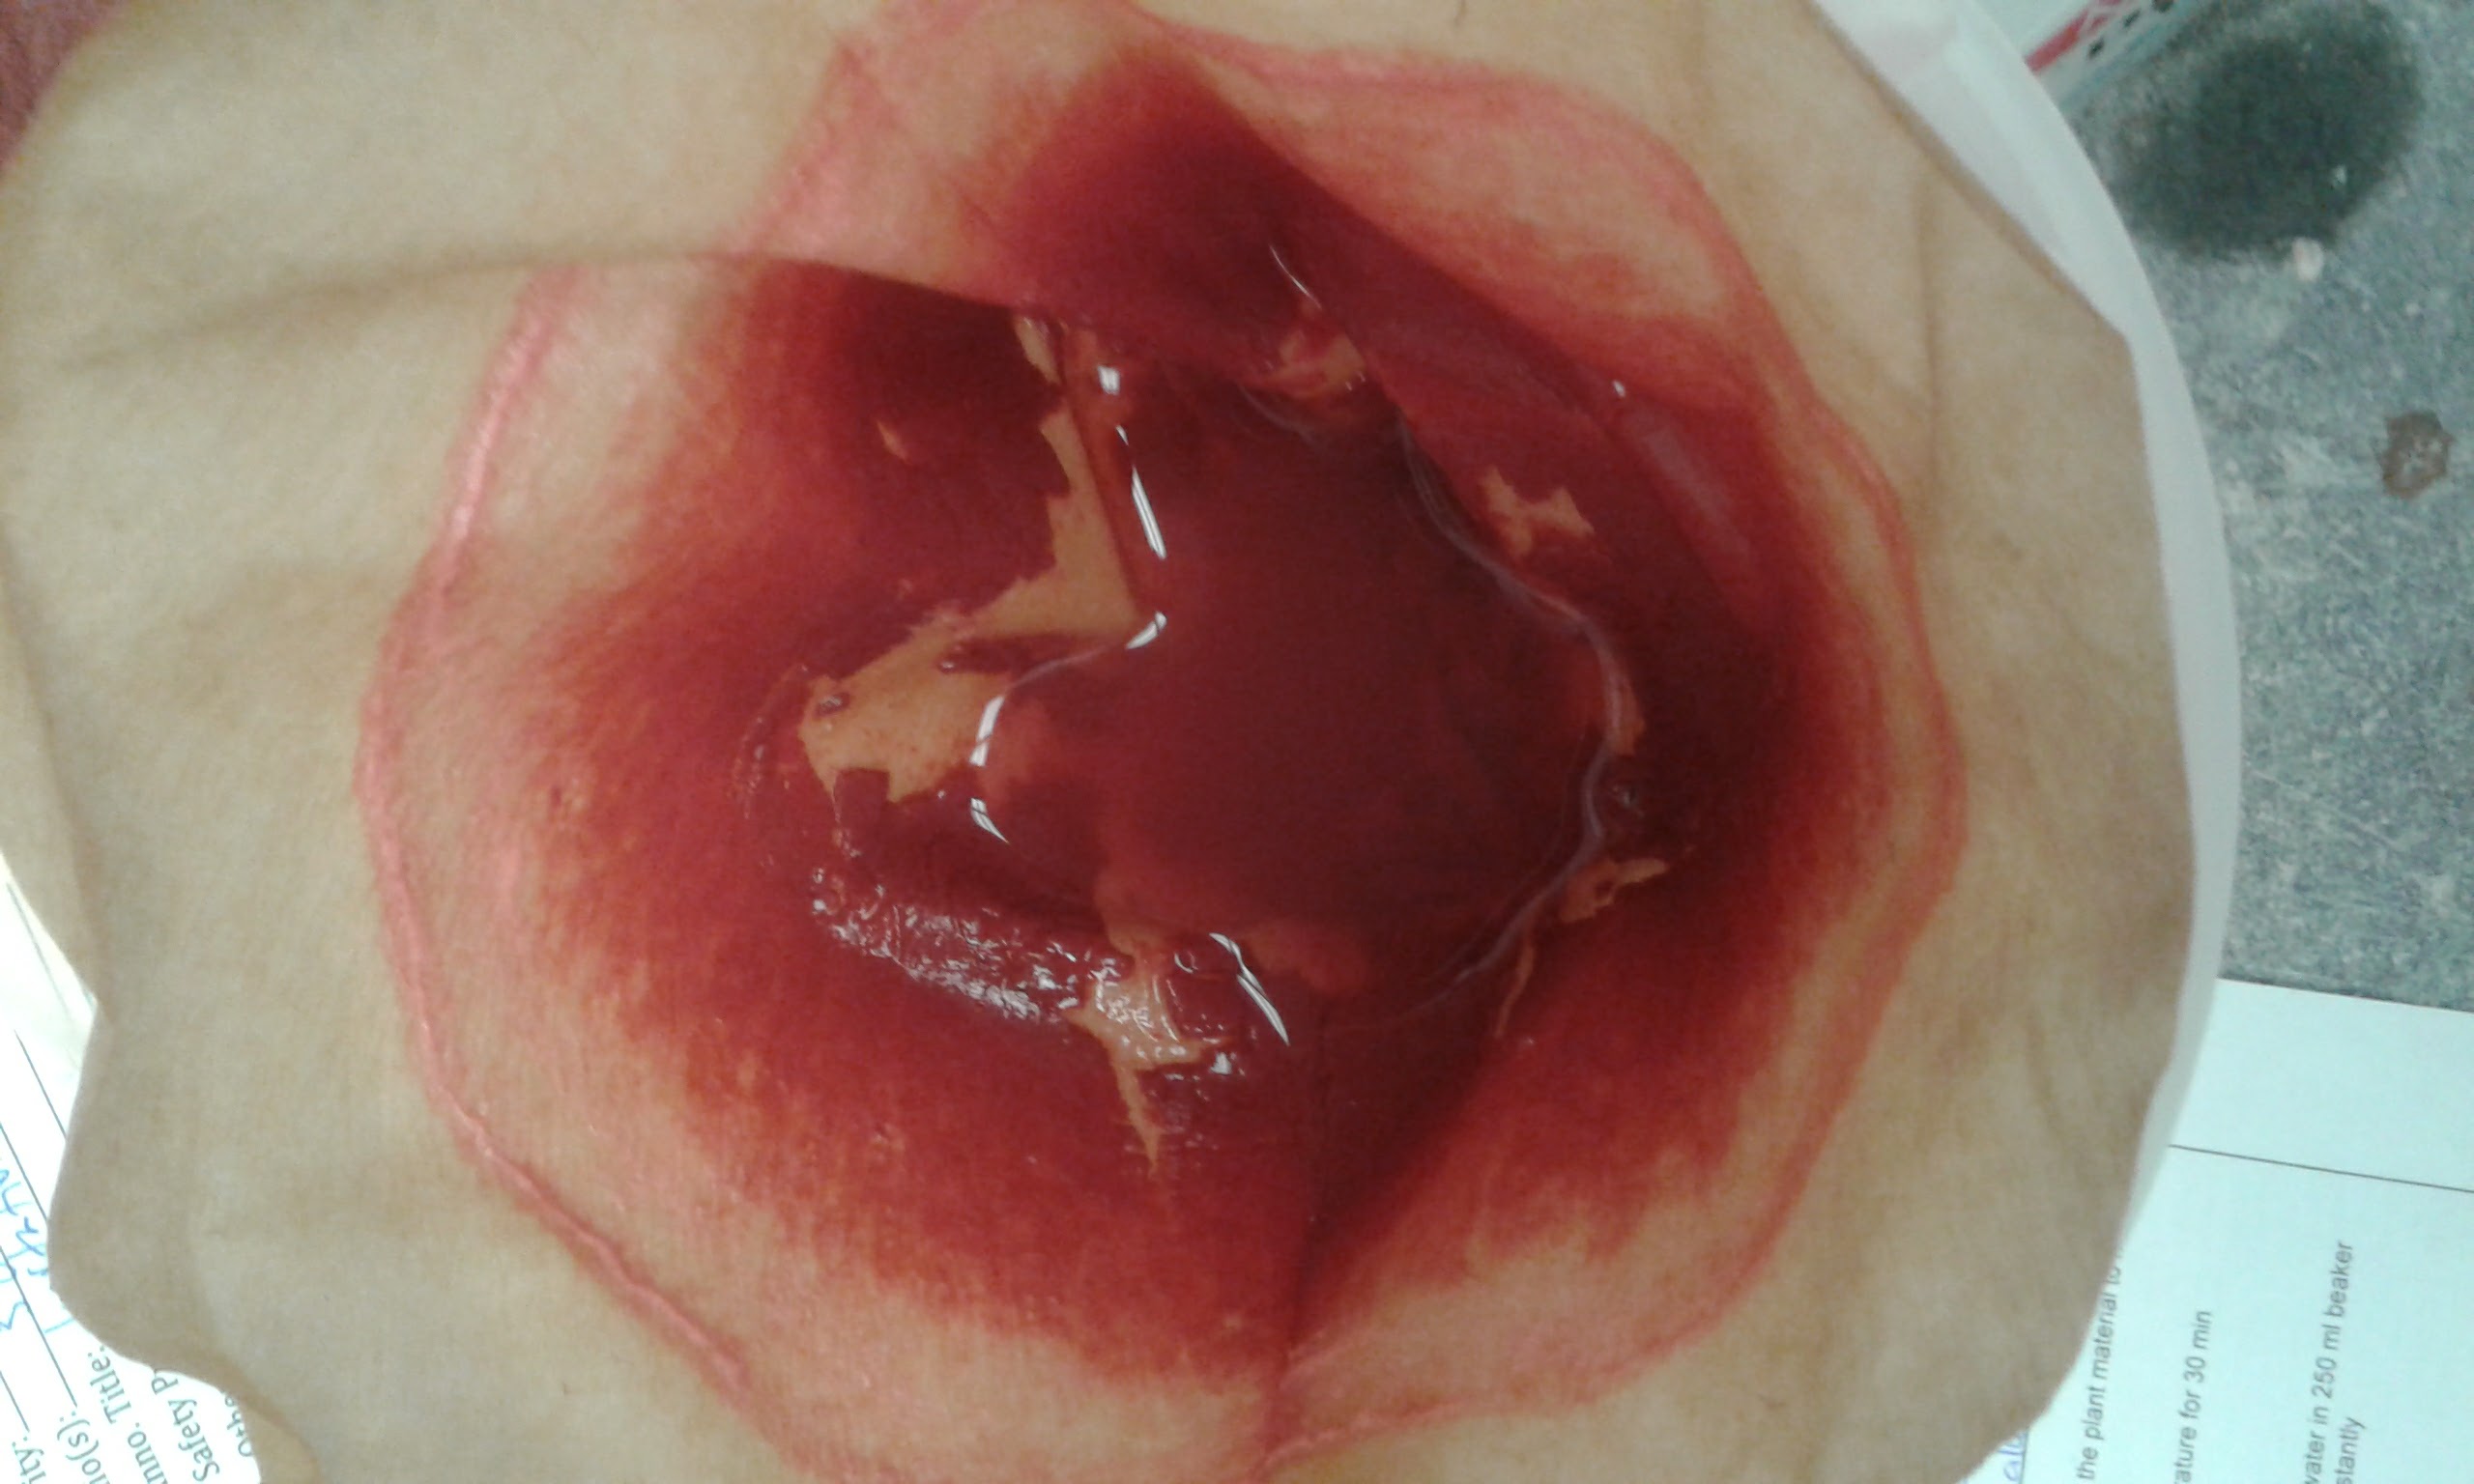
Image pictures madder after agitation.
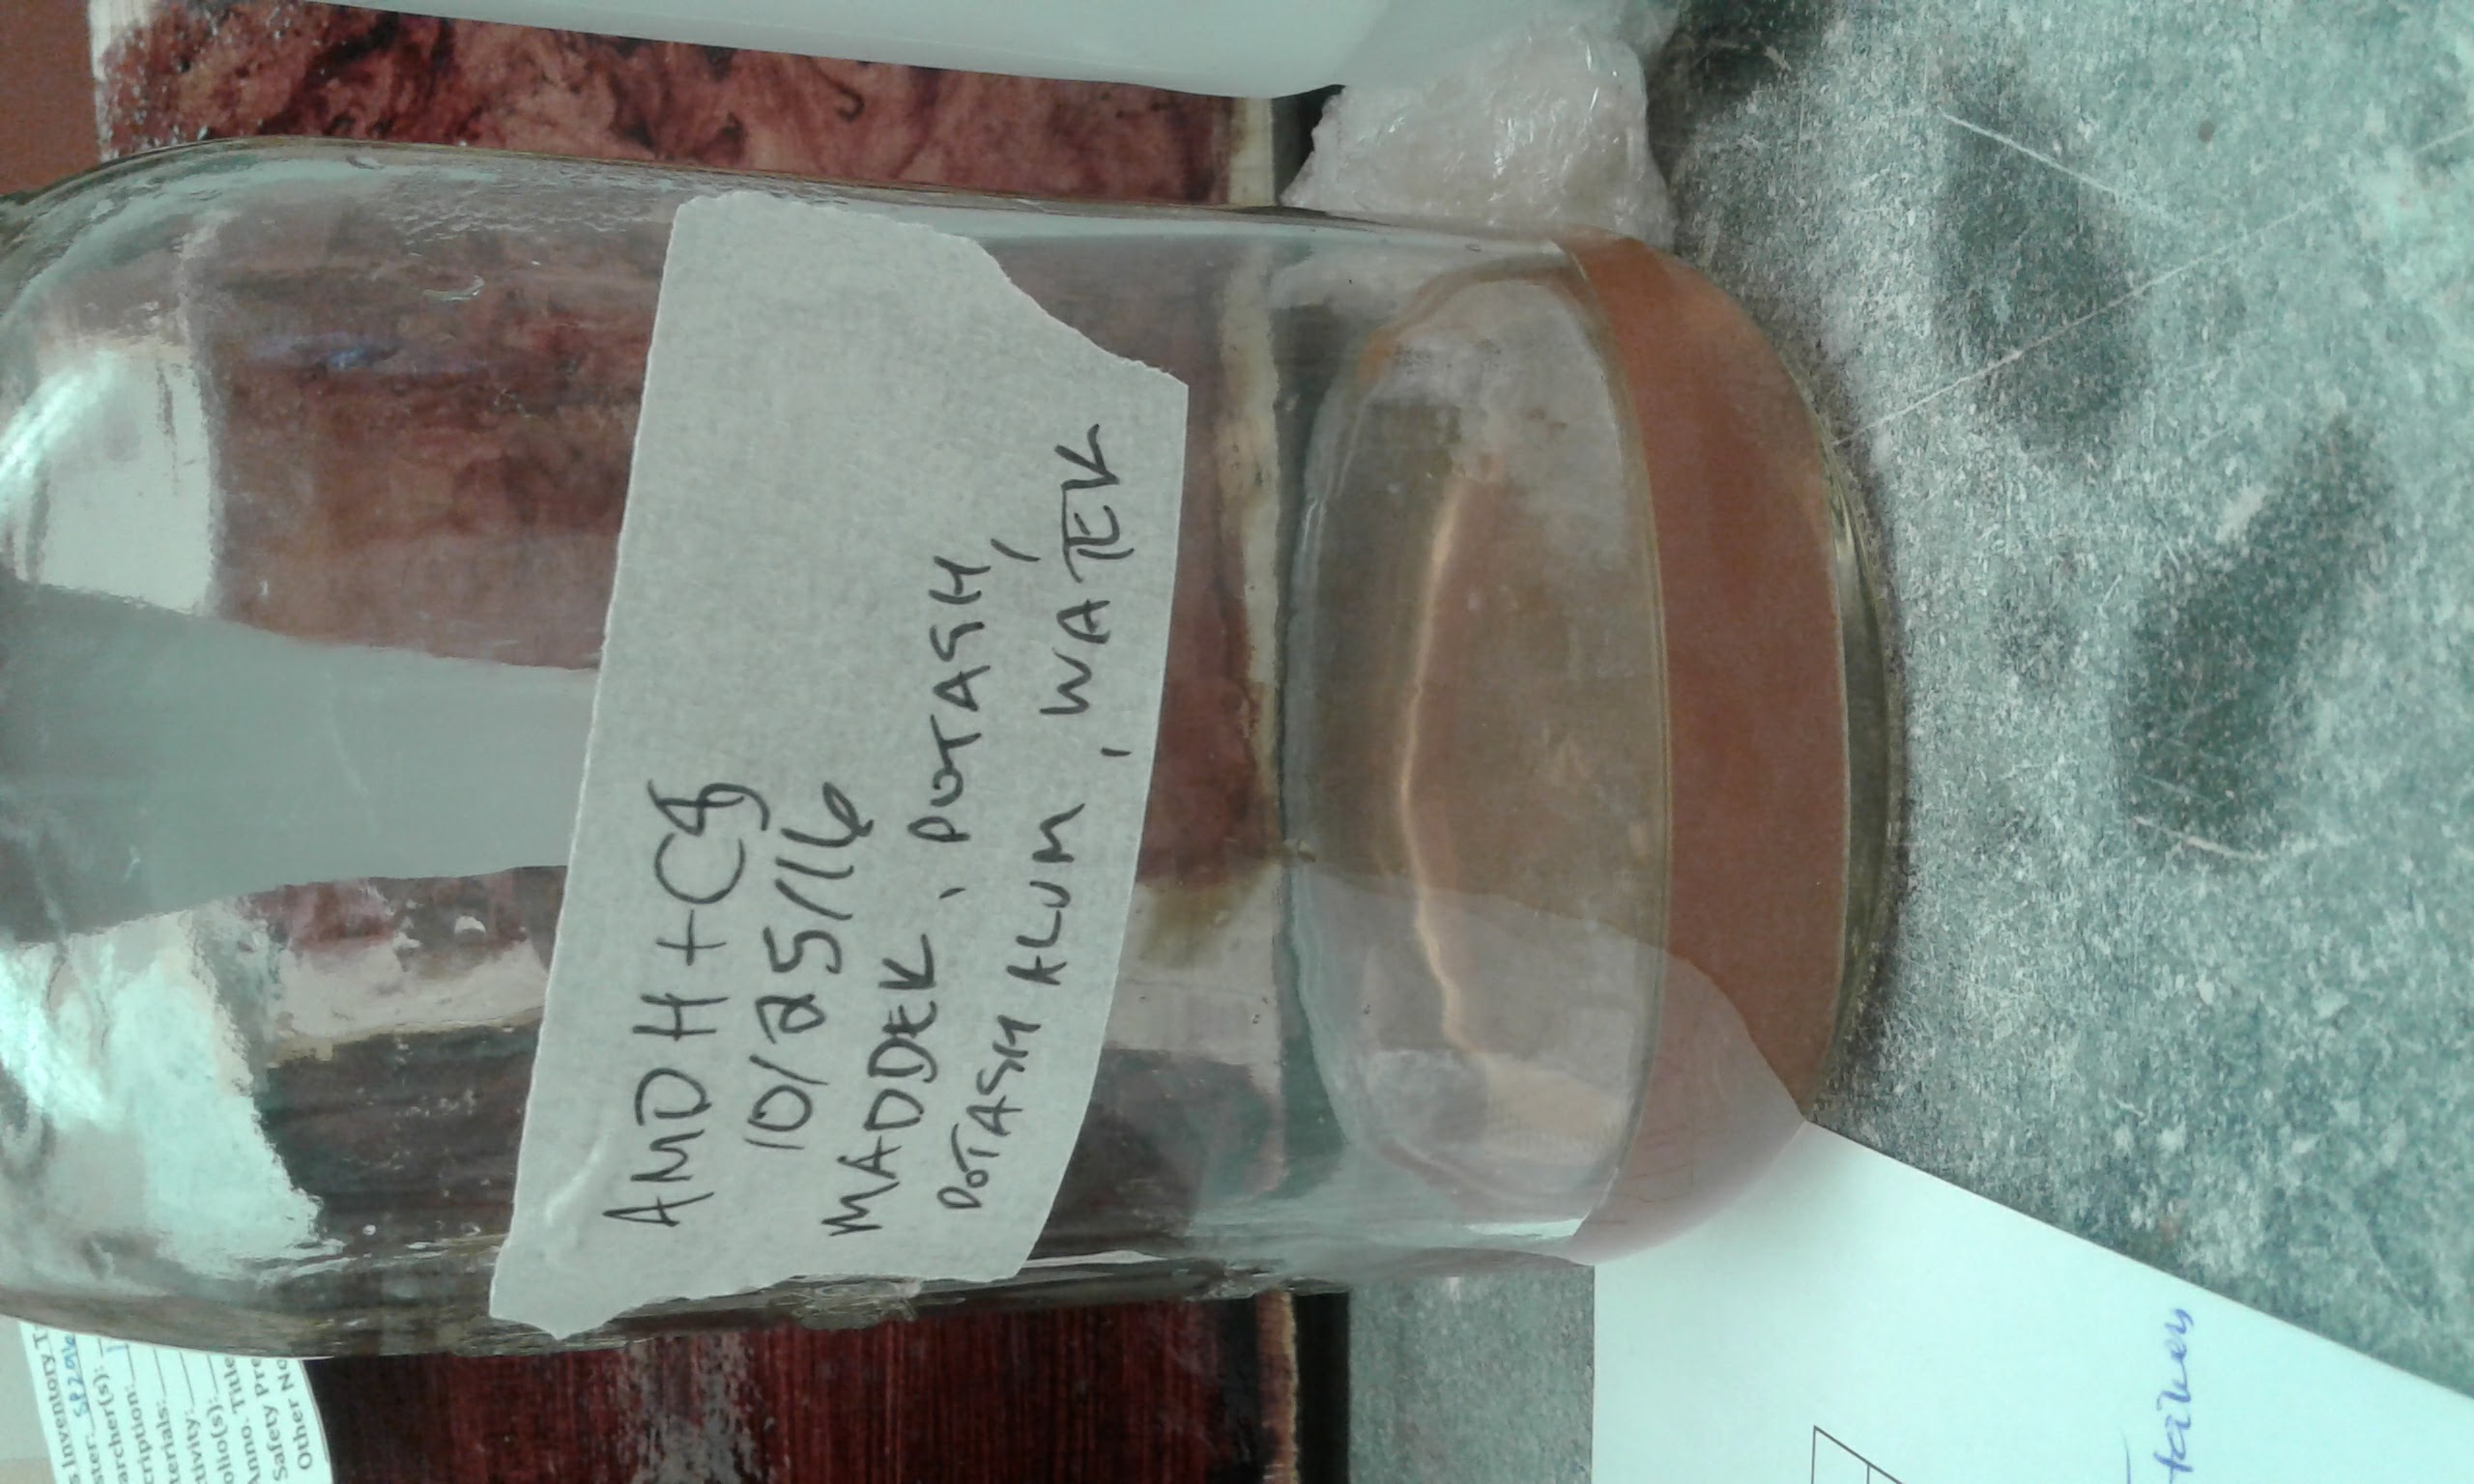
Image pictures dark madder water coming through after agitation.
[AM] At this point the water began to run very fast and very darkly colored (pictured above) so, fearing a hole, we added another coffee filter to the funnel. The next two washes were done through two coffee filters.
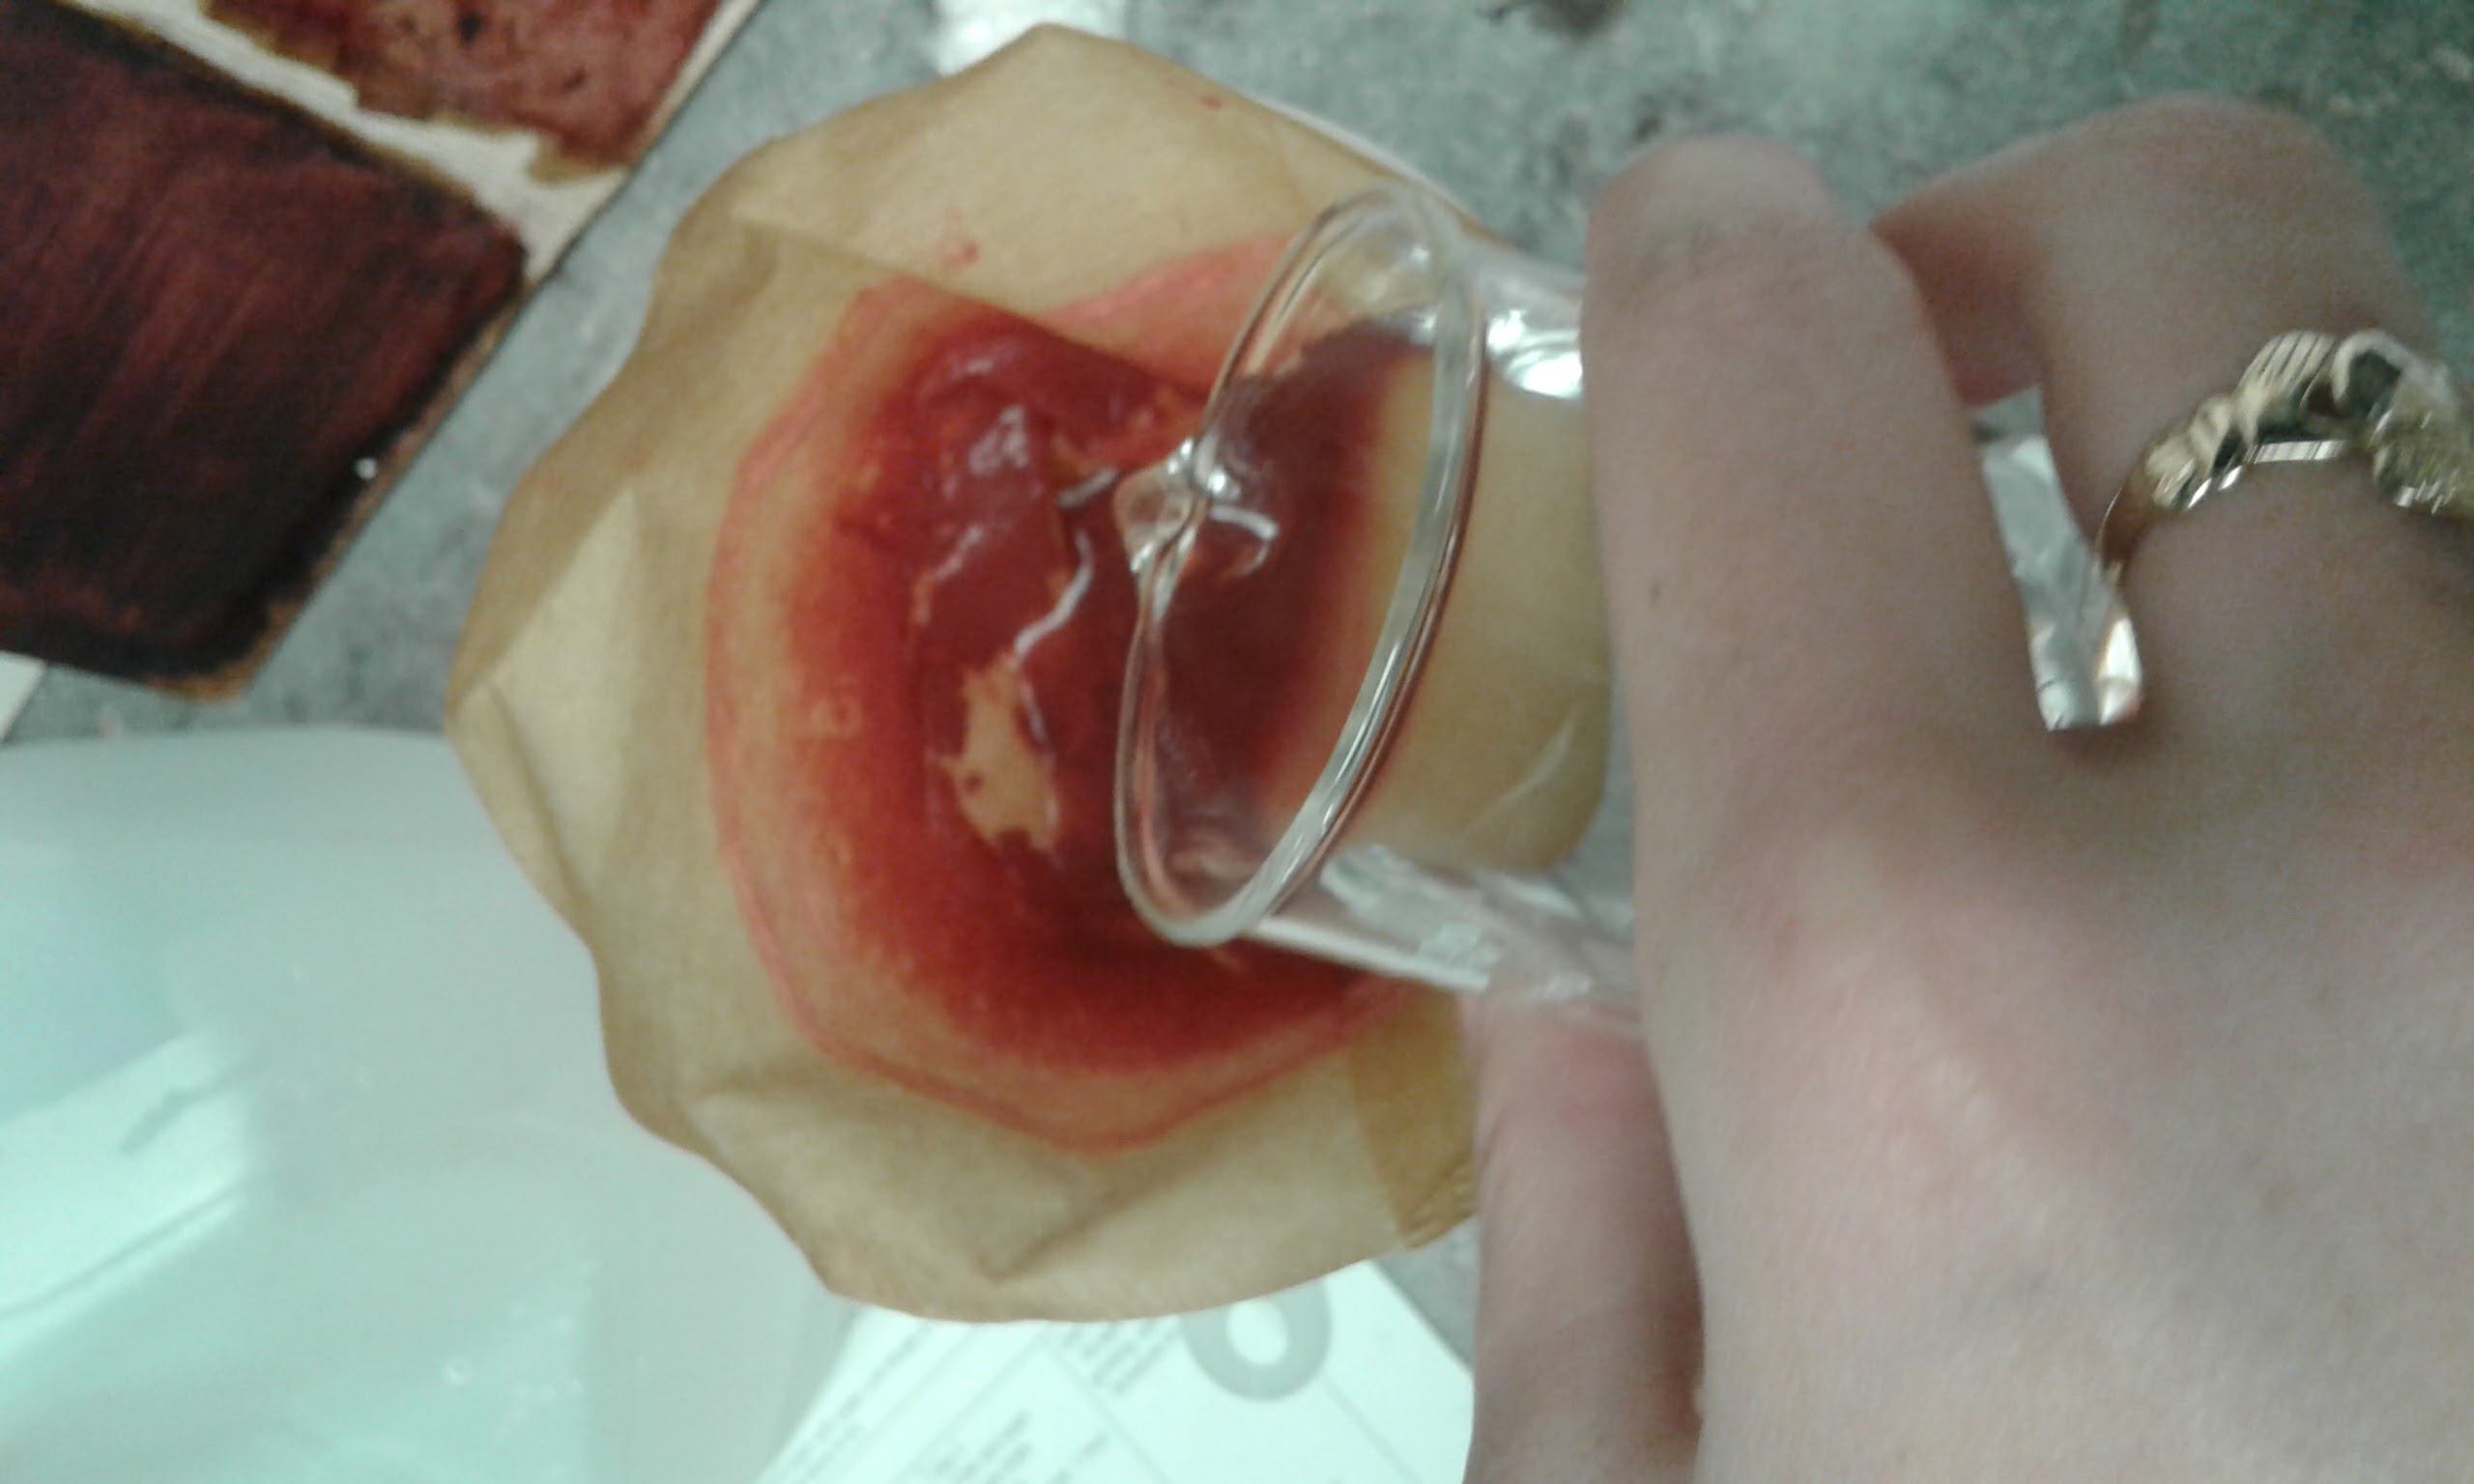
Image pictures Caitlyn adding water for the third wash.
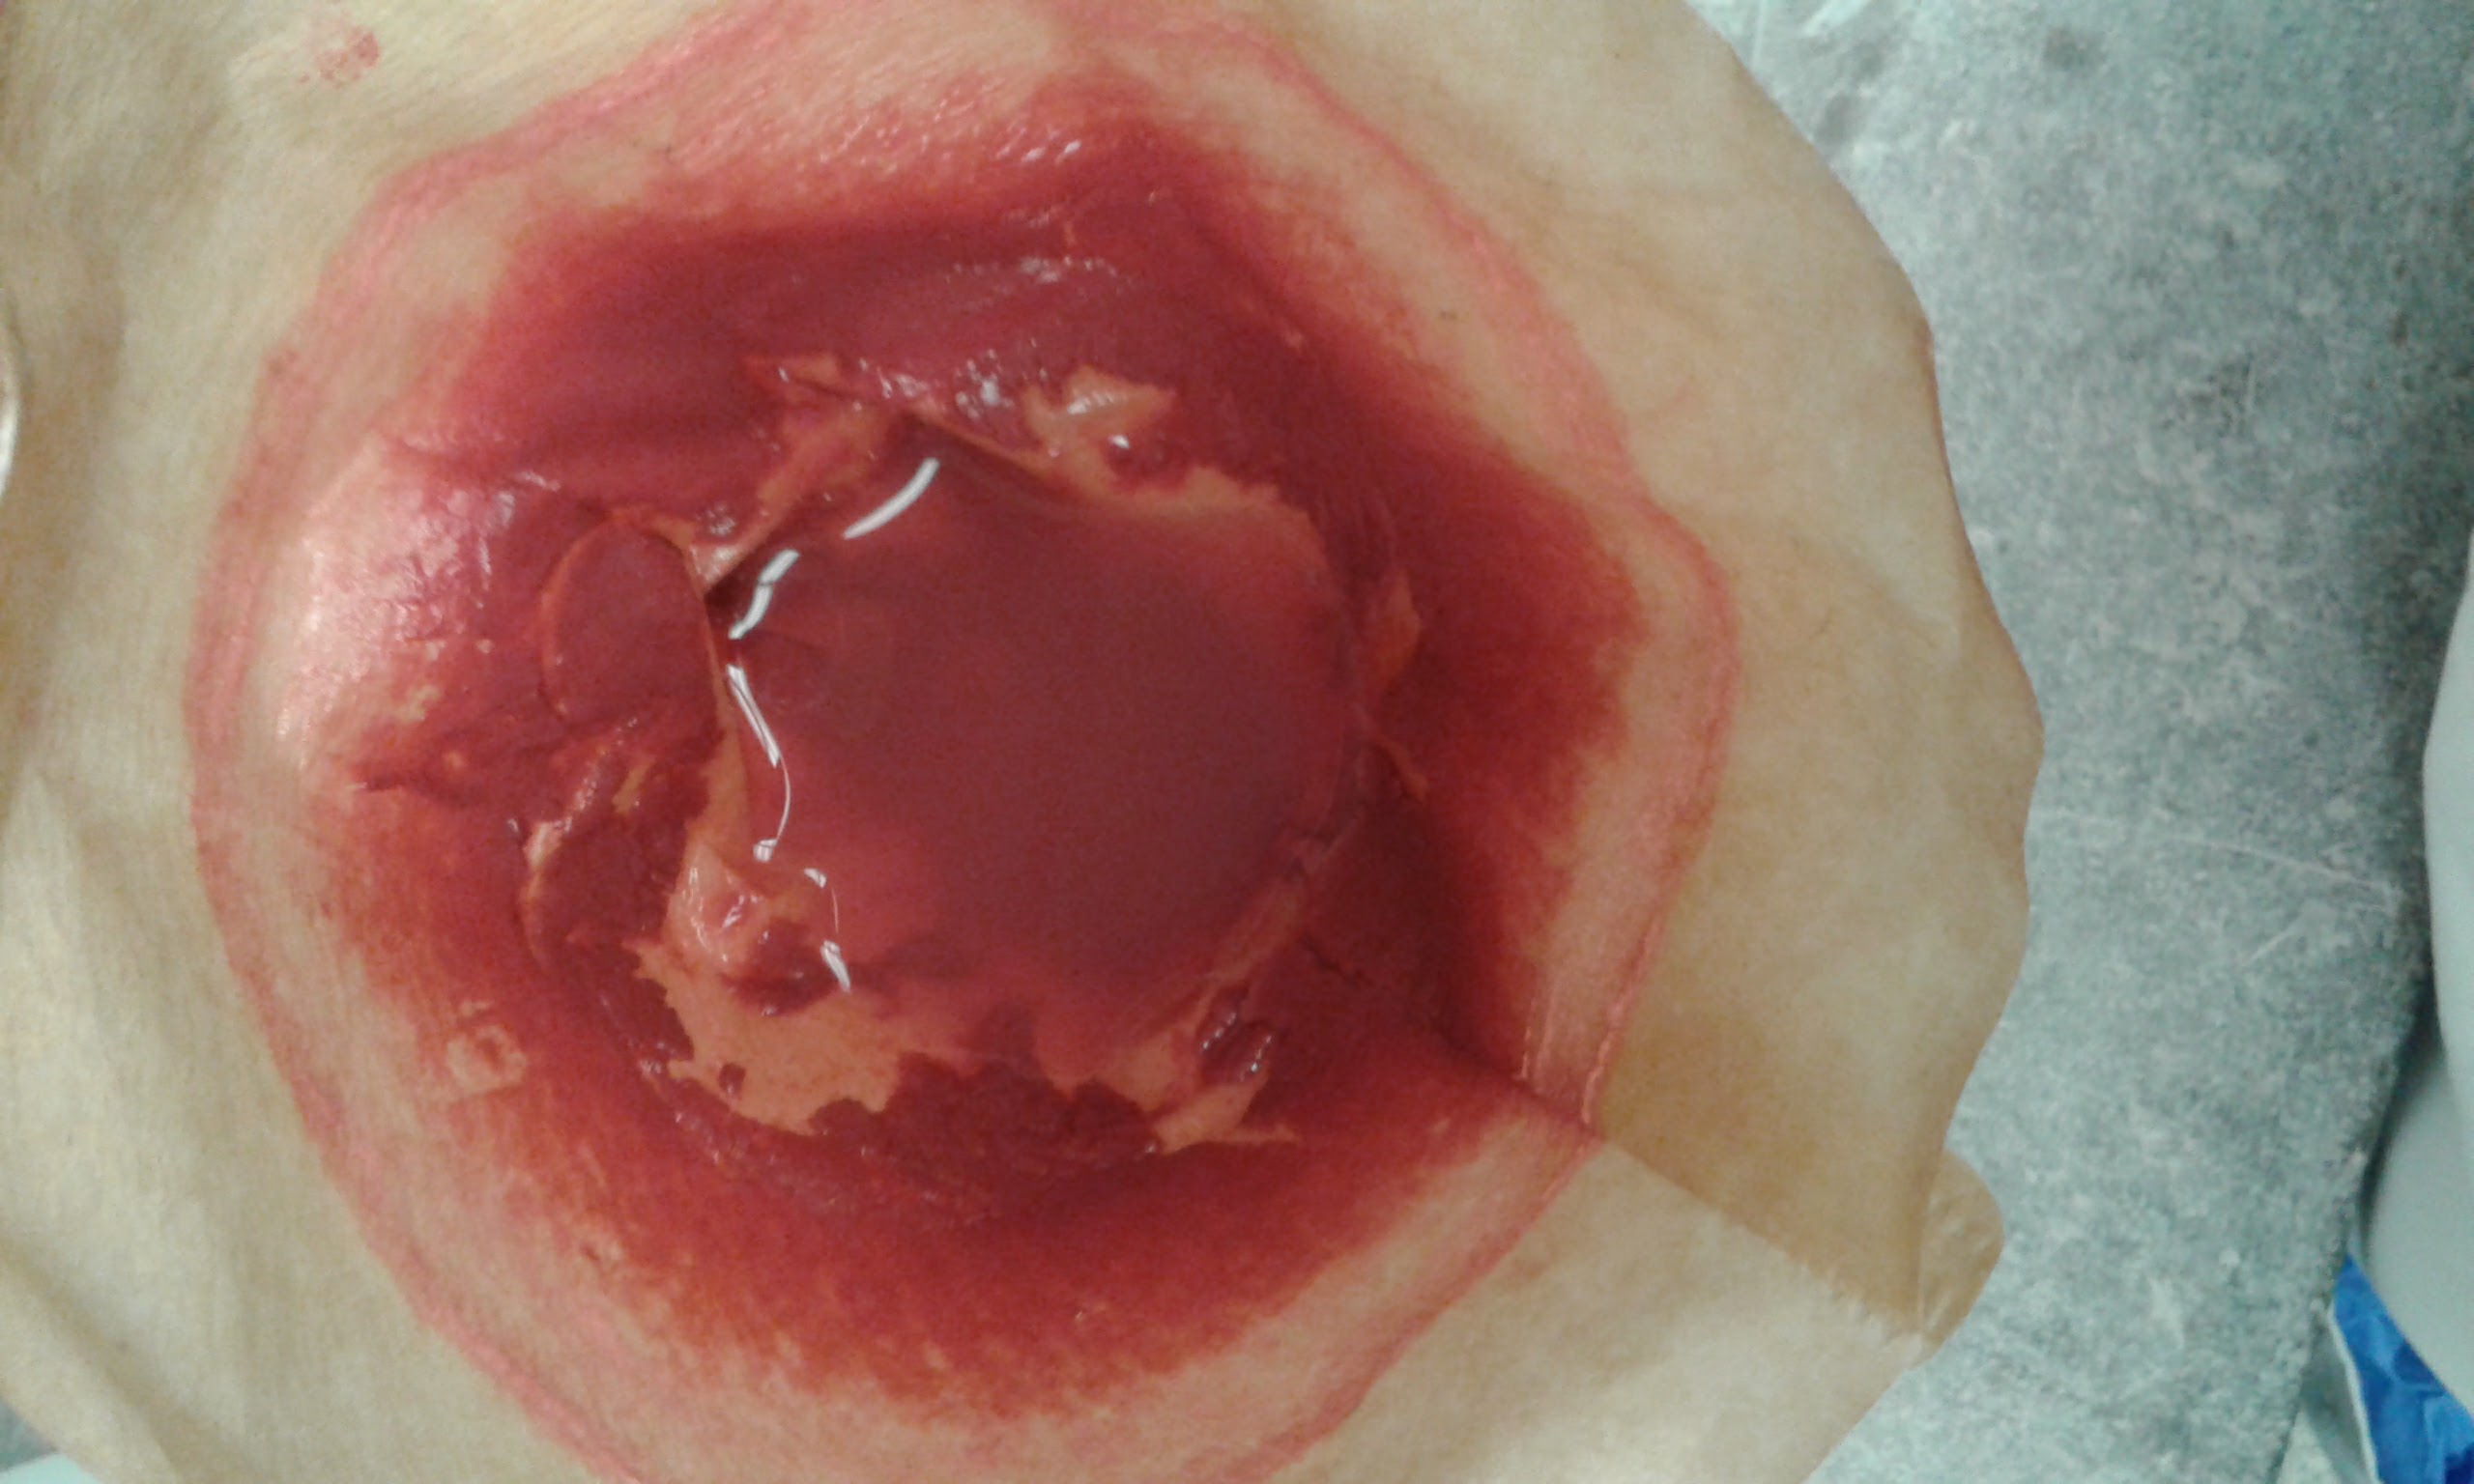
Image pictures water of third wash filtering through.
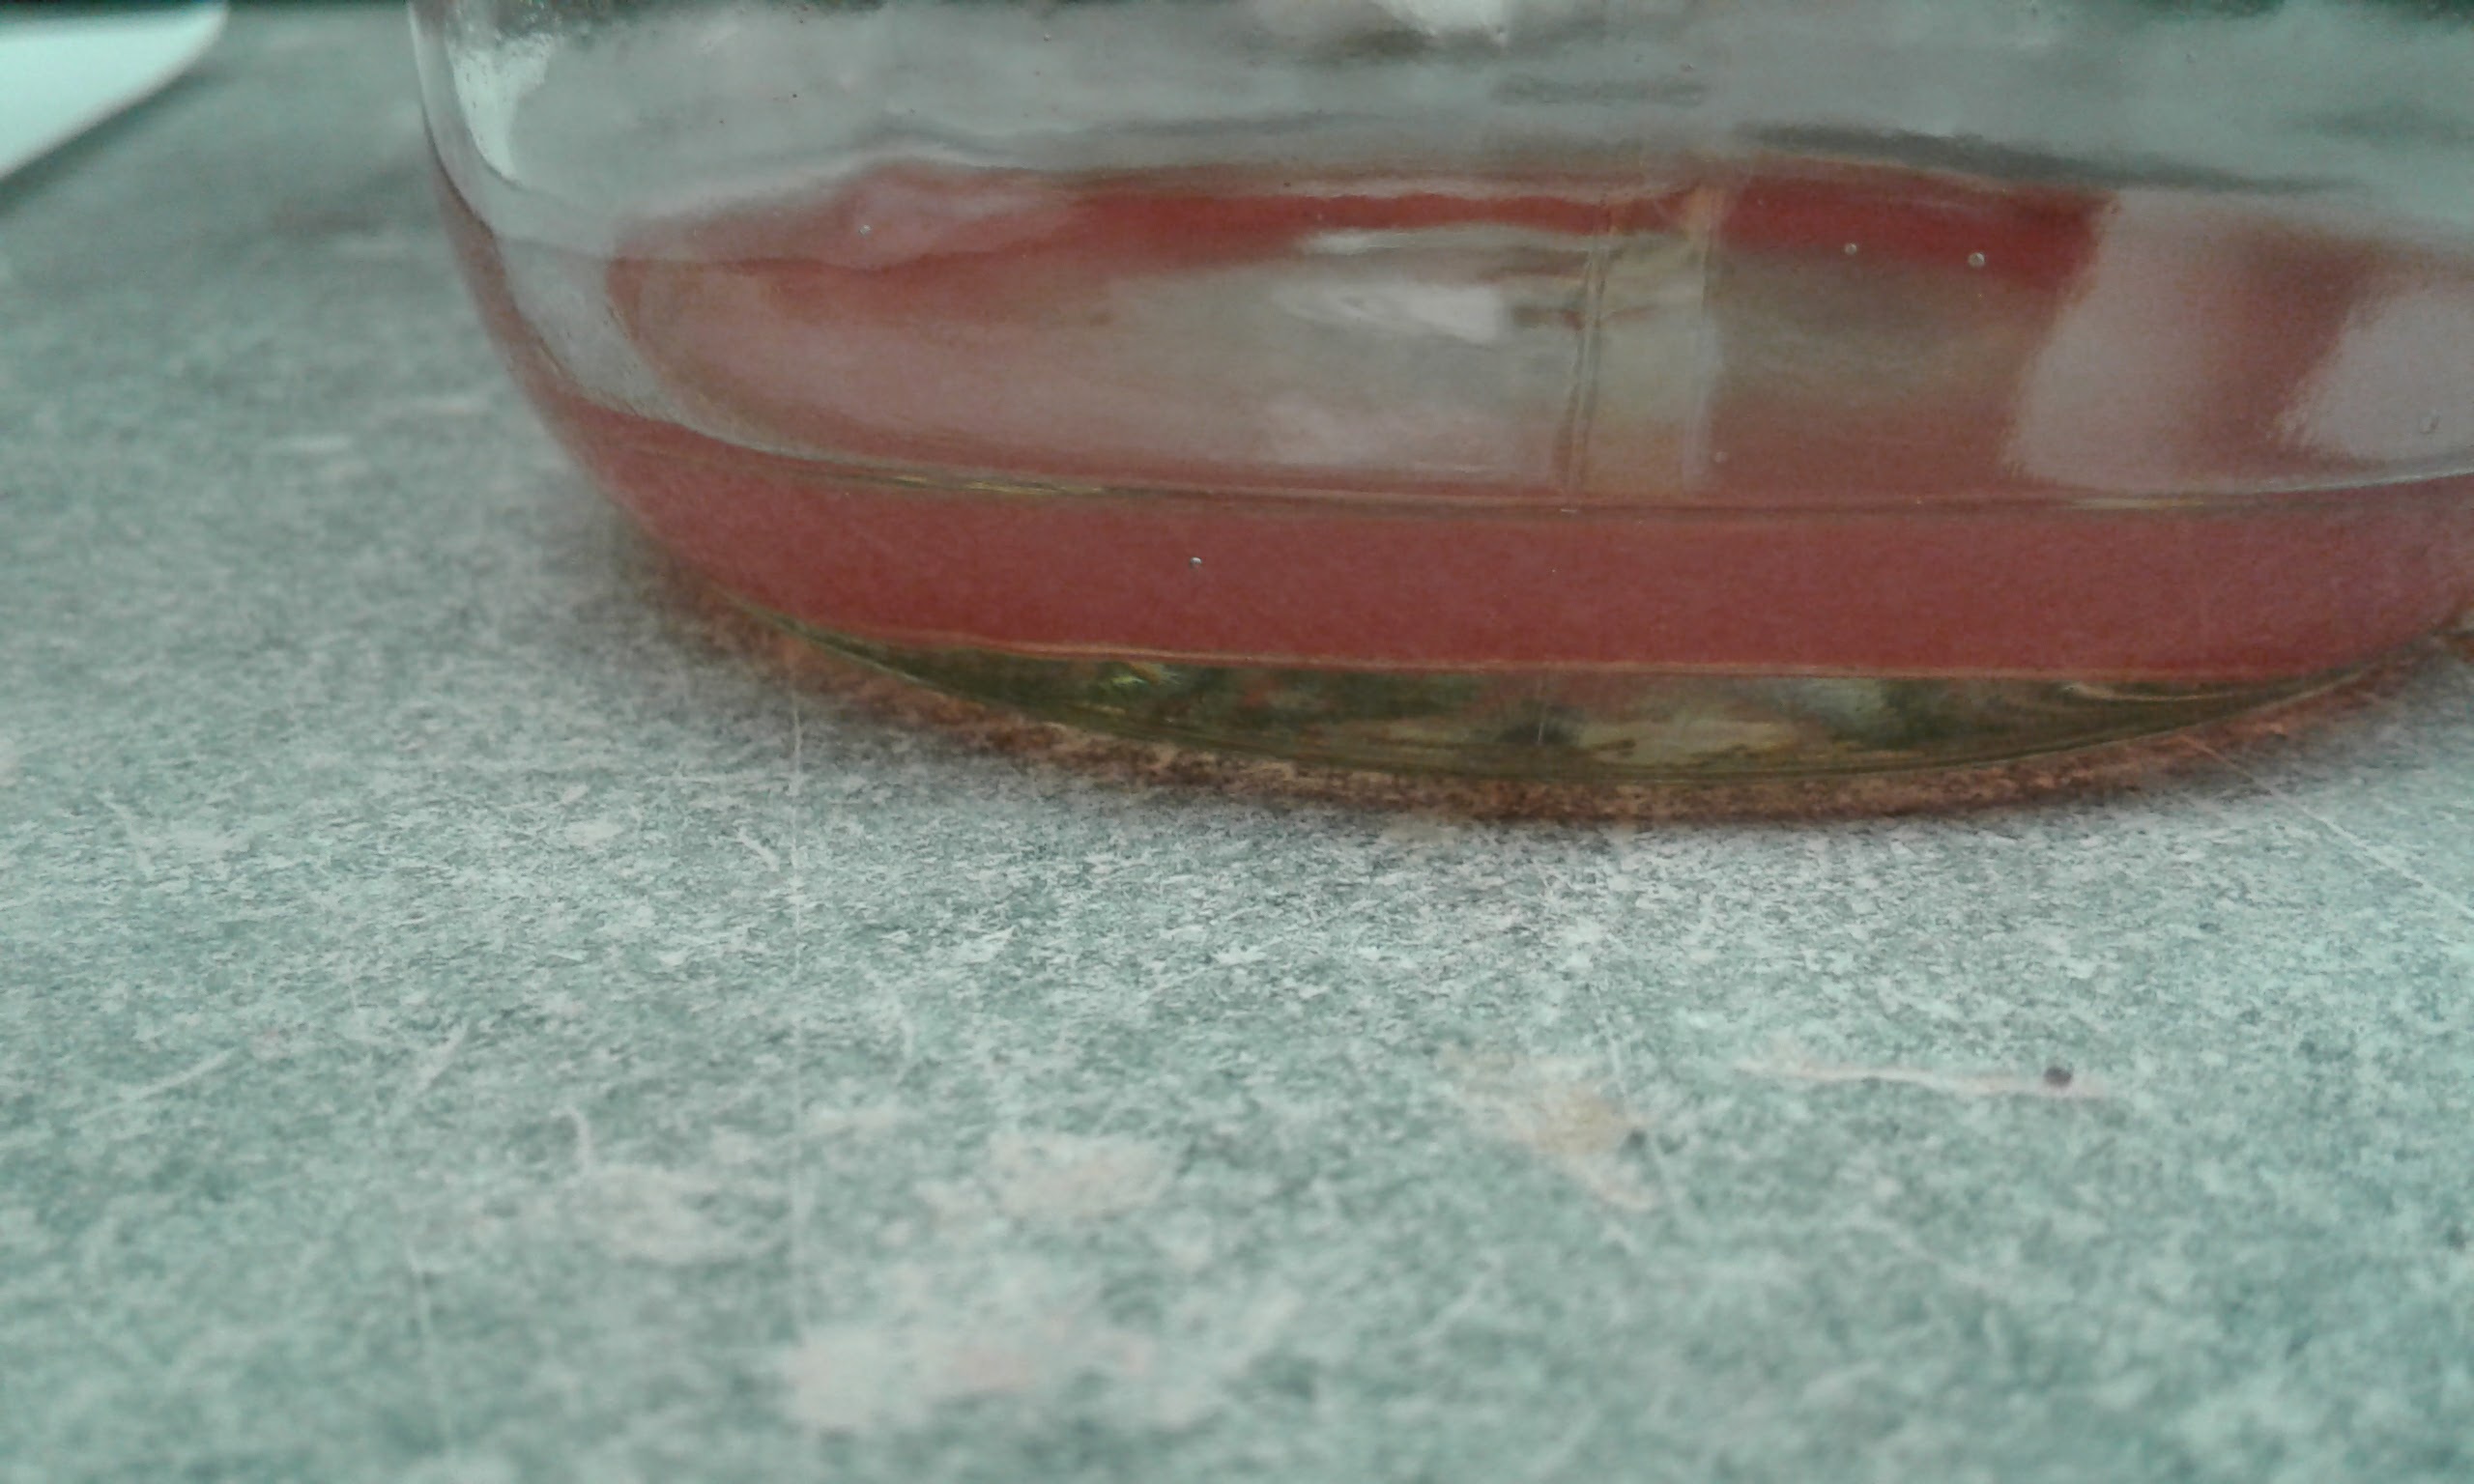
Image pictures the color of the water that passed through the third wash.
[AM] I think the water was still so dark in color at this stage in washing because of the trouble we had with the hole.
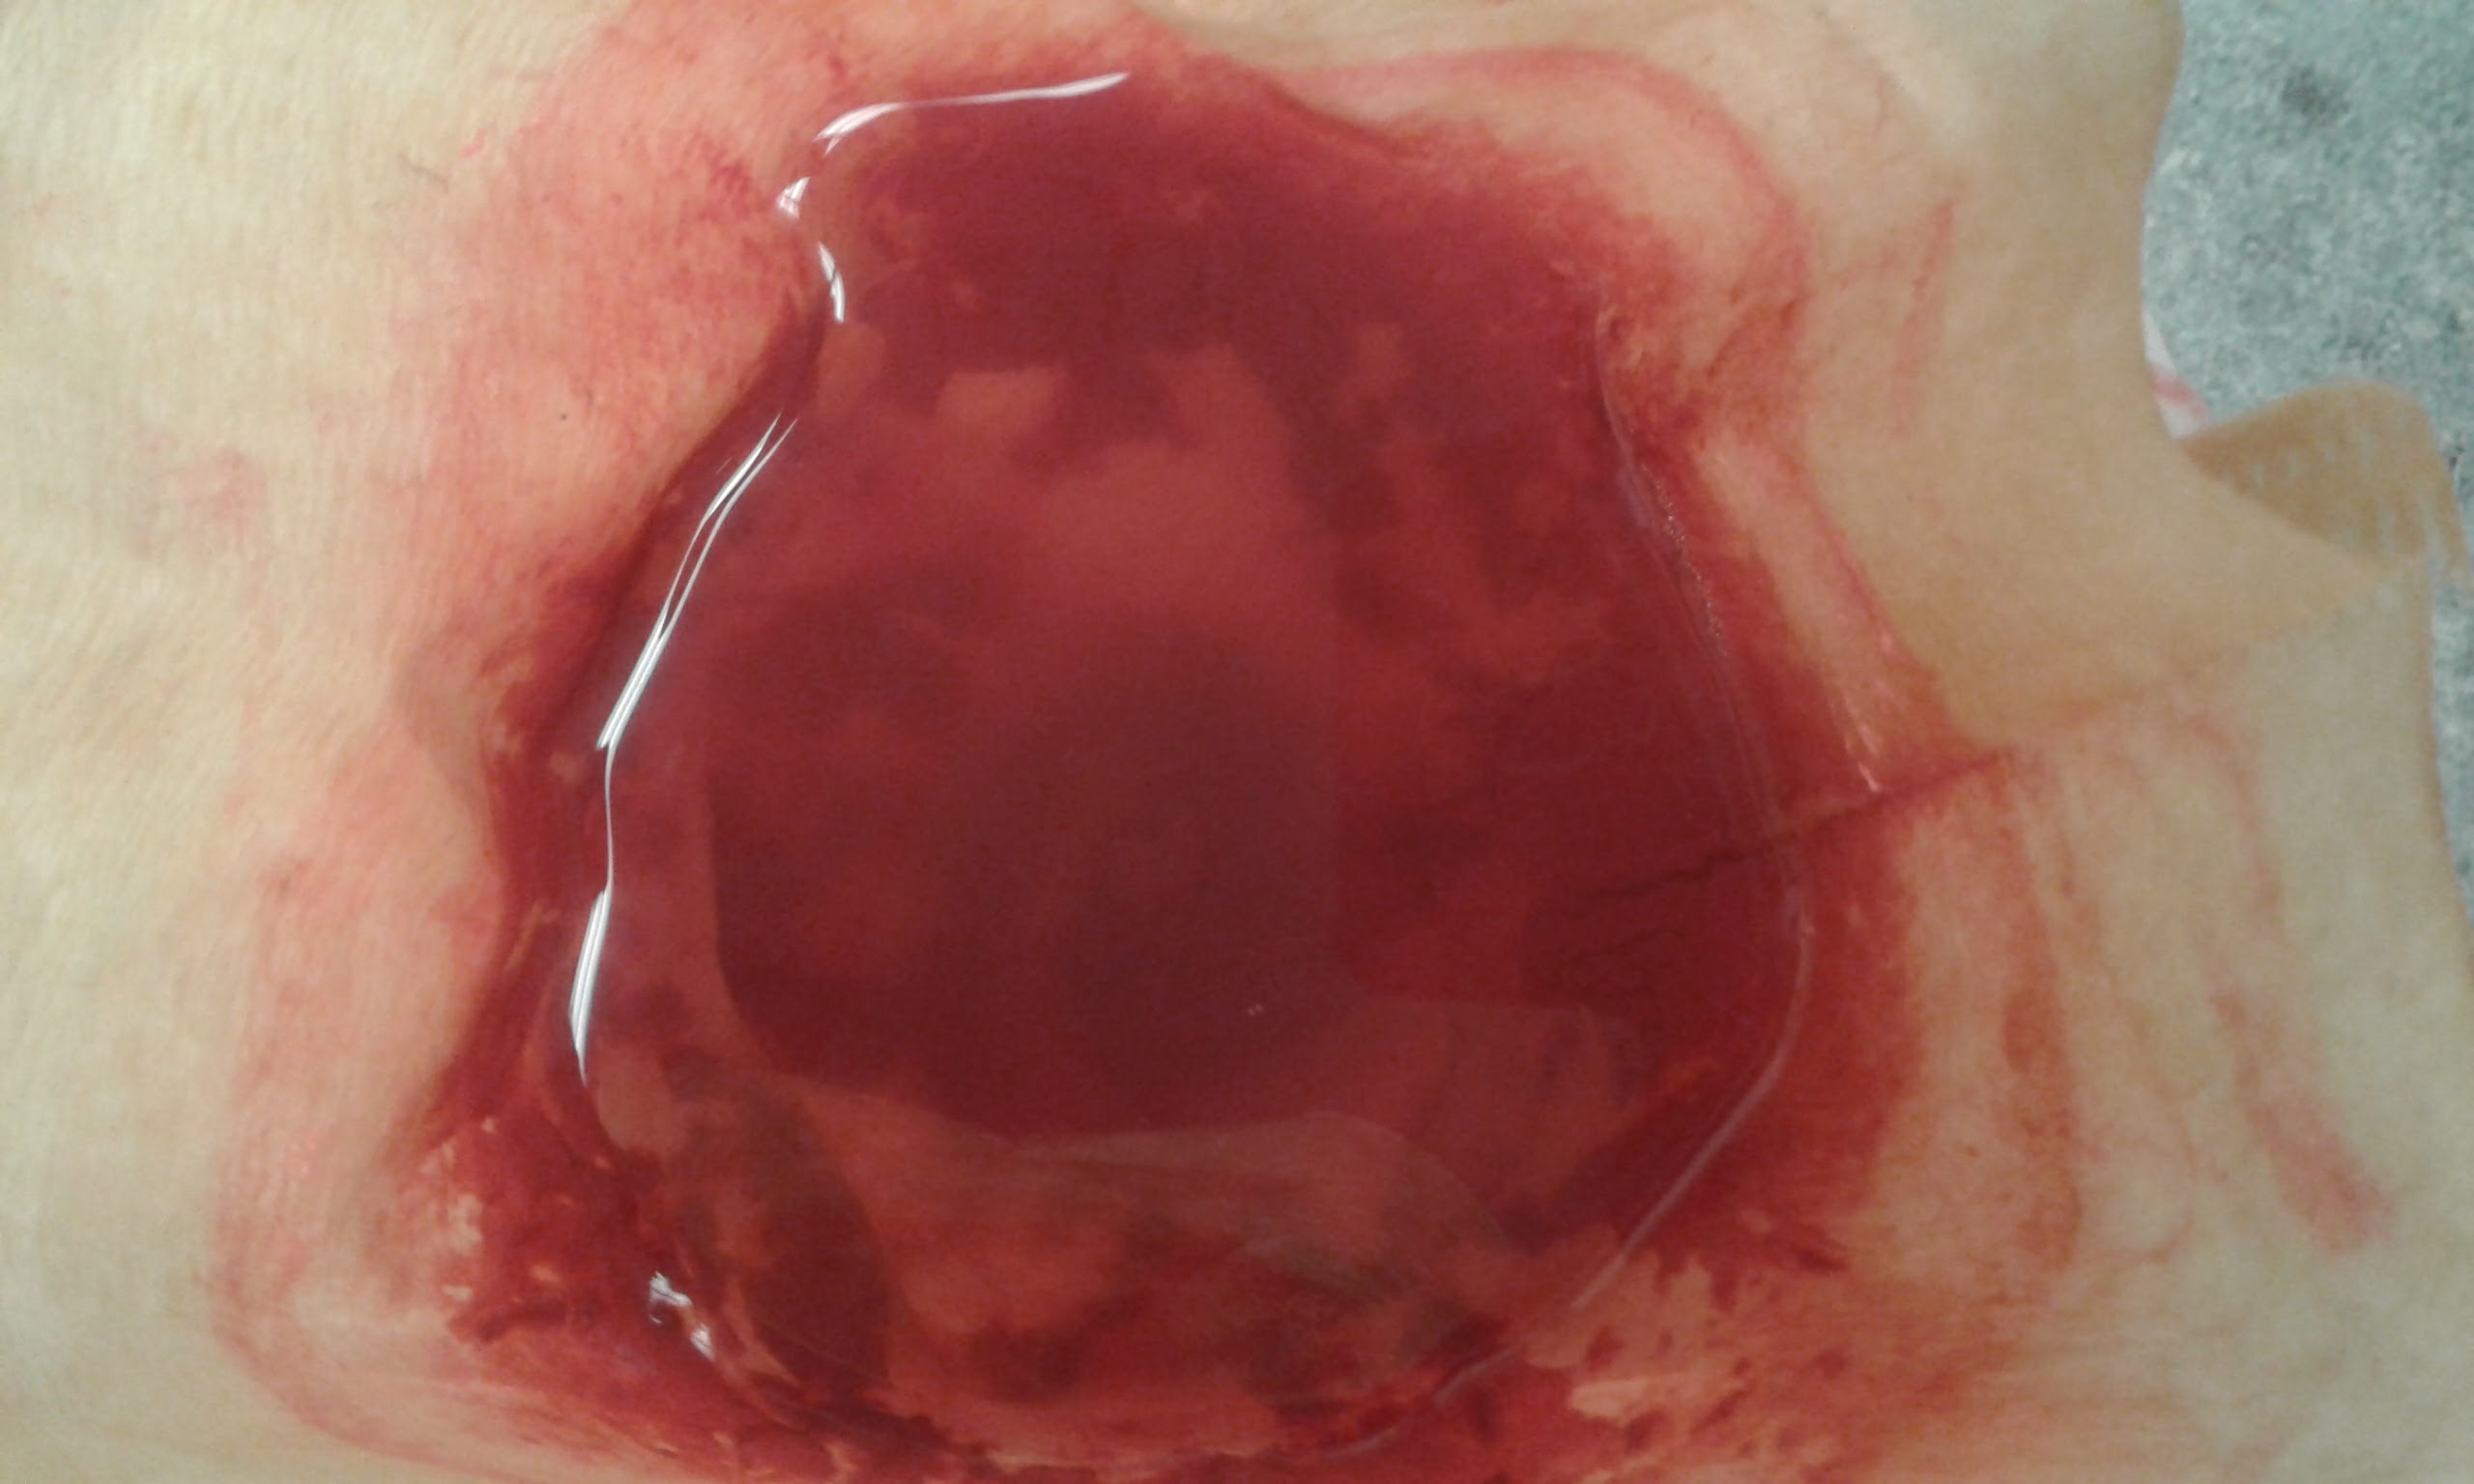
Image pictures water added for fourth wash.
[AM] In this picture it looks like we didn't have very much filtrate in the filter but there is another filter underneath it that I didn't get a picture of that had a lot of material in it as well.
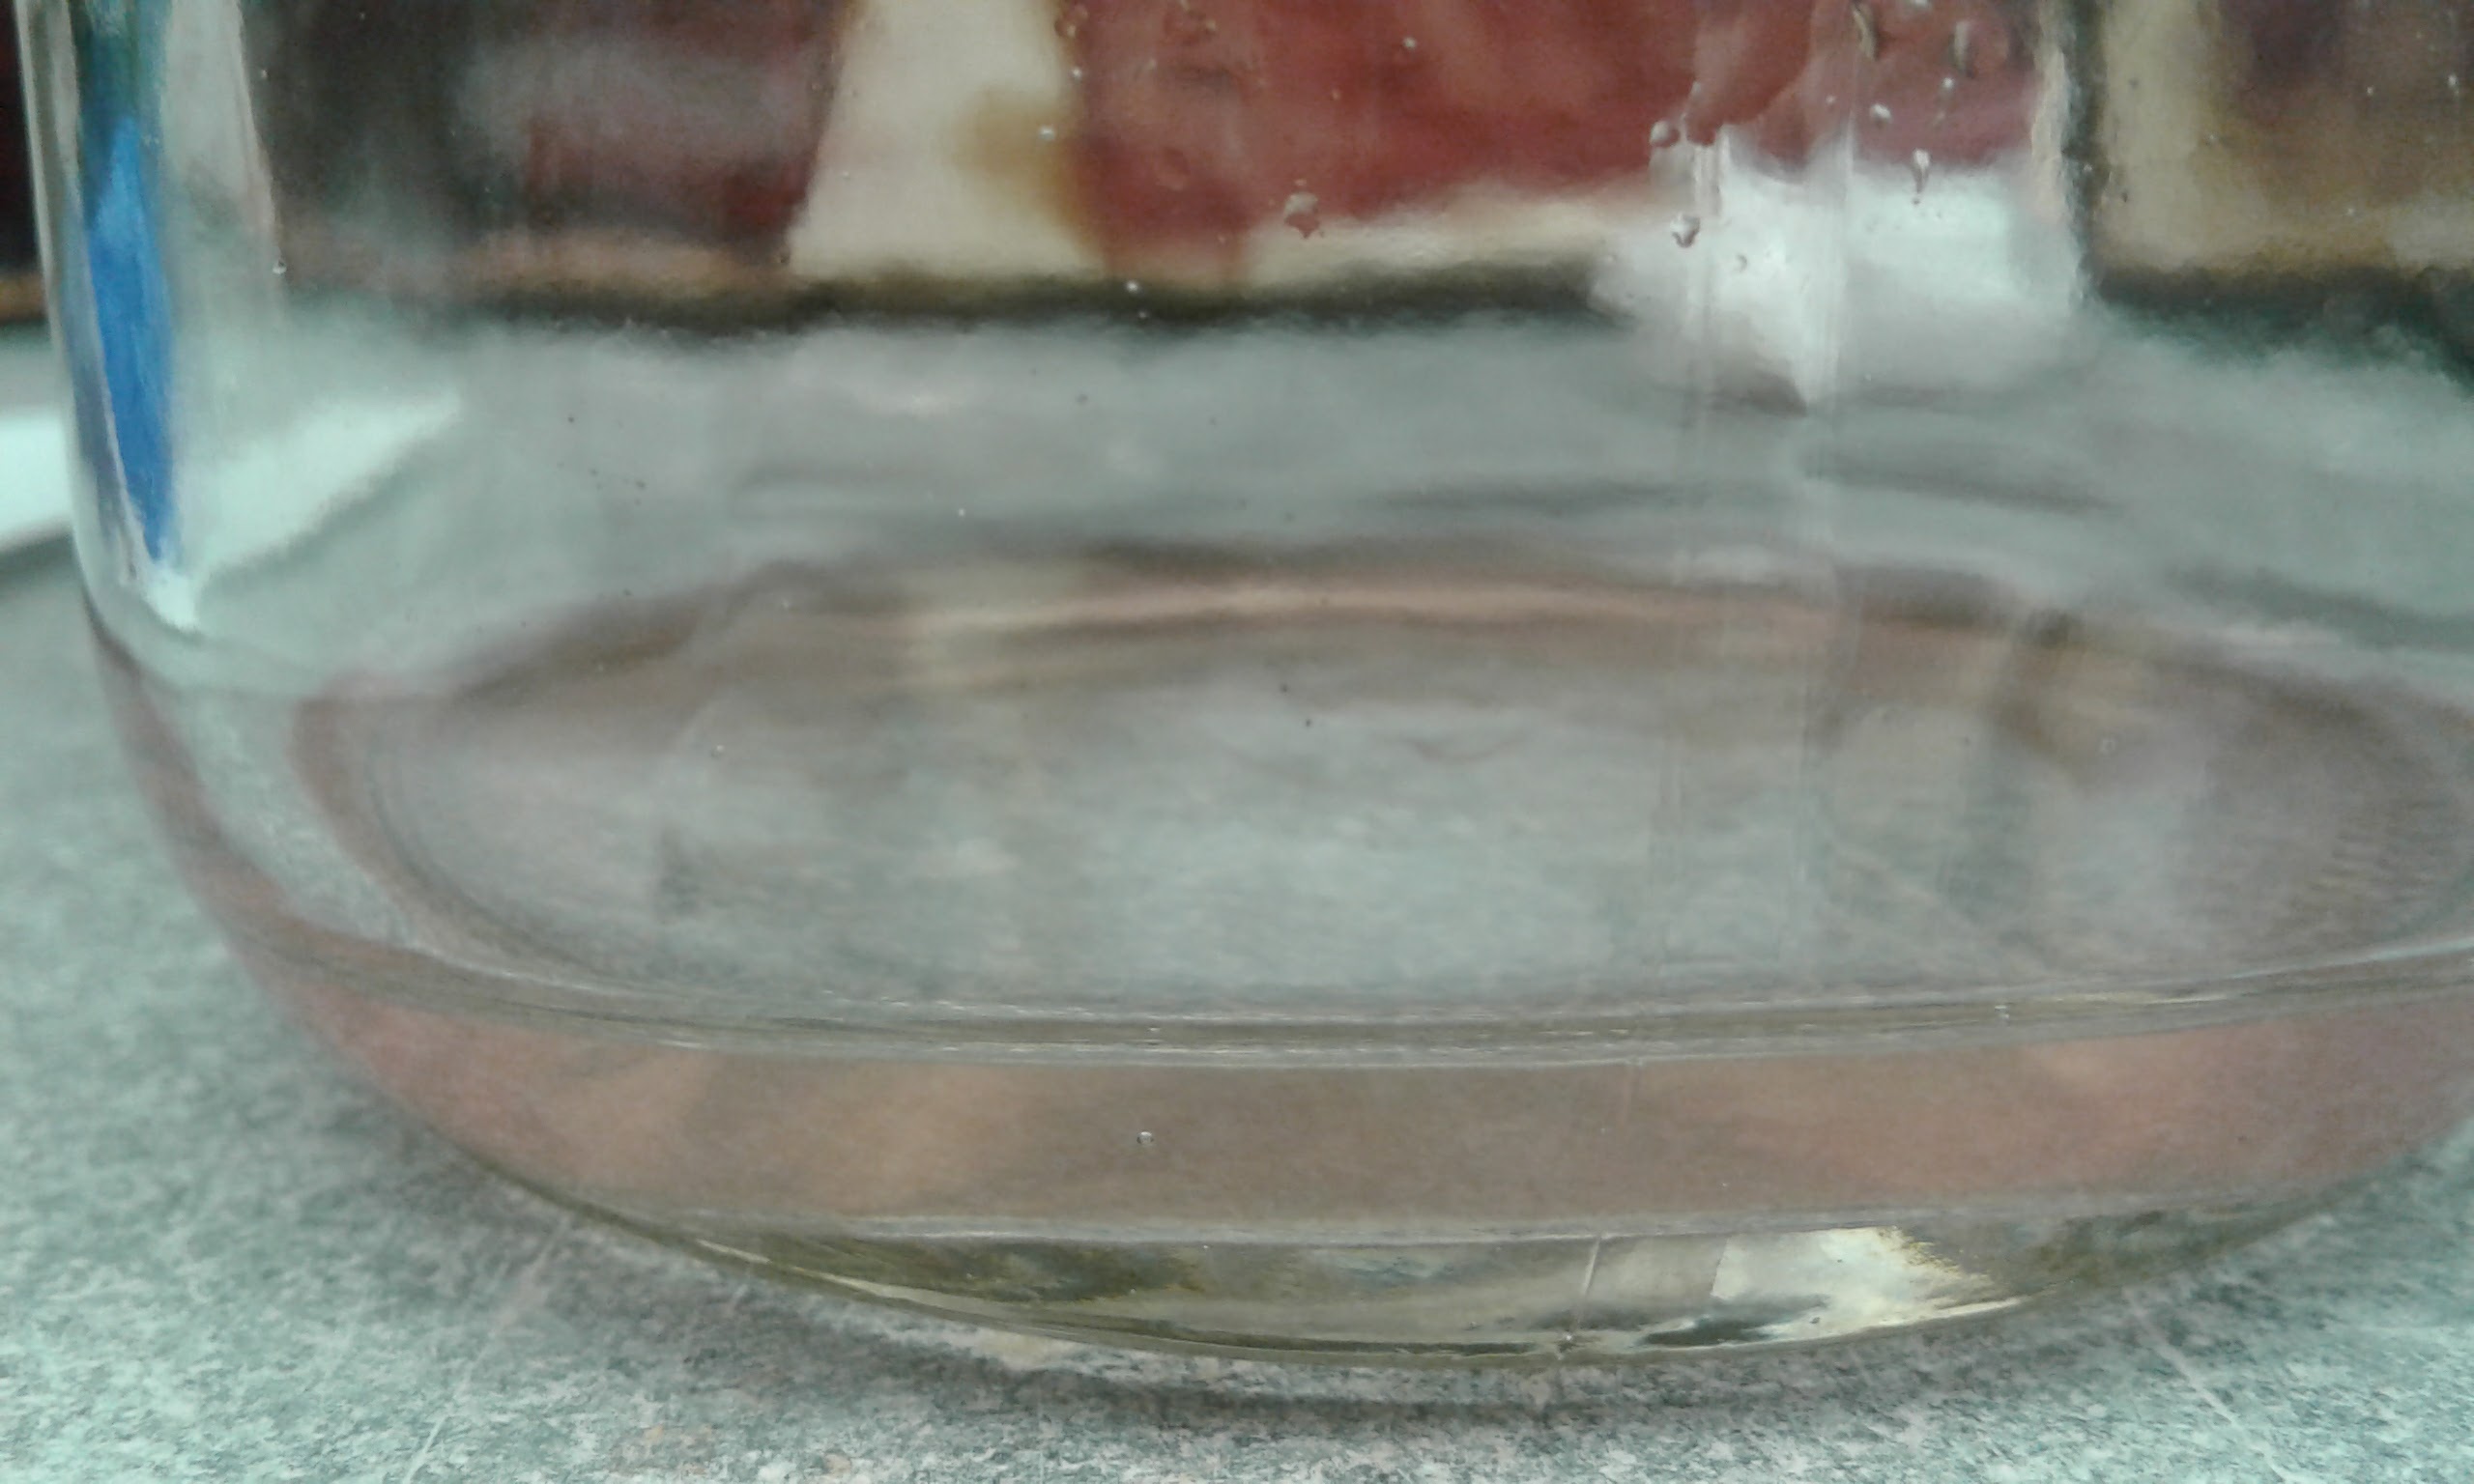
Image pictures water after fourth wash.
[AM] At this point, since the color of the water was so improved, we decided to let this wash filter for two days and left it covered with plastic in the lab.
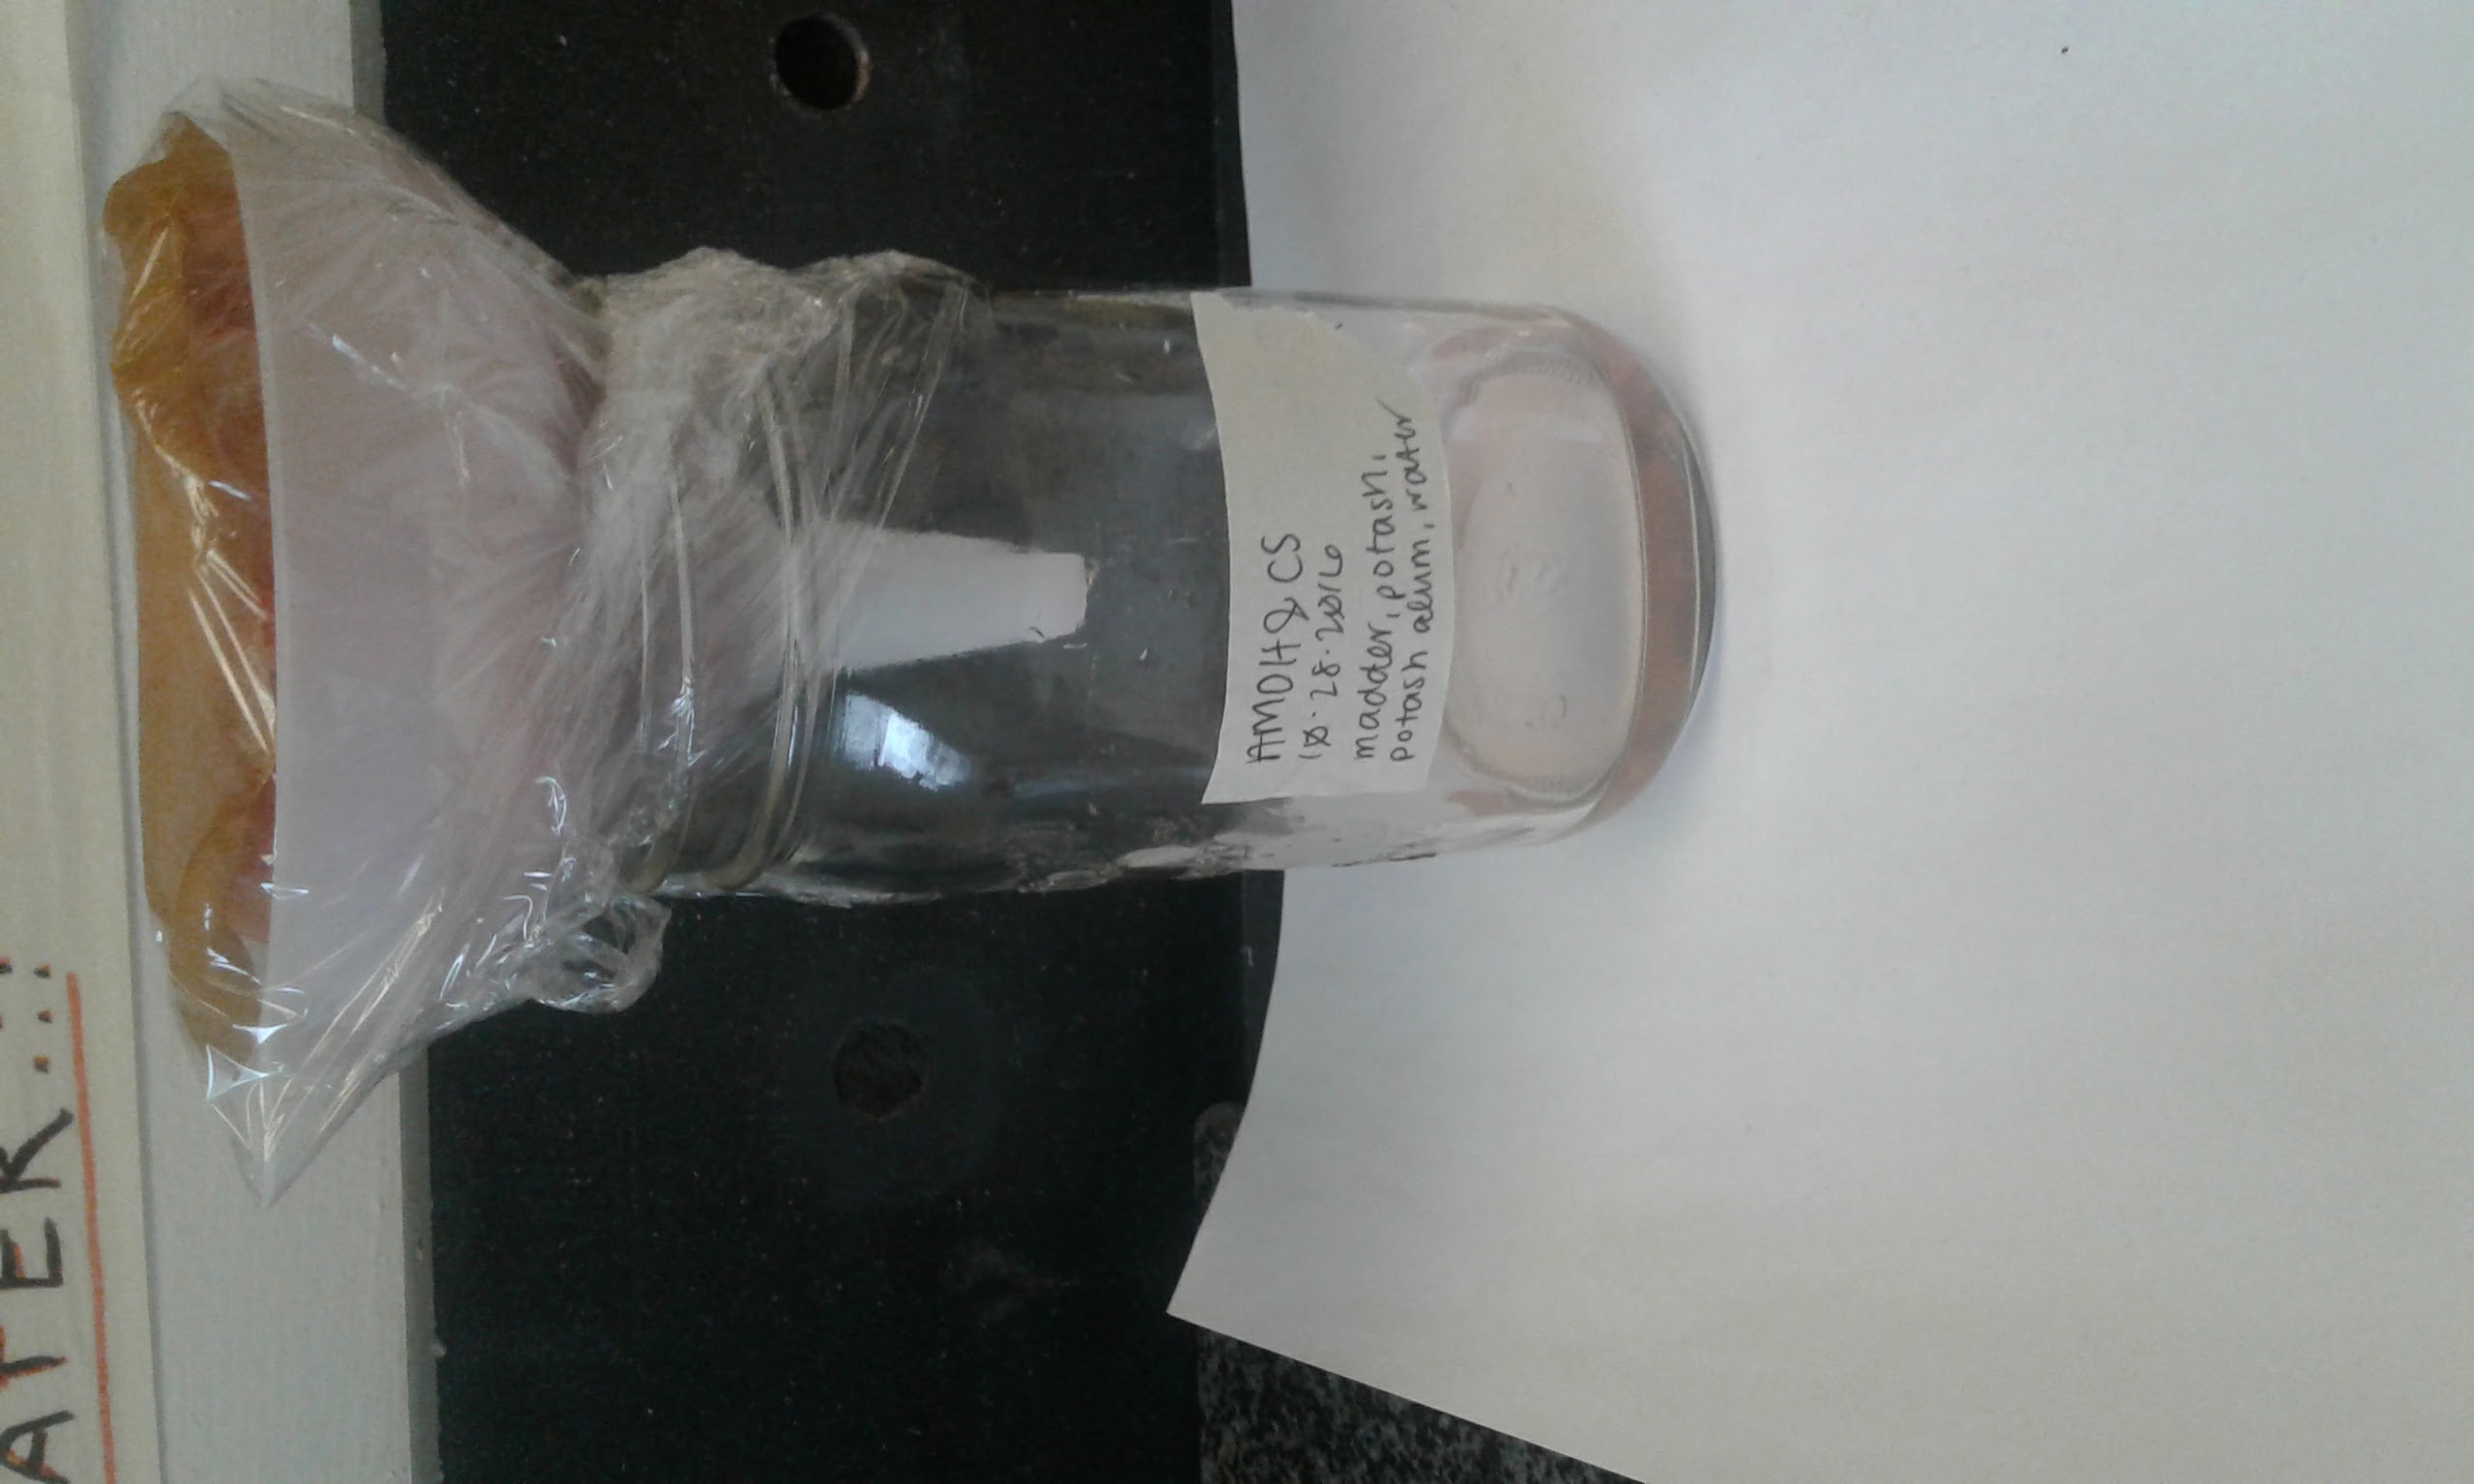
Image pictures madder covered, labeled, and left to filter for two days.
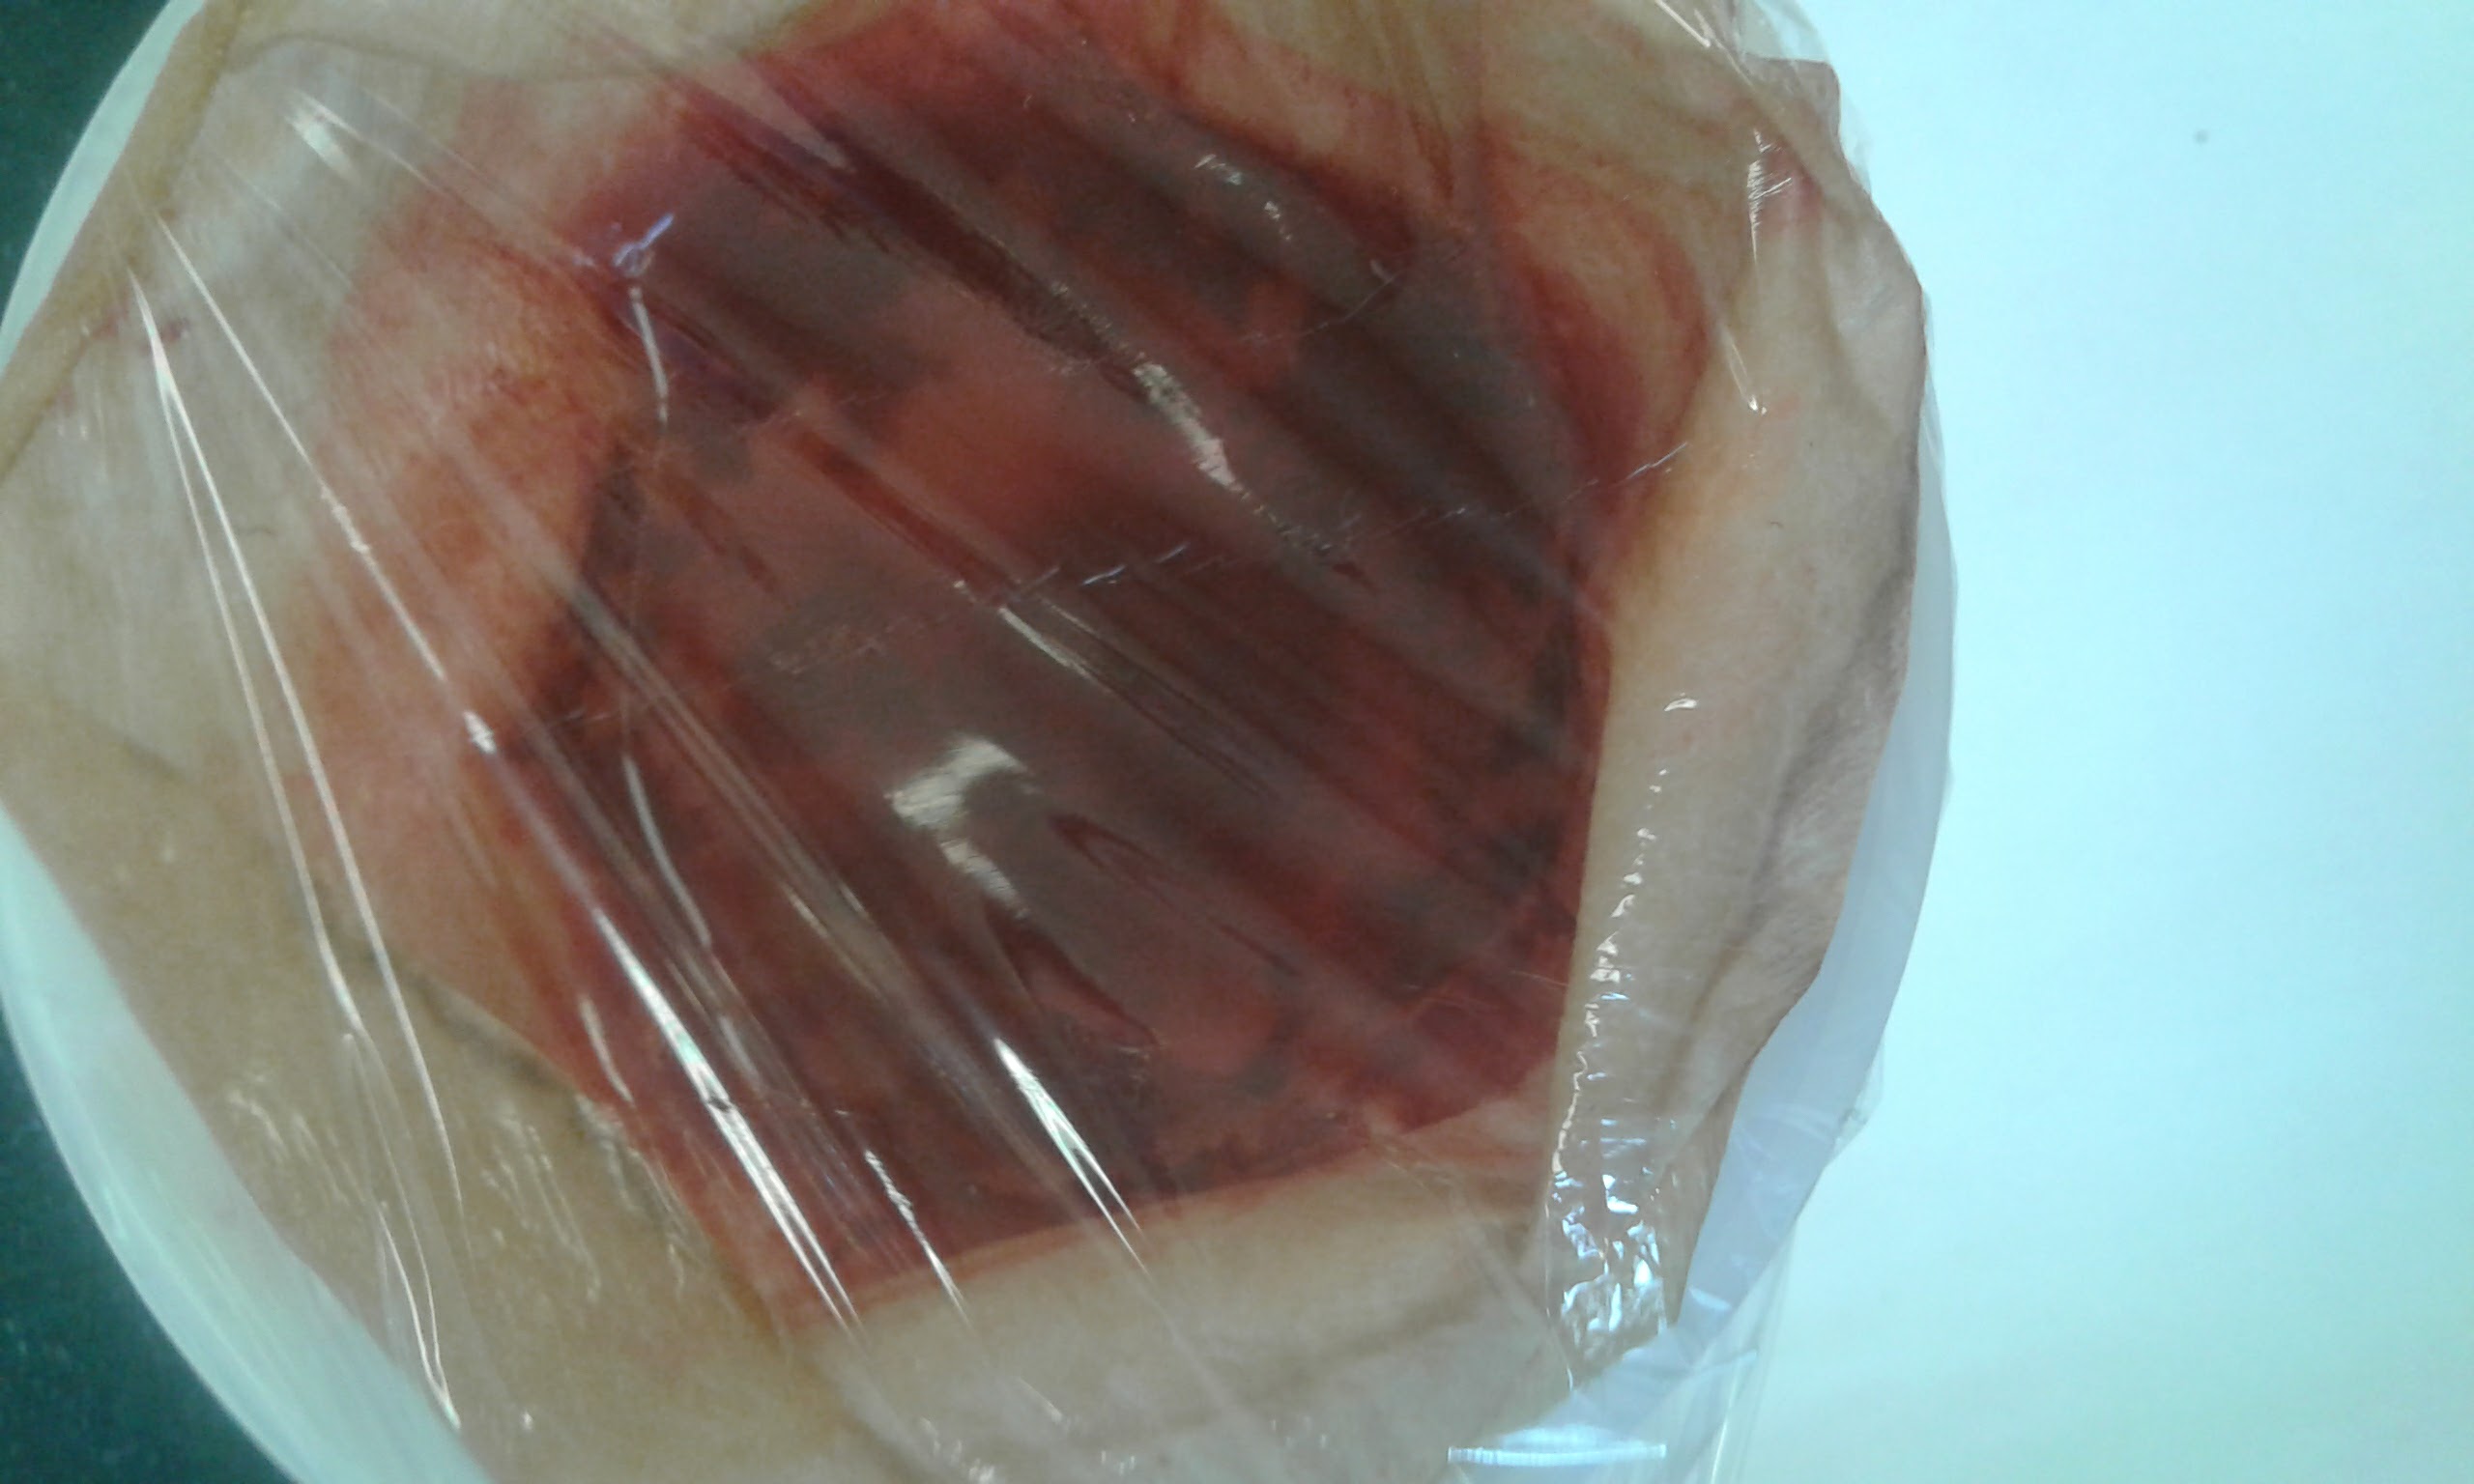
Image pictures top of filter covered with plastic wrap.
Session #4
31/10
Materials
- Madder filtrate
- egg yolk
- egg white
Tools
- glass pane
- glass mortar
- metal spatulas (one with slim triangular head and one with wider stadium head)
- ceramic plate
- bowl, natural sponge, small plastic cups, and paper towel for separating eggs
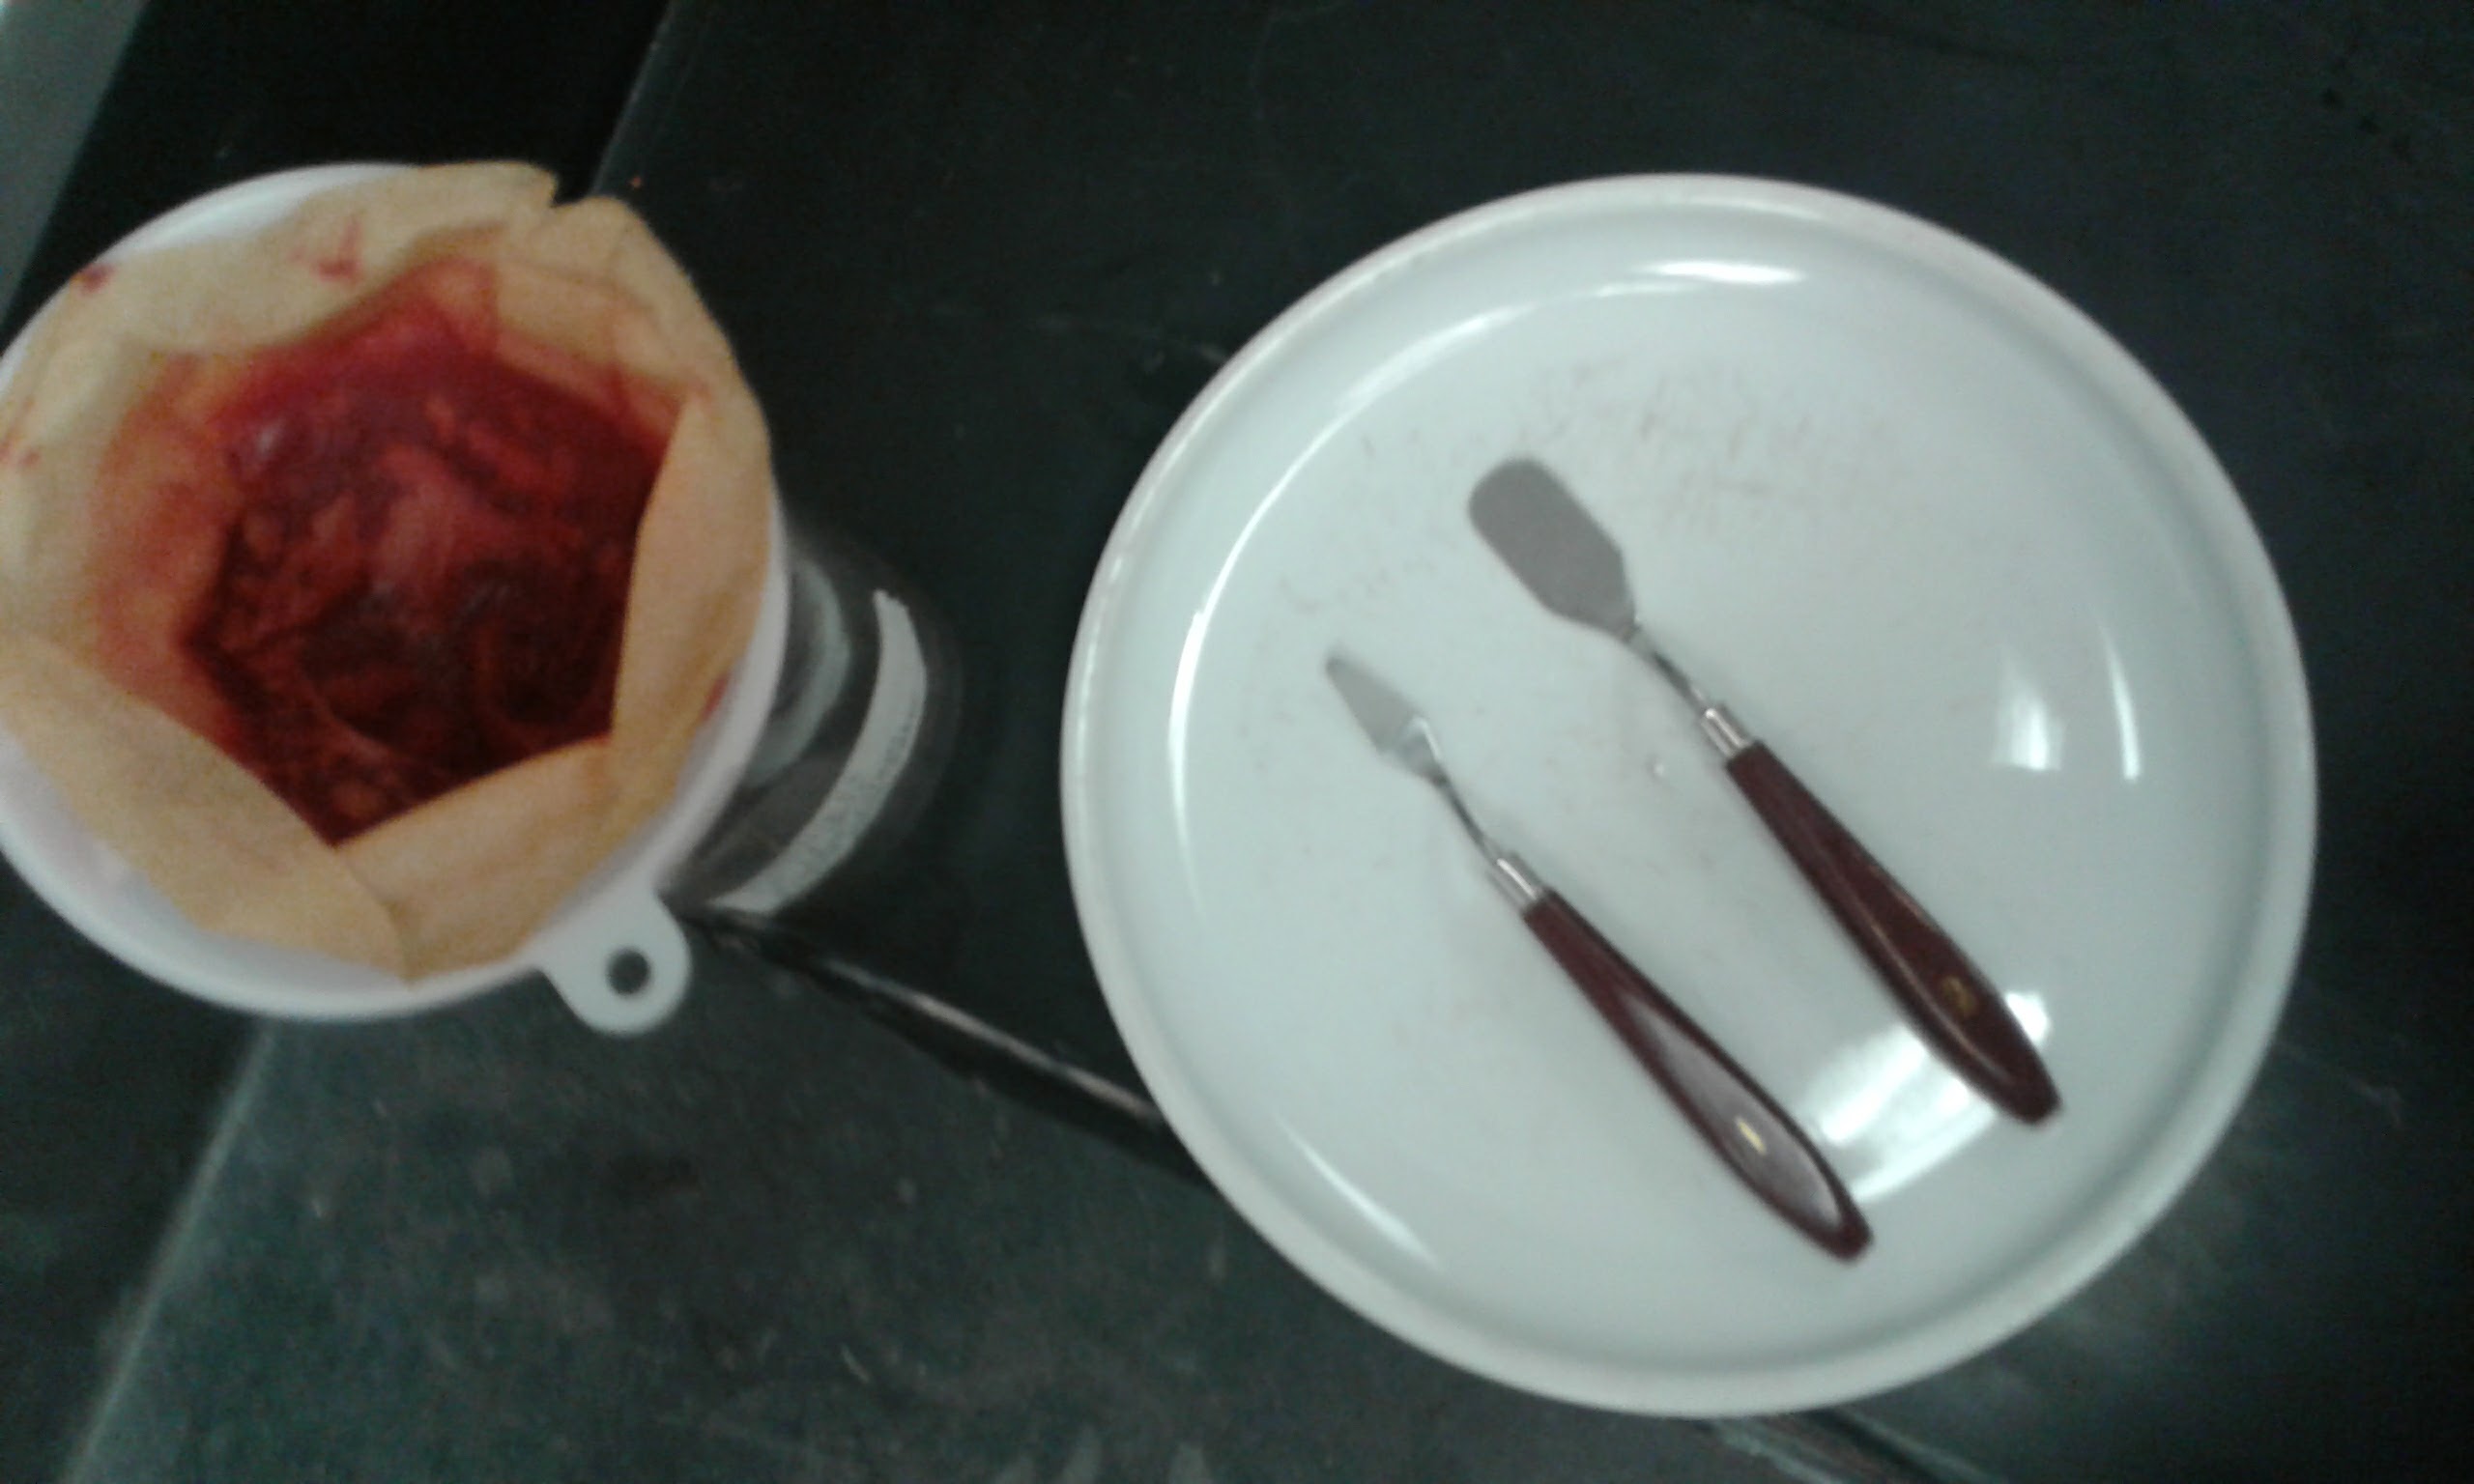
Image pictures madder, plate, and spatulas.
Procedure [with notes]
- Scrape dried pigment.
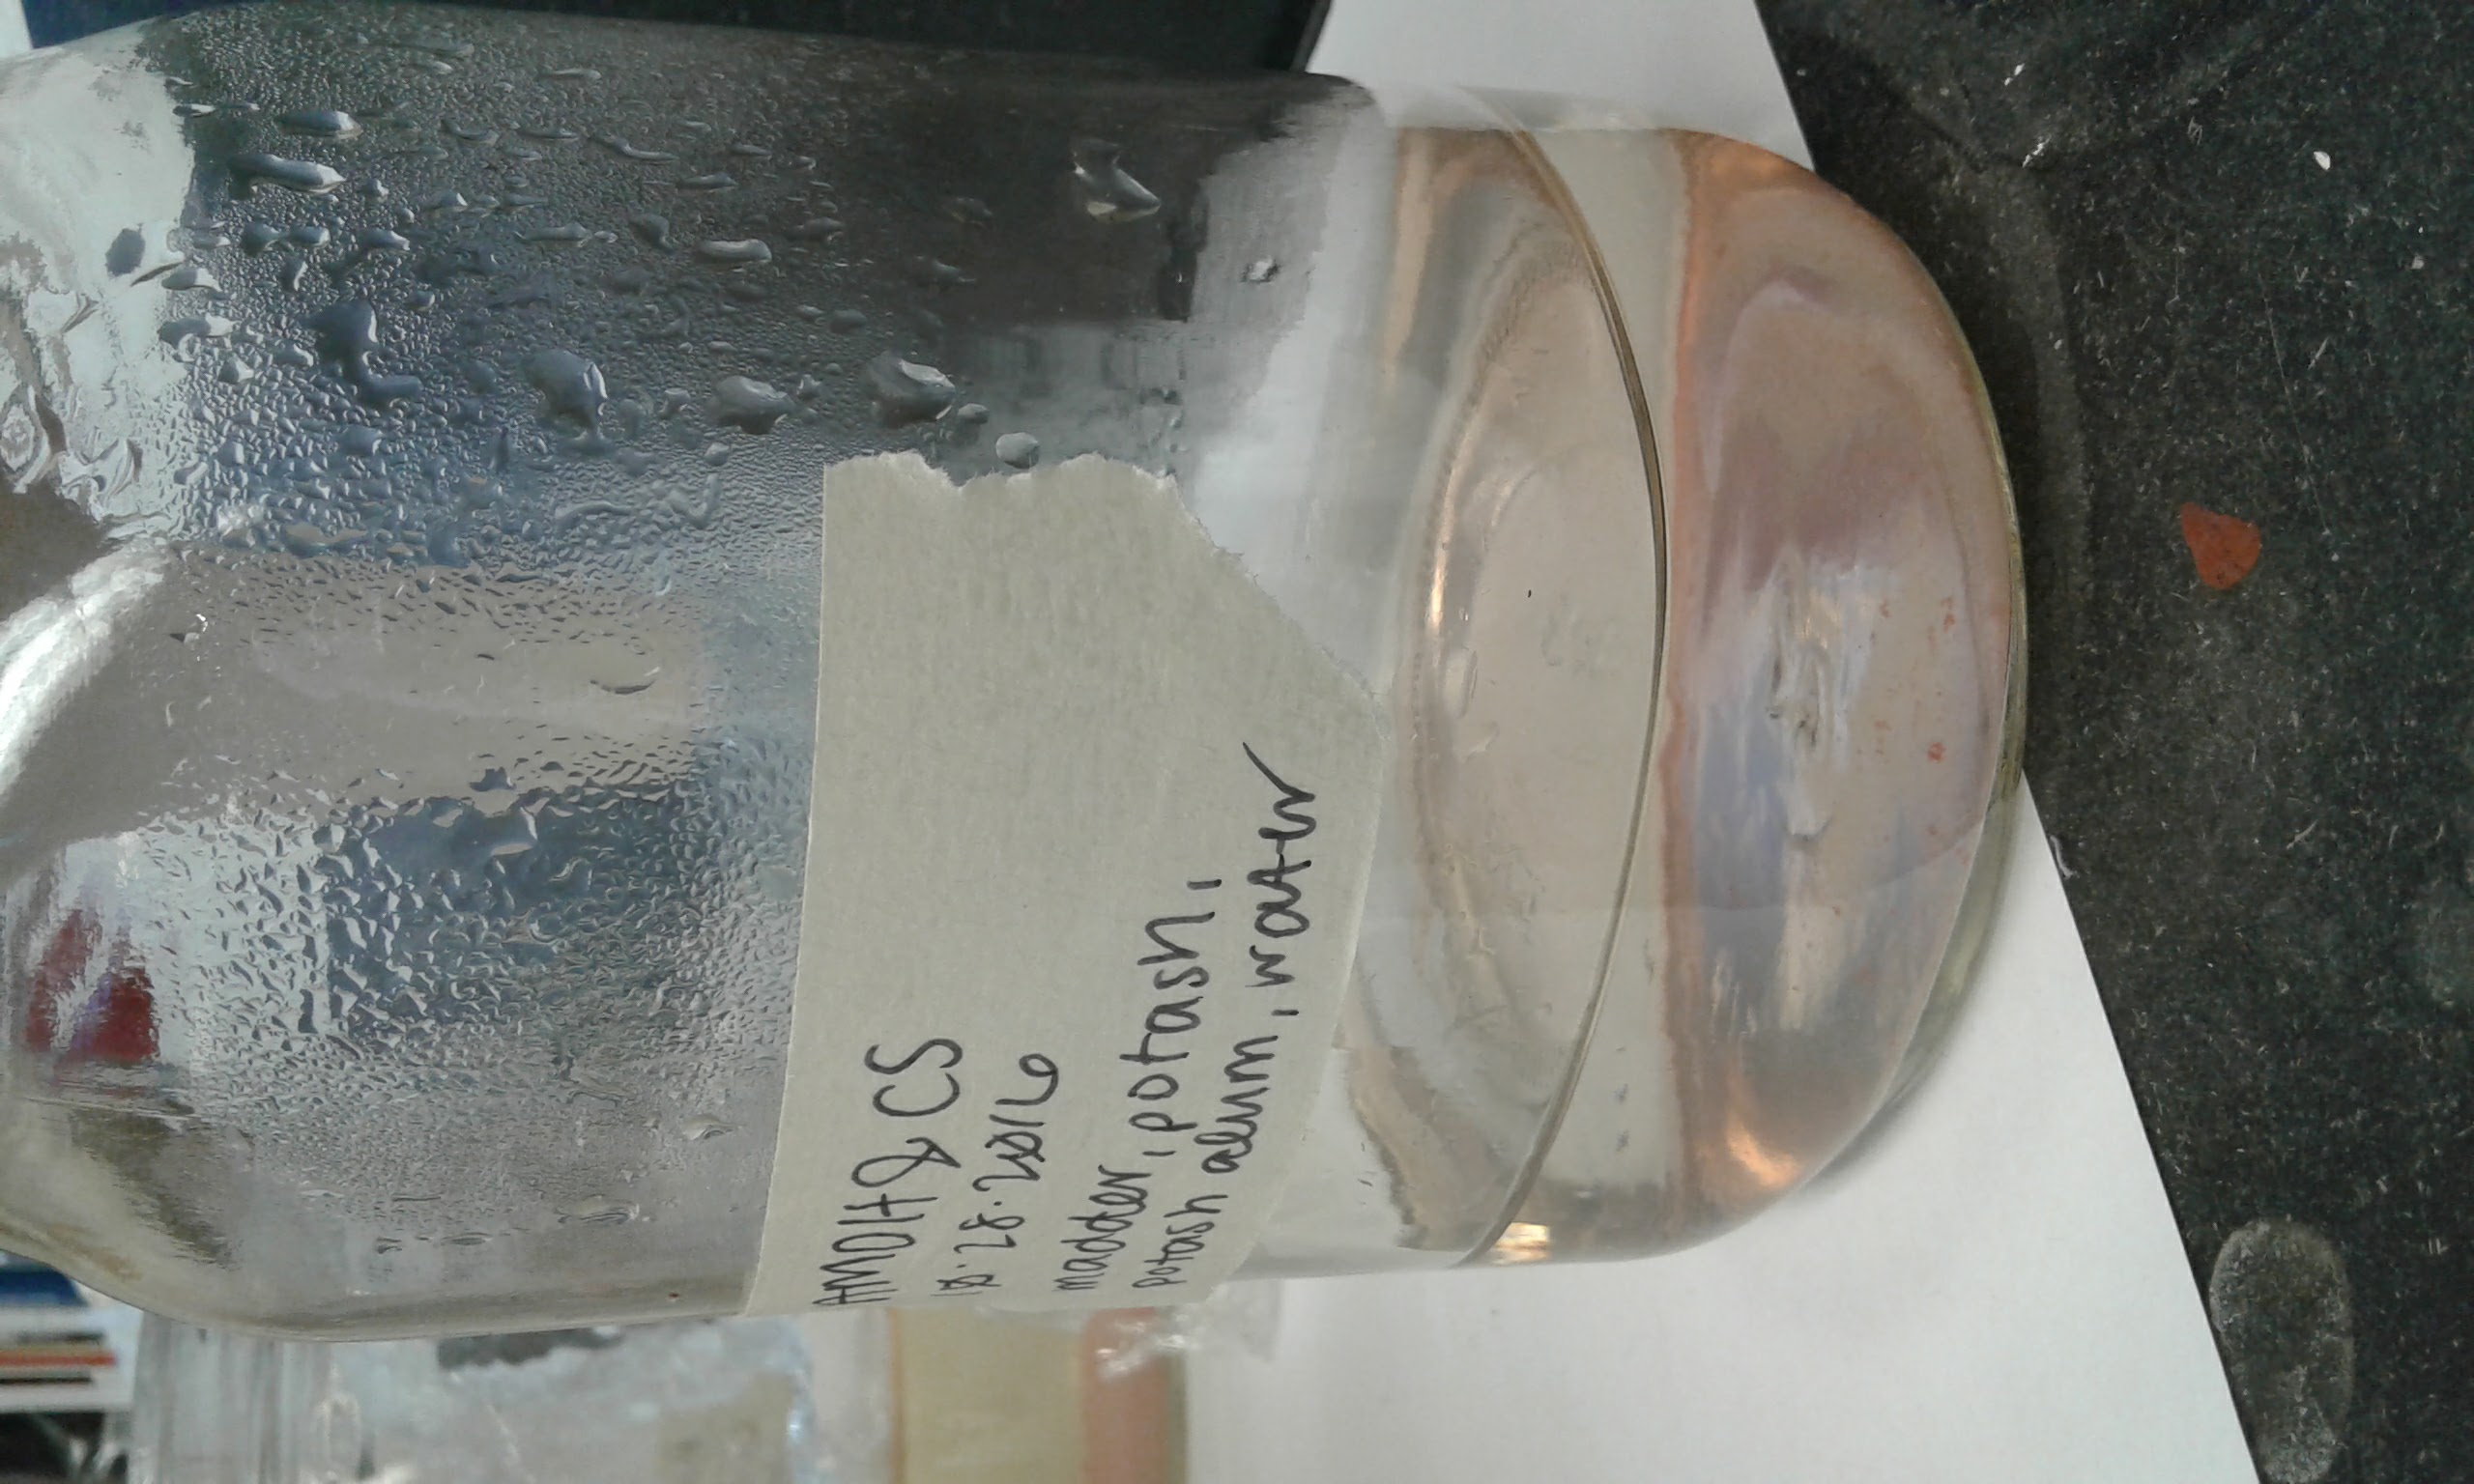
Image pictures water after two days filtering madder.
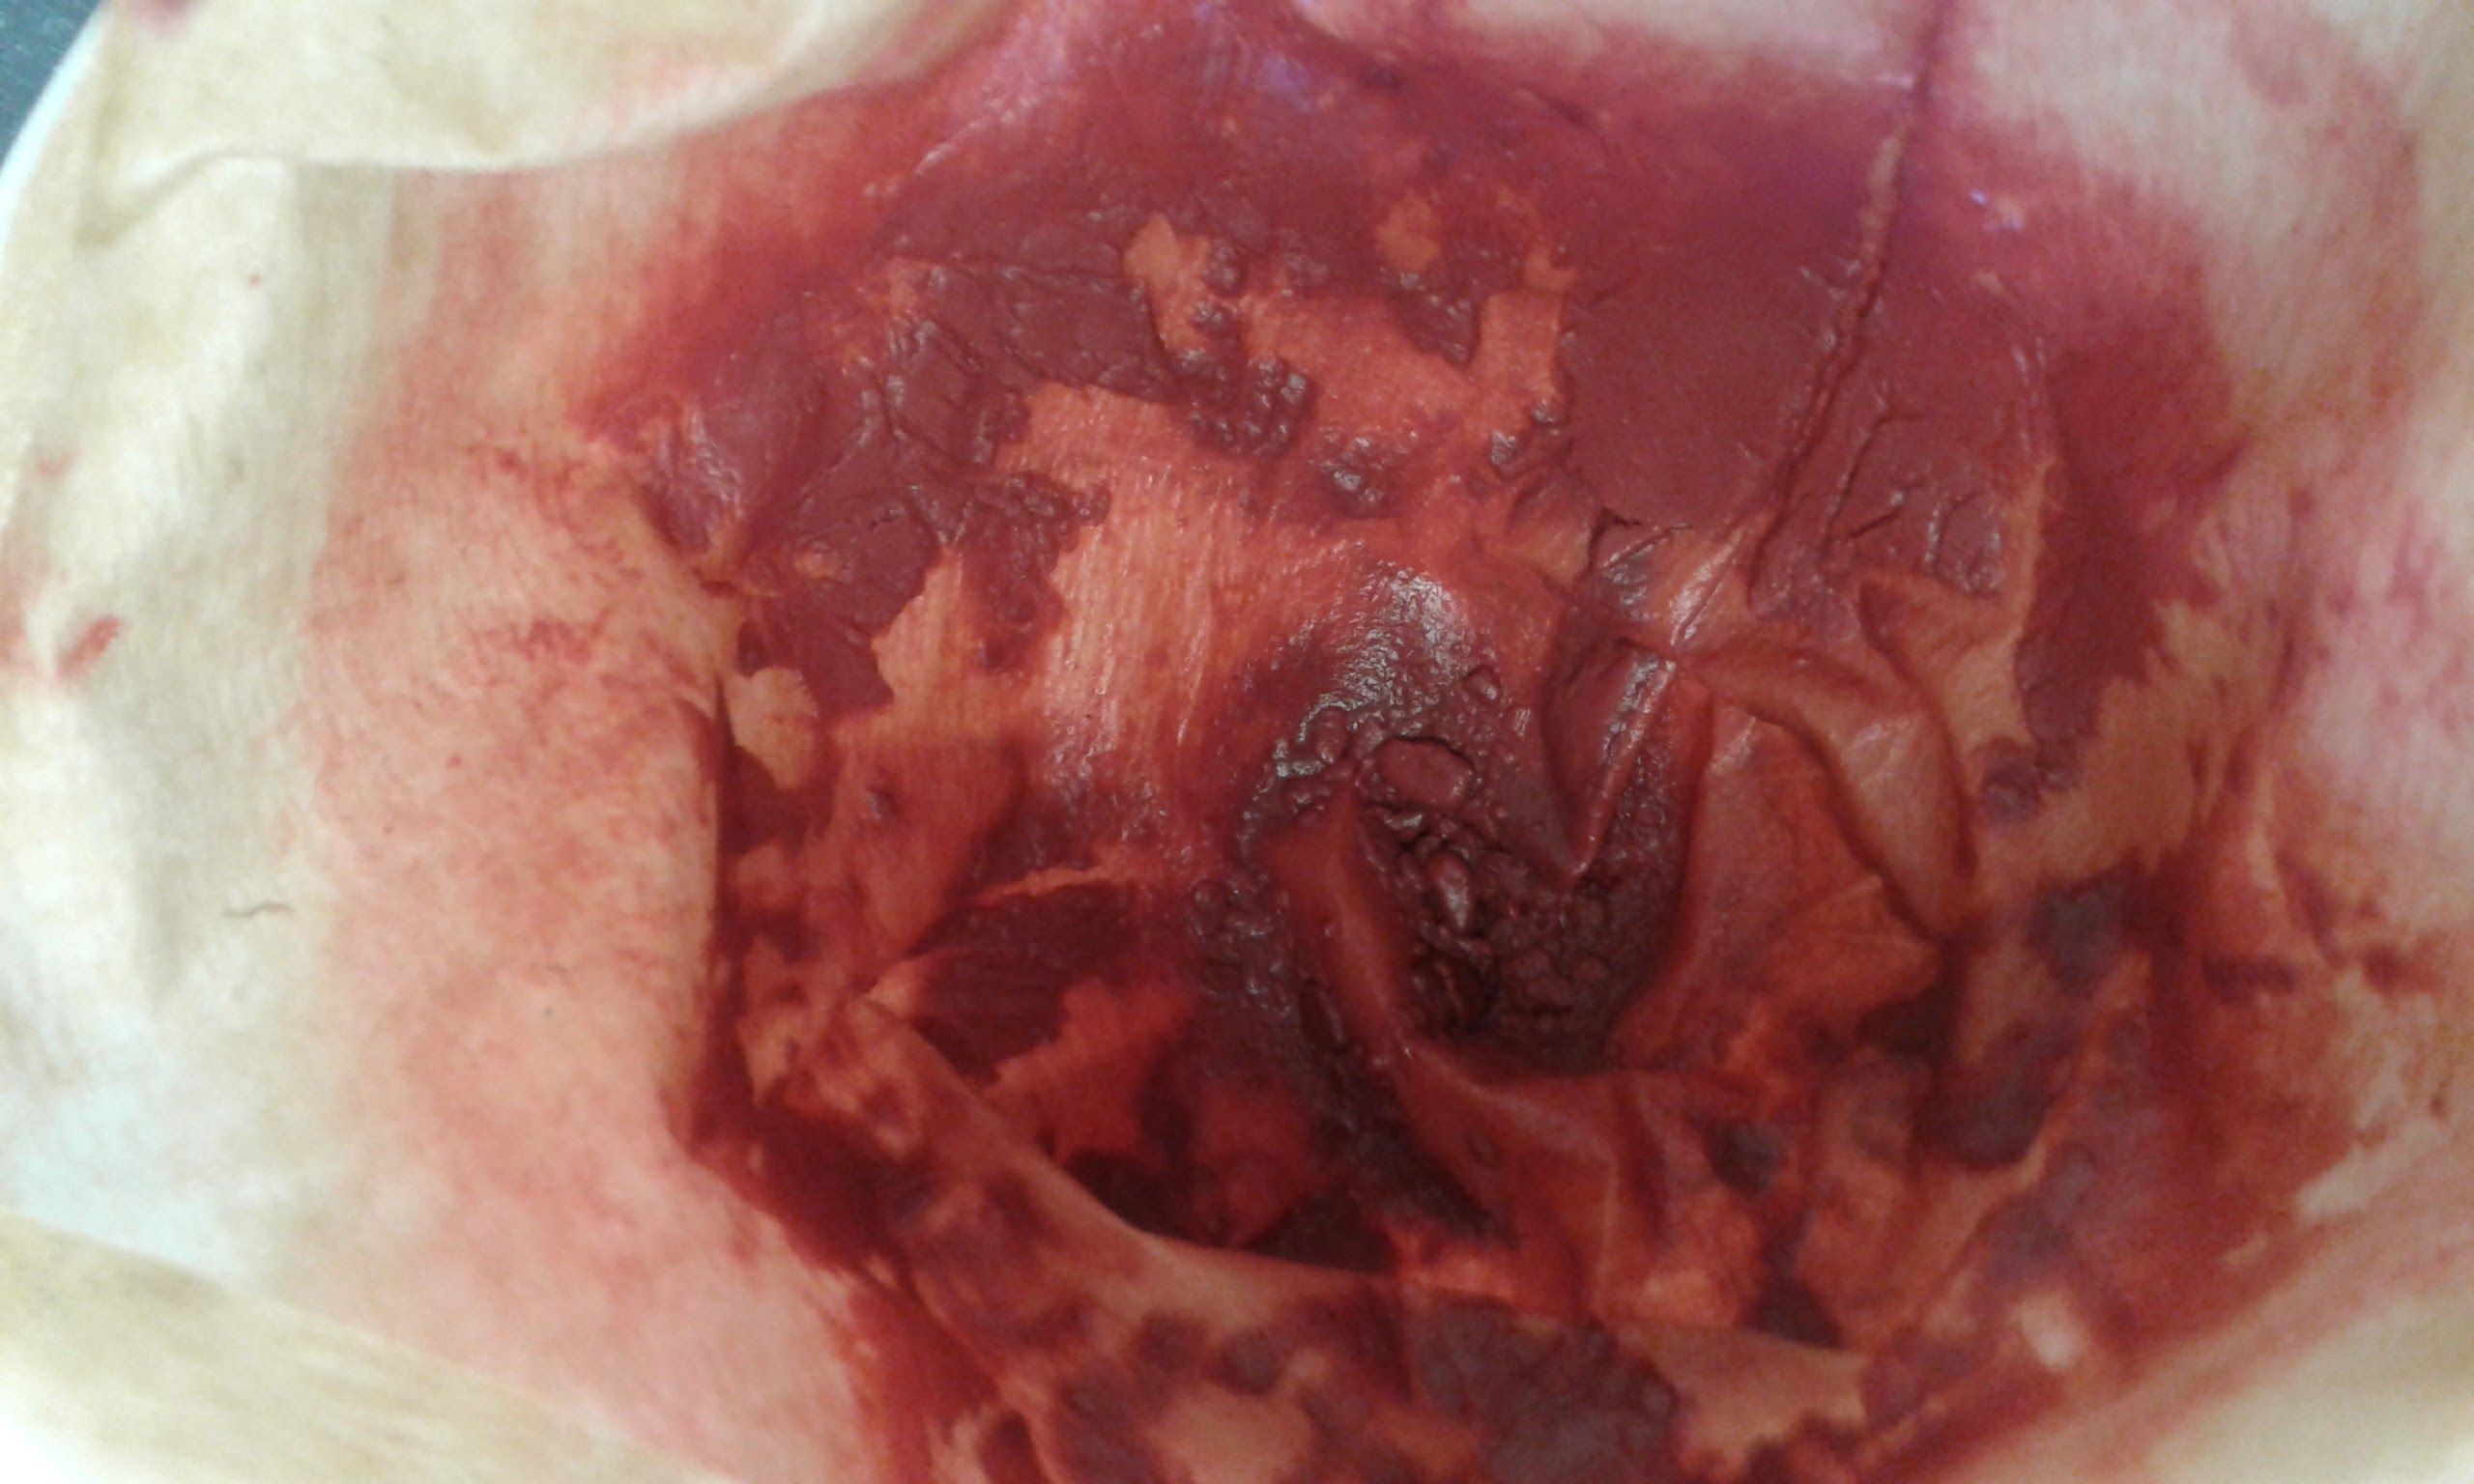
Image pictures madder in top filter before scraping out.
[AM] Even though we left it for two days, the material left in our filter was still very wet. There was no liquid left resting above the madder in the filter, but the madder itself had not fully dried and so was slightly gelatinous.
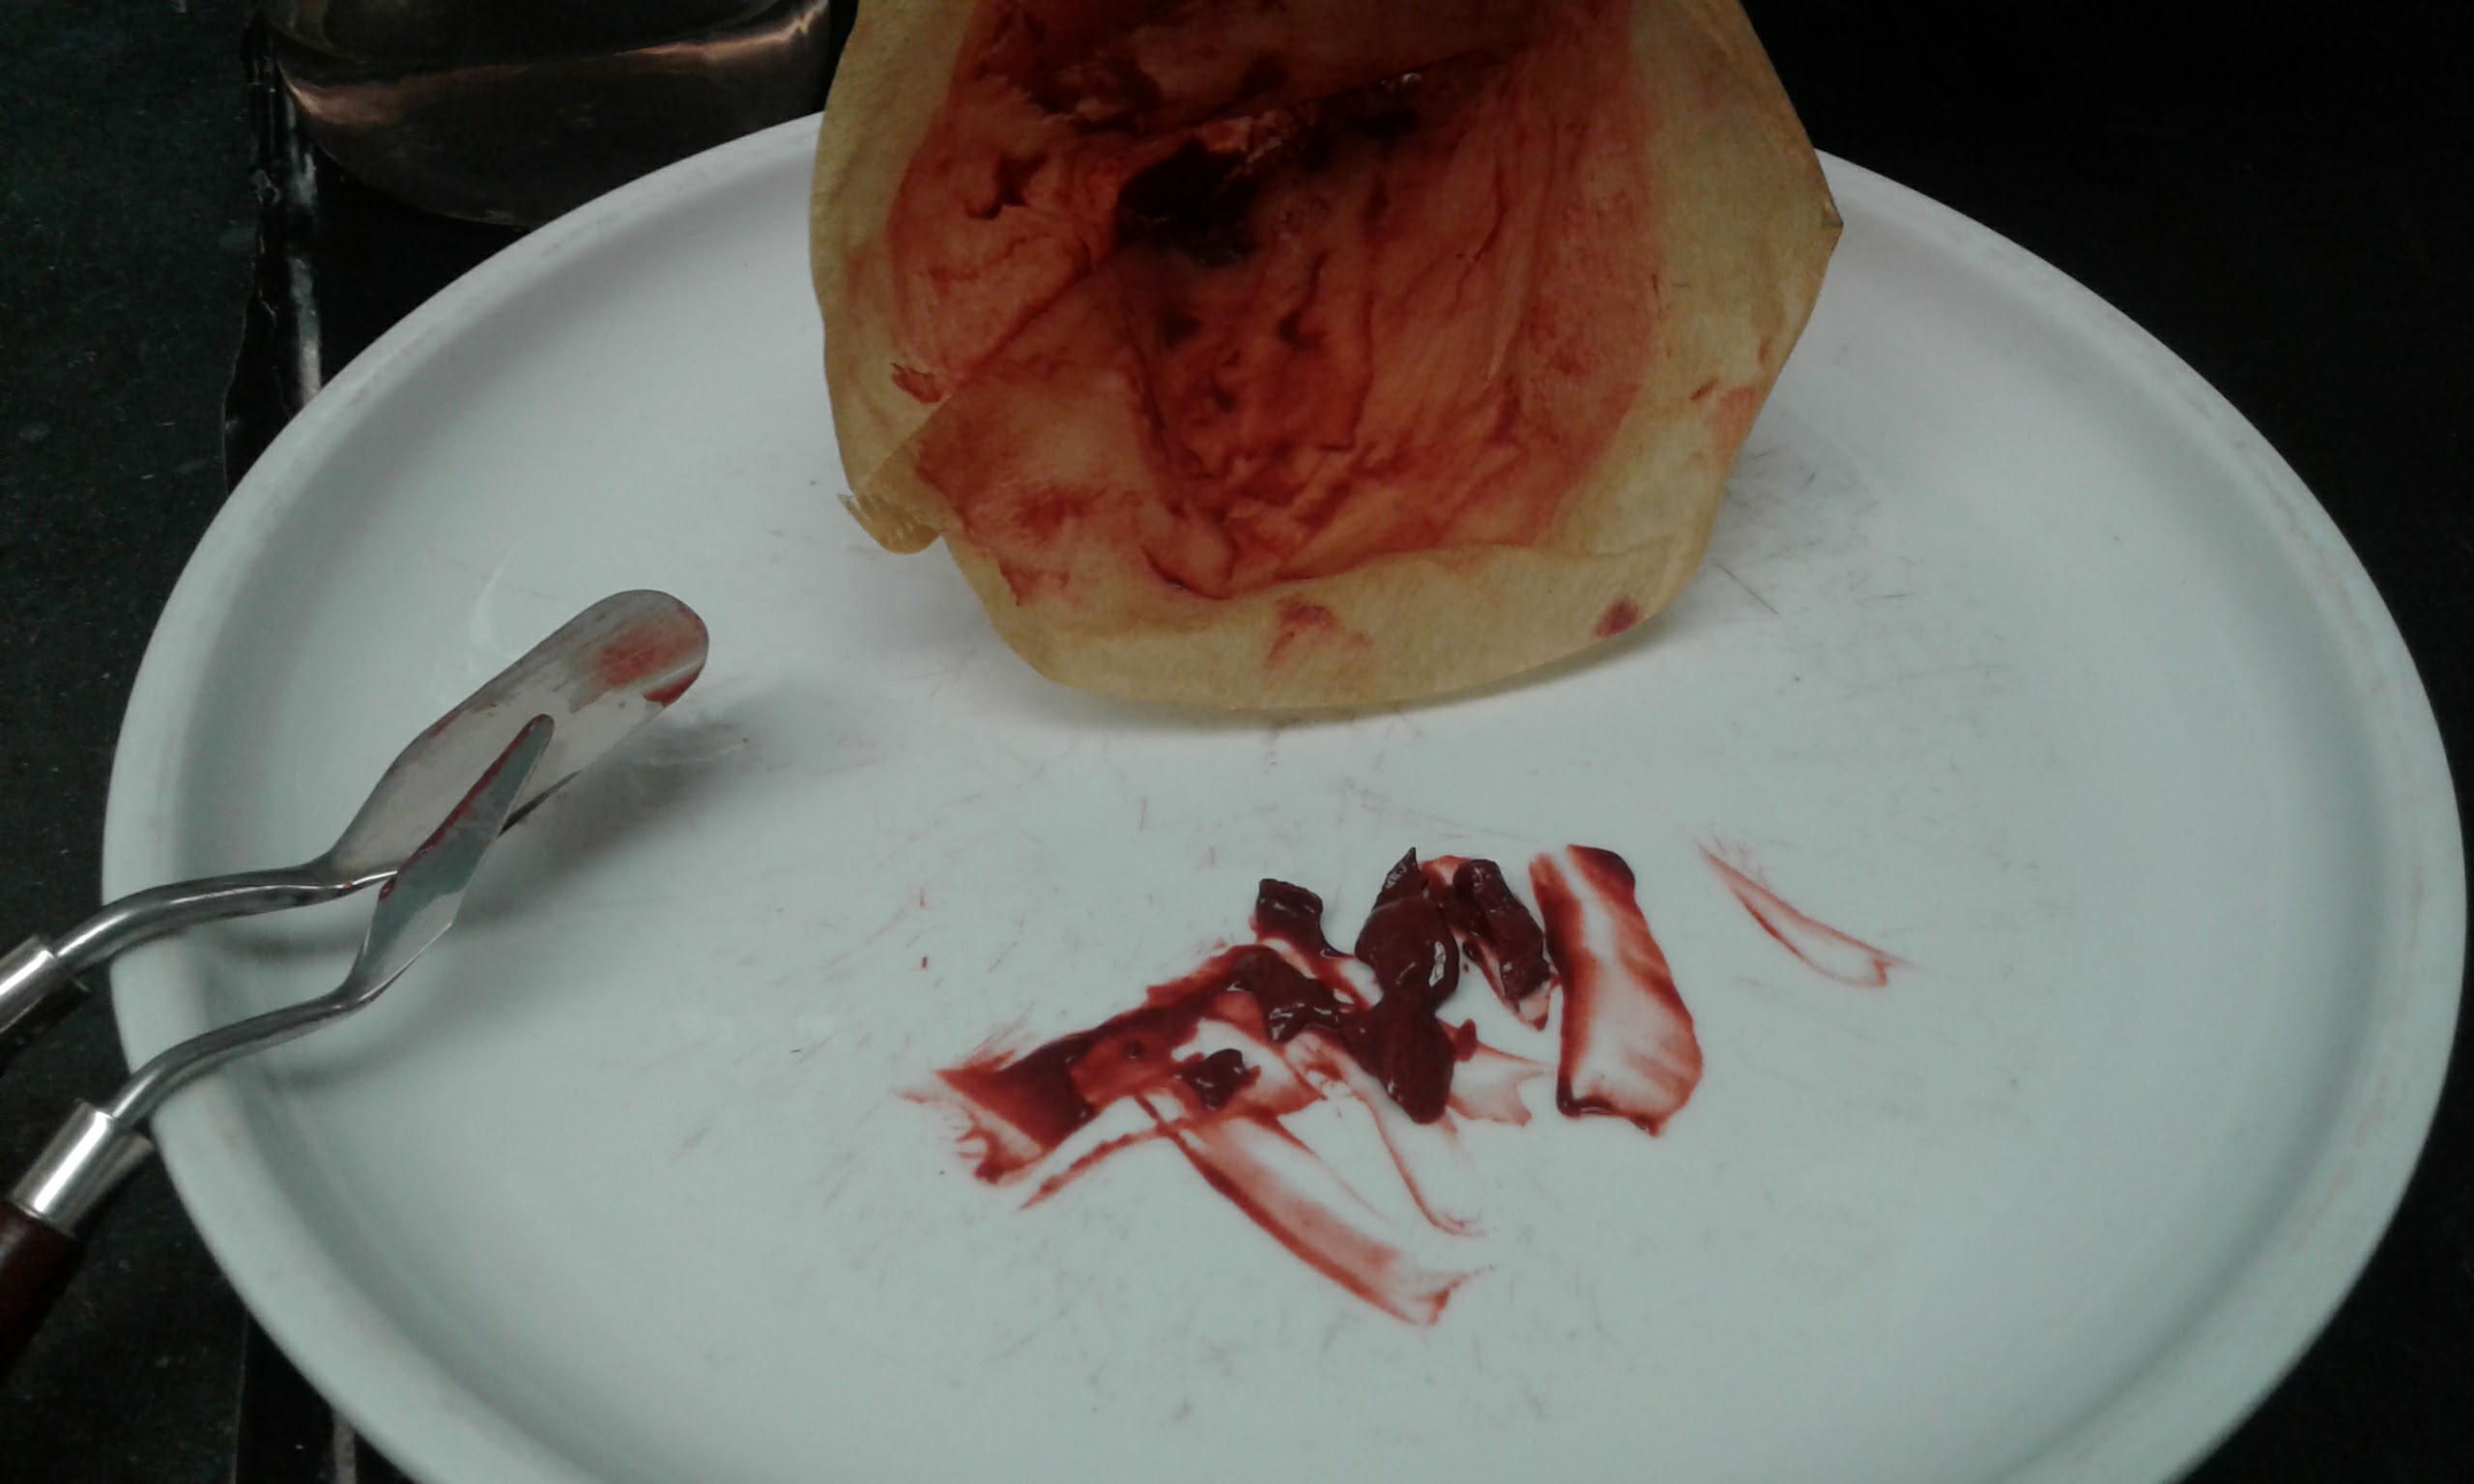
Image pictures madder and filter after scraping out.
[AM] We had quite a lot of material left in the filters after washing, so even scraping out about half of it out yielded enough for two trials.

Image pictures scraped out pigment separated into two piles for two grinding and painting out trials.
- Separate and prepare eggs
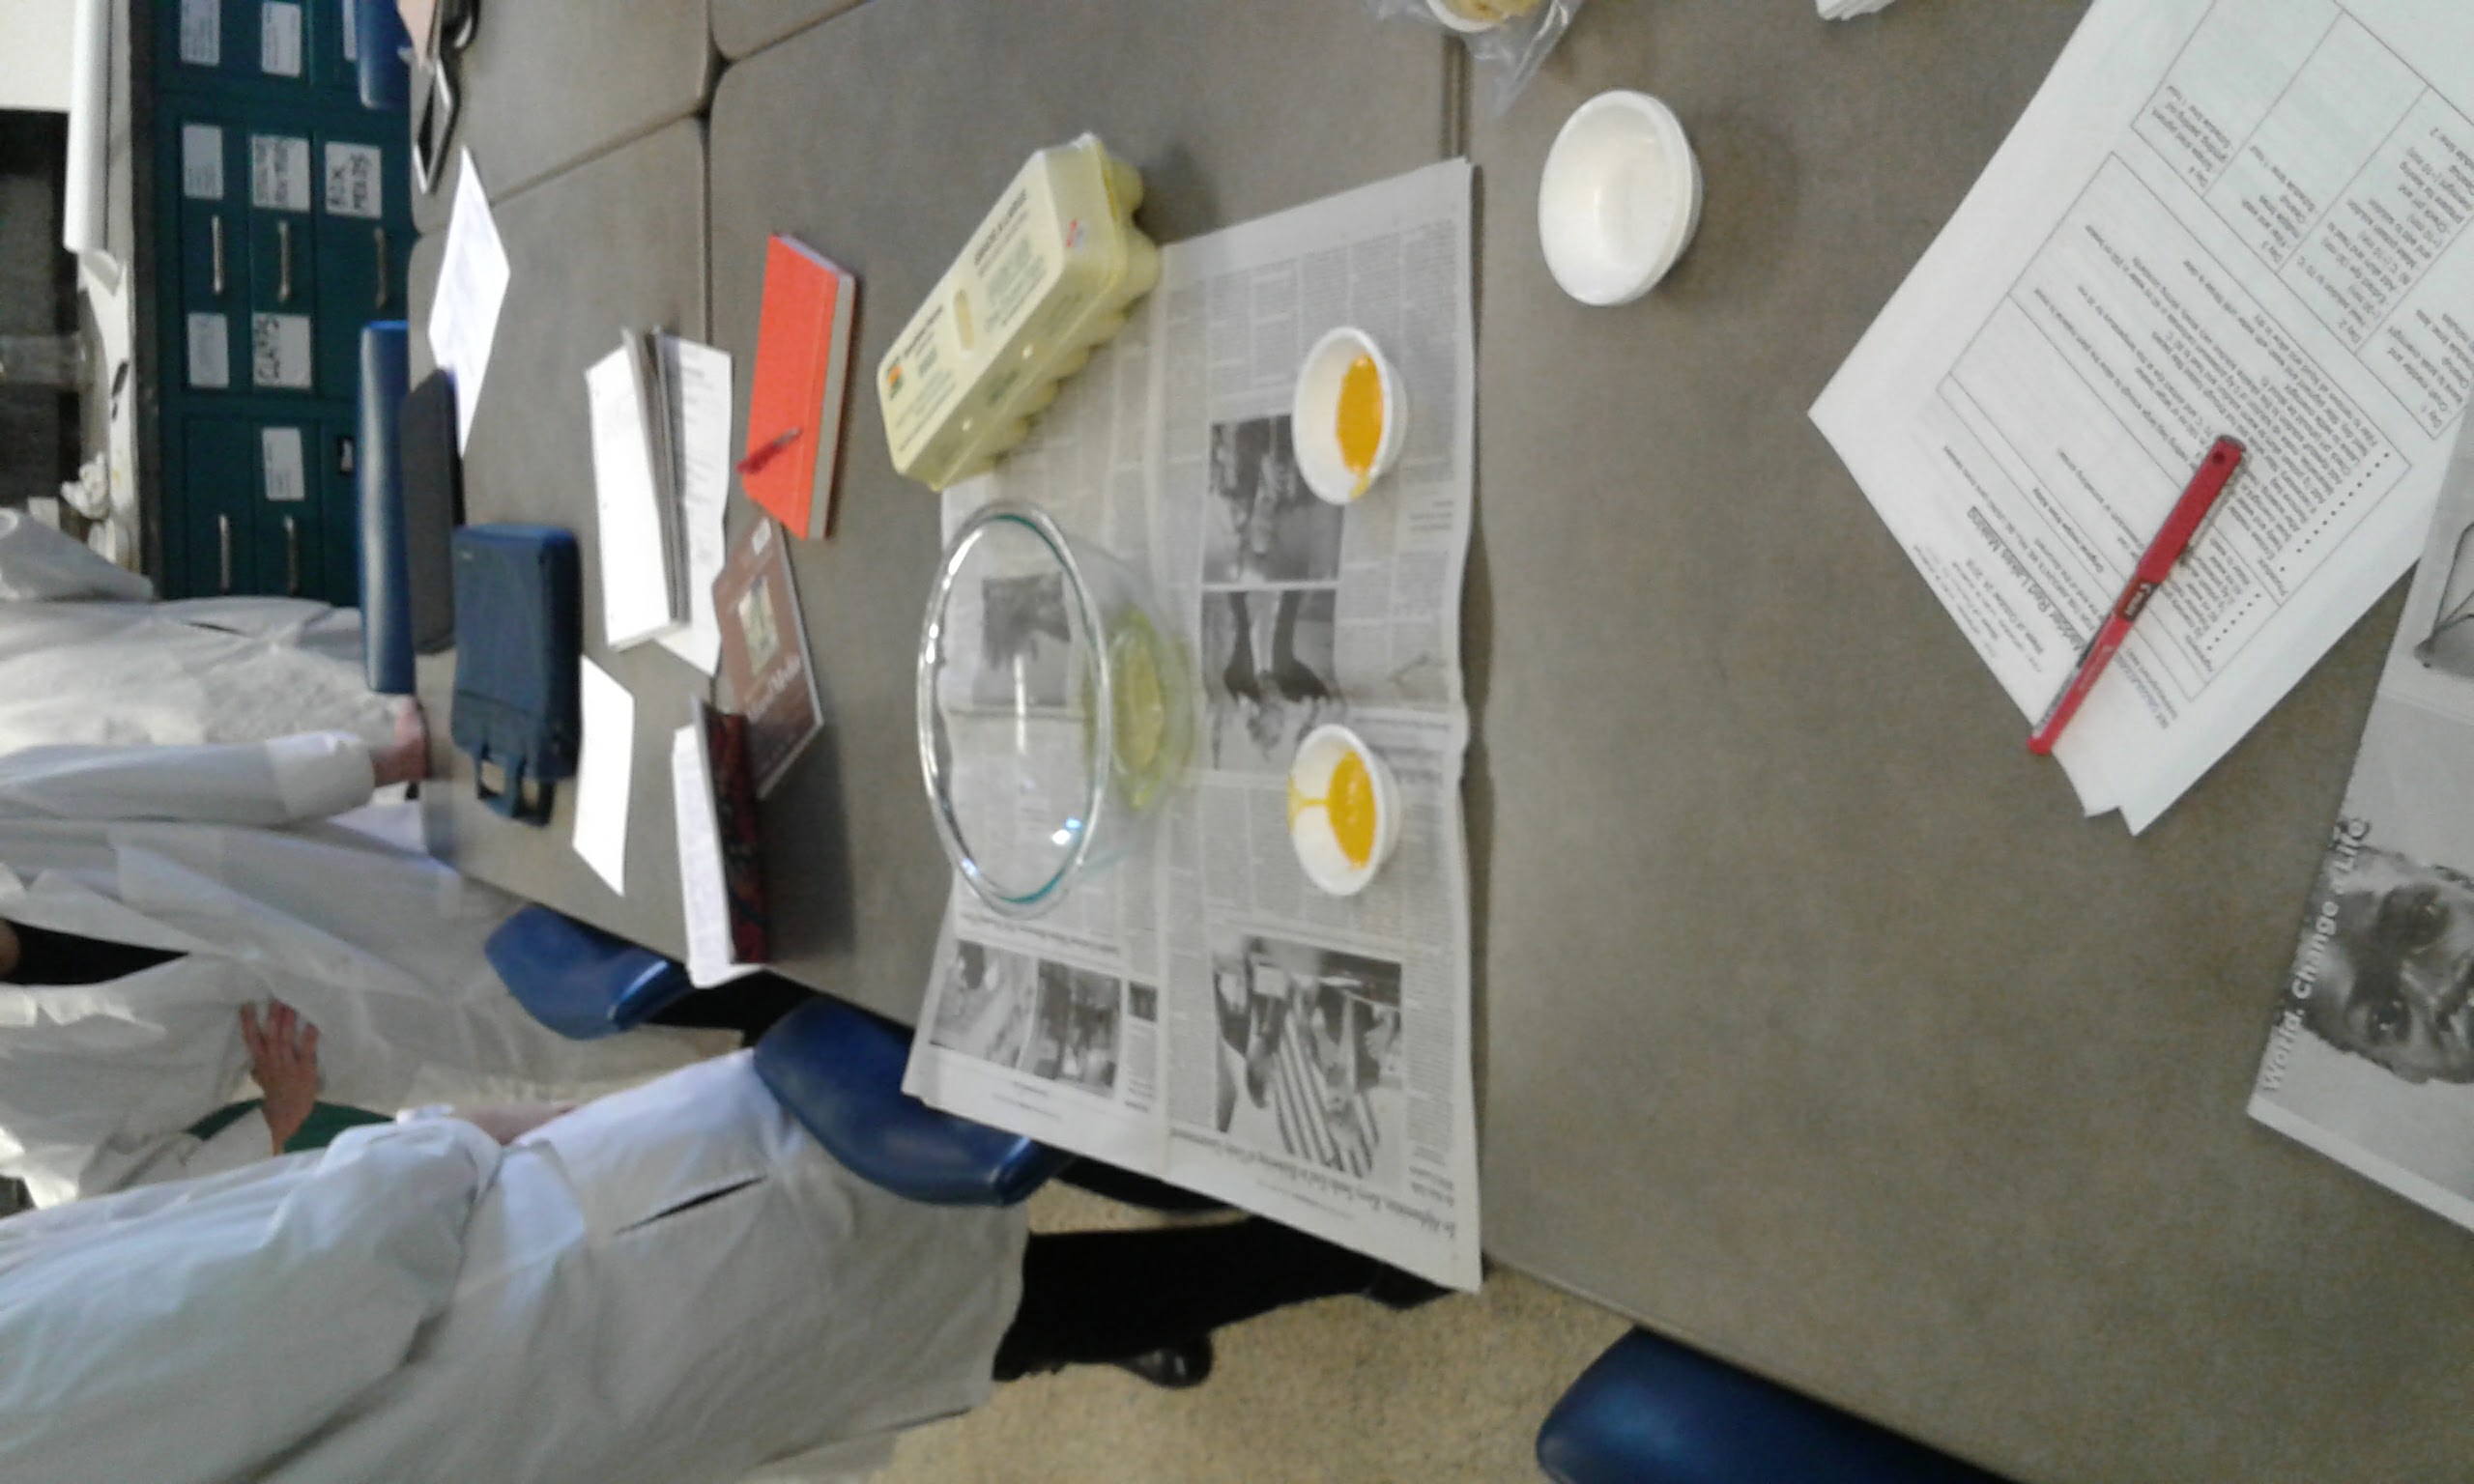
Image pictures separated whites and yolks.
[AM] We cracked the eggs and separated the whites from the yolks. Pamela demonstrated how to remove the white skin from the yolk by passing a yolk between clean, dry hands until all the white is removed, and then pulling off the skin and sliding the pure yolk into a small plastic dish.
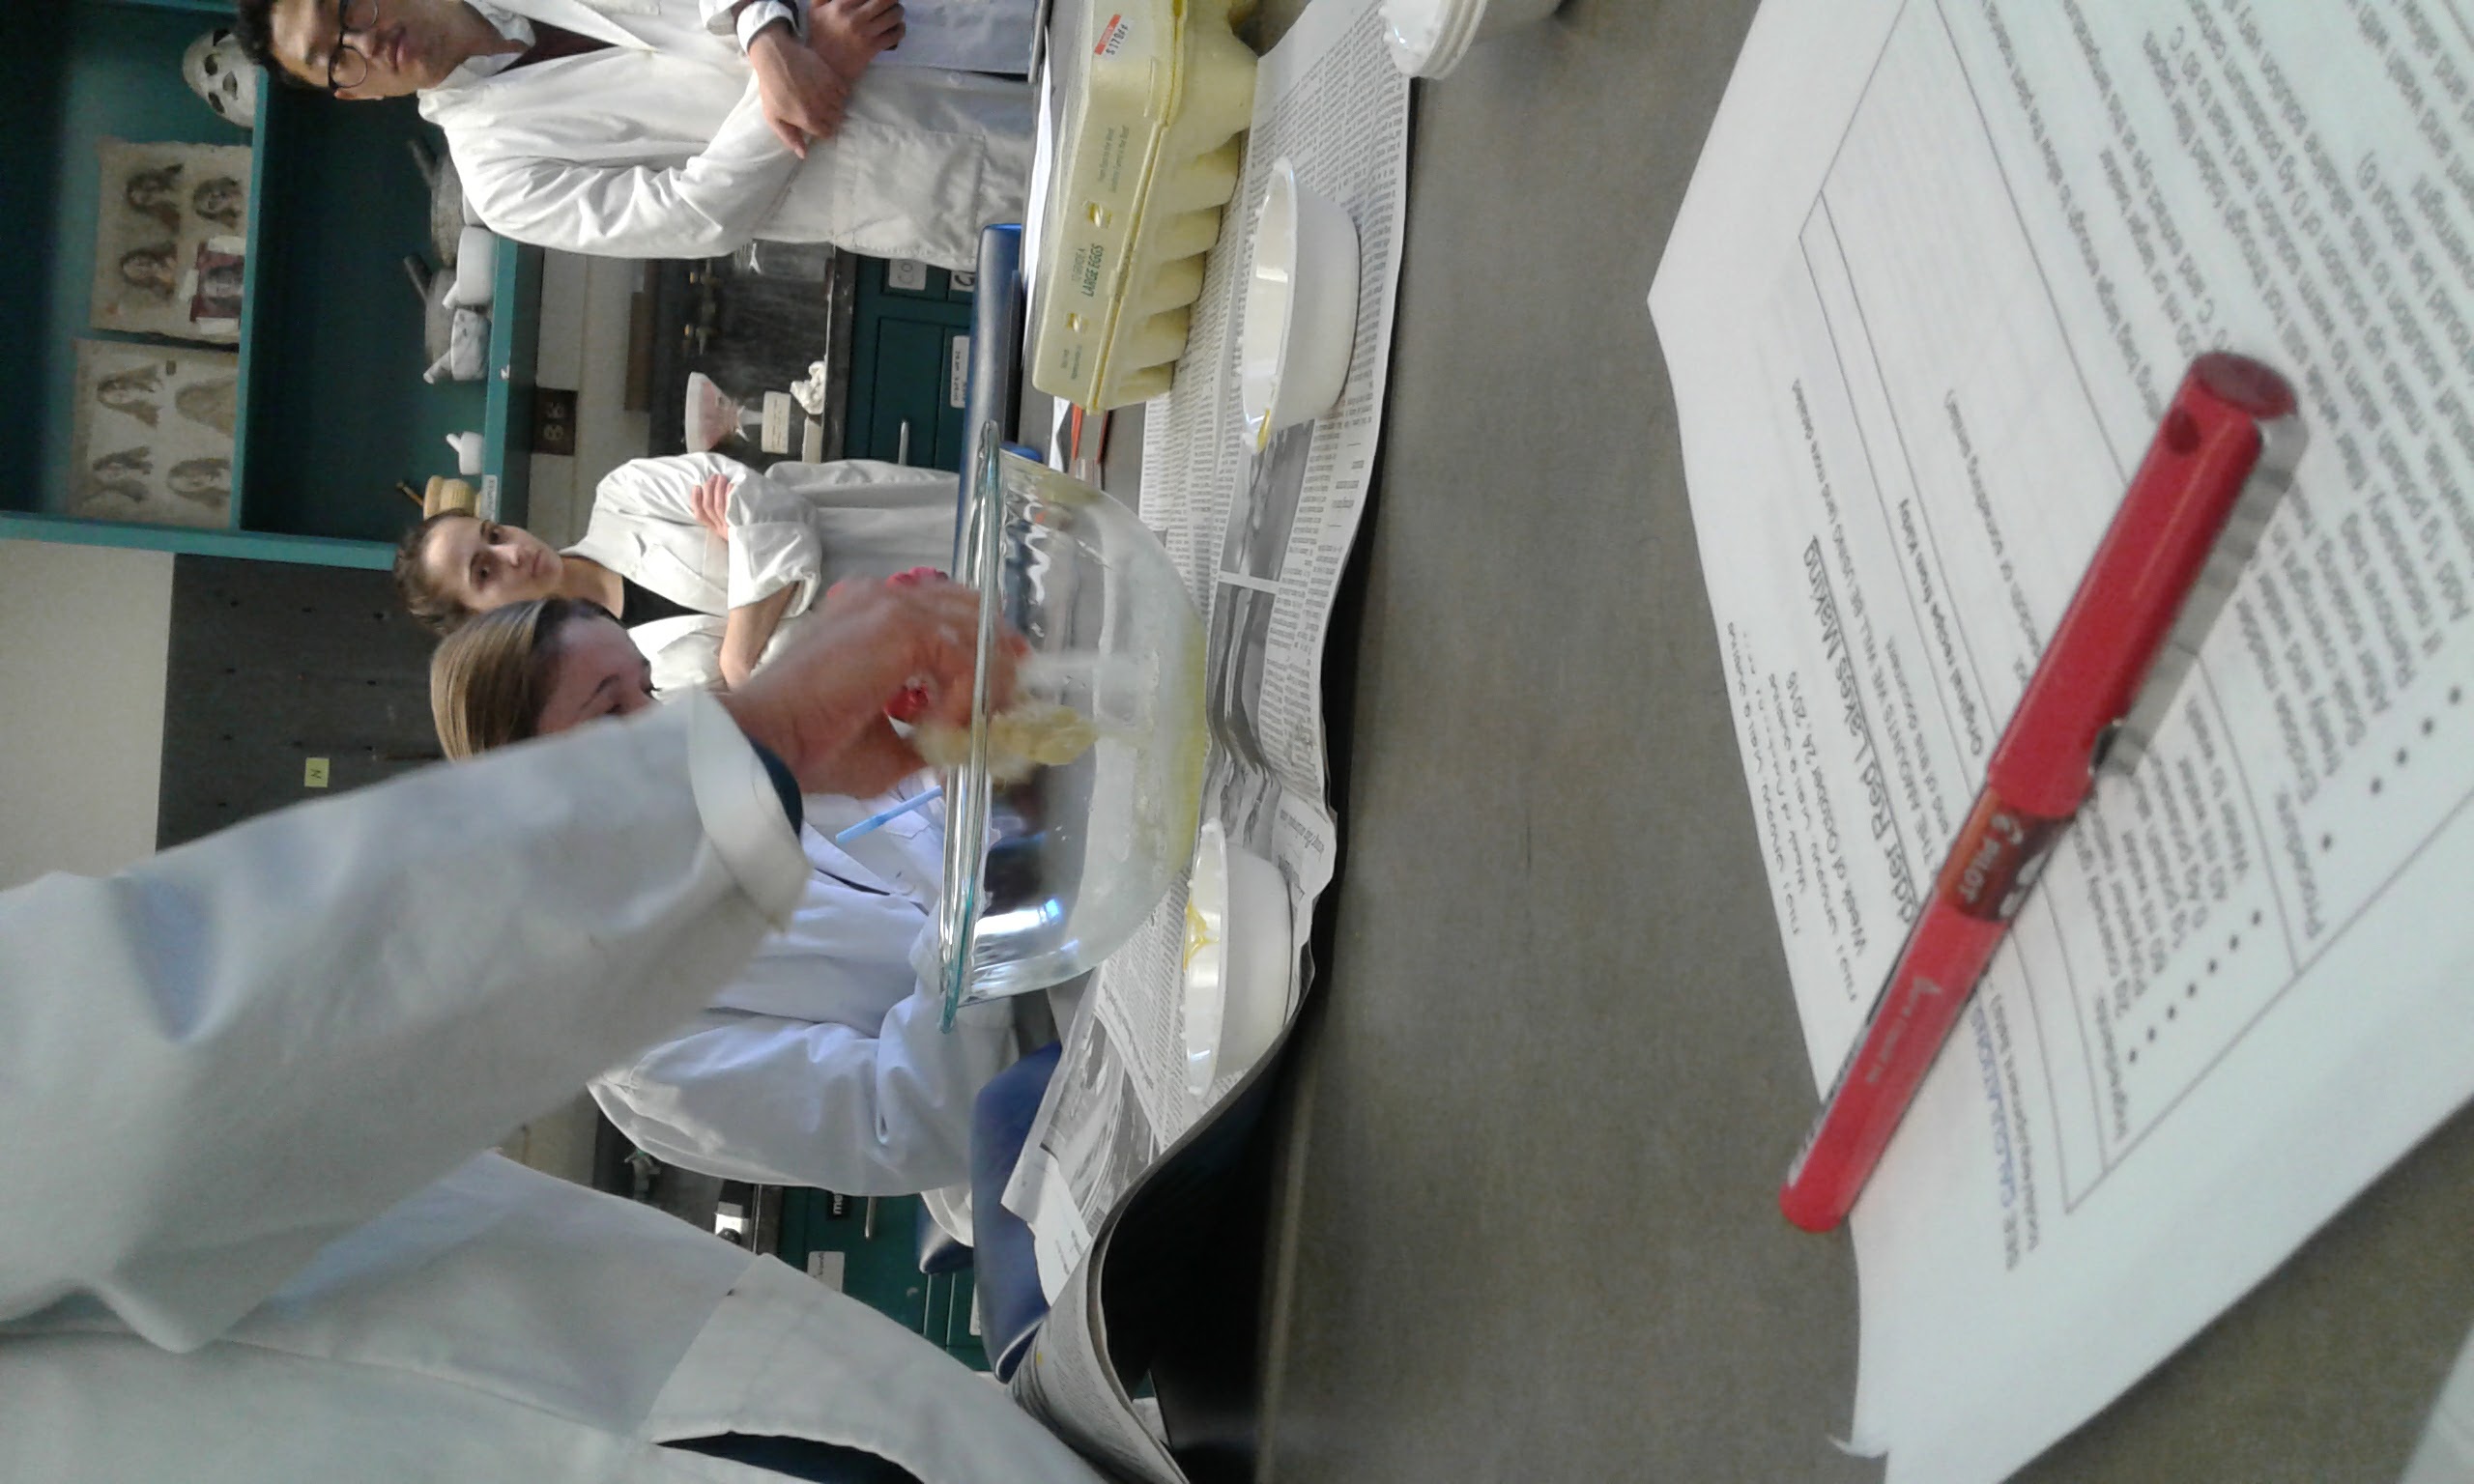
Image pictures removal of protein strands from egg white.
[AM] Pamela then demonstrated how to remove protein strands from the egg whites with a natural sponge. After fairly vigorous squeezing and agitation of the sponge in the albumen, the protein strands stick to the sponge and are removed with it when it is taken out of the whites.
- Grind pigment: Yolk
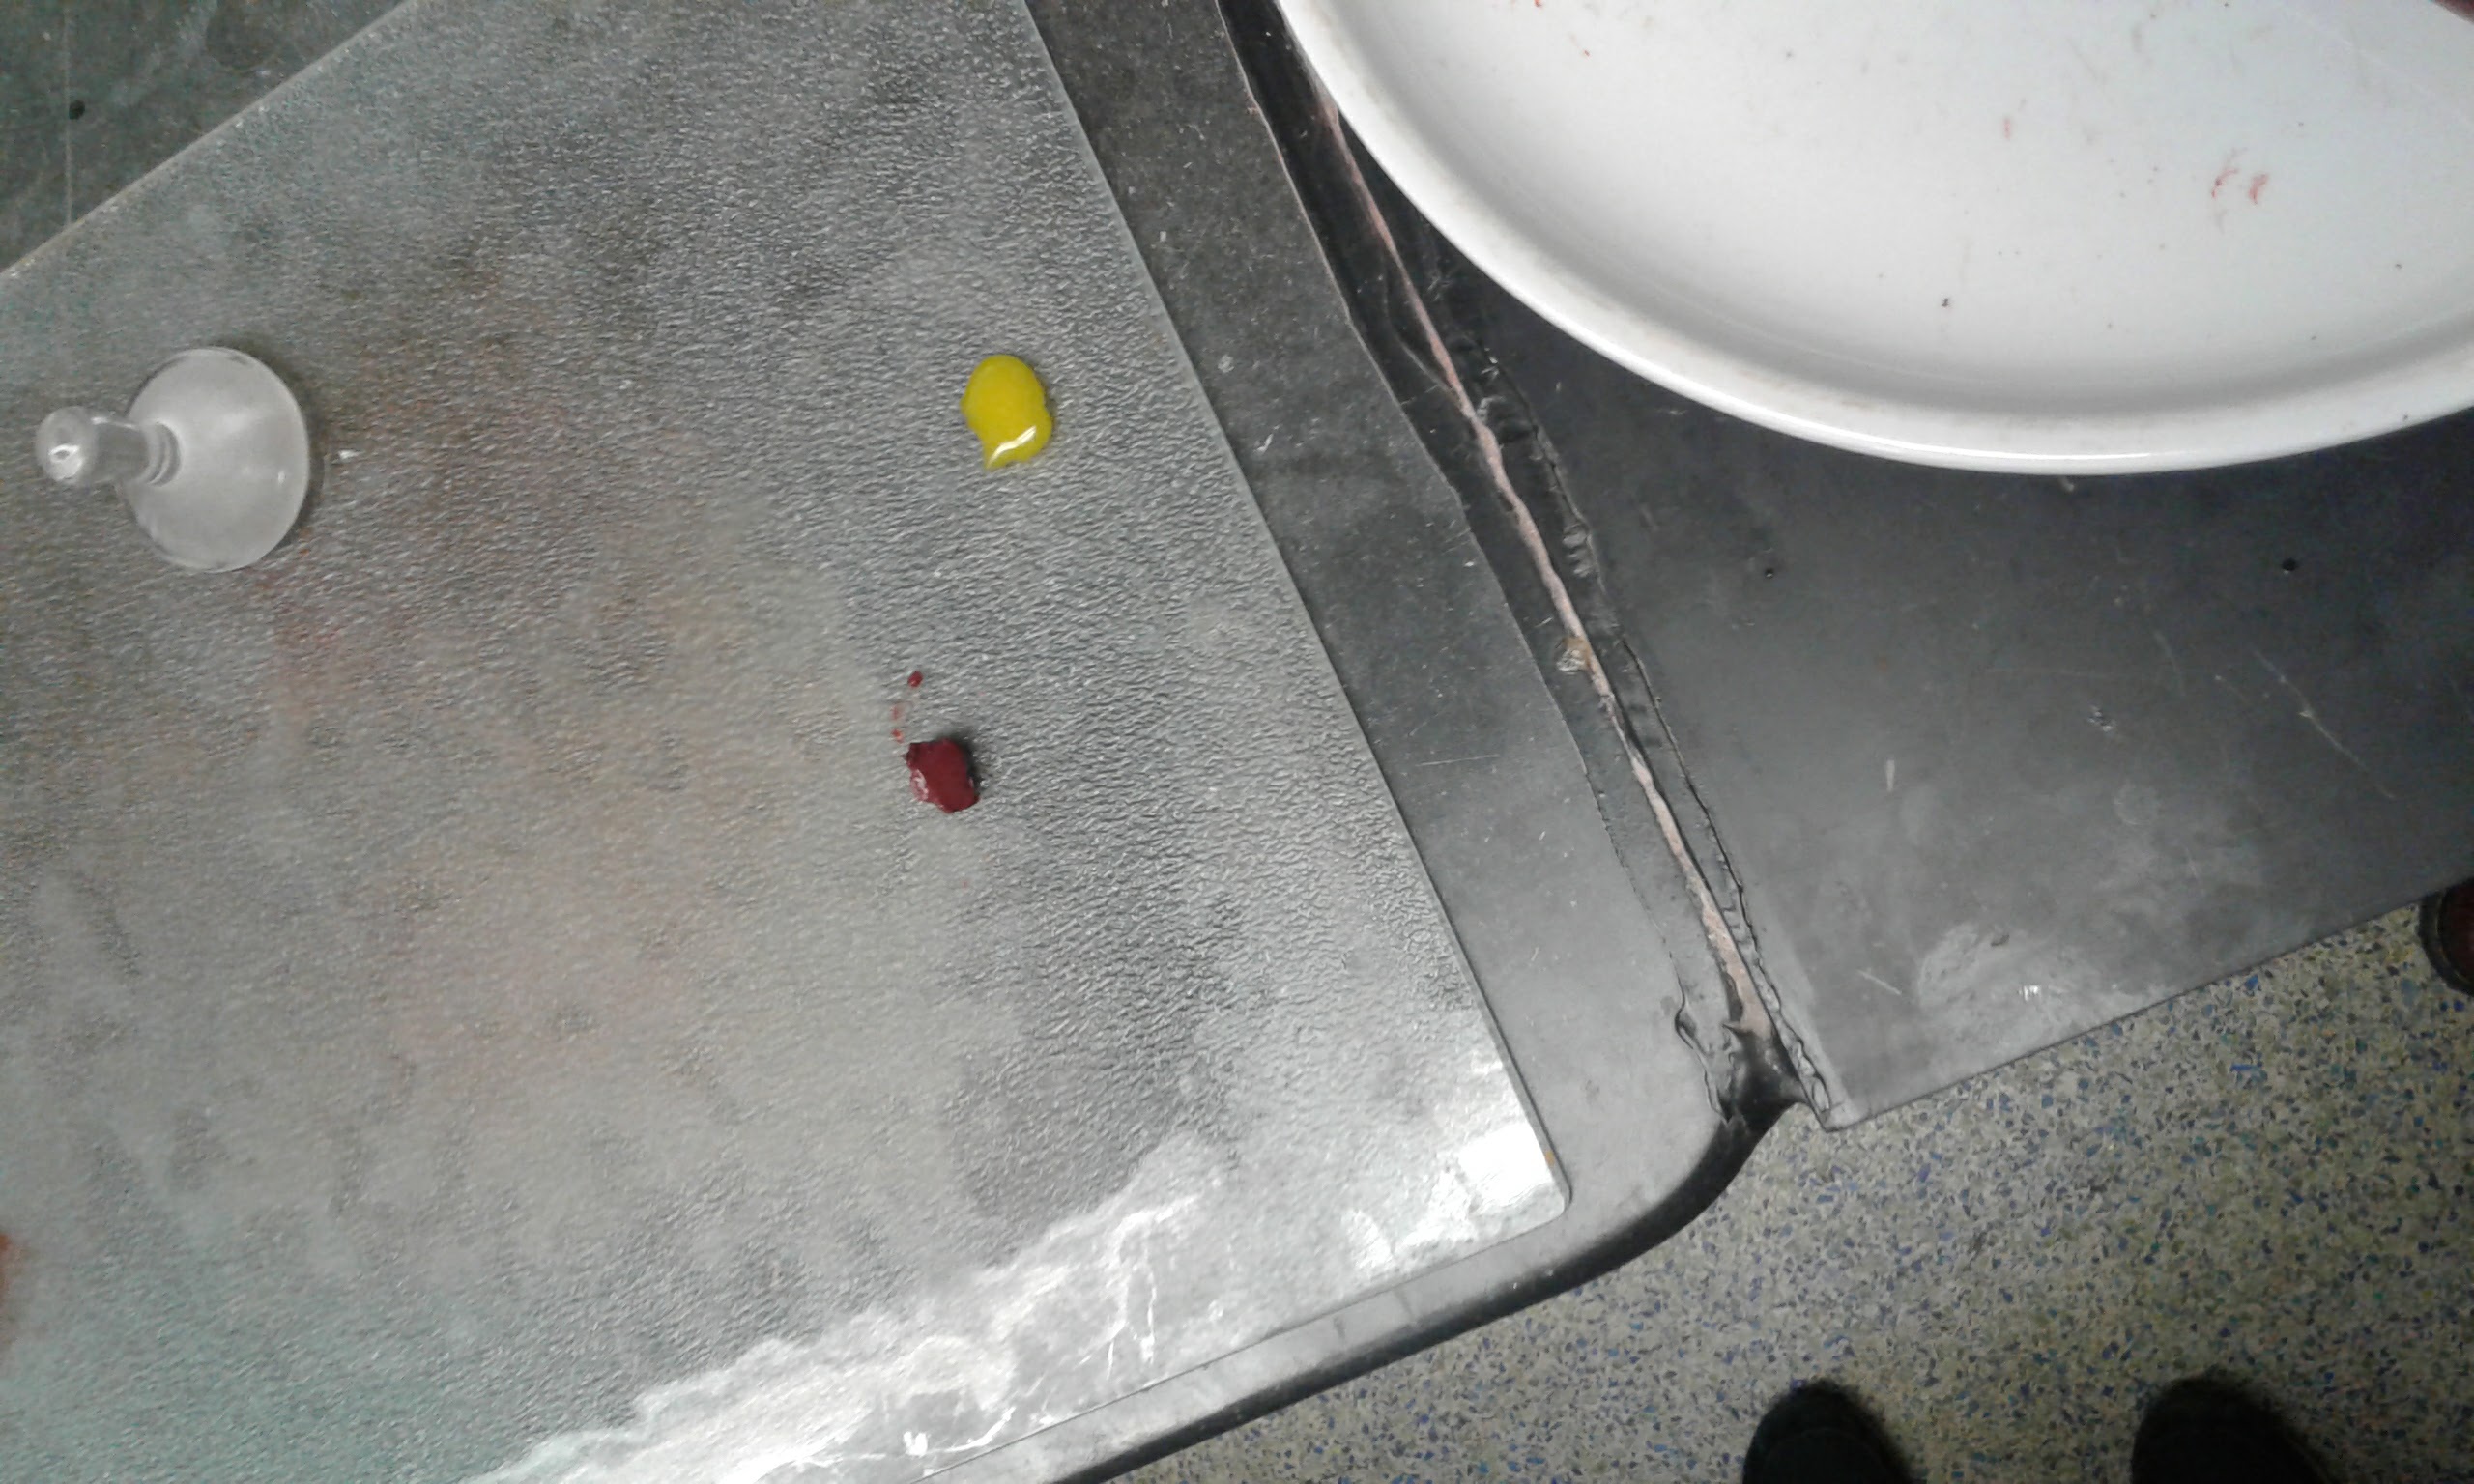
Image pictures a small amount of pigment and a small amount of egg yolk on glass board.
[AM] Since our madder was already so wet, we decided to forgo any addition of vinegar or other liquid and instead do only two trials, one with the addition of egg yolk and one with the addition of egg white.
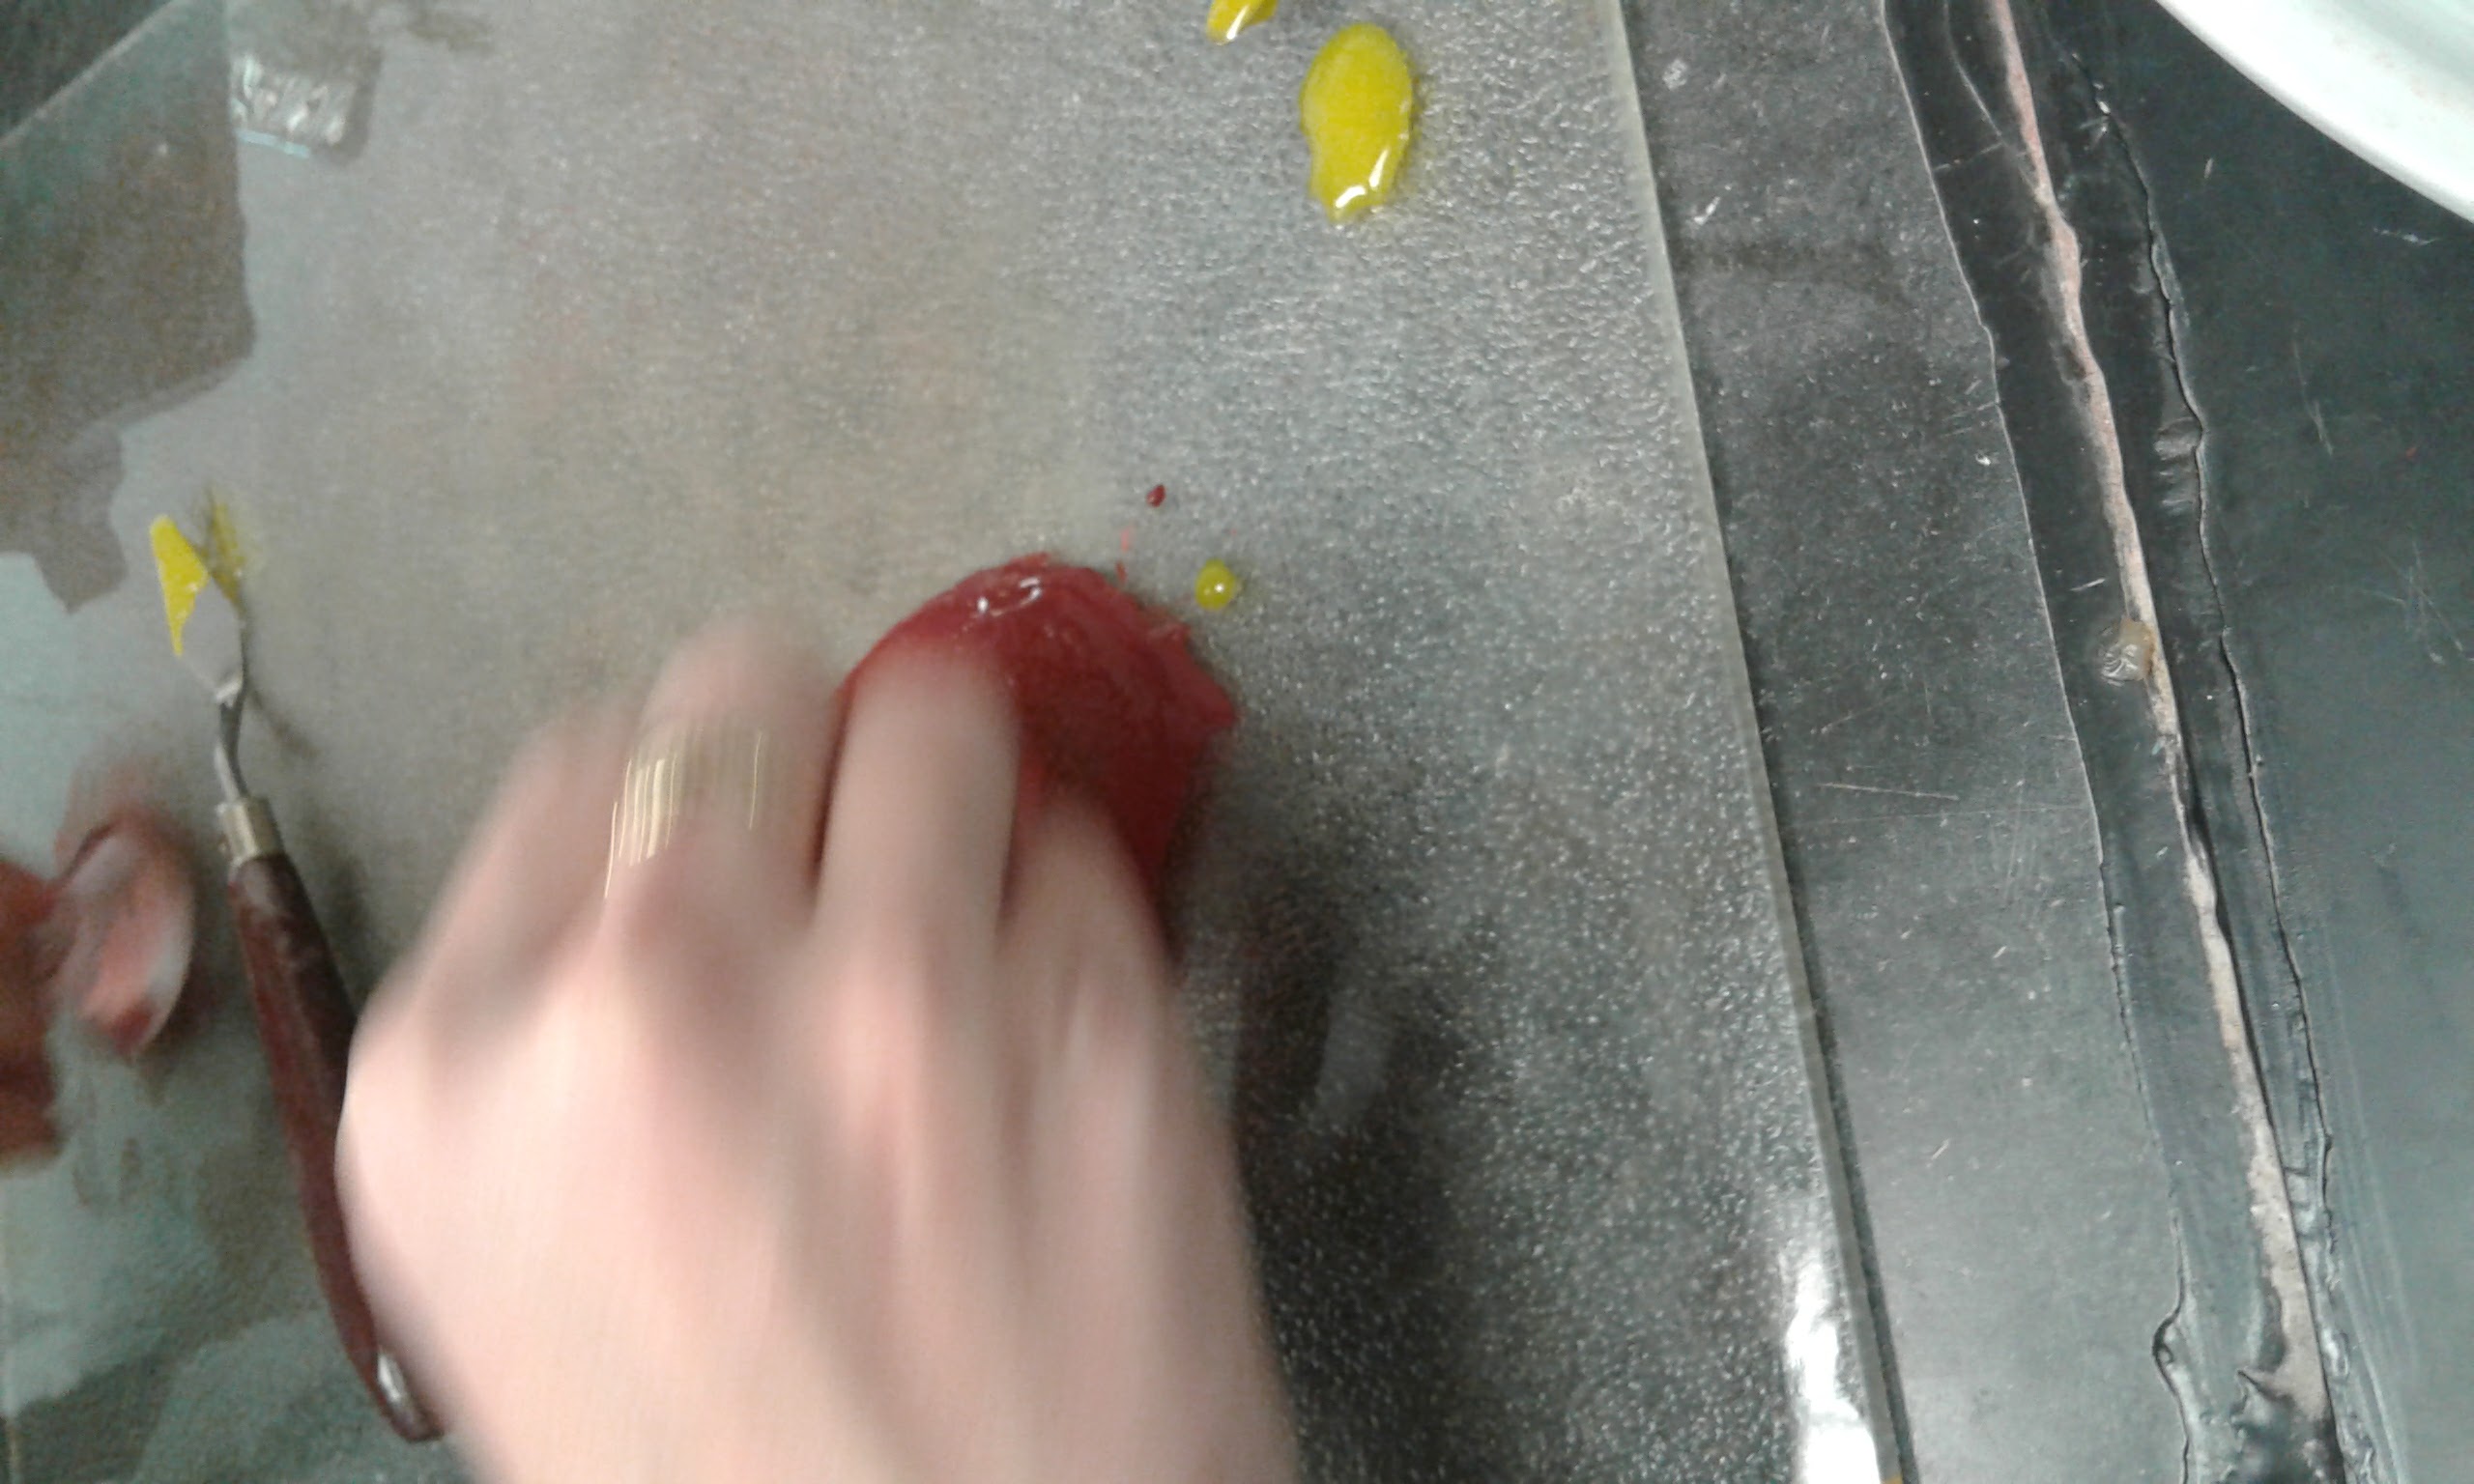
[AM] Our first trial was egg yolk. The excess moisture in the pigment made it difficult to grind, as it just kind of smushed across the glass plate. We didn't grind it by itself for long before adding the egg yolk, as we didn't think grinding was making that much difference to the consistency of the madder because of its high water content.
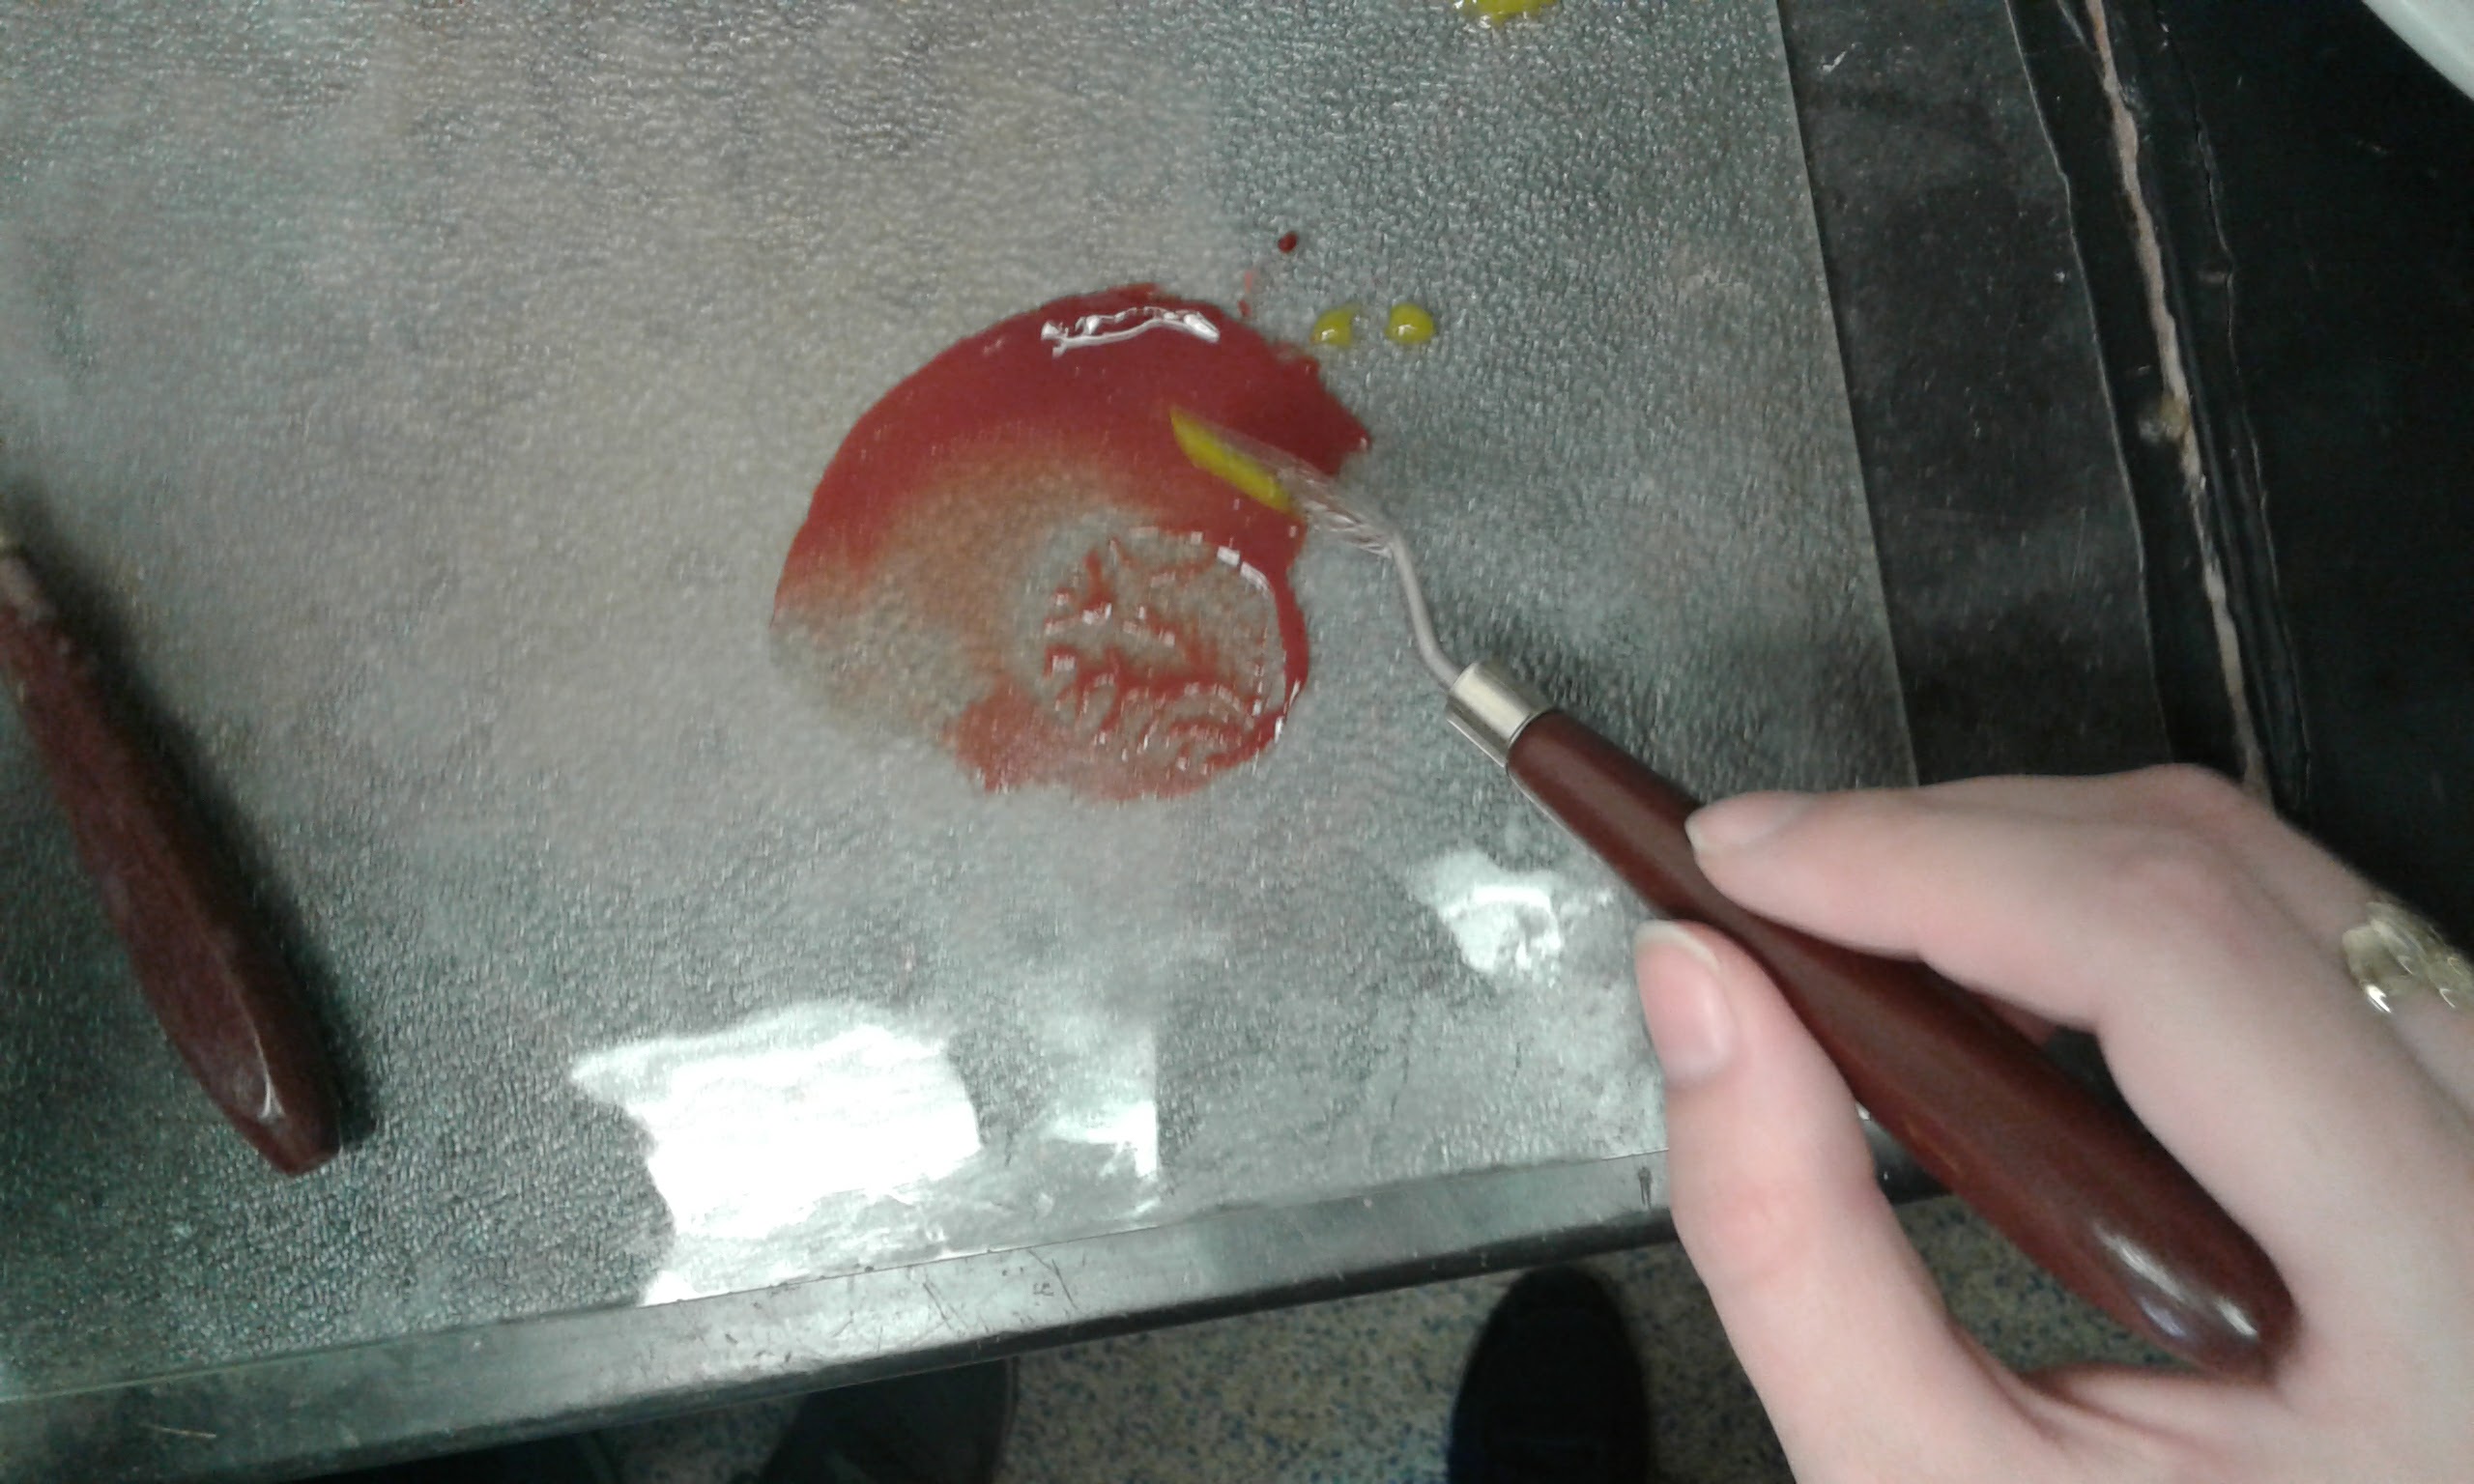

[AM] For mixing in the yolk we quickly switched to using the pointed spatula. With it, we added two drops of yolk to the ground pigment. The wet pigment was extremely sticky, and the glass mortar kept getting stuck and had to be pulled off. As a result of this difficulty we mostly used the spatula, mixing in the egg yolk as thoroughly as we could. The wetness of our original pigment also made it seem like the madder was already a paint rather than a pigment, which made judging how much yolk to use difficult. We stuck with two drops.
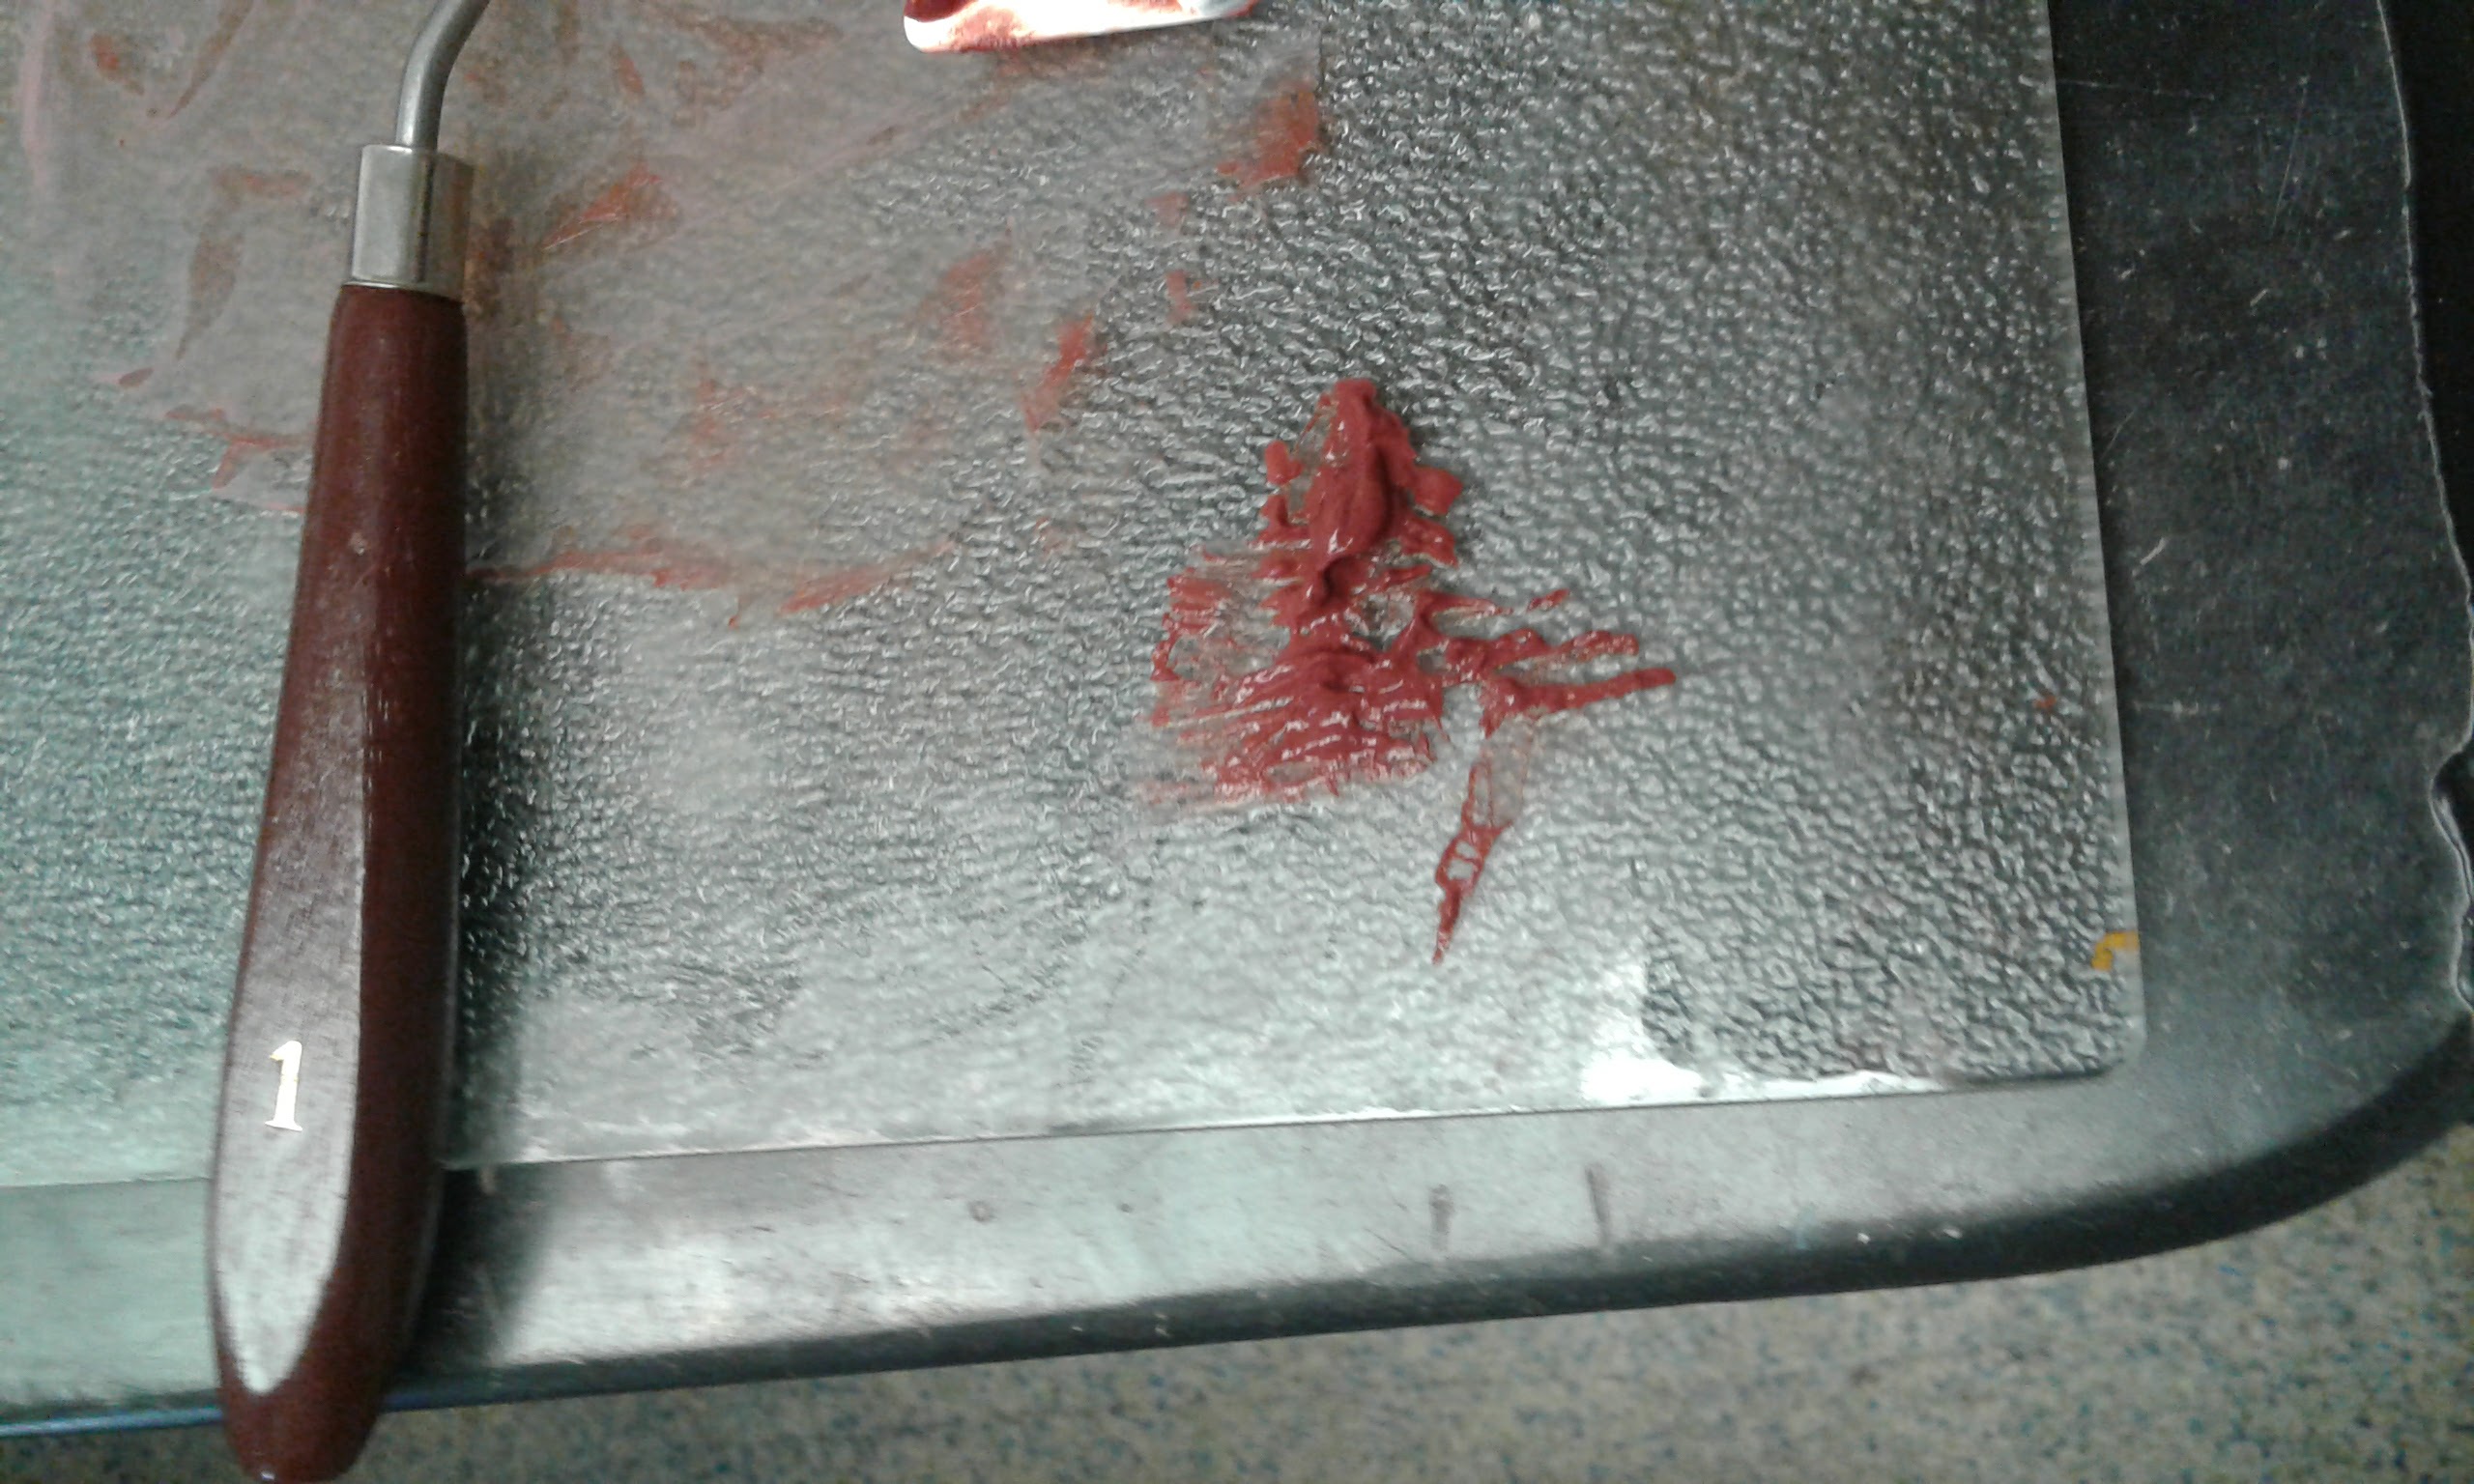
[AM] We ended up with a very wet and sticky paint, which took a long time to gather from across the glass board into a pile.
- Paint out pigment: Yolk
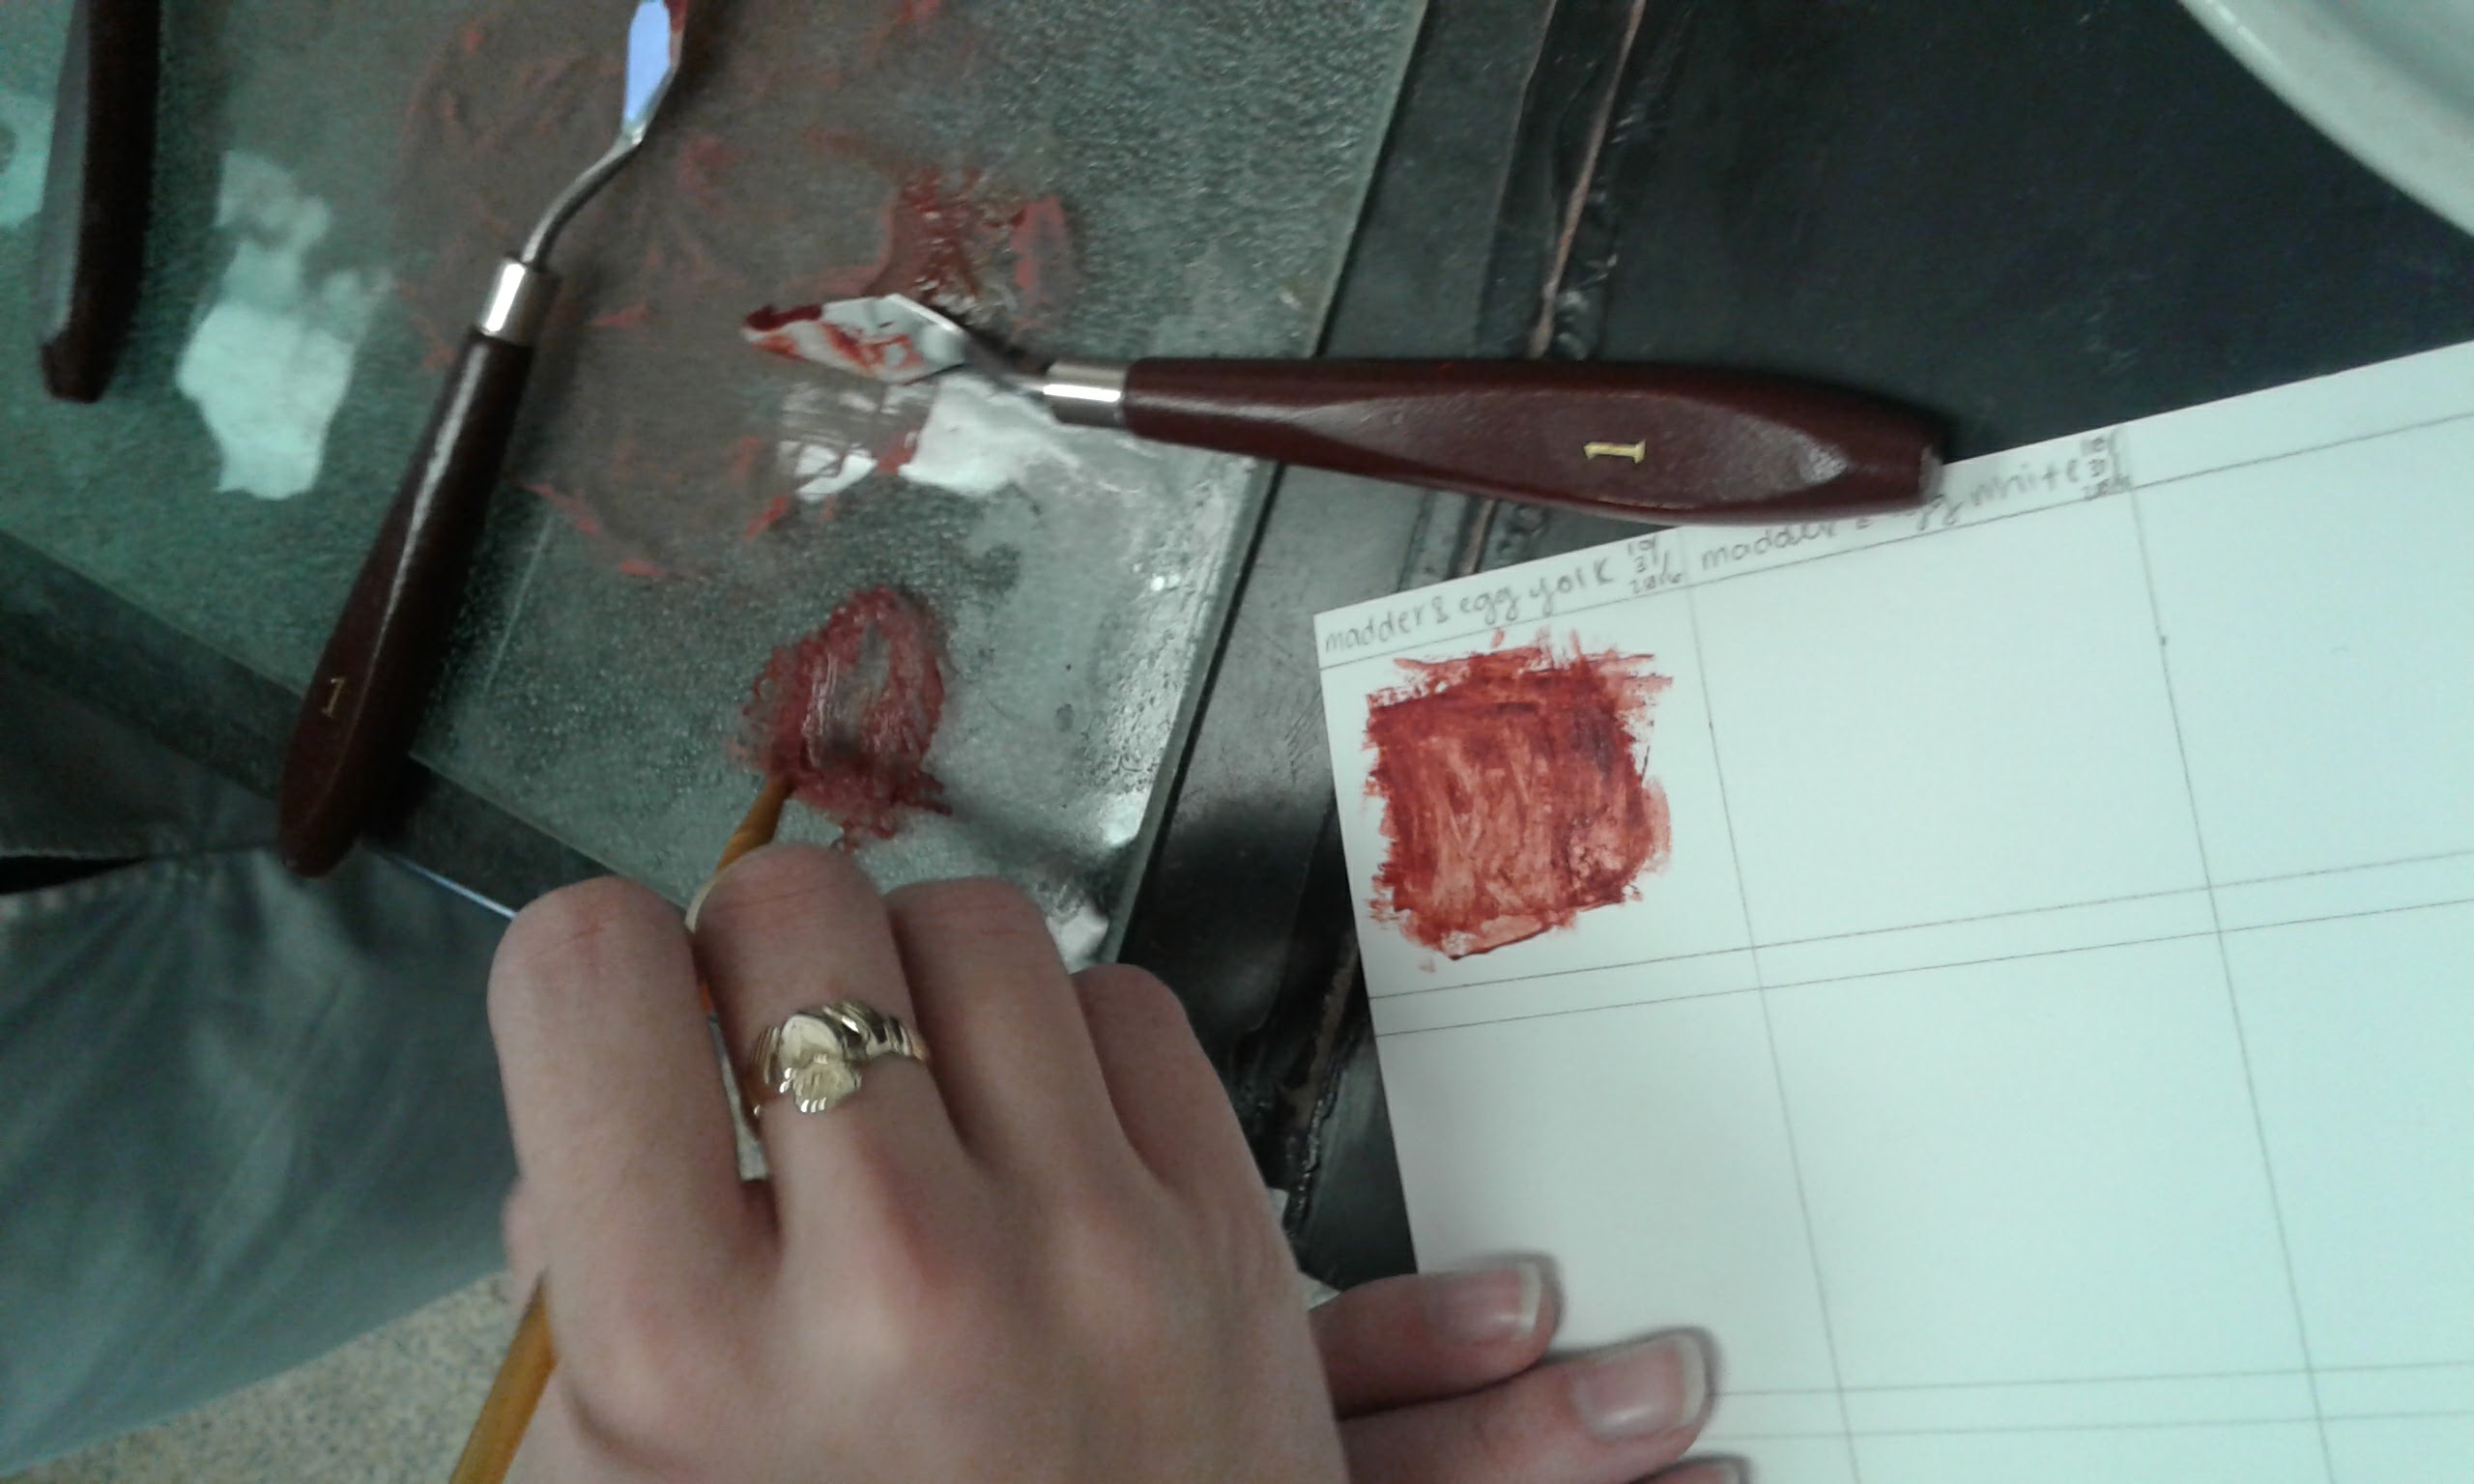
Image pictures Caitlyn painting out the yolk-madder mixture.
[AM] The mixture was very wet and easy to apply onto the card. It was also, however, difficult to apply in a smooth coat, and instead left very visible brush strokes. Originally we were using a very thin soft brush. When we switched to a wider brush it was a bit easier to paint on a smooth coat.
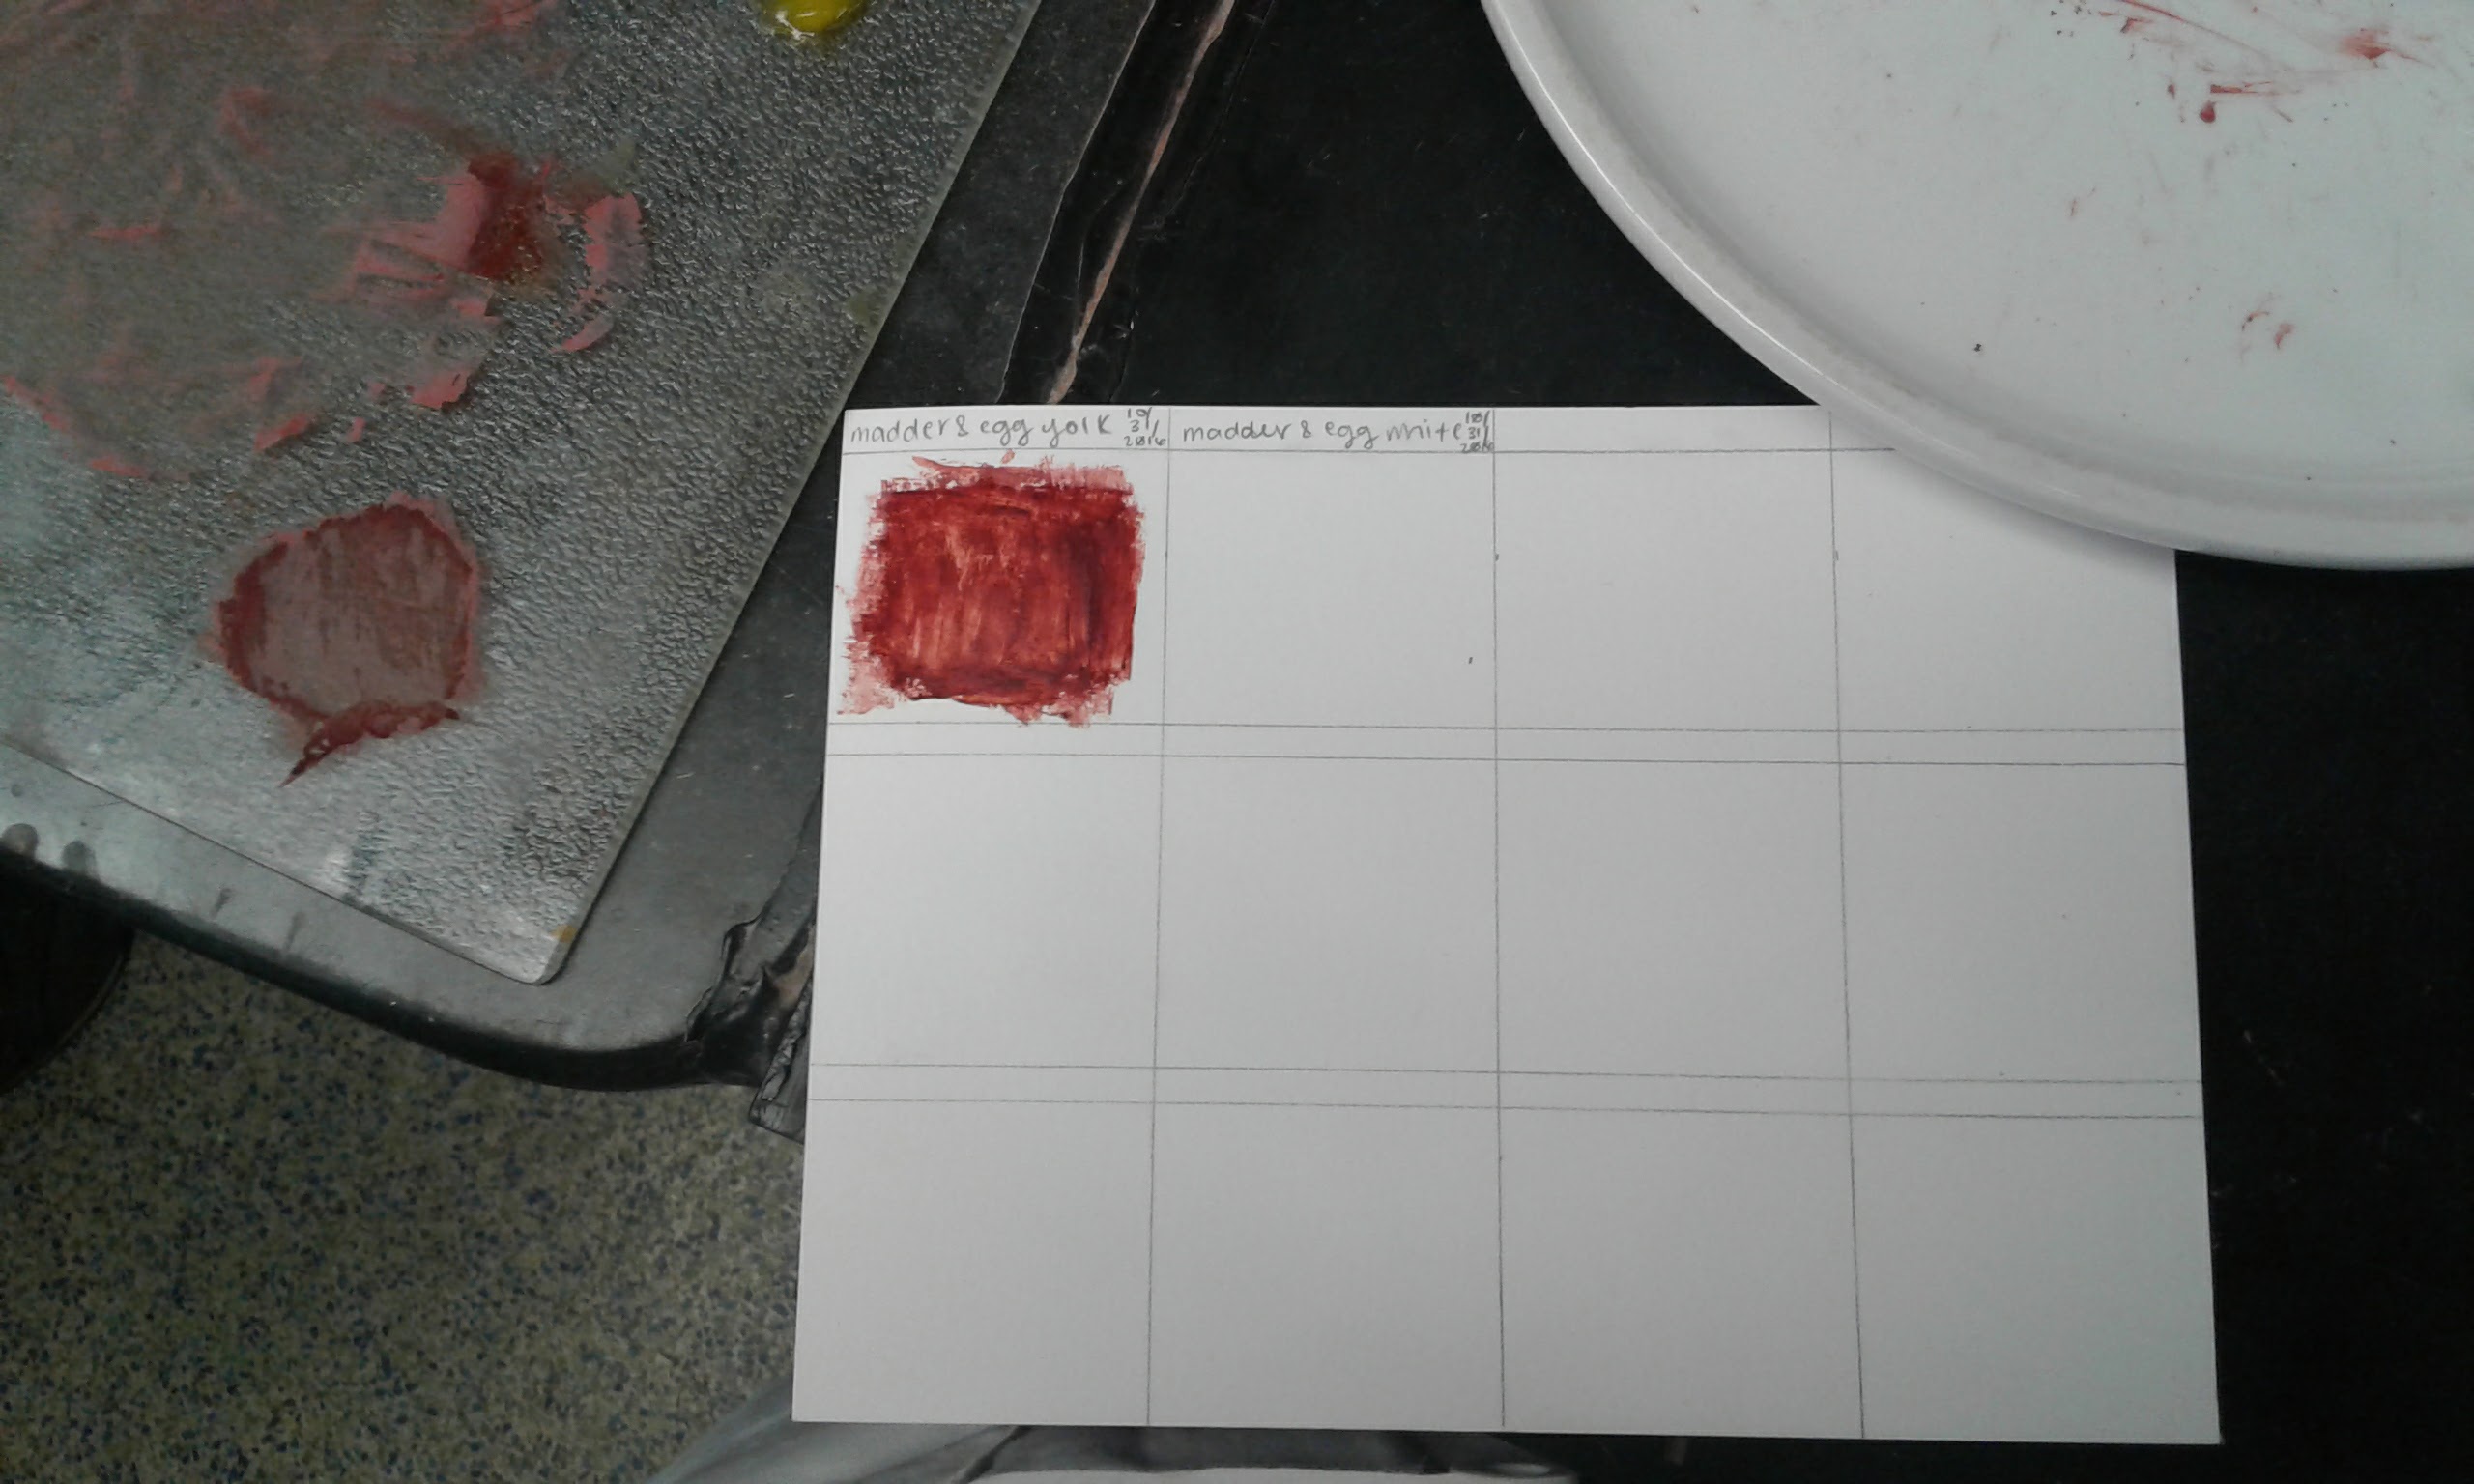
Image pictures the painted out yolk-madder mixture.
[AM] While areas of our swatch were still pretty sparse, some of it laid on fairly thick.
- Grind pigment: White
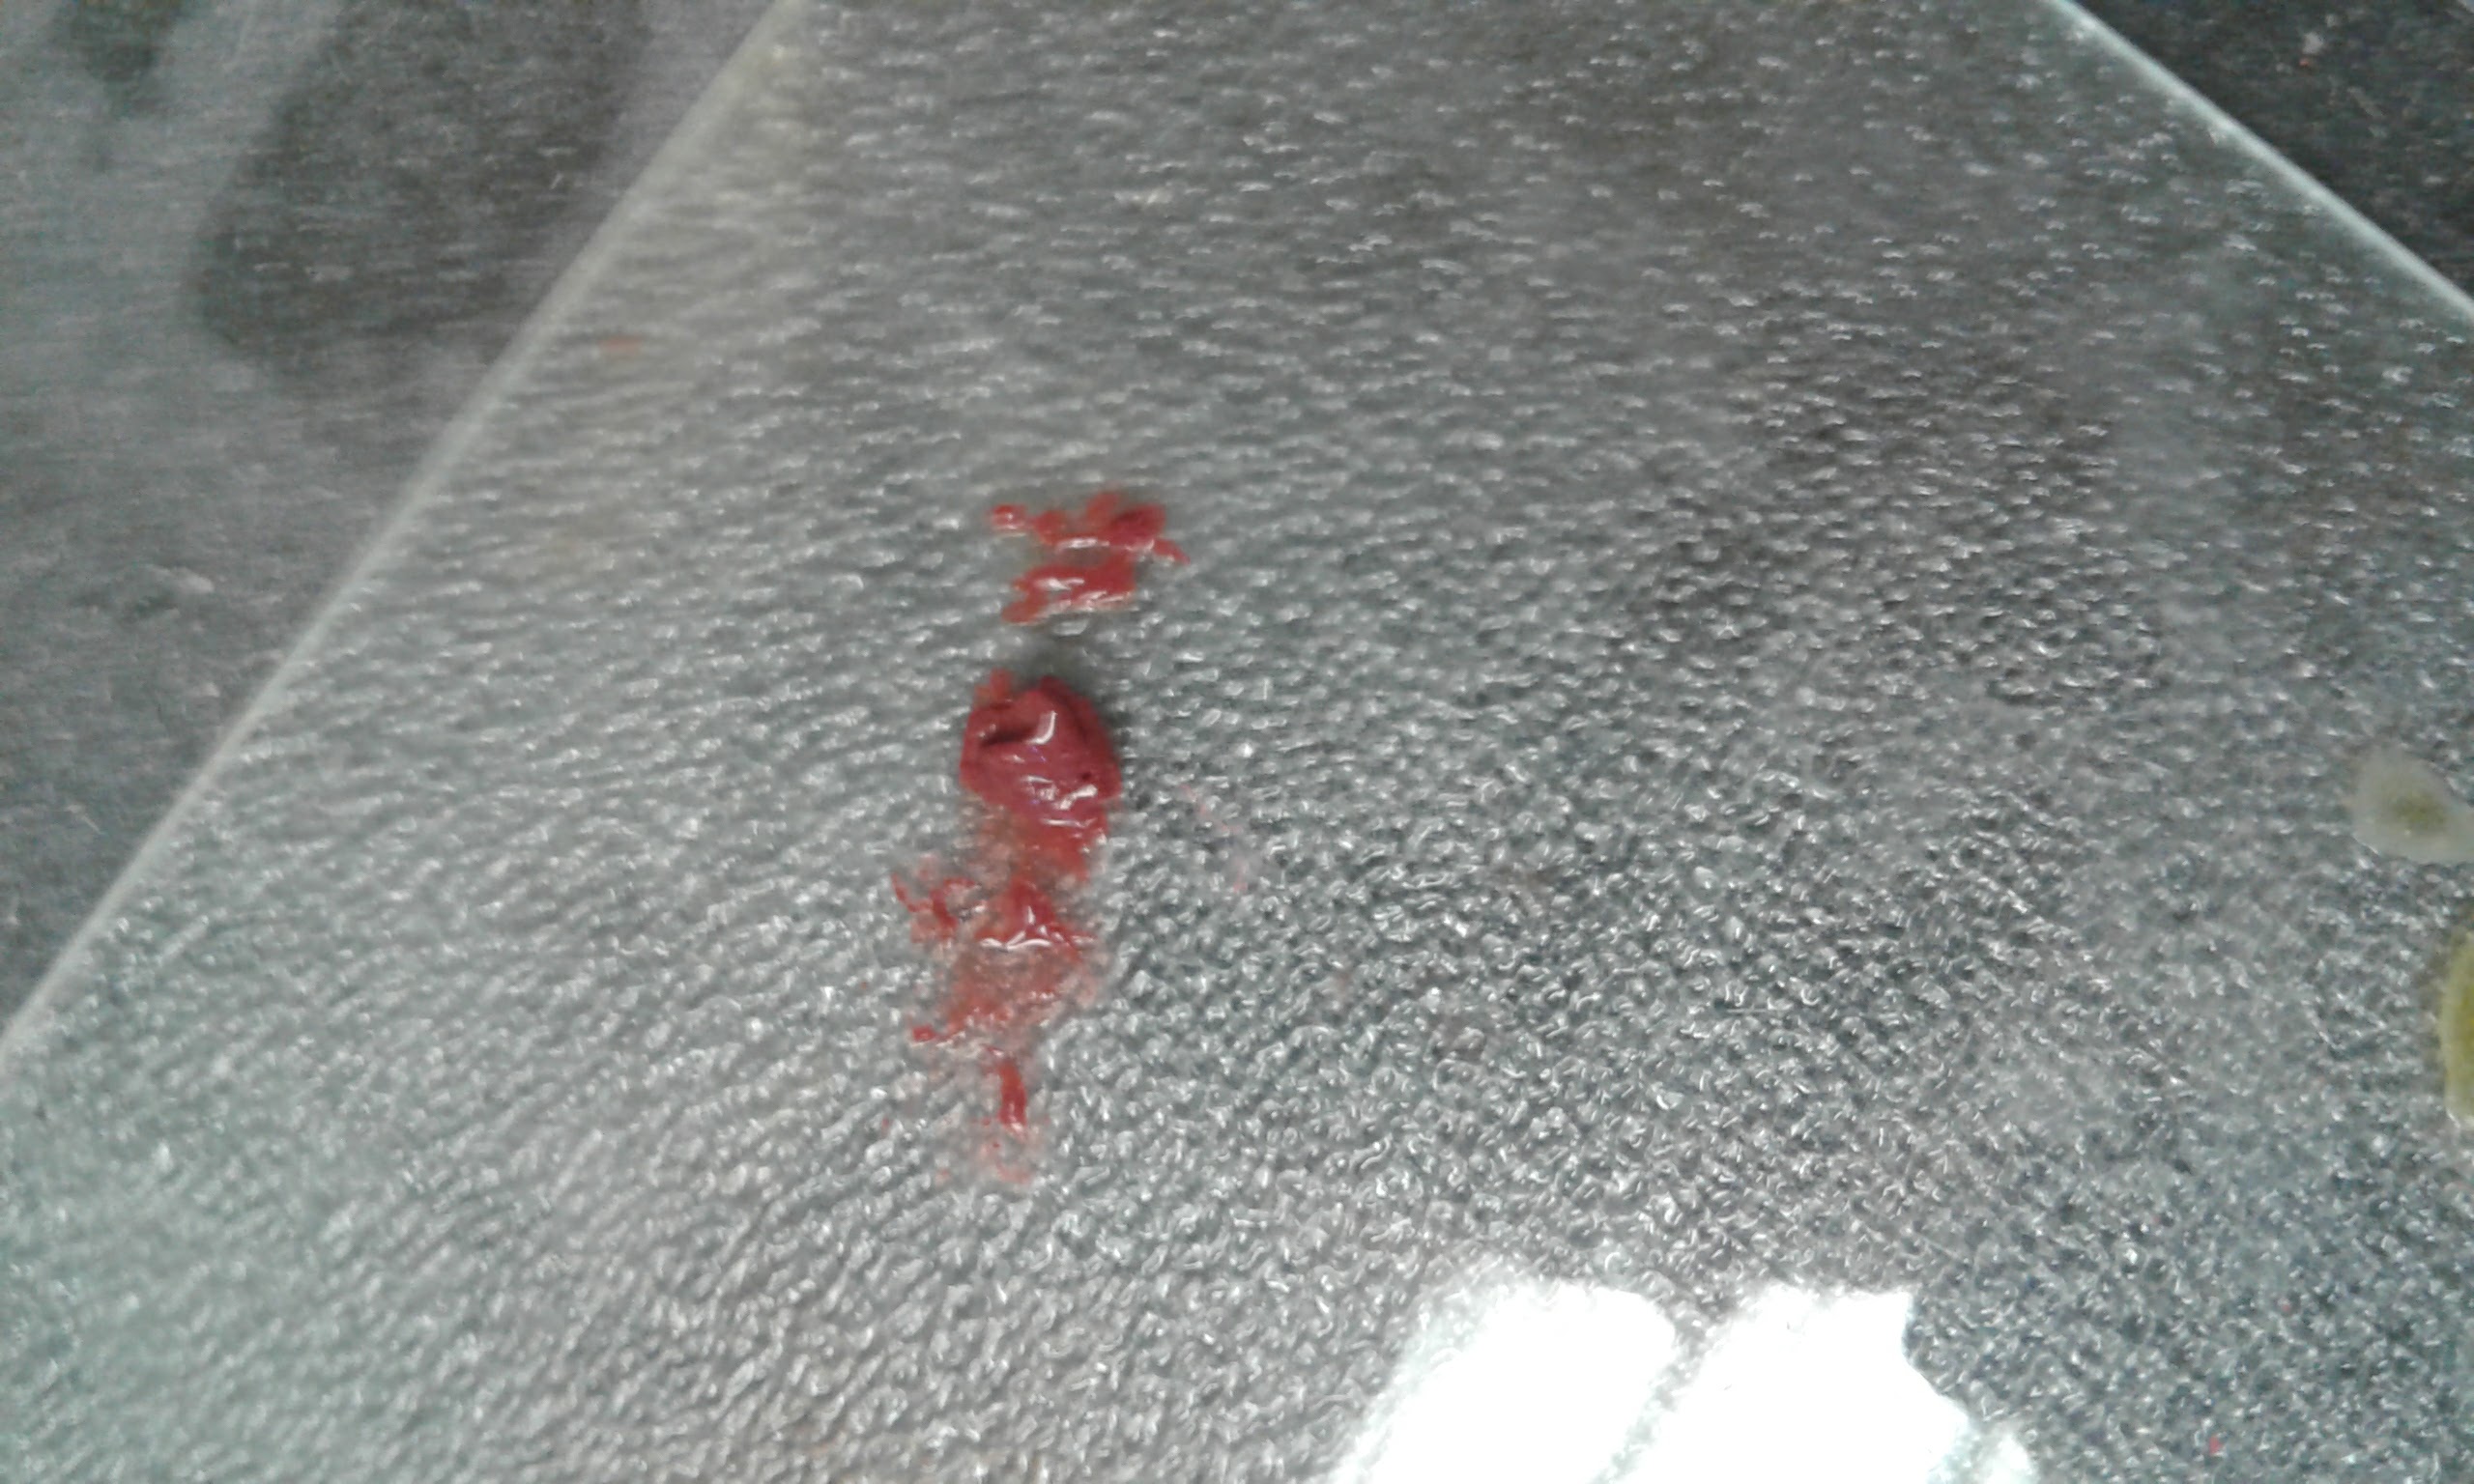
Image shows the madder before the addition of egg whites.
[AM] Grinding the madder and adding the whites was not much different than adding the yolk. It was just a little less sticky, which made using the mortar a little bit easier and cut down our reliance on the spatula.
- Paint out pigment: White
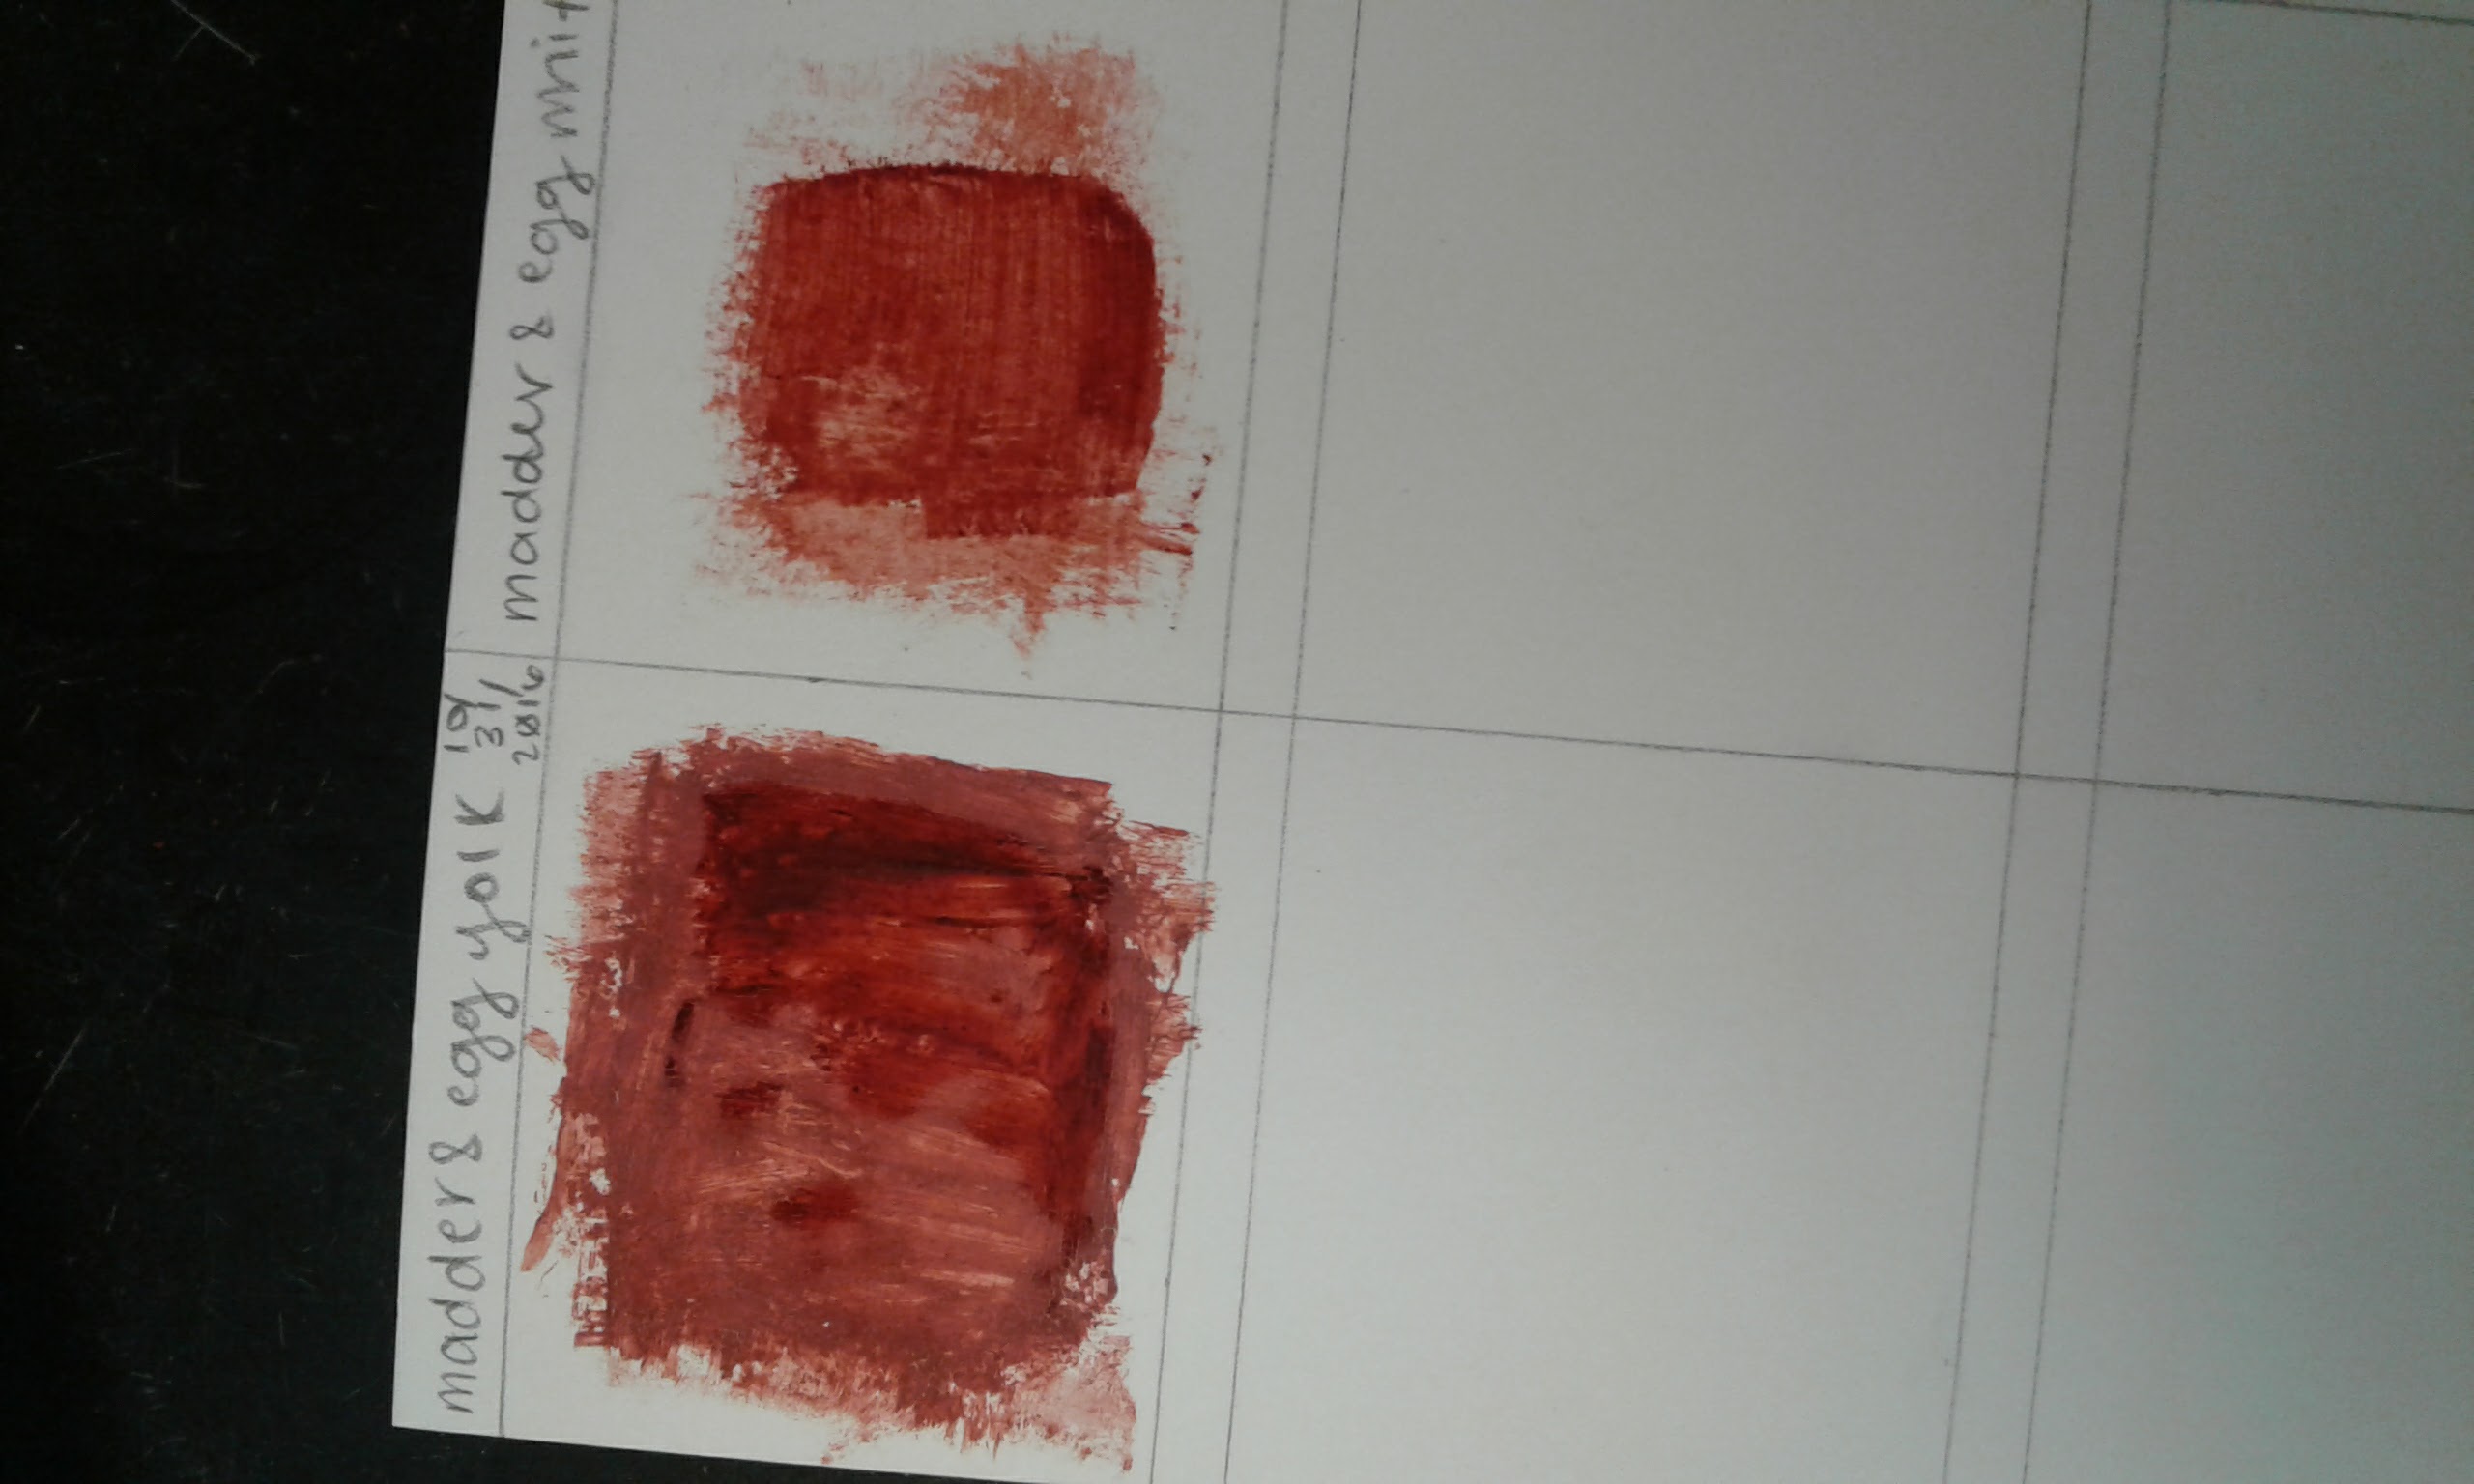
Image shows comparison of yolk and white swatches.
[AM] The white paint was much easier to brush onto the sample card, but we were also still using the wide brush so this may be an effect of that rather than of the consistency of the paint. All in all, however, the white paint remained less sticky than the yolk paint.