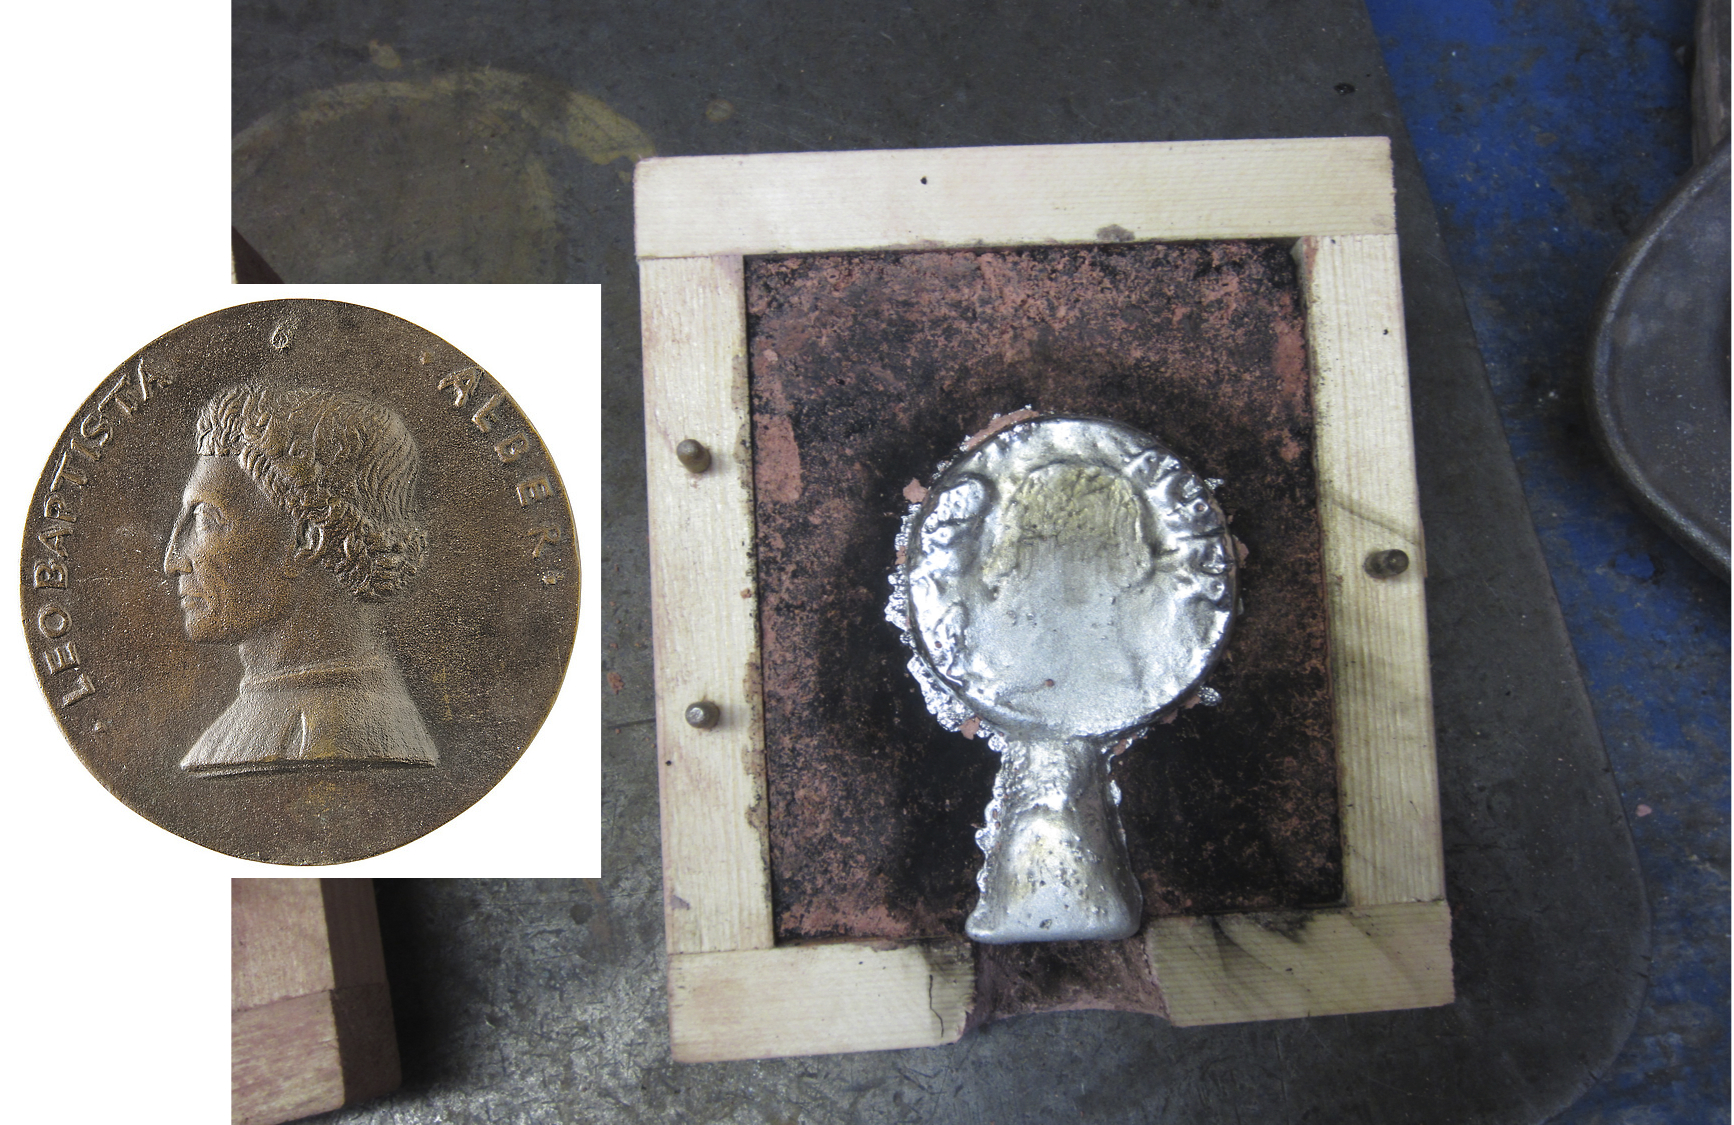
Table of Contents
Table of Contents
October 3, 2014: Select medal design and begin carving wax model
NAME: Raymond CarlsonDATE AND TIME: October 3, 2014, 9am
LOCATION: Chemistry Laboratory, Chandler Hall, Columbia University, New York, NY
SUBJECT: Select medal design and begin carving wax model
Materials
- computer with internet access- one cylindrical beeswax form
- ceramic plate
- one bamboo two-sided calligraphy pen
- one plastic clay modeling tool
- one nail
Basic Step-By-Step Process
1. Select design for medal2. Arrange tools and practice holding them
3. Outline recto design on beeswax surface with nail
4. Begin carving recto design with bamboo modeling tool
In-Depth Step-By-Step Process with Observations
1. Select design for medal.
Recalling the exhibition “The Renaissance Portrait from Donatello to Bellini” at the Metropolitan Museum of Art from December 21, 2011, through March 18, 2012, I opt to design my medal based on an exhibited portrait medal by Leon Battista Alberti (1404-72). On the recto, the medal shows a portrait of the sculptor Matteo de’ Pasti (1420-68). On the reverse is Alberti’s emblem, which shows a winged eye with the Latin motto “QVID TVM” (trans. “what then”). Detail images of the medal can be found on the web site of the Metropolitan Museum of Art at THIS LINK. I identify the portrait of Matteo de’ Pasti as the “recto” of the medal and Alberti’s emblem as the “verso.”2. Arrange tools and practice holding them
I practice picking up each of the tools in my right hand, attempting to accustom myself to their weight. The nail is very small and requires me to press it quite tightly between my thumb and index finger. The calligraphy pen fits comfortably between my thumb, index, and middle fingers.3. Outline recto design on surface with nail
I decide to begin carving the recto design first. I set the beeswax cylinder onto the ceramic plate. I find that by pressing the beeswax cylinder onto the ceramic, the pressure causes the object to stick to the plate. Holding the cylinder lightly between the thumb and index finger of my left hand, I use my right hand to faintly trace the profile of Matteo de’ Pasti onto the surface of the wax using the sharp tip of the nail. I find the wax hard to the touch, and I can only drag the nail though the surface by applying significant pressure. As the nail passes through the wax, thin white shavings sprout in front of it. I find my self alternating between blowing on the wax cylinder and lifting it with my left hand to gently tap it against the ceramic plate, allowing the shavings to collect. I opt to simplify the inscription of Alberti’s name to “LEO ALBER,” as such text stretches my ability to write block letters with the nail to its maximum.4. Begin carving recto design with bamboo modeling tool
I switch tools, putting aside the nail and using instead the bamboo calligraphy pen. I find the bamboo calligraphy pen strong enough to sustain the pressure of dragging it through the wax, and one nib of the pen, approximately 3 mm wide, allows me to create a broad incision that outlines the profile of the face.October 7, 2014: Carve wax model
NAME: Raymond CarlsonDATE AND TIME: October 10, 2014, 9am
LOCATION: Chemistry Laboratory, Chandler Hall, Columbia University, New York, NY
SUBJECT: Carve wax model
Materials
- computer with internet access- one cylindrical beeswax form
- ceramic plate
- one bamboo two-sided calligraphy pen
- one plastic clay modeling tool
- one nail
Basic Step-By-Step Process
1. Continue carving recto design with bamboo modeling tool2. Complete carving of recto design by alternating between three tools
3. Flip wax cylinder and outline verso with nail
4. Complete carving of verso design by alternating between three tools
5. Flip wax cylinder and re-carve details on recto
In-Depth Step-By-Step Process with Observations
1. Continue carving recto design with bamboo modeling tool
Pleased with my progress from the previous day, I continue using the tip of the bamboo calligraphy pen to carve the general outlines of the portrait. I then use the bamboo pen to carve around the edges of the letters, but I quickly realize that the spaces between the letters are too narrow, and I must return to the nail.2. Complete carving of recto design by alternating between three tools
After carving out the letters using the nail, I use the nail to carve shallow details of Matteo de’ Pasti’s hair, eyes, nose, mouth, shirt collar, and sleeve. I then use the narrow, flat end of my plastic tool to carve deeply the “negative” space around the figure and the letters.3. Flip wax cylinder and outline verso with nail
I flip over the wax cylinder, rest it flat on the ceramic dish, and begin outlining the “verso” design with the nail. I realize I have allotted too little space for the Latin motto and decide not to include it. This, of course, completely alters the significance of this emblem, as it now lacks a motto. I am upset but decide to move on.4. Complete carving of verso design by alternating between three tools
Switching to the bamboo calligraphy pen, I am soothed by the action of carving the repetitive forms of the laurel wreath. My frustration about the motto evaporates. I pick up the wax cylinder in left hand, rotating it slightly as I make each incision along the round laurel wreath. I find the wax warming to the touch of my hand, but it is only slightly more malleable along the edges. The overall shape is not changing substantially. I proceed to carve the winged eye with the bamboo calligraphy pen. Using the narrow, flat edge of the plastic tool I carve out the larger negative areas around the winged eye.5. Flip wax cylinder and re-carve details on recto
After completing the carving on the verso, I flip over the medal and am unpleasantly surprised for two reasons. First, I realize I had improperly aligned the verso of my beeswax model with the original design. The verso design would have appeared exactly upside down when the viewer, looking at the recto of the medal, turned it along its horizontal axis. Instead, my verso design is rotated about 20 degrees too far clockwise. Second, I notice that the details in the design on the recto have become disfigured from the pressure exerted against the ceramic plate. Using the nail, I retrace all of the small incisions I had made on the letters and the figure of Matteo de’ Pasti.RECTO:
VERSO:
October 10, 2014: Create clay molds and pour plaster for models
NAME: Raymond CarlsonDATE AND TIME: October 10, 2014, 9am
LOCATION: Chemistry Laboratory, Chandler Hall, Columbia University, New York, NY
SUBJECT: Create clay molds and pour plaster for models
Materials
- wax model- dish soap
- running water (from a sink)
- clay
- two ceramic plates
- horse-hair brush
- wet plaster
Basic Step-By-Step Process
1. Knead clay and set piece onto ceramic plate2. Coat recto of wax model with soap
3. Press recto of wax model into clay
4. Remove wax model from clay and rinse
5. Repeat steps 1-3 to make impression of verso
6. Pour plaster into both clay molds
In-Depth Step-By-Step Process
1. Knead clay and set piece onto ceramic plate
I knead the clay by holding it in both hands and then pressing it against the ceramic plate. Even though the clay will not be fired, I try to remove any air pockets. As I flatten the clay and fold it over itself, I notice a line form where both edges meet. My goal is to flatten this line as much as possible.2. Coat recto of wax model with soap
Tonny Beentjes reminds us that we need to coat the wax with some substance that will allow it to “release” from the clay mold without pulling away much of the clay itself, thereby leaving a faithful impression in the clay. Dish soap is the chosen ingredient for this task, and using a bamboo, horse-hair brush, I gently coat the recto of my wax model with a thin layer of dish soap.3. Press recto of wax model into clay
When pressing my wax model into the clay, I recall the process of making a bread mold. I remember that the impression was better when the pith was scooped out of the bread and pressed tightly the mold itself. For this reason, rather than press the beeswax mold downward into the clay, I instead cradle the clay with my four fingers and palm while pressing down on the beeswax mold with my thumbs. This way I exert pressure downwards on the beeswax model with my thumbs while countering this pressure by pushing inwards on the clay mold.4. Remove wax model from clay and rinse
Pulling the wax model away from the clay mold proves difficult, as there is a fair amount of suction, and I also cannot get a good grasp on the wax model along the edges. I must pull the clay away from one edge in order to firmly remove it with my fingertips. I realize this might angle impression to one edge, as pulling the wax model upwards on one side likely exerts some pressure on the opposite side.5. Repeat steps 1-3 to make impression of verso
After I have repeated this process, Tonny Beentjes explains that it may have been better to make the shape in clay conical rather than cylindrical, as this would have helped in avoiding any air pockets. Nonetheless, I am pleased with the impressions. I can clearly see that all of the lettering on the recto is visible, and many of the small details of carving in the portrait of Matteo de’ Pasti are visible with narrow, raised clay ridges.6. Pour plaster into both clay molds
Tonny Beentjes brings the plaster mixture and pours it into both of my molds. The plaster spills out the mold containing the impression of the verso, and I realize that it would have been best to construct a higher “lip” of clay around the edge of the impression to present such spillage.October 13, 2014: Freeing plaster models from clay molds
NAME: Raymond CarlsonDATE AND TIME: October 13, 2014, 9am
LOCATION: Chemistry Laboratory, Chandler Hall, Columbia University, New York, NY
SUBJECT: Freeing plaster models from clay molds
Materials
- two medal models cast in plaster- two hardened clay molds encasing the plaster models
- ceramic plates on which the clay molds rest
- sheet of sandpaper
- large metal file
- dental tools
Basic Step-By-Step Process
1. Break hardened clay mold with hands2. Remove large clay mold pieces
3. File down back of plaster molds on sandpaper
4. Smooth edges of plaster molds with metal file
5. Carefully scrape away small clay pieces on face of mold using dental tools
In-Depth Step-By-Step Process with Observations
1-2. Break hardened clay mold with hands; Remove large clay mold pieces:
Paradoxically, the hardened clay was relatively soft to the touch and crumbled easily along a few large cracks that had opened up. The thinner areas of clay along the sides of the mold required more effort to remove, as they fragmented into small pieces rather than crumbling into large chunks. While the mold with the verso design broke apart into numerous pieces, the mold with the recto design remained relatively intact, allowing me to compare the impression of the mold with the plaster model.RECTO:
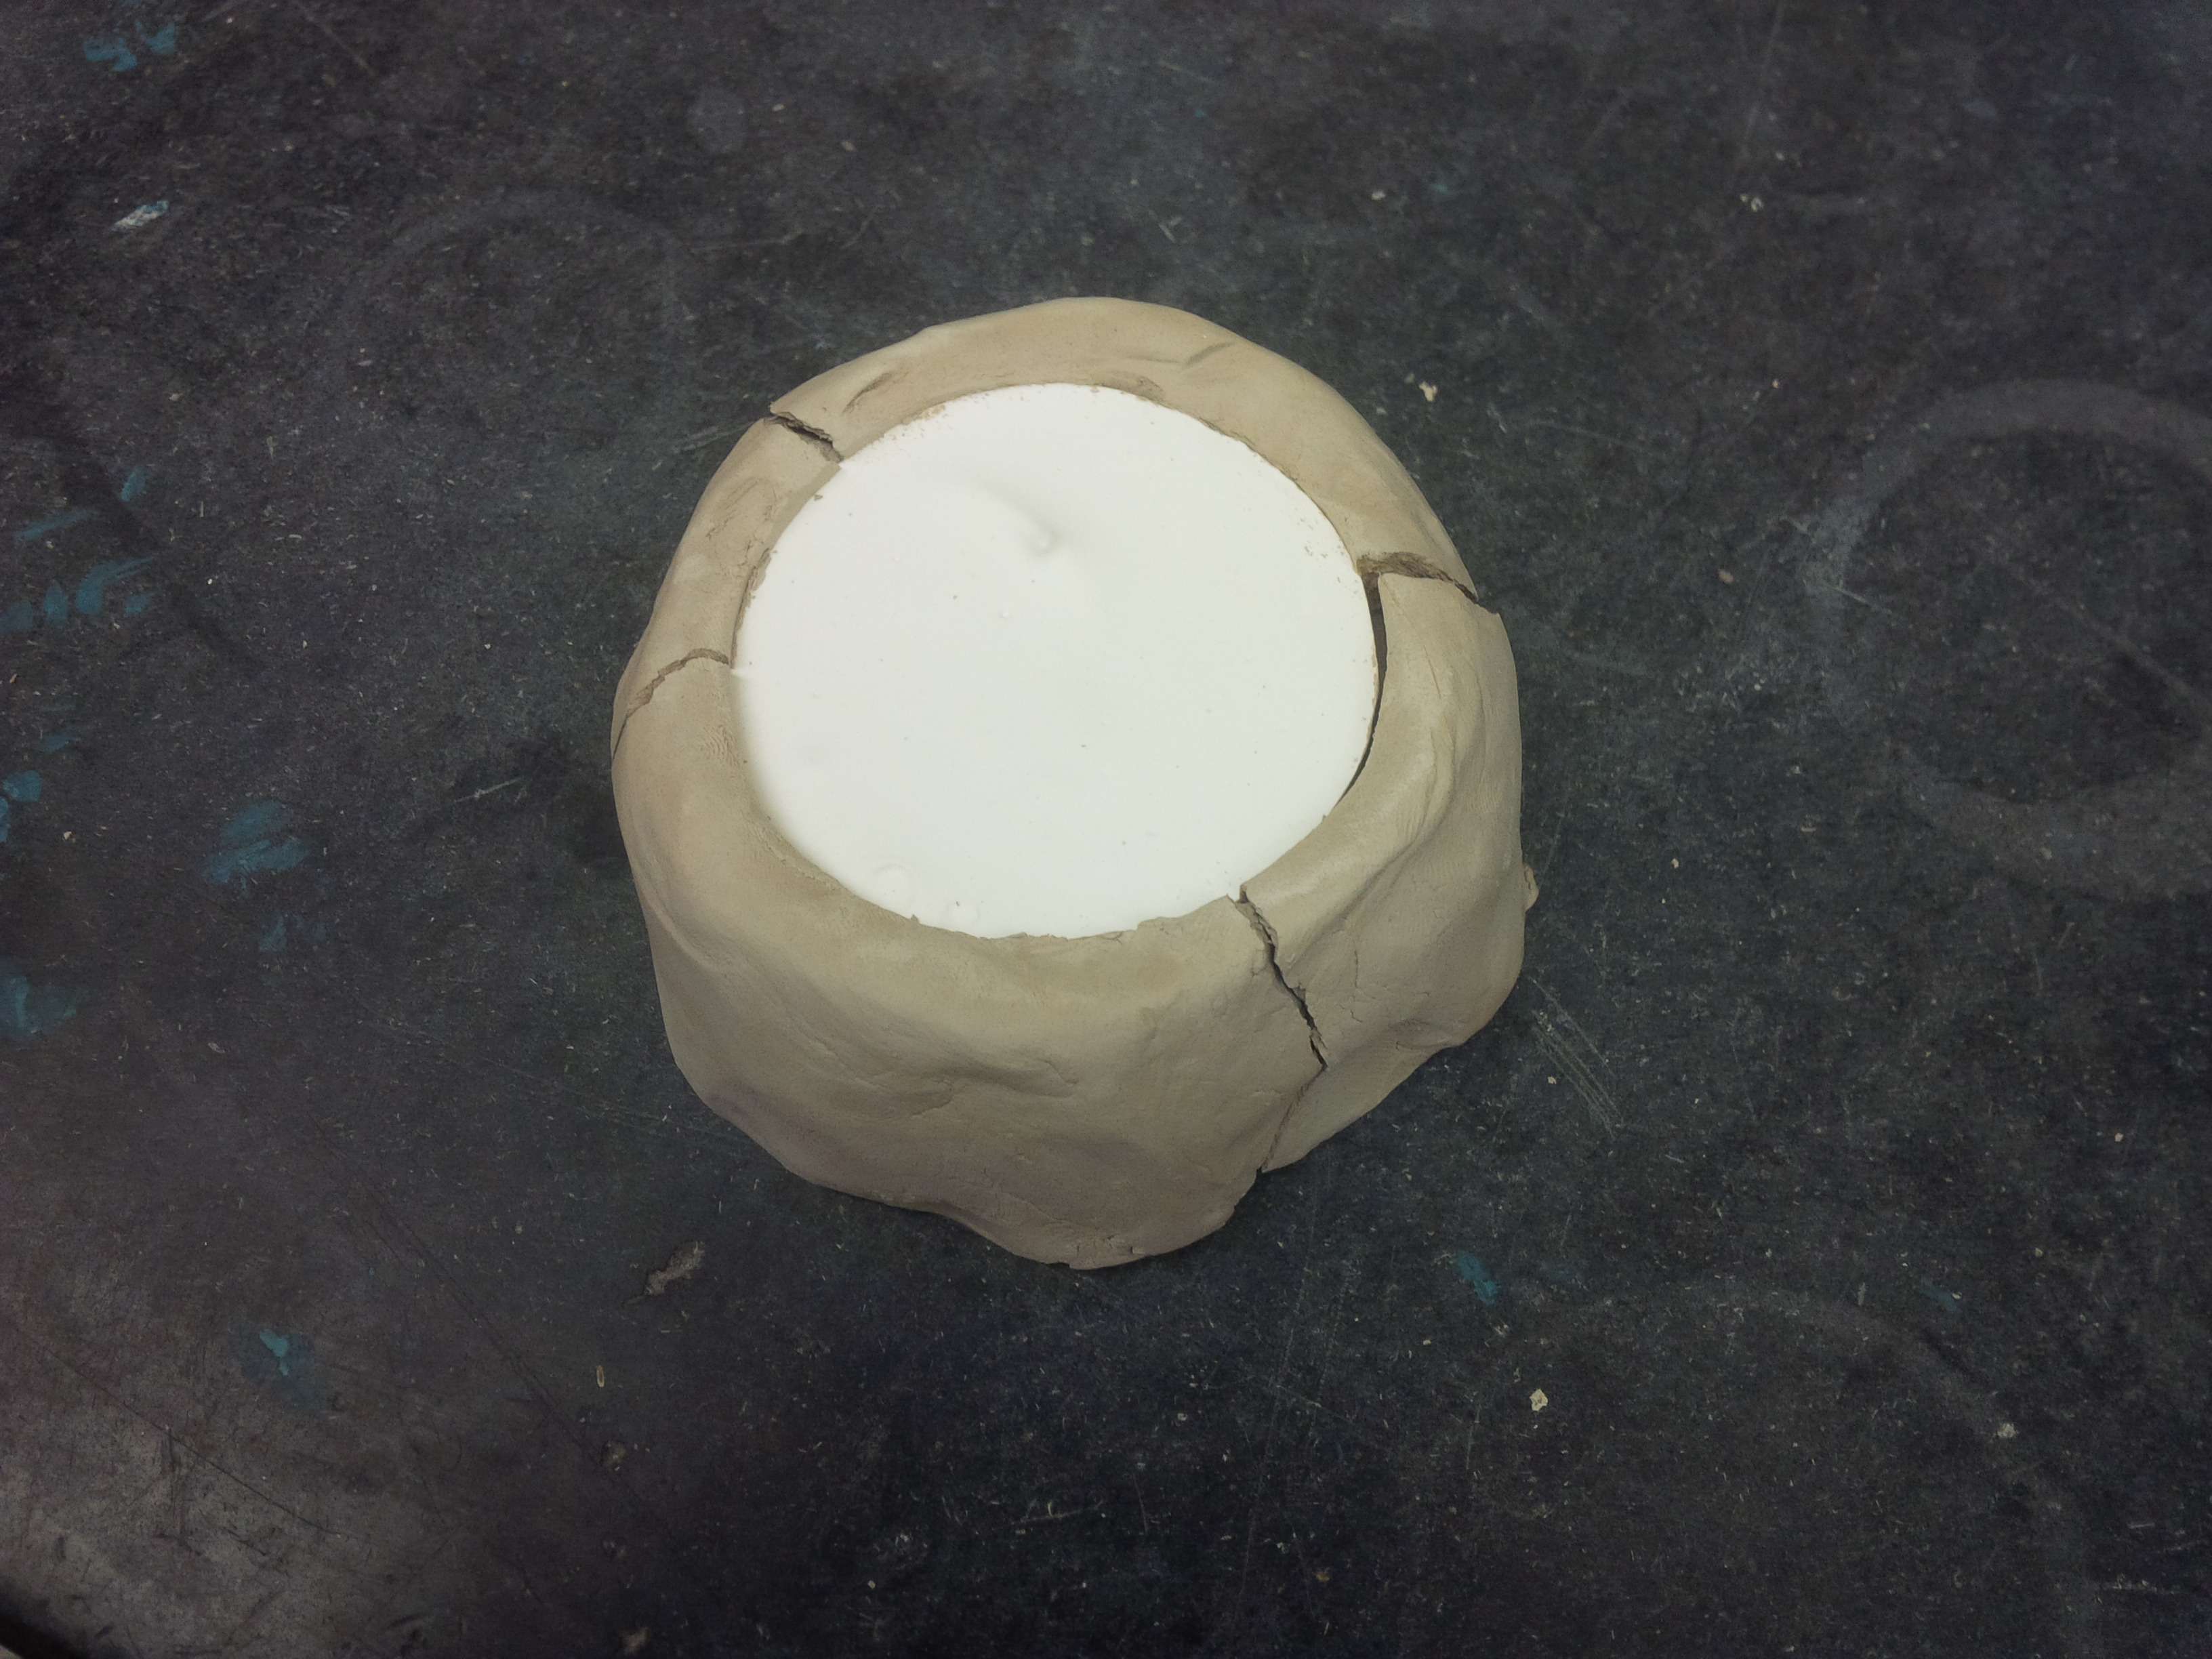


VERSO:


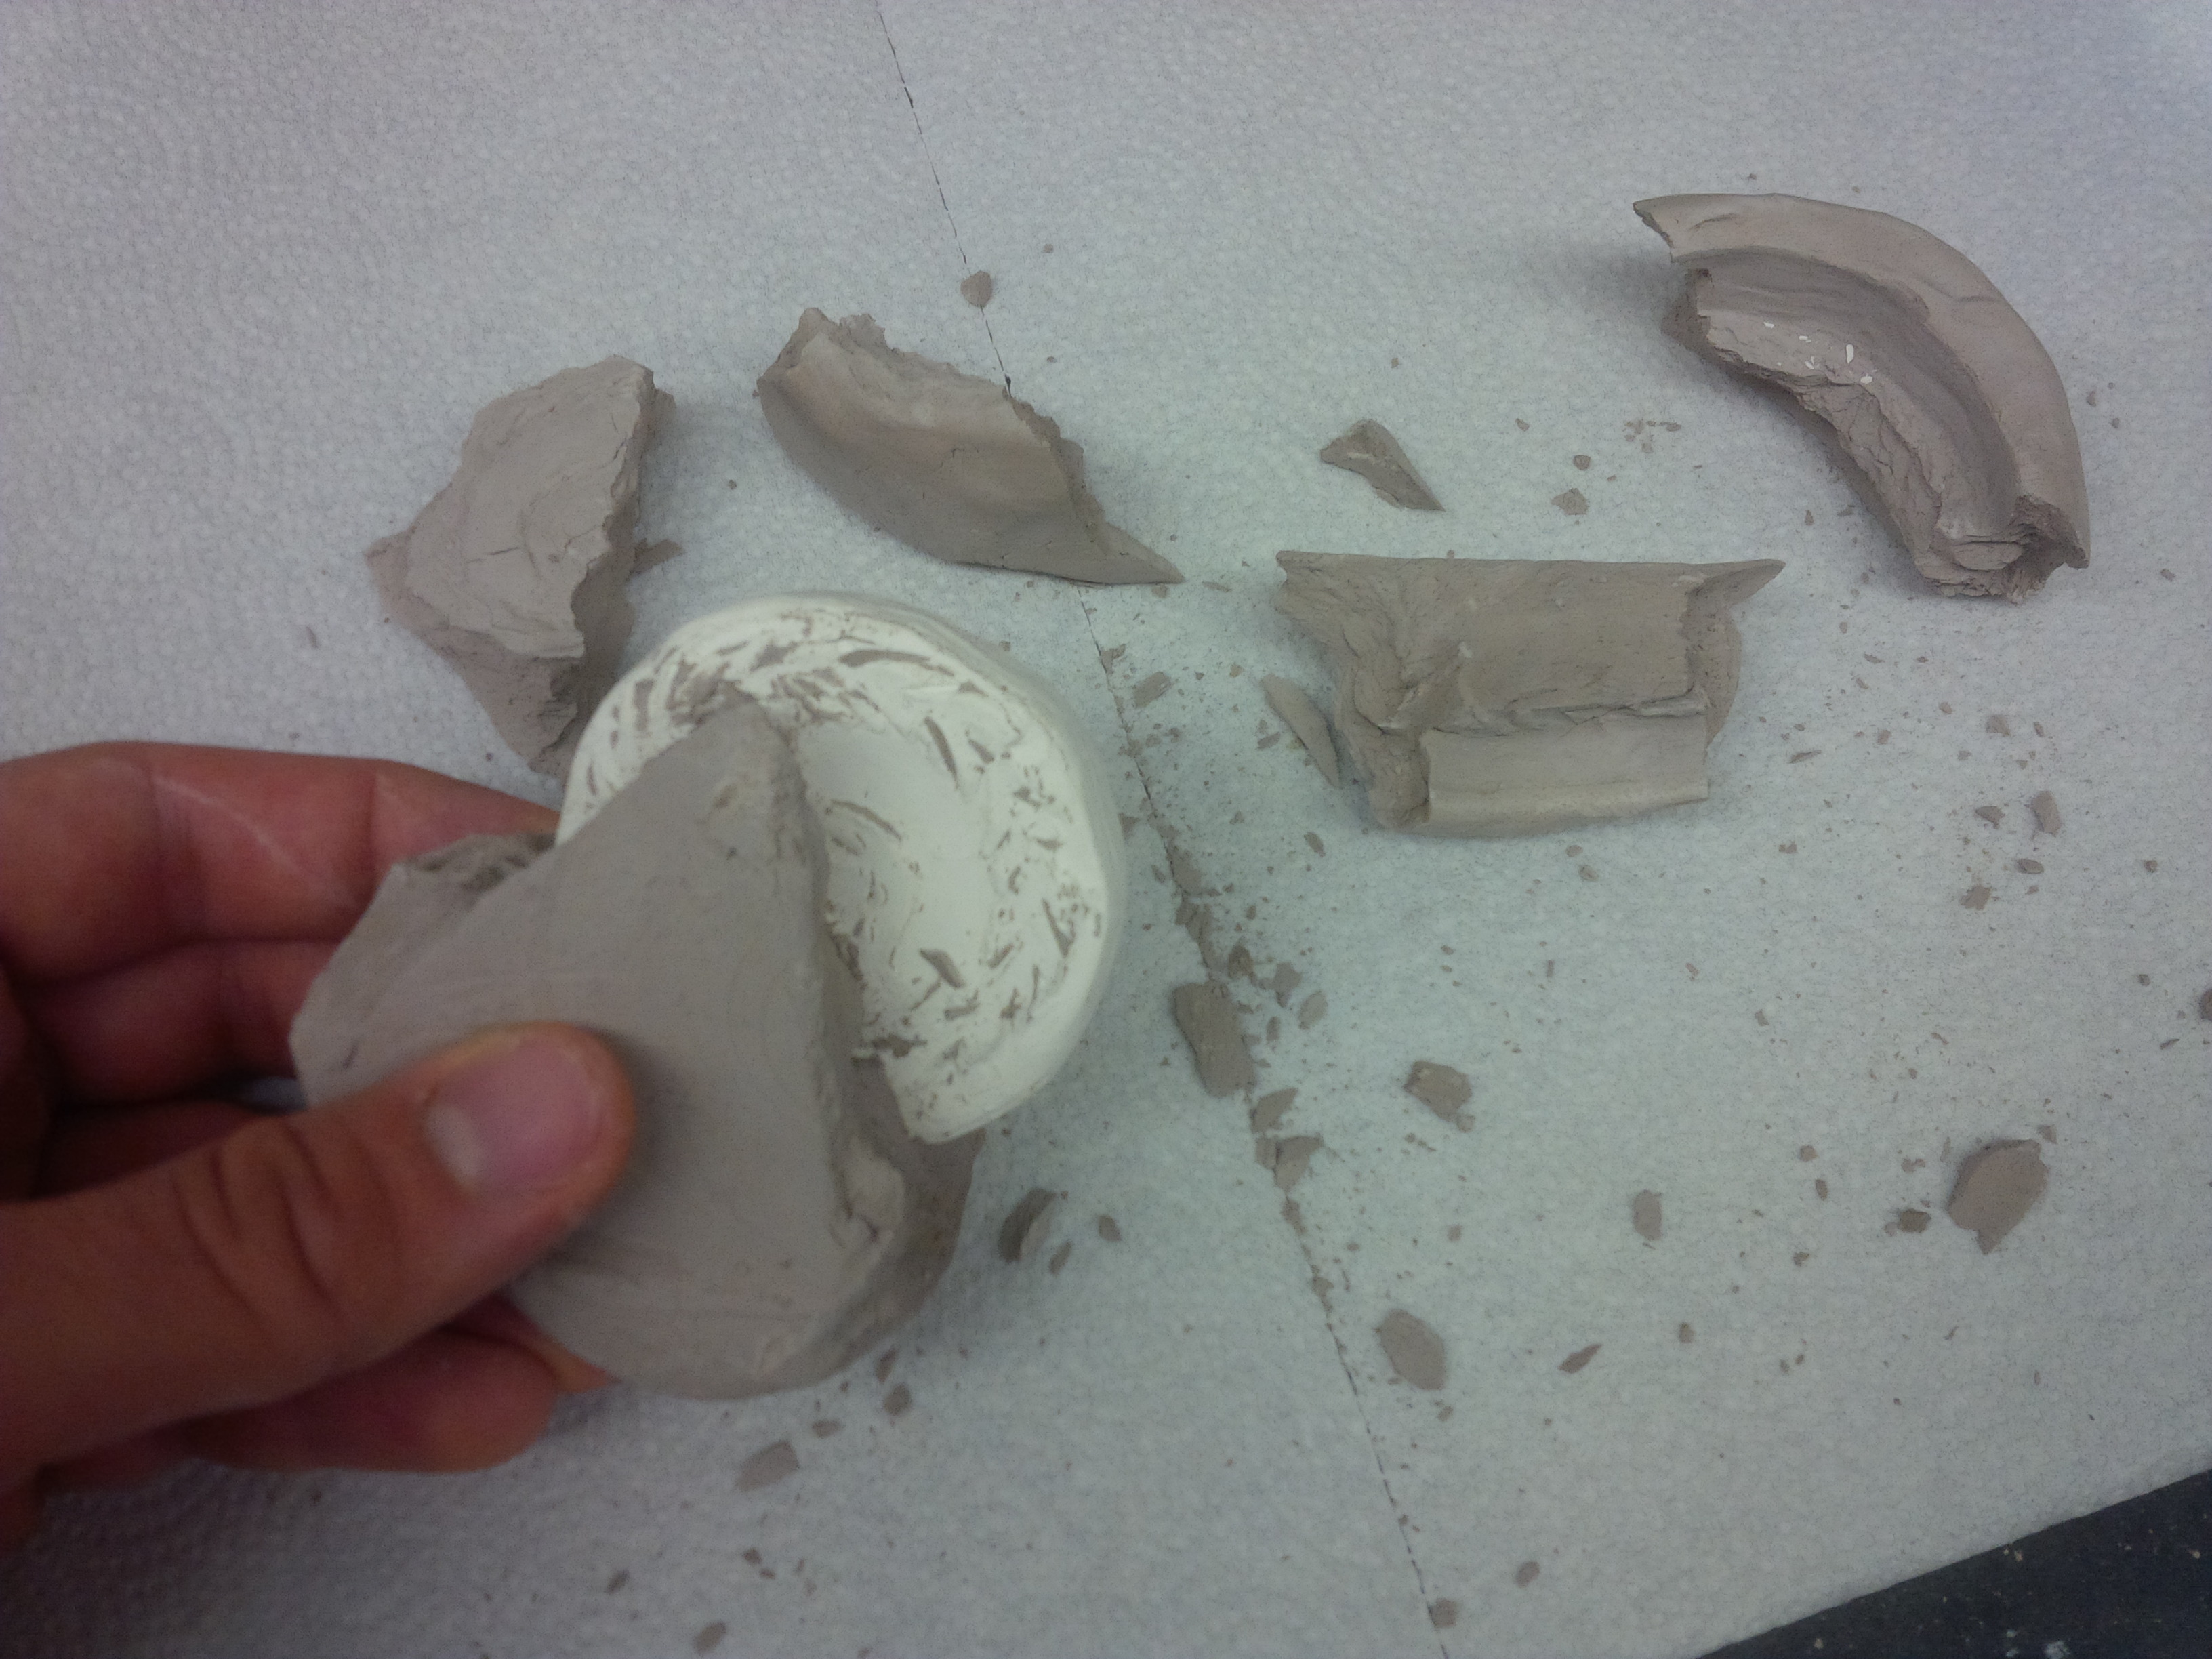

3. File down back of plaster molds on sandpaper:
The backs of both plaster molds lacked a perfectly smooth surface. They instead had a slightly uneven surface with one or two small pits that resulted from bubbles that had risen to the surface of the plaster. Tonny Beentjes informed me that when I molded the plaster model in sand, the reverse of each medal would need to be perfectly flat. I therefore rubbed the reverse of each plaster model against a sheet of sandpaper. As I very slowly ground down the plaster, I found it difficult to ensure that I maintained a perfectly flat surface. Positioning the tips of my thumb and middle finger (the strongest finger!) on opposite edges of the mold, I was able to apply controlled pressure across the surface of the entire model. I would periodically have to pick up the model to inspect the back to ensure that I was not simply grinding down one edge of the model. I would also turn the model between my thumb and index finger to inspect its width from all sides, ensuring that it was an even width on all edges and was not becoming too thin on any particular edge.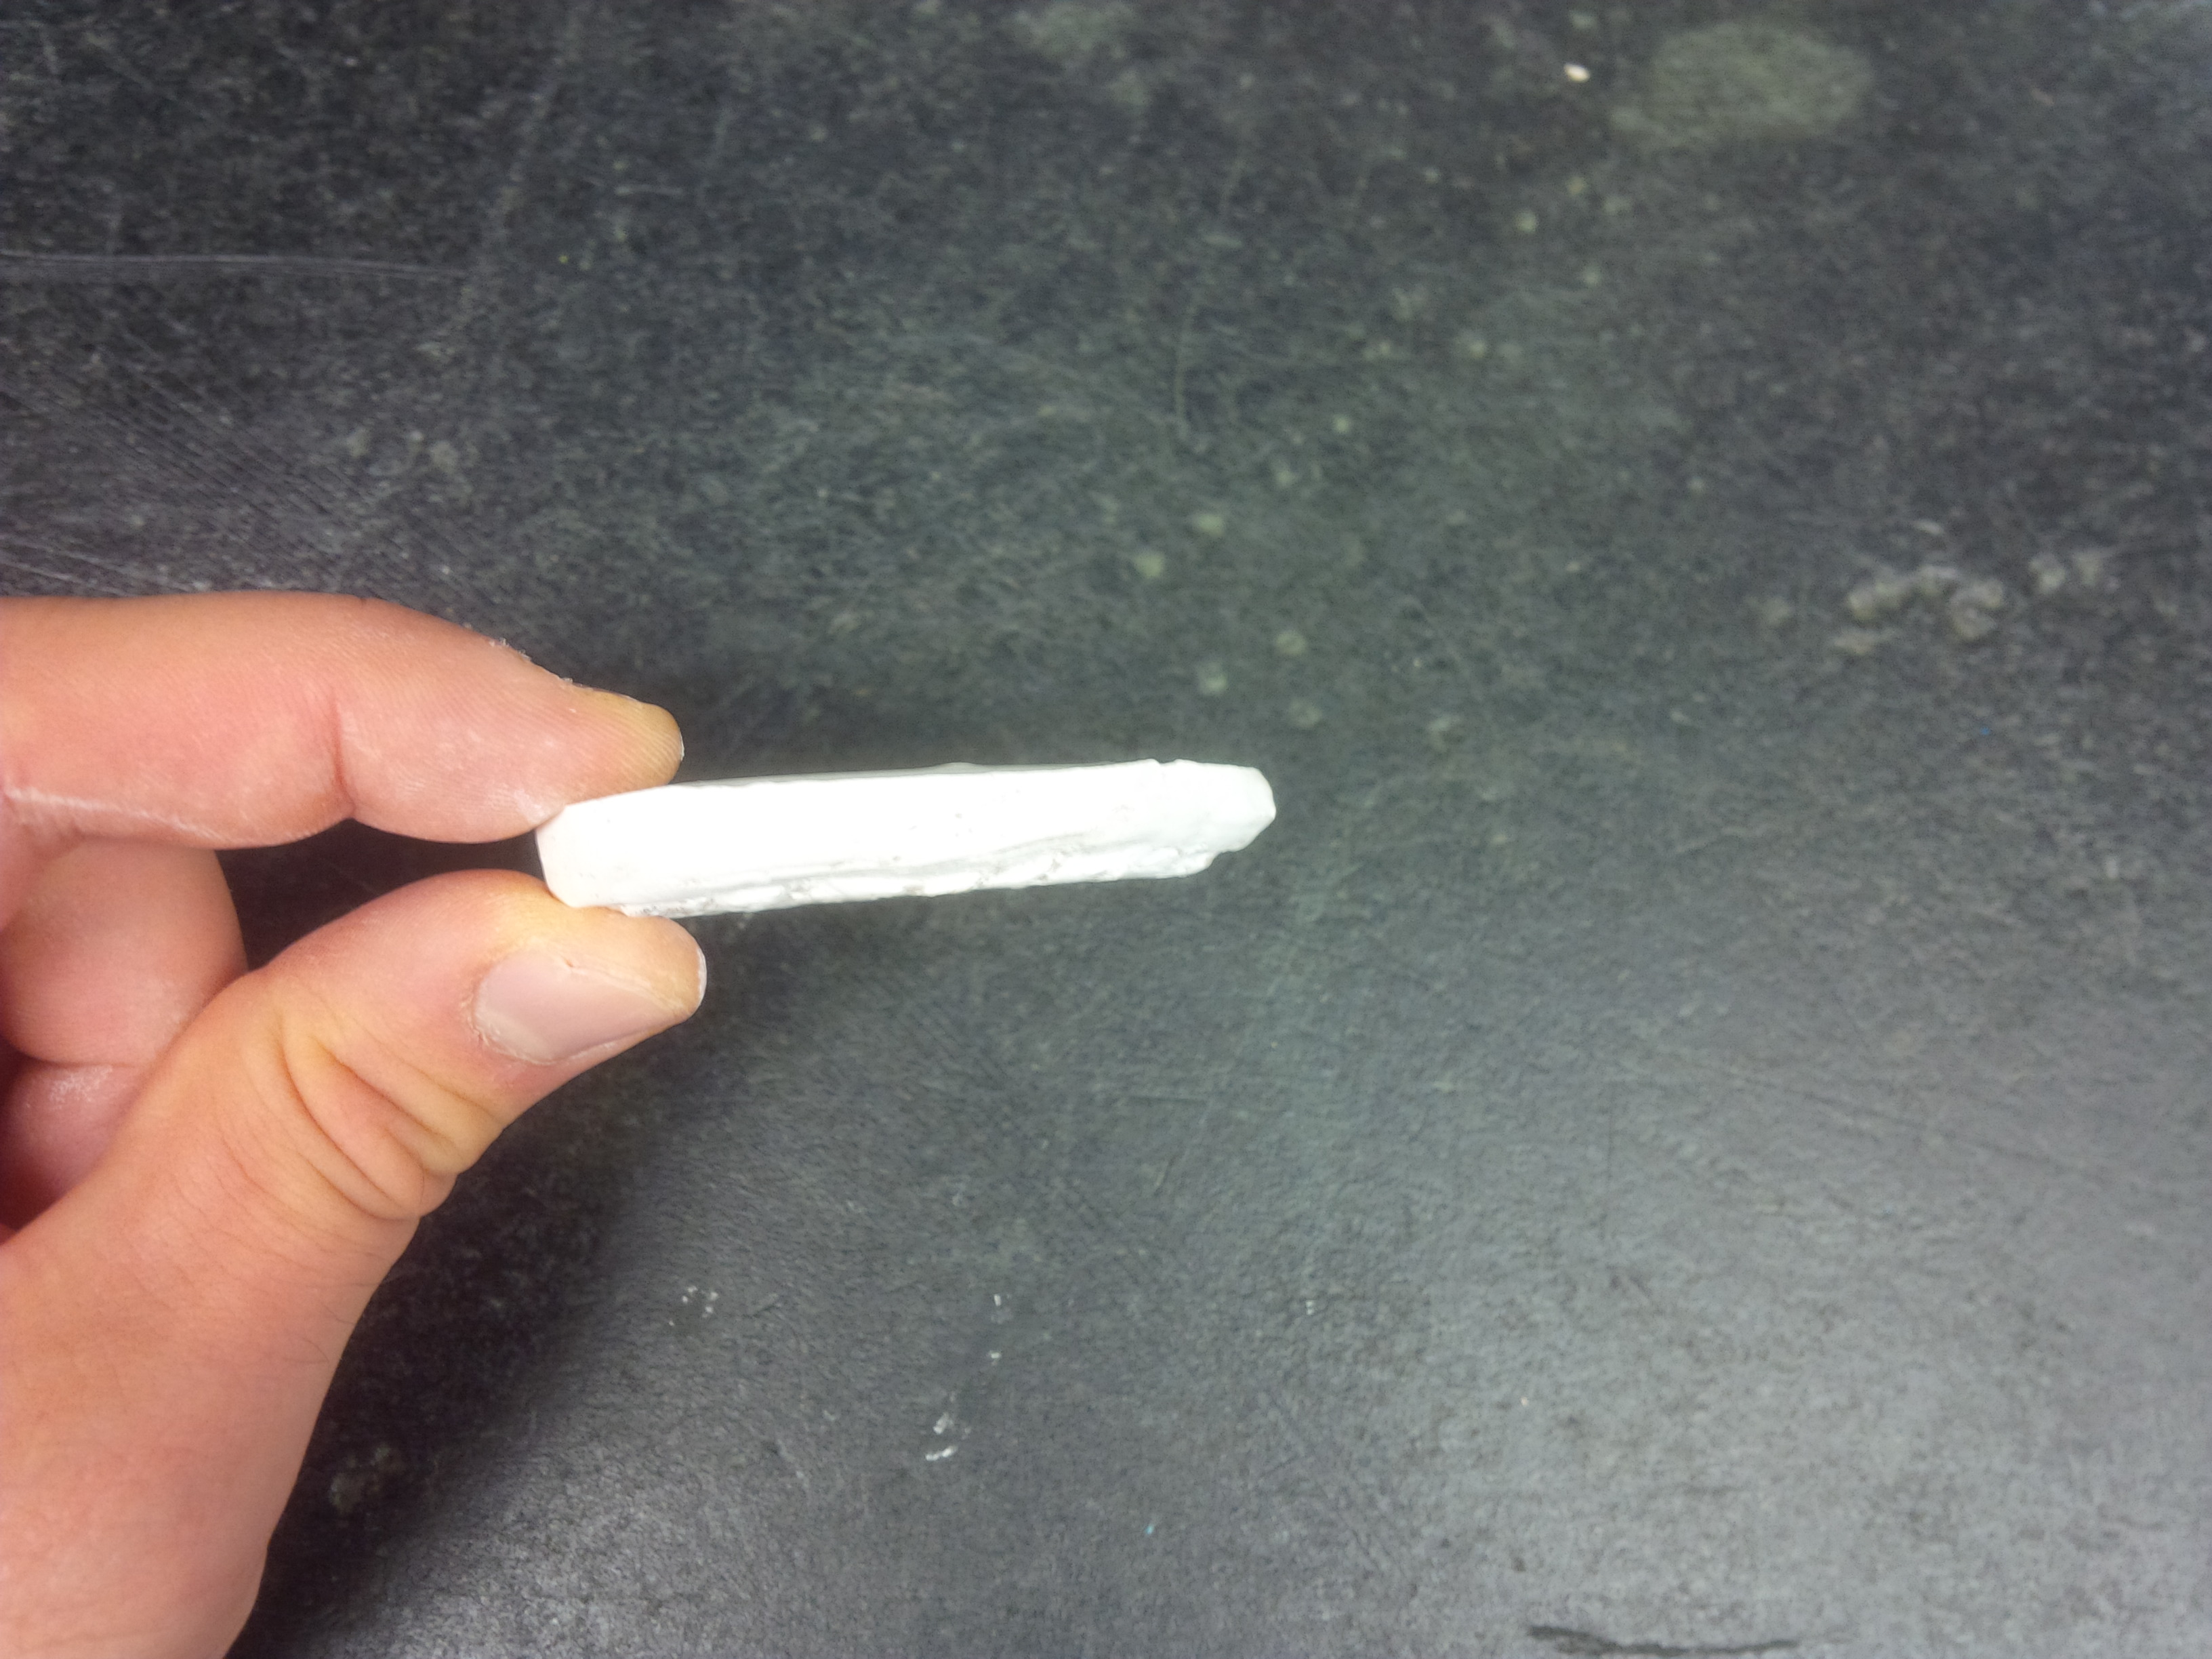
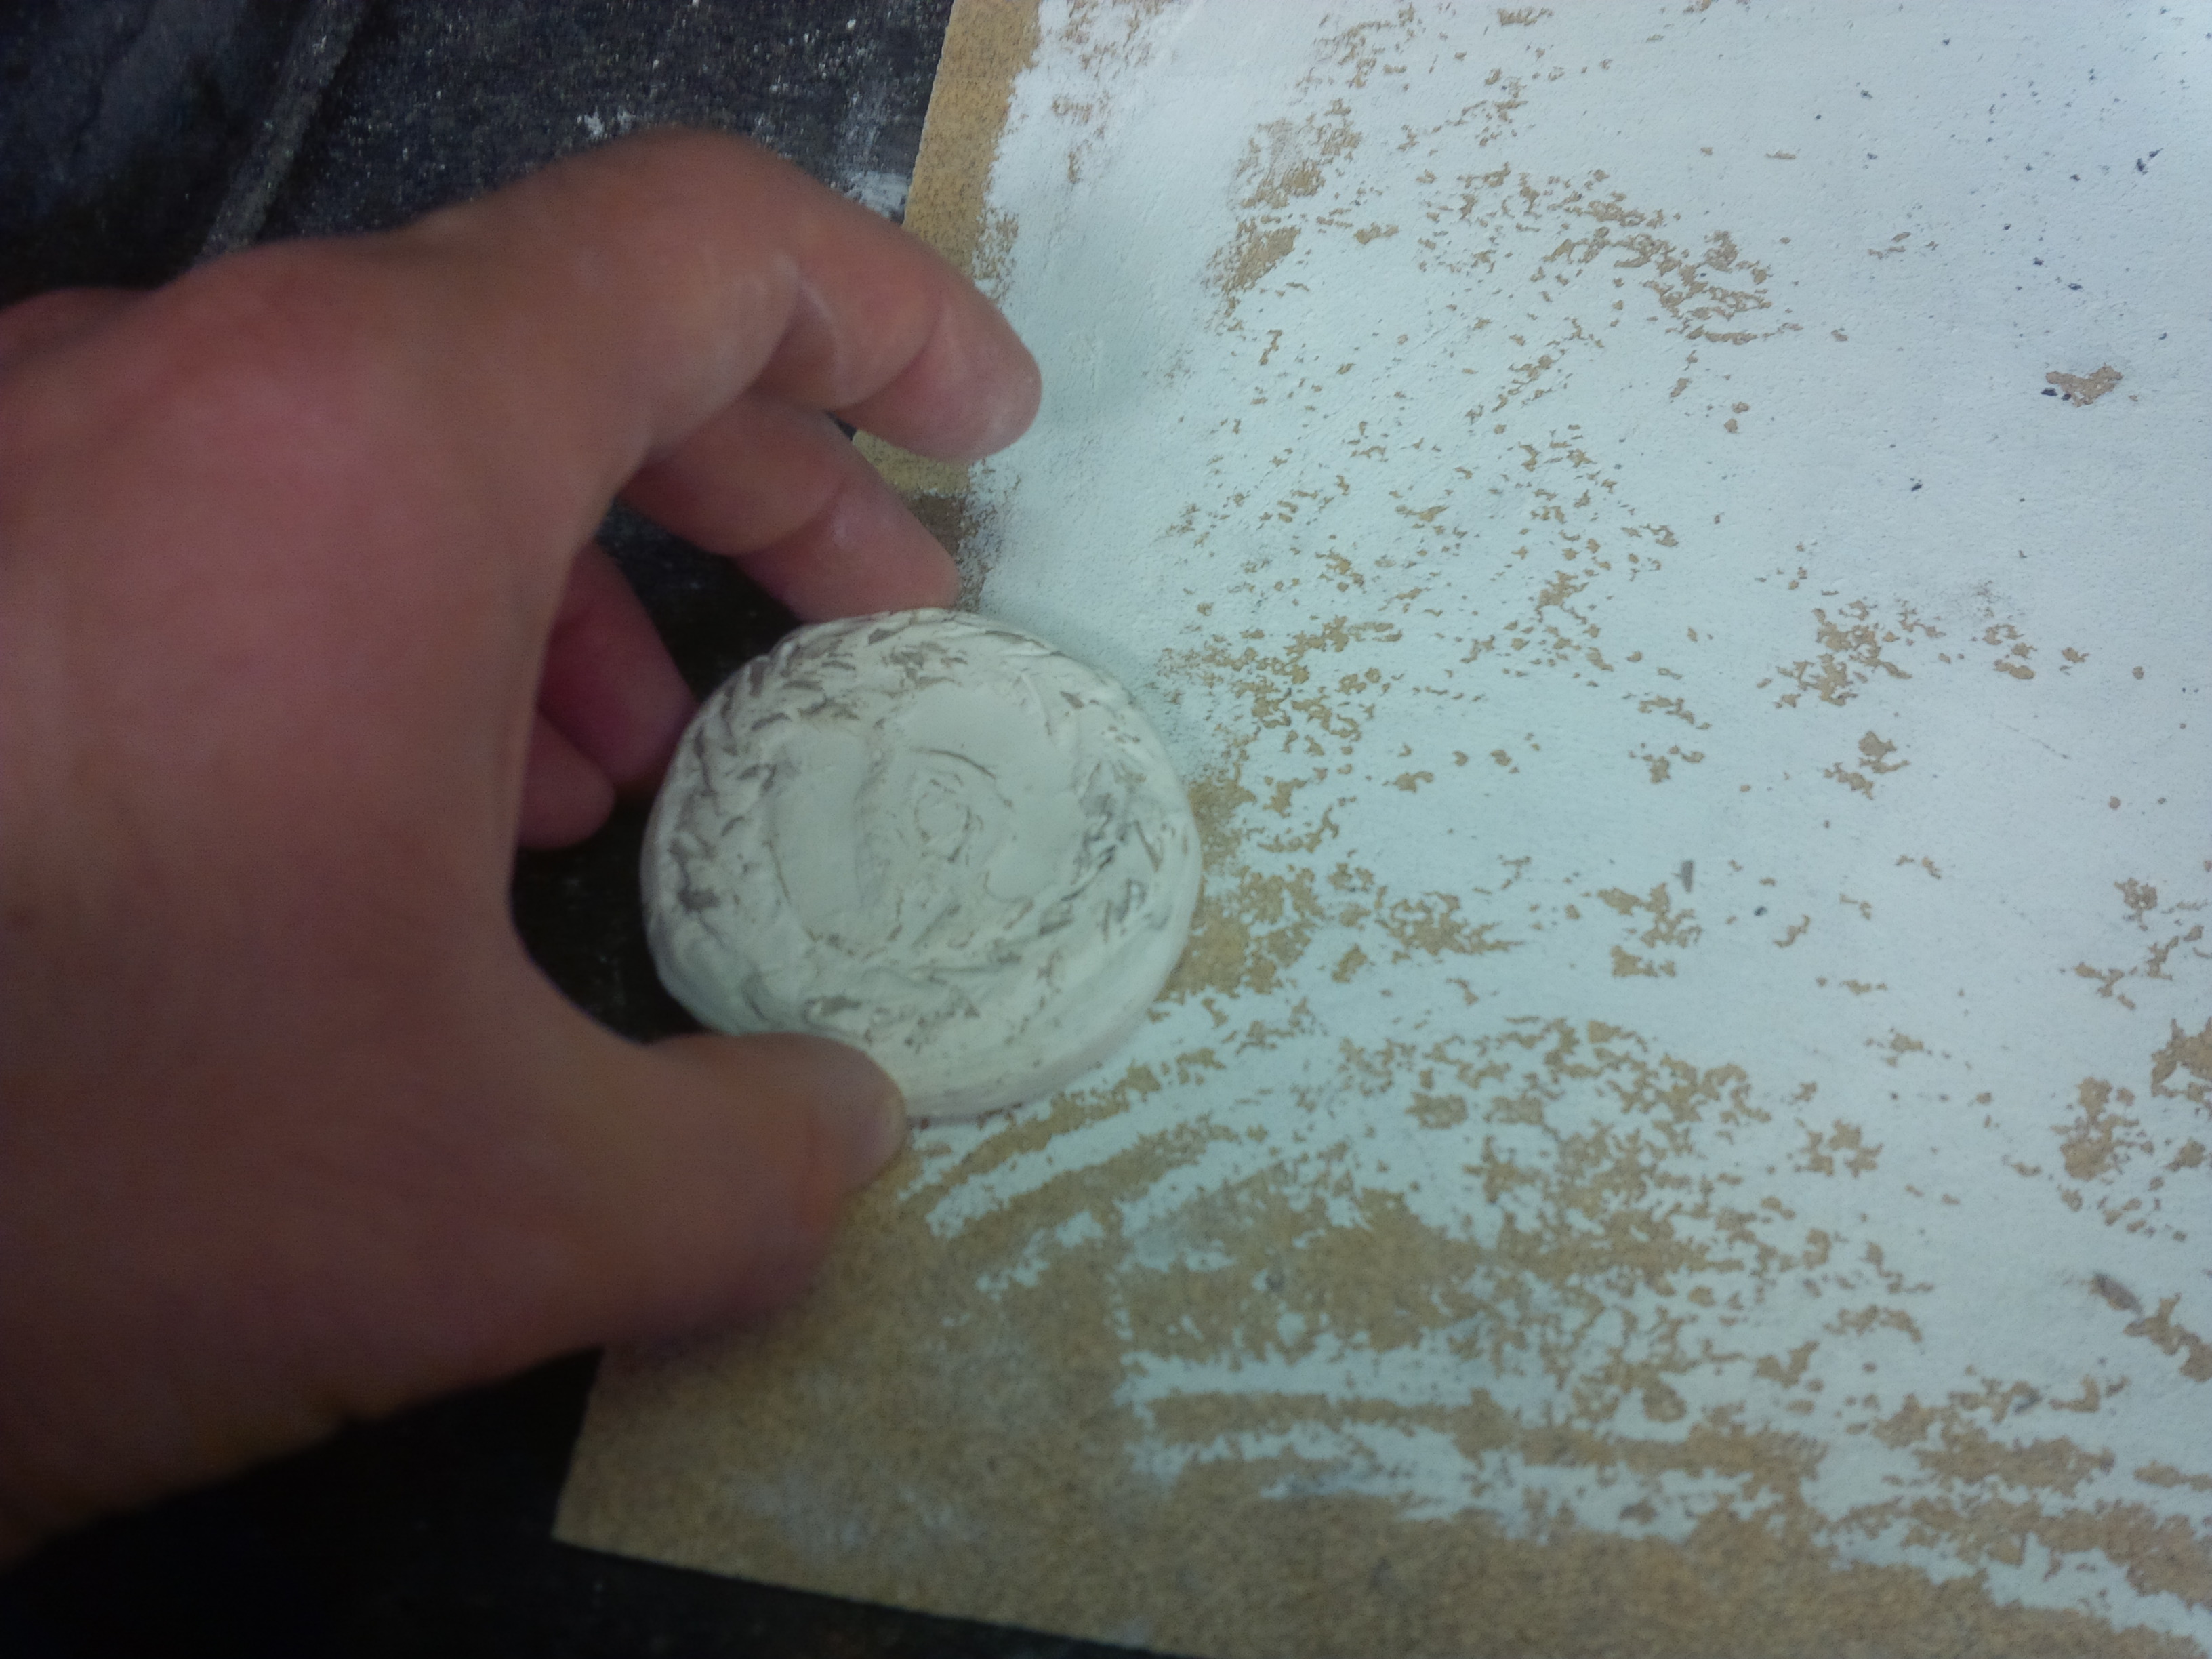
4. Smooth edges of plaster models with metal file:
Holding the plaster model between my thumb, index, and middle fingers of my left hand, I slowly moved a metal file up and down against the round edges of the models with my right hand. At first I applied too much pressure and worked to quickly, and my overzealousness resulted in a rather deep scrape into one edge of the plaster model with the verso of the medal design. I quickly readjusted by more gently moving the file up and down while slowly rotating the model in my left hand. Tonny Beentjes told me that I would need to ensure that the edges not be too crisp, otherwise there would be a risk of small breaks along the edges of the finished medal. I therefore angled the file inward as I reached the rim of the model to soften this edge.5. Carefully scrape away small clay pieces on face of mold using dental tools:
Using metal dental tools with needle-like protrusions, I picked out the very small pieces of clay that had become lodged into narrow spaces of my plaster models. I also found that by scraping the metal tools against the plaster, I could carve into the plaster to cut my design deeper into the surface of the plaster. I used this technique to make the edges of the lettering in the recto design more sharp.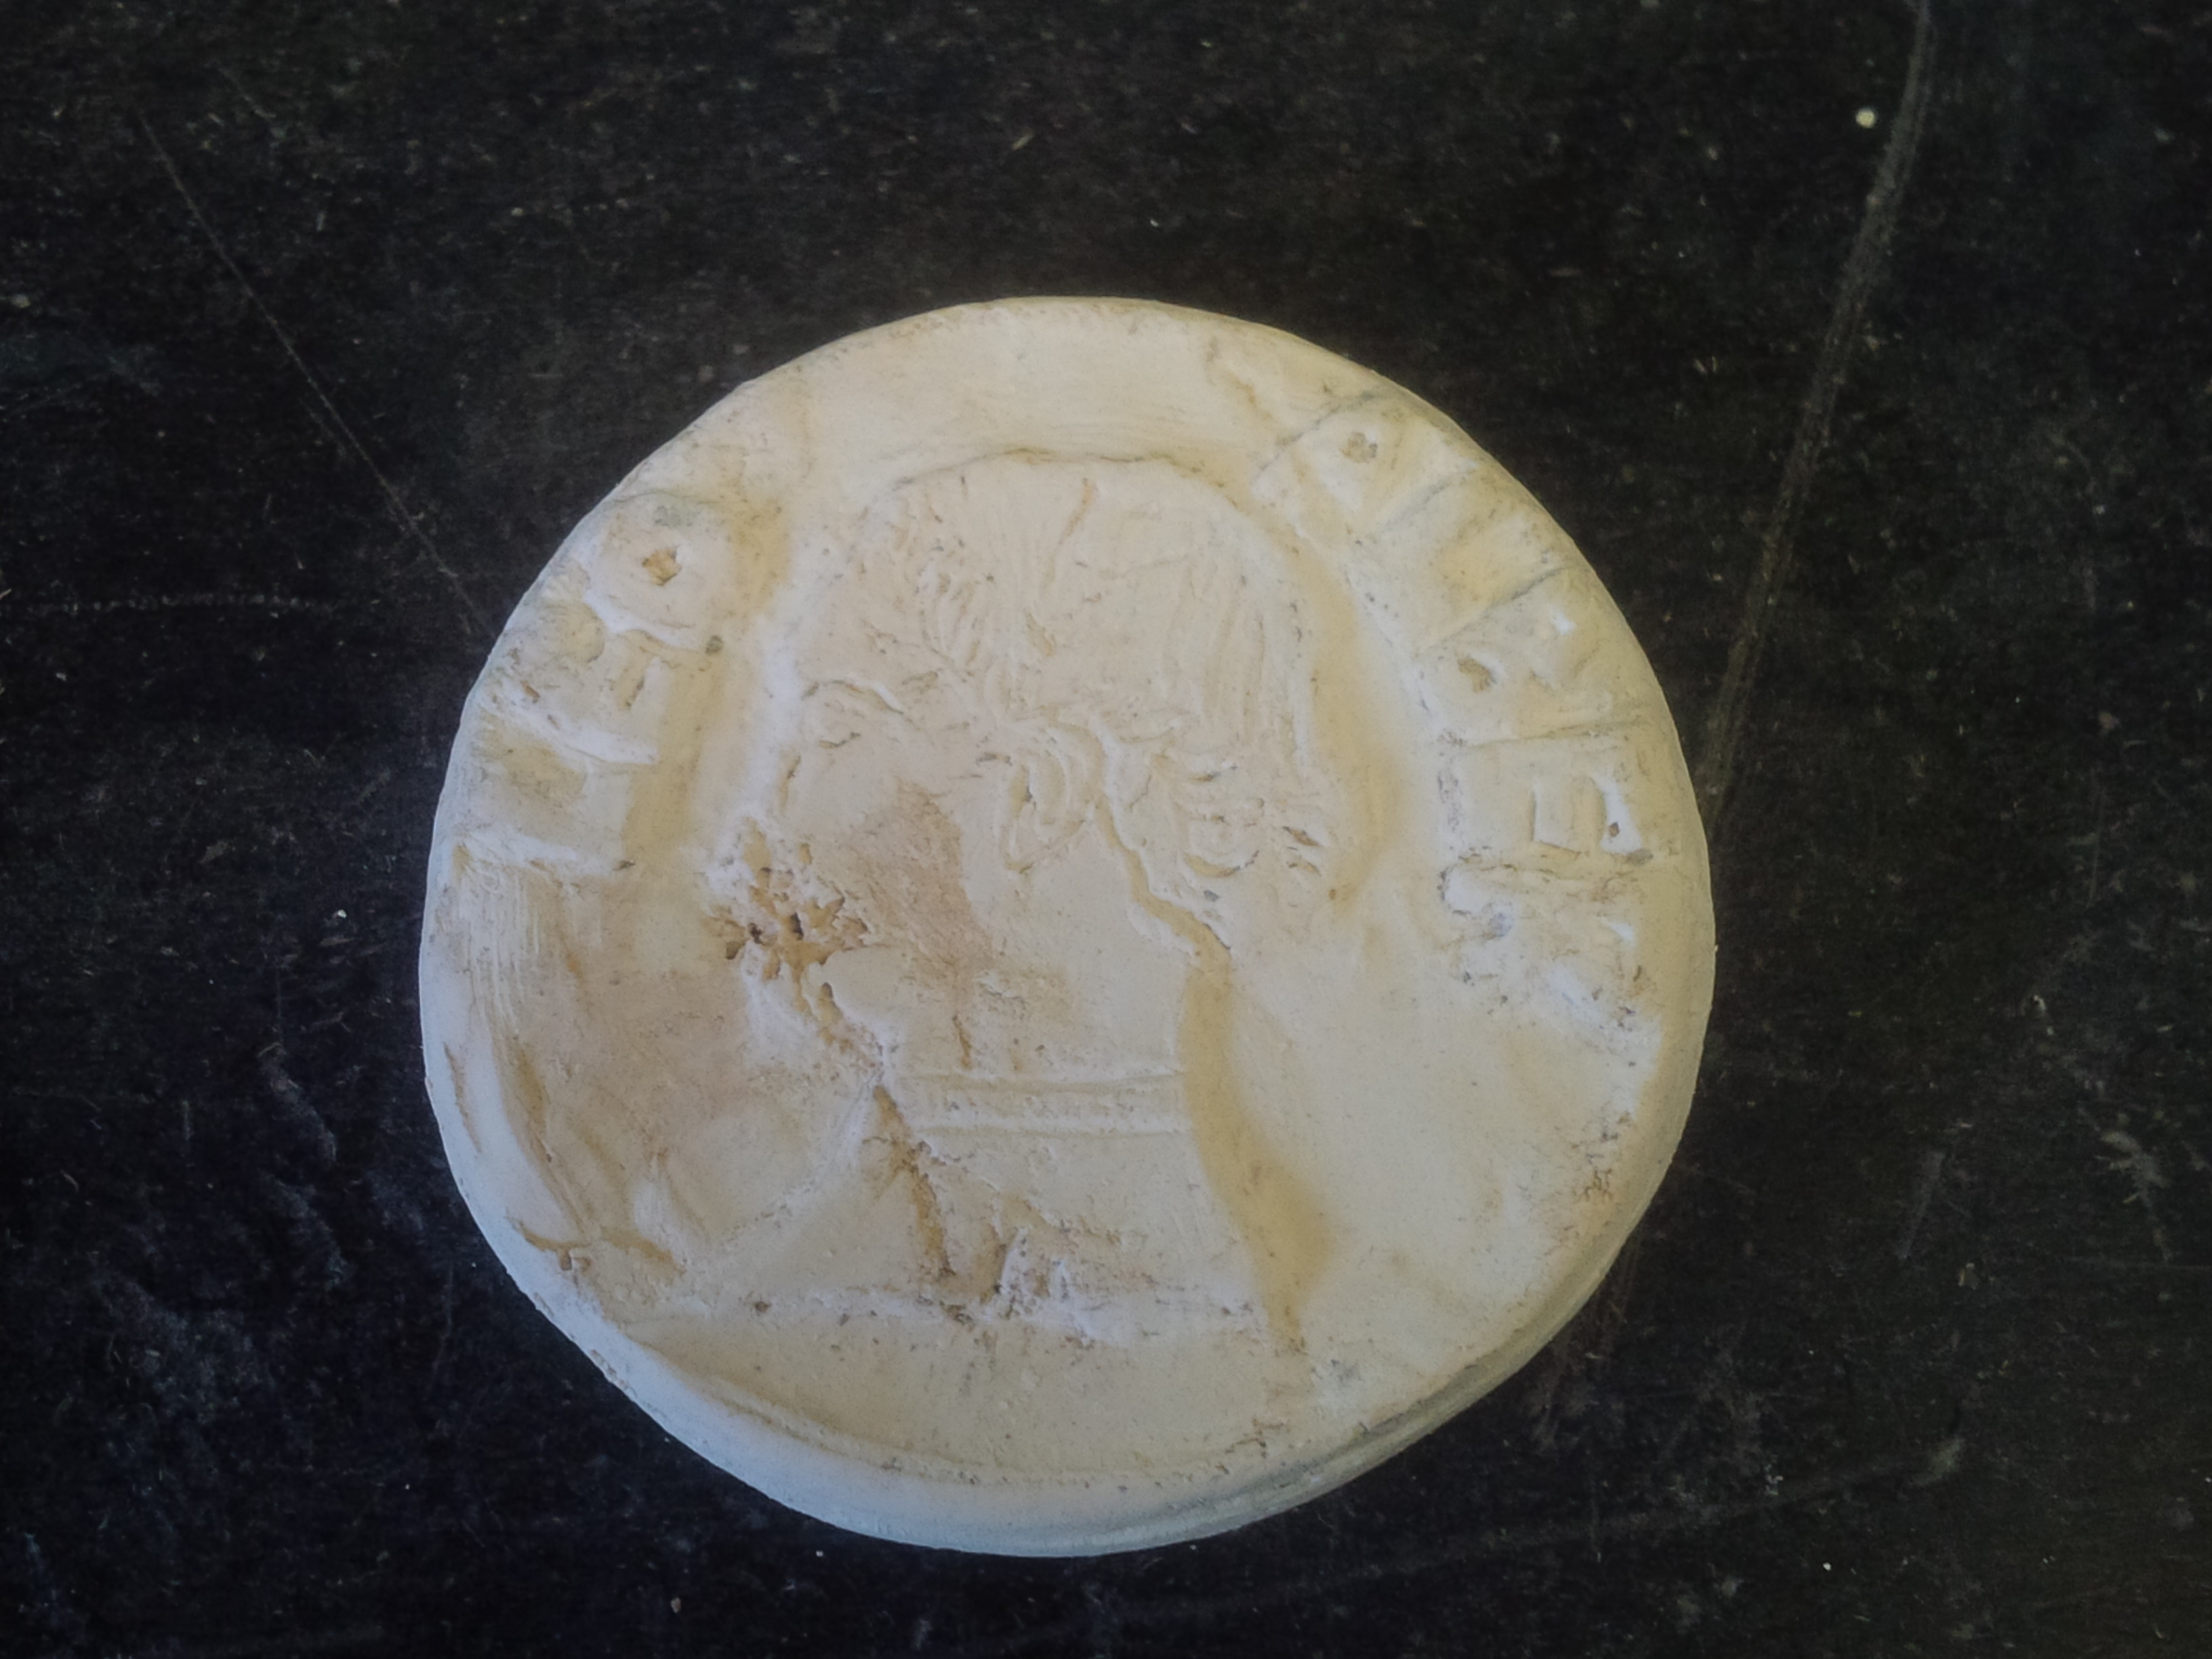
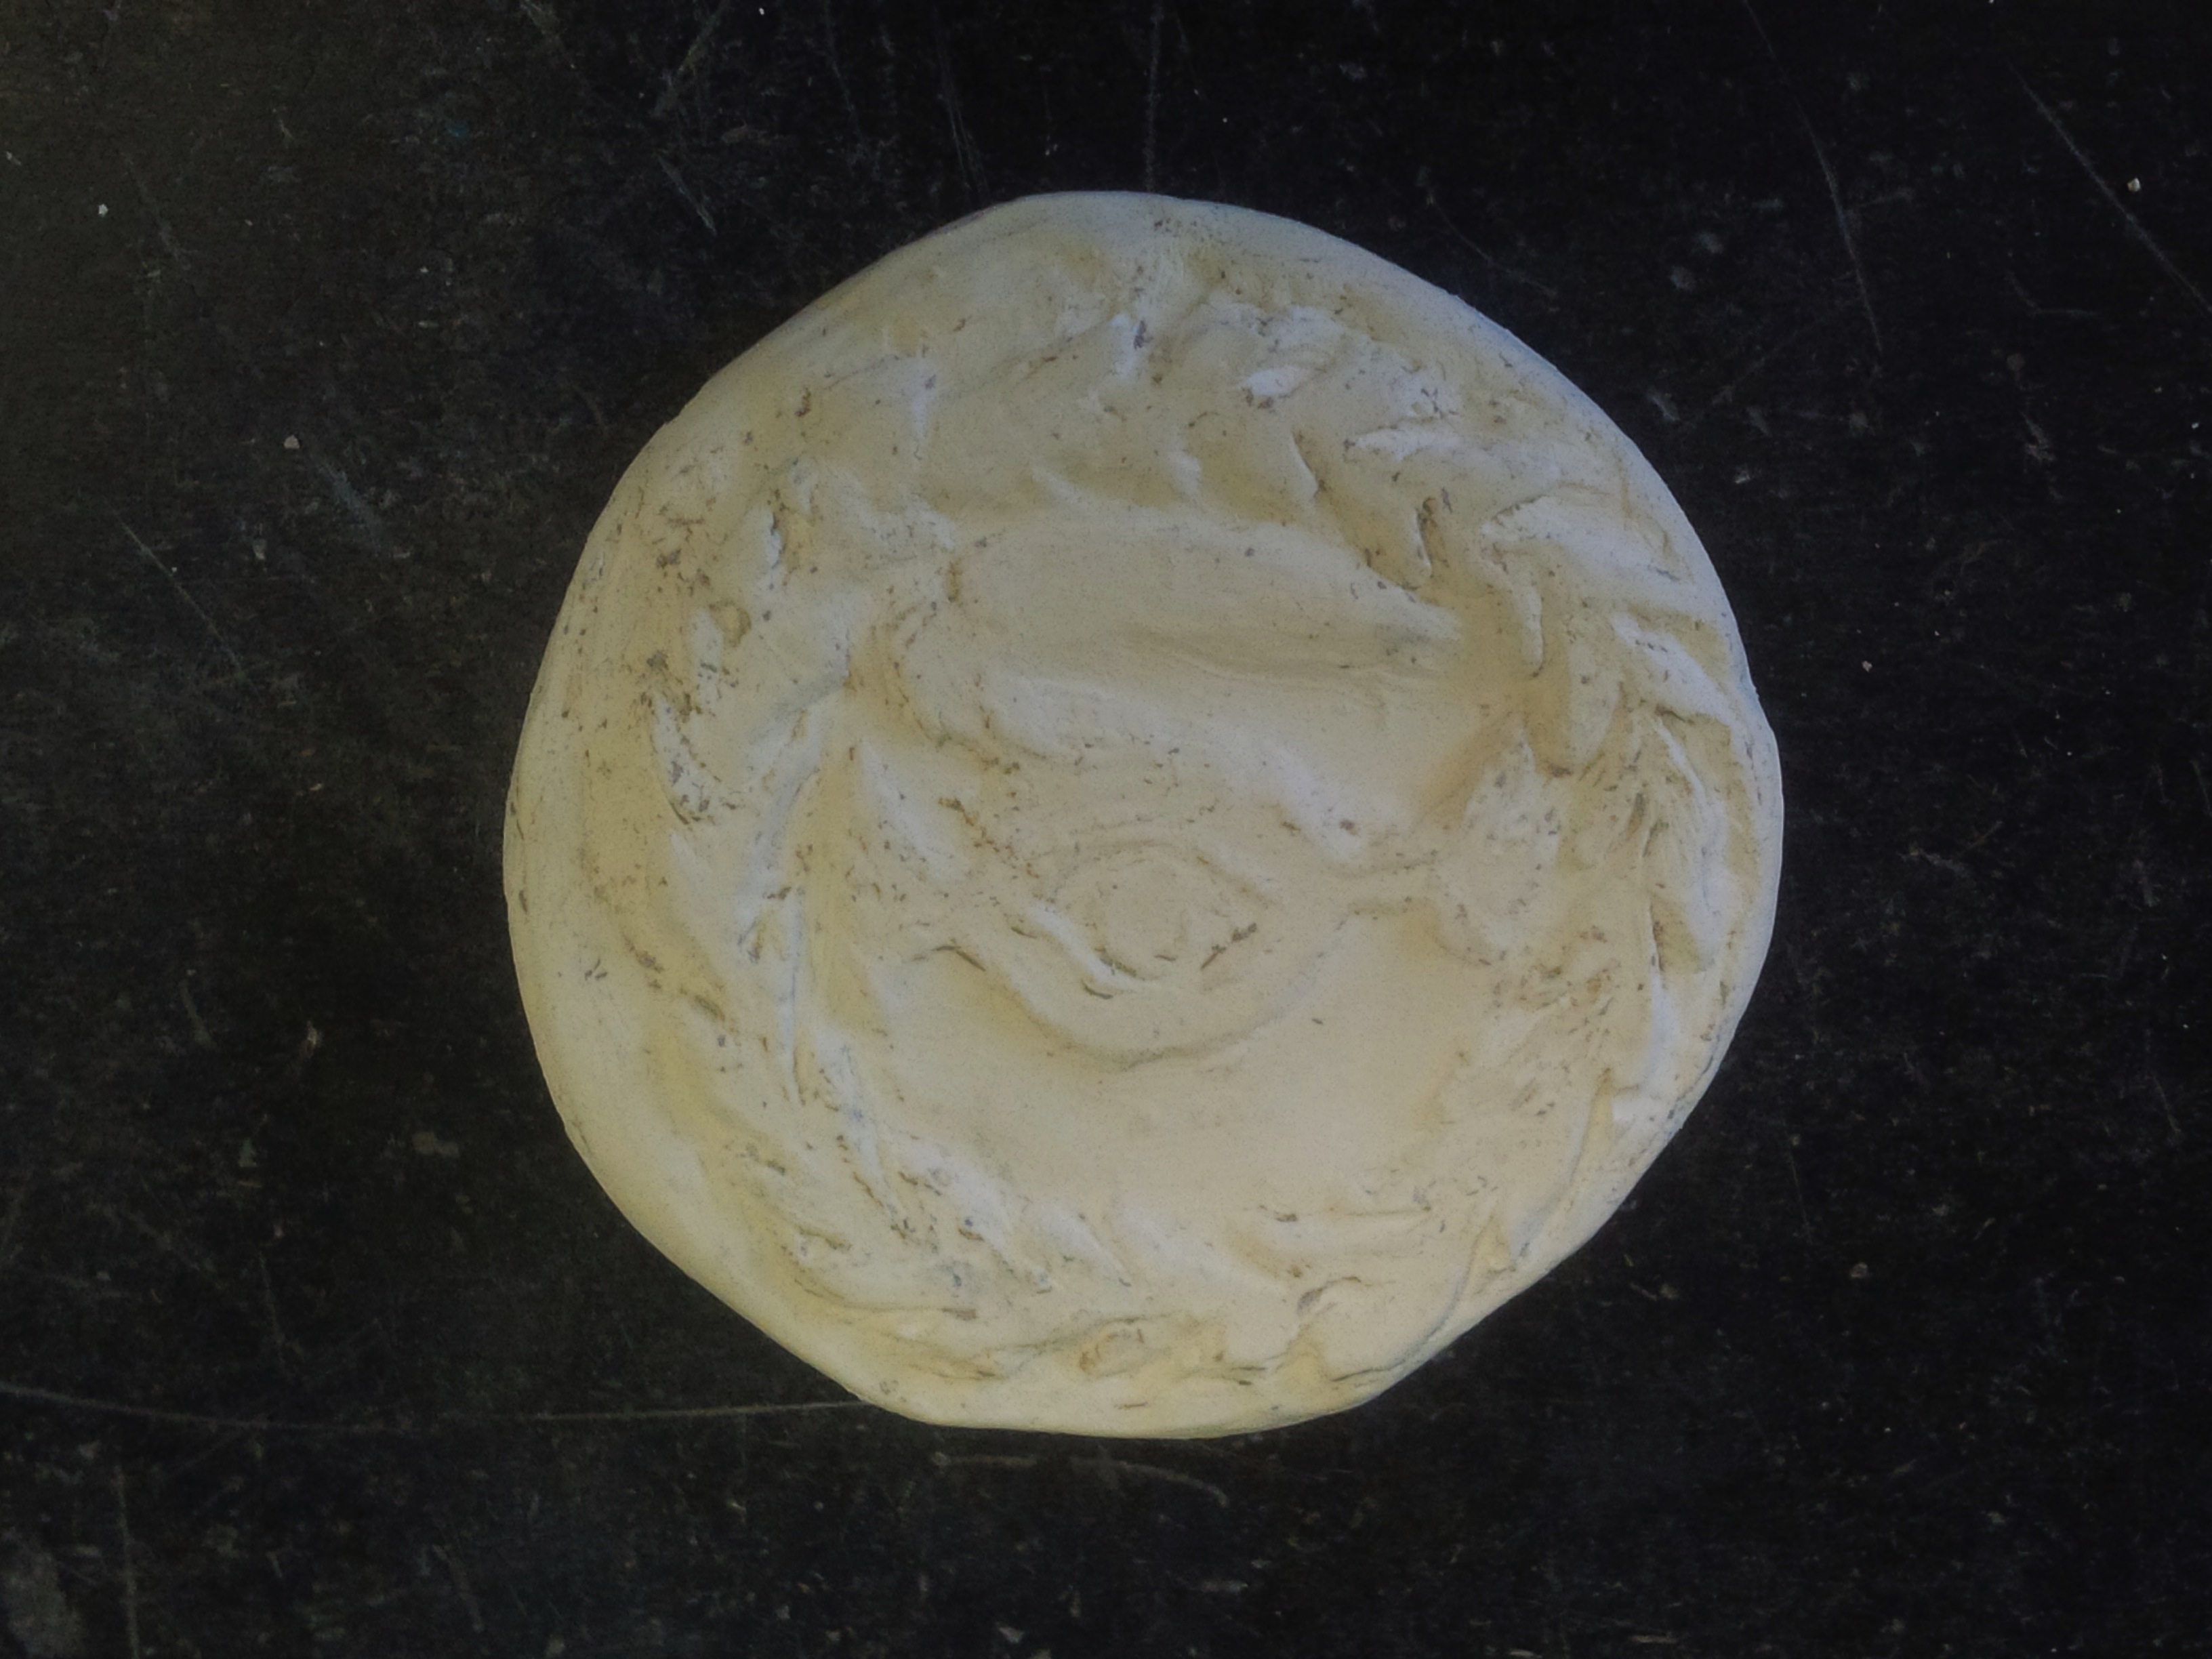
Conclusions
- The plaster was faithful in picking up the design imprinted into the clay mold.
The largest problem occurred in the mouth of Matteo de’ Pasti. When I removed the beeswax model, there was evidently too much suction, and the clay appears to have lifted up in the area of the figure’s mouth (at the center of the design). As a result, when I cast in plaster, there was a large indentation near the figure’s mouth. I joked that this gaping mouth made him look like a zombie, which was met with agreement from my lab partner Jordan.- When working with my cast plaster model, the making process became one of reduction.
I could grind away the surface using sandpaper, a file, or fine metal tools, but I did not have a means to add a substance back into the plaster. As a result, my model of Matteo de’ Pasti was left with a troublingly gaping mouth, and I had no means of fixing the problem. At this point I wondered if an expert maker would have discarded the plaster model, returned to the beeswax model, and cast a new plaster model.- The process of filing down the plaster model was relatively simple, especially compared to filing down metal (I assume).
When filing the plaster, the most important trick I learned was not to exert too much pressure. I wondered whether an expert would have left some imperfections and simply filed down the completed medal. I realized that no, this was likely not the case, as filing down the plaster model would help reduce the amount of medal used. Also, smoothing plaster on sandpaper requires less exertion of energy than filing metal.October 14, 2014: Preparing sand for sand casting (First Time)
NAME: Raymond Carlson & Jordan KatzDATE AND TIME: October 14, 2014, 10am
LOCATION: Chemistry Laboratory, Chandler Hall, Columbia University, New York, NY
SUBJECT: Preparing sand for sand casting (First Time)
Materials
- Bowl with a solution of water and Sal ammoniac (Ammonium Chloride)- Bottle of brandy ("spirits")
- Charcoal pulverized with a file
- Sieve
- Measuring cups (1 cup; 1/2 cup)
- Large metal pot
- Metal spoon
- Sand made from crushed clay molds
- Wooden spoon
Basic Step-By-Step Process
1. Obtain sand2. Sift large granules out of sand
3. Transfer 2 cups of sand to a metal pot
4. Add 1/2 cup Sal ammoniac solution and 1 tablespoon of brandy to sand to produce clay
5. Mix and Knead Clay
In-Depth Step-By-Step Process
1. Obtain Sand
Our indefatigable post-doctoral colleagues have been hard at work grinding sand this morning for use in our molds. We benefit greatly from the large quantity of sand they have made.2. Sift large granules out of sand
There are large granules in the sand which, as we are informed by Tonny Beentjes, will be problematic during casting. We are instructed to use a sieve to remove the large granules. This does not align with the comments of the author of the manuscript, who writes of the sand: "I did not pass it through a sieve, because of the feather alum mixed in, which makes it bind together." Because we did not include feather alum in our recipe, we presume that the author would have used a sieve if he had not used feather alum at this stage. Jordan is doing the sifting, and we are pressed for time and therefore moving quickly this morning. Jordan keeps the sieve, sand and other objects closely within arms reach, which helps make the process go fast. Speaking with Donna, we agree that keeping one's tools close is a necessary part of a Renaissance and a modern-day workshop.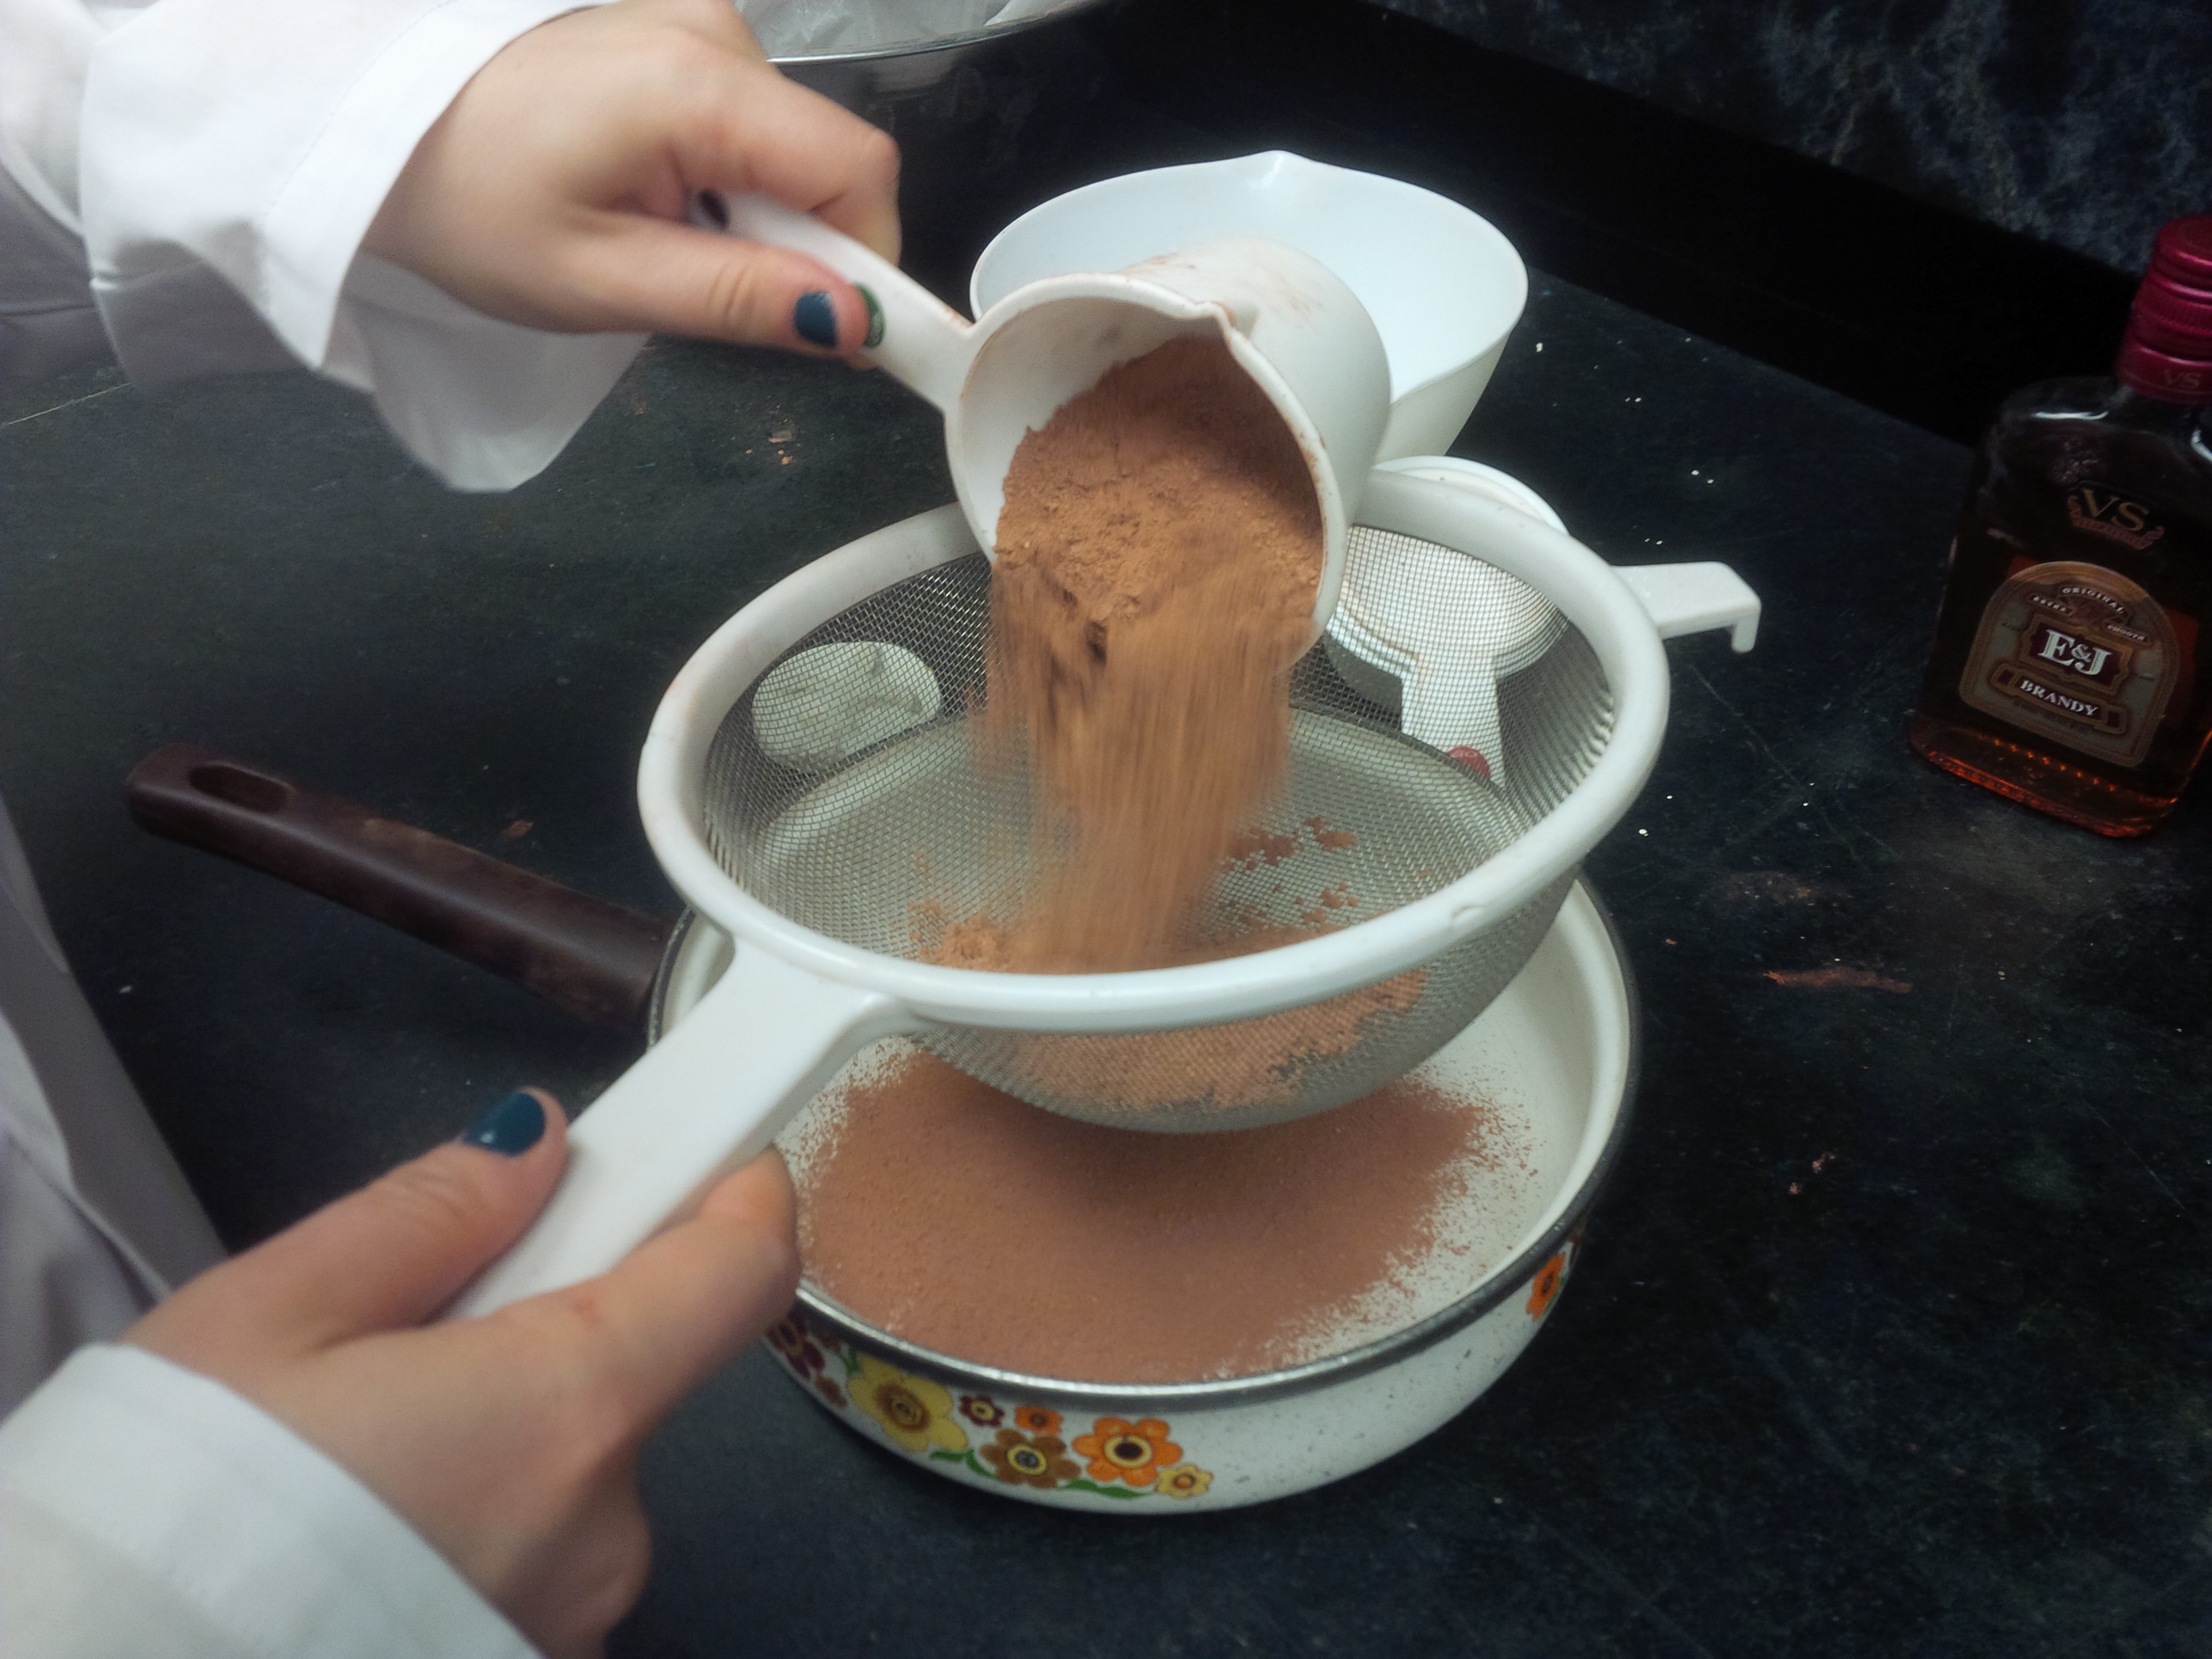
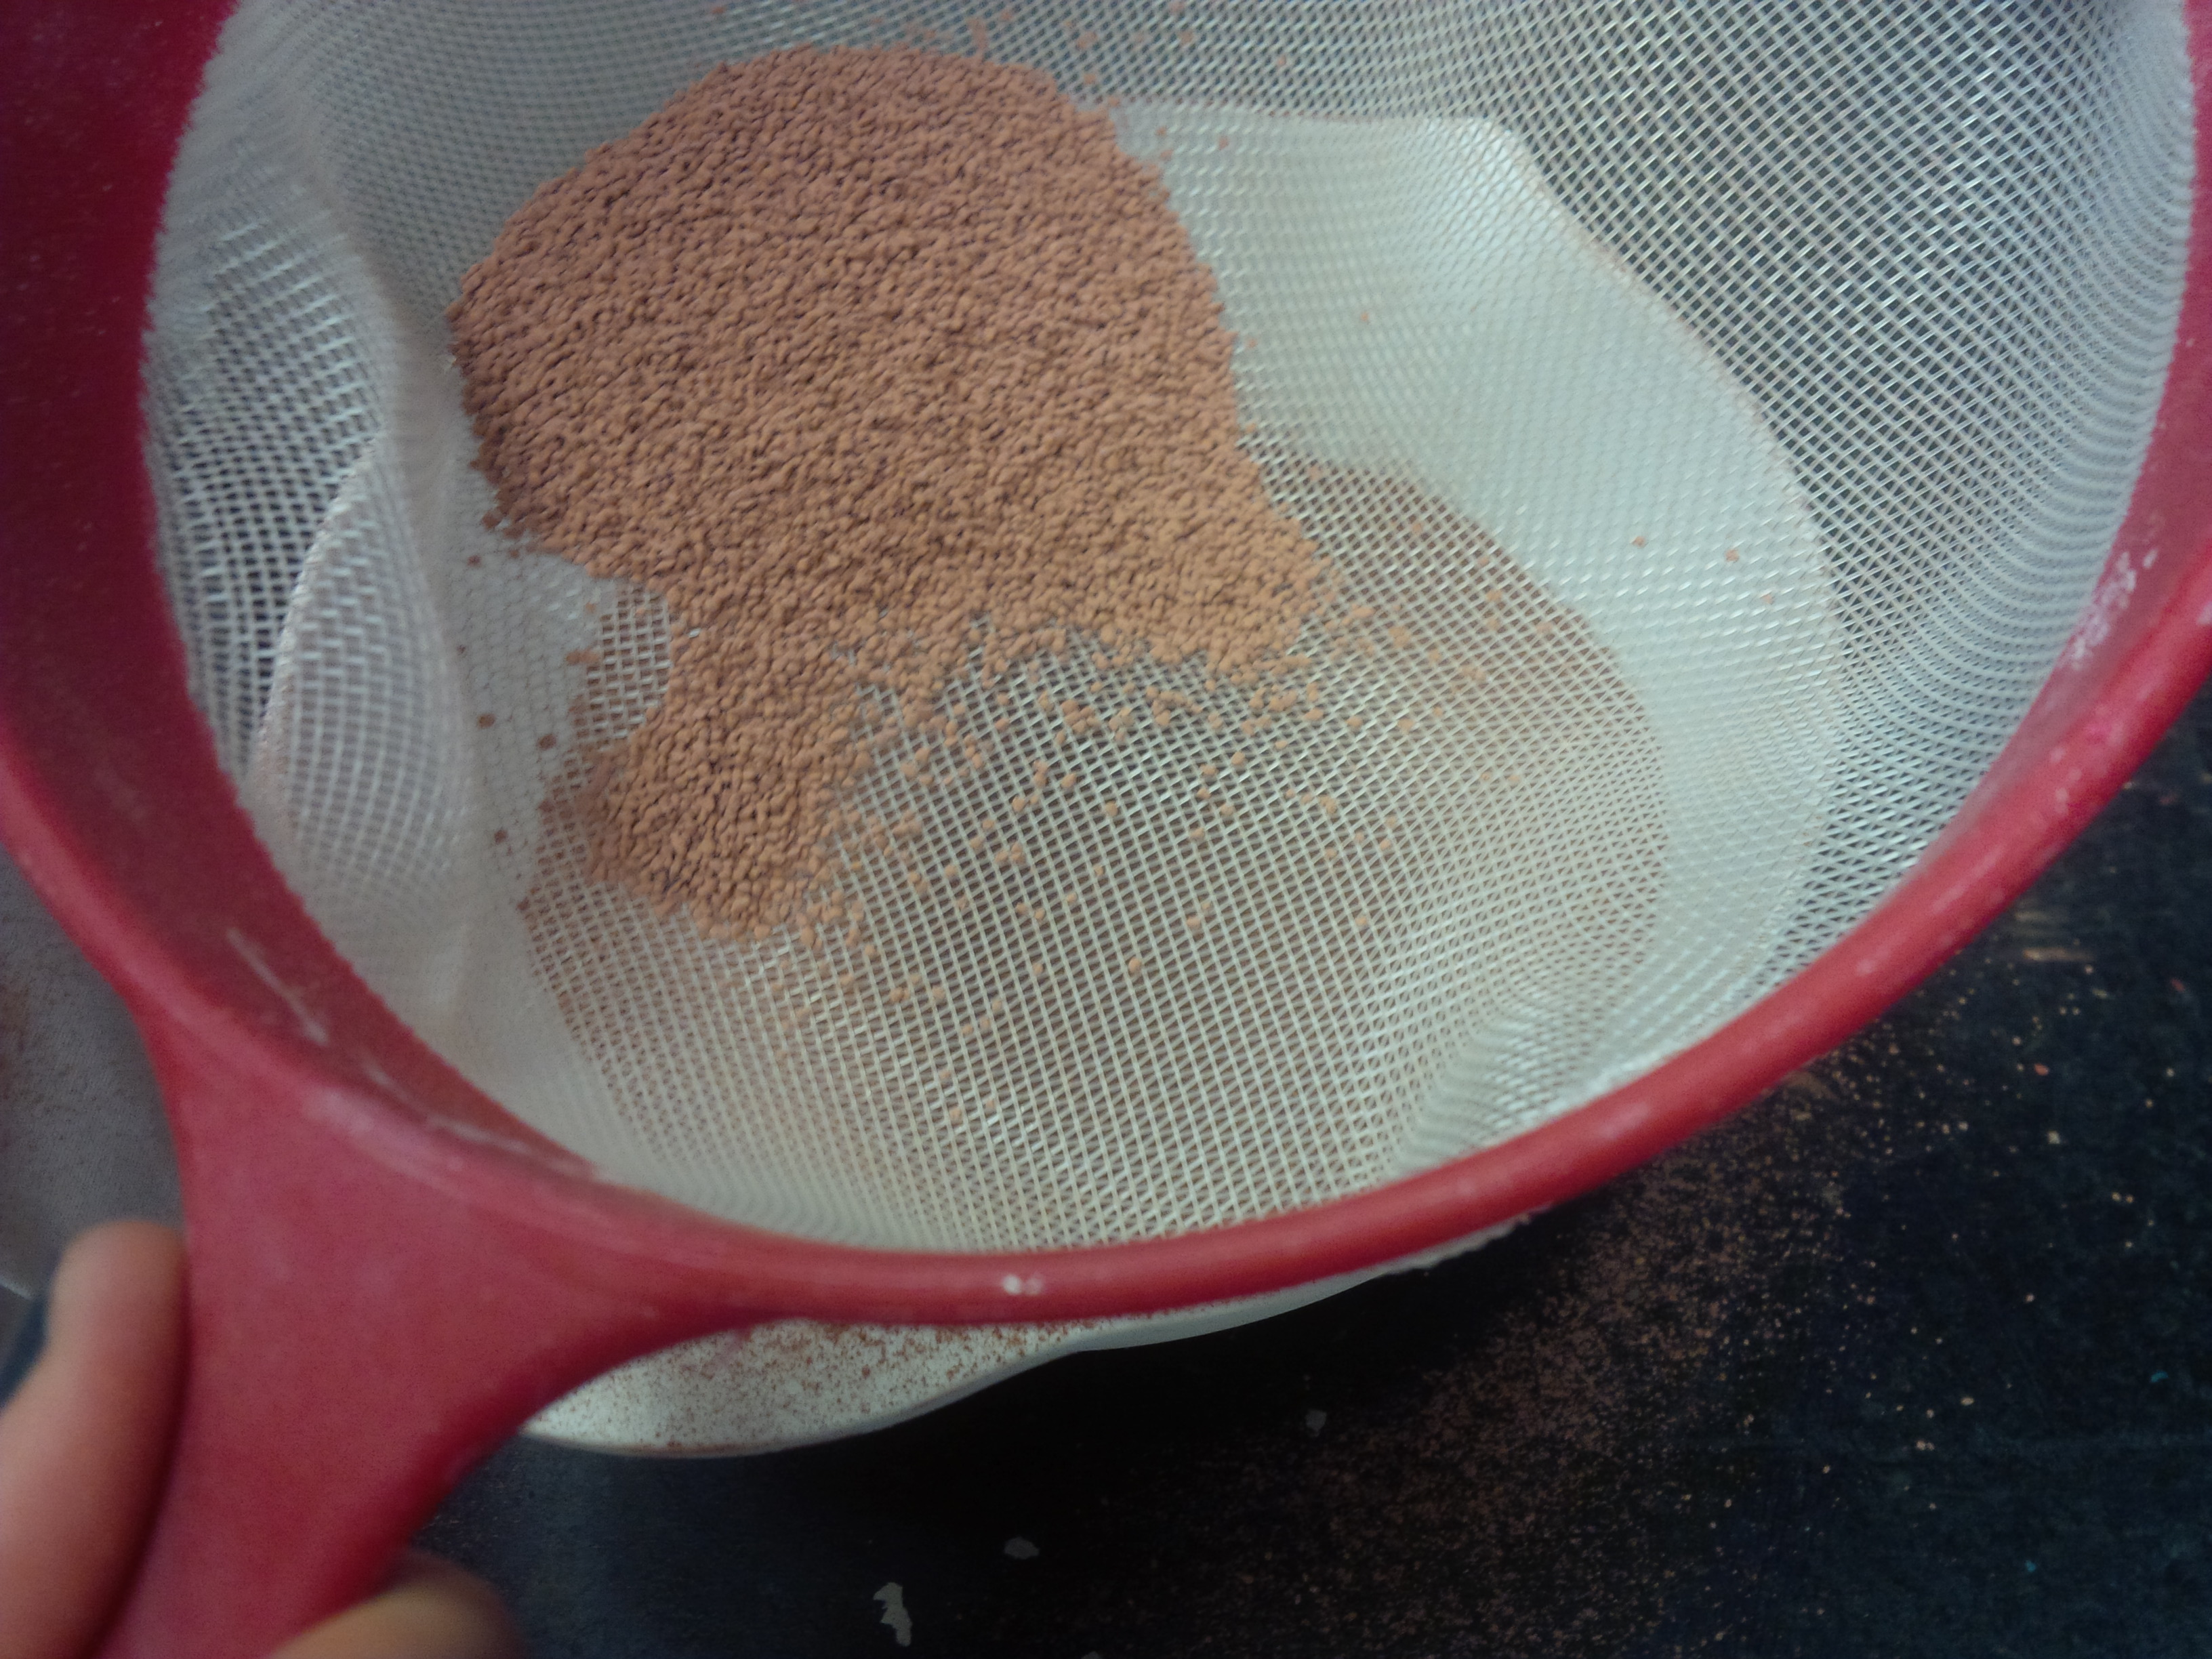
3. Transfer 2 cups of sand to a metal pot
We pour 2 cups of sand into a metal pot. As the recipe does not explicitly state how much sand is needed in the mixture, this is a guess.4. Add 1/2 cup Sal ammoniac solution and 1 tablespoon brandy to sand to produce clay
We begin by pouring a 1/2 cup of Sal ammoniac solution into our sand. This causes a fine, subtle smoke to rise. We then pour one tablespoon of brandy. We agree that "two silver spoonfuls of spirits" seems a difficult quantity to gauge. We decide to begin by assuming that a "silver spoonful" was small, as we can easily add more brandy. After adding the brandy, we fret about our decision not to mix the two liquids prior, as the recipe states: "I mixed in half a glass of sal ammoniac two silver spoonfuls of spirits." Stirring the dry and wet ingredients with a wooden spoon, we quickly find that the mixture is too dry, and we therefore decide to add an additional 1/2 cup of Sal ammoniac solution.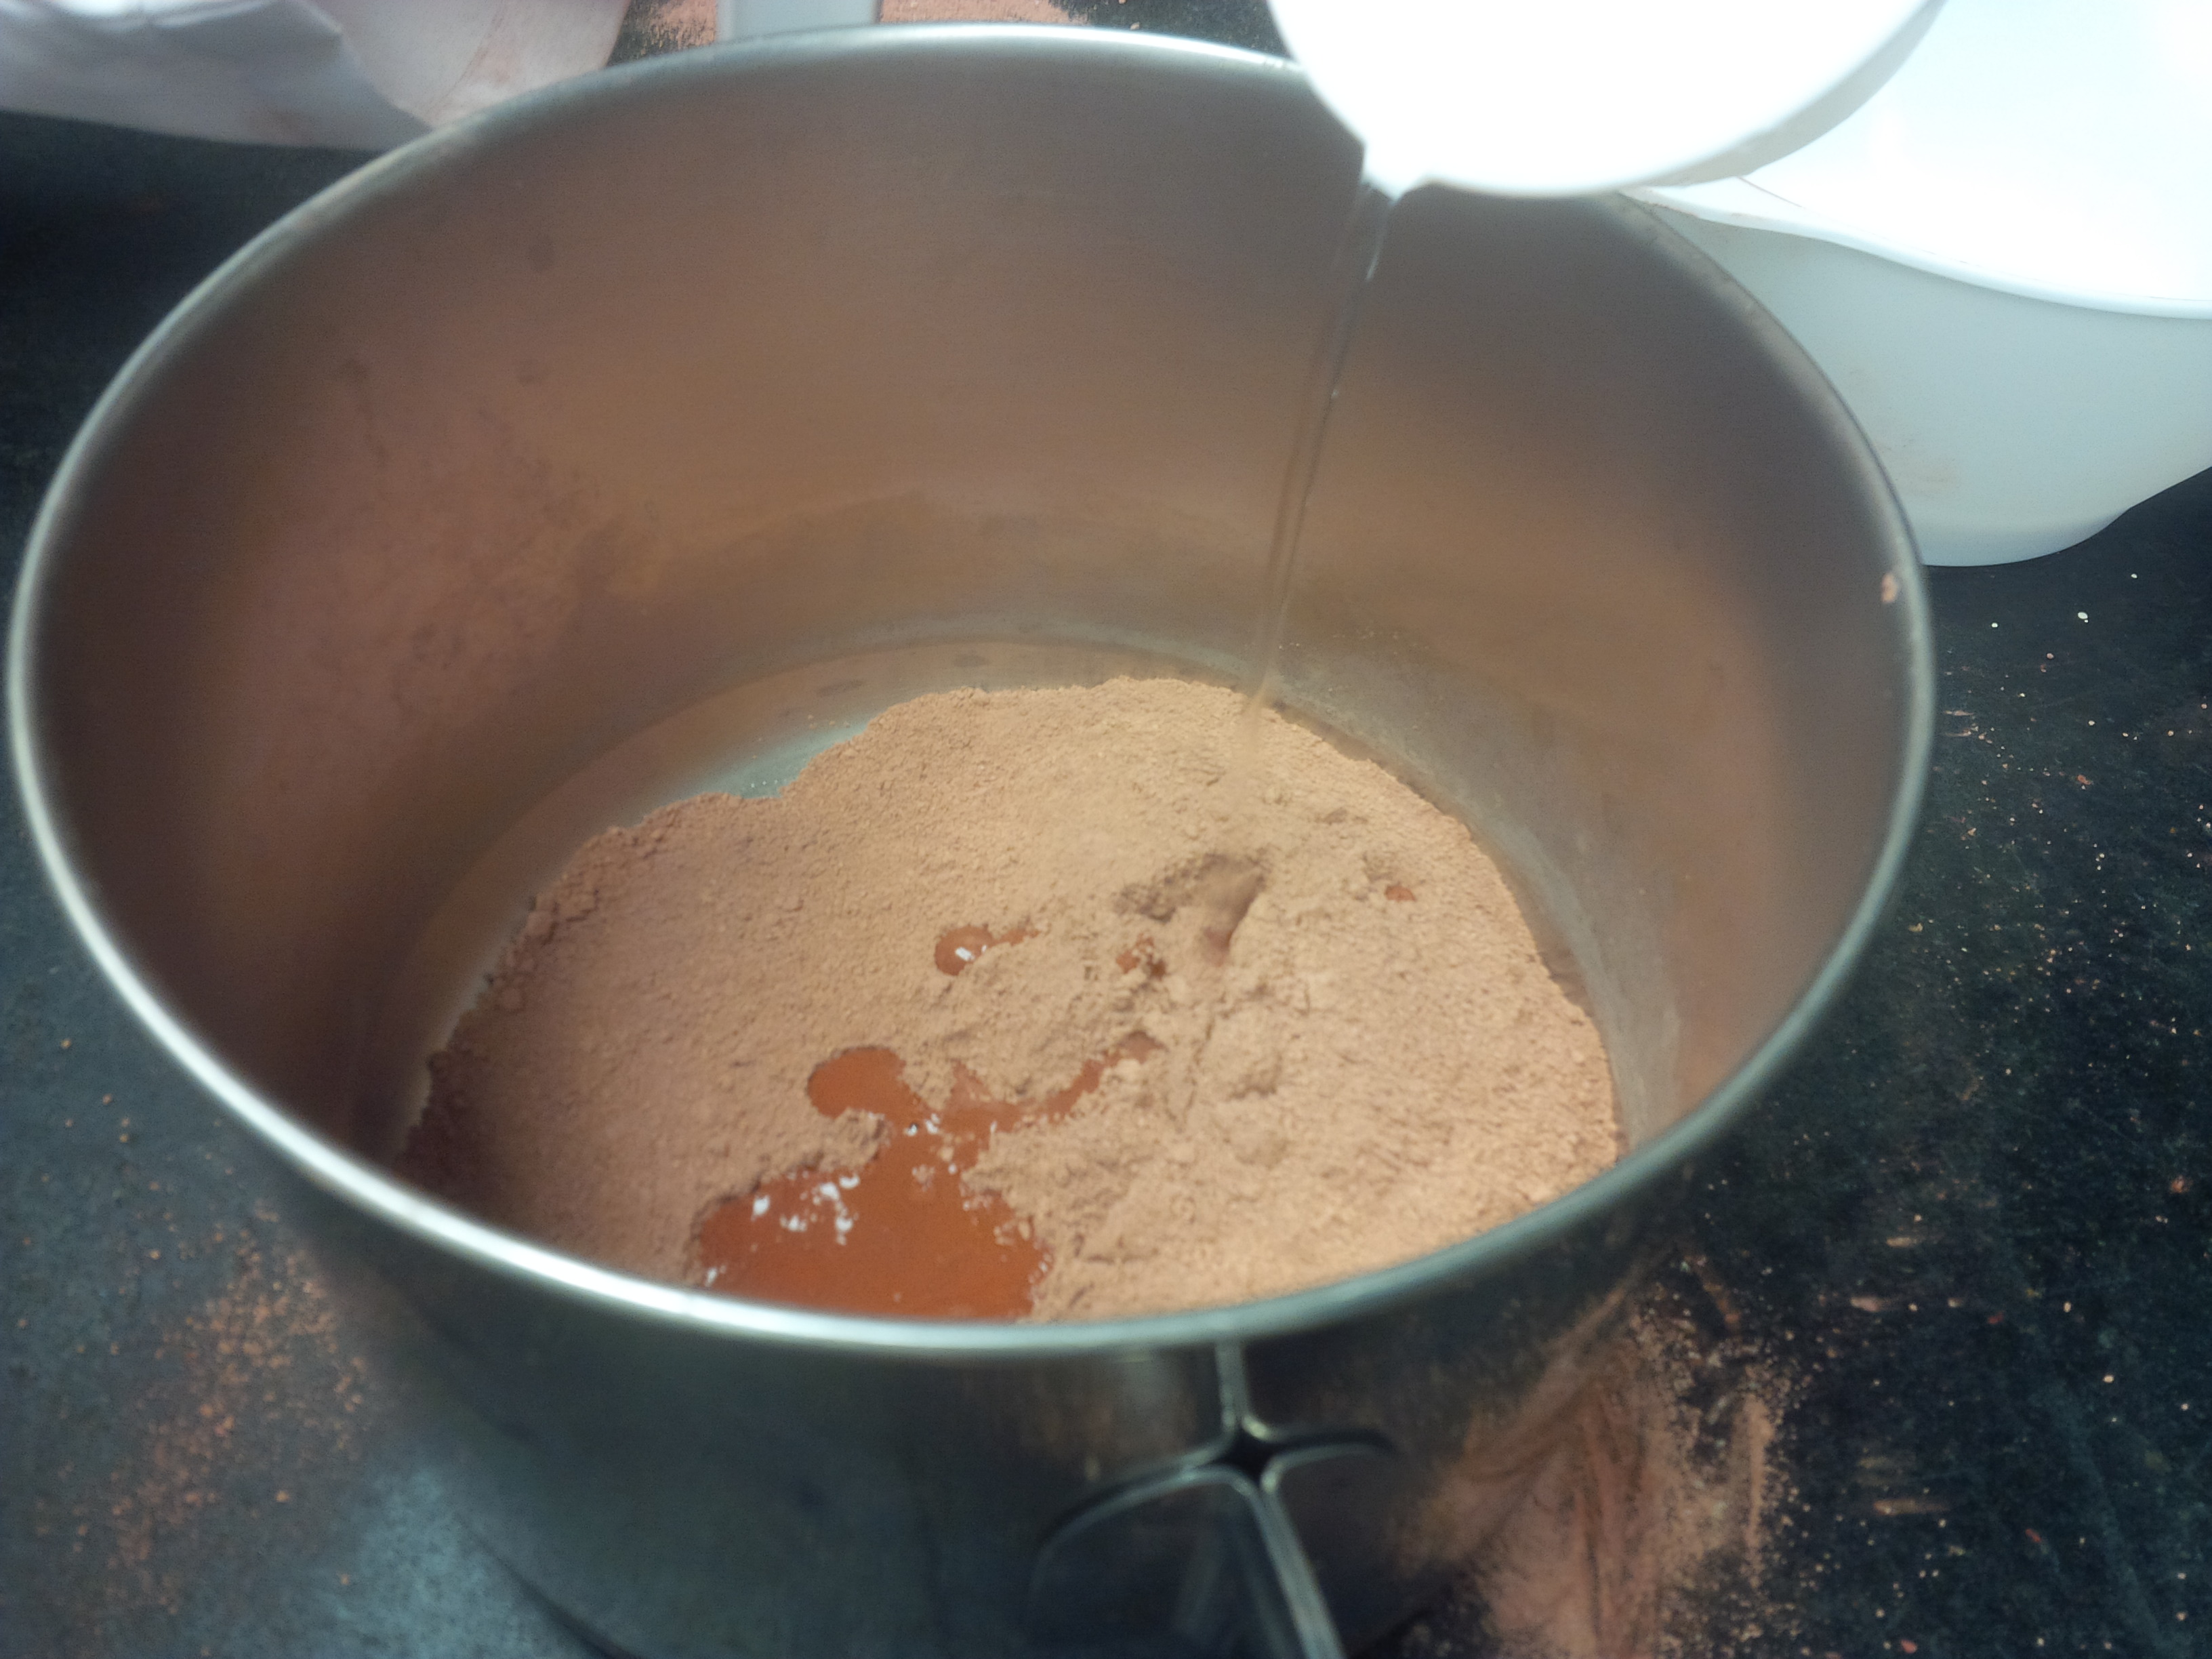
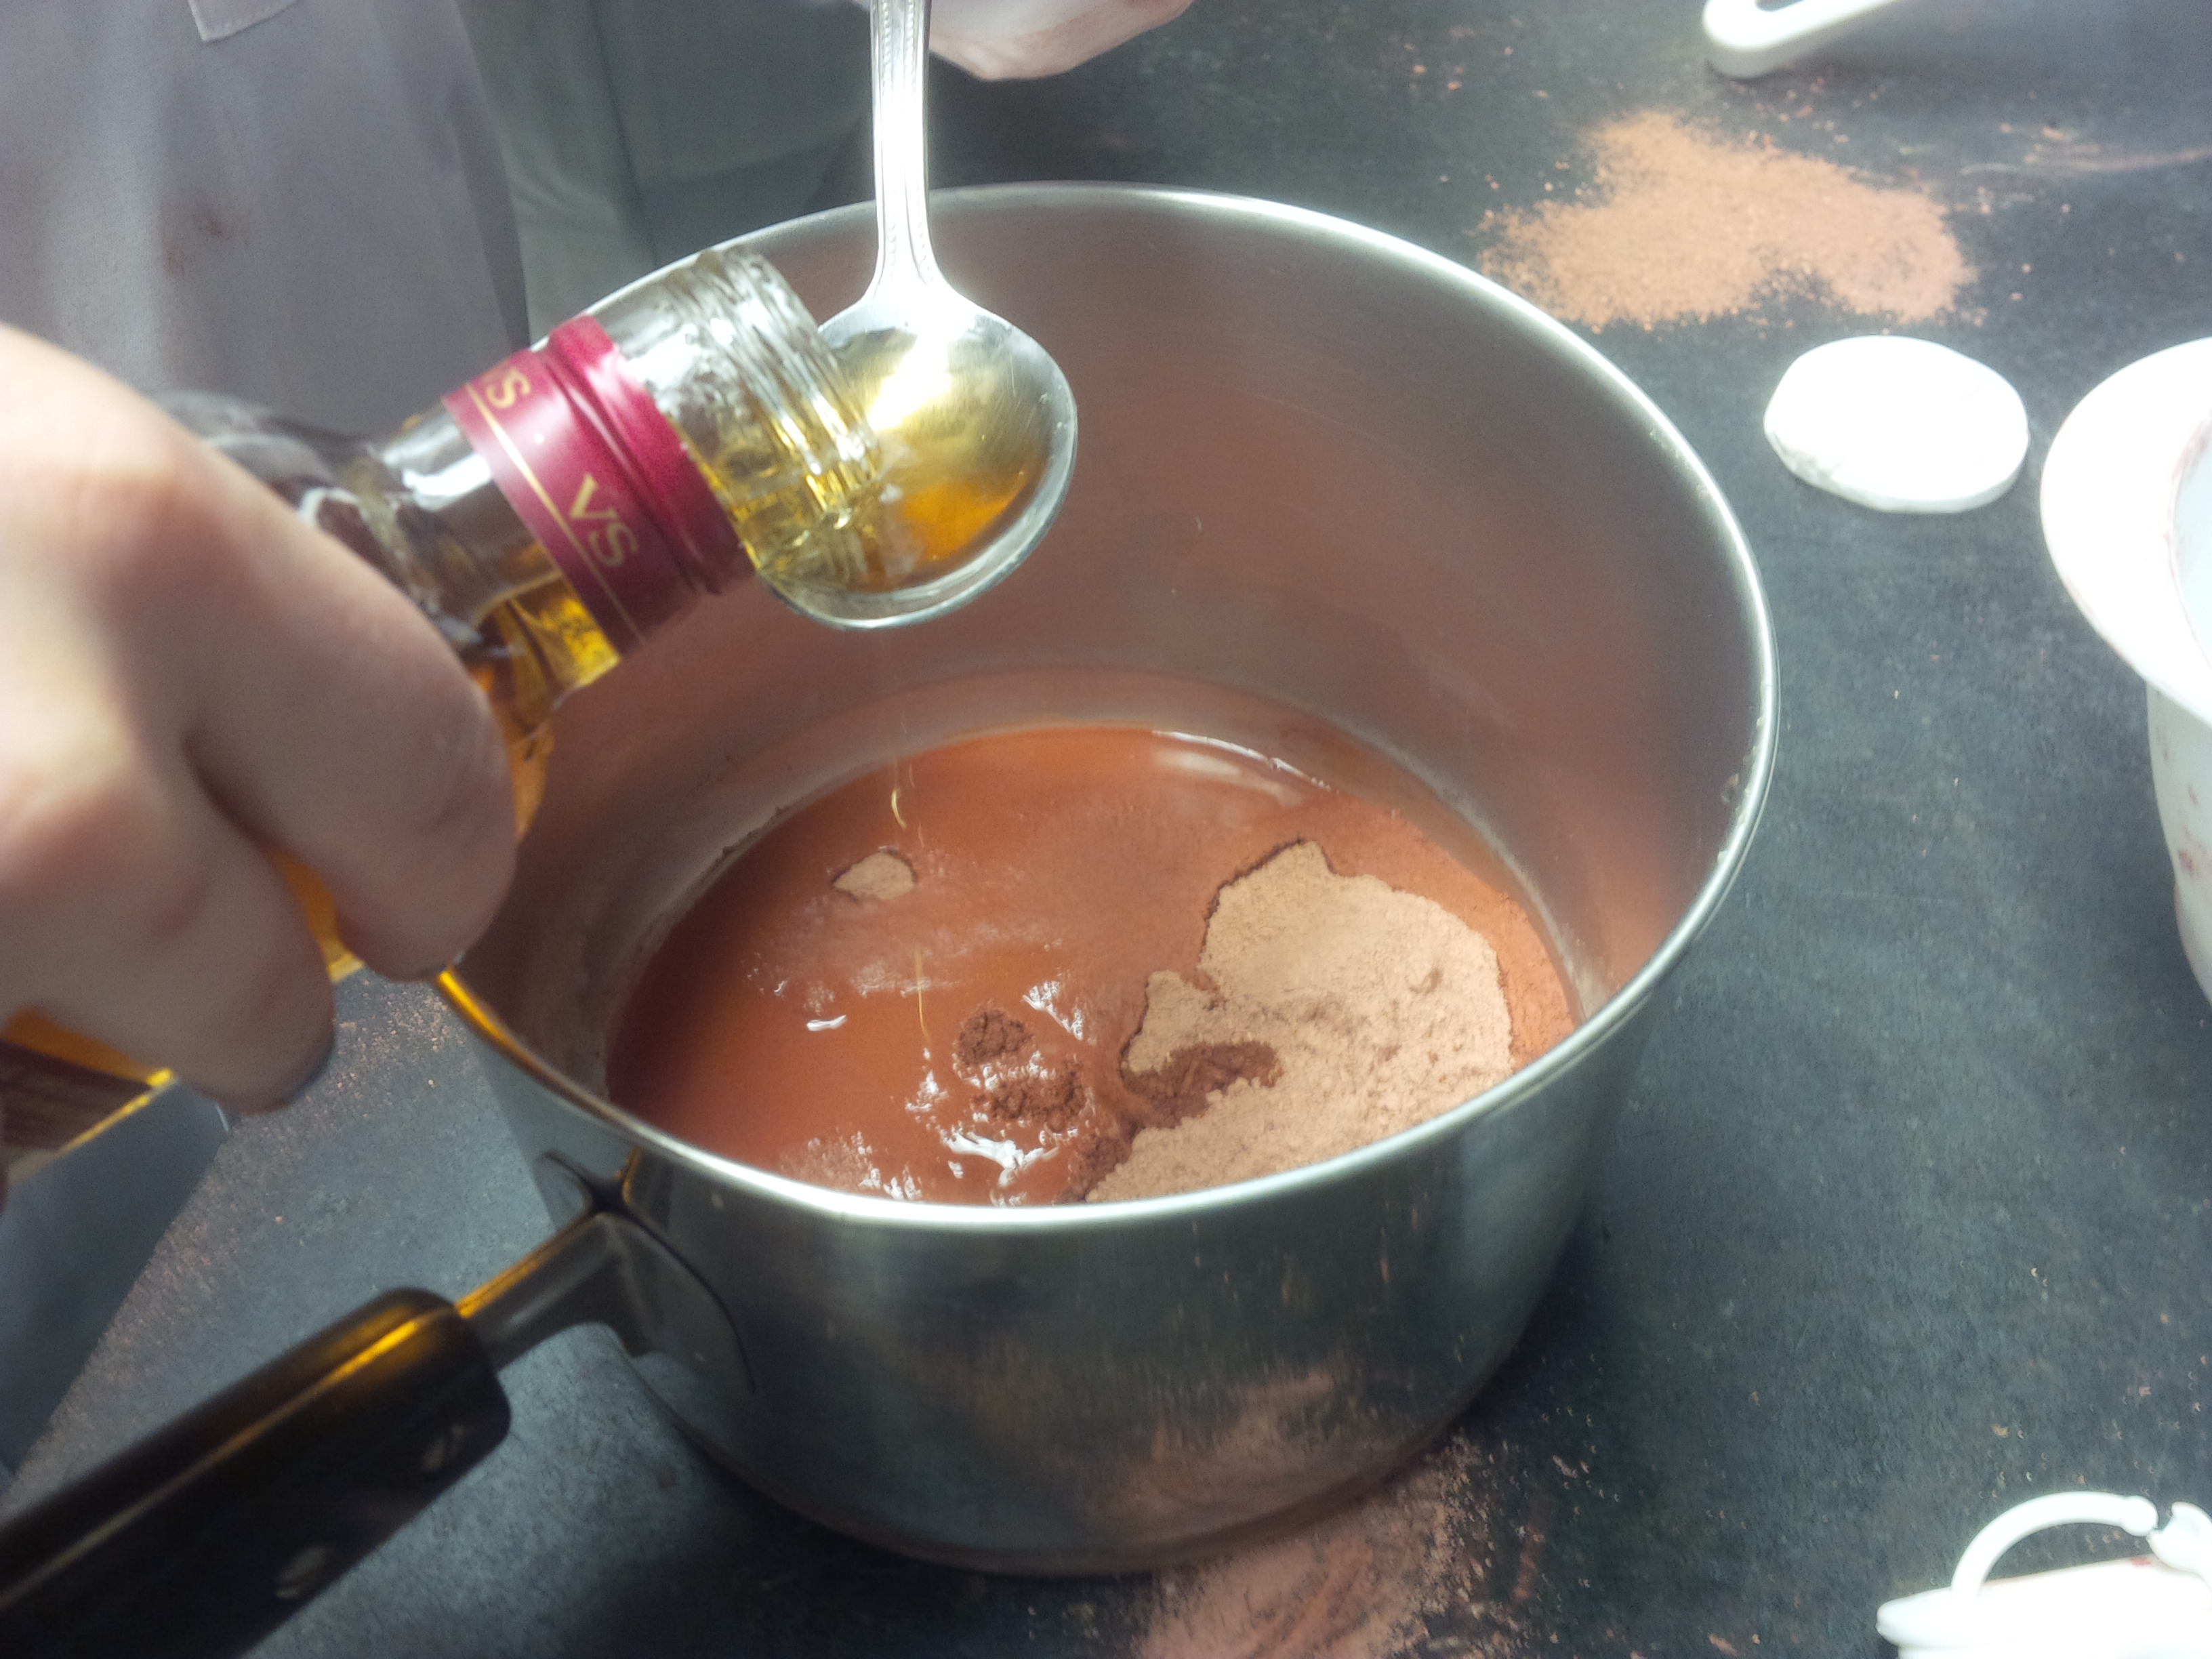
5. Mix and Knead clay
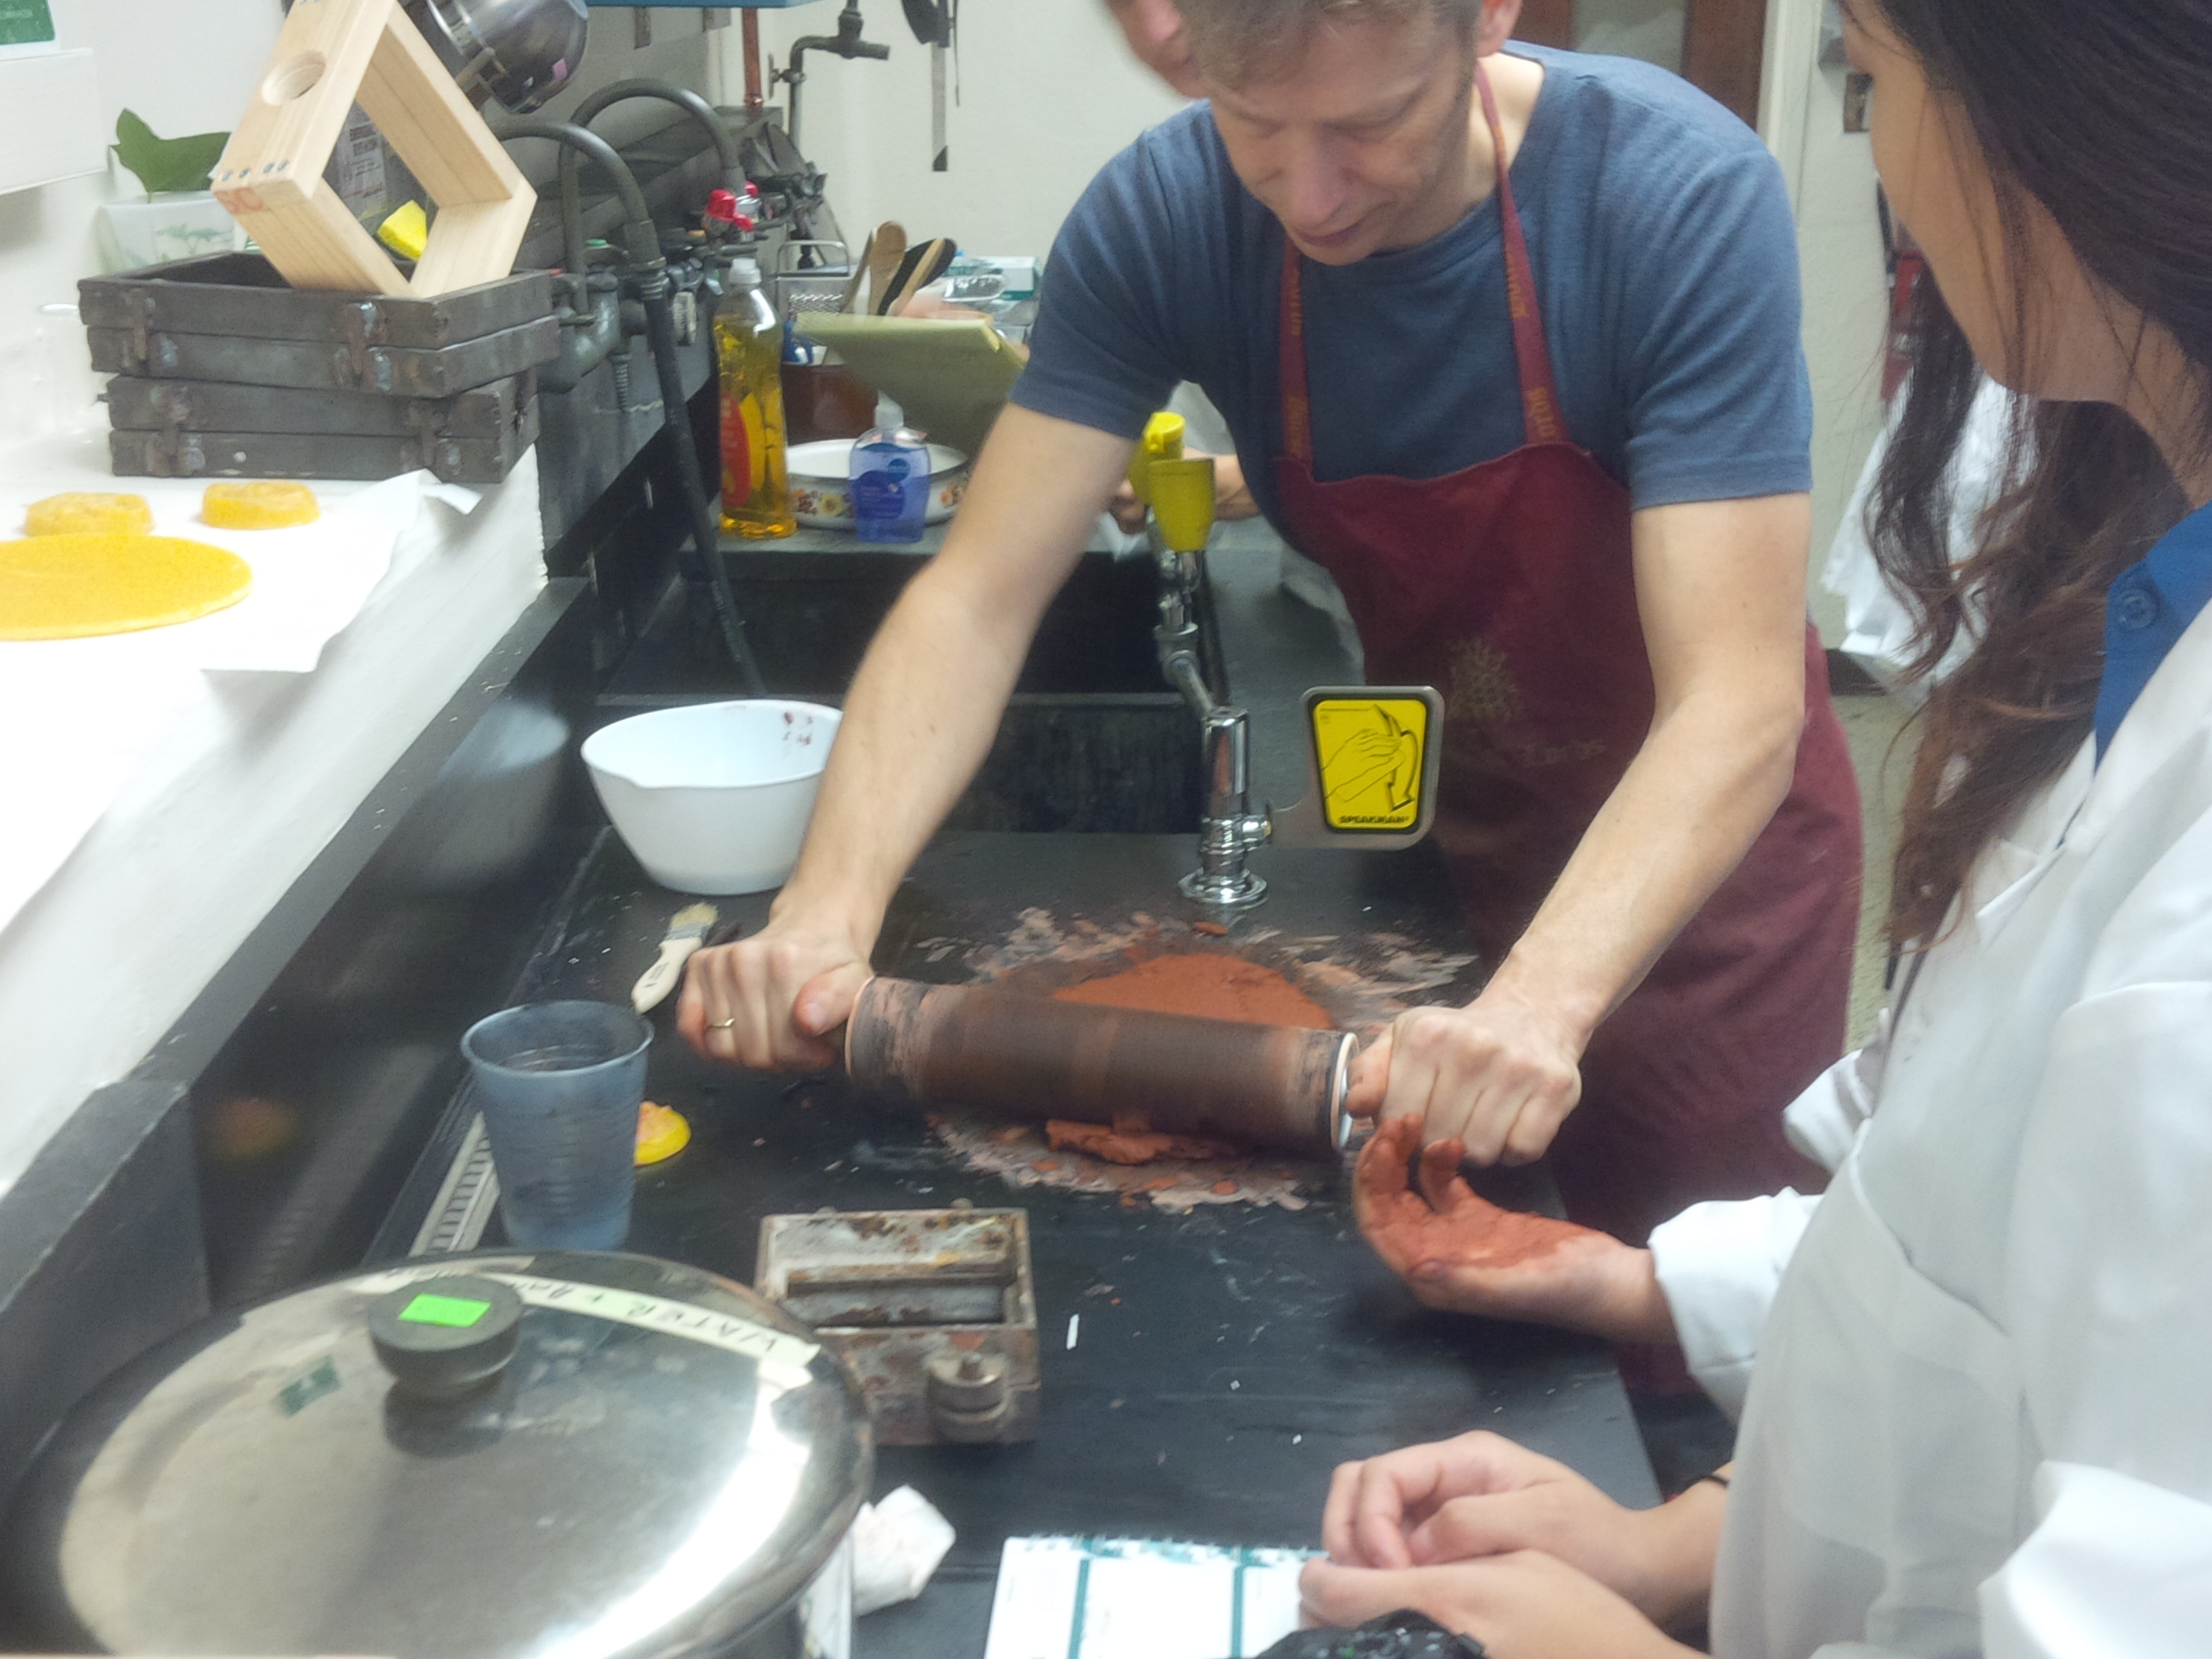
I find it helpful to mix the ingredients together in the pot by pressing the thickening clay with the spoon against the metal wall of the pot. Once is was no more trace of dry powder, we place the clay on the surface of our worktable. Jordan kneads the clay on the surface of the table, pounding it with her flat hands, then picking it the flattened slab between her hands and folding it over itself, promptly pressing down on the large mass on top of the table. We have the opportunity to observe Tonny Beentjes assist another group in their clay kneading with the use of a rolling pin. We do not use this tool.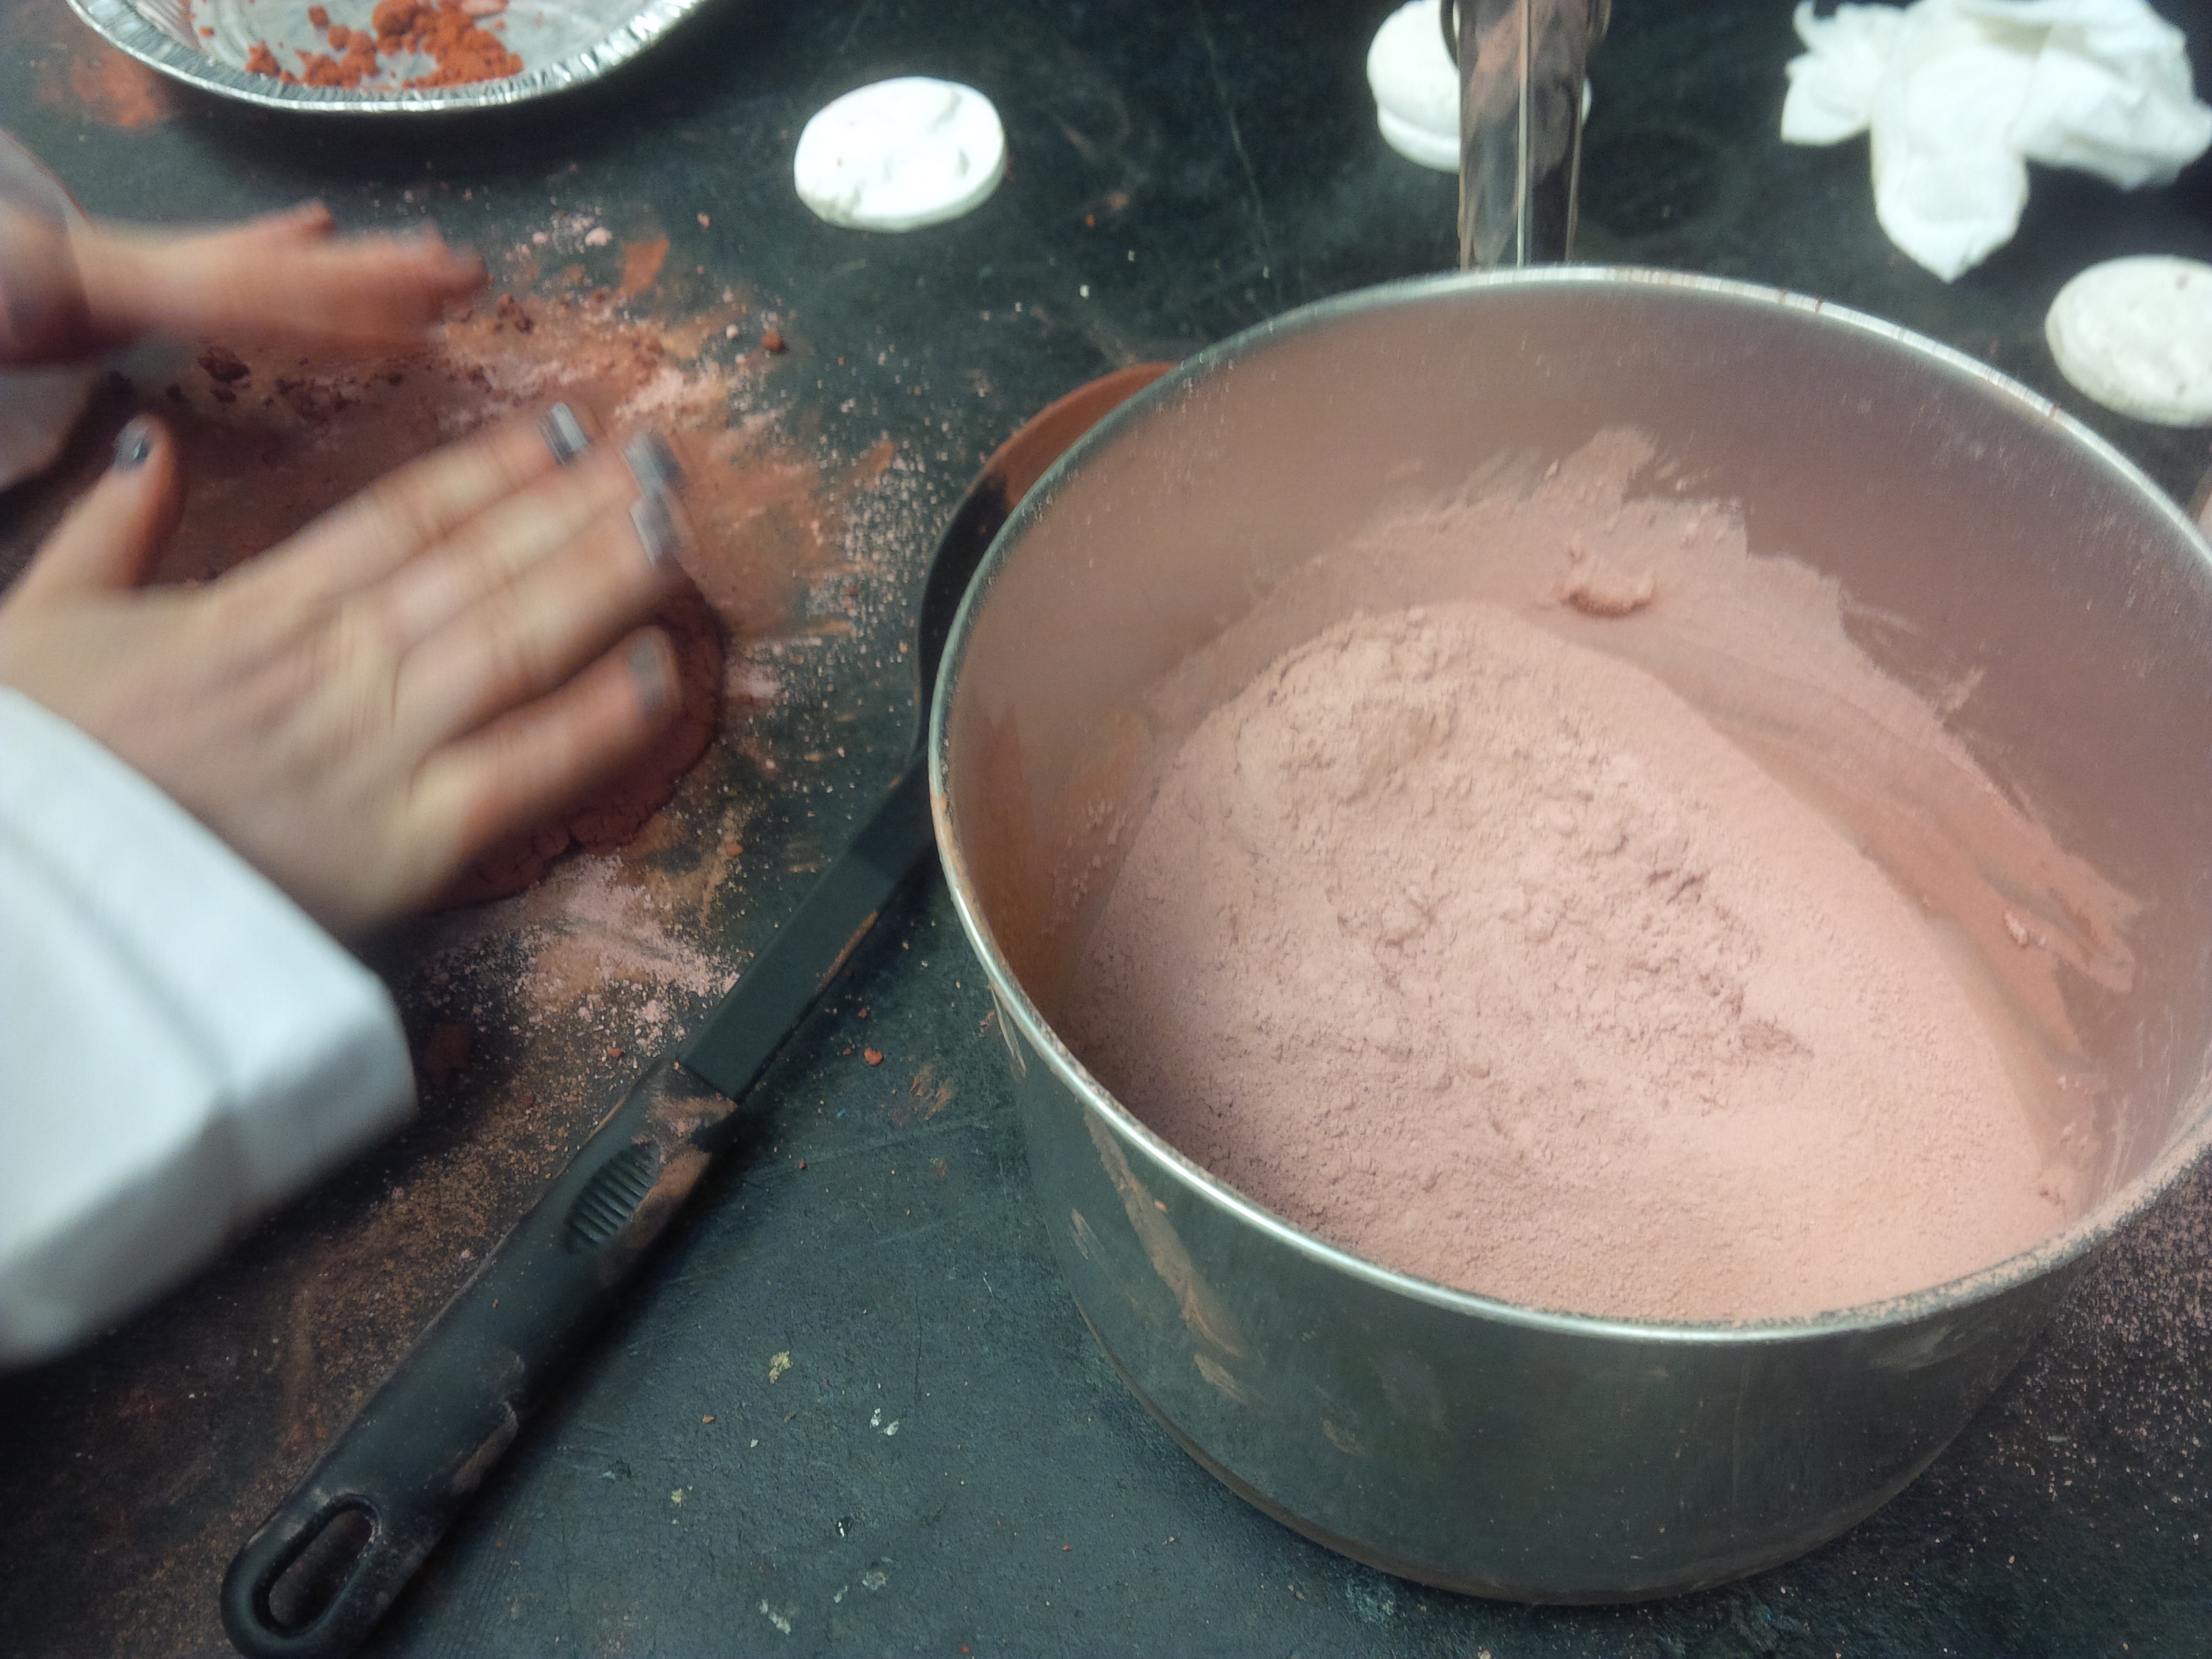
Conclusions
- Conjecturing what the manuscript author would have done.
In the manuscript, the author explains that he did not pass the sand through a sieve because of the feather alum mixed in. This rationale for not passing the sand through the sieve may suggest the possibility that the author would have passed the sand through a sieve if he/she had not mixed in feather alum. To introduce the possibility of this sort of conditional phrase could be problematic. Is the author saying "If I had not added feather alum, I would have passed the sand through a sieve," or would he/she have used a binding medium such as feather alum regardless that would have ensured the impossibility of using a sieve?- Potential Sal ammoniac solution and brandy reaction?
We did not interpret the recipe to indicate that the Sal ammoniac and brandy should be mixed together separately before being added to the sand. However, if this were the case, it is worth asking whether the two would have had a separate chemical reaction. Might our decision to add them separately to the sand have had an impact on such a potential reaction?- Should one listen to other groups about their experiences with the materials?
Because of a lineup to obtain materials and a lack of counter space, Jordan and I were not able to begin making our sand until after a several other groups. As a result, we were delayed and found ourselves working later than several of the other students. This allowed us the opportunity to observe Tonny Beentjes as he kneaded the clay for a different group of students, but because that group used a very large quantity of sand, even though they told us the ratio of sand/Sal ammoniac solution/brandy that worked well for them, we did not follow their exact ratio but instead opted to mix dry and liquid ingredients at our own pace.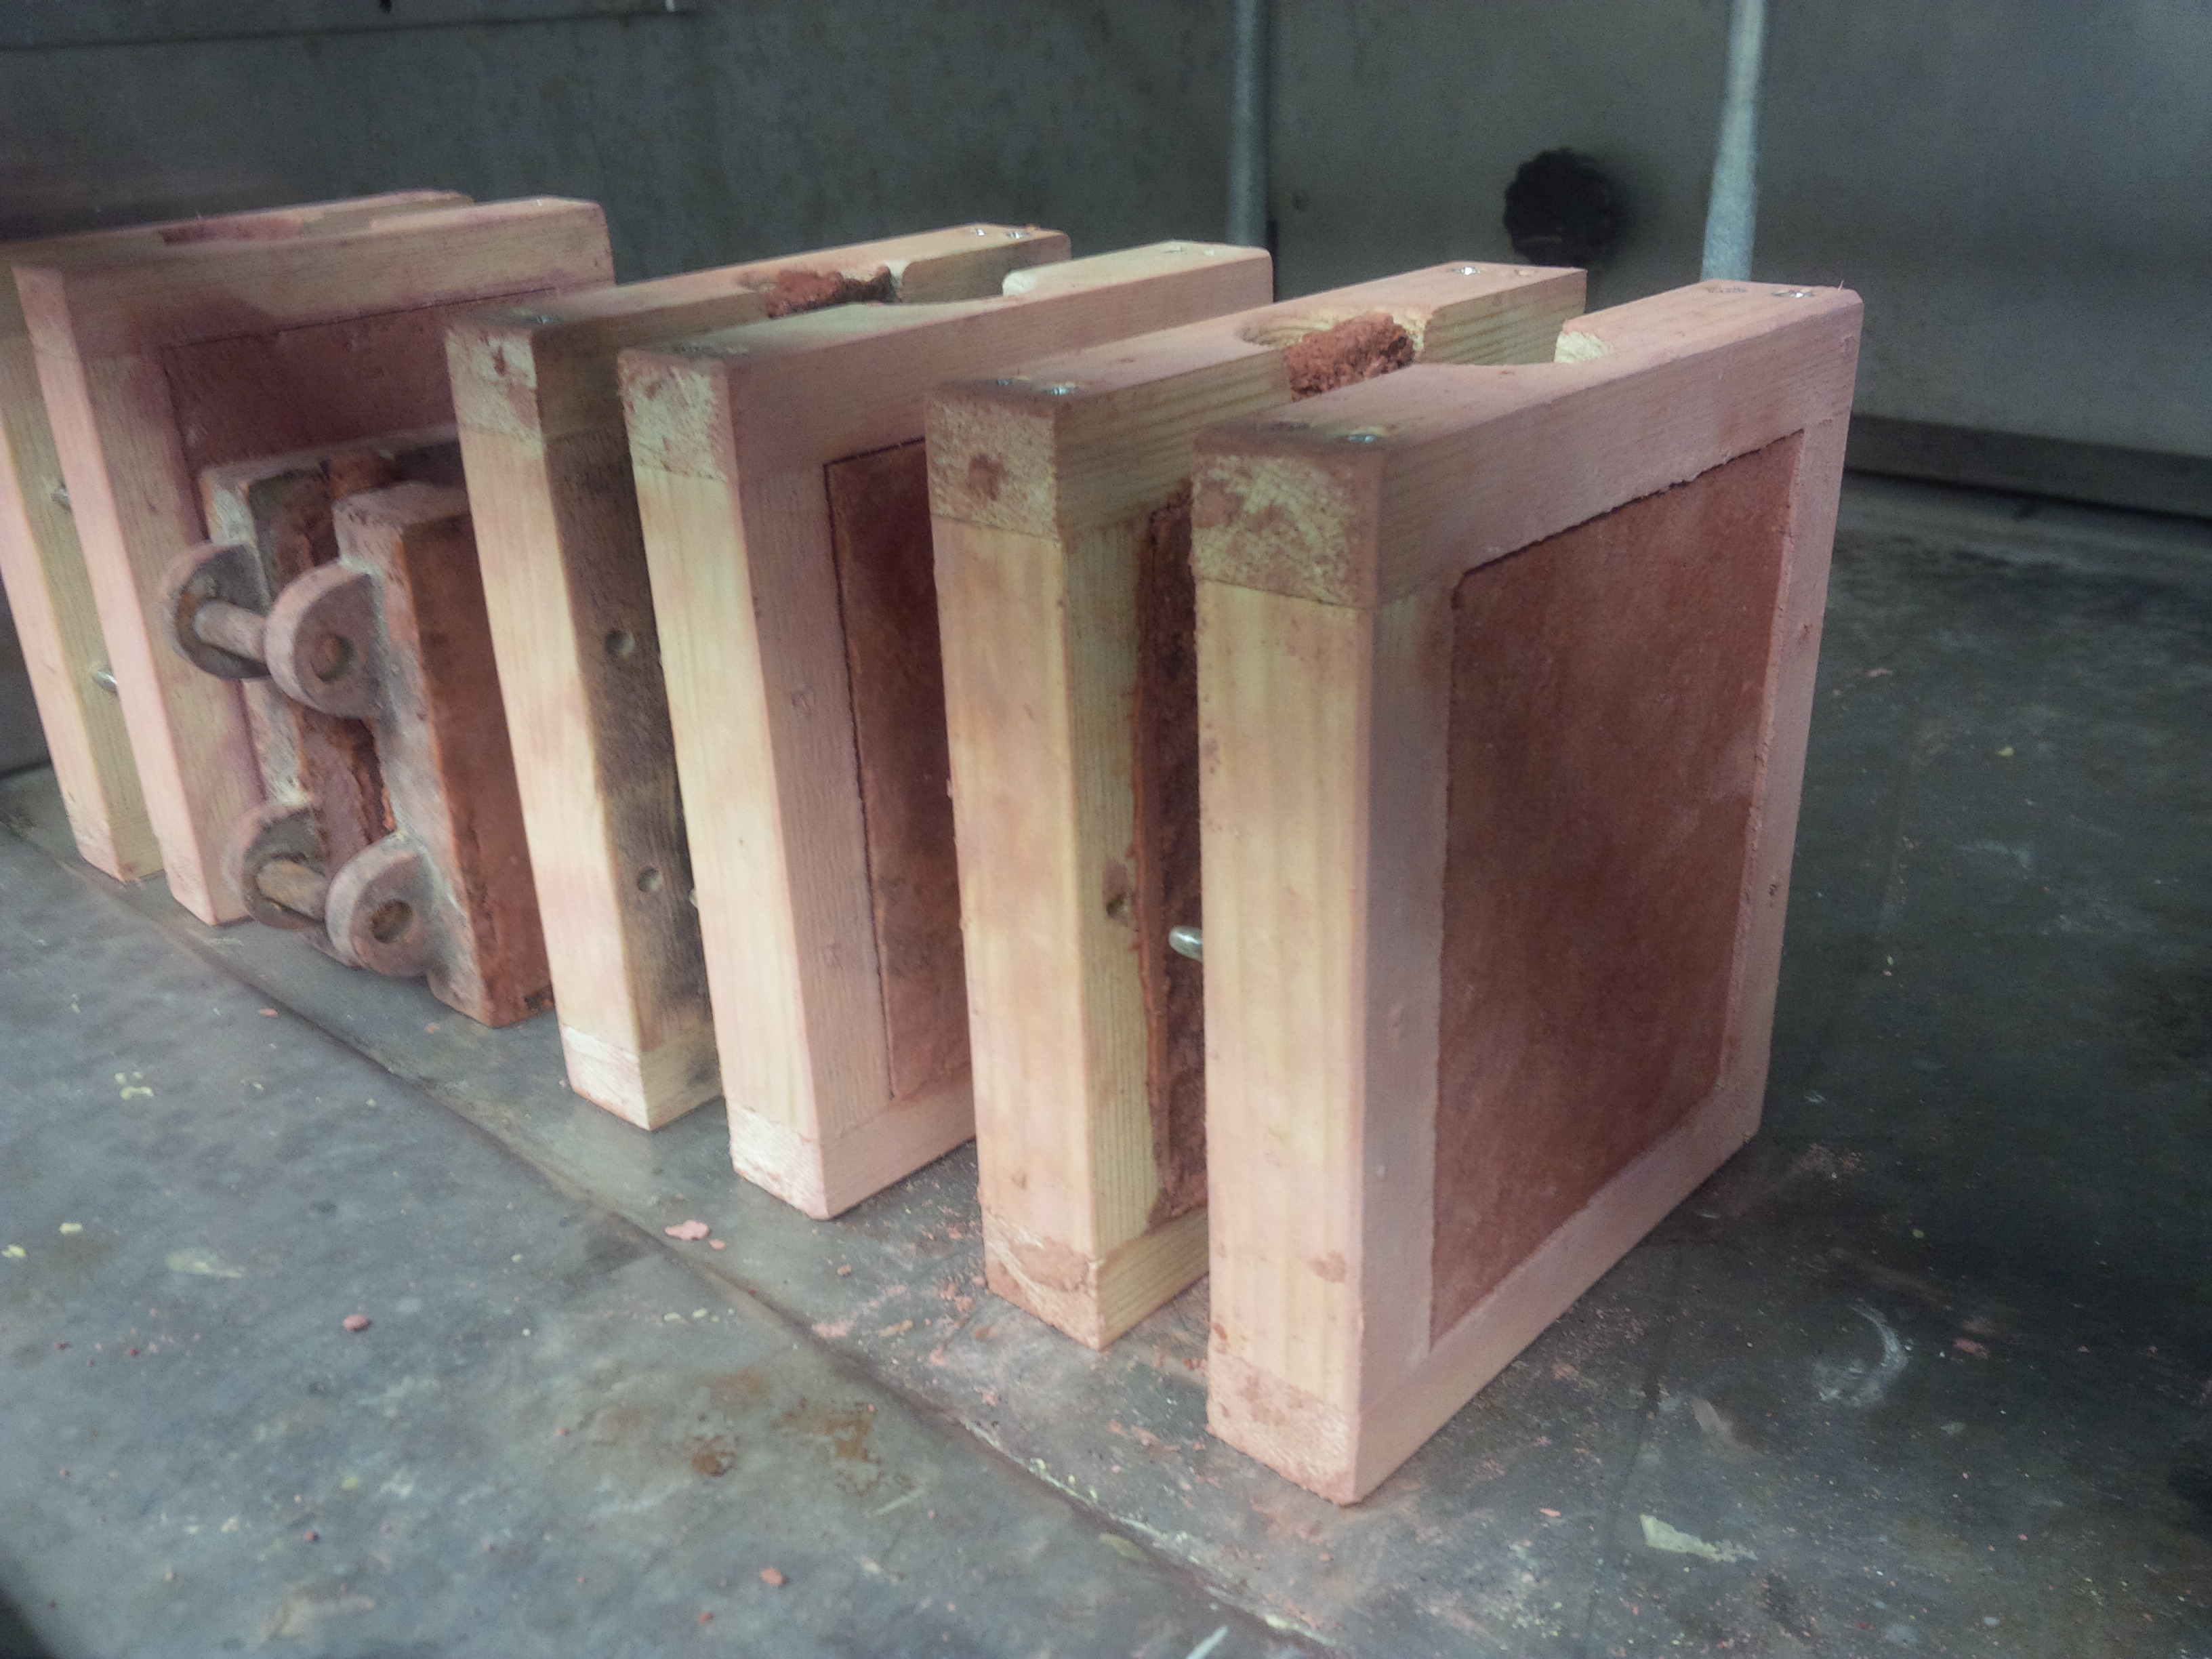
- Charity is a virtue.
Because we were pressed for time and could not stay to insert our clay into the box mold, we donated our clay to a different group.October 15, 2014: Preparing sand for sand casting (Second Time)
NAME: Raymond CarlsonDATE AND TIME: October 15, 2014, 9am
LOCATION: Chemistry Laboratory, Chandler Hall, Columbia University, New York, NY
SUBJECT: Preparing sand for sand casting (Second Time)
Materials
- Clay molds to grind- Mortar and pestel
- Sieve
- Large plastic bowl
Basic Step-By-Step Process
1. Crush clay in mortar using a pestle2. Sift large granules out of sand using a sieve
3. Transfer less fine granules back into mortar and repeat steps 1-2
4. Repeat steps 1-3 until the desired quantity of sand is reached
In-Depth Step-By-Step Process
1. Crush clay molds in mortar using a pestle
I begin by working in the fume hood next to Donna. We gather the old clay molds, the sieve, and a large plastic bowl. We each have our own mortar and pestle. Donna and I have drastically different techniques to pounding the sand. Donna very carefully pounds a relatively small block of an old clay mold, ensuring to break up the pieces, scraping all the remaining granules of sand that are stuck to the side of her mortar. I, by comparison, am still scarred by the previous day's need to move quickly and decide I need to act with a similar sense of alacrity. I take large blocks of old molds, unceremoniously smash them with my pestle, less concerned about the tiny fragments of clay that inevitably escape the mortar. Donna and I have a wonderful conversation about emblems in Renaissance Europe while pounding the molds.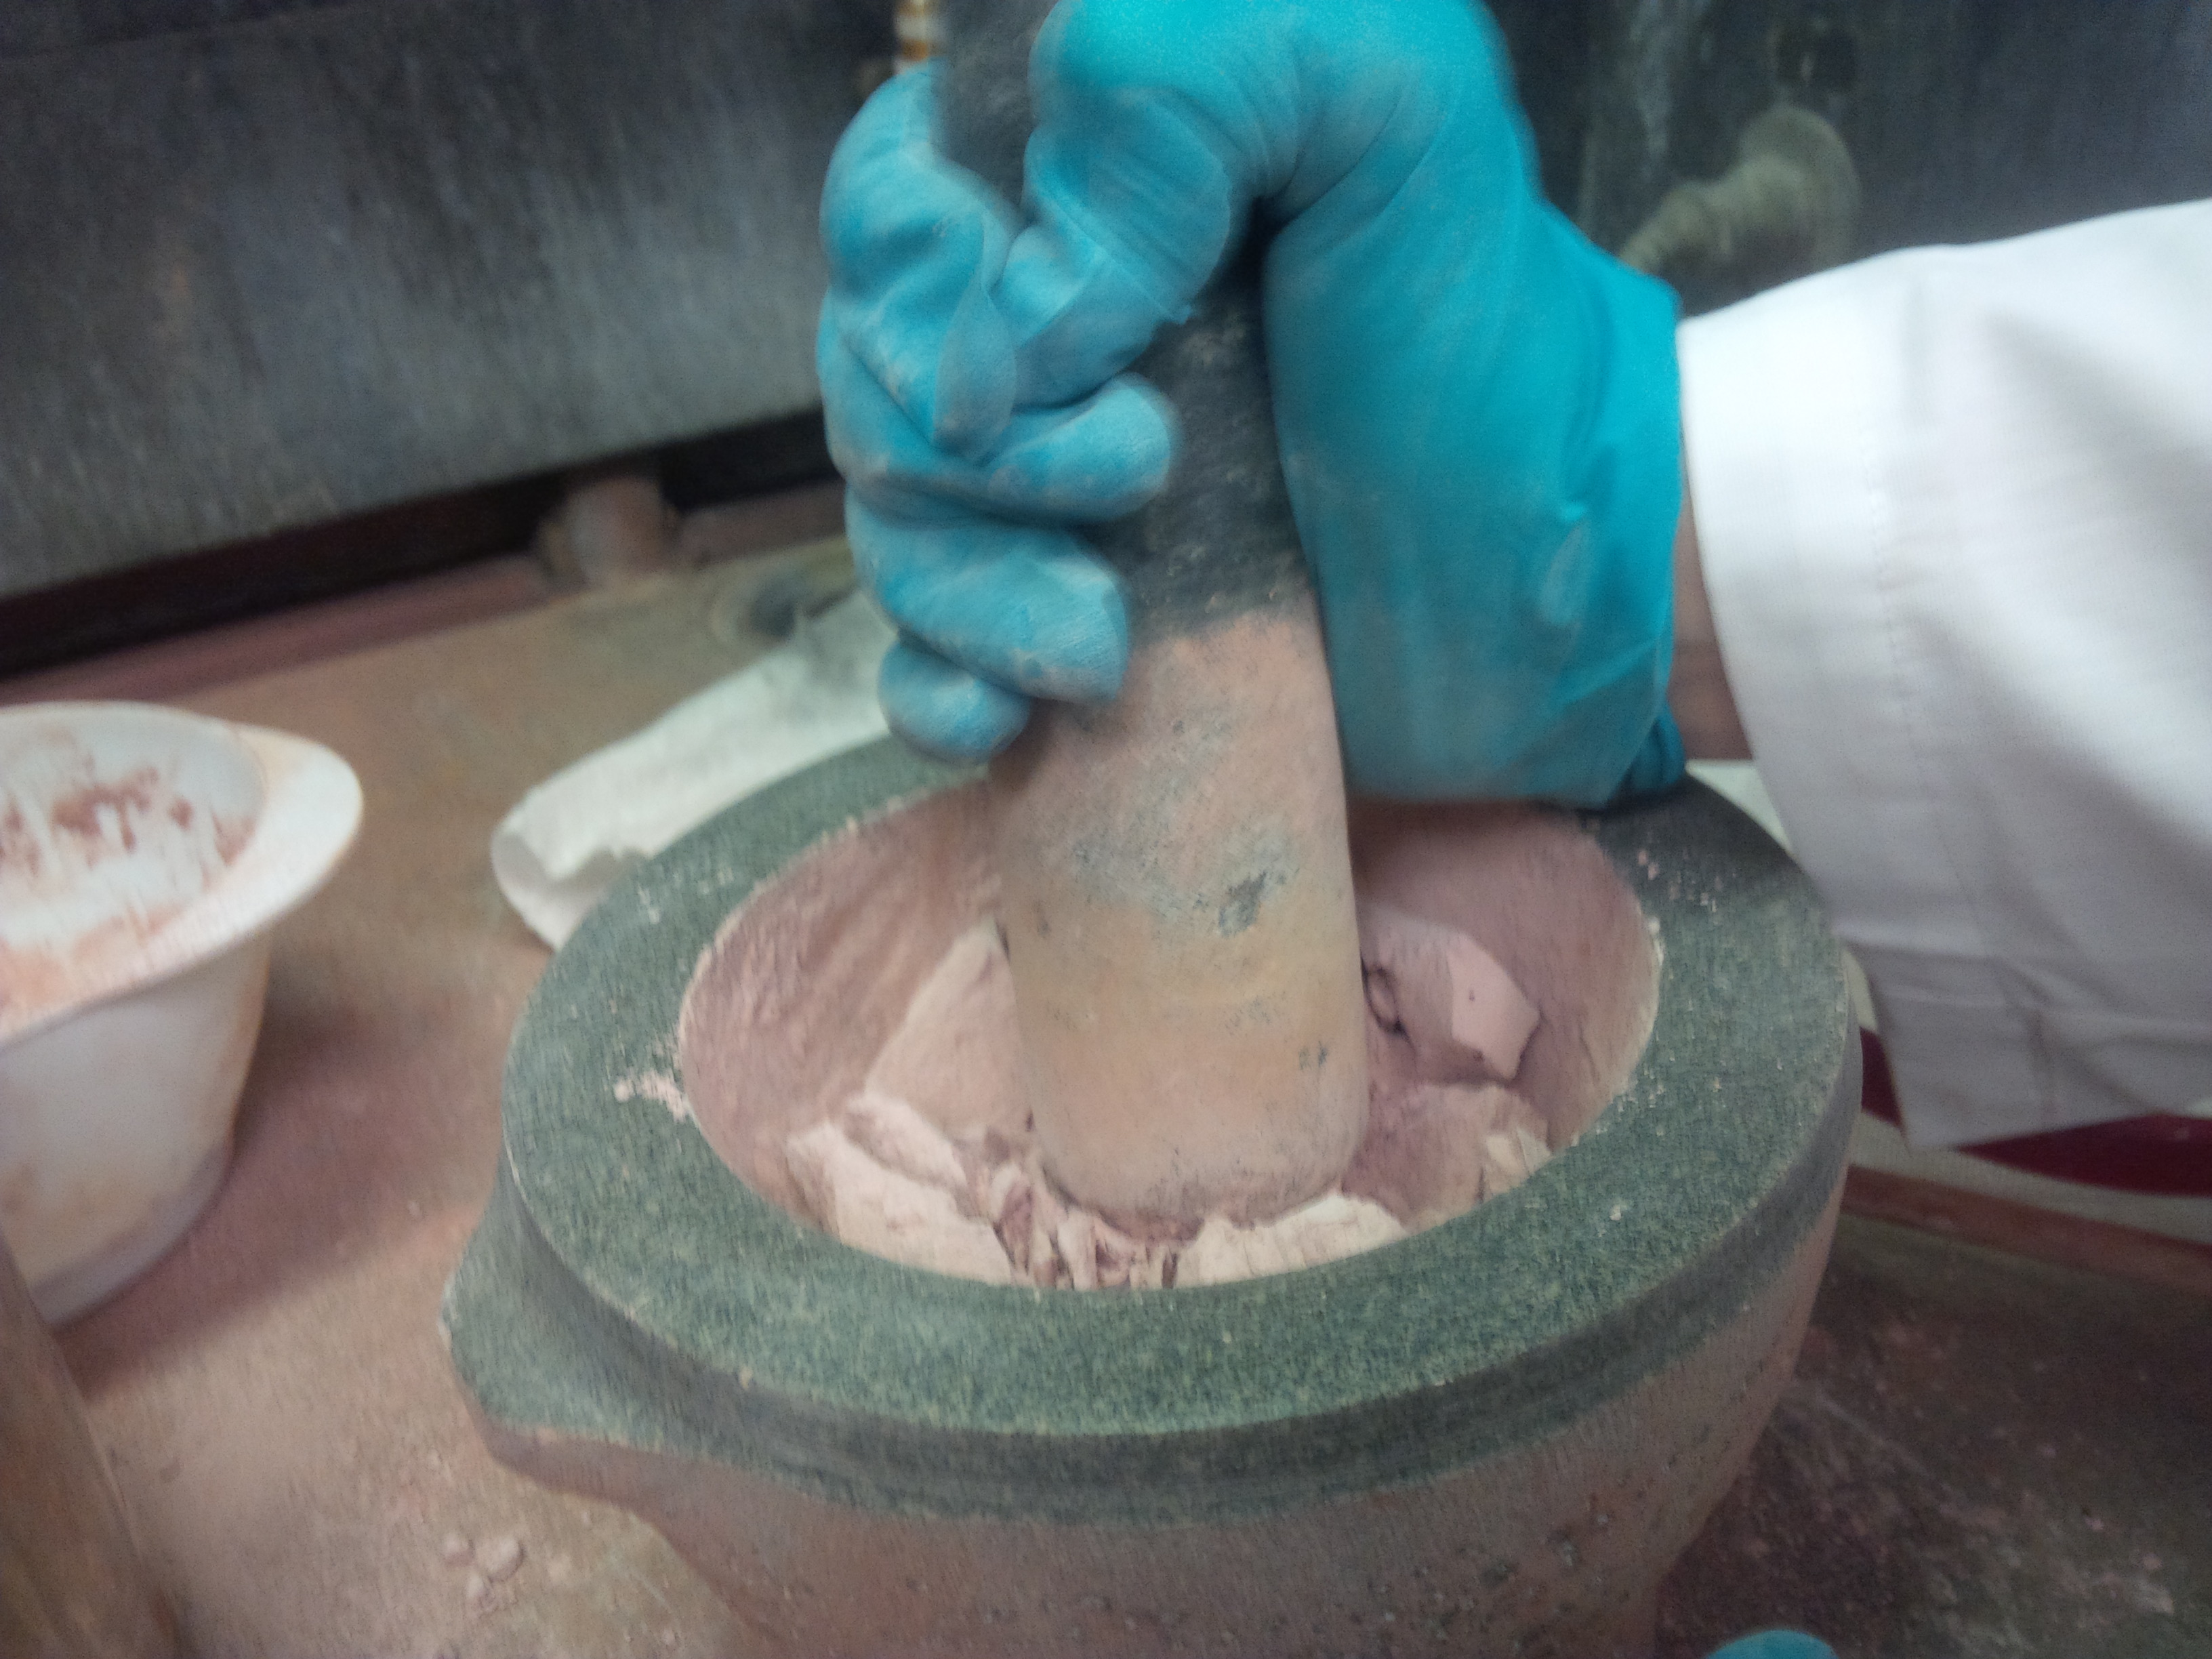
2. Sift large granules out of sand using a sieve; 3. Transfer less fine granules back into mortar and repeats steps 1-2
I quickly learn that while pounding the molds, if I simply keep pounding the powder, I will compress the powder against itself and literally turn it back into a larger solid. I therefore decide to pound quickly and transfer often, not worrying that I have crushed every small granule of sand, but instead transferring my mixture to the sieve, sifting out the overly-large granules, and returning those to my mortar for continued refinement. I am confident Donna's approach saves more sand and ensures that all of the molds are effectively used without sand sticking to the mortar, but I am determined to finish making my mold quickly out of concern that I will otherwise not be ready for the next day's visit to Ubaldo Vitale's studio.
4. Repeat steps 1-3 until desired quantity of sand is reached
Crushing the molds is a long, arduous process, and we take turns. Emogene and Jordan, both of whose molds have been finished, assist in the making of sand.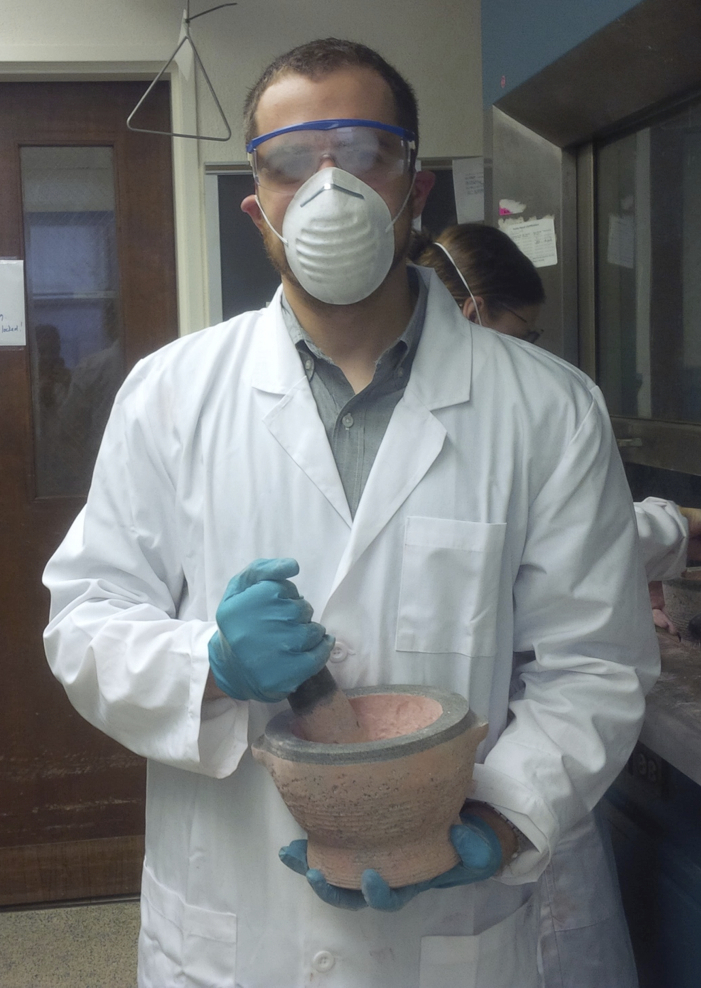
Conclusions
- Sifting: Does the end justify the means?
The maker of the manuscript implies that it is possible to achieve the desired consistency of sand without using a sieve. As I have used the sieve for the second day in a row, I ask myself whether it was fair to reintroduce a tool that was specifically unused. I wonder whether the sieve simply helps me to compensate for my inexperience in using a mortar and pestle, as I imagine a greater expert could grind the sand in the mortar to a much finer consistency than I did. Is very fine sand that has been sifted equivalent to very fine sand that has been expertly crushed in a mortar?- Time vs. Strength
Putting the sieve aside, there are two critical aspects to making fine (not coarse) sand: 1. the time one takes to pound the sand in the mortar; 2. the strength one uses when exerting force upon the sand in the mortar. In the first case, it is noteworthy that the manuscript author writes that he/she was "pestling slowly, because this sand is very soft." I can attest to the fact that the slower one works, the easier it is to identify large blocks of clay in the mortar and break them into sand. "Soft" sand is the result of carefully breaking up each of these blocks. In regard to strength, the process of pestling is very strenuous. After about 20 minutes of pounding molds, I begin to sweat along my back, and I experience soreness in my forearm. (In my defense, I went to the Dodge Fitness Center before coming to the lab this morning.) I realize that an expert maker would likely have developed muscle groups related to this specific task and could likely grind the sand more finely than I, as I grow tired too easily.October 15, 2014: Preparing the sand mold
NAME: Raymond CarlsonDATE AND TIME: October 15, 2014, 10am
LOCATION: Chemistry Laboratory, Chandler Hall, Columbia University, New York, NY
SUBJECT: Preparing the sand mold
Materials
- Sand- Two wooden spoons
- Metal Spoon
- Measuring cups (1 cup; 1/2 cup; 1/4 cup)
- Bottle of brandy (spirits)
- Bowl of Sal ammoniac solution
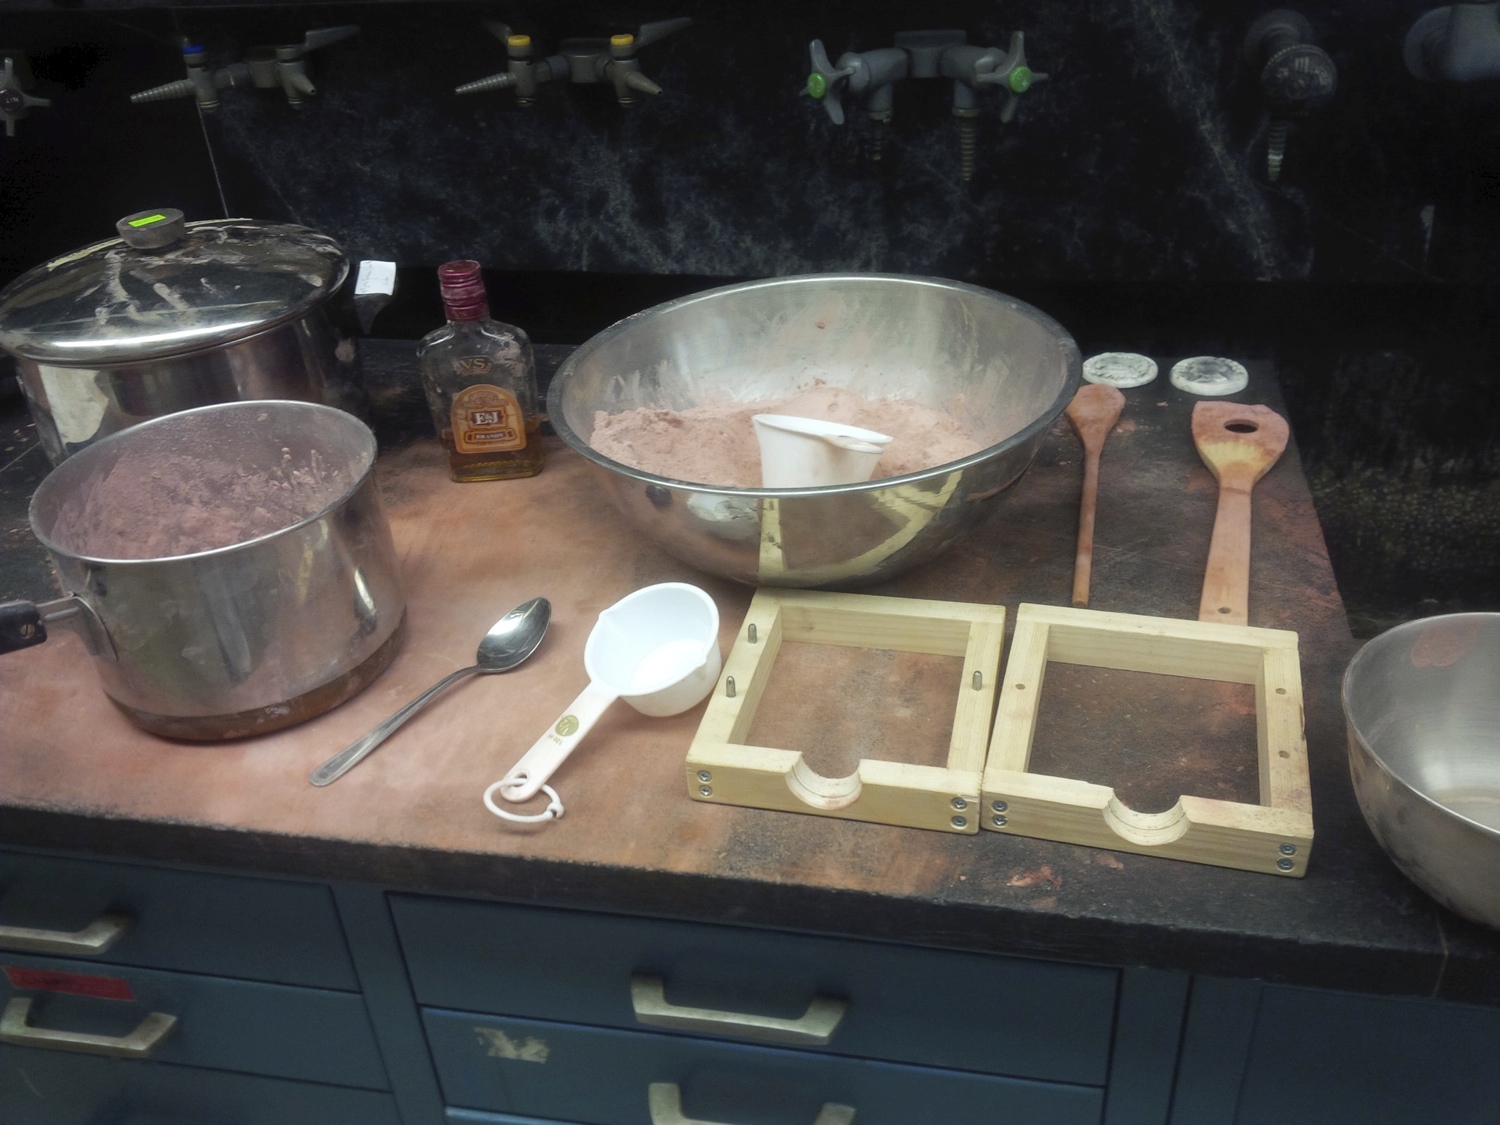
- Pre-made wooden frames to serve as "box" molds
- Metal bowl
- Metal pot (eliminated in favor of metal bowl)
- Charcoal pulverized with an iron file
- Brush
- Knife
- Flat plastic scraping tool
Basic Step-By-Step Process
1. Combine 3 cups of sand, 1/2 cup Sal ammoniac, and 2 spoonfuls of brandy into a metal bowl2. Continue adding dry and wet ingredients until mixture is appropriate consistency
3. Center plaster cast (recto) in wooden box and lightly brush charcoal powder onto its face
4. Slowly layer clay onto plaster cast until box frame is filled
5. Place the plaster cast (verso) directly on top of the back of other plaster cast (recto) and add a thin layer of charcoal
6. Repeat steps 3-4 for the plaster cast (verso)
7. Split open the two box molds by cutting between them with a thin knife
8. Cut channel into clay
9. Remove plaster models from clay mold
10. Inspect impressions in clay mold
In-Depth Step-By-Step Process
1. Combine 3 cups of sand, 1/2 cup Sal ammoniac, and 2 spoonfuls of brandy into a metal bowl
Today I have made a few adjustments based on the previous day's work. Rather than use a metal pot, I instead use a metal bowl at the suggestion of Professor Smith, as the lack of edges allows me to stir the ingredients evenly without developing "pockets" of dry ingredients. Having experimented with the sand yesterday, today I decide to add more sand and more brandy, as the total amount of clay at the conclusion of the previous day's labors did not seem adequate to fill a box mold. (This was confirmed to me by Emogene and Juliana, who experimented using the clay we'd made.) However, this ratio of ingredients results in a mixture that is too dry.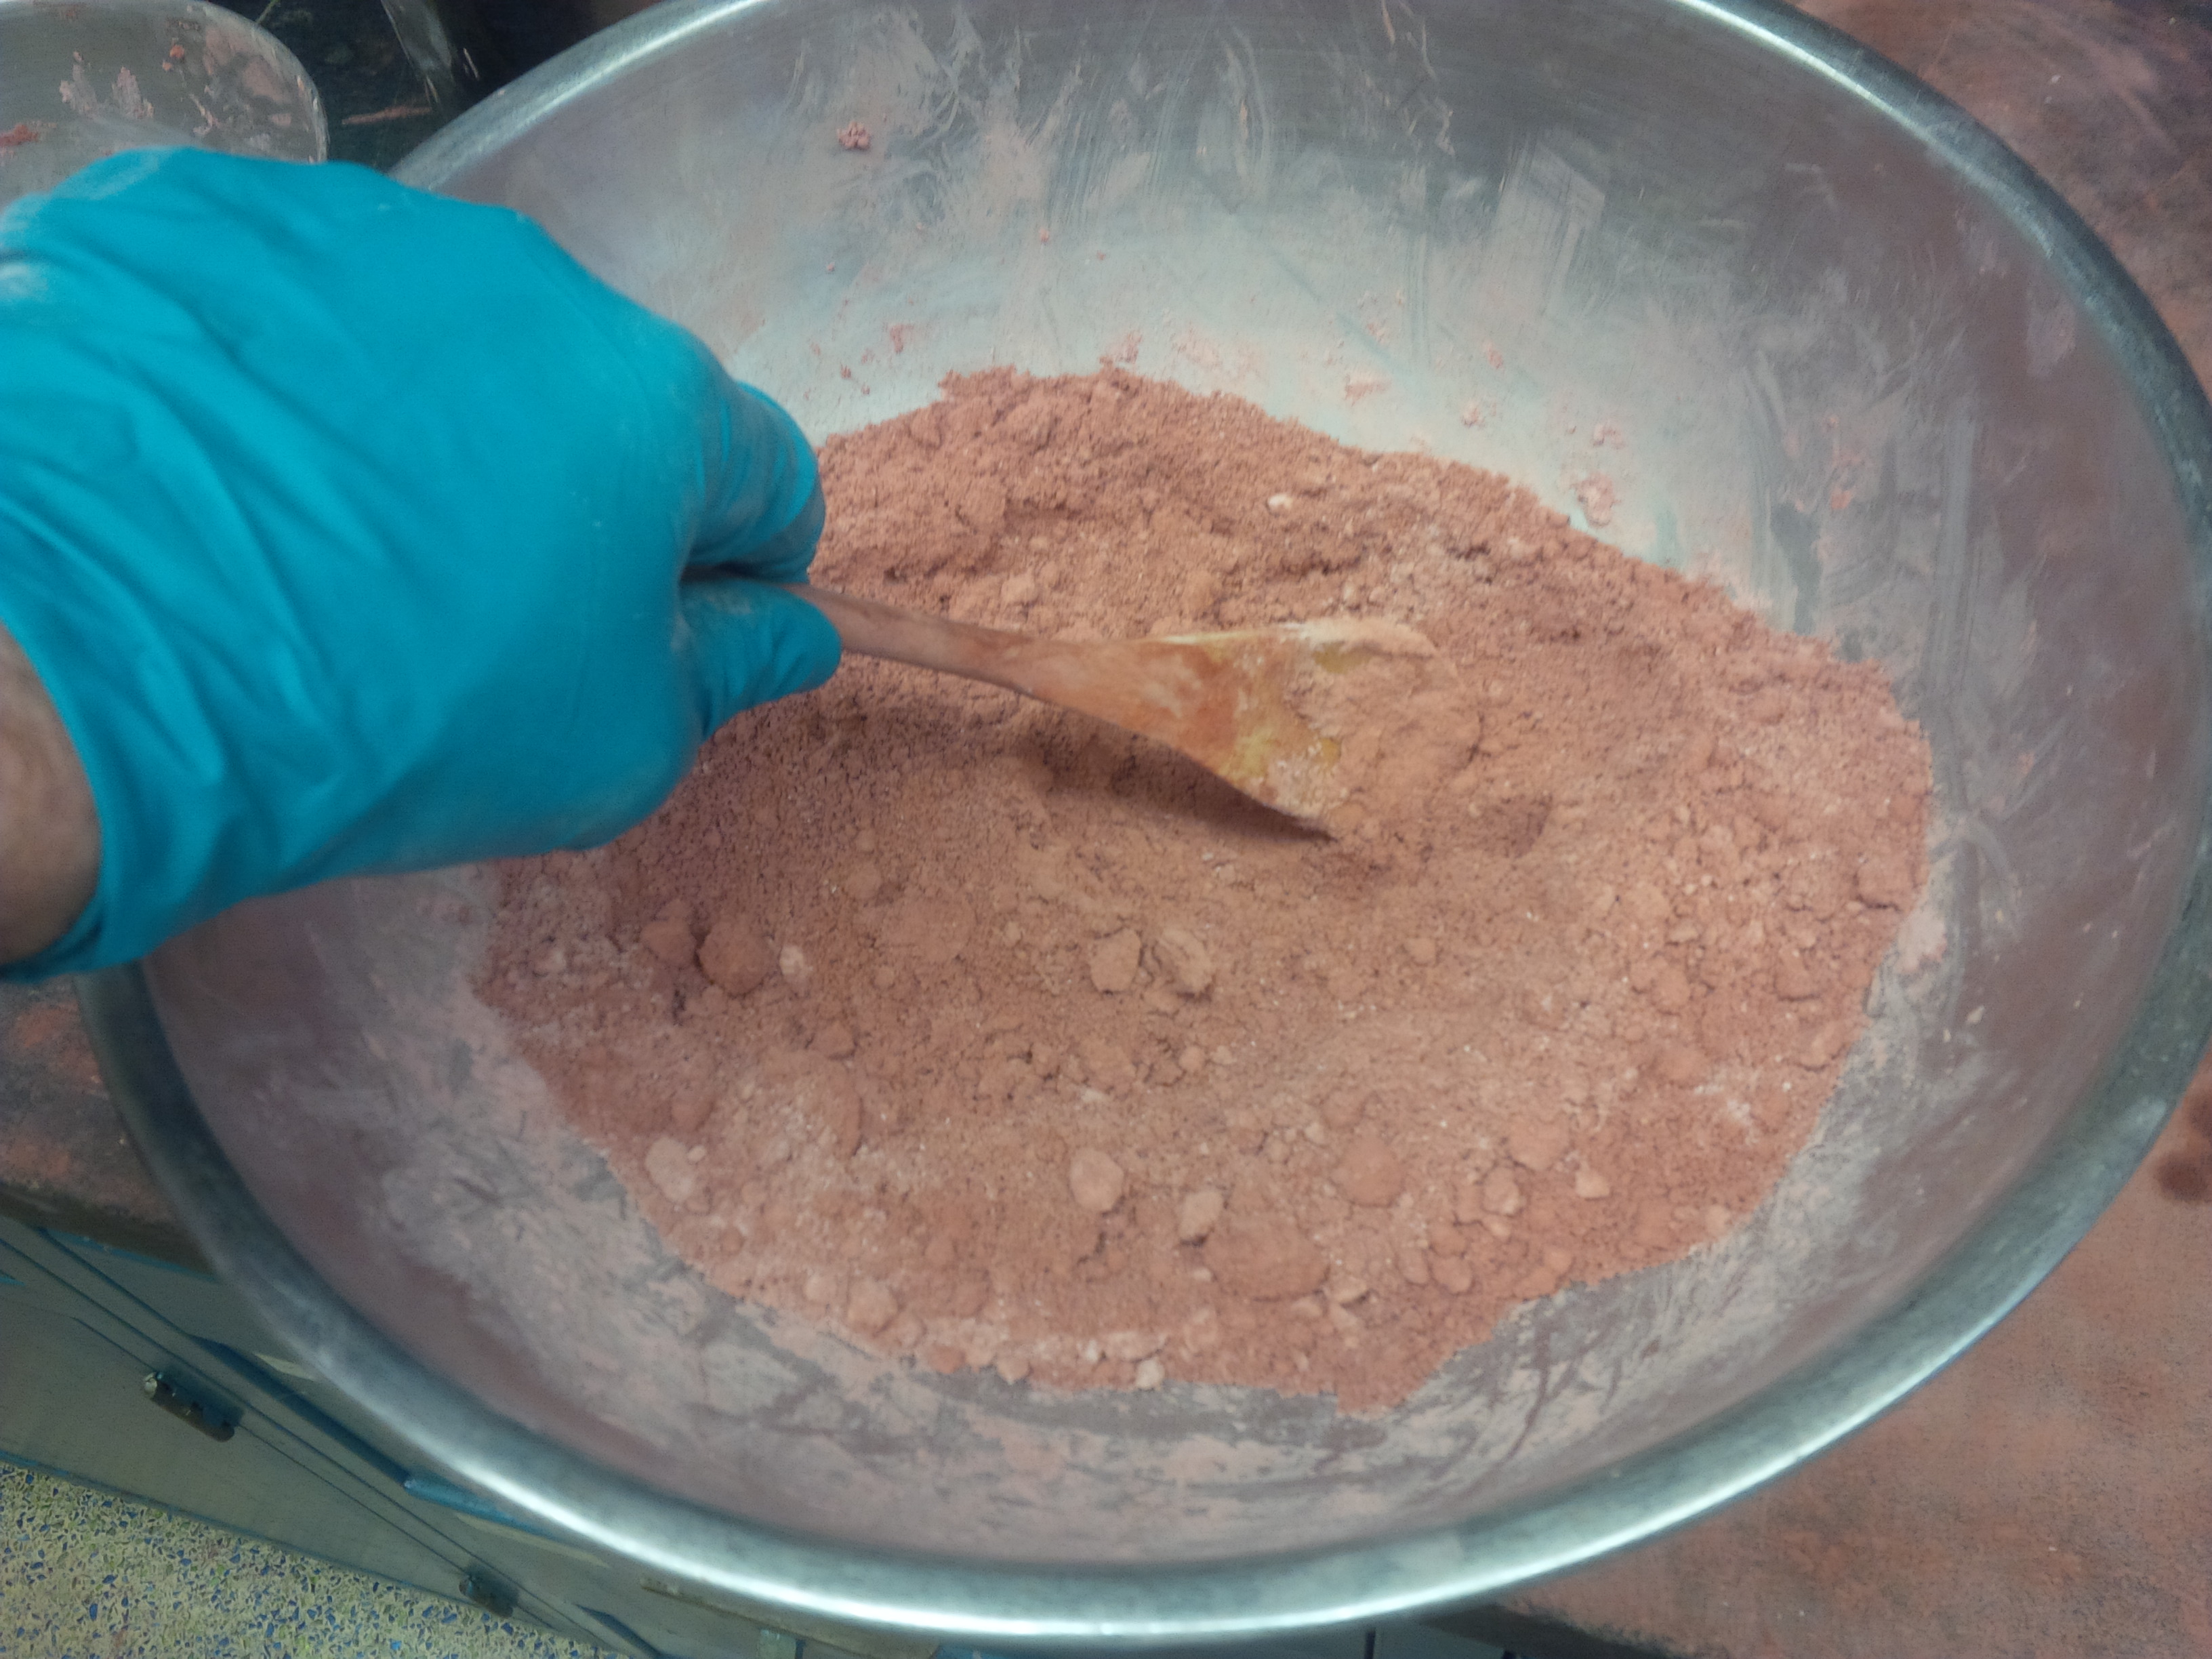
2. Continue adding dry and wet ingredients until mixture is appropriate consistency
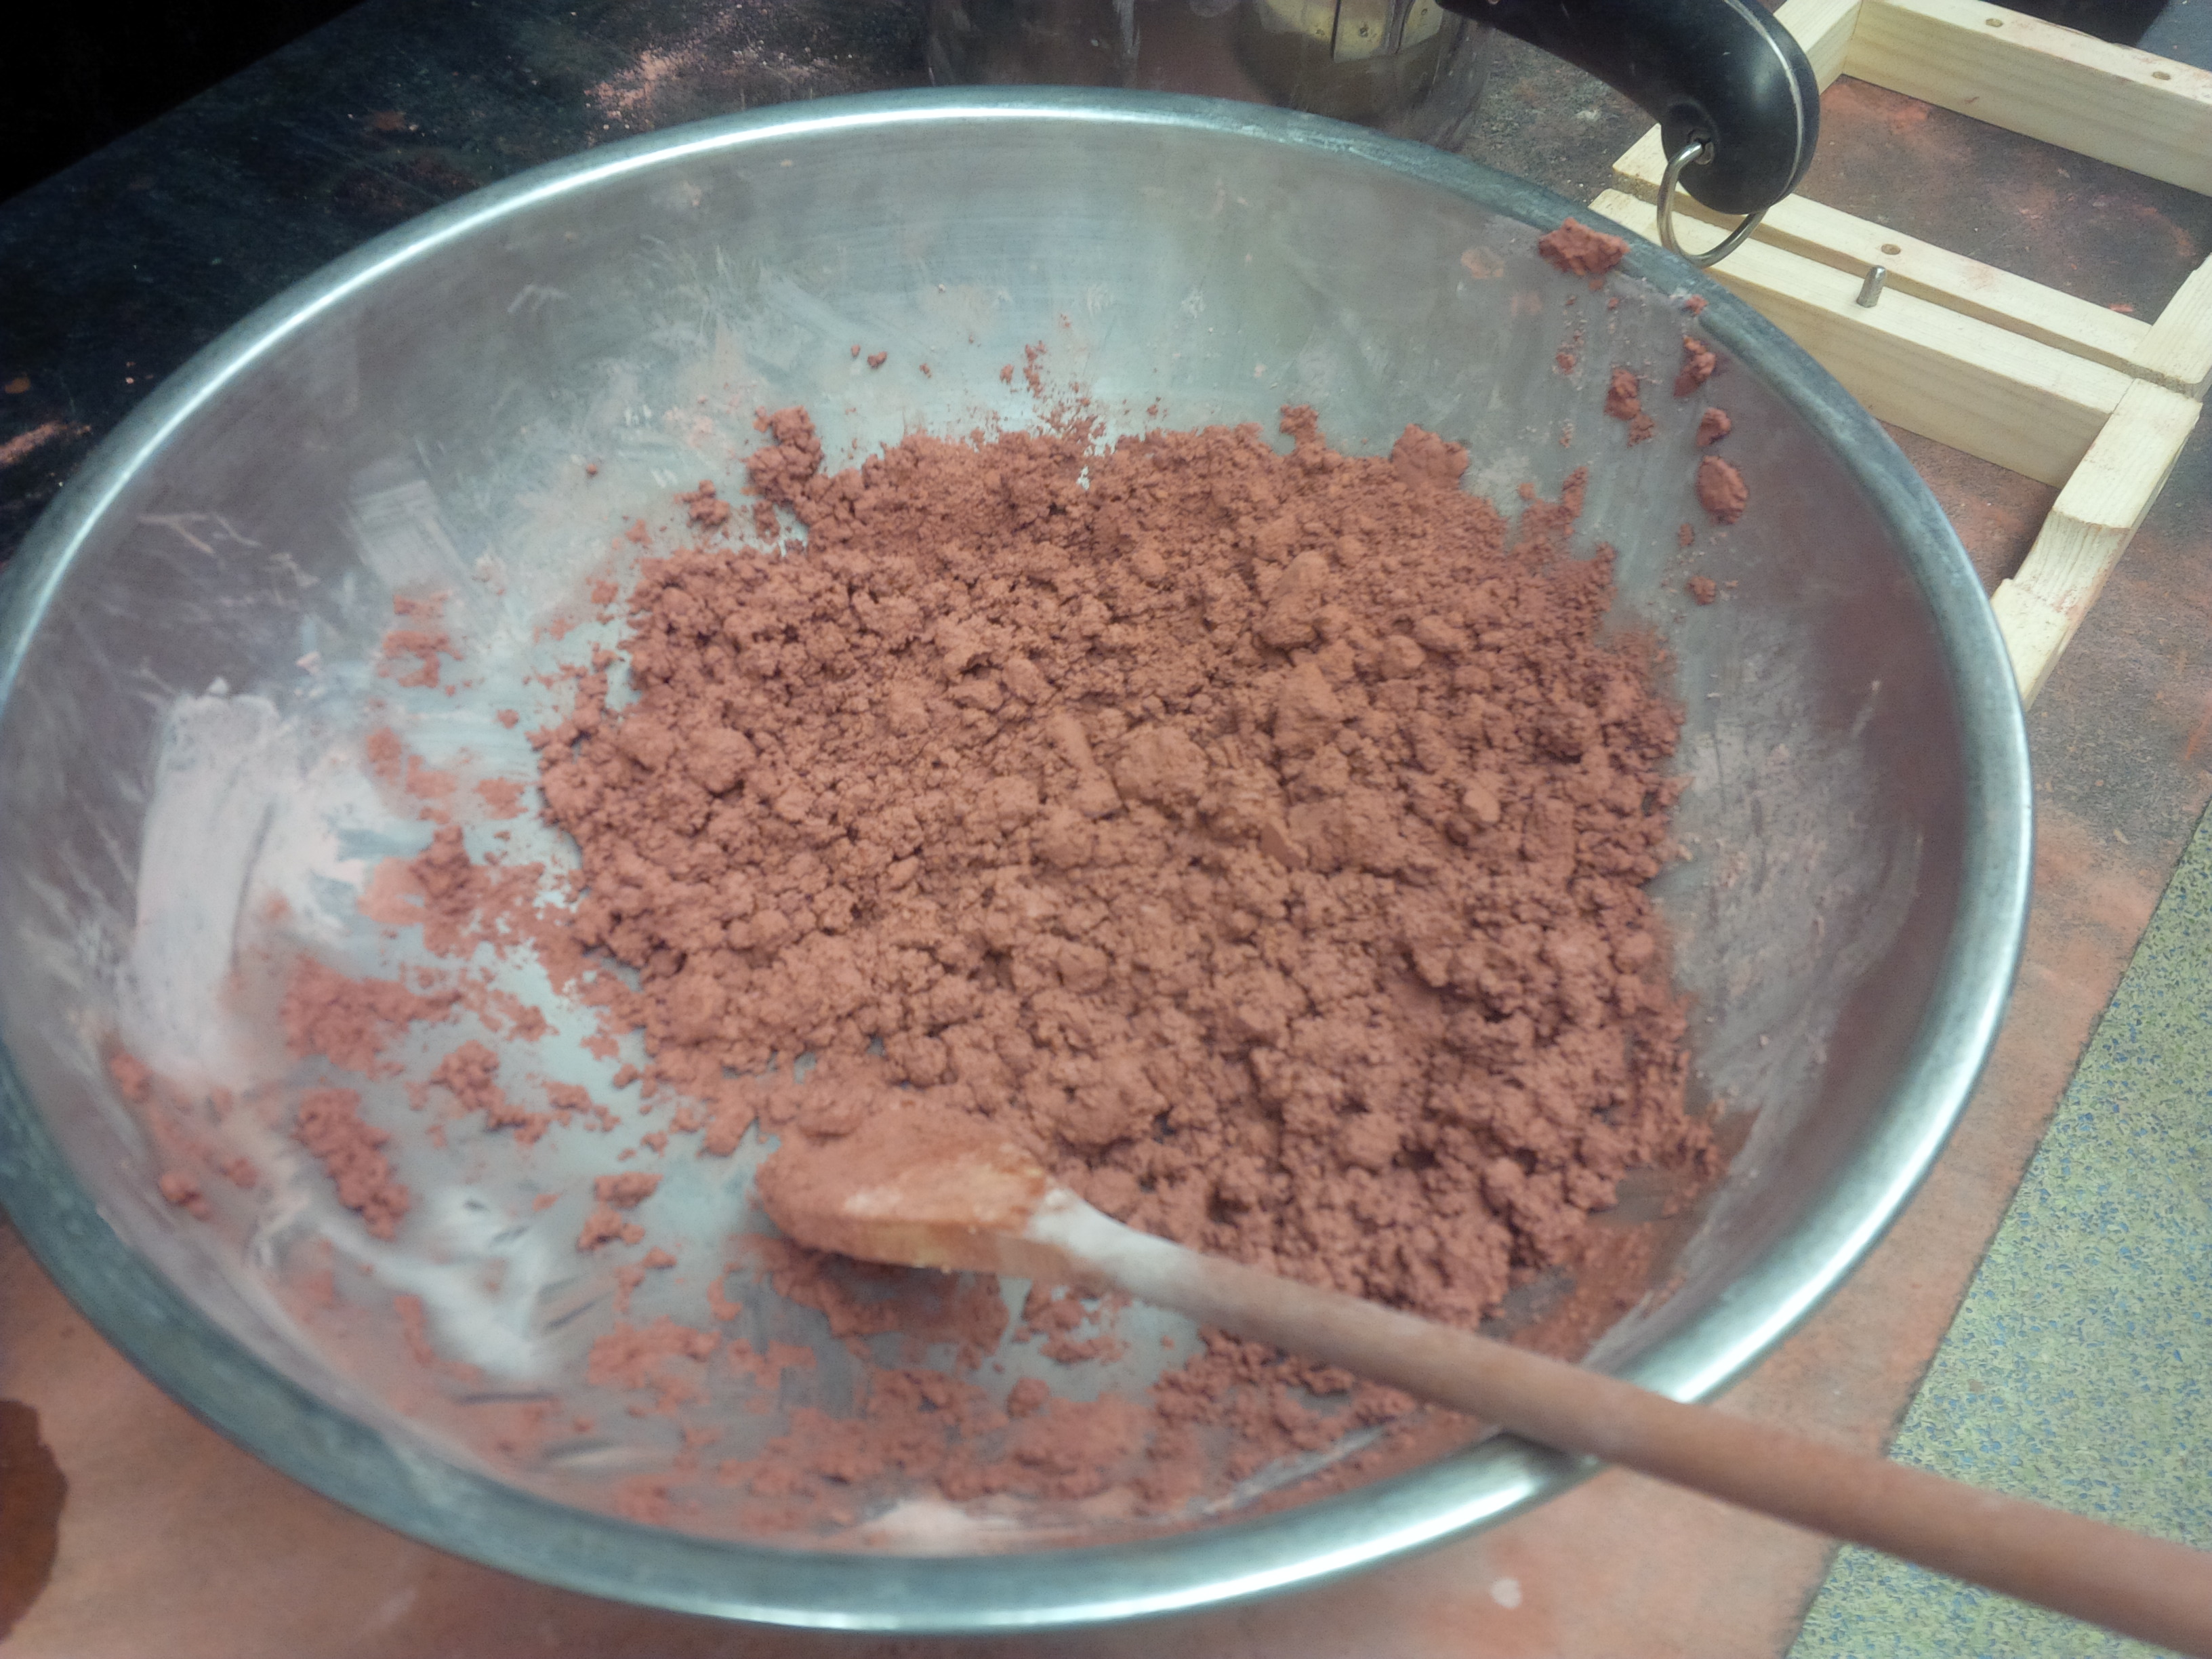
I first add approximately a 1/4 cup of Sal ammoniac solution by filling my 1/2 cup measuring cup halfway. The ingredients remain too dry. Expecting my mixture to appear the same dark brown as the clay from yesterday's experiment, I am unpleasantly surprised that when I add another 1/4 cup of Sal ammoniac solution, the mixture becomes supersaturated and the color is still not a rich brown. I realize that the molds used for today's sand making are slightly different in composition and thus produce a different colored clay. I add 1 cup of sand and mix the ingredients, more satisfied with the consistency. It is no longer a large block that can be kneaded, as yesterday, but rather a bowlful of small pellets.I ask Tonny Beentjes to examine my clay mixture to discern if it is ready. He picks up a small pellet in the mixture and presses it between his thumb and index finger. He then pushes the pellet against the side of the metal bowl until it reaches the shape of a quarter dollar (about 2 mm thick), pulling out this "coin" of crushed clay. It looks very finely packed. "That looks pretty good, yeah?" he asks me. I say, "great!"
3. Center plaster cast (recto) in wooden box and lightly brush charcoal powder onto its face
Tonny places one of my plaster models (recto) in the middle of a box mold. Tonny then applies a layer of charcoal powder to the surface of the plaster model (recto). The recipe states "I sprinkled my medal with charcoal pulverized with a file to remove the oil fat, and all other fat." While I would cannot discern with my eyes what "fat" substances are on the surface of the coin, I realize that I had been handling the coin in my hands intensely as I picked out all of the clay pieces. I presume the author of the manuscript applied the charcoal to defray the effects of the oil from my hands that have invariably found their way onto the surface of the plaster model.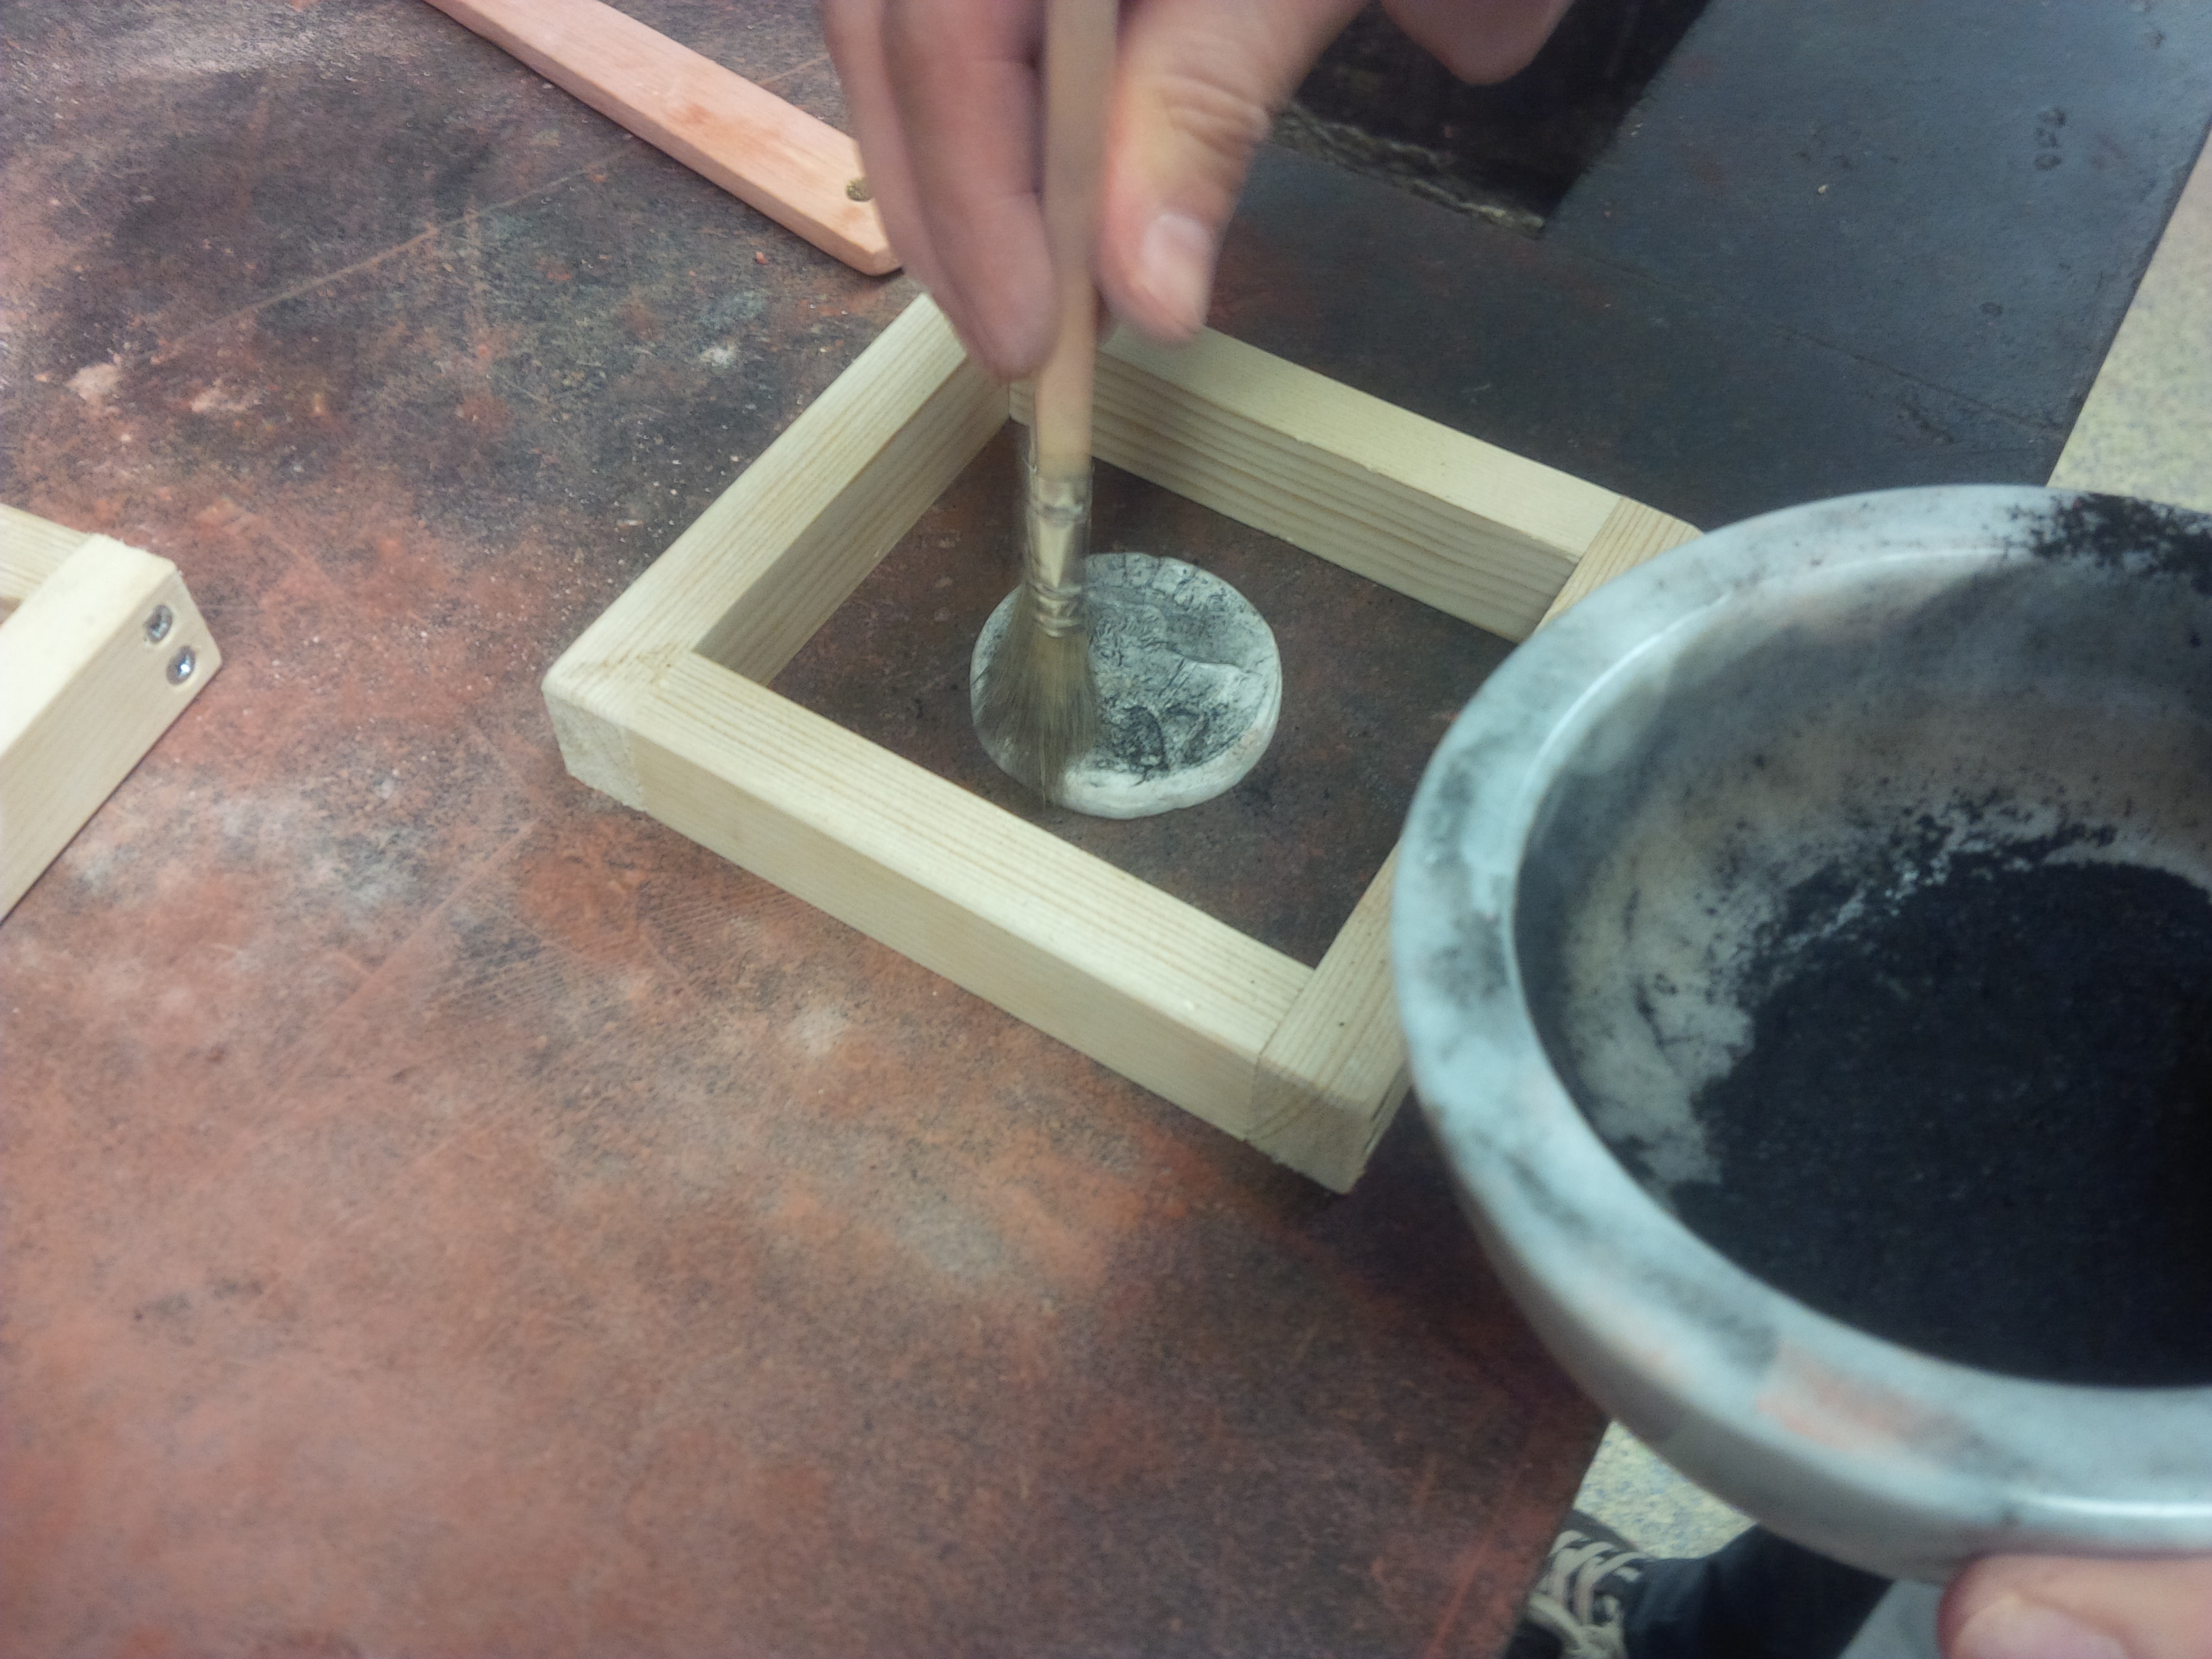
4. Slowly layer clay onto plaster cast until box frame is filled
It is now time to apply the clay on top of my plaster model. Tonny informs me that the clay near the plaster model should be remain rather dry to take the best impression. After building up a small area of clay around the plaster model, he then begins pressing more clay around the model. As the clay builds up, the pressure causes moisture to escape from the compressed clay. Especially around the edges of the box, the clay is visibly moist. "Like quicksand," Tonny says. To compensate for this moistening, Tonny adds 15 small pinches of dry sand to my larger mixture of sand, collecting each pinch between all five fingers and sprinkling it evenly around the mixture before stirring again. He then adds this dryer, more crumbly mixture of clay as he layers it into the box. To make the clay even dryer, he begins sprinkling layers of sand directly onto full layers of clay. He explains that this clay can be a bit crumbly because it is not in fact touching my plaster model and is therefore not taking an impression. Whereas Tonny was applying pressure to the clay around the model with his fingers and thumbs, as the clay builds up, he begins to lean more closely over the mold and apply pressure with the full force of his upper body. Finally, we use the flat plastic scraping tool to literally scrape the excess clay off the top of the box to ensure that it creates a flat surface. Tonny informs me during this scraping process that the clay appears "a bit on the wet side," and I notice that with each scrap the compressed, wet clay seems to pull away from the edges. I wonder to what extent it will expand when it dries.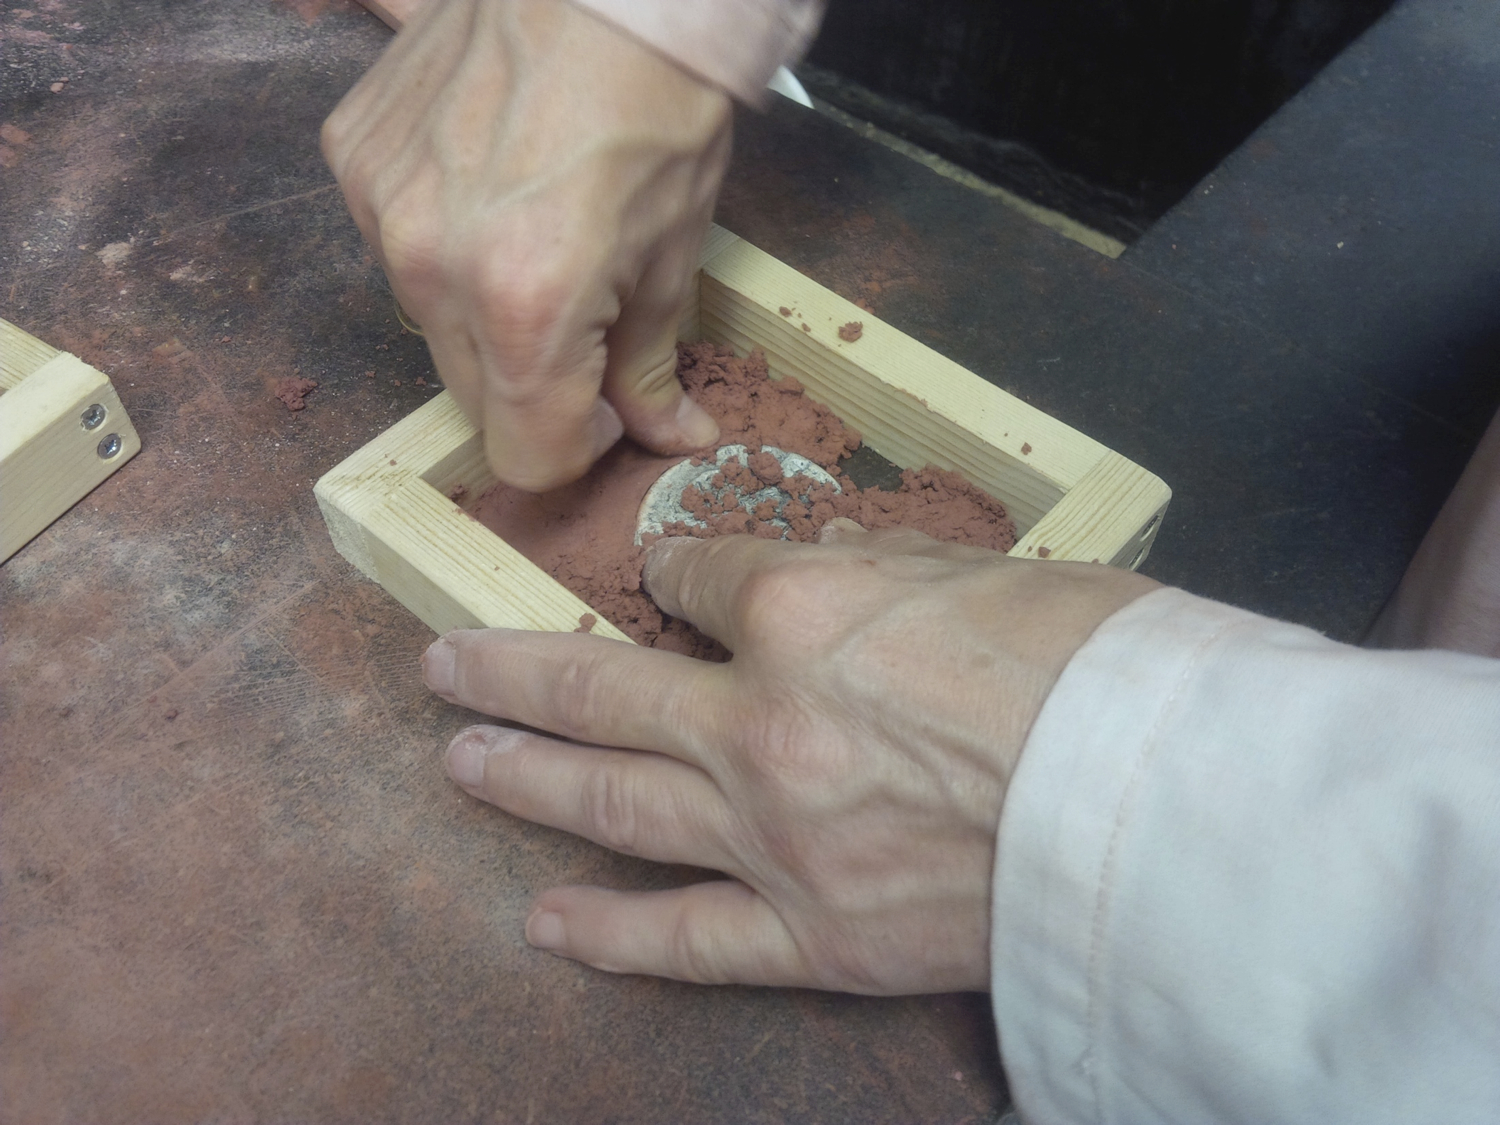
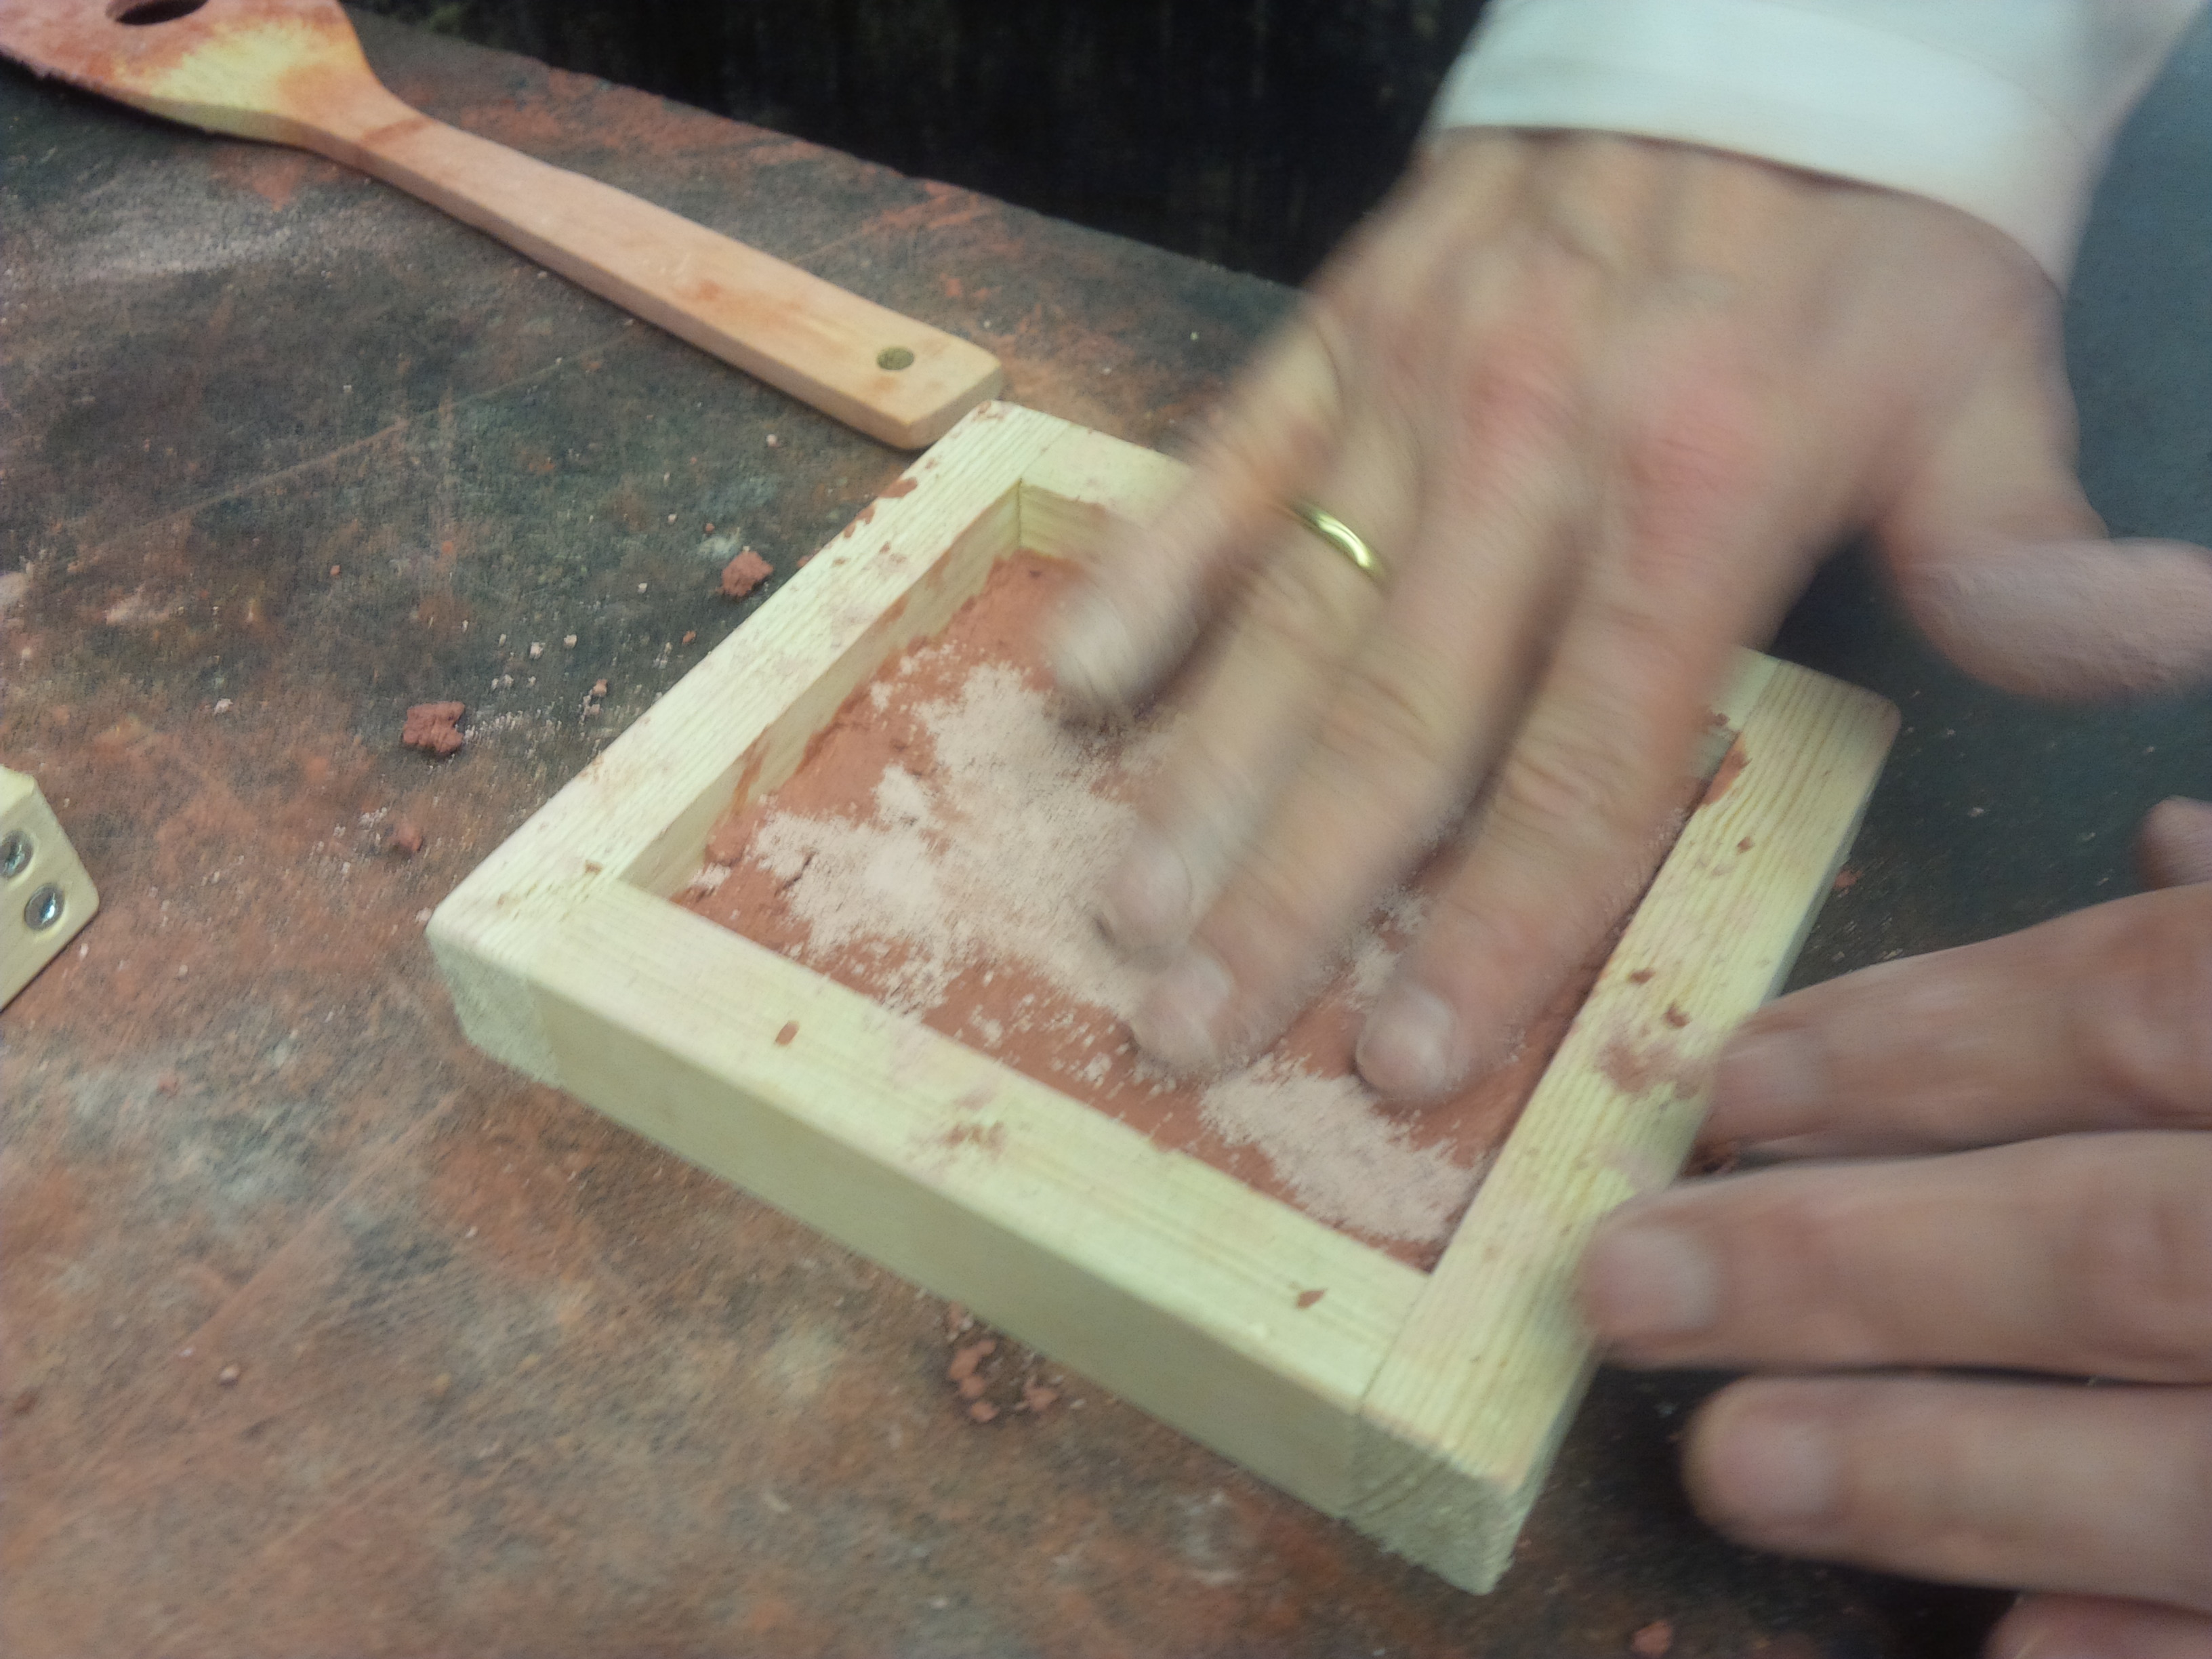
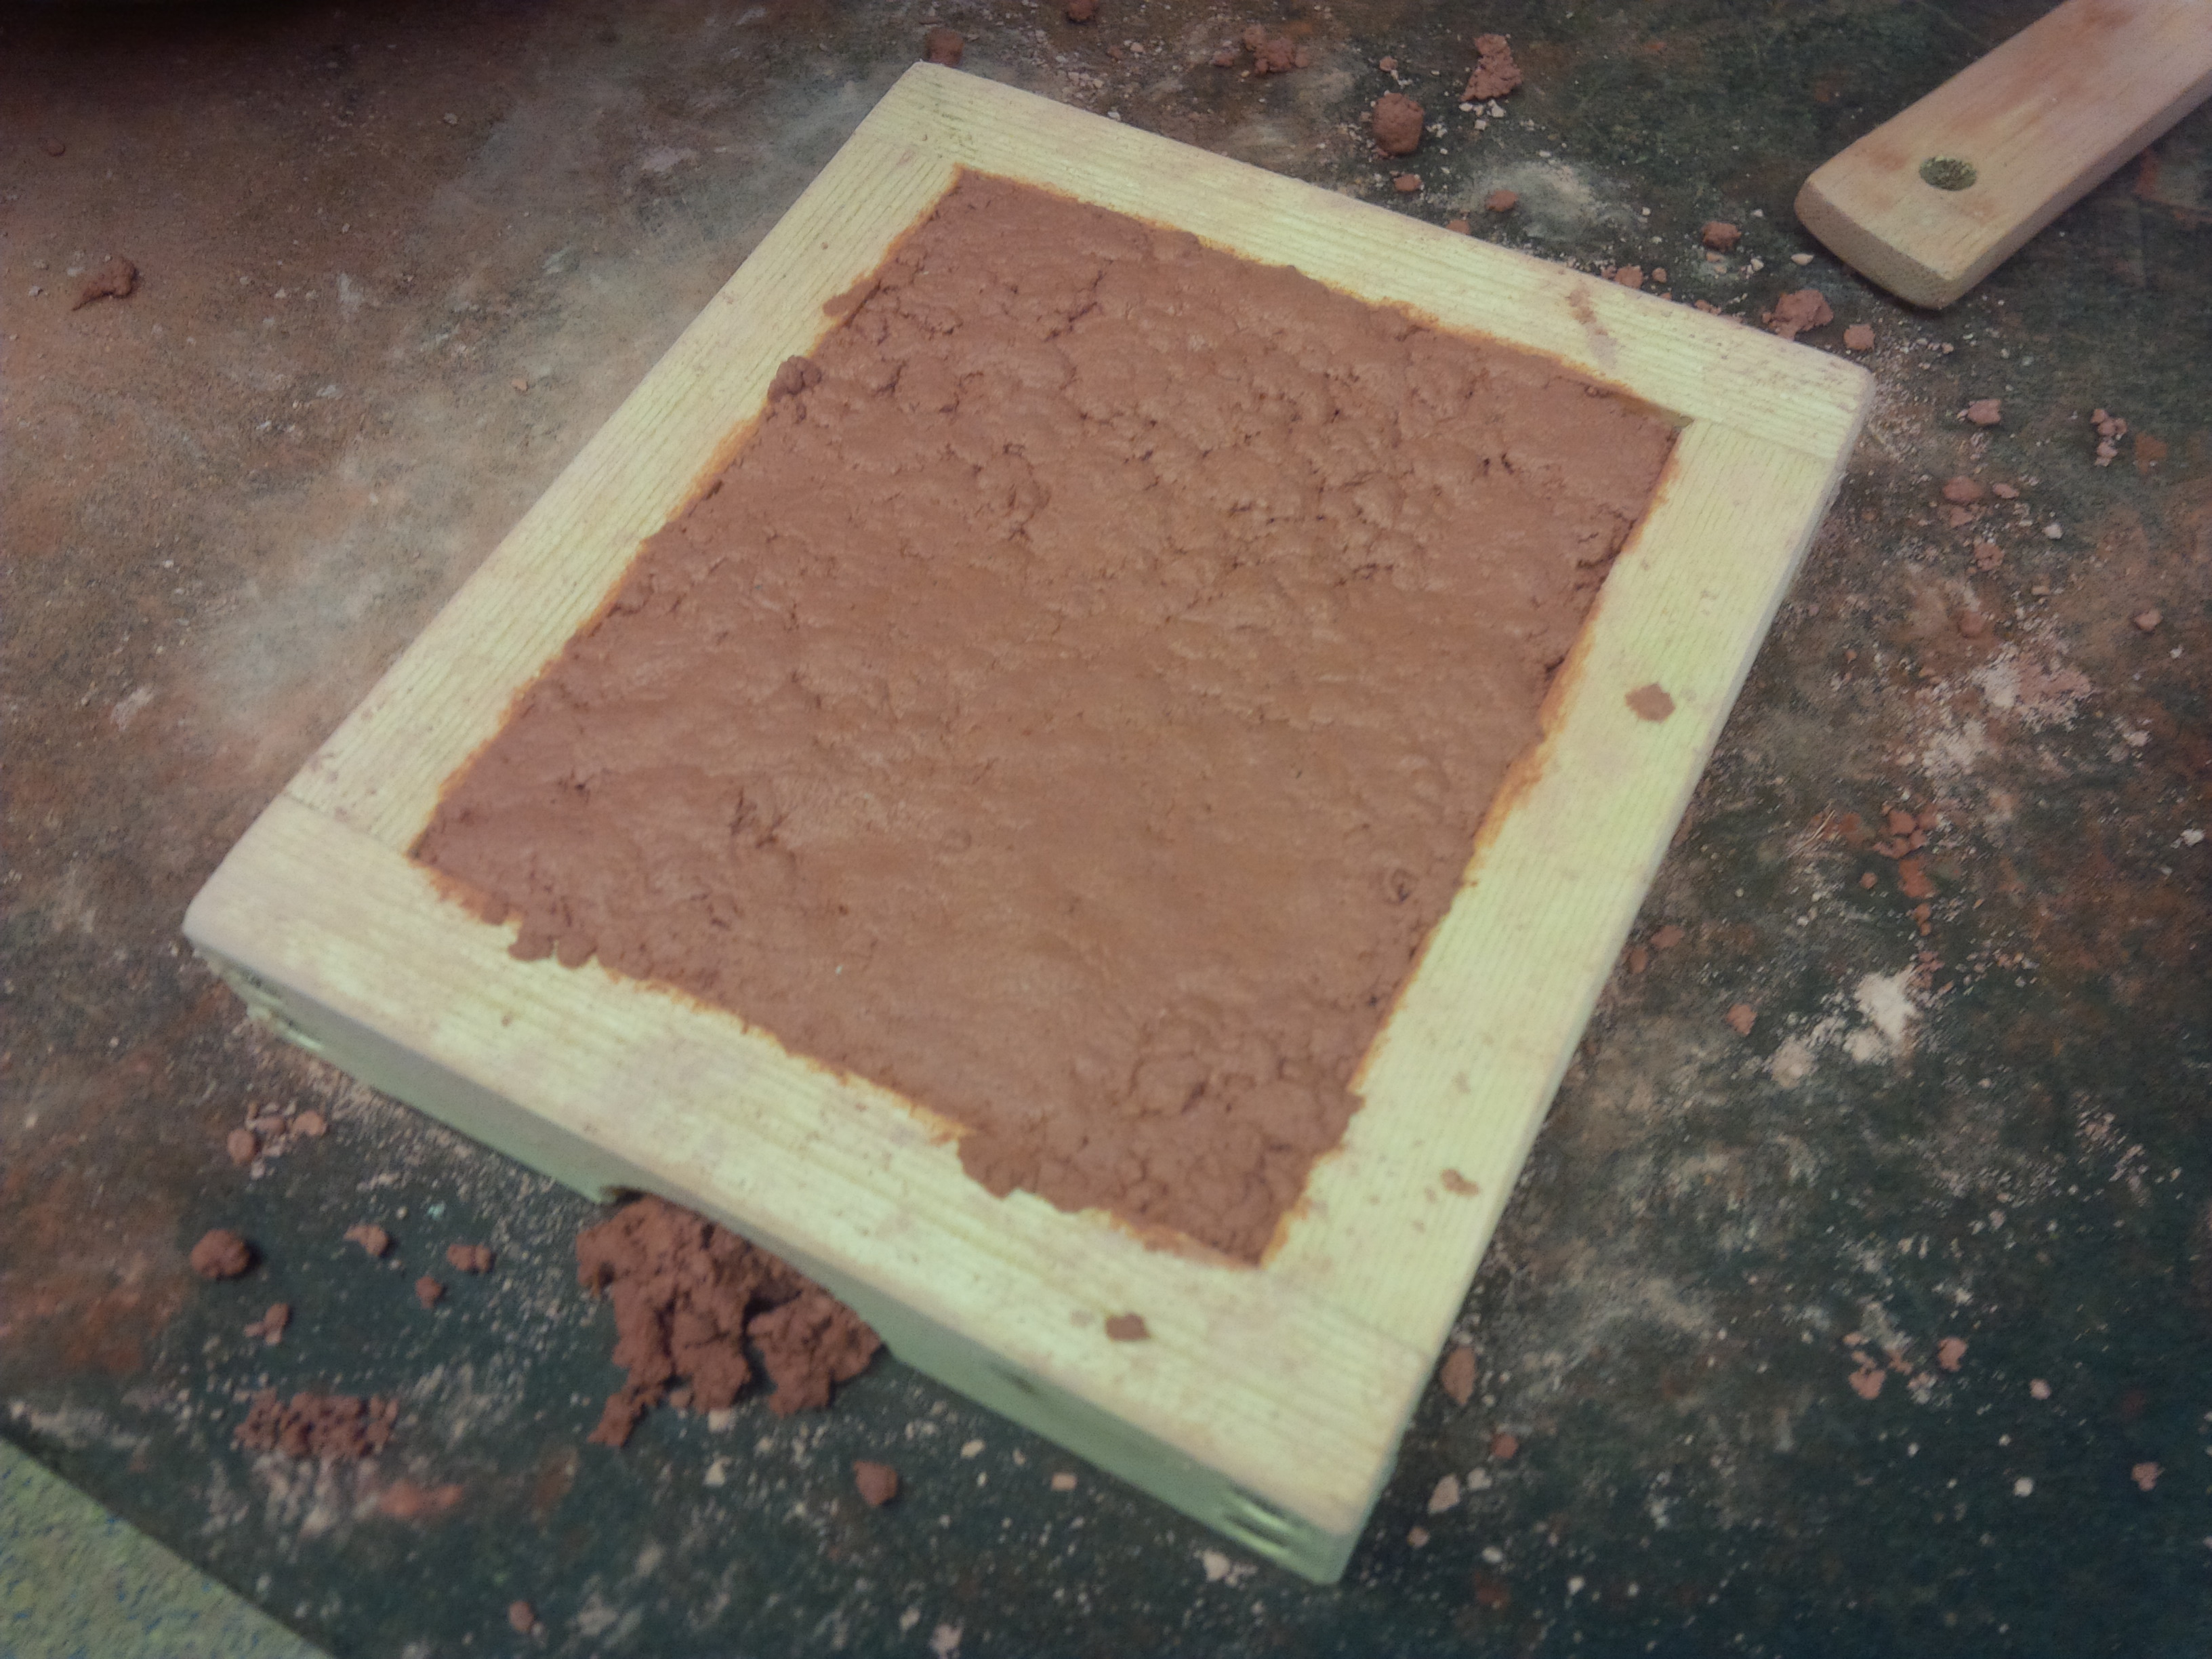
5. Place the plaster cast (verso) directly on top of the back of other plaster cast (recto) and add a thin layer of charcoal.
It is now time to cast the other side of my plaster model. While I had been upset earlier that the two-sided beeswax model I had made became two separate one-sided plaster models, Tonny explains that we will be able to create a single medal with one mold. By positioning the other plaster model (verso) directly over the face-down plaster model that is embedded in the clay, I am now ready to produce the other side of the box mold. Before applying charcoal to the face of my mold, Tonny applies a very dense layer of charcoal around it atop the surface of the clay. He explains: "This need to be done quite excessively, because what we want is a moisture barrier." I realize that he means it will be necessary to pull apart the two halves of the mold to remove the plaster cast, and this "moisture barrier" will effectively allow for this future separation.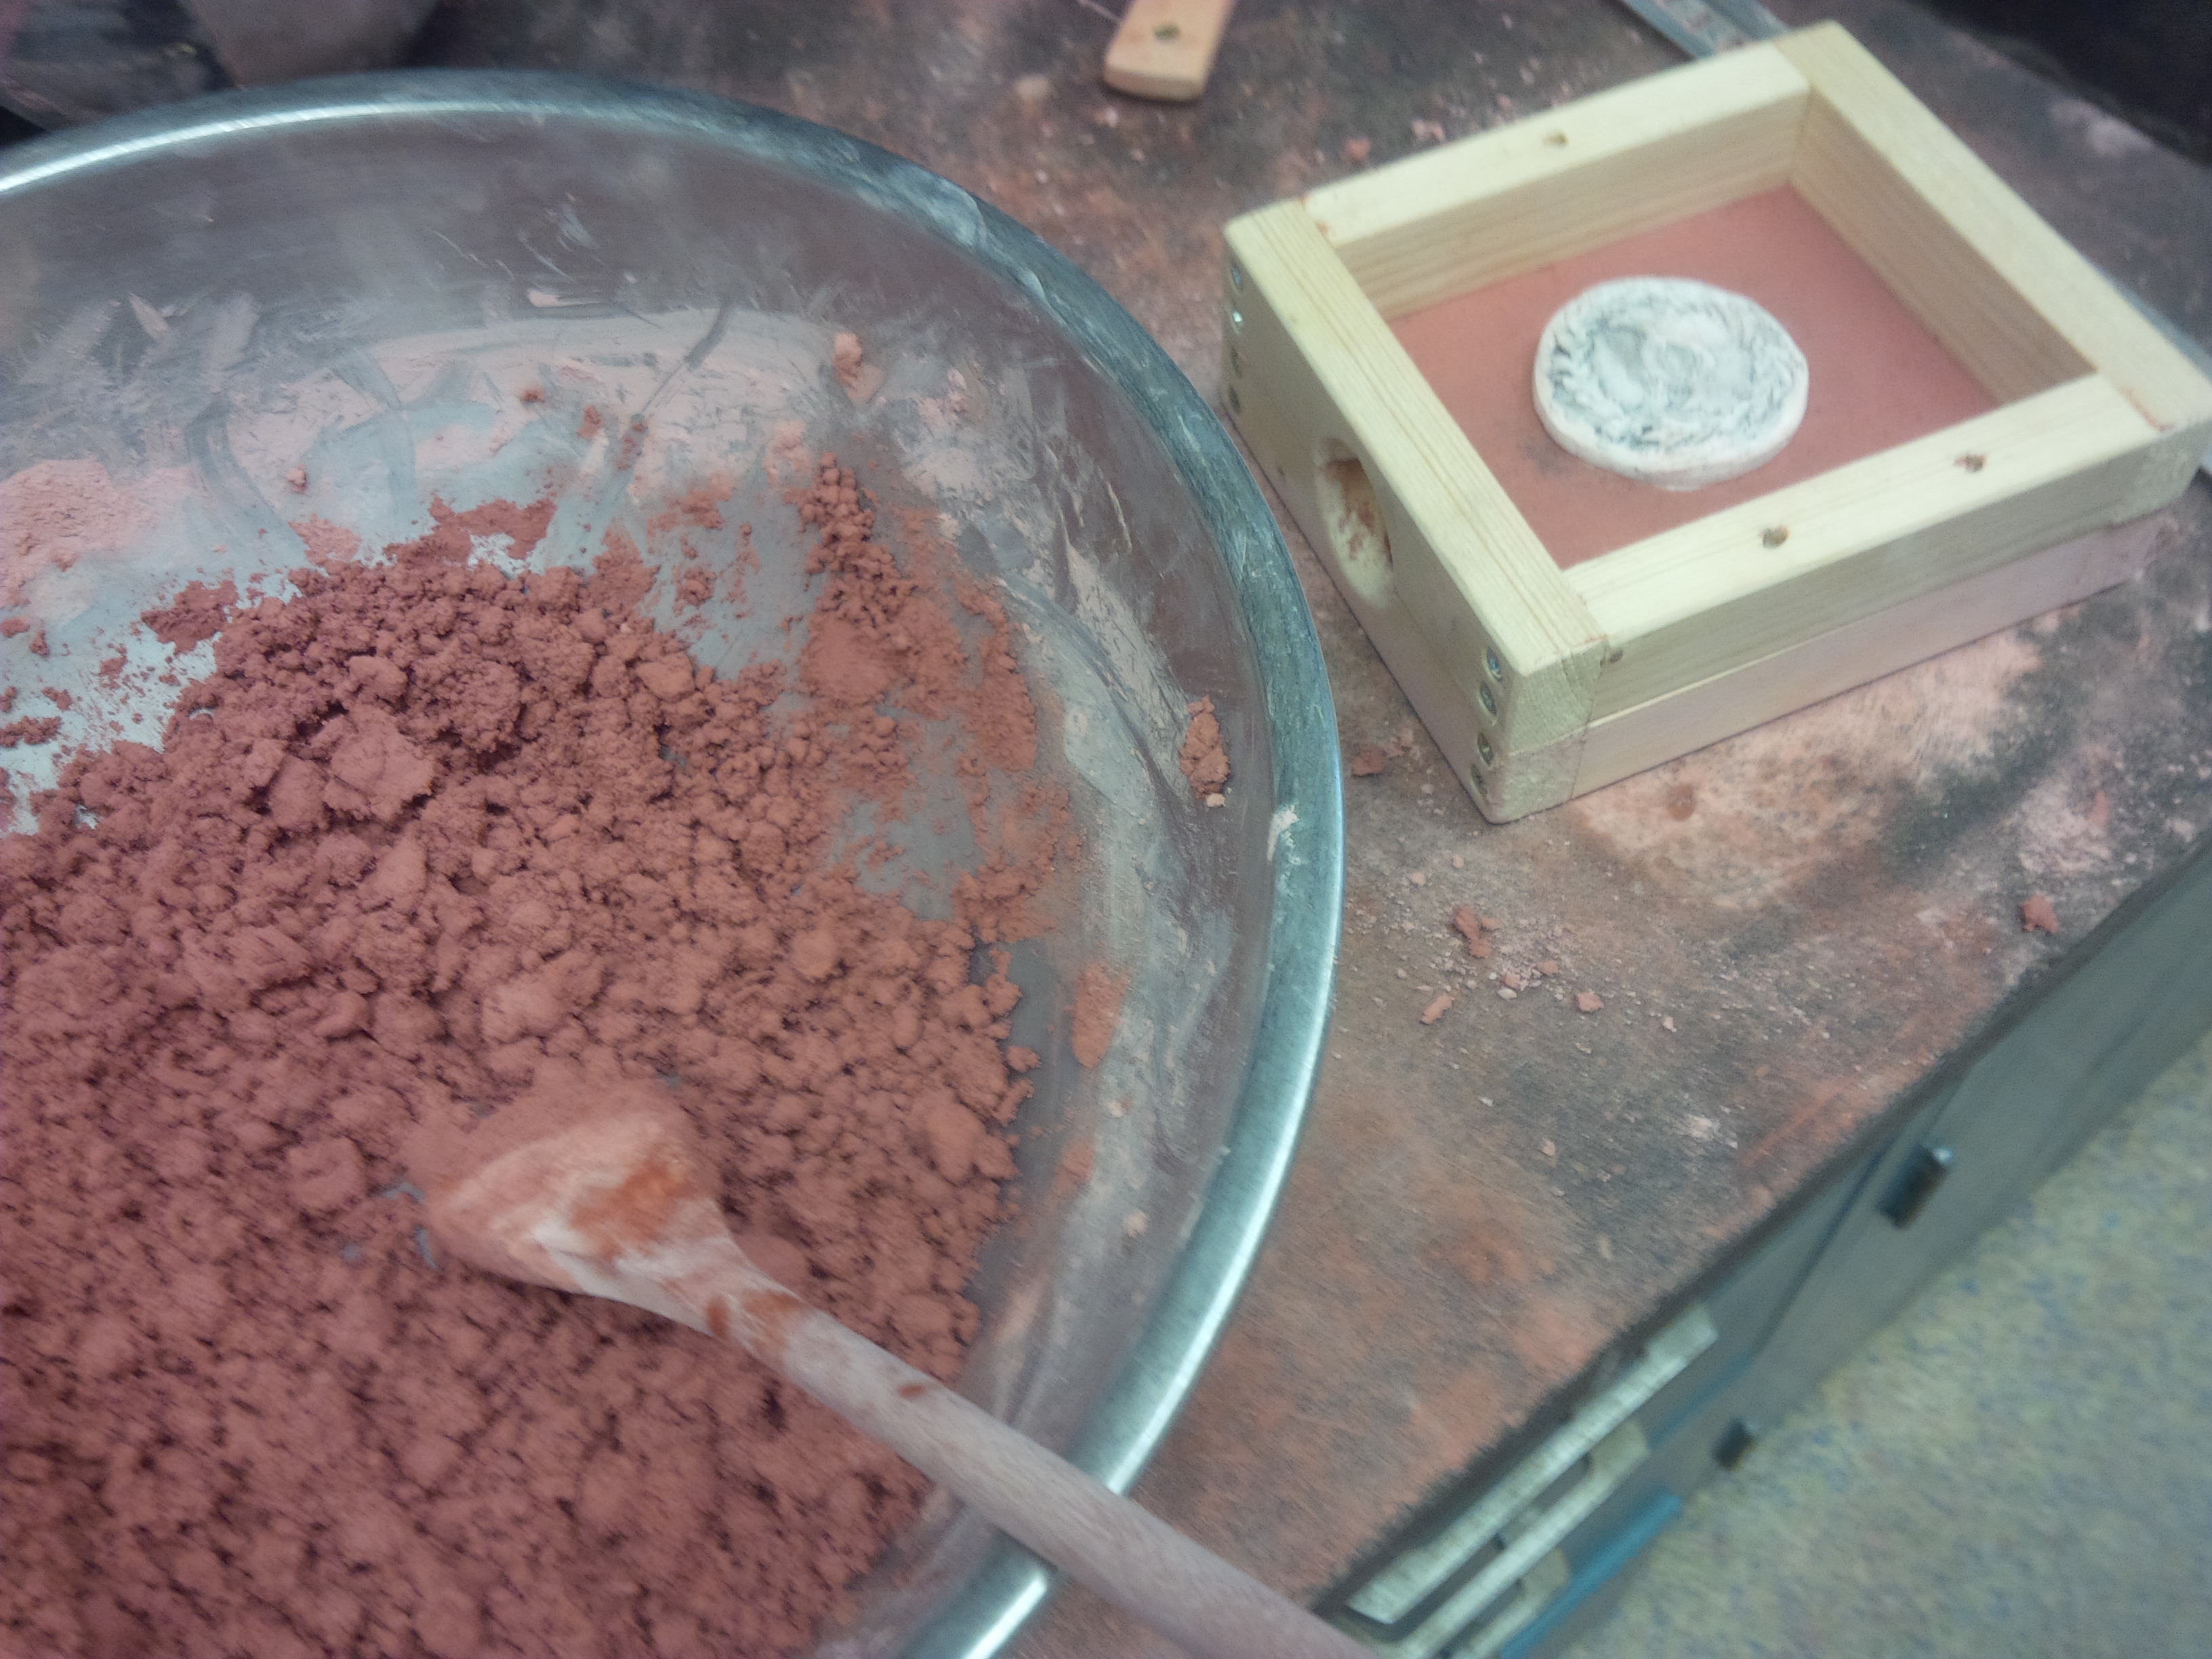
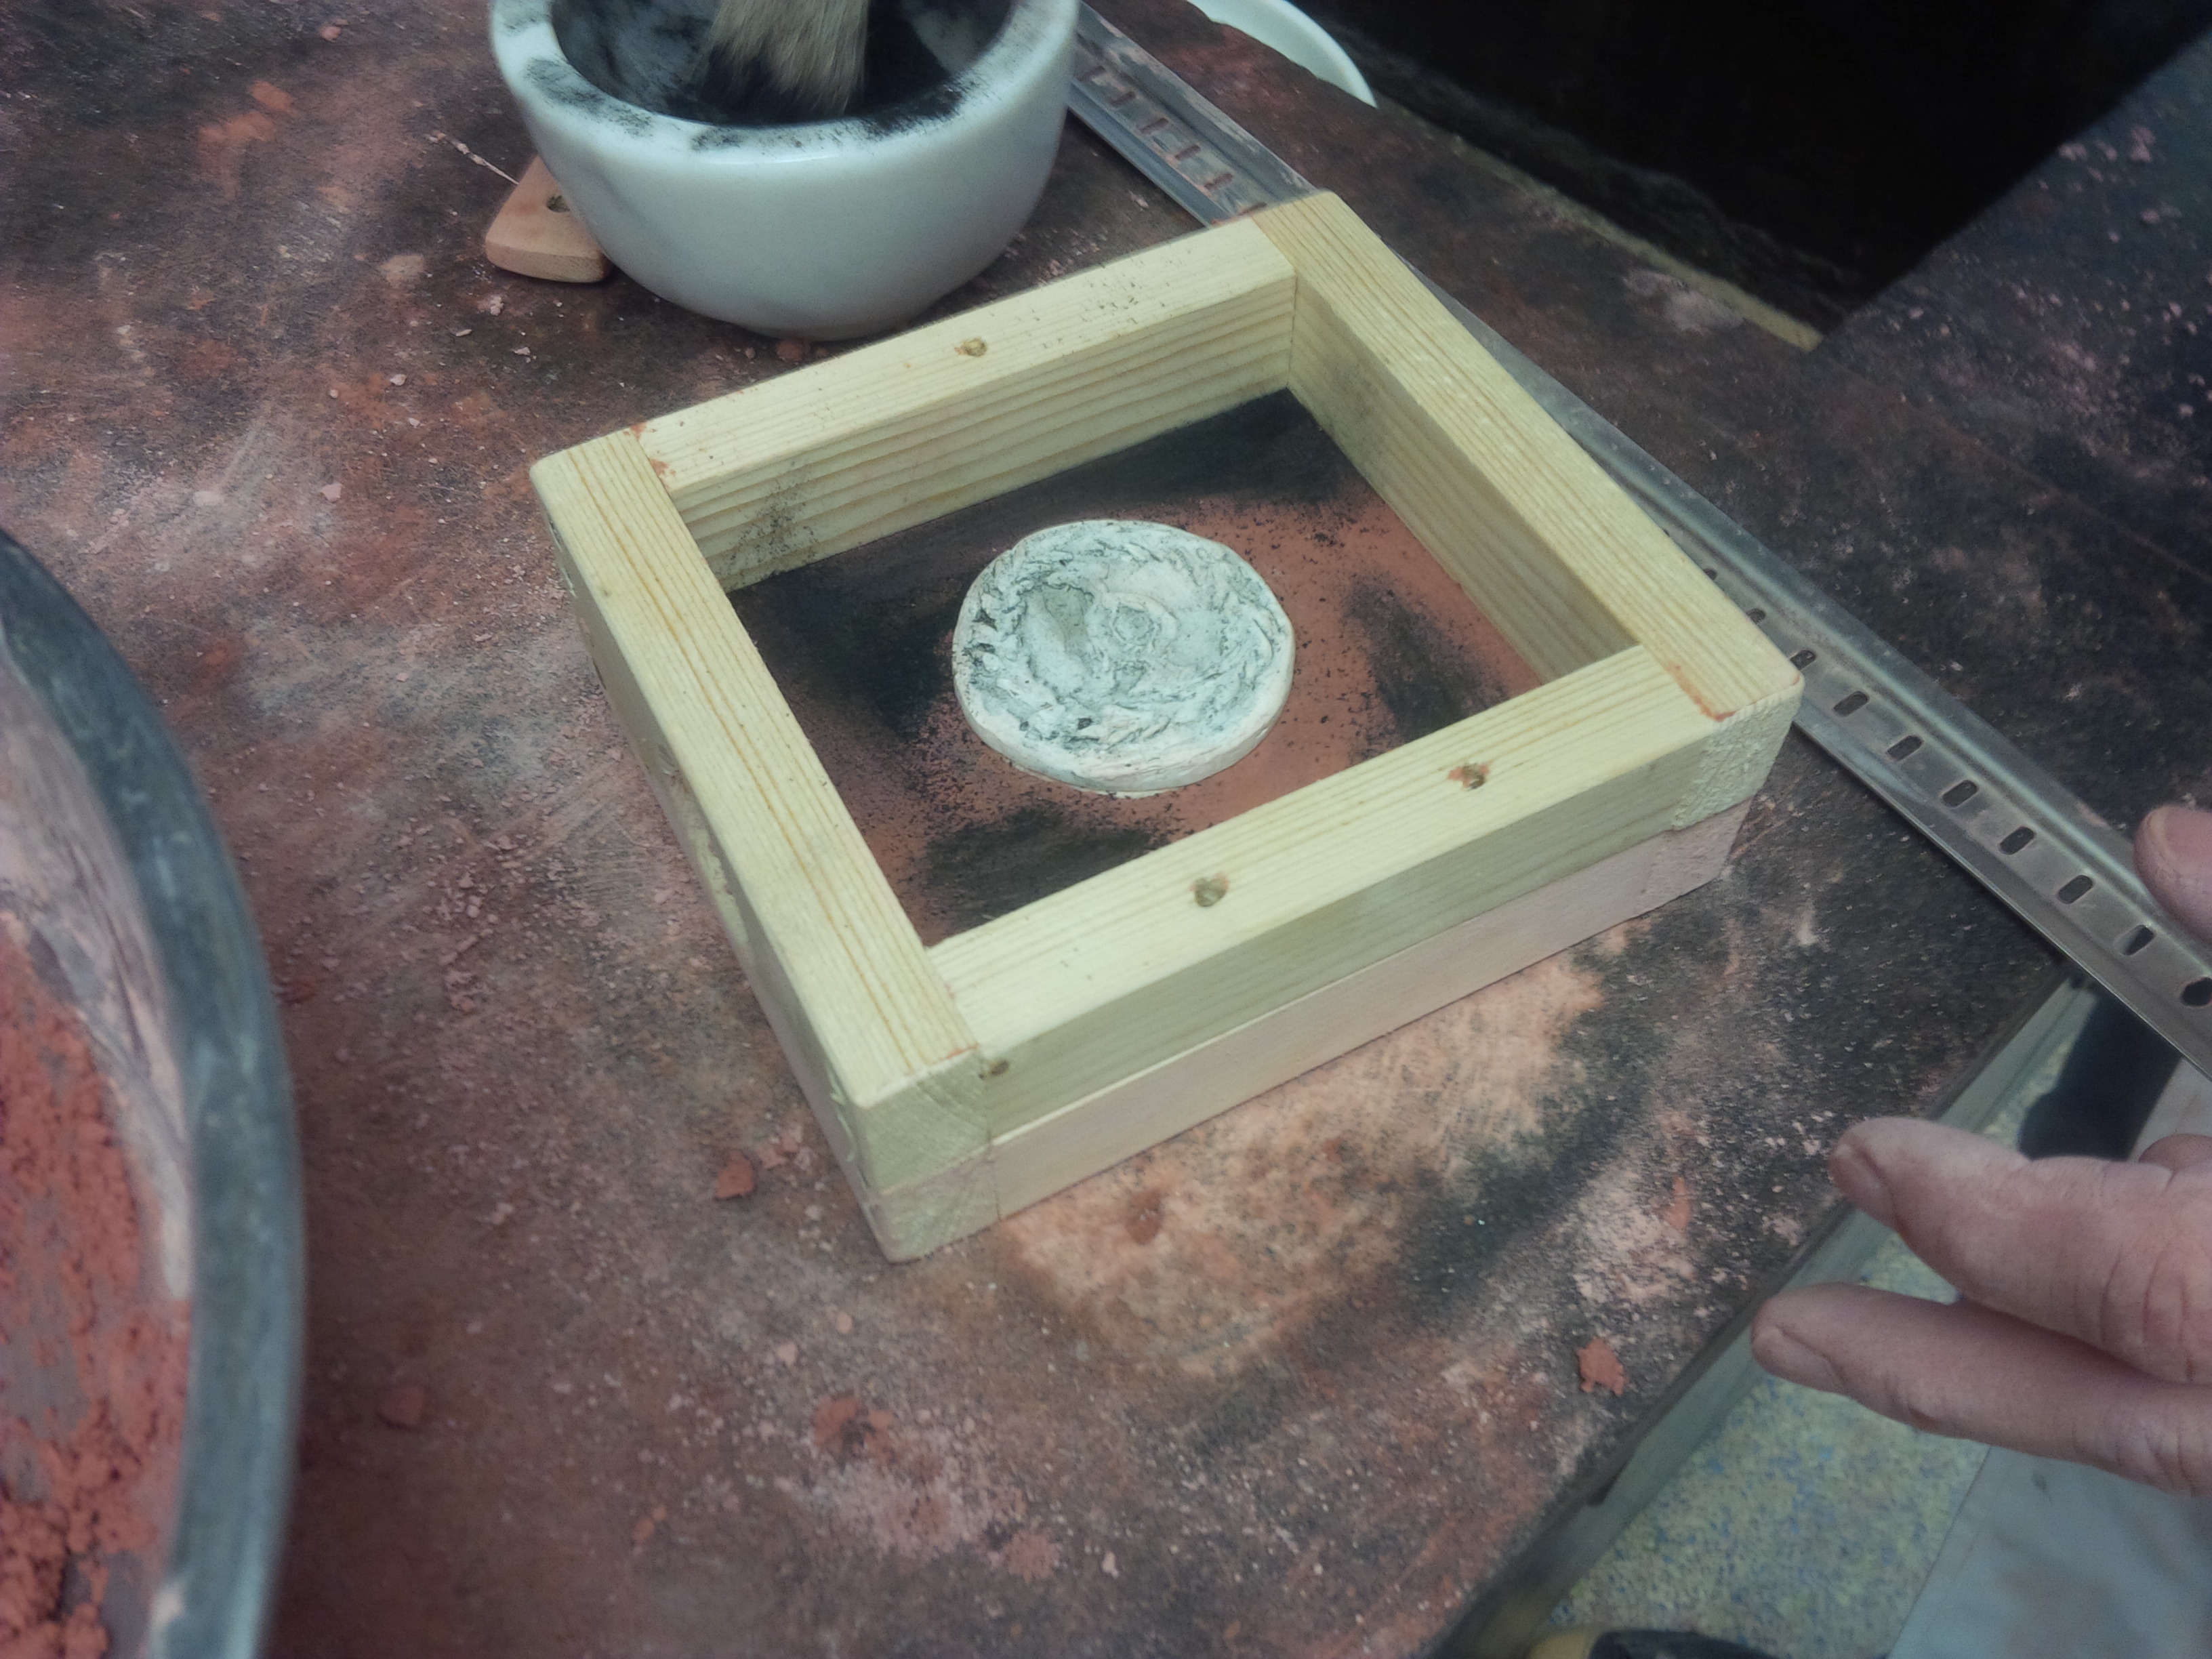
6. Repeat steps 3-4 for the plaster cast (verso)
I repeat this process for the second half of the box mold. Because the previous clay mixture was a bit too wet, this time I add 5 pinches of sand. When Tonny comes over to check that the box mold is ready, I notice that he leans over the whole object and applies pressure with his whole upper body.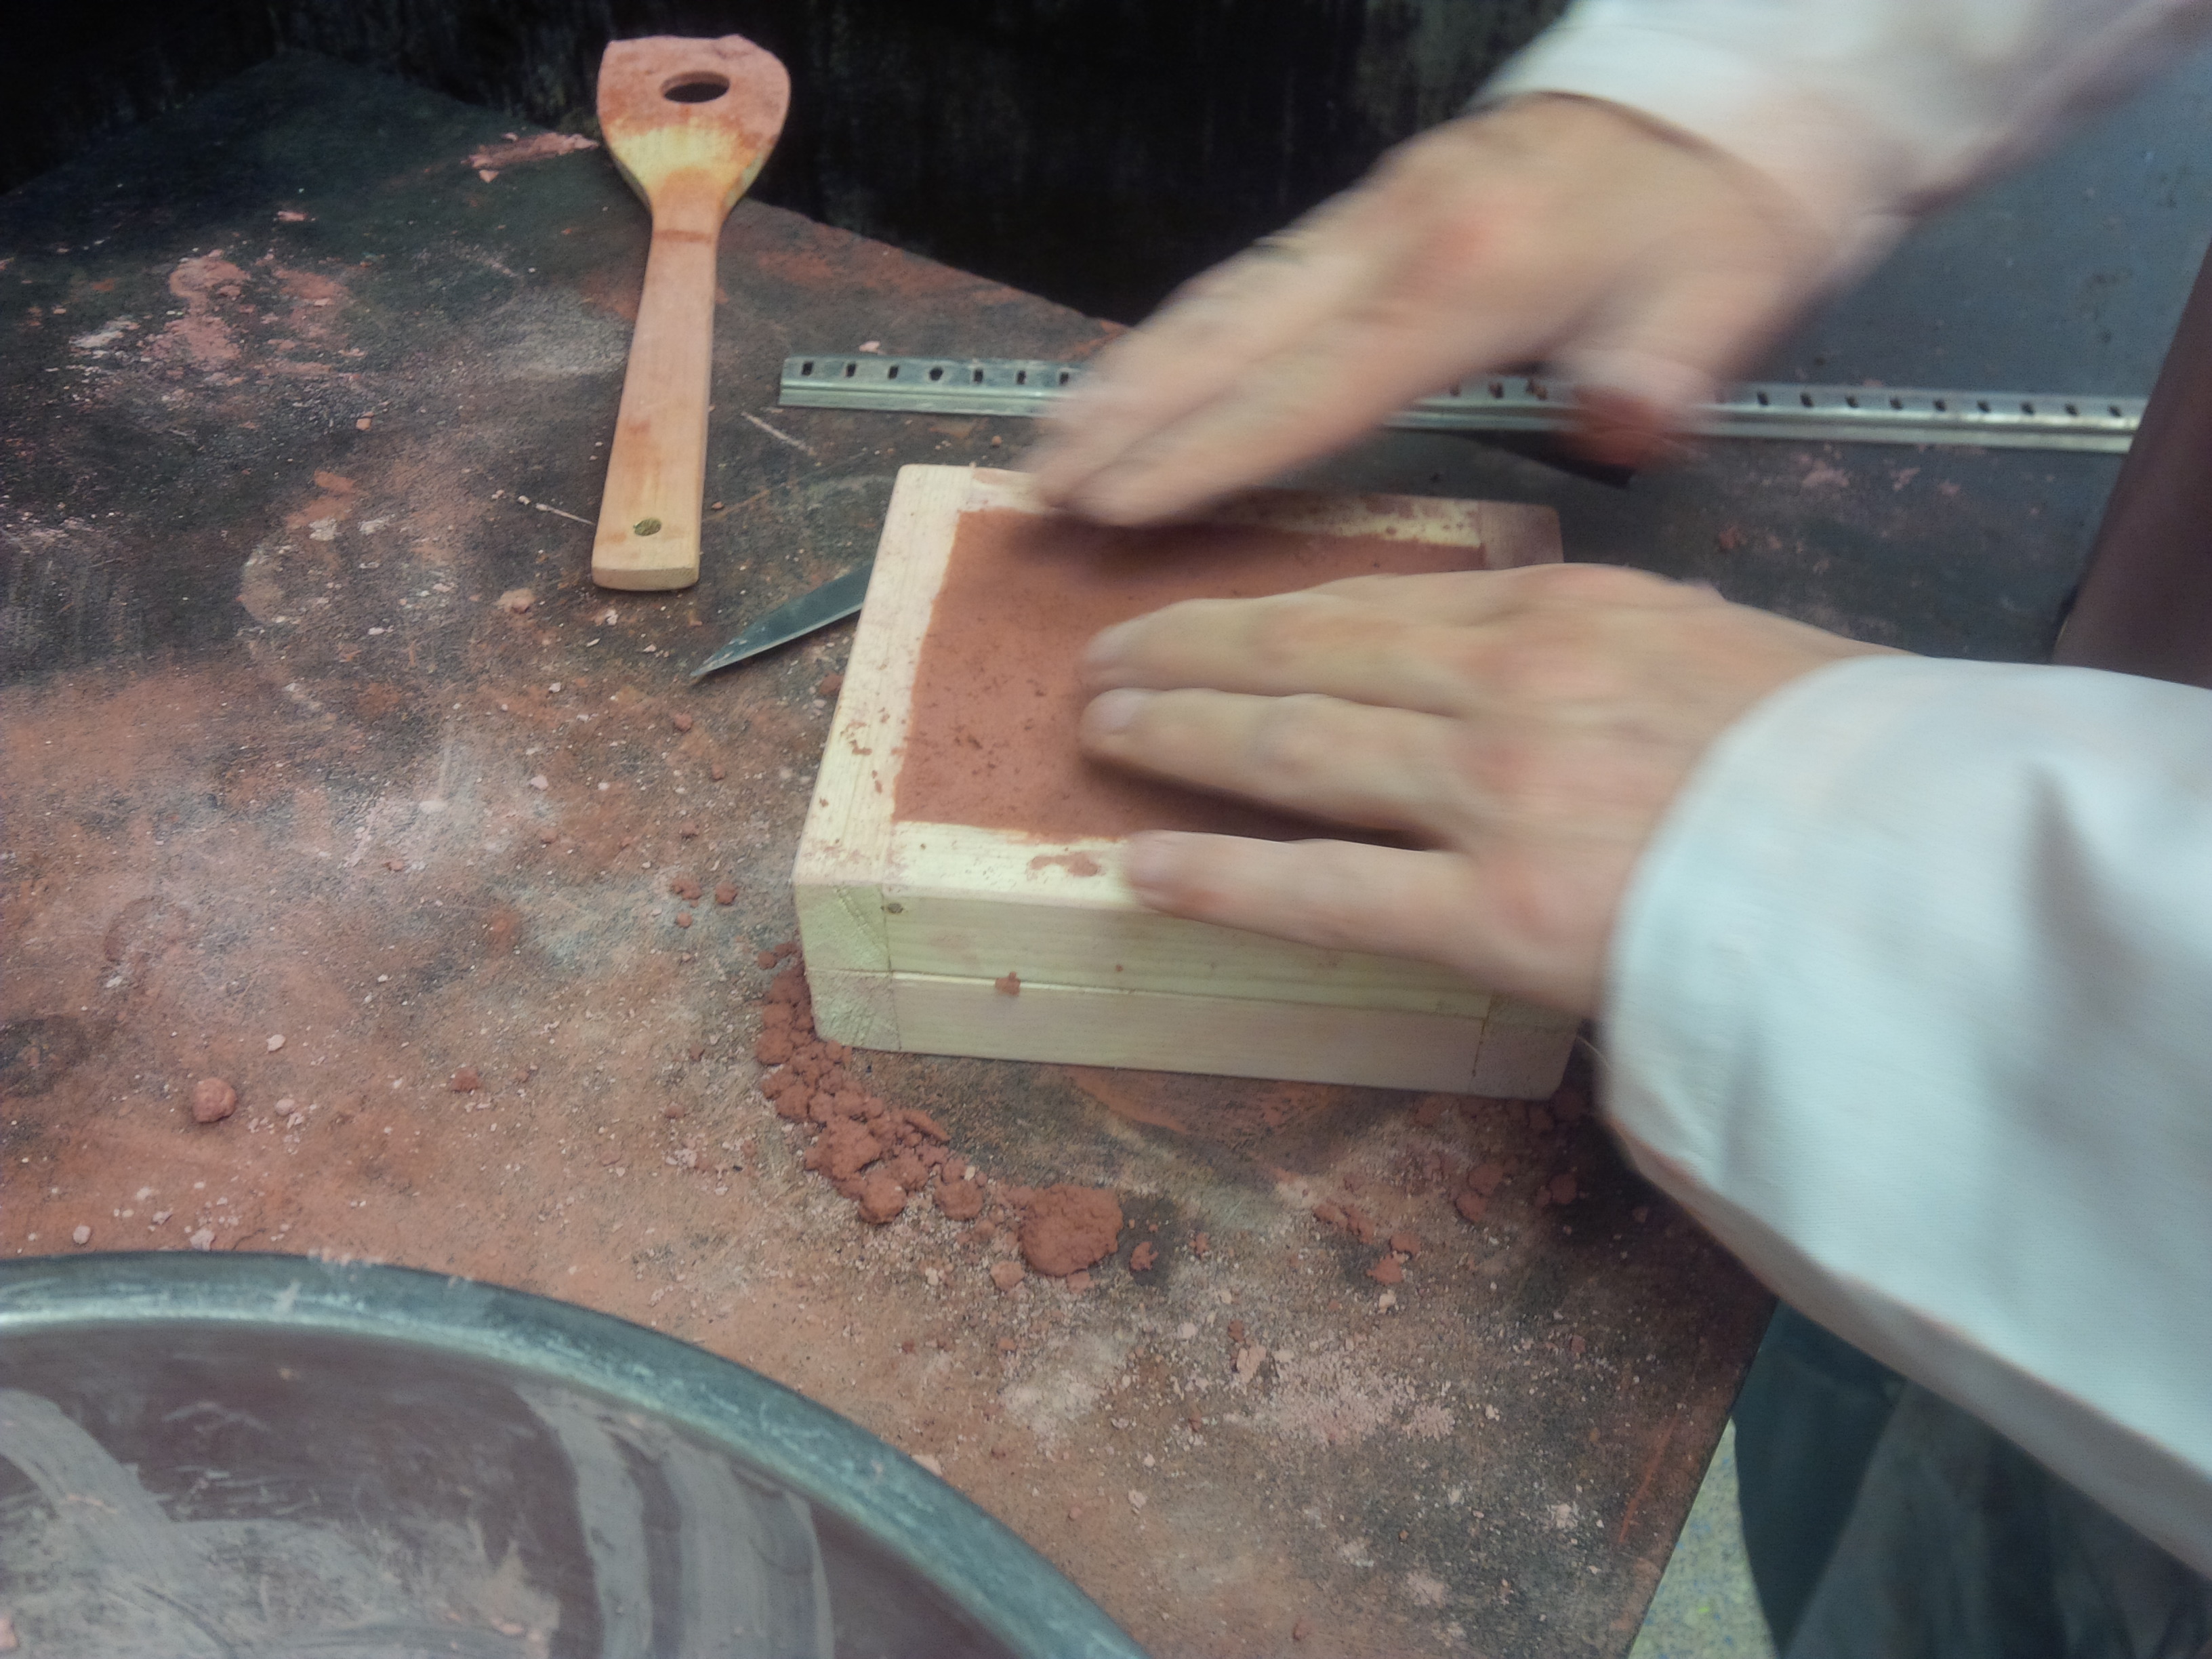
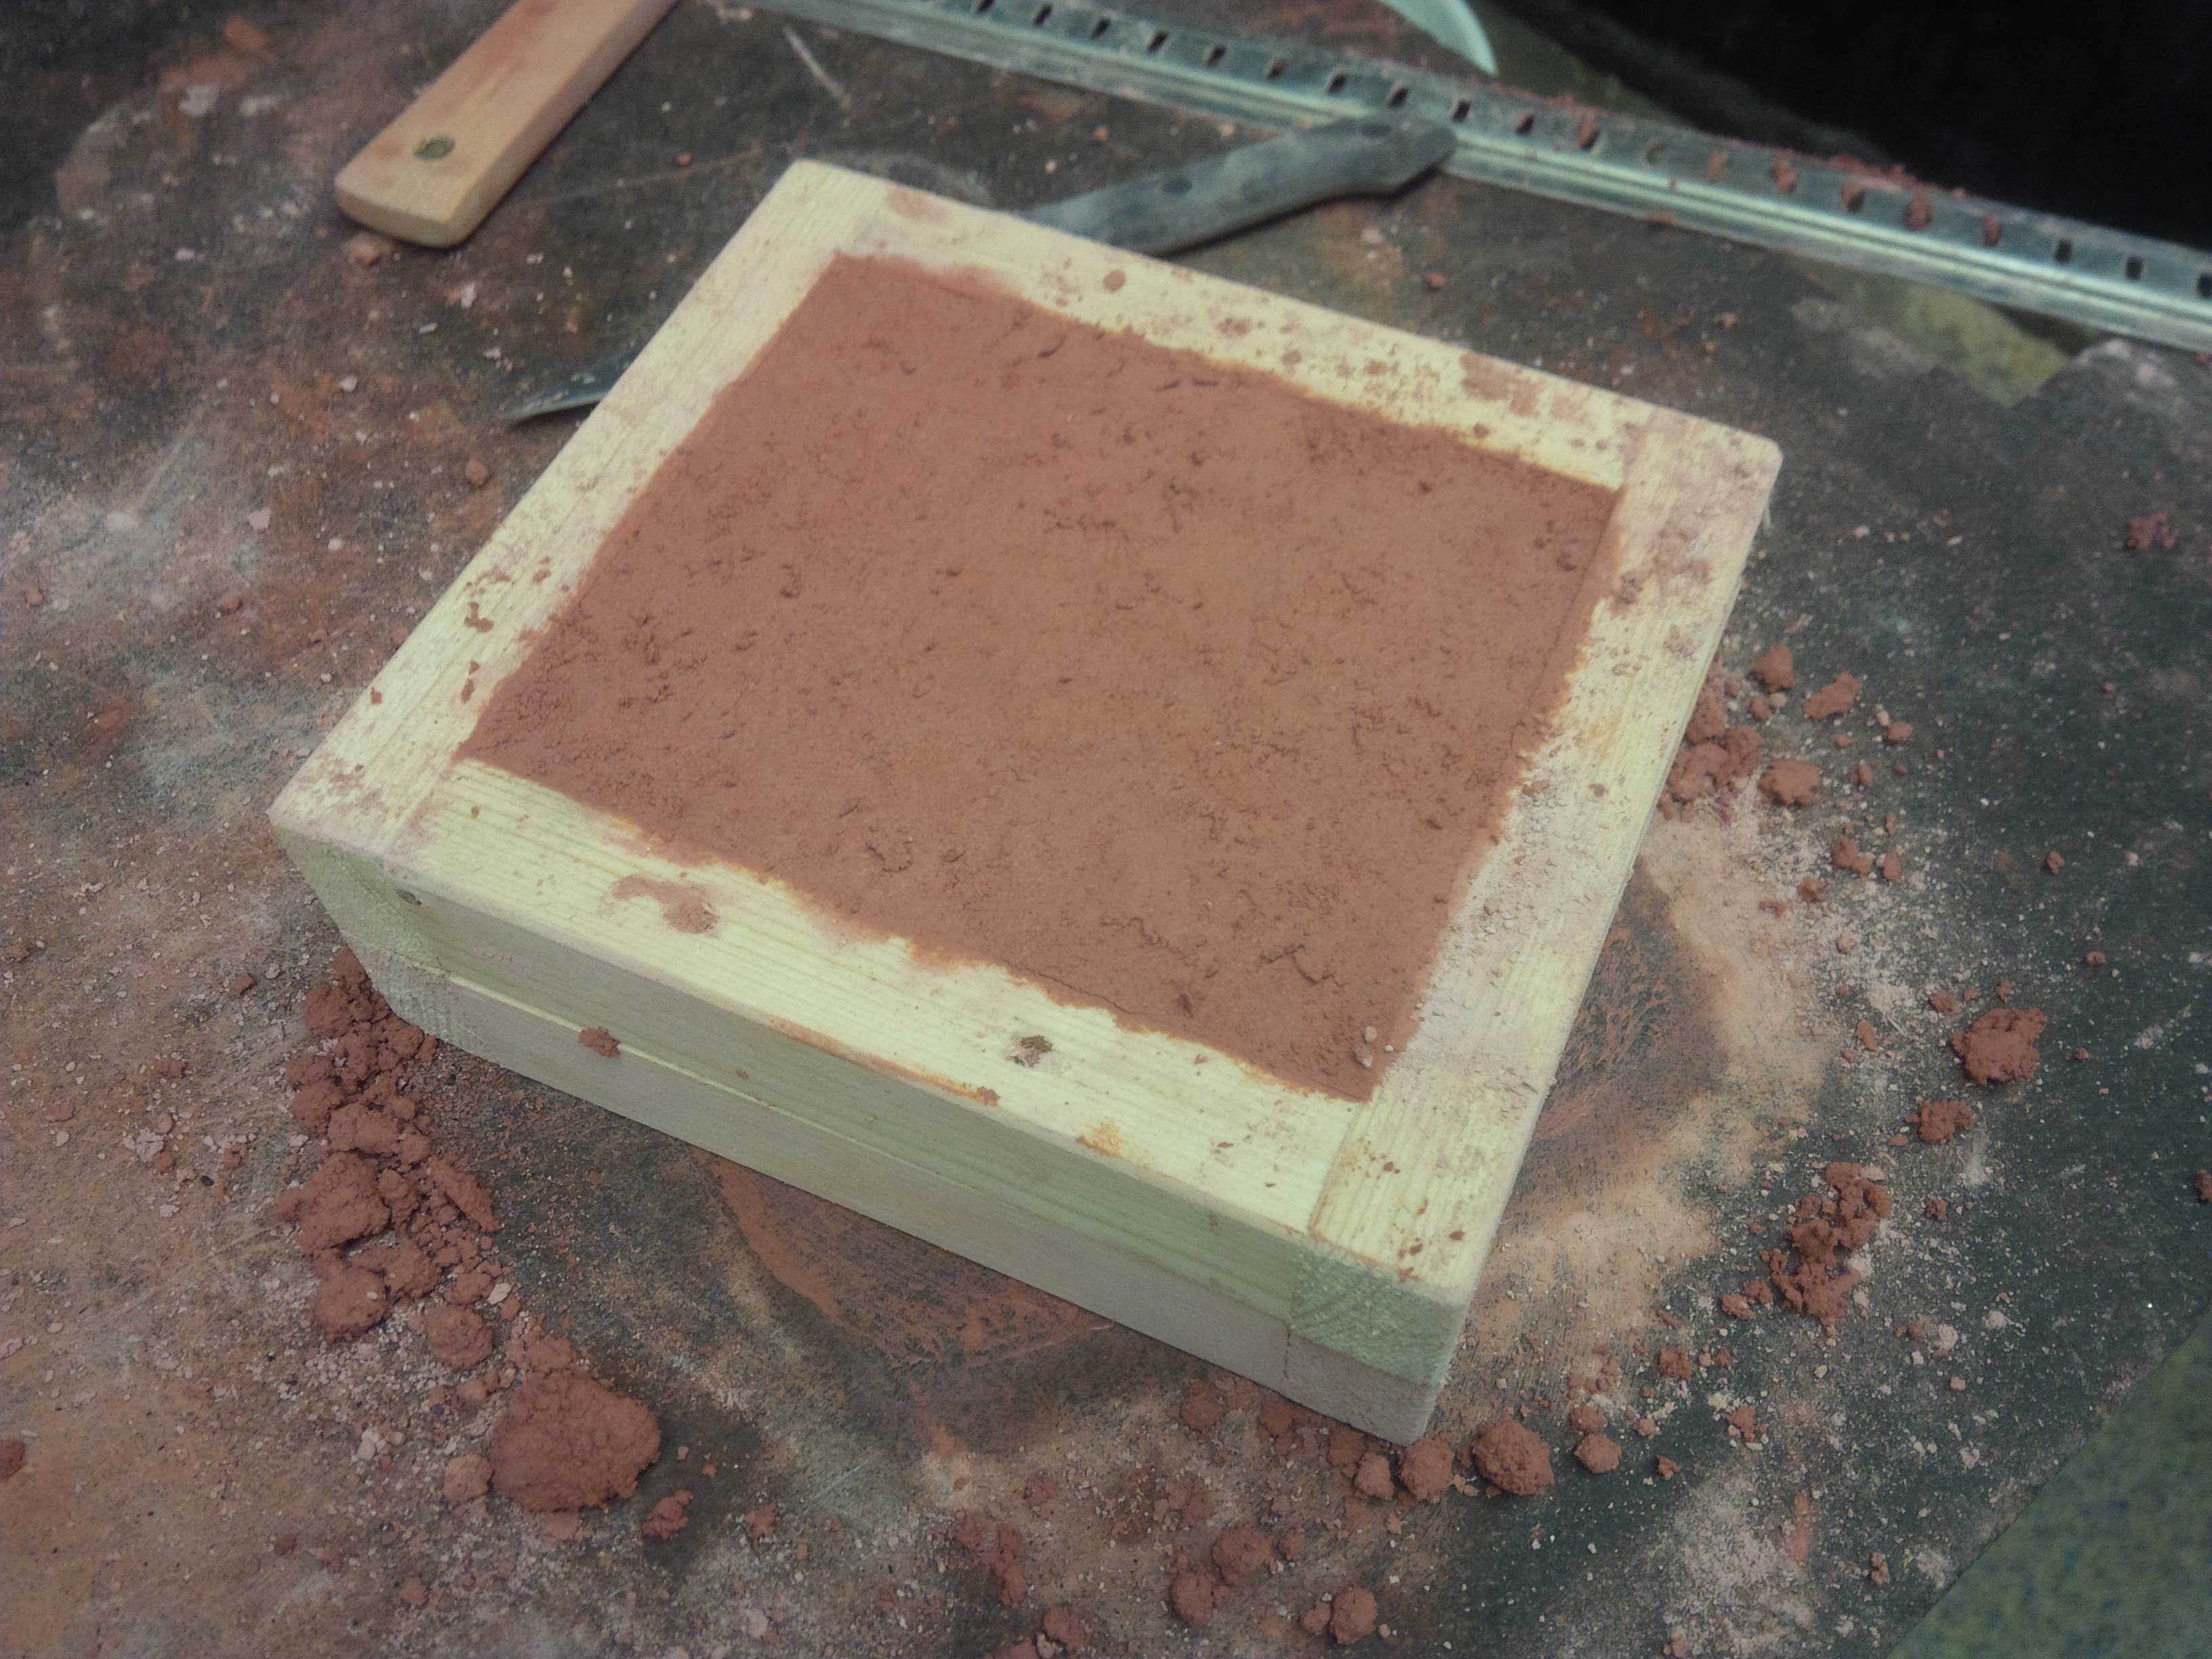
7. Split open the two box molds by cutting between them with a thin knife
Tonny informs me that we can now separate the two molds, which are positioned together with 3 corresponding pegs and holes. He slides a knife between the two molds, taking advantage of the charcoal barrier made earlier. I ask why he does not wait until the molds have dried, but he says "I was not at all pleased with how the molds turned out when removing them dry."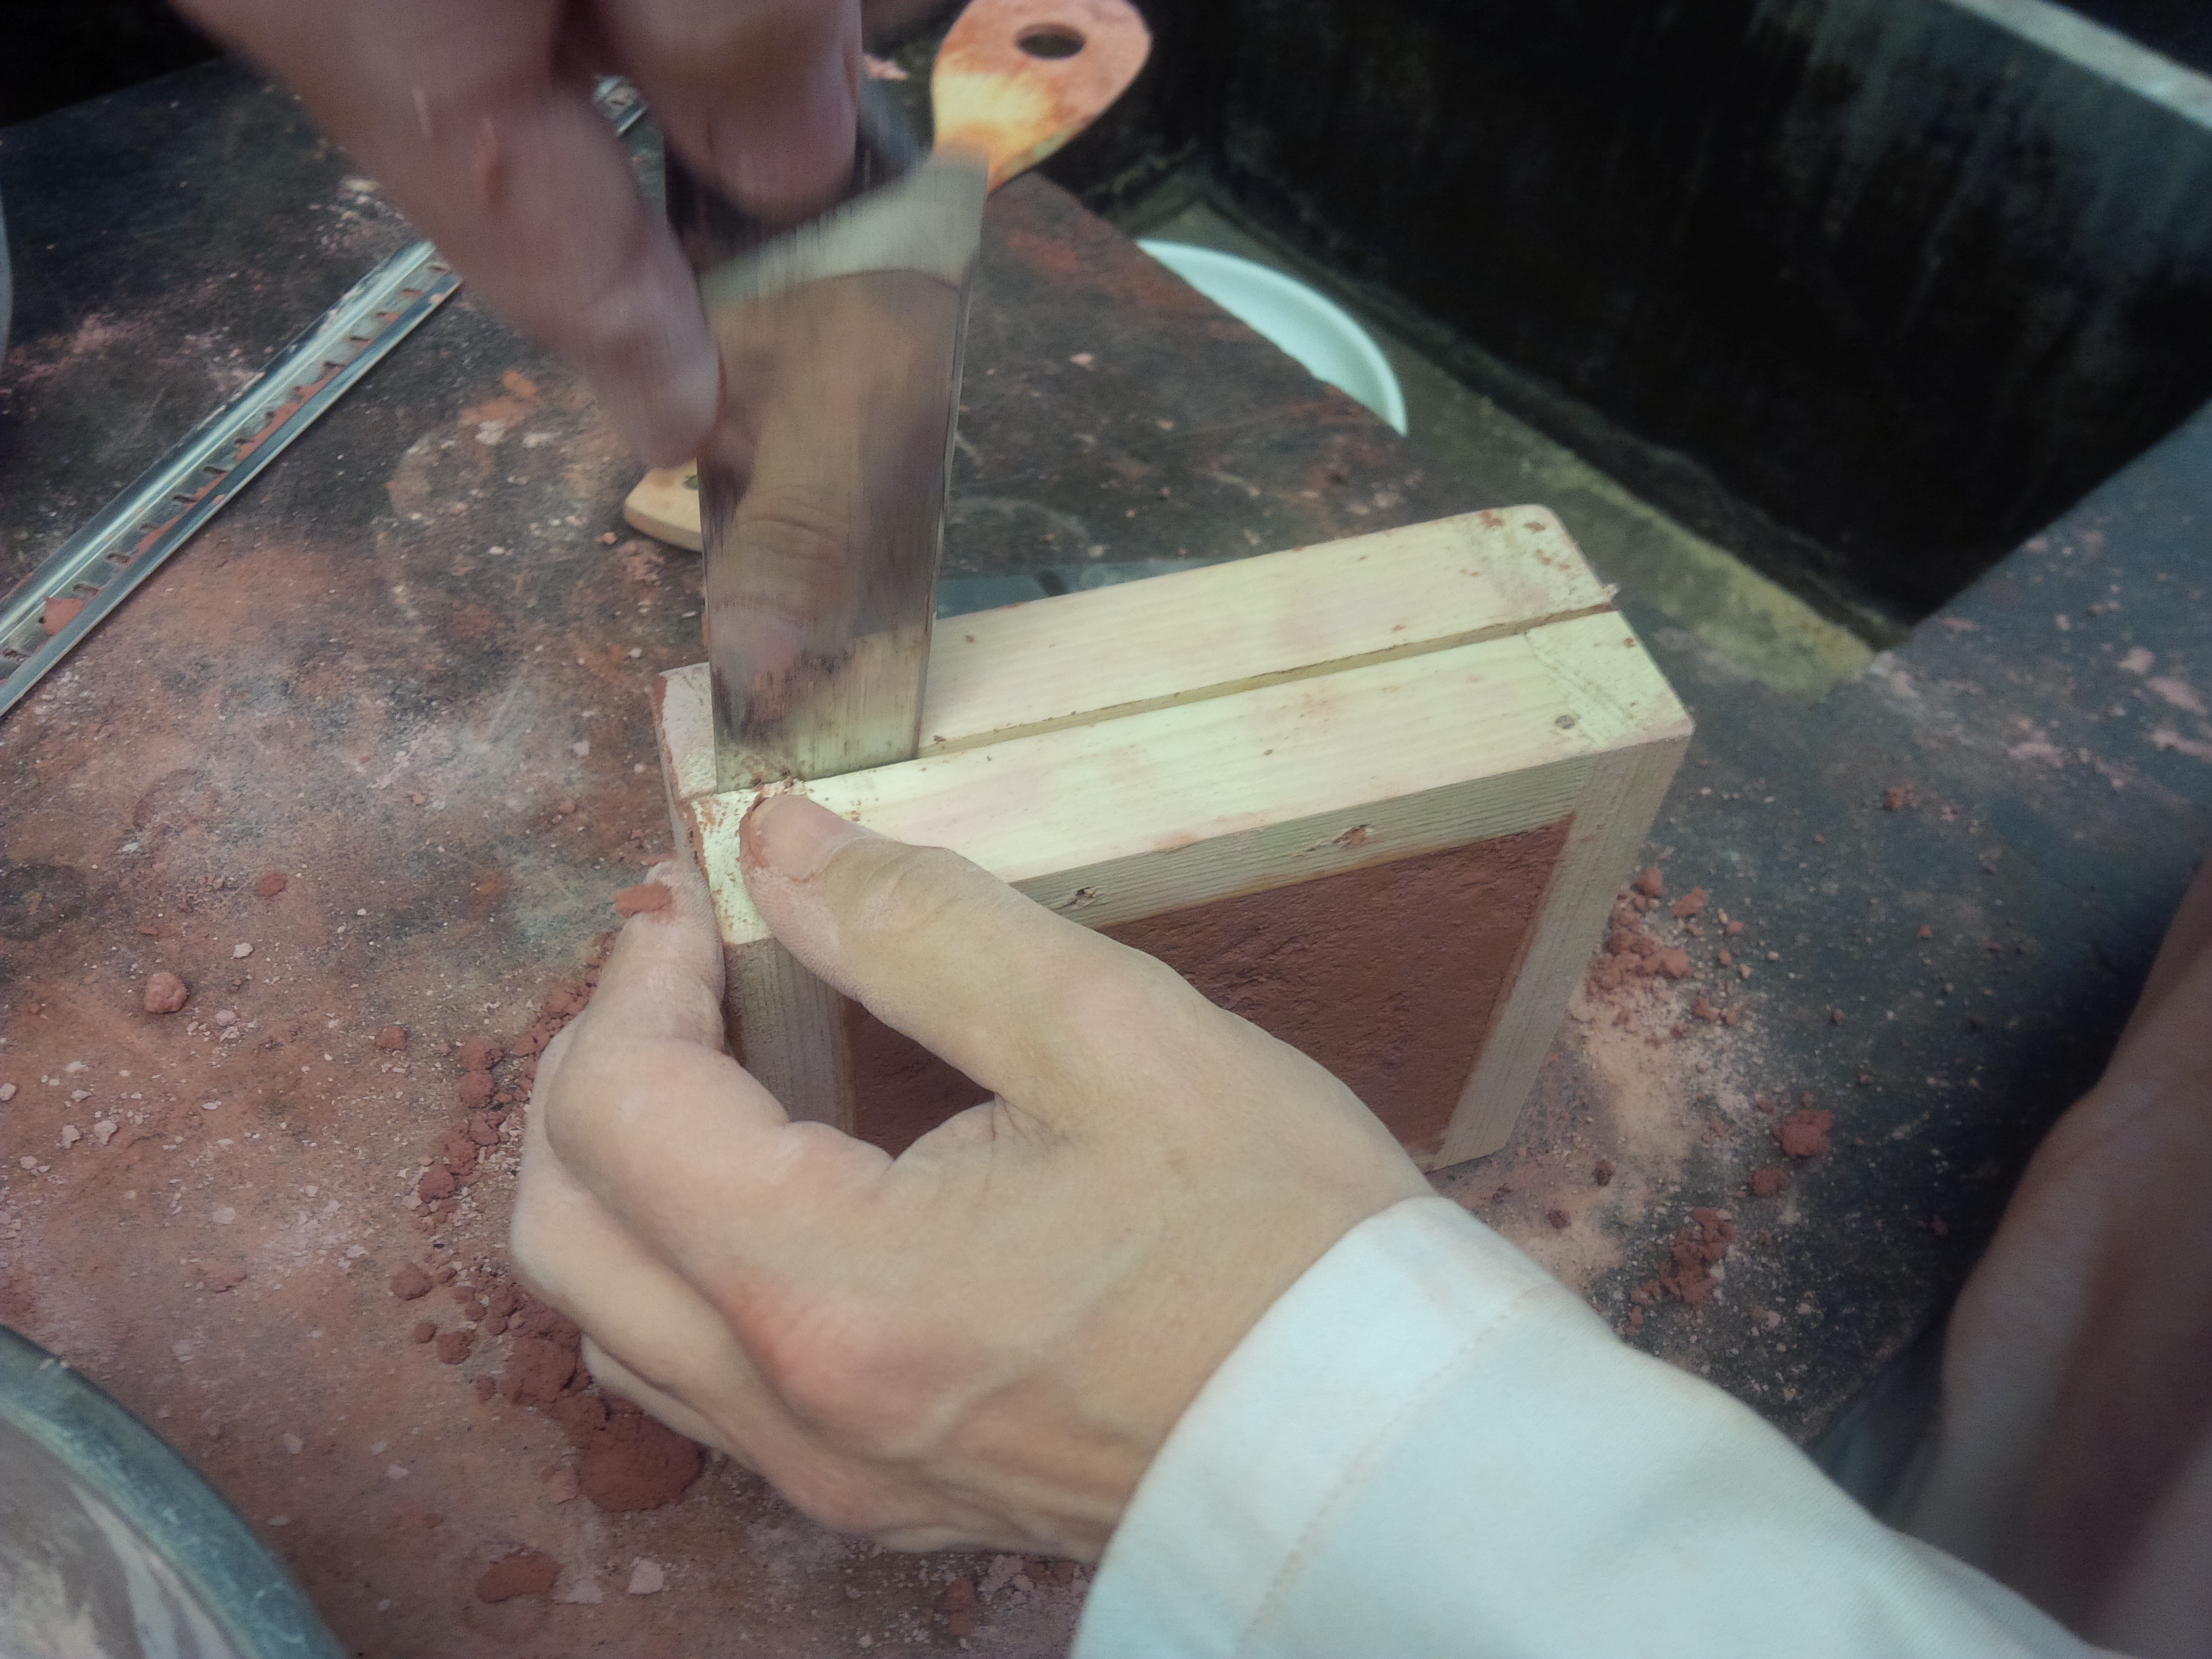
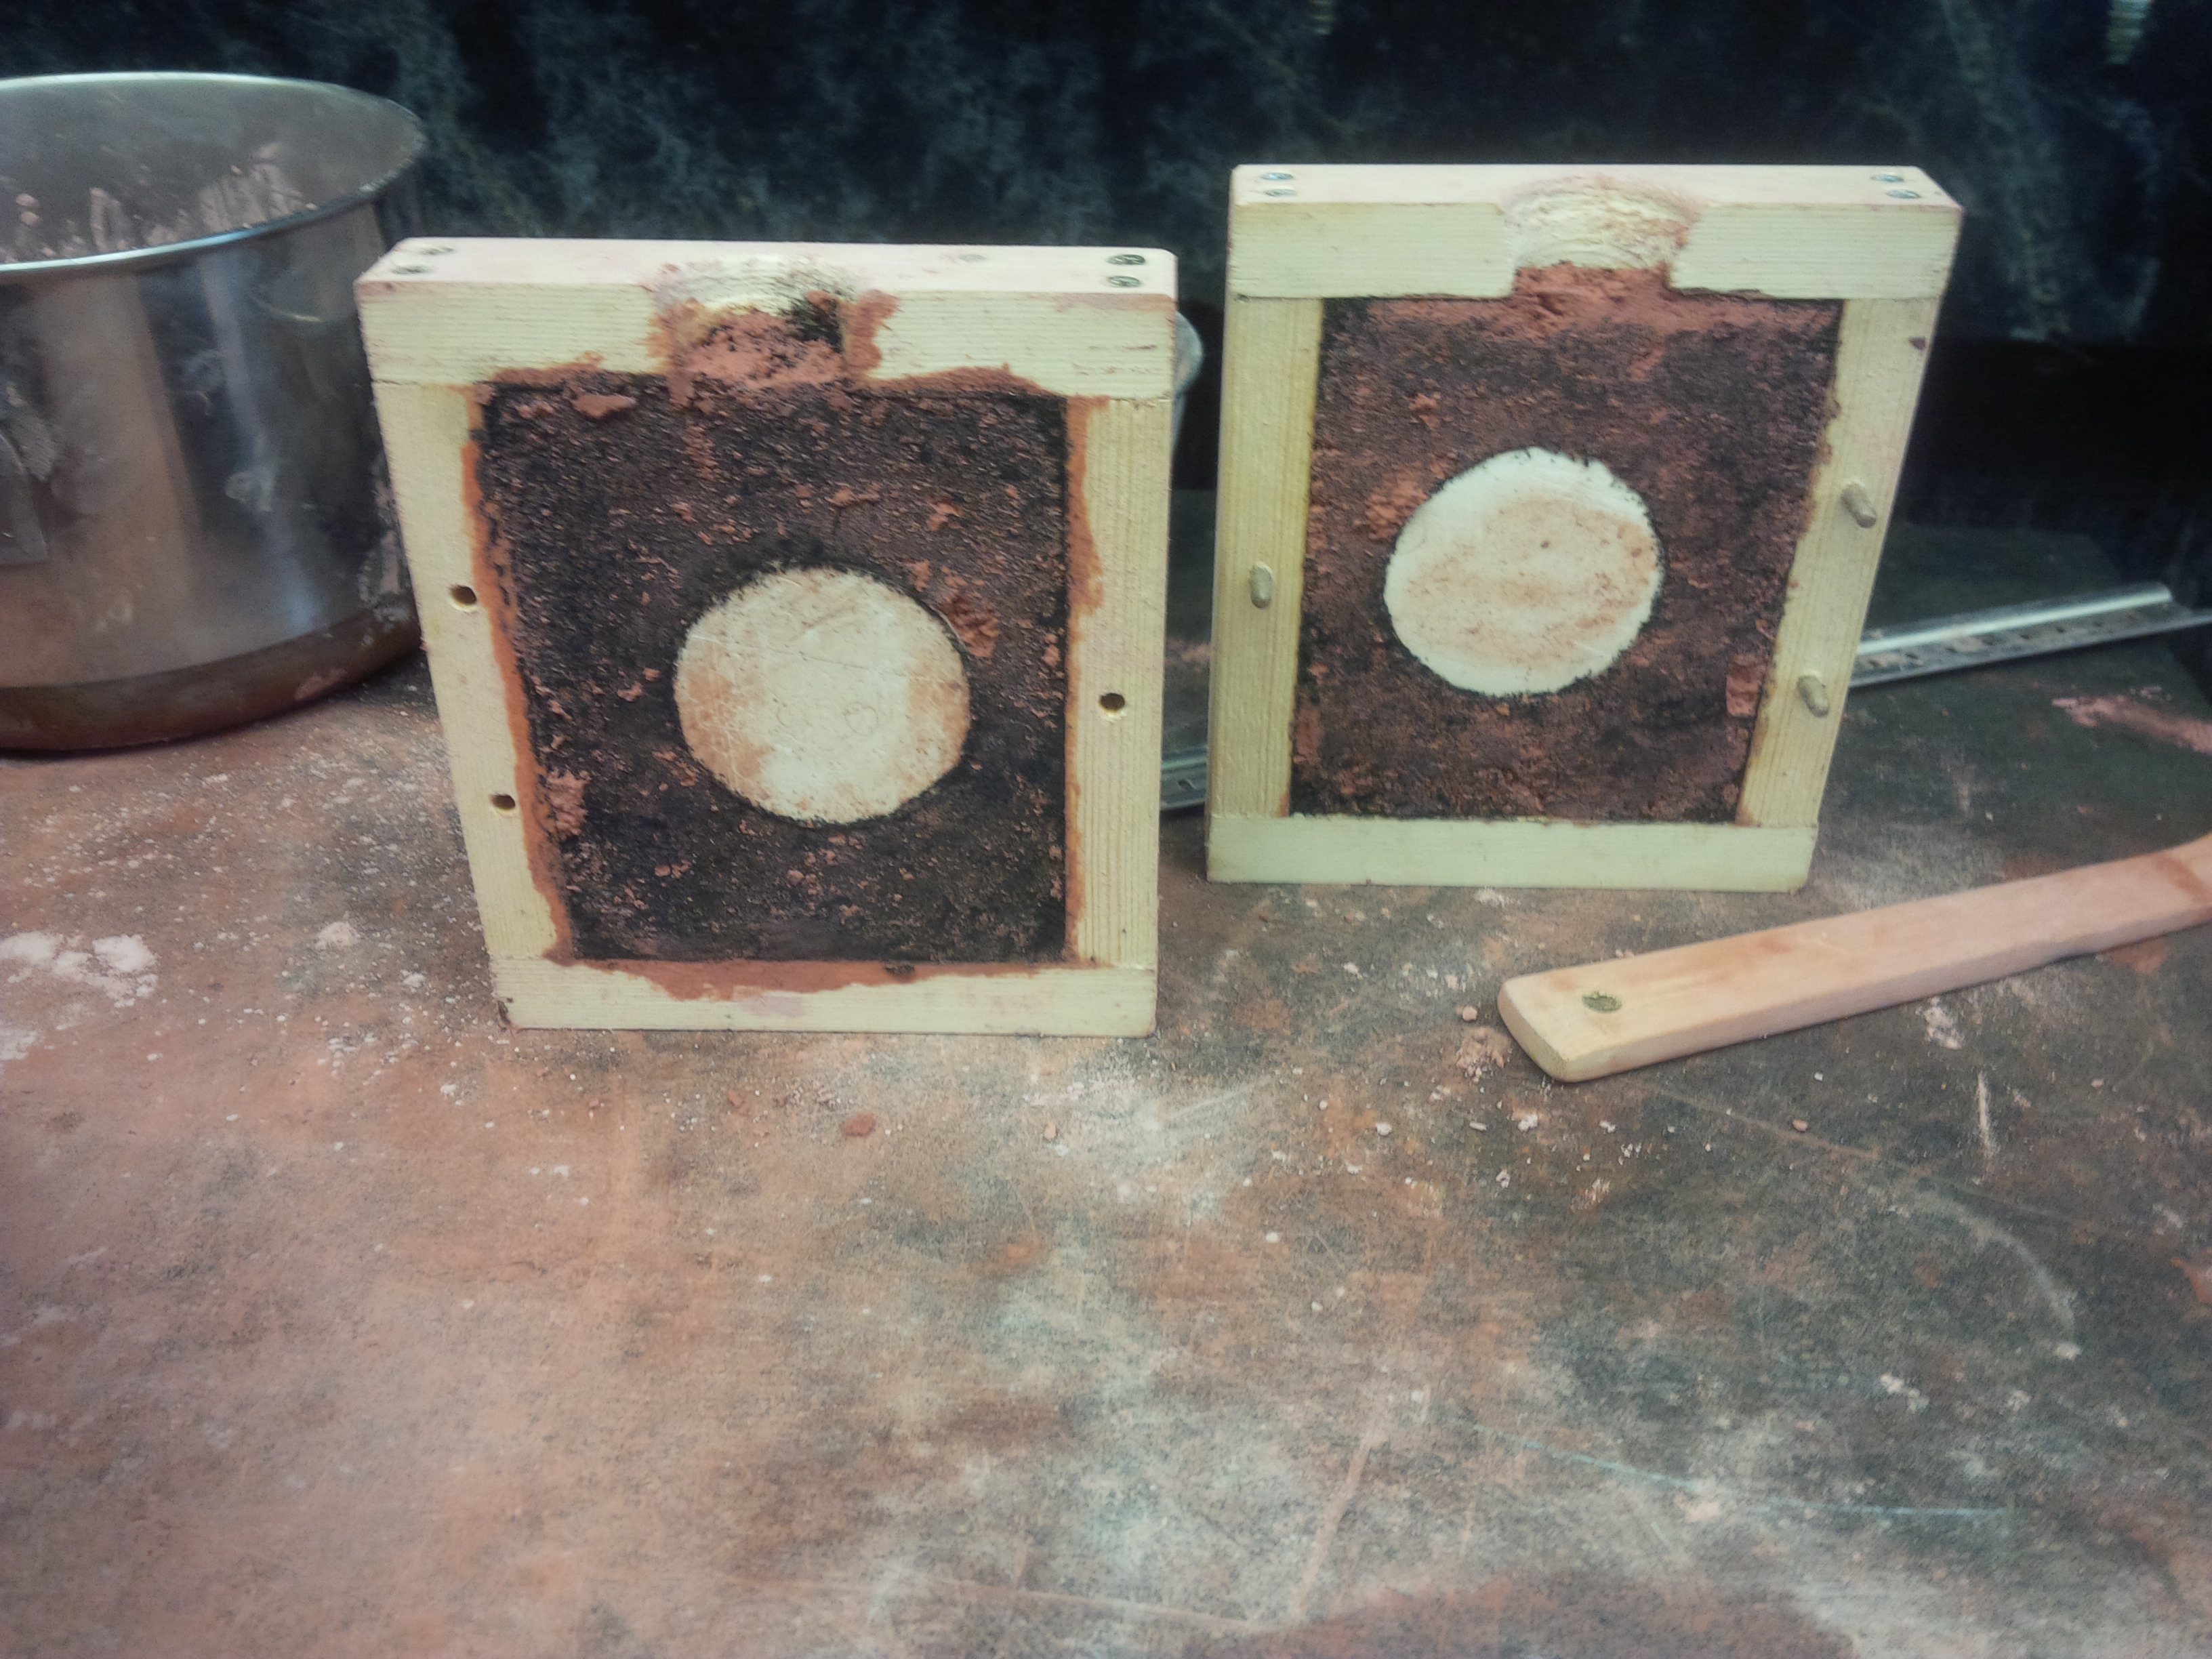
8. Cut channel into clay
Before removing the plaster model (which I am very eager to do), Tonny informs me that it will be necessary to cut a small channel through which the medal can flow into the mold. He does this using the pointed end of the flat plastic scraping tool.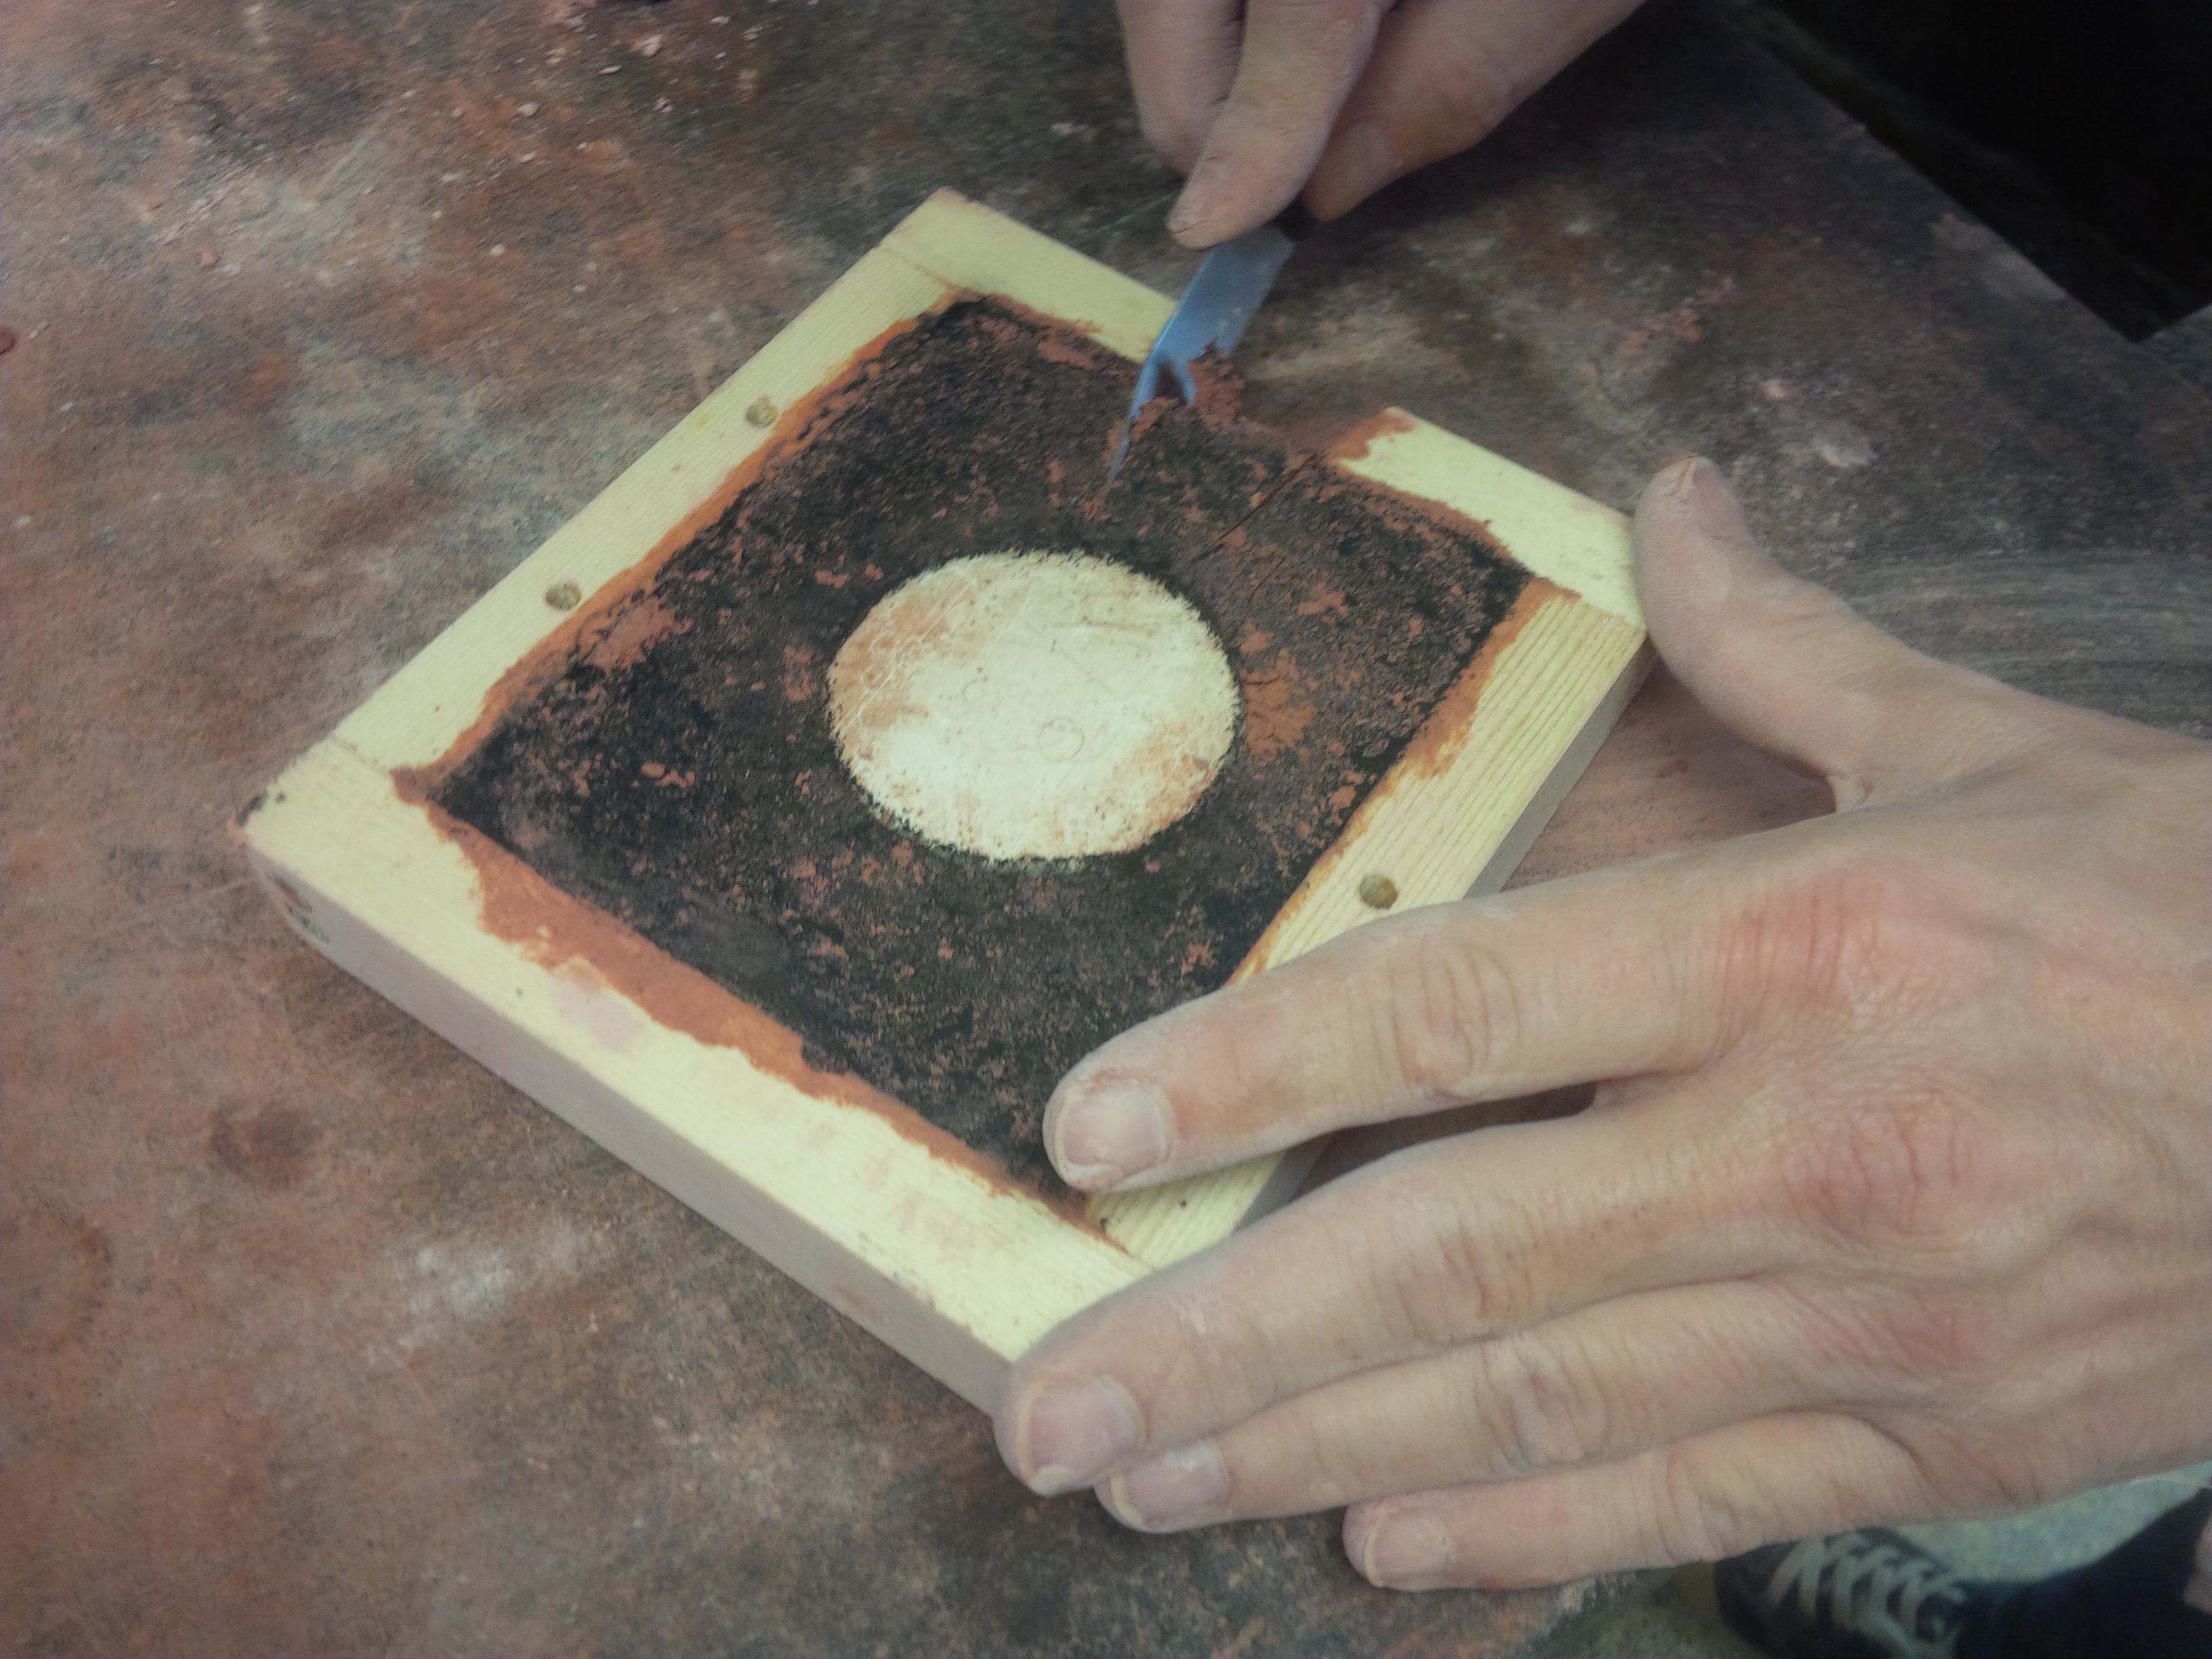
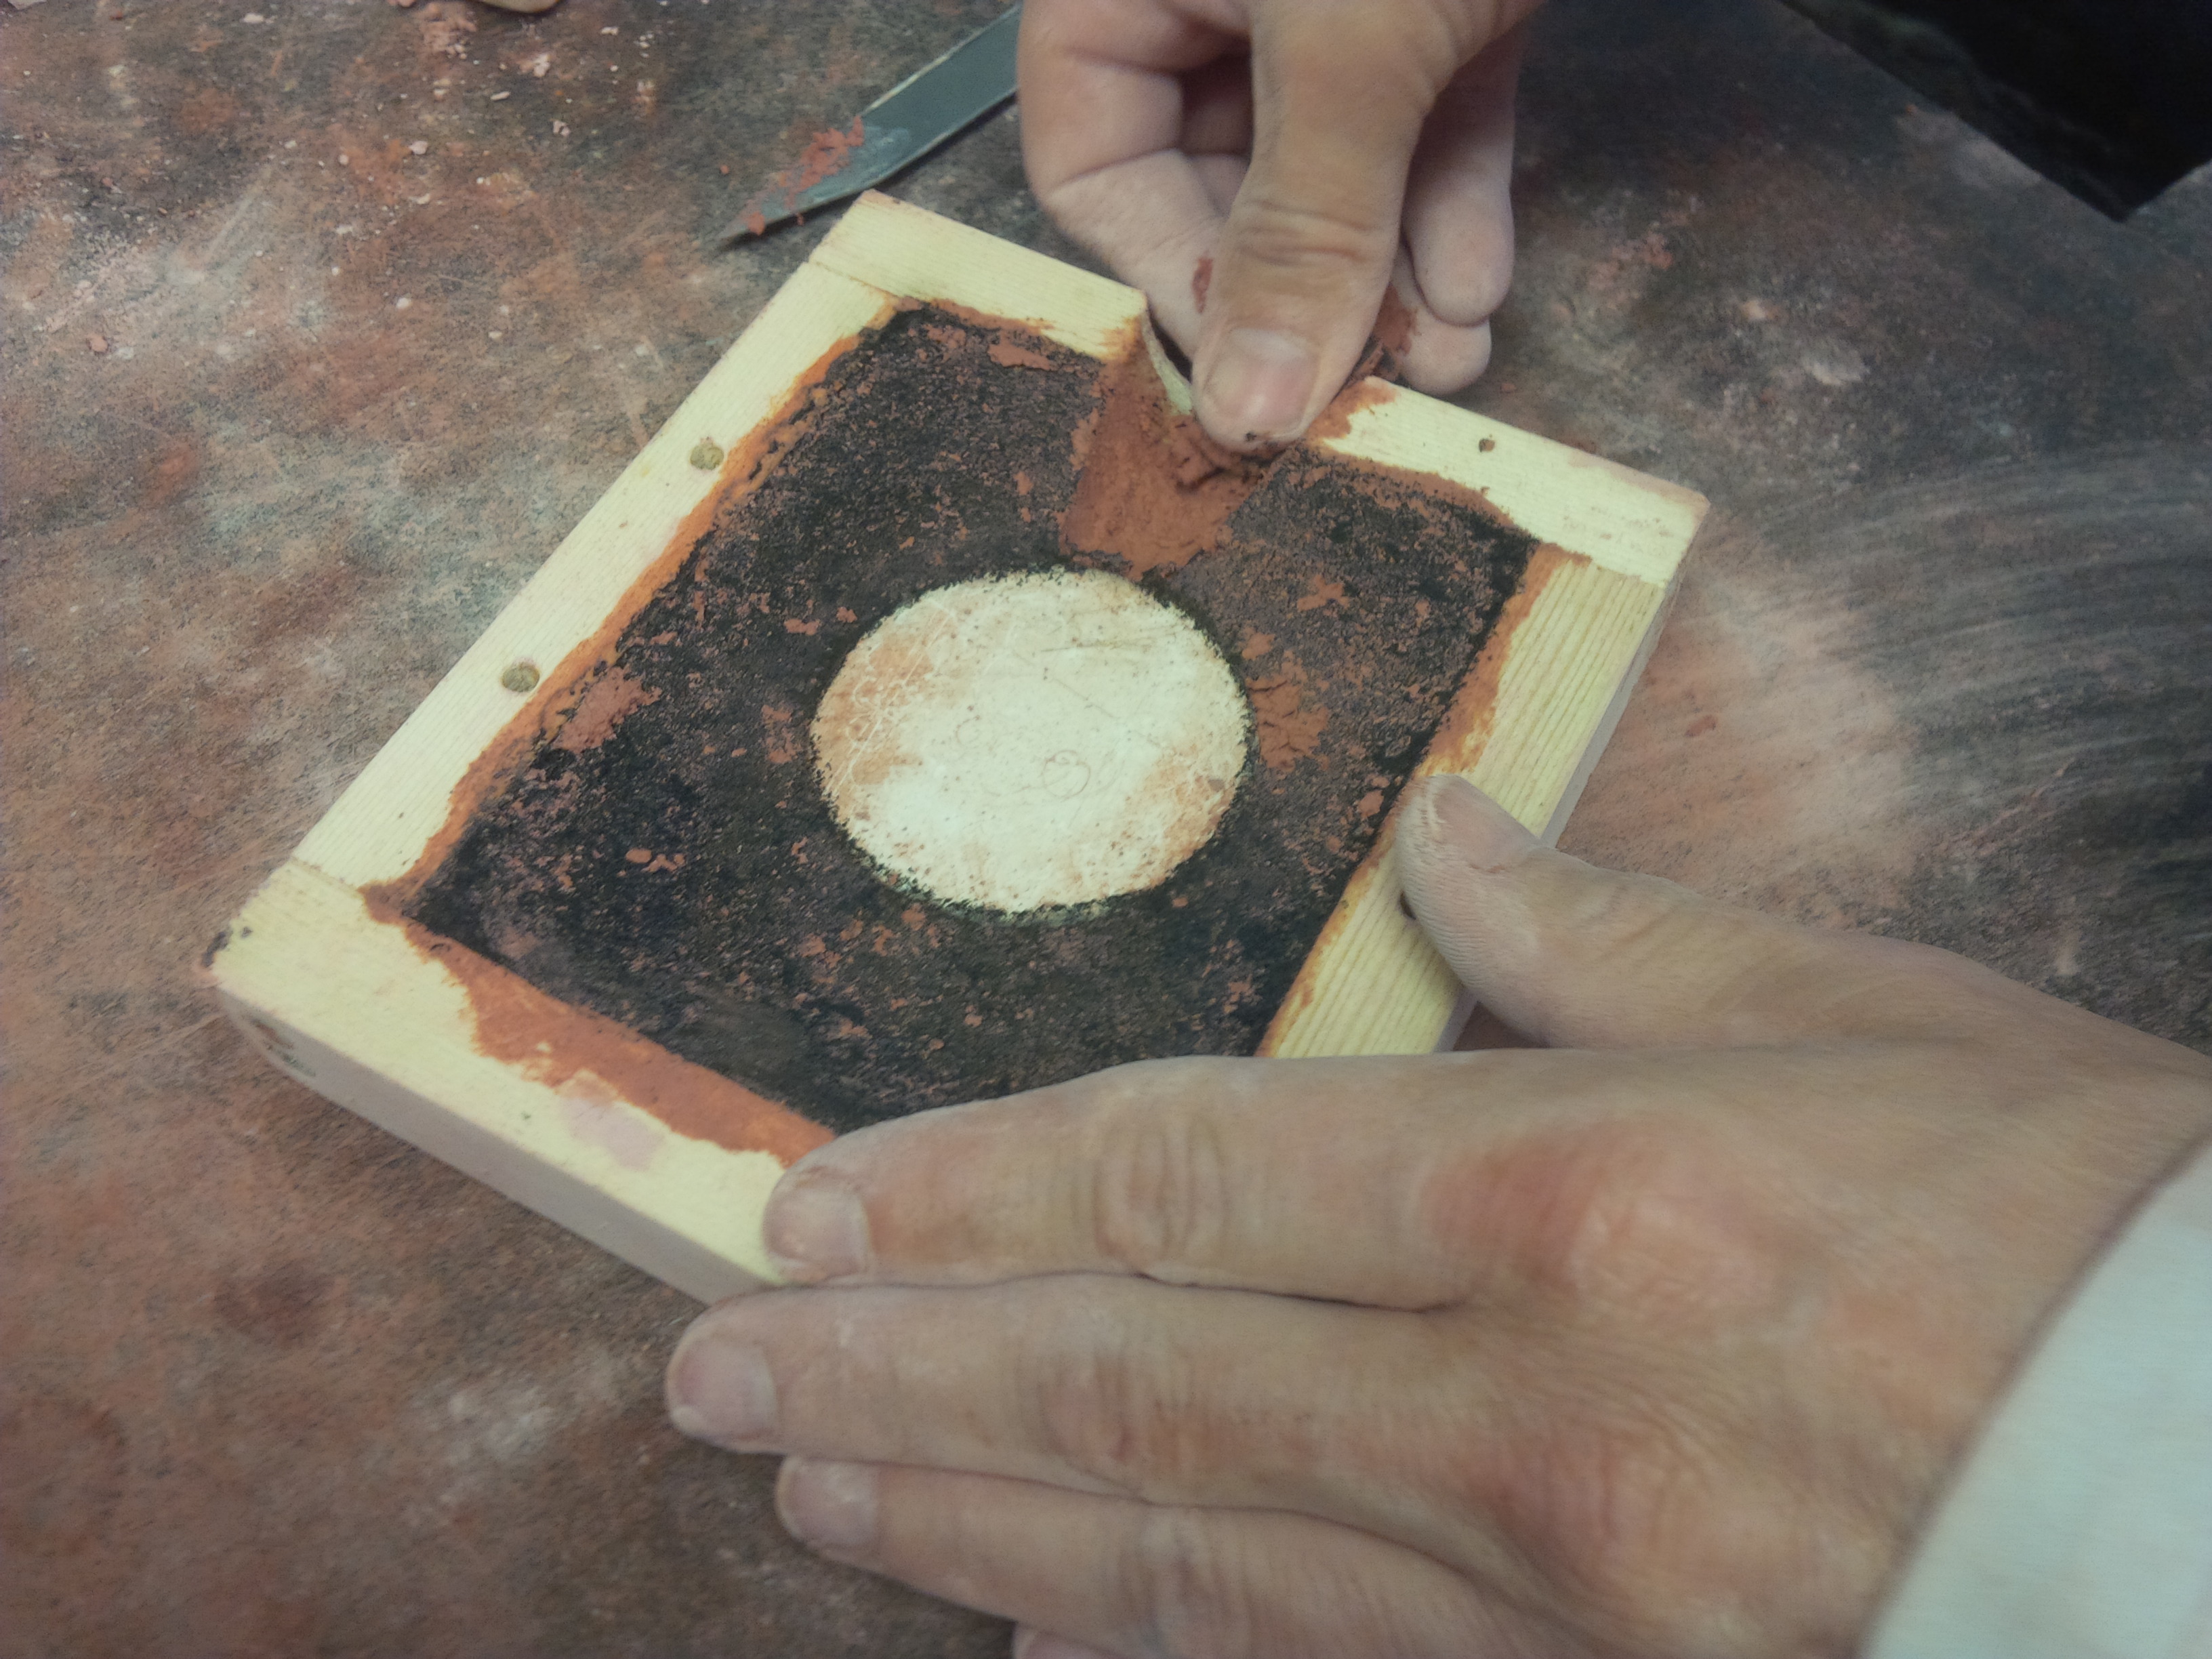
9. Remove plaster models from clay mold
Using the tip of the knife, Tonny is able to get under the plaster model with as little damage to the mold as possible, as he is able to create a lever with the knife in the open space created by the channel.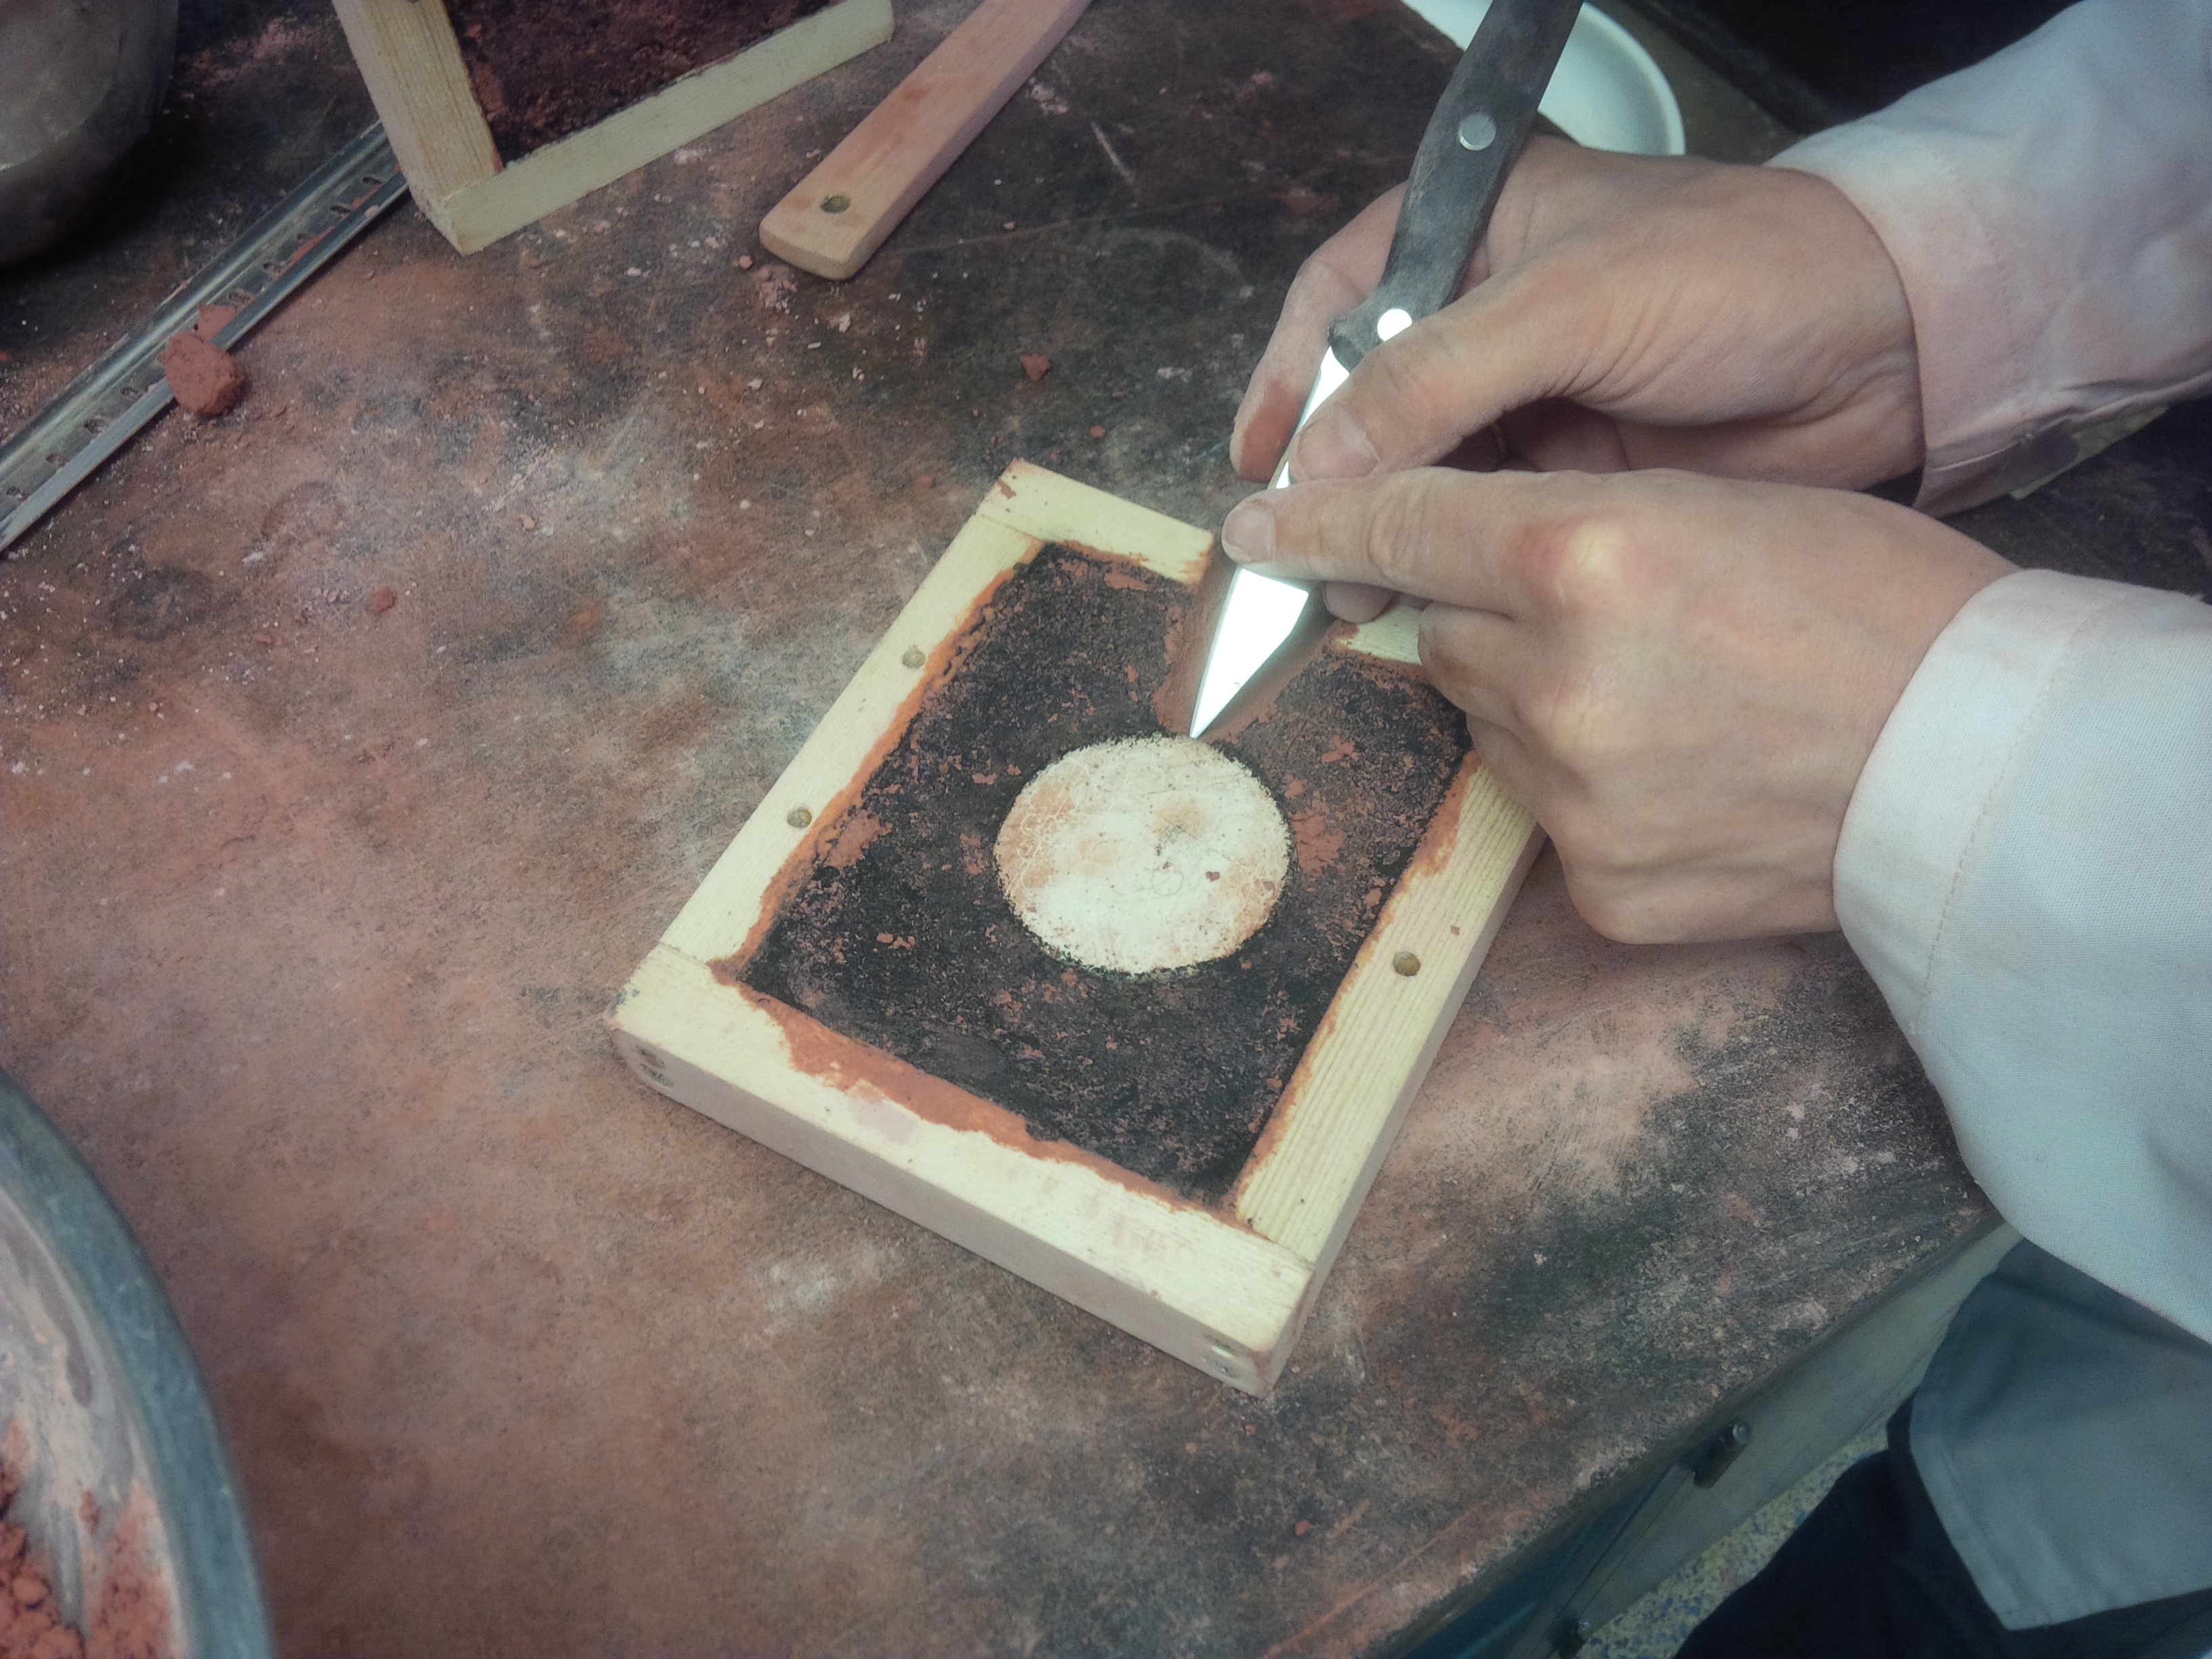
10. Inspect impressions in clay mold
Once both plaster models have been removed, I am able to compare them side by side with the impressions left in the mold. I notice that the word "LEO" on the recto did not turn out properly, as the clay near this lettering stuck to the original plaster model. I also decide to fix the awkward impression in around the mouth of Matteo de' Pasti in the plaster model by pressing down around the clay near the mouth of Matteo de' Pasti in the concave impression of the clay mold.RECTO:
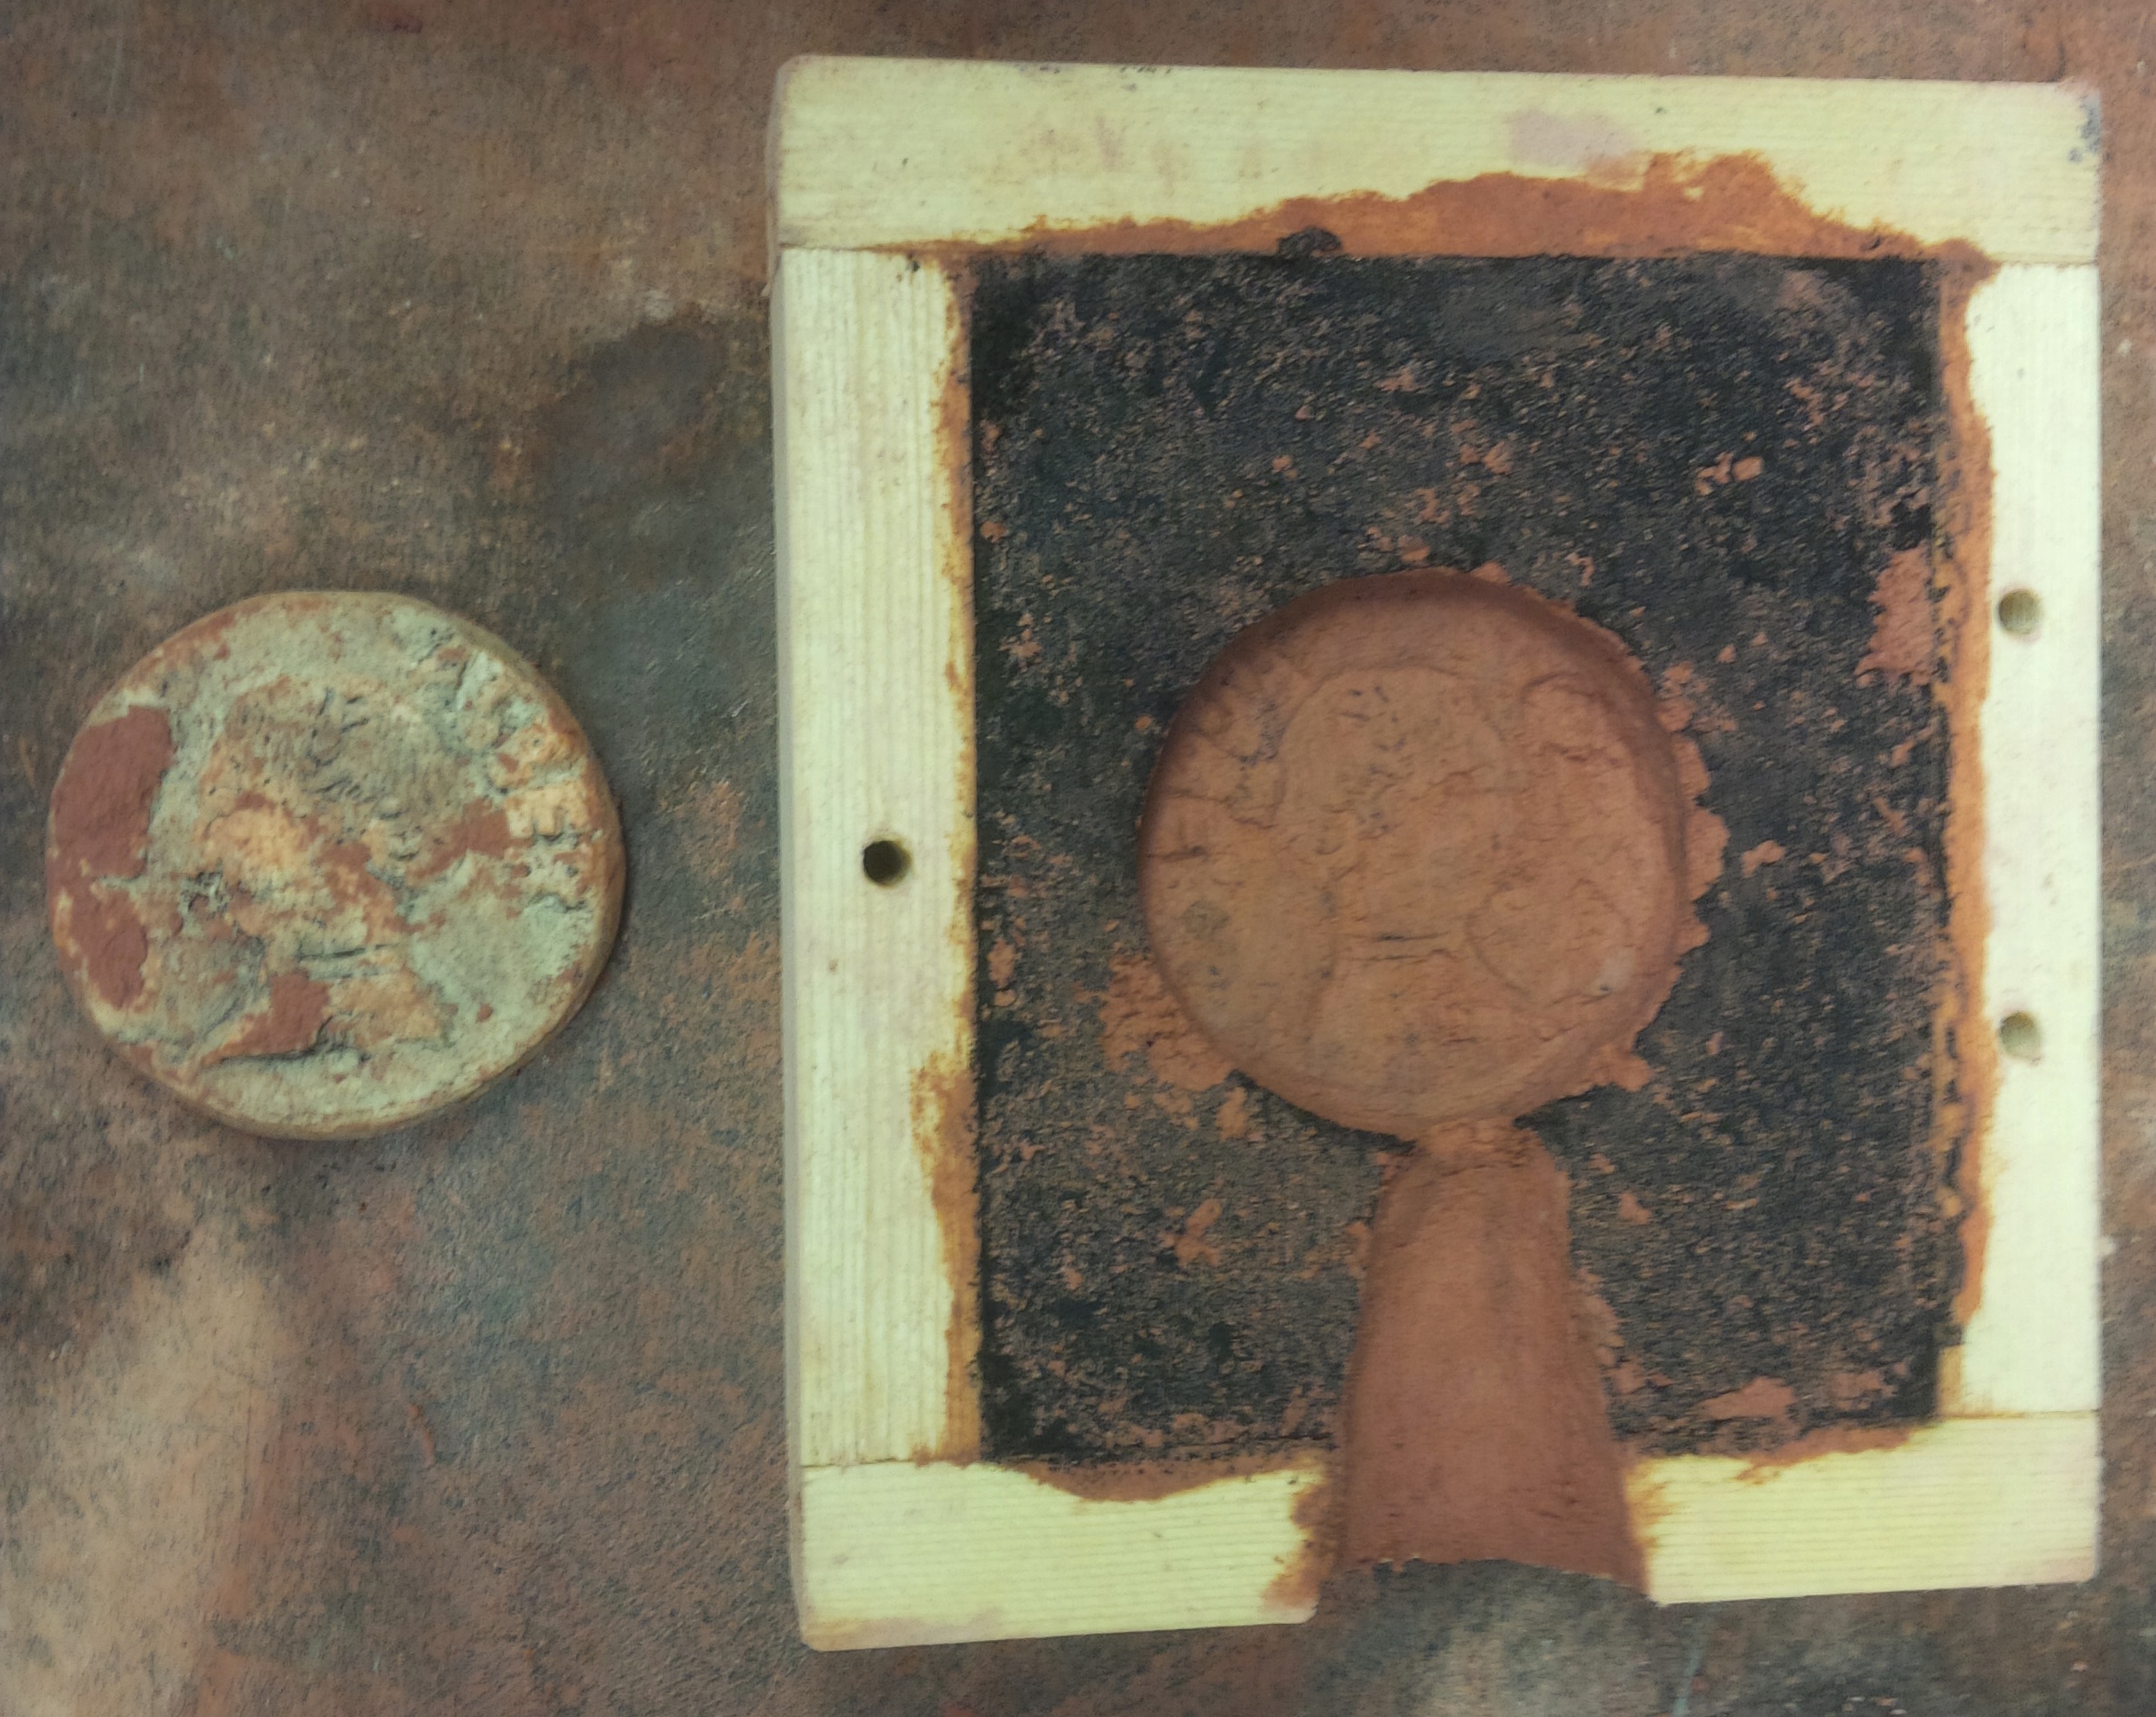
VERSO:
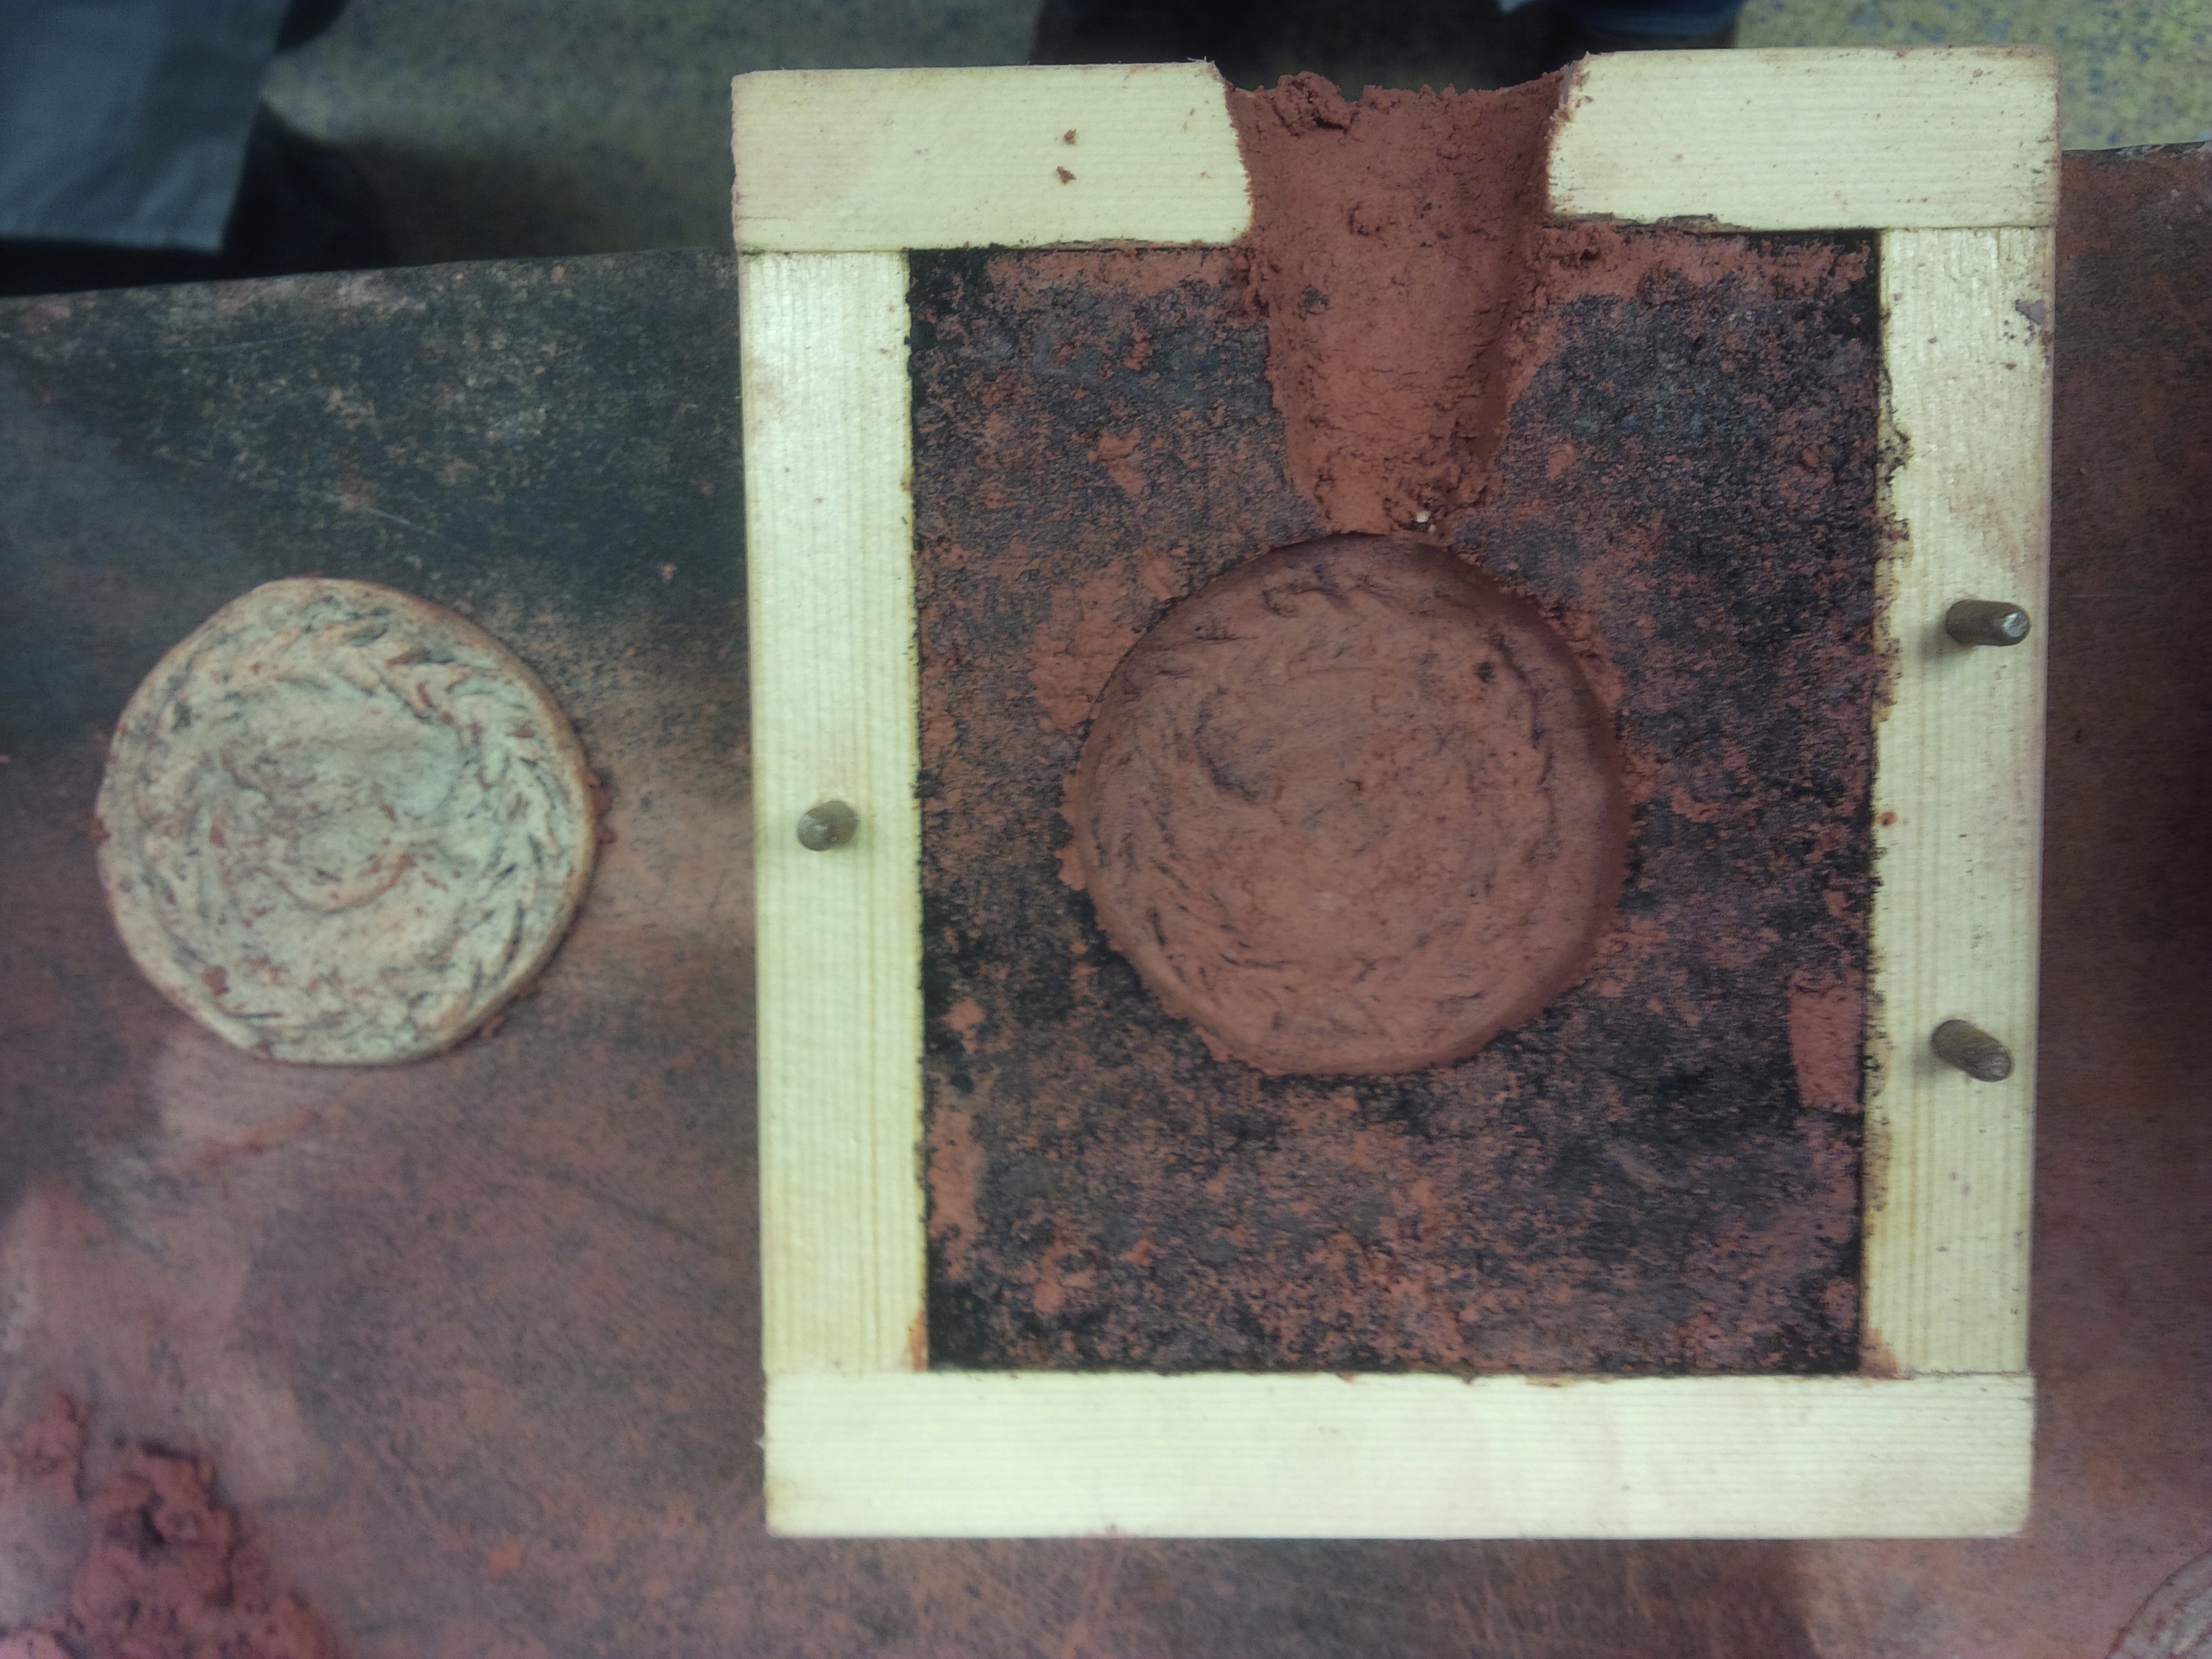
Conclusions
- Color is deceptive. When making clay, trust one's sense of TOUCH above all else.
Judging the consistency of sand by its color is not a successful methodology, as the sand used from different old molds can vary in composition, resulting in different colored clays. To presume that I could create a sand of the same color as the previous day was mistaken. I realize I should be more focused on consistency, a trait discerned through touch, than on color, a trait discerned through sight. When interacting with Tonny Beentjes, this would explain why he continues to pick up a pinch of my clay between his fingers to discern if it is "ready."- Cleanliness and "contaminants" are a factor.
When putting the clay in the box mold, I notice that a few hairs that have fallen from my head (male pattern baldness, fun!) and small pieces of wood grain have made their way into the clay mixture. I begin to think of the other such "contaminants" that would invariably become mixed with substances in the workshop, and I wonder how they affect recipes. Recalling from our class discussion how often hair was added in Renaissance recipes, I ask myself whether these substances had specific chemical properties that may react with substances such as the clay. Might the proteins in hair react with the Sal ammoniac solution in some way?- One can make a two-sided medal with two one-sided plaster molds.
This process made it possible to bring together both one-sided plaster models to produce a single mold with which to create one double-sided medal. By aligning the two plaster molds on top of one another, I am also able to correct a mistake I had made earlier. While the recto and verso of Alberti's original medal are flipped 180 degrees in orientation from one another on the horizontal axis of the medal, I had mistakenly not kept this exact 180 degree flipped orientation in my beeswax model. When realigning my plaster models, therefore, I am able to return to the orientation of Alberti's original medal. The one drawback to this process, as I quickly learn, is that my mold produces a rather thick hollow because of the combined thickness of the two plaster molds. I realize that I could have fixed this if I had filed down both plaster models more.- Last minute fixes to the impression in the clay mold seem possible. But is this the case?
The deformed mouth of the figure of Matteo de' Pasti on my plaster model (recto) was very upsetting to me, and I was glad that I had the opportunity to fix this problem by pressing downward onto the impression of clay in the mold. I wonder how often artisans would have made such corrections at this stage of the precess, as an overzealous imprint (or addition of clay) into the mold could become problematic. Also, because the clay is so densely packed, I wonder whether it would be unsafe to try to add any clay into the impression to make such a fix, as it may not adhere well to the rest of the surface of the clay. It seems to me, therefore, that upon inspecting the impressions, if a Renaissance artisan were not fully satisfied, the artisan might either redo the mold or wait to make changes during the chasing process.October 15, 2014: Casting the medal in pewter
NAME: Raymond CarlsonDATE AND TIME: October 16, 2014, 8:30am
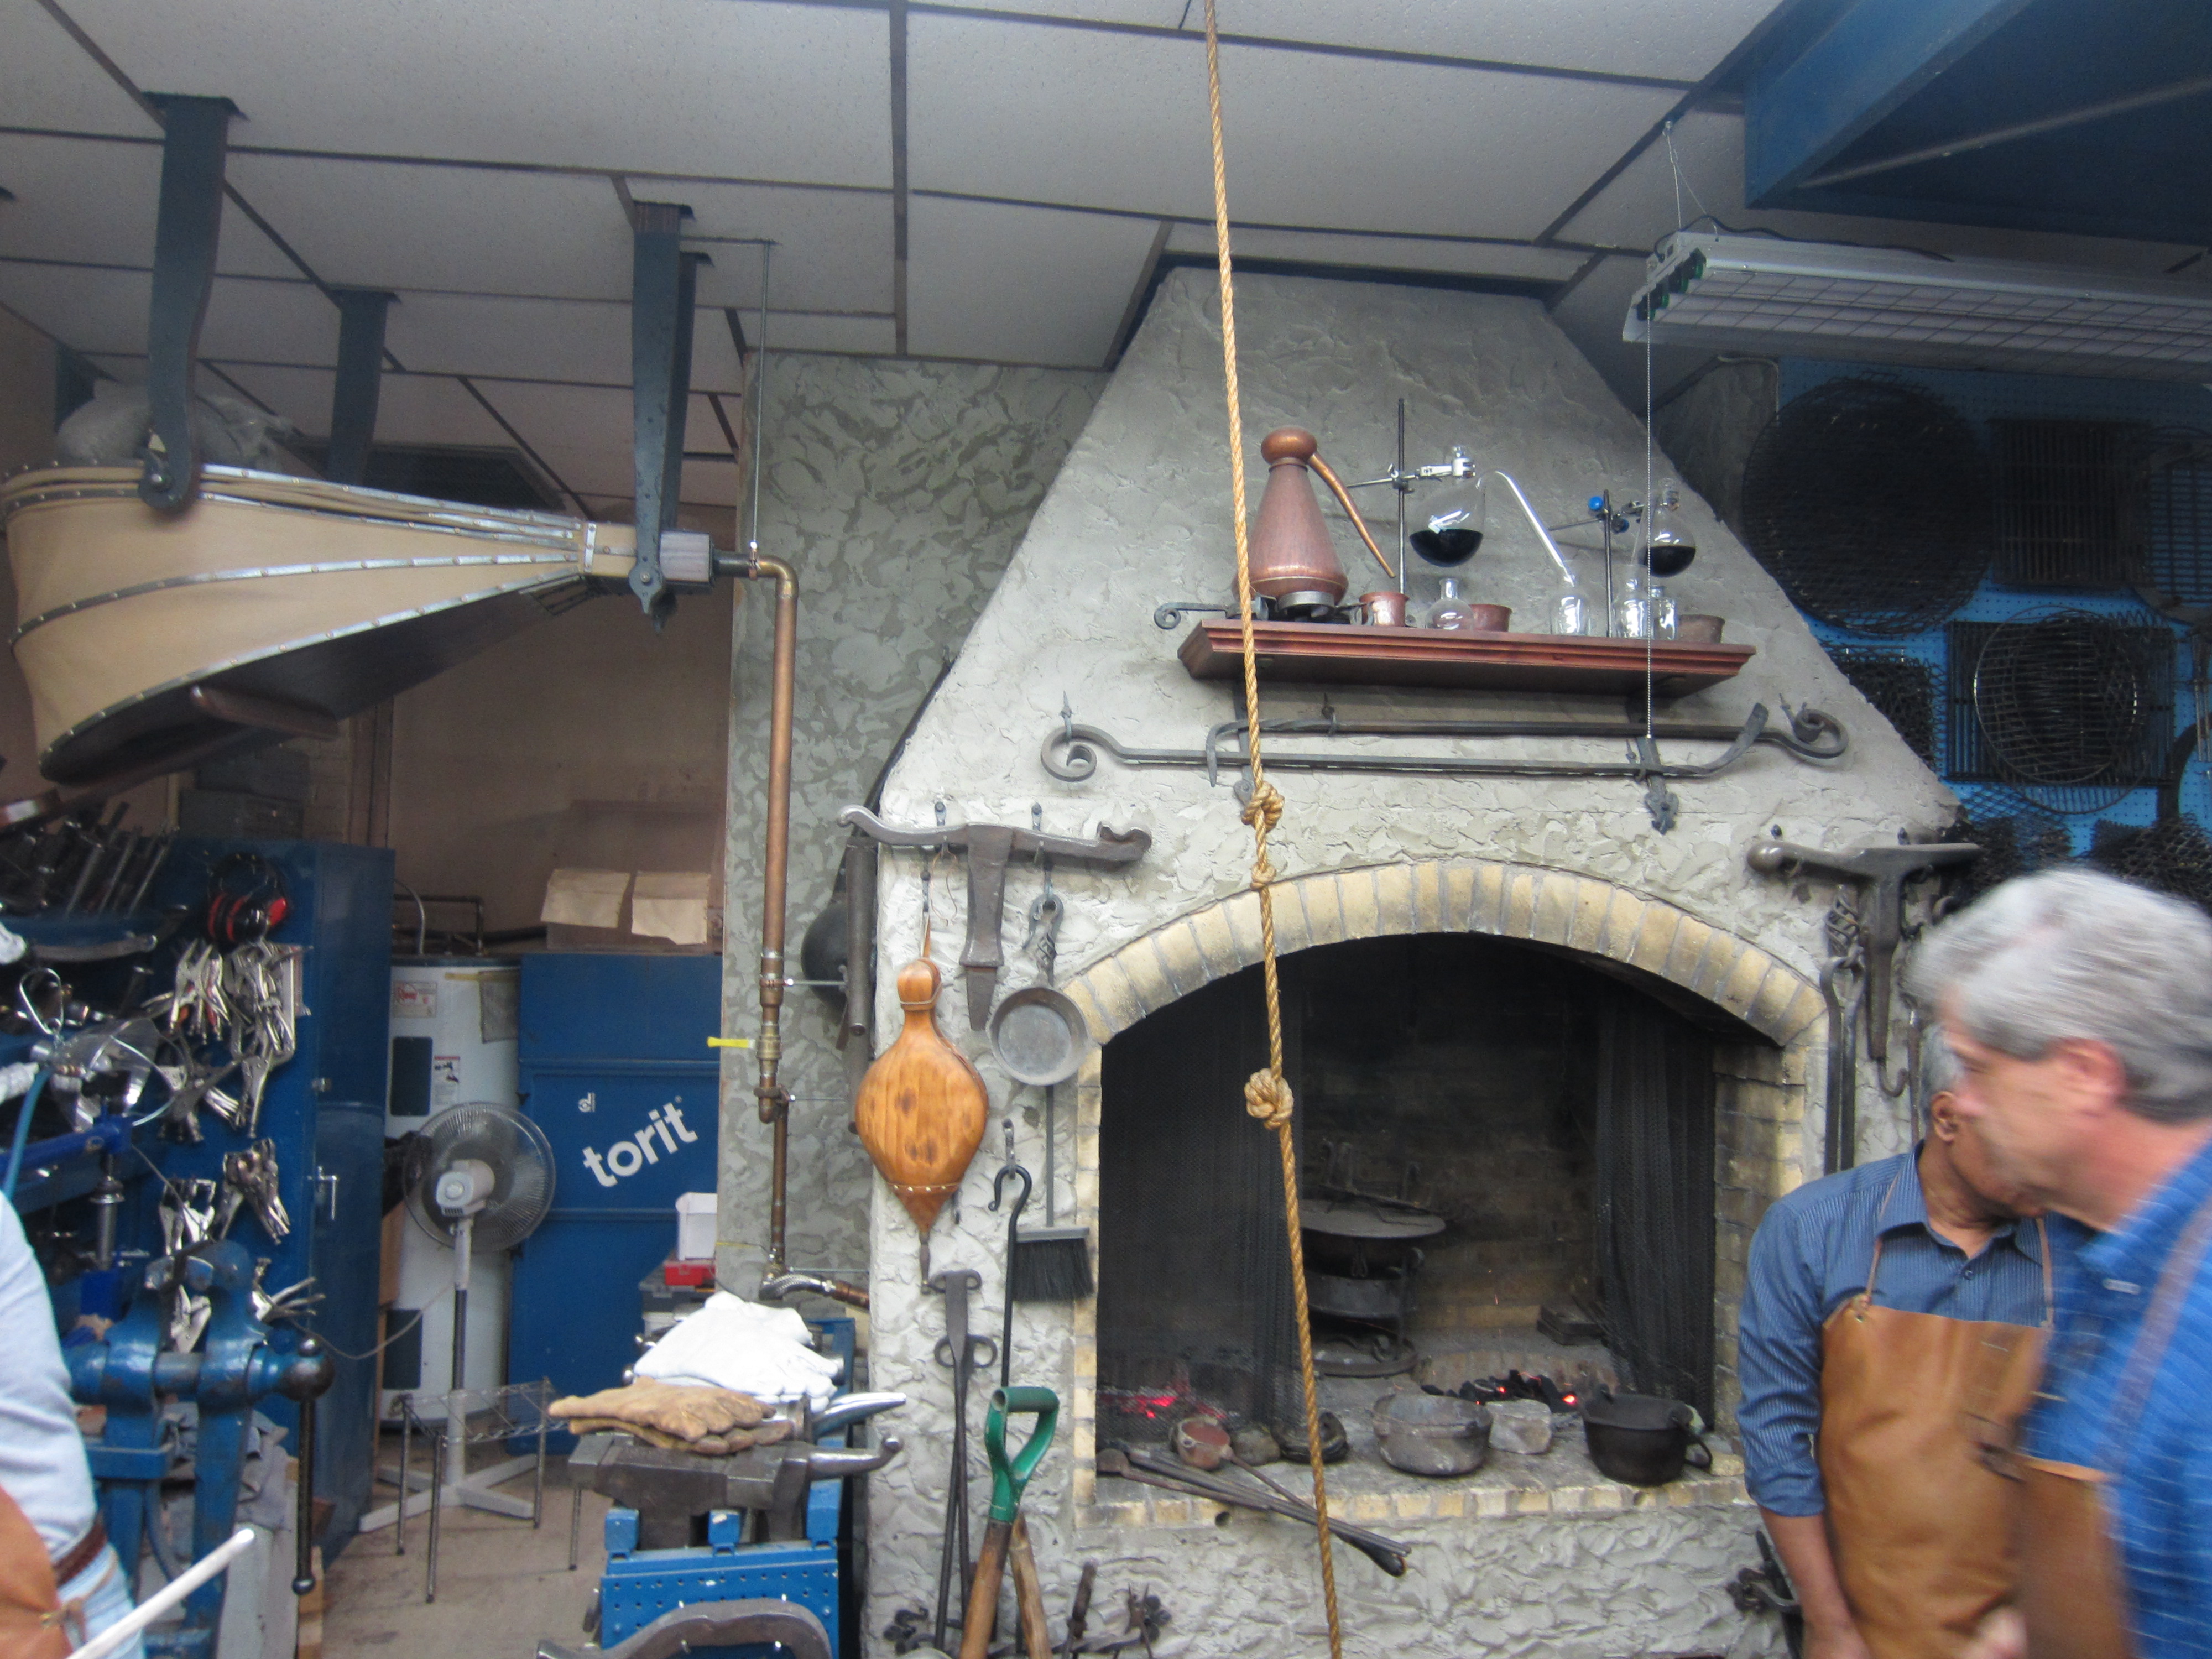
LOCATION: Ubaldo Vitali's worskhop, Maplewood, NJ
SUBJECT: Casting the medal in pewter
Materials
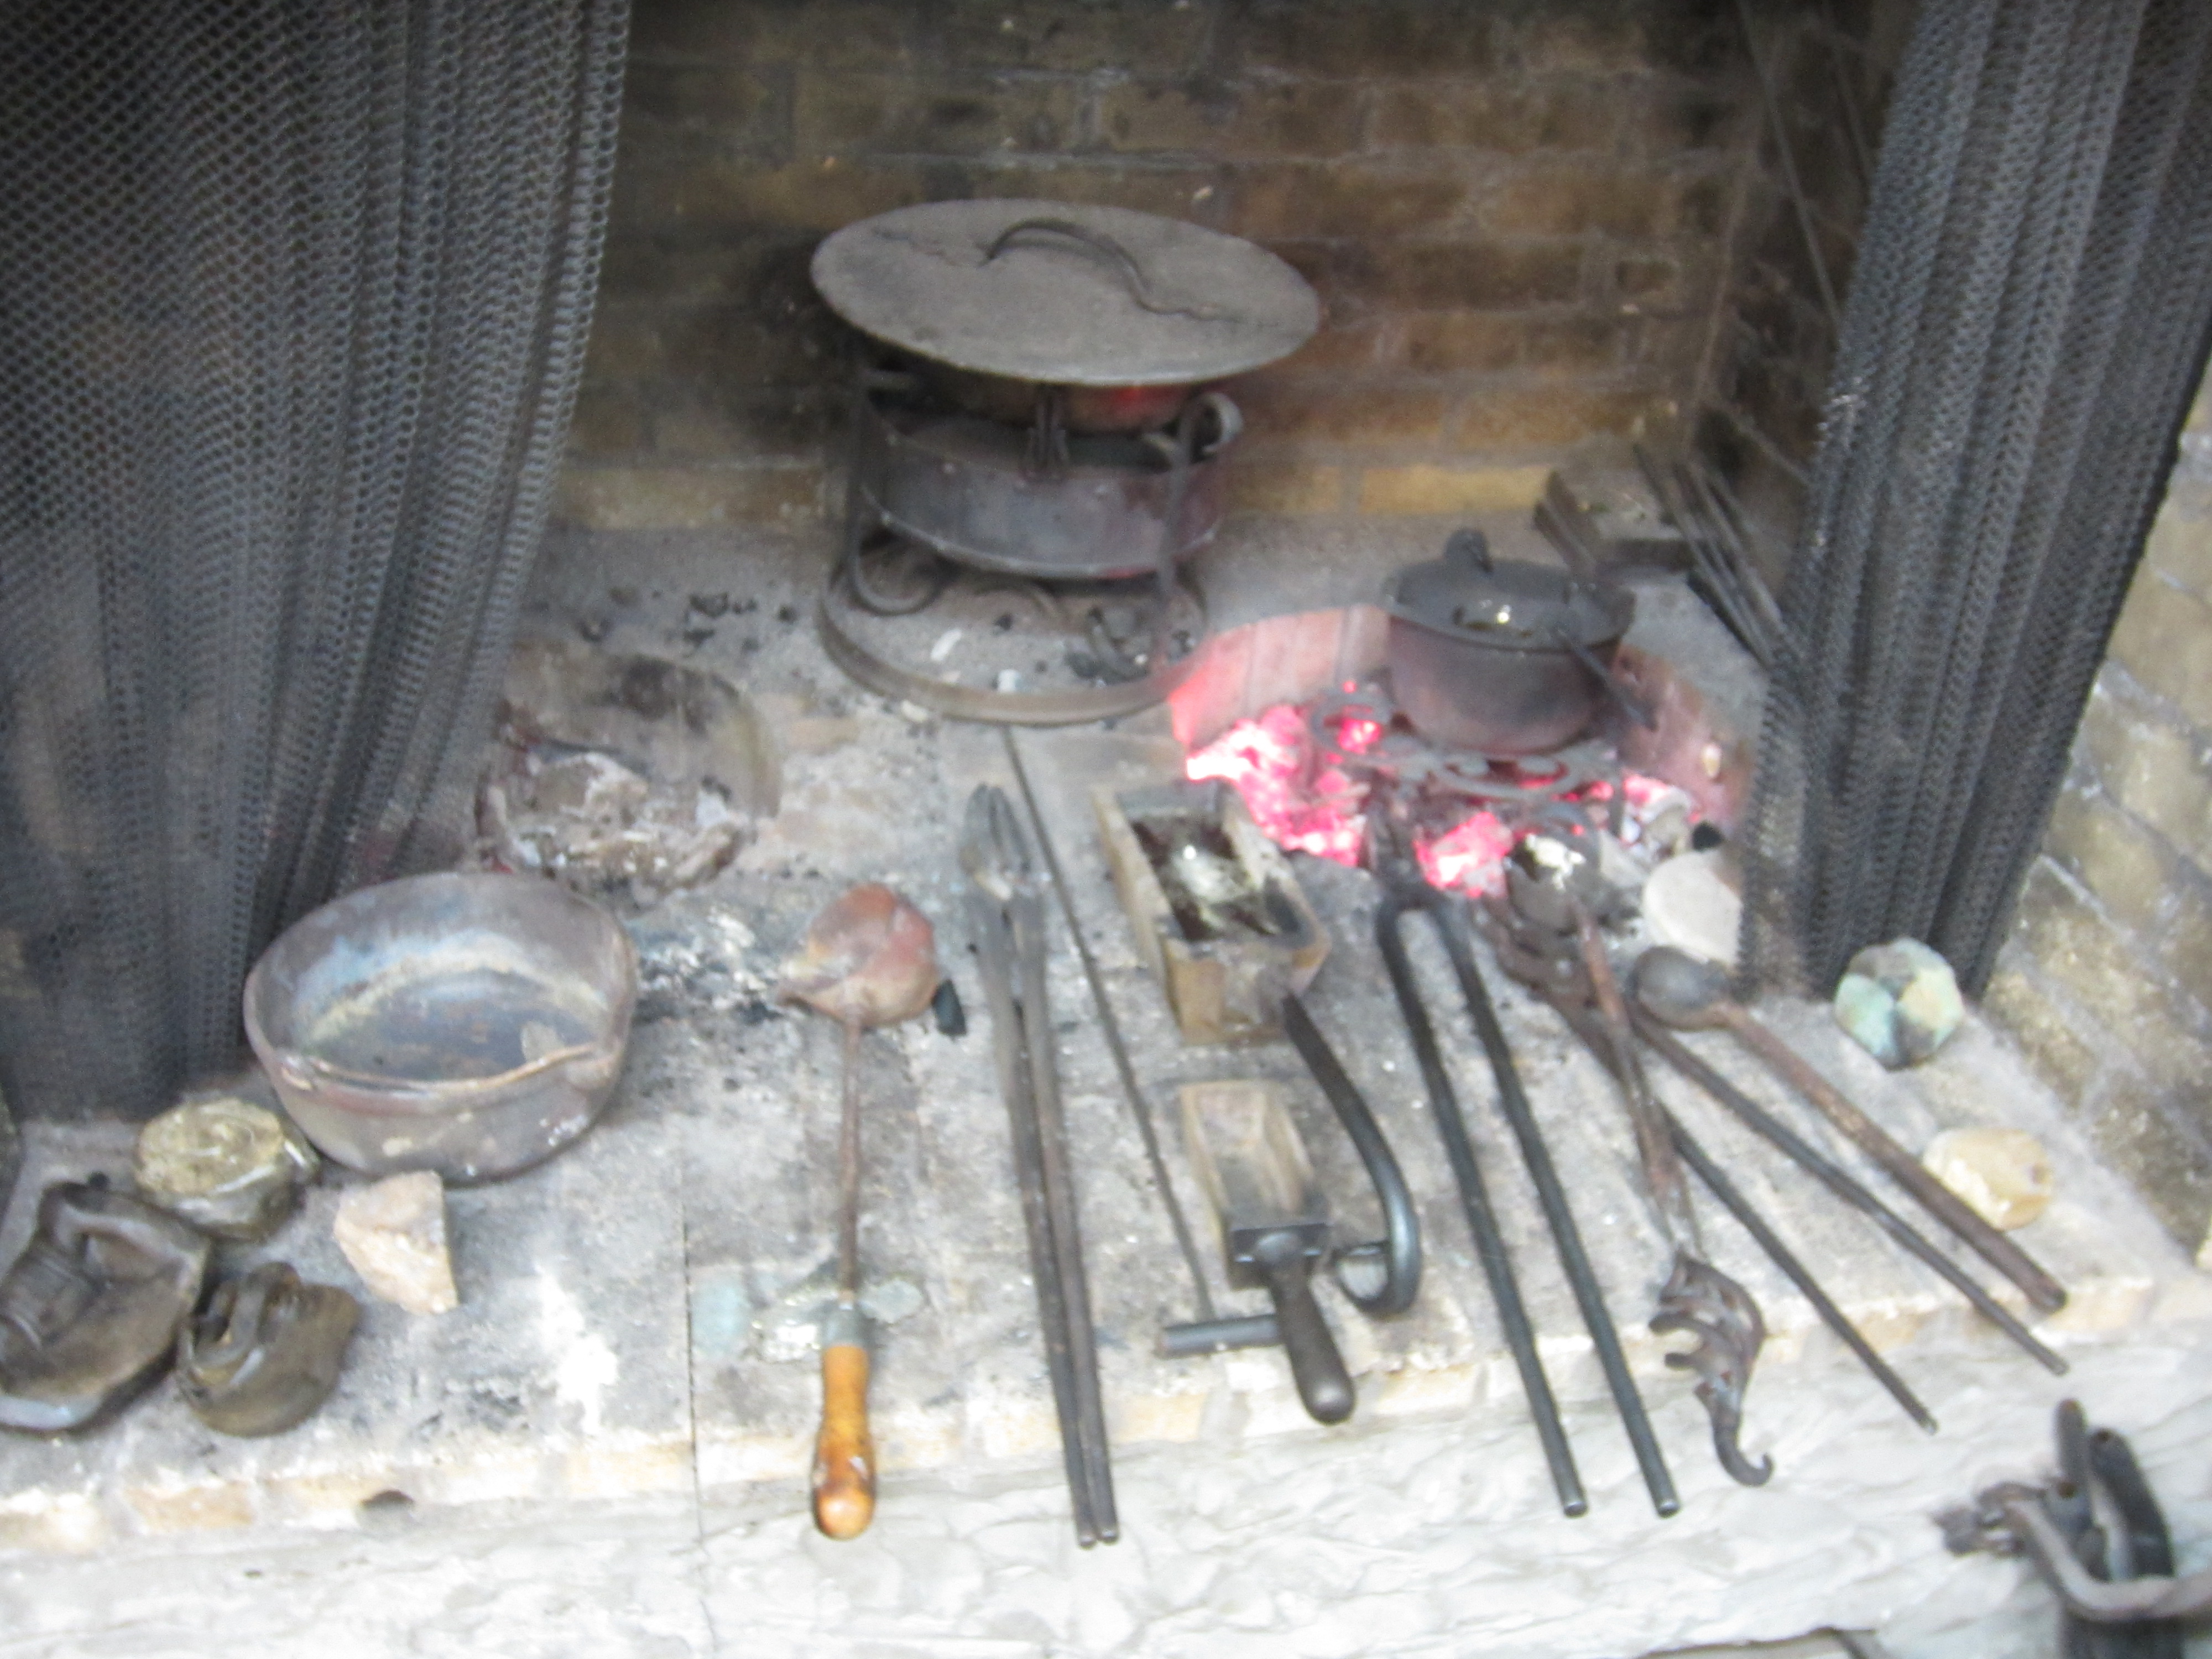
- Hearth with bellows- Metal crucible
- Wood
- Pouring tongs
- Pouring spoon
- Metal clamp
- Tallow candle
- Wax candles
- Pewter pellets
- Pine resin
Basic Step-By-Step Process
1. Ignite controlled fire in hearth2. Heat area of mold with impression using candles
3. Heat entire mold
4. Put mold in metal clamp
5. Melt pewter in crucible
6. Pour liquid pewter into mold
7. Leave mold to dry
8. Open mold
9. Inspect medal
In-Depth Step-By-Step Process
1. Ignite controlled fire in hearth
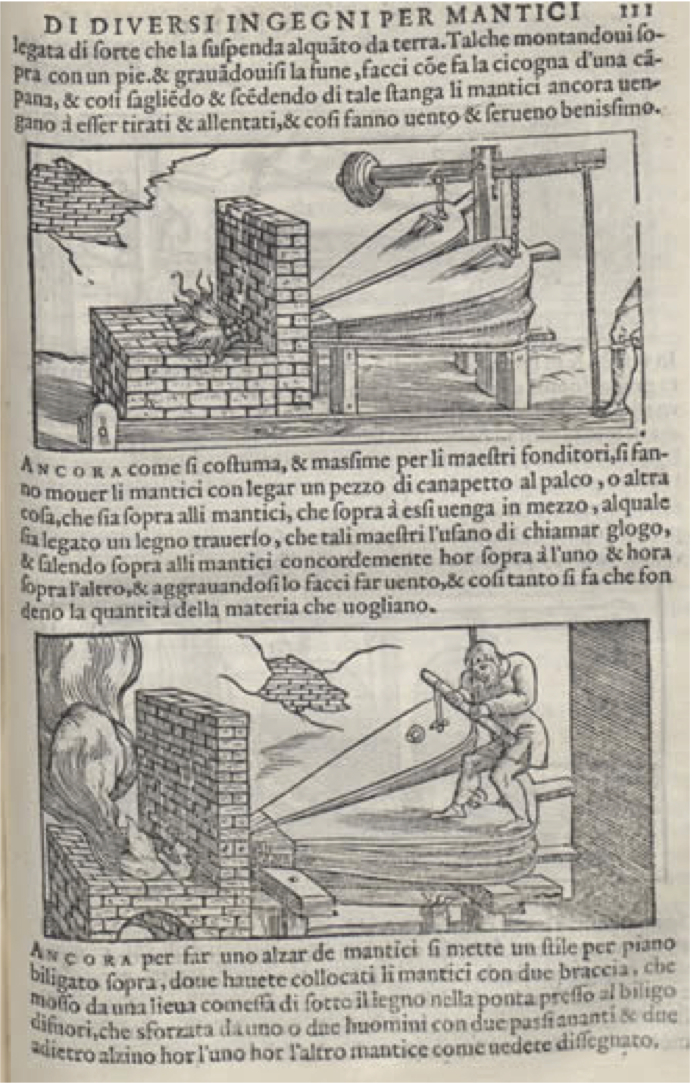
After igniting the fire with oak charcoal, Ubaldo Vitali stokes the flames by pulling the strings in the bellows. There is a satisfying crackling sound as sparks fly within the hearth. I think immediately of Vanocchio Biringuccio's discussion of bellows in his De la pirotechnia.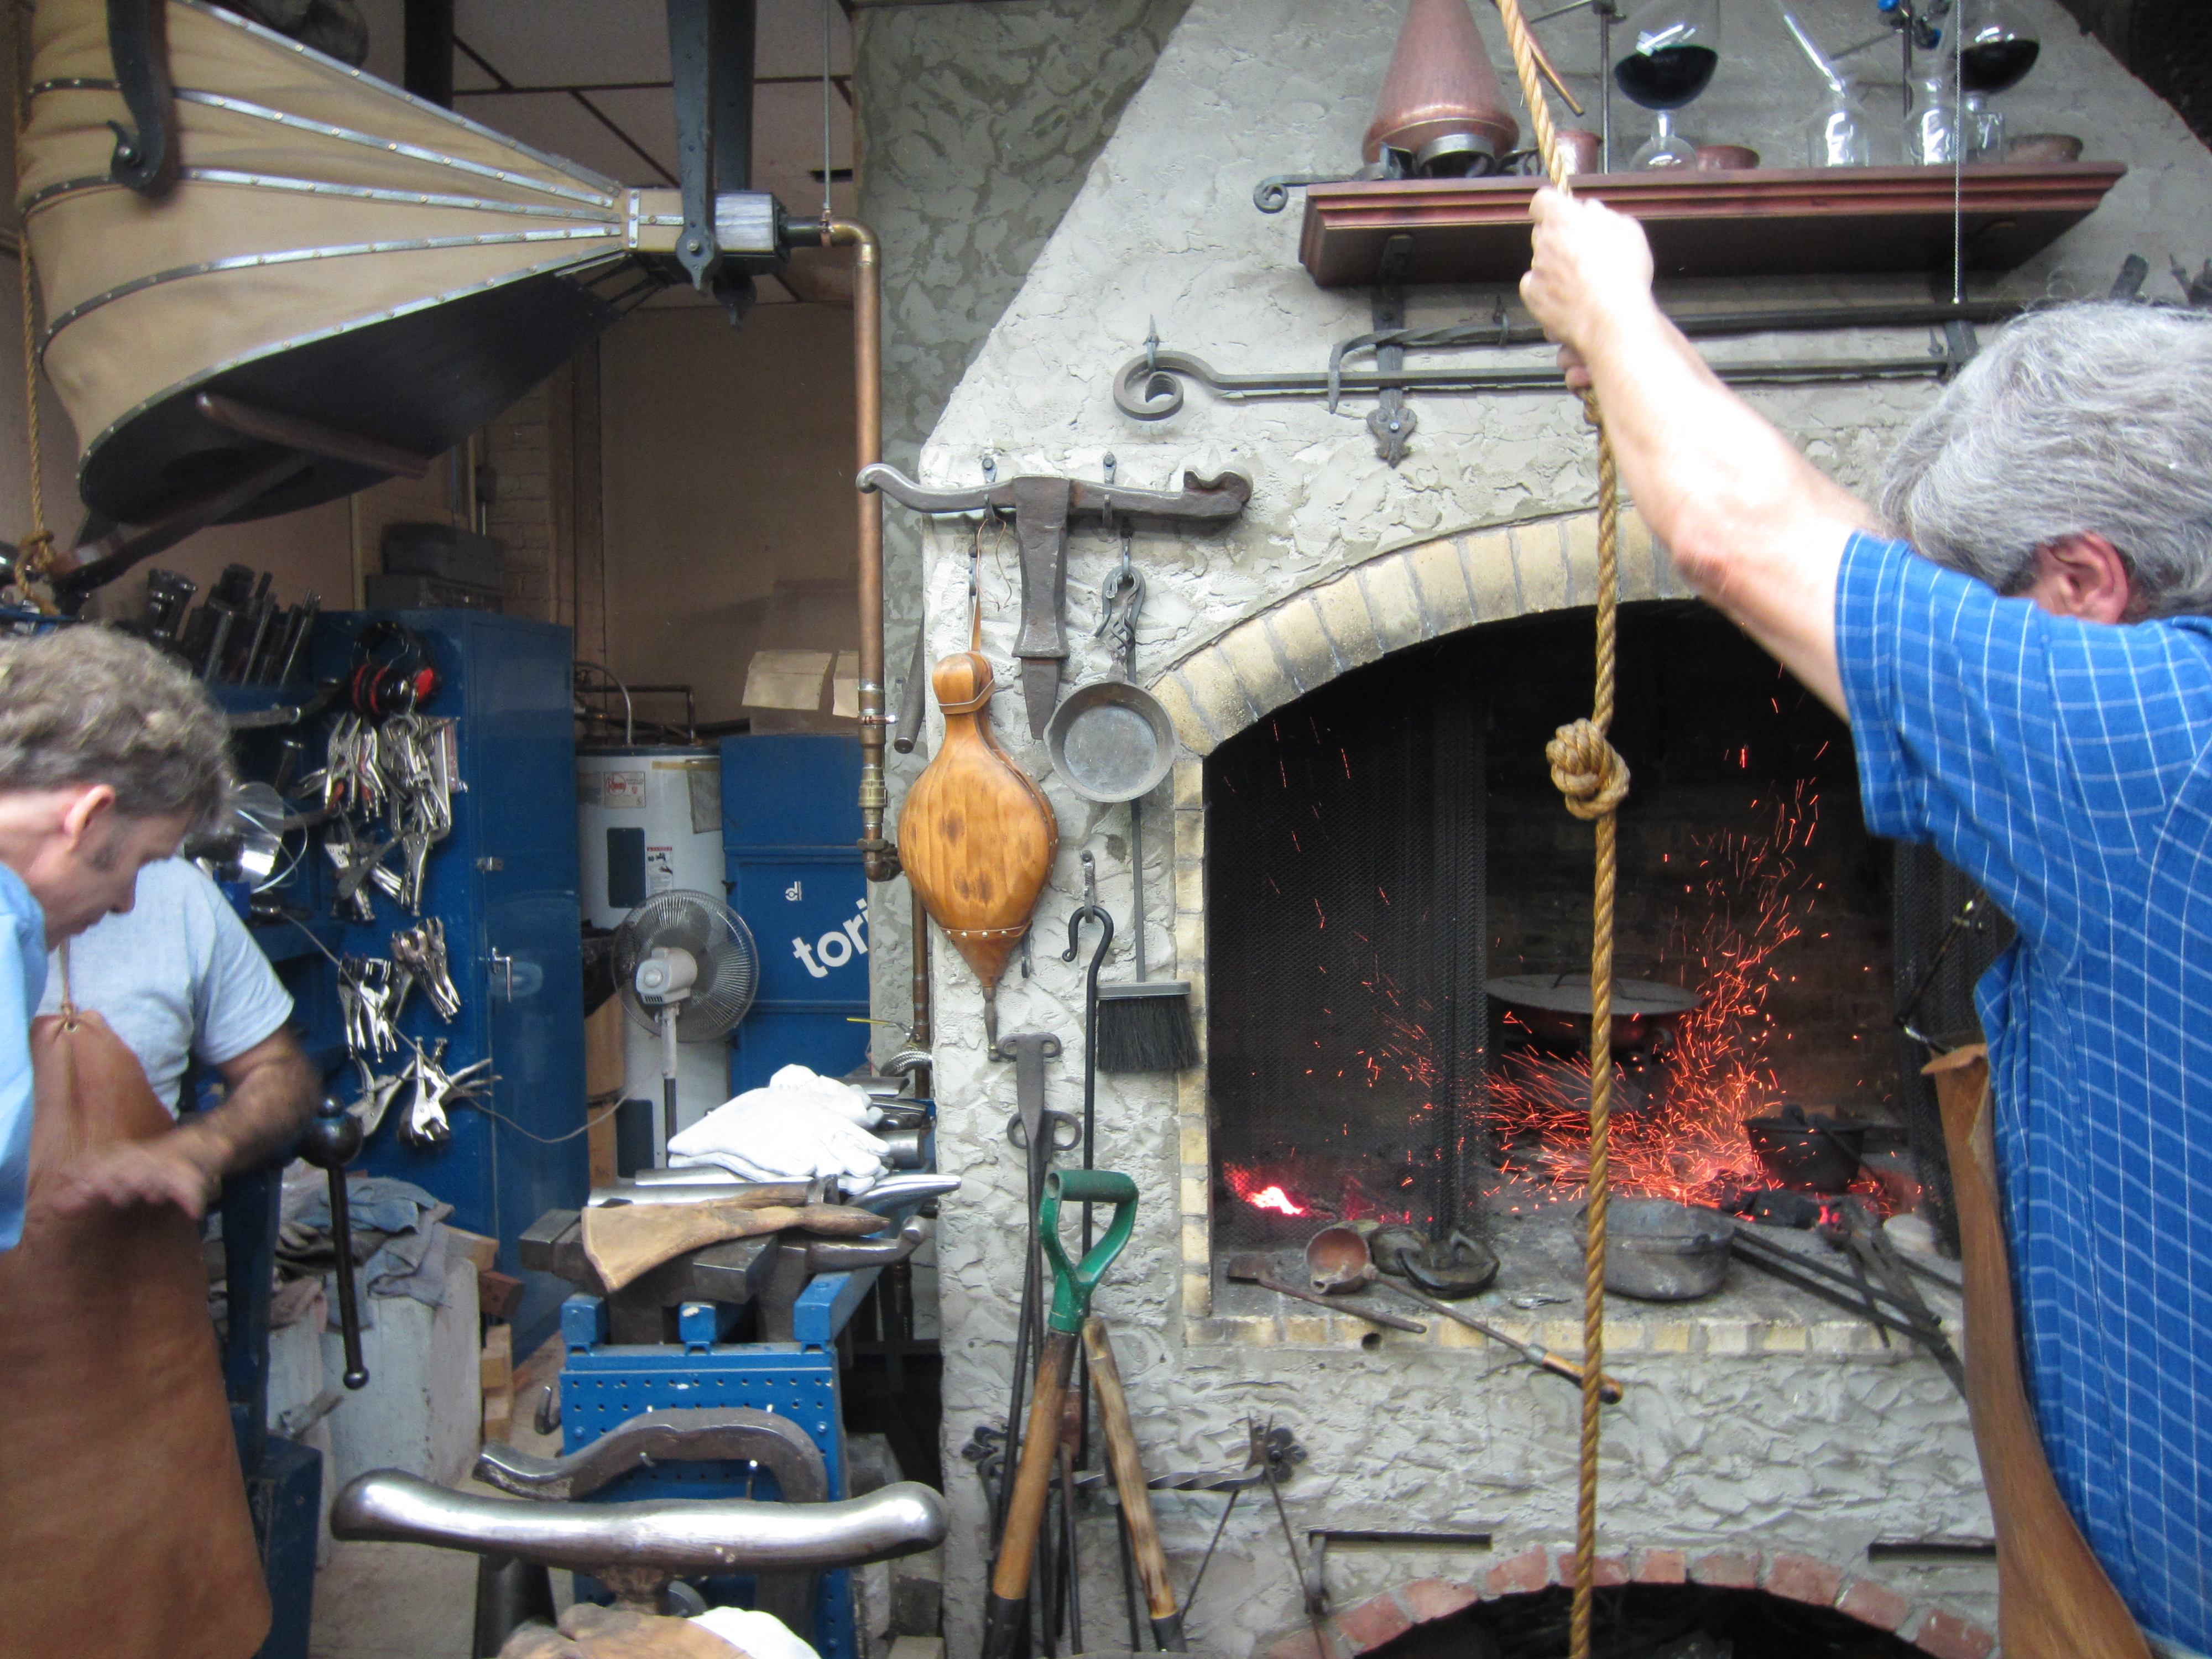
2. Heat area of mold with impression using candles
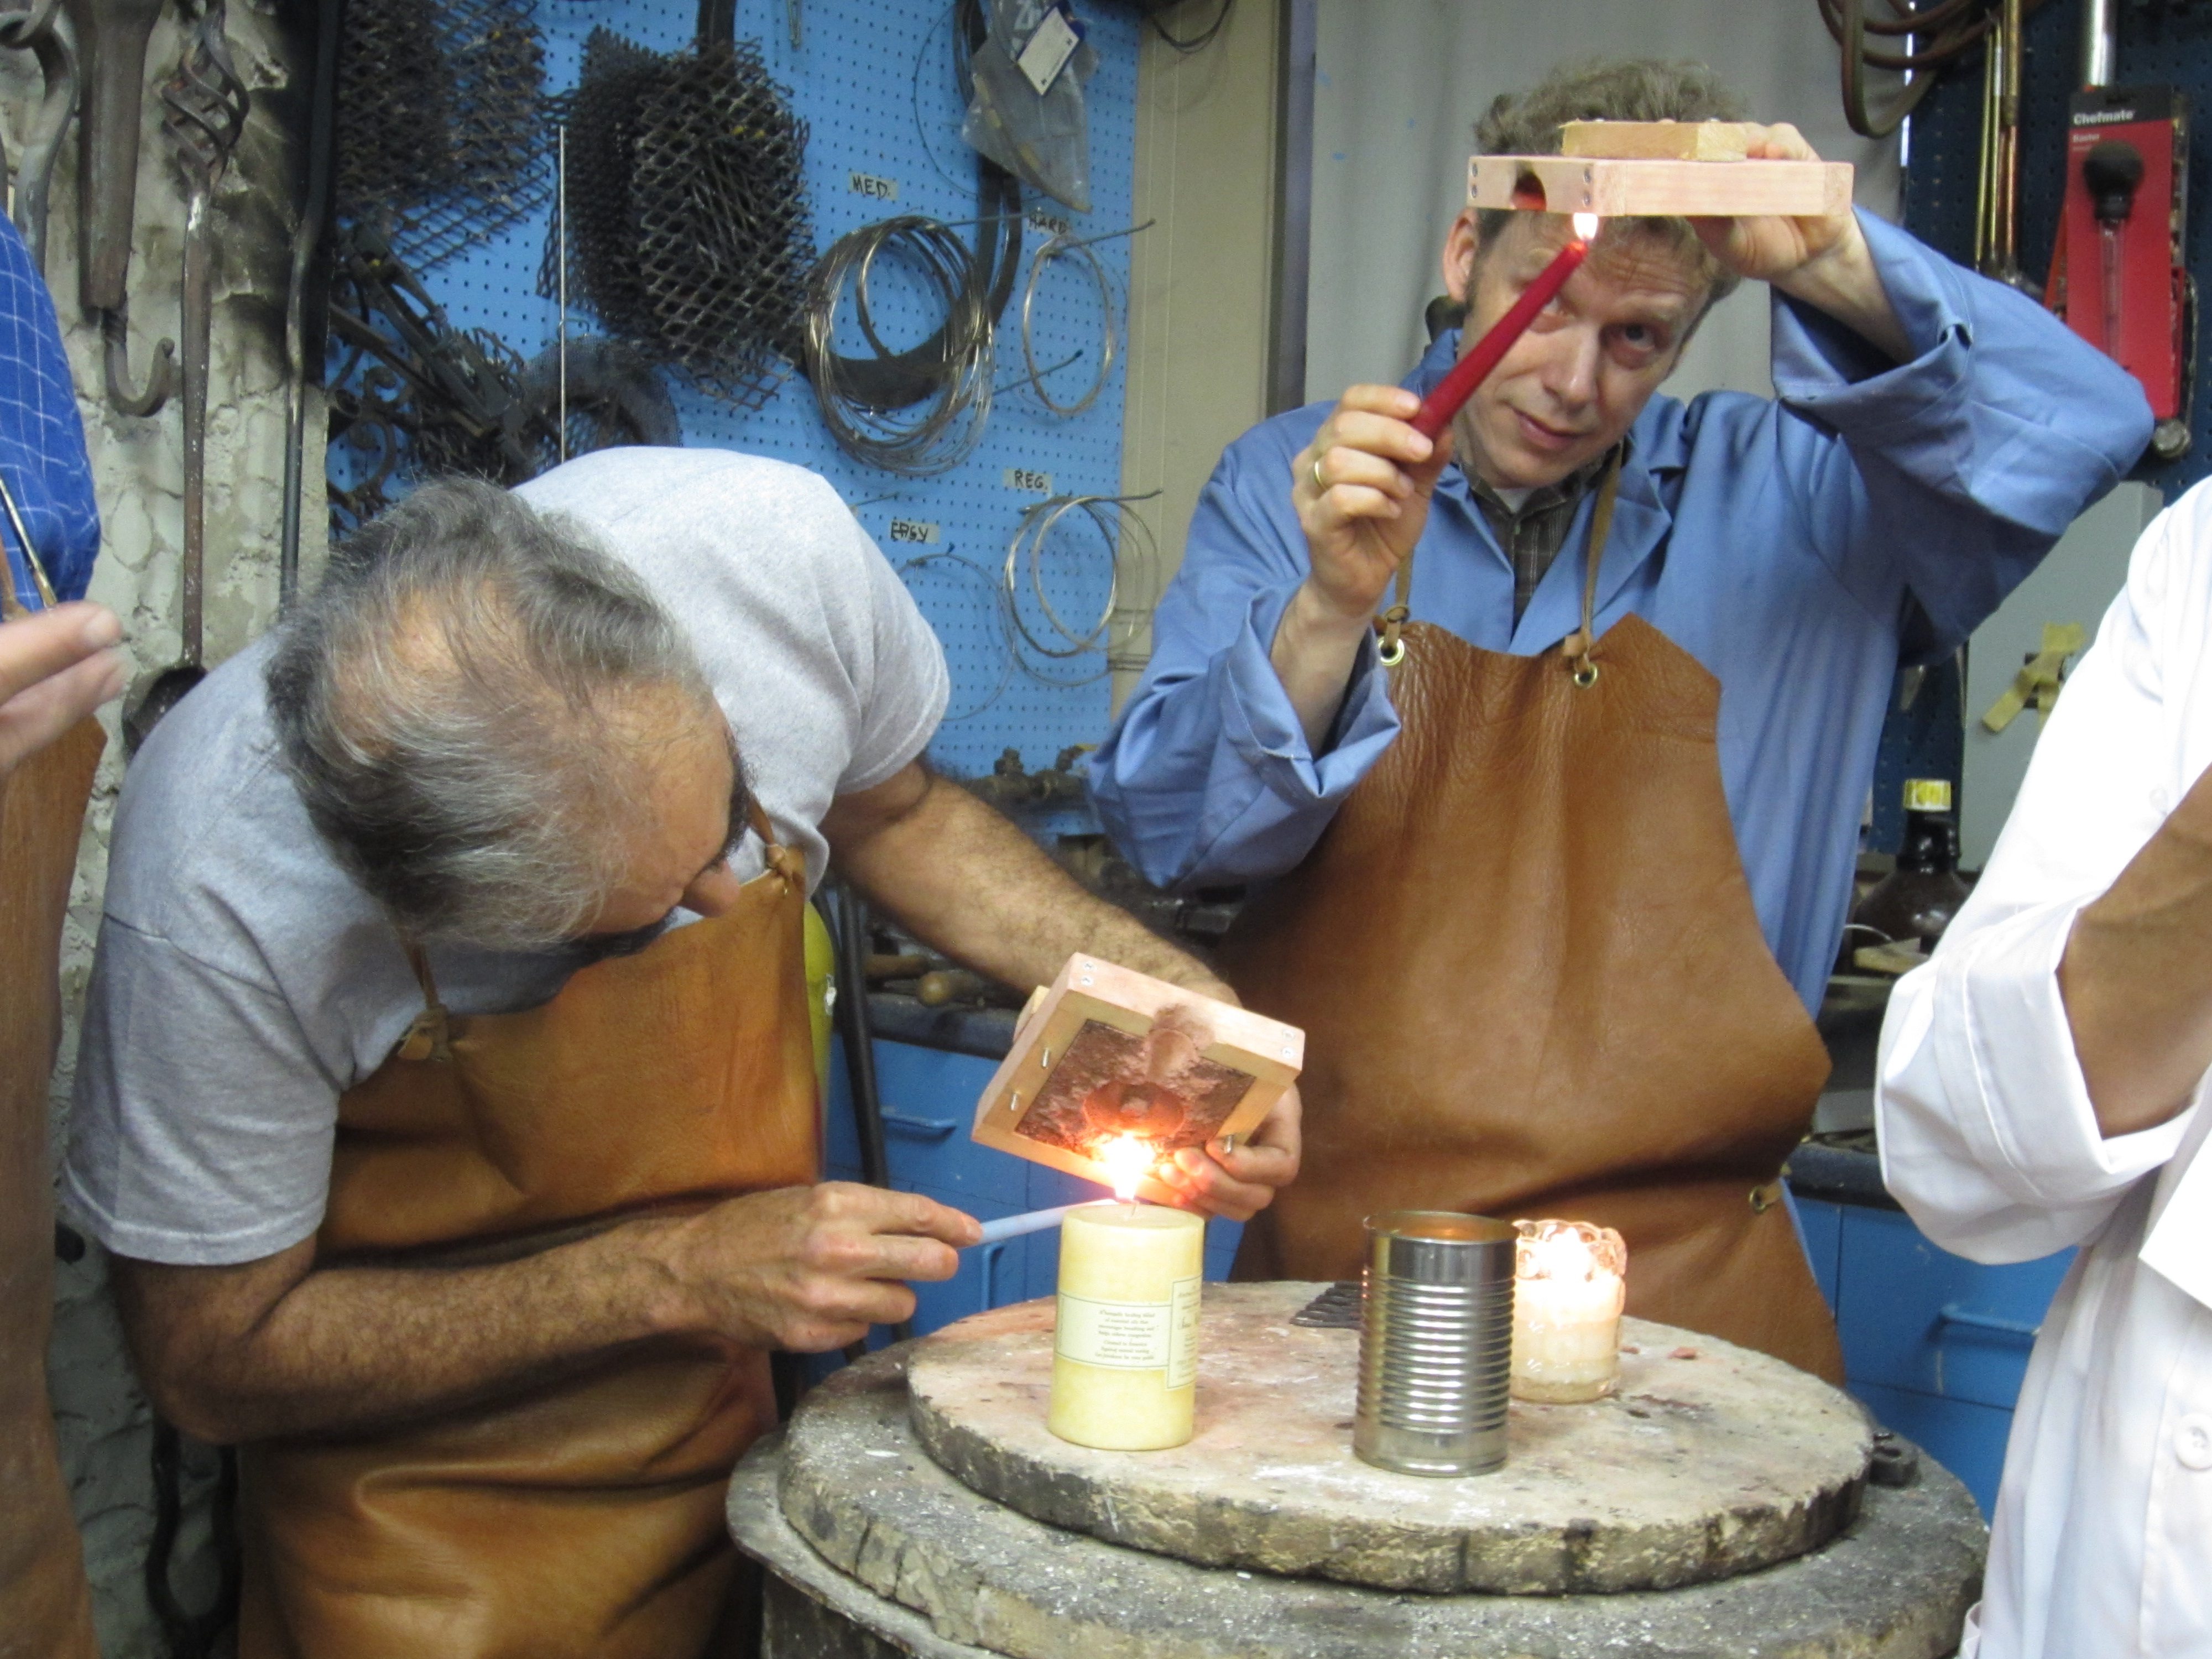
Following instructions in the manuscript, our expert makers begin to heat the area of the mold with the impression from the model using a tallow candle. Unfortunately, the tallow was collected in a metal container that is too large, making it impossible for the candle to adequately heat the mold. For this reason, modern wax candles are used instead. In the course of this process, small fragments of a carbonized substance begin to float through the air, collecting on our hair and clothes.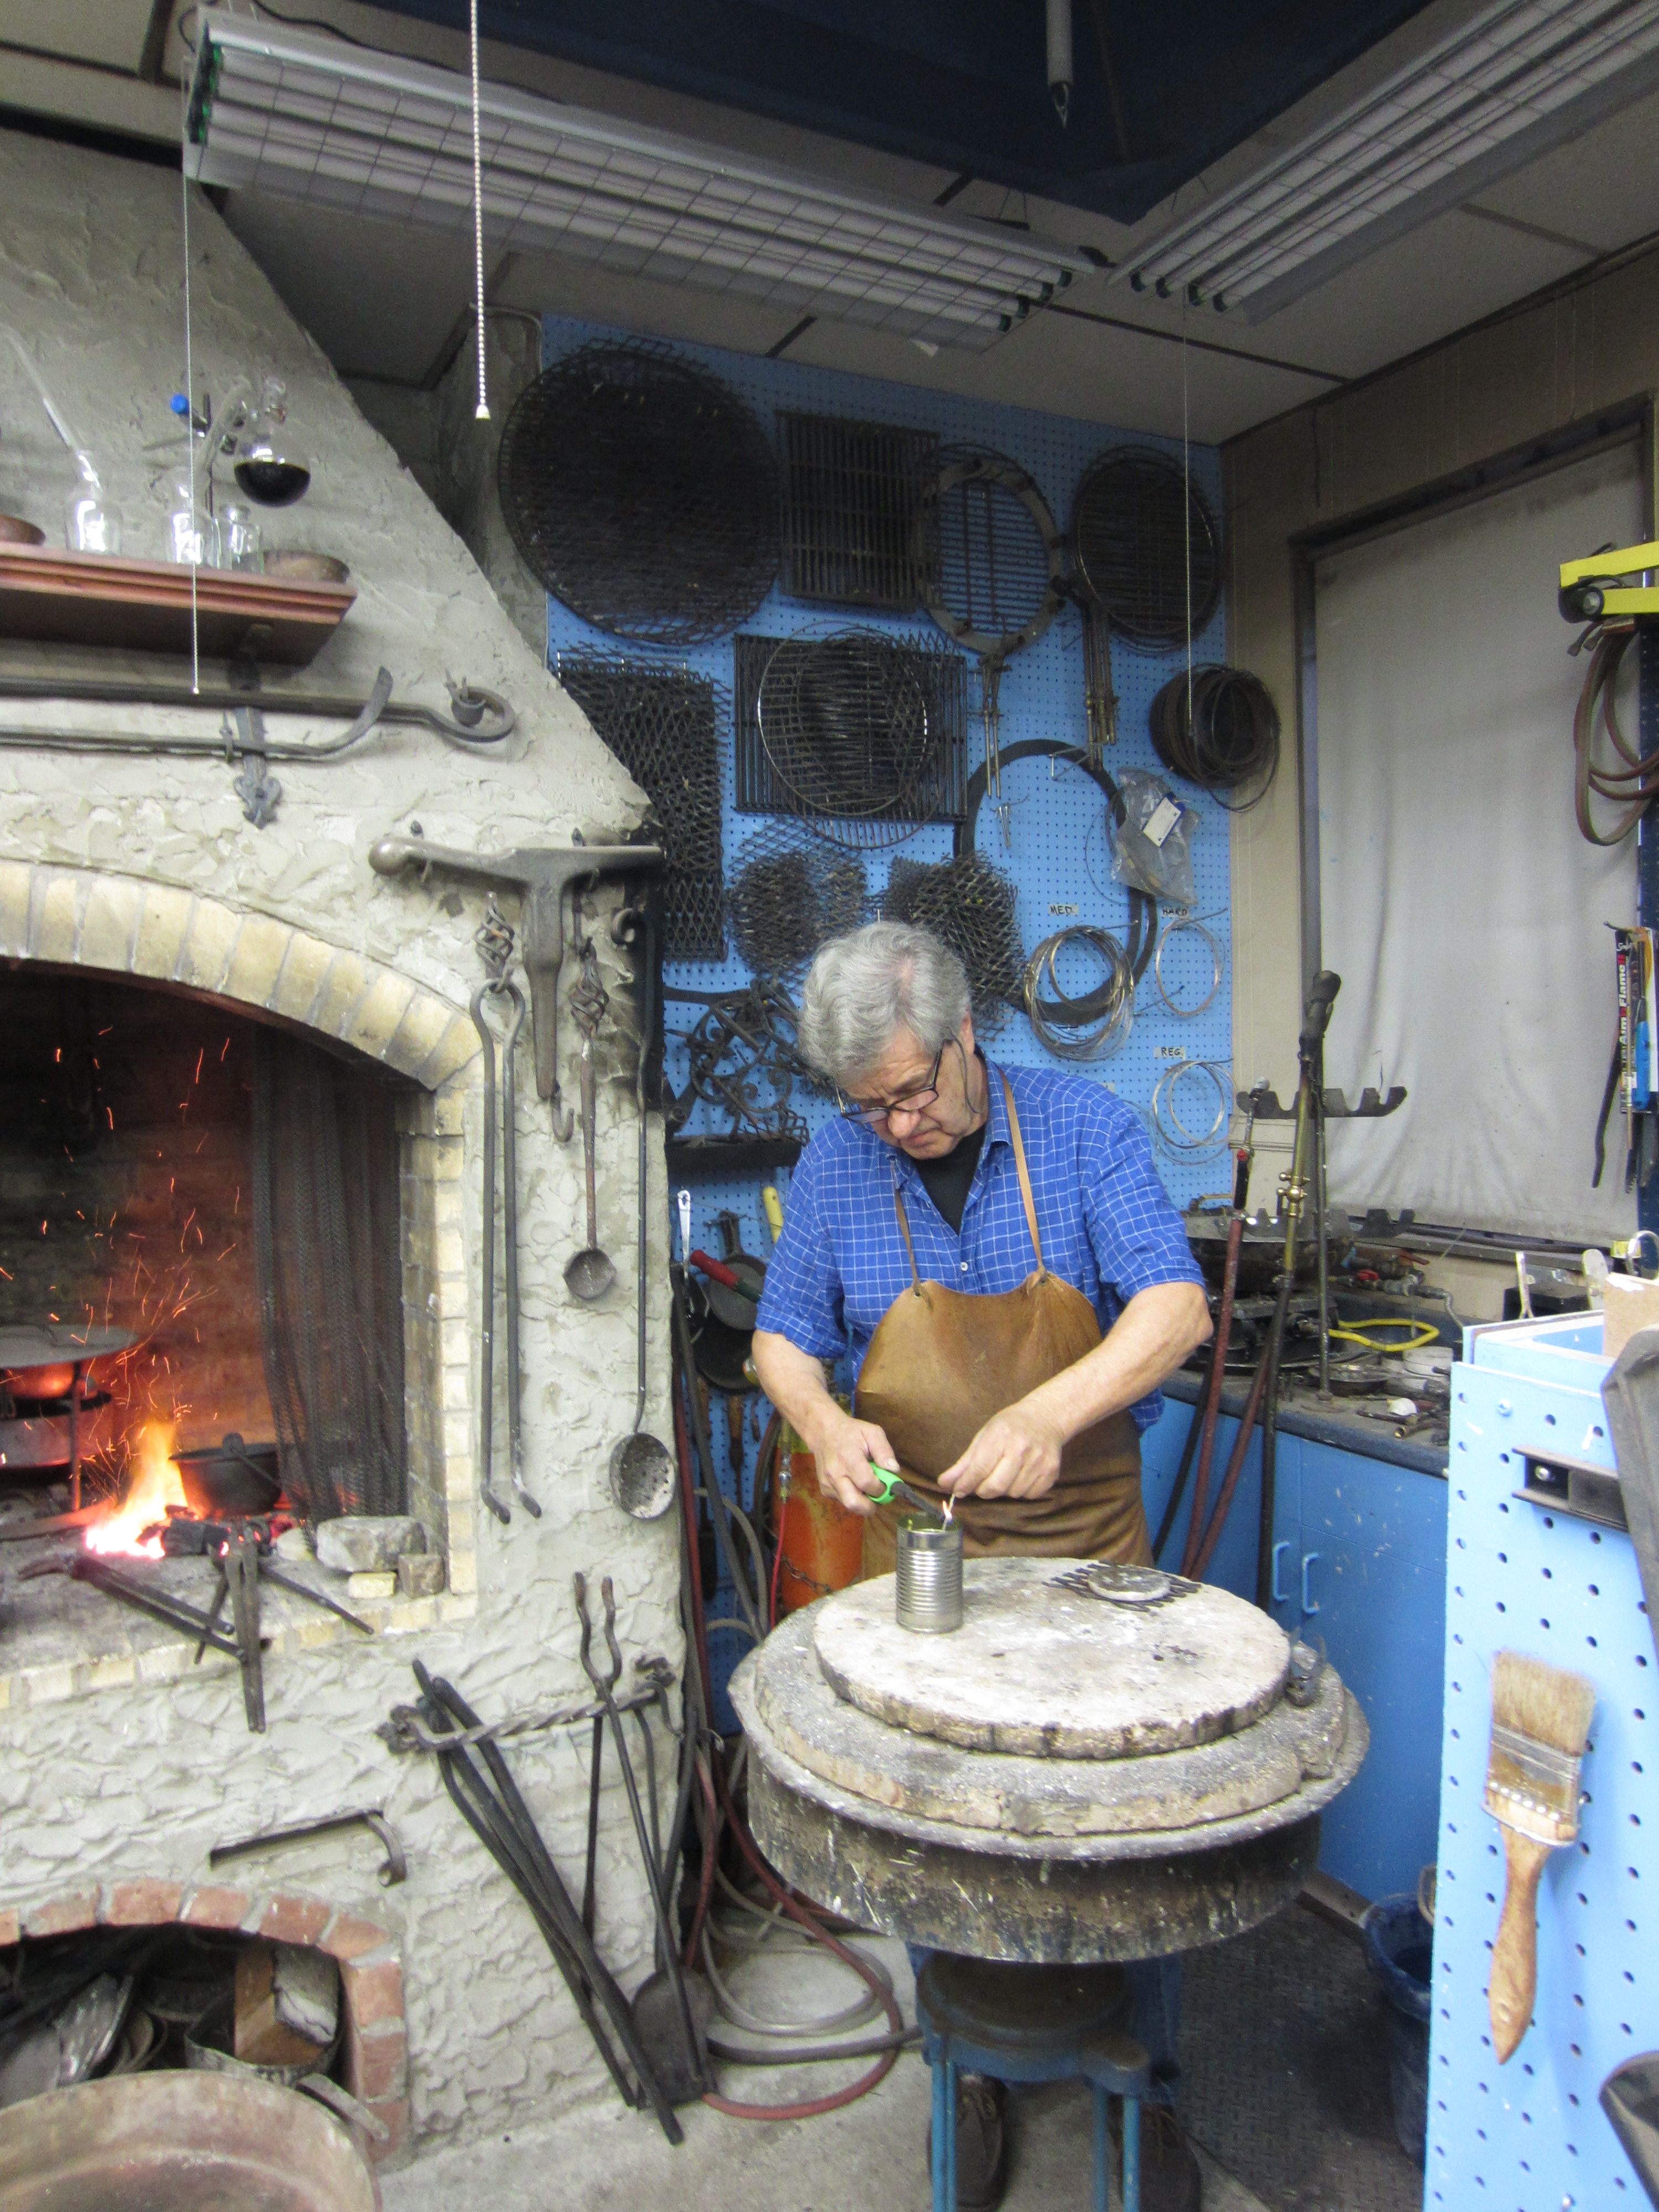
3. Heat entire mold
The entire mold is heated at a low temperature for approximately ten minutes. It is warm to the touch and shows no visible signs of having been heated.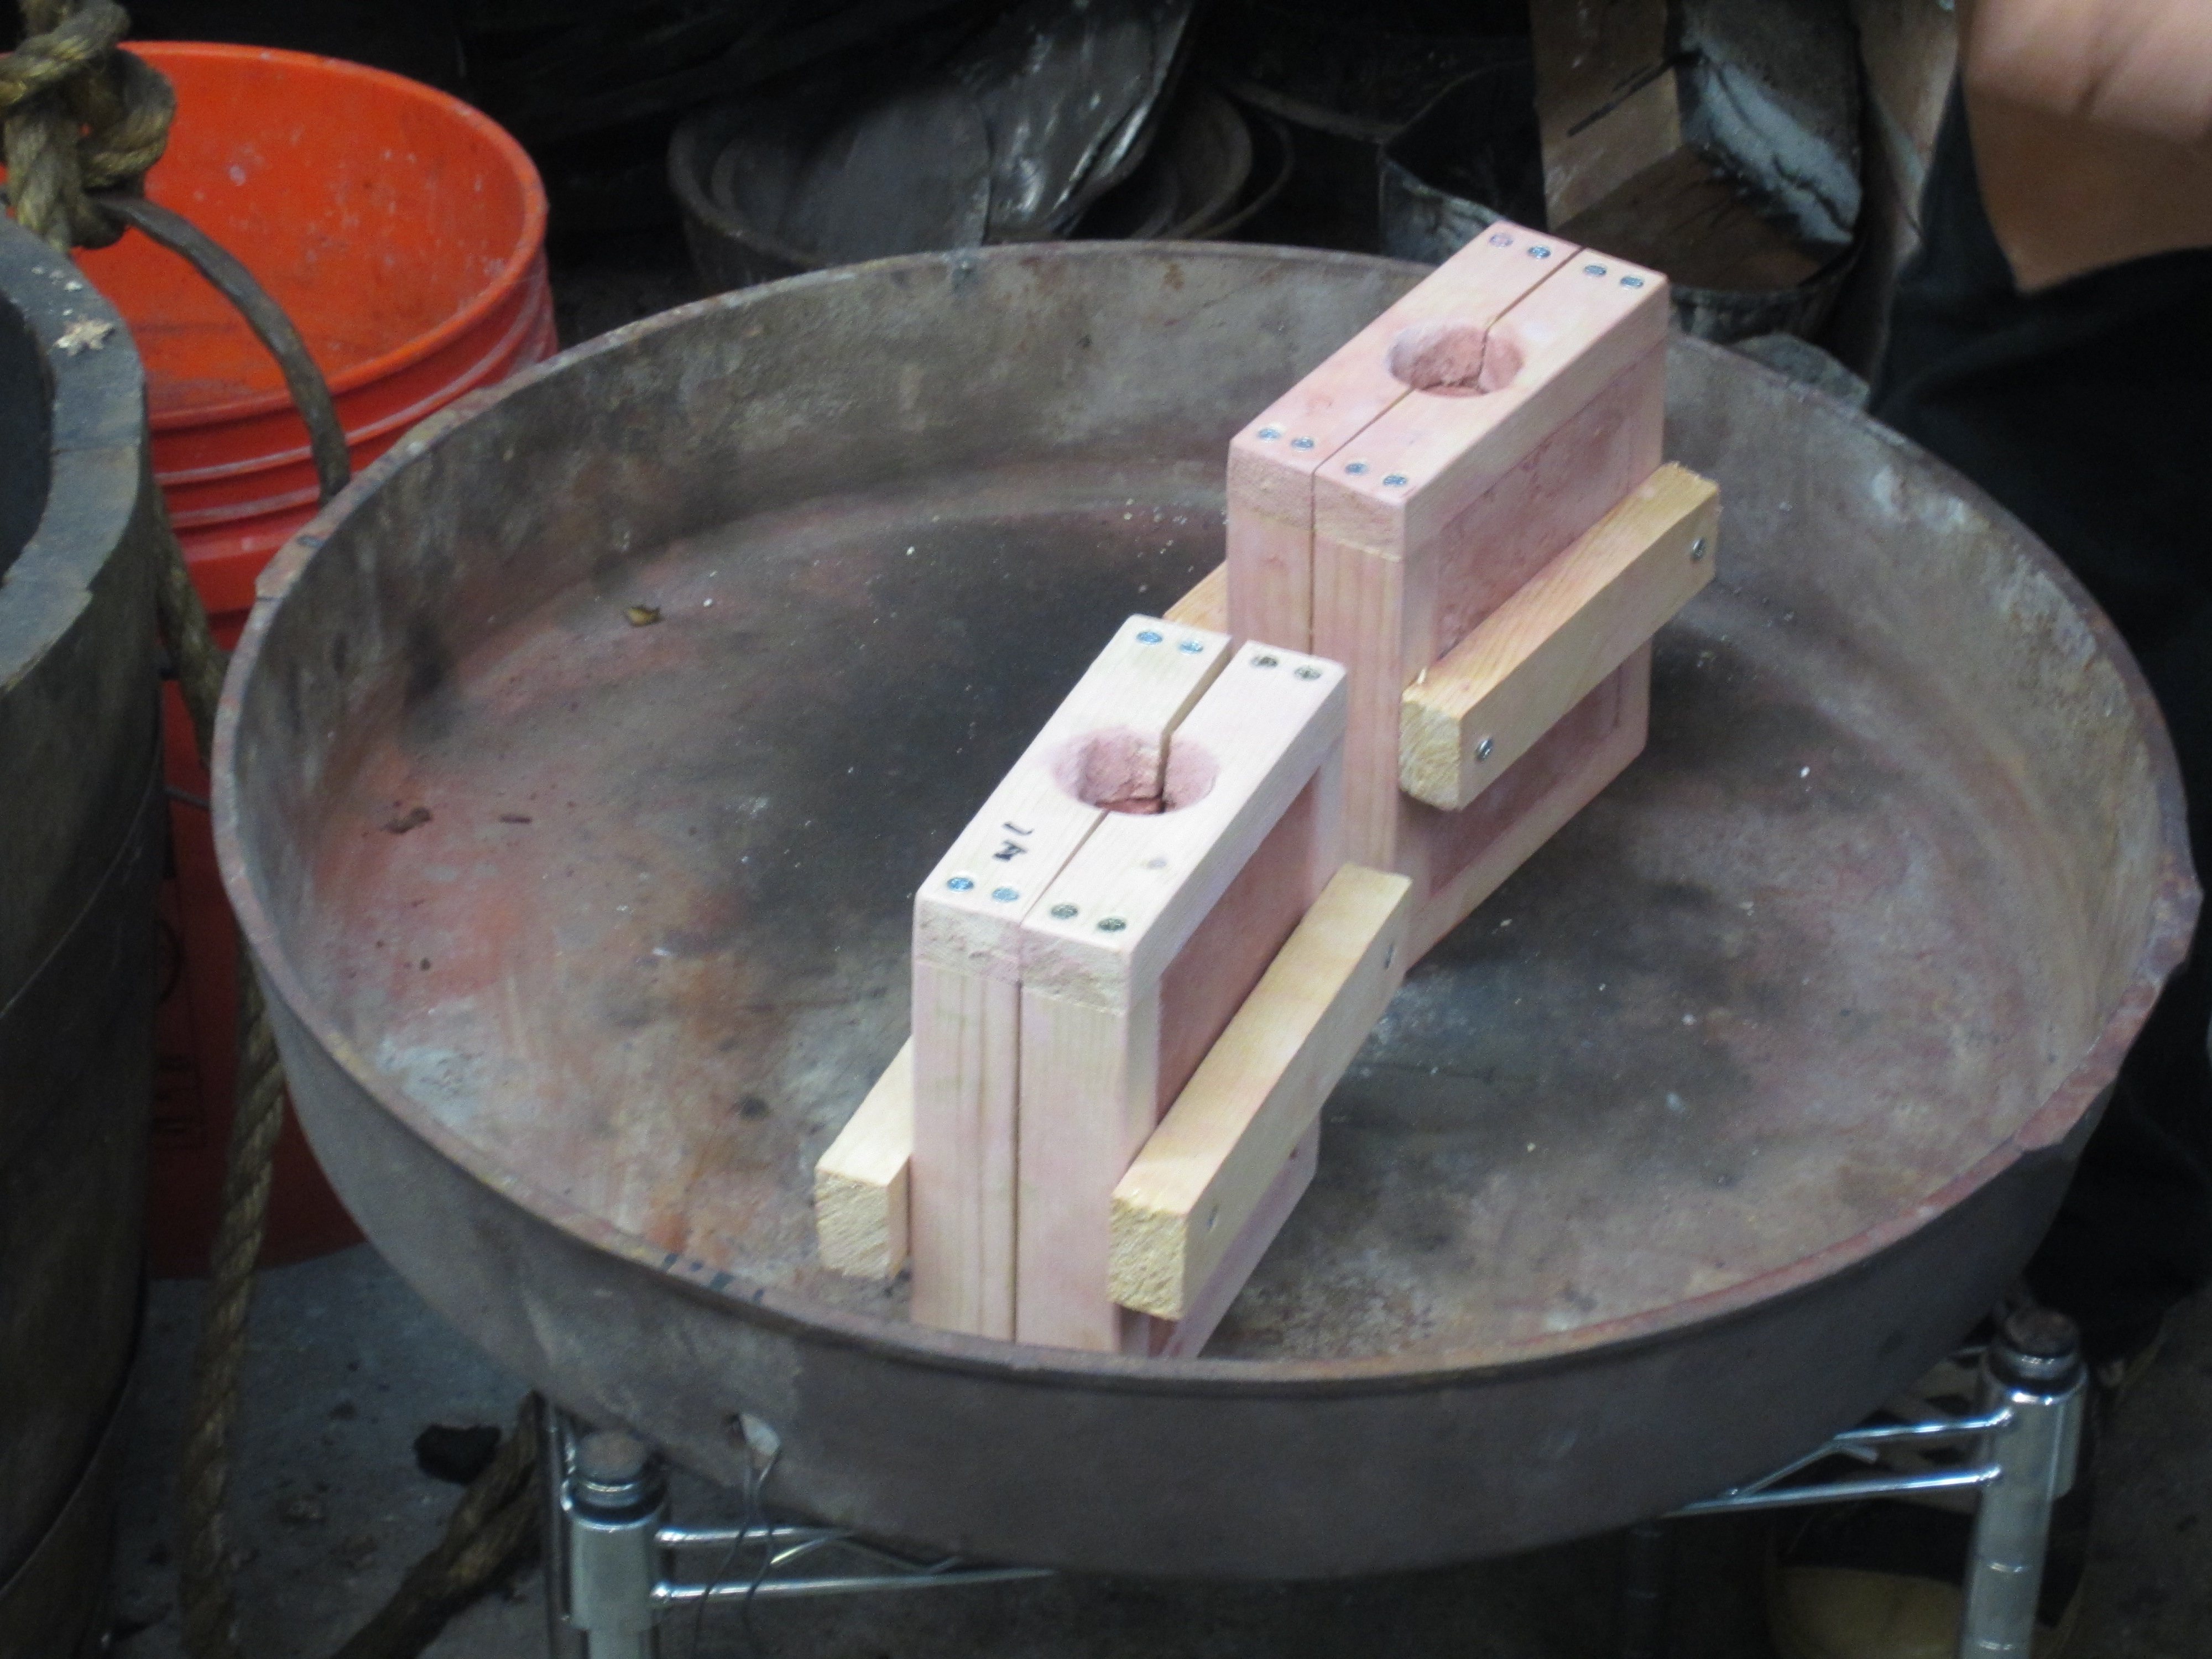
4. Put mold in metal clamp
The mold is clamped so that both the "masculine" and "feminine" sides remain together during the pour. I wonder whether the clamp is a modern anomaly, as I notice elsewhere in the manuscript references to wire used to hold together two sides of the mold.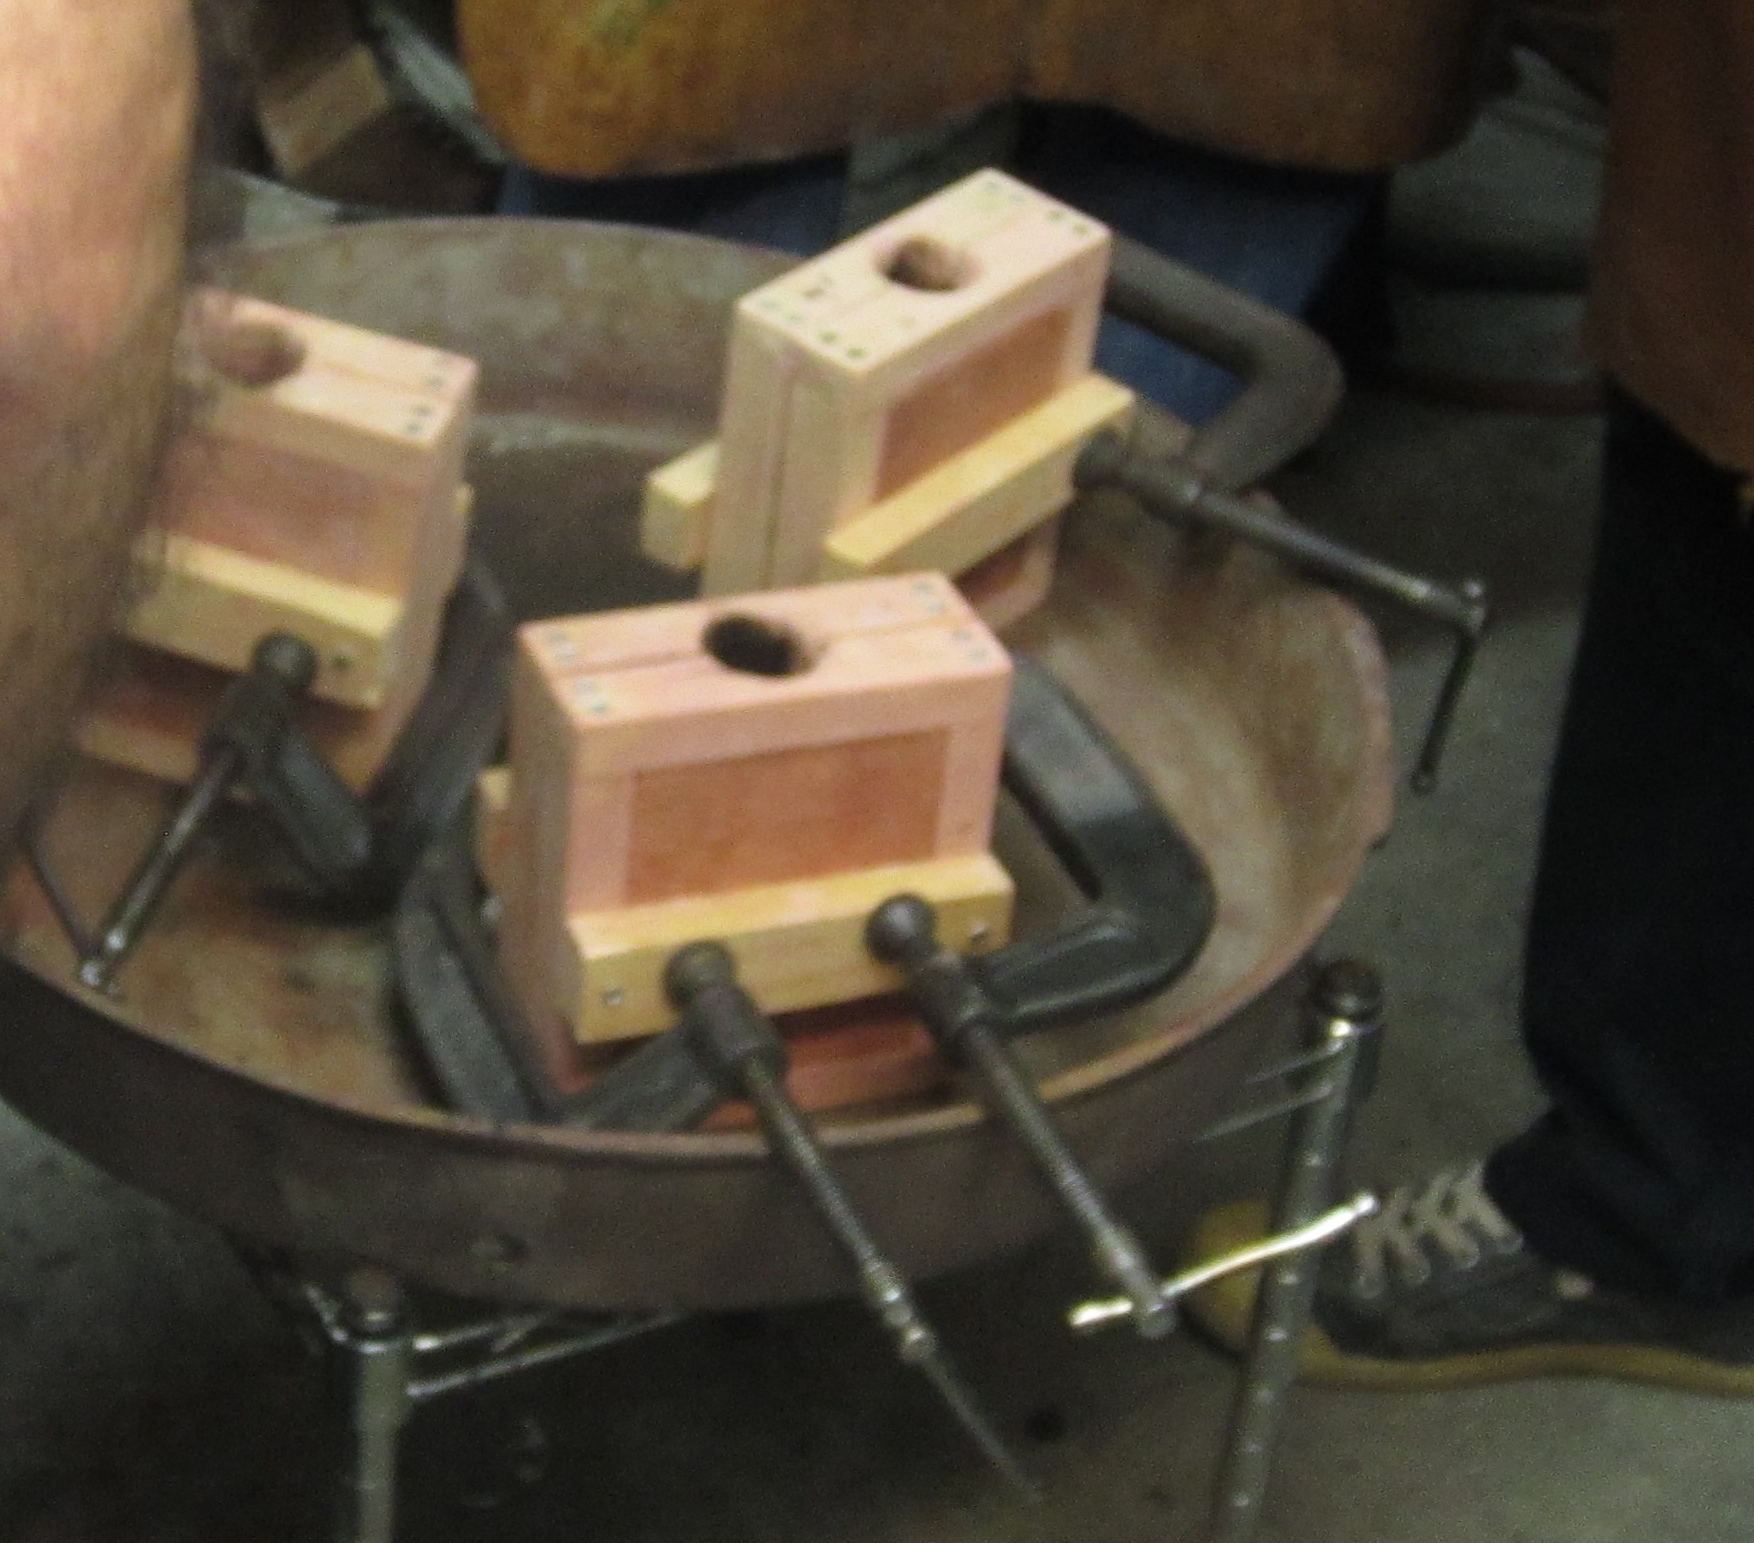
5. Melt pewter in crucible
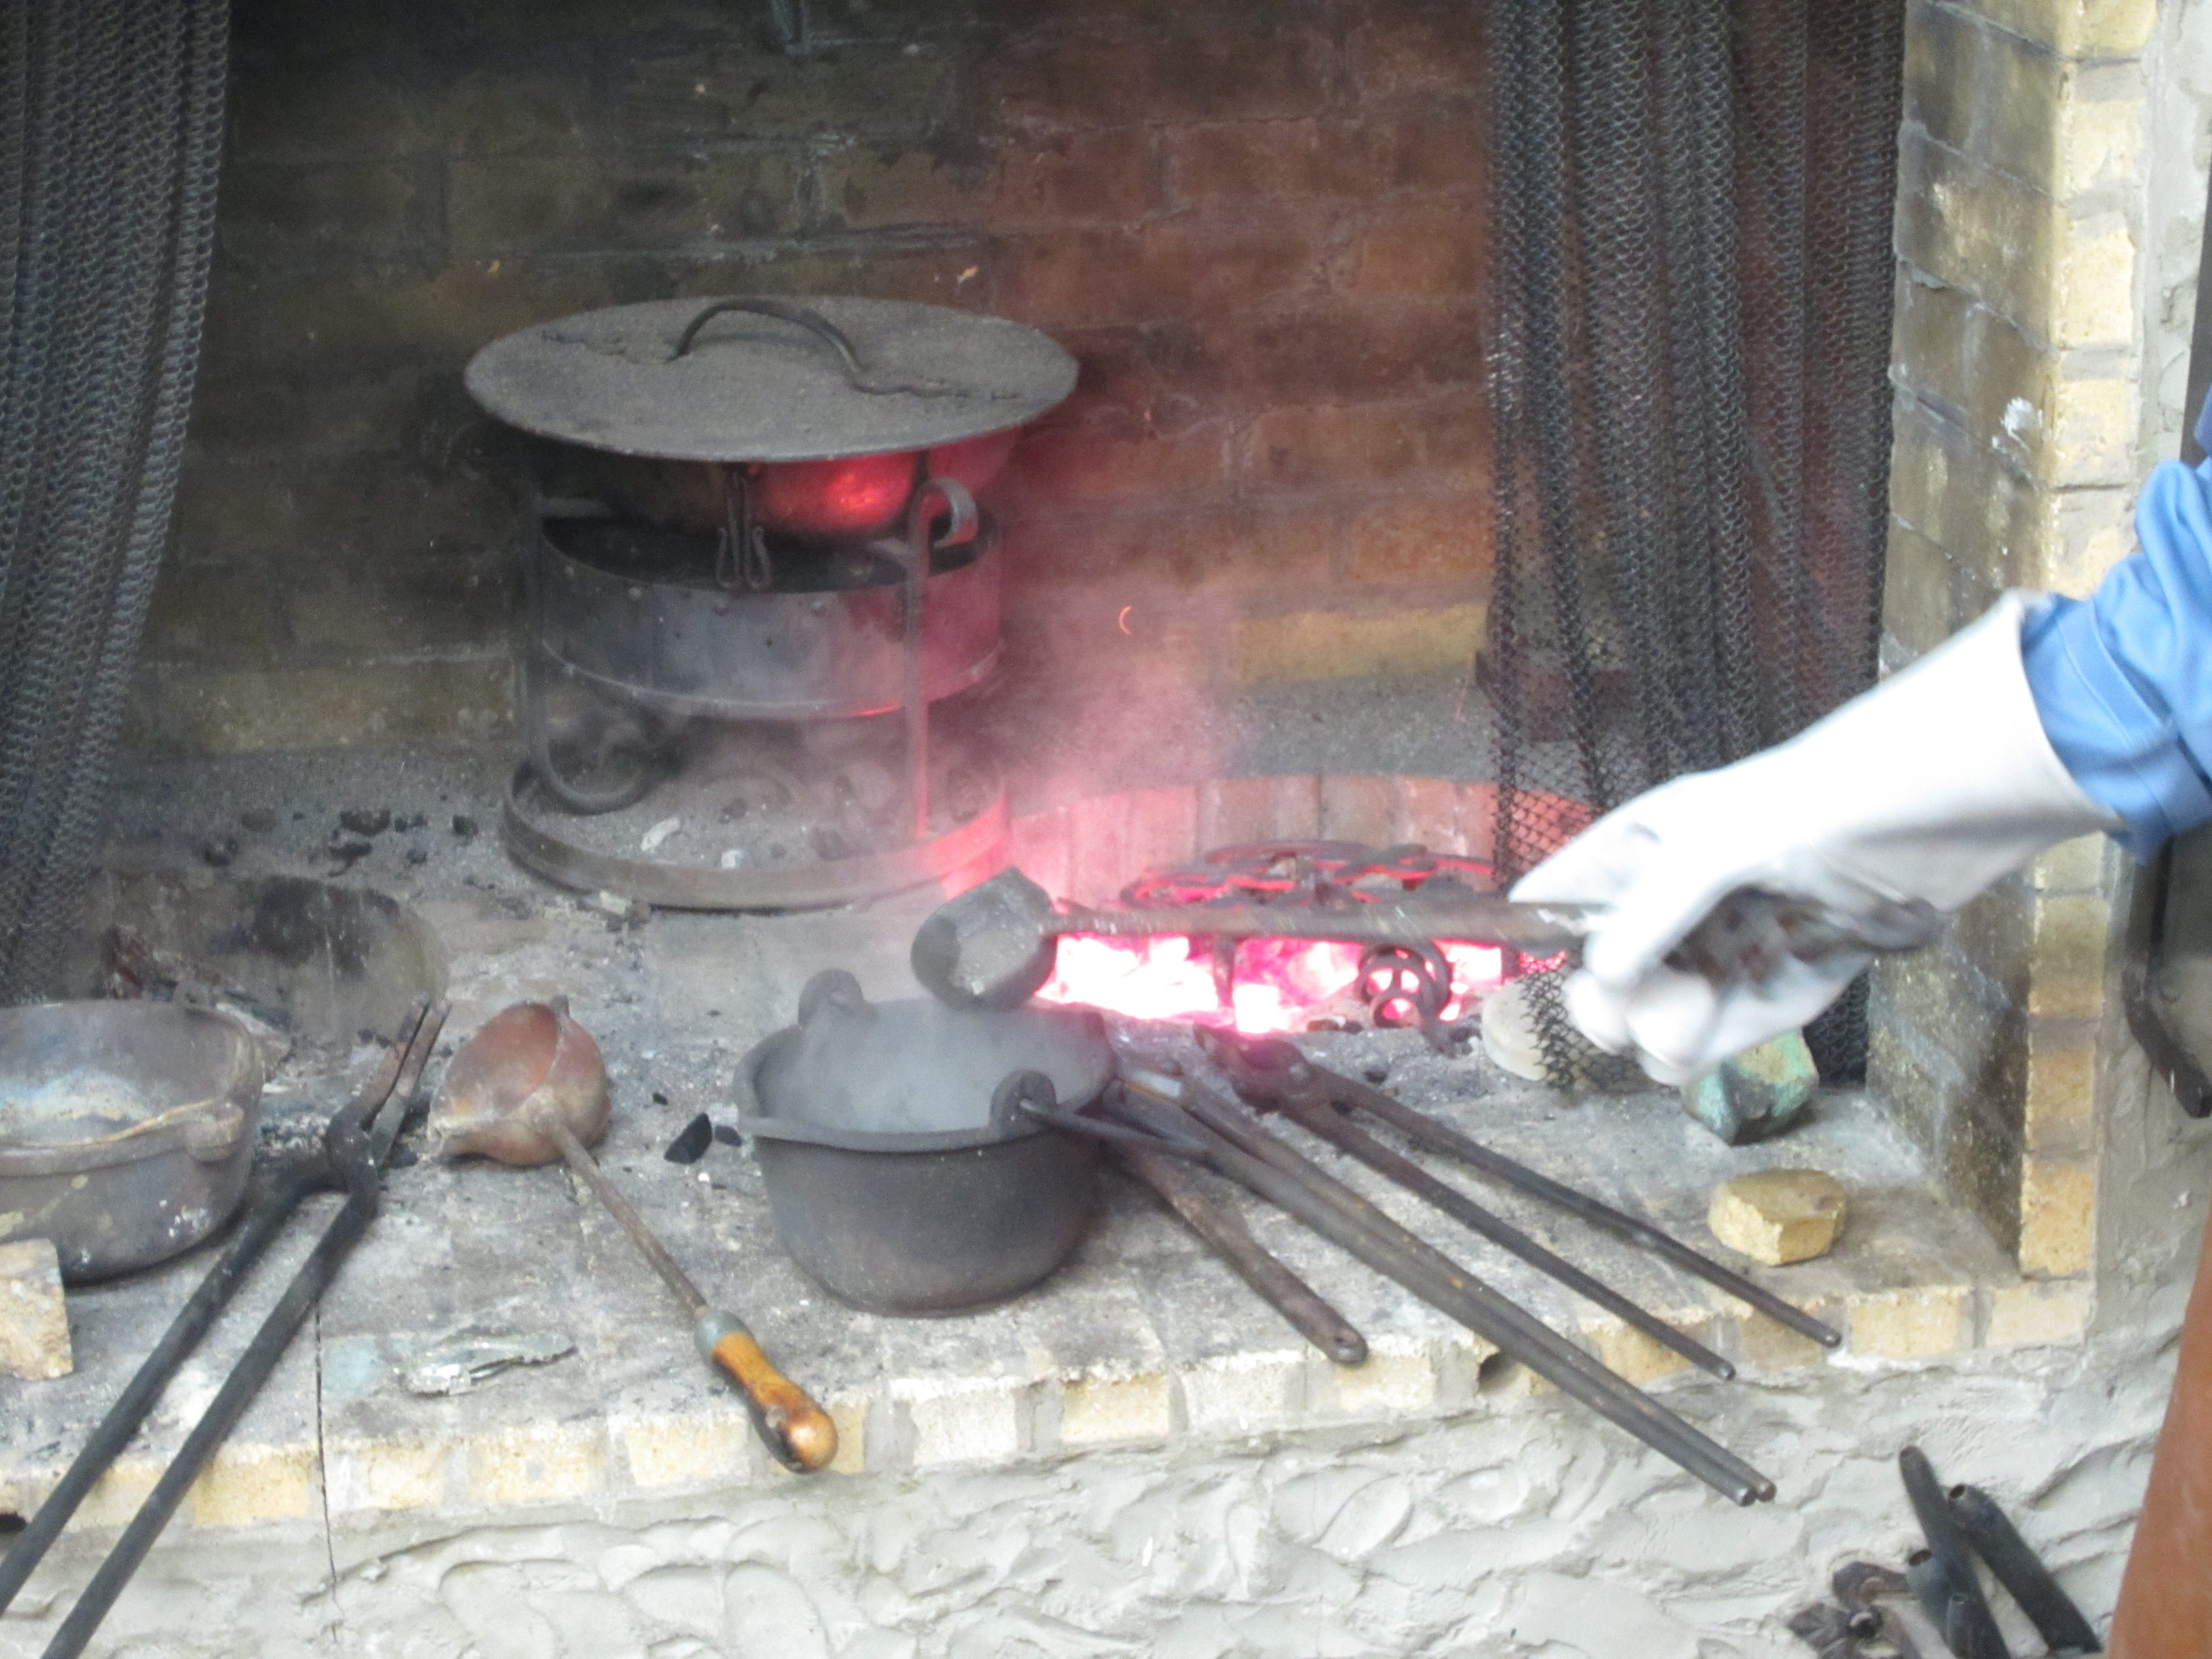
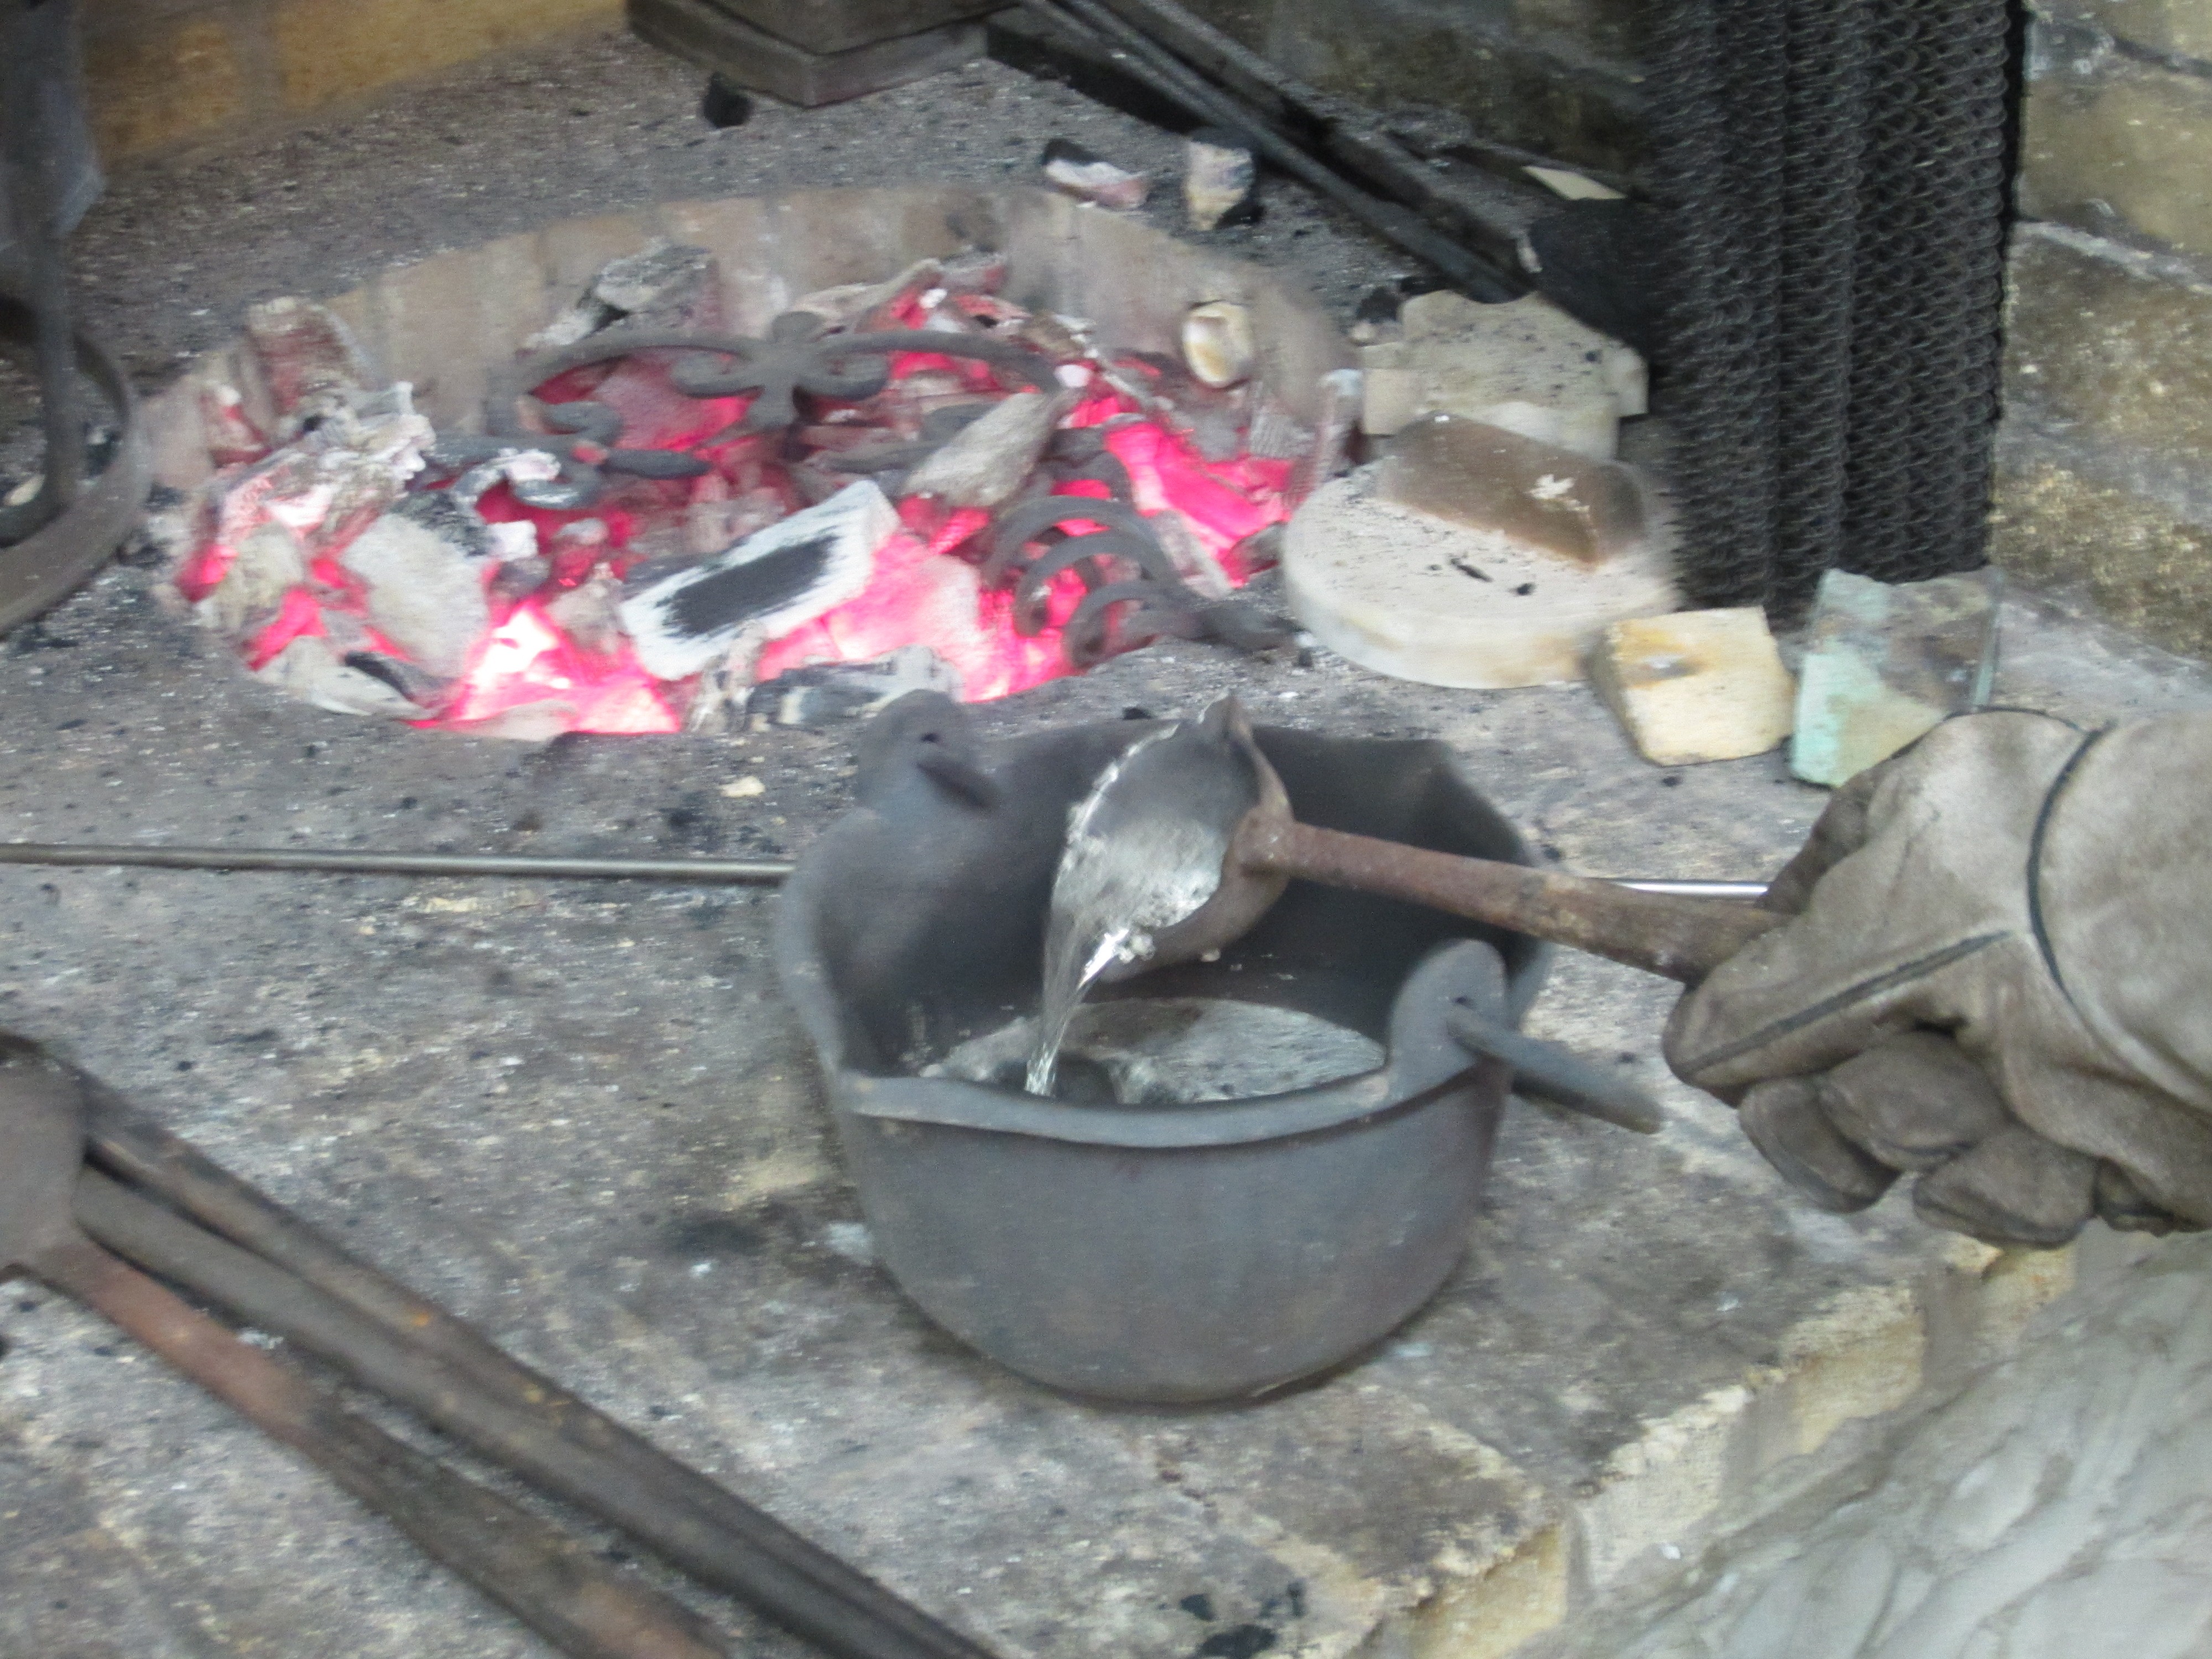
Pewter pellets are inserted into the crucible and melted over the flame. Pine resin is also added to ensure the purity of this substance. When the pine resin is added, a great flame in the crucible shoots upwards. Tonny Beentjes stirs the melted pewter.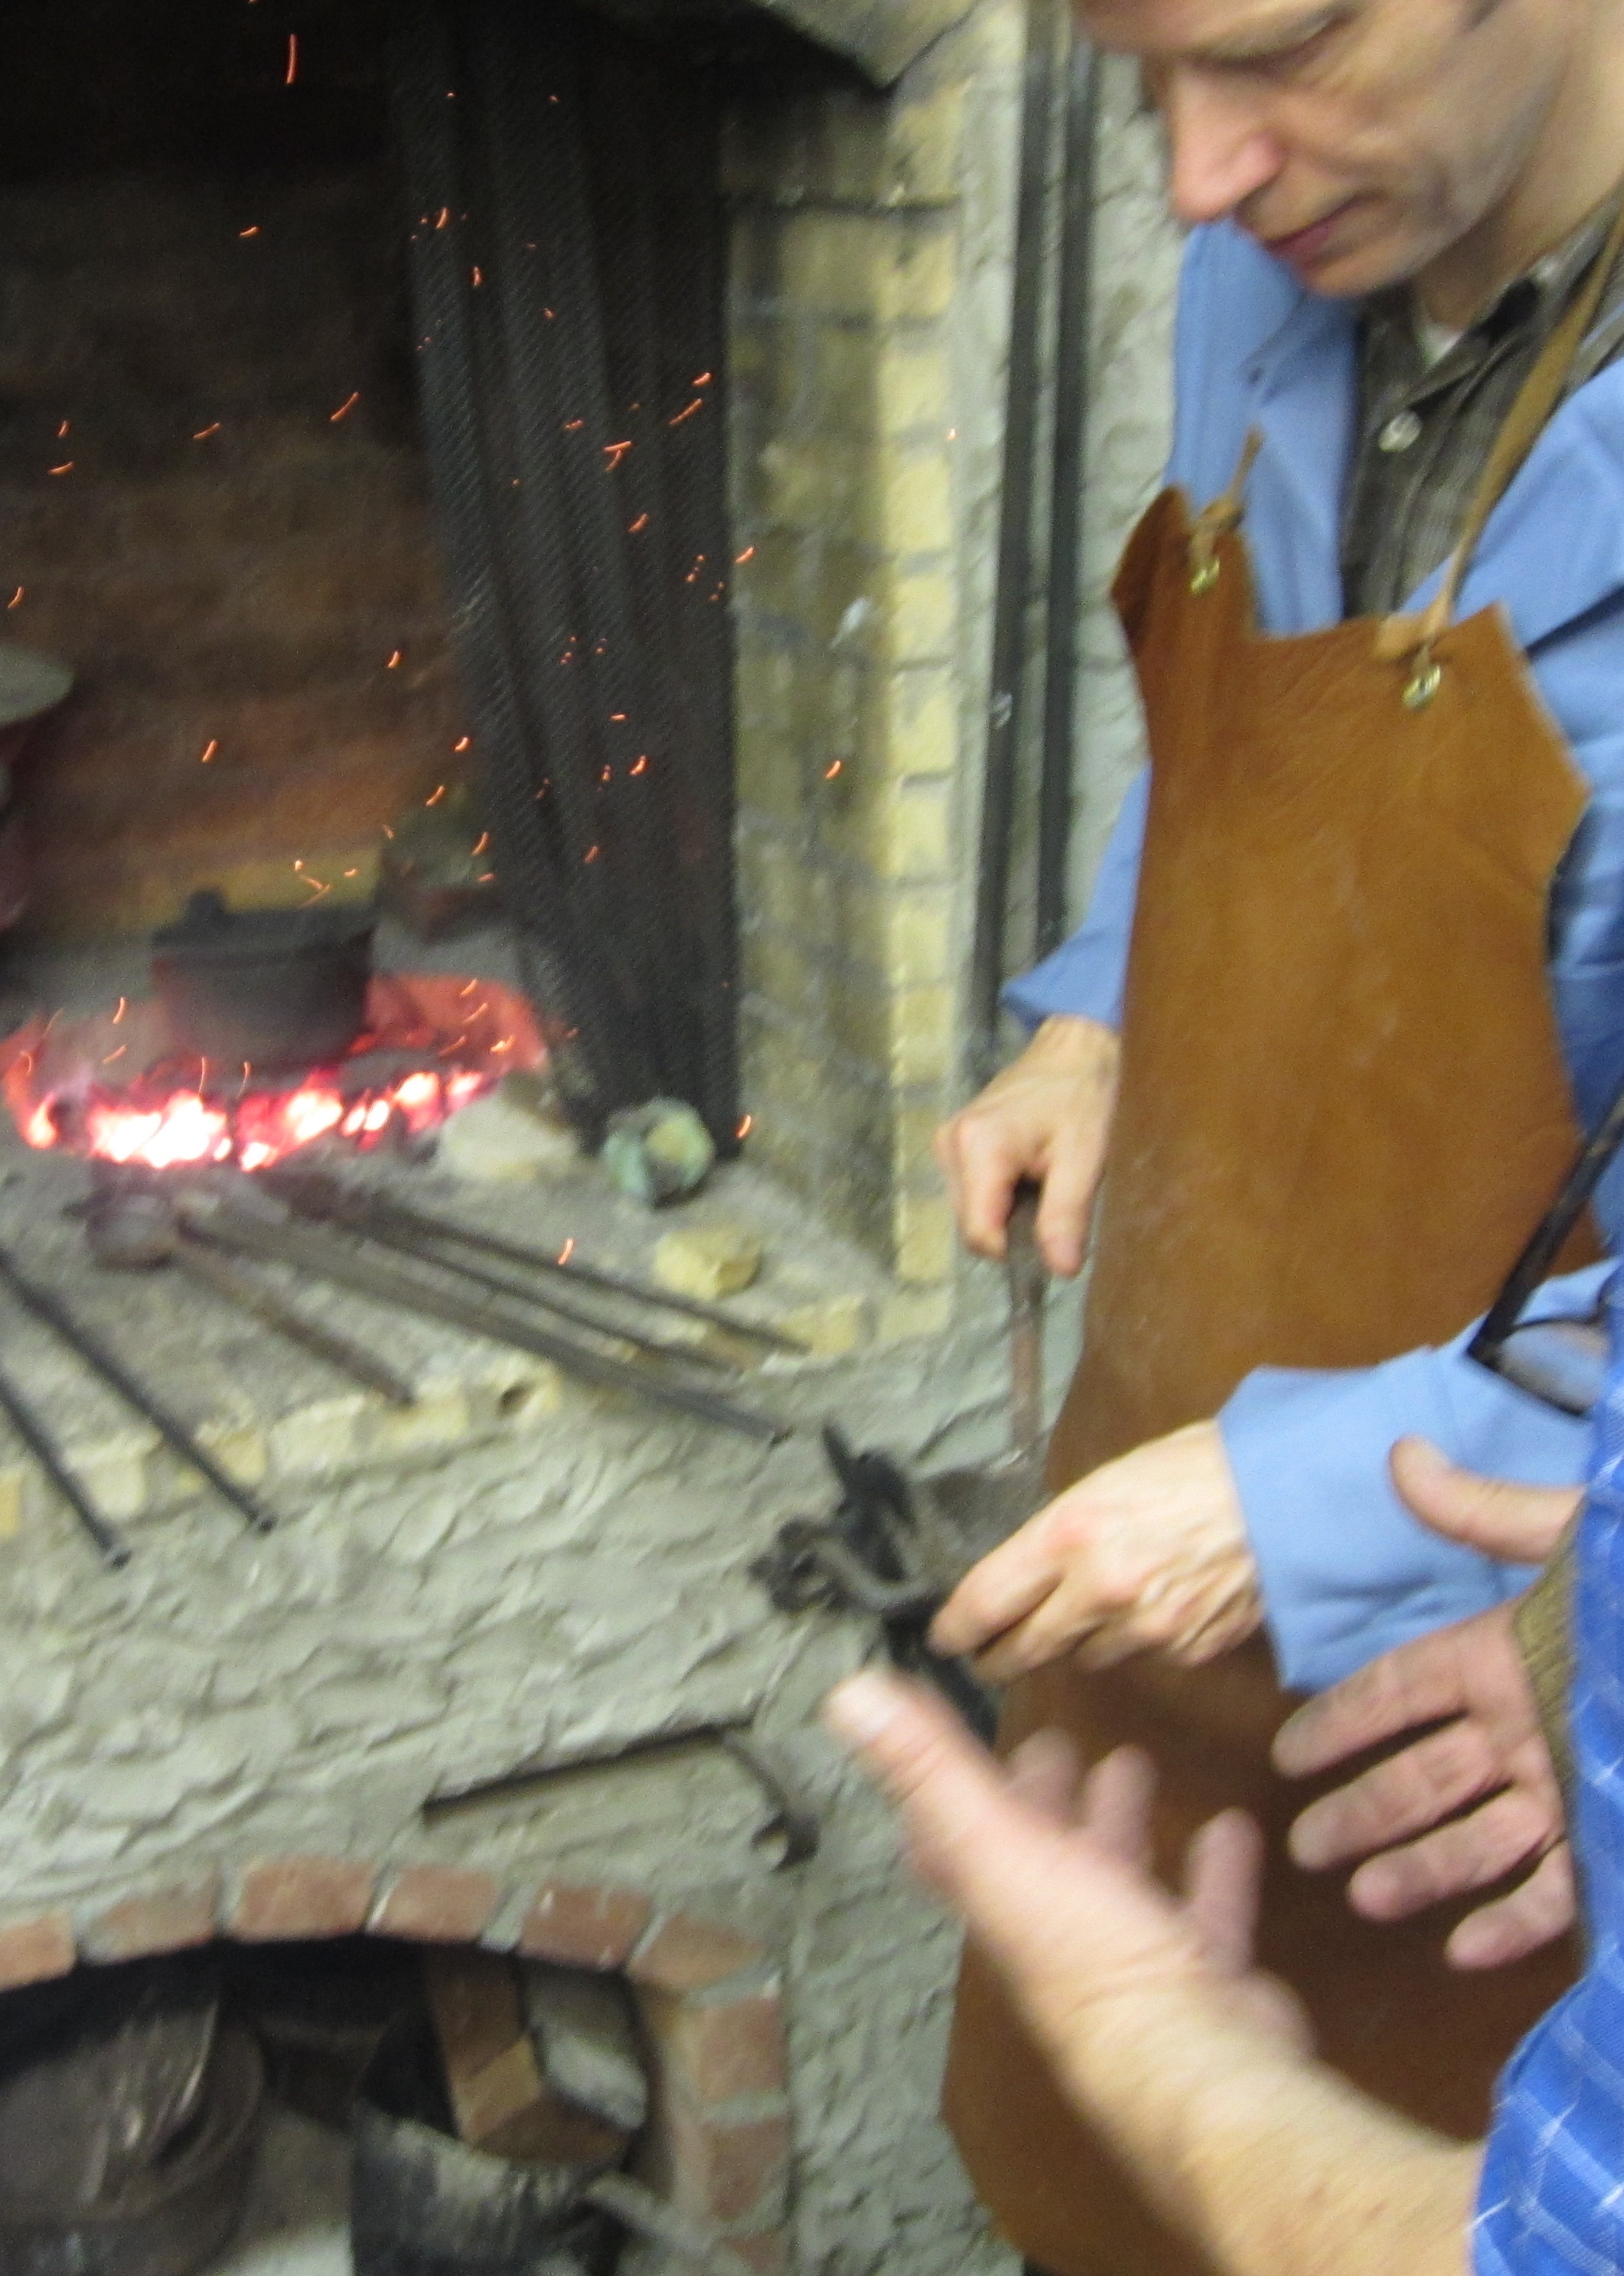
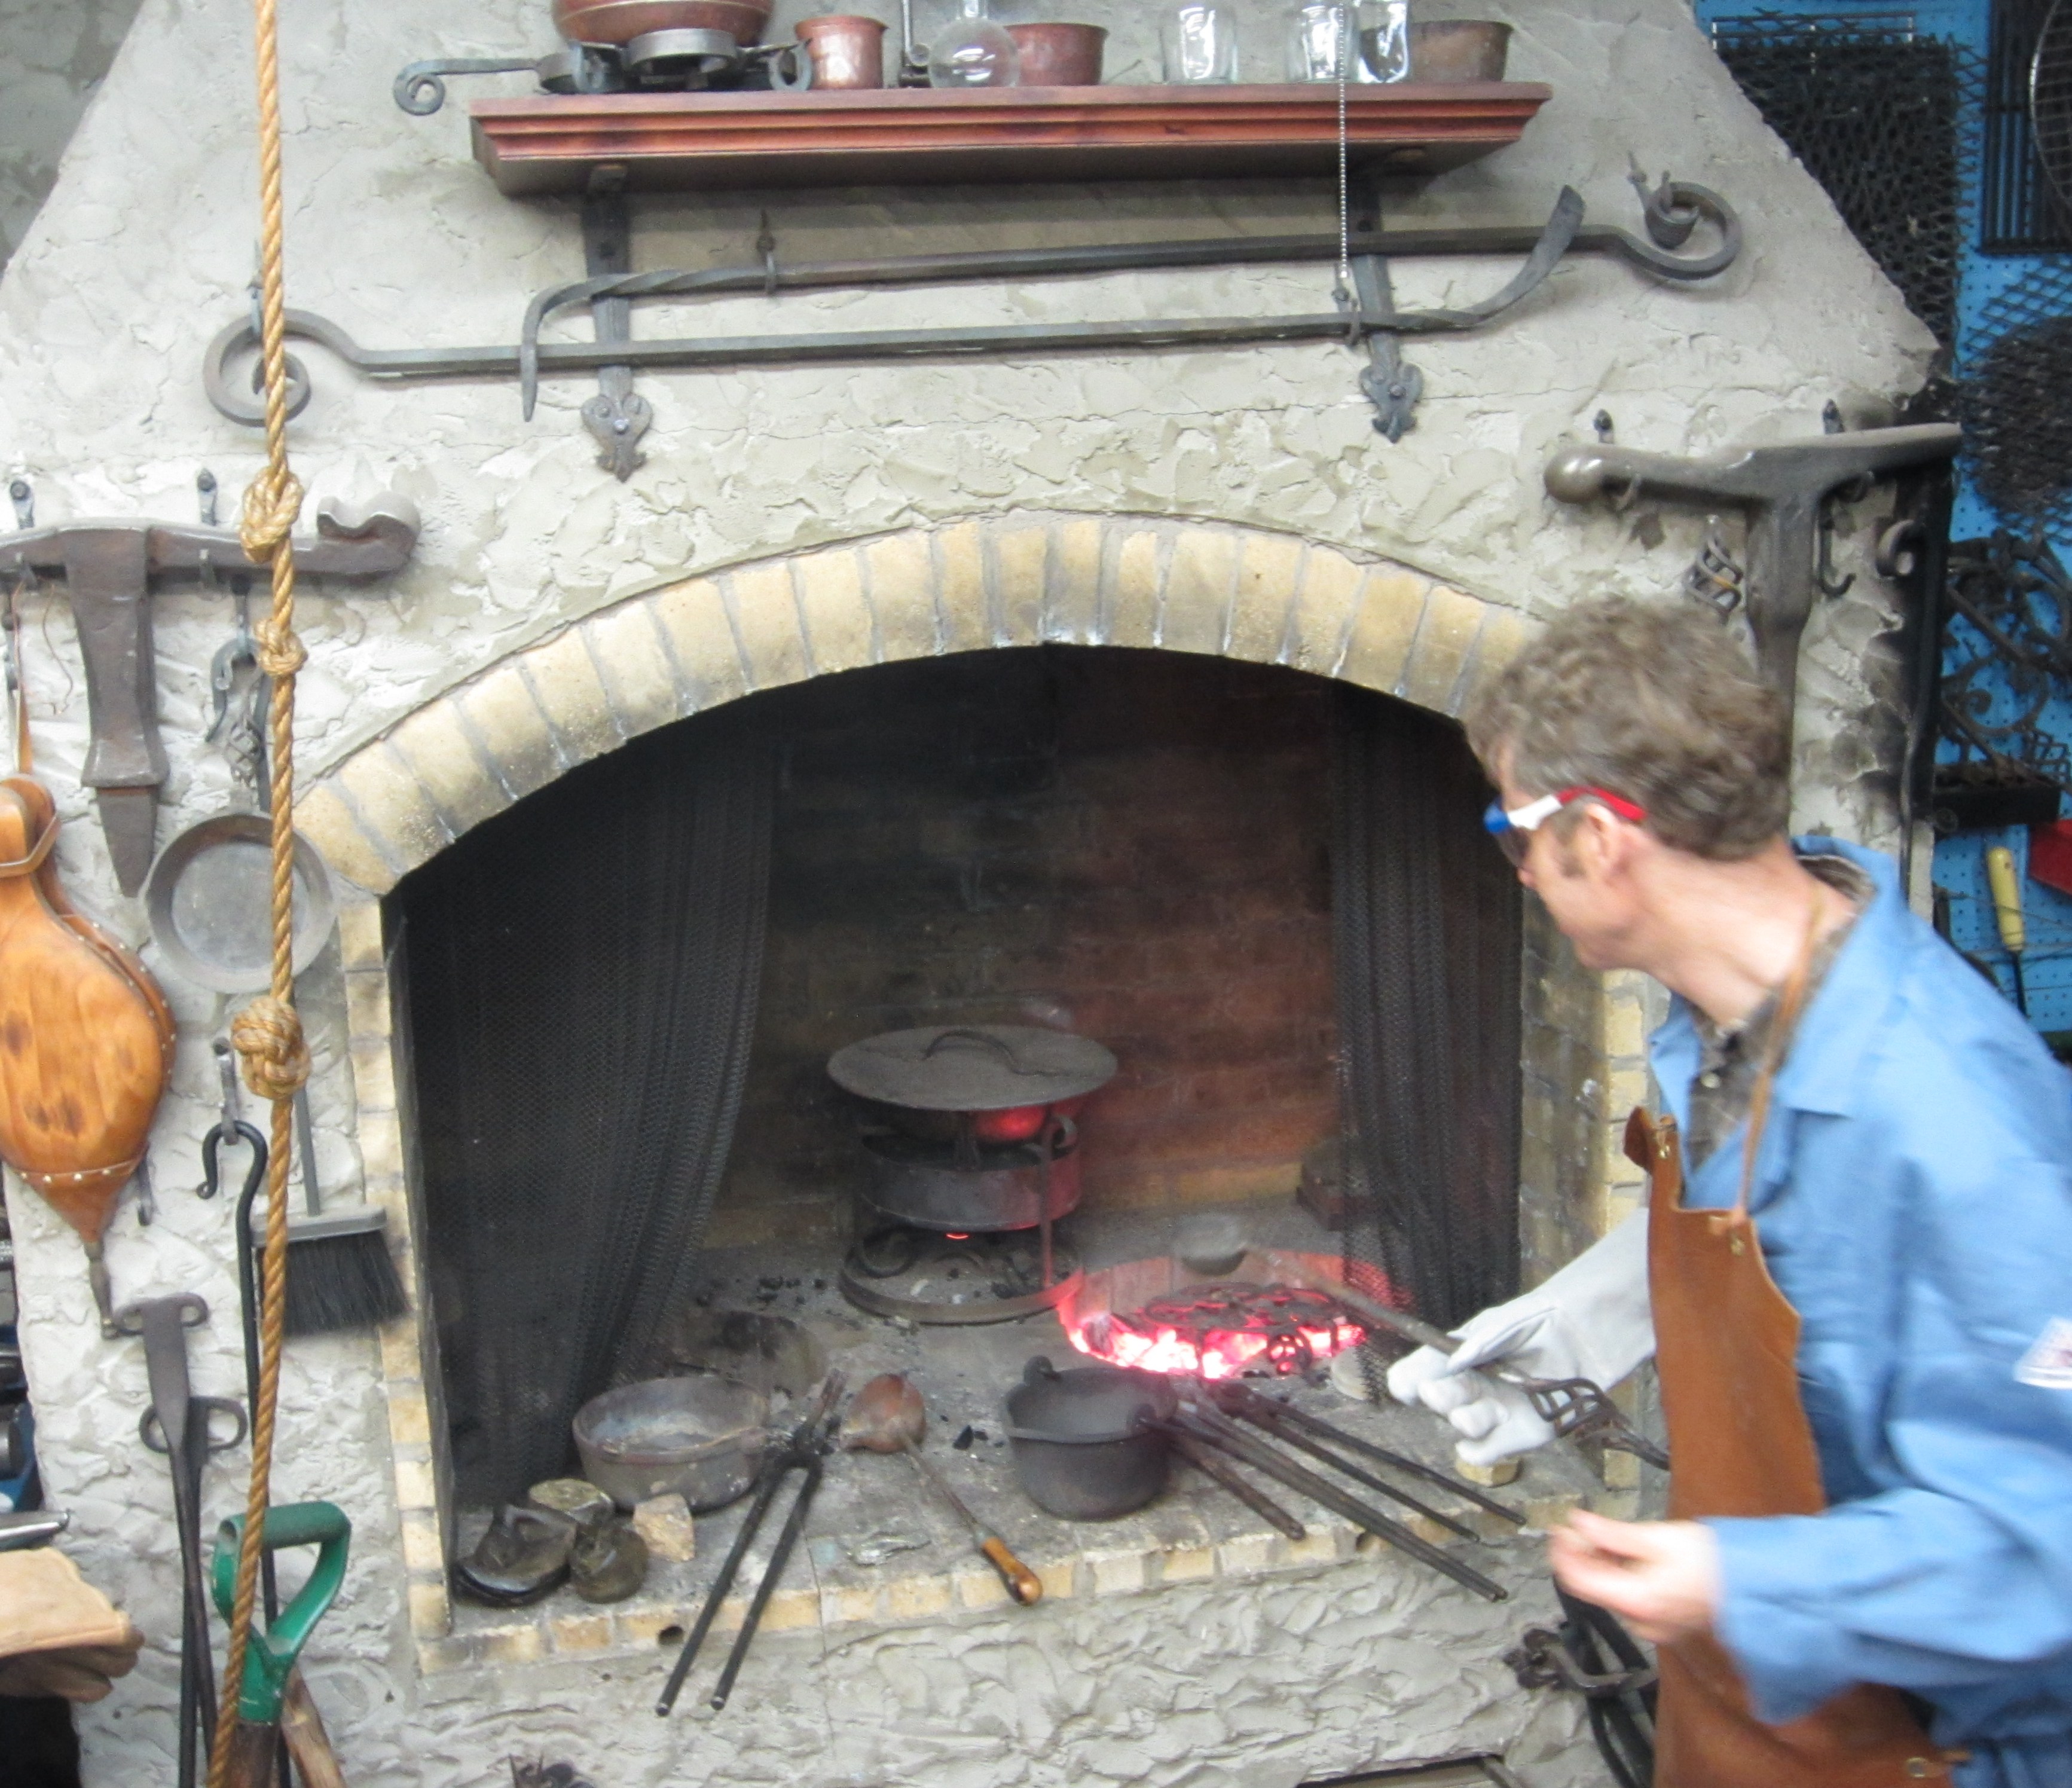
6. Pour liquid pewter into mold
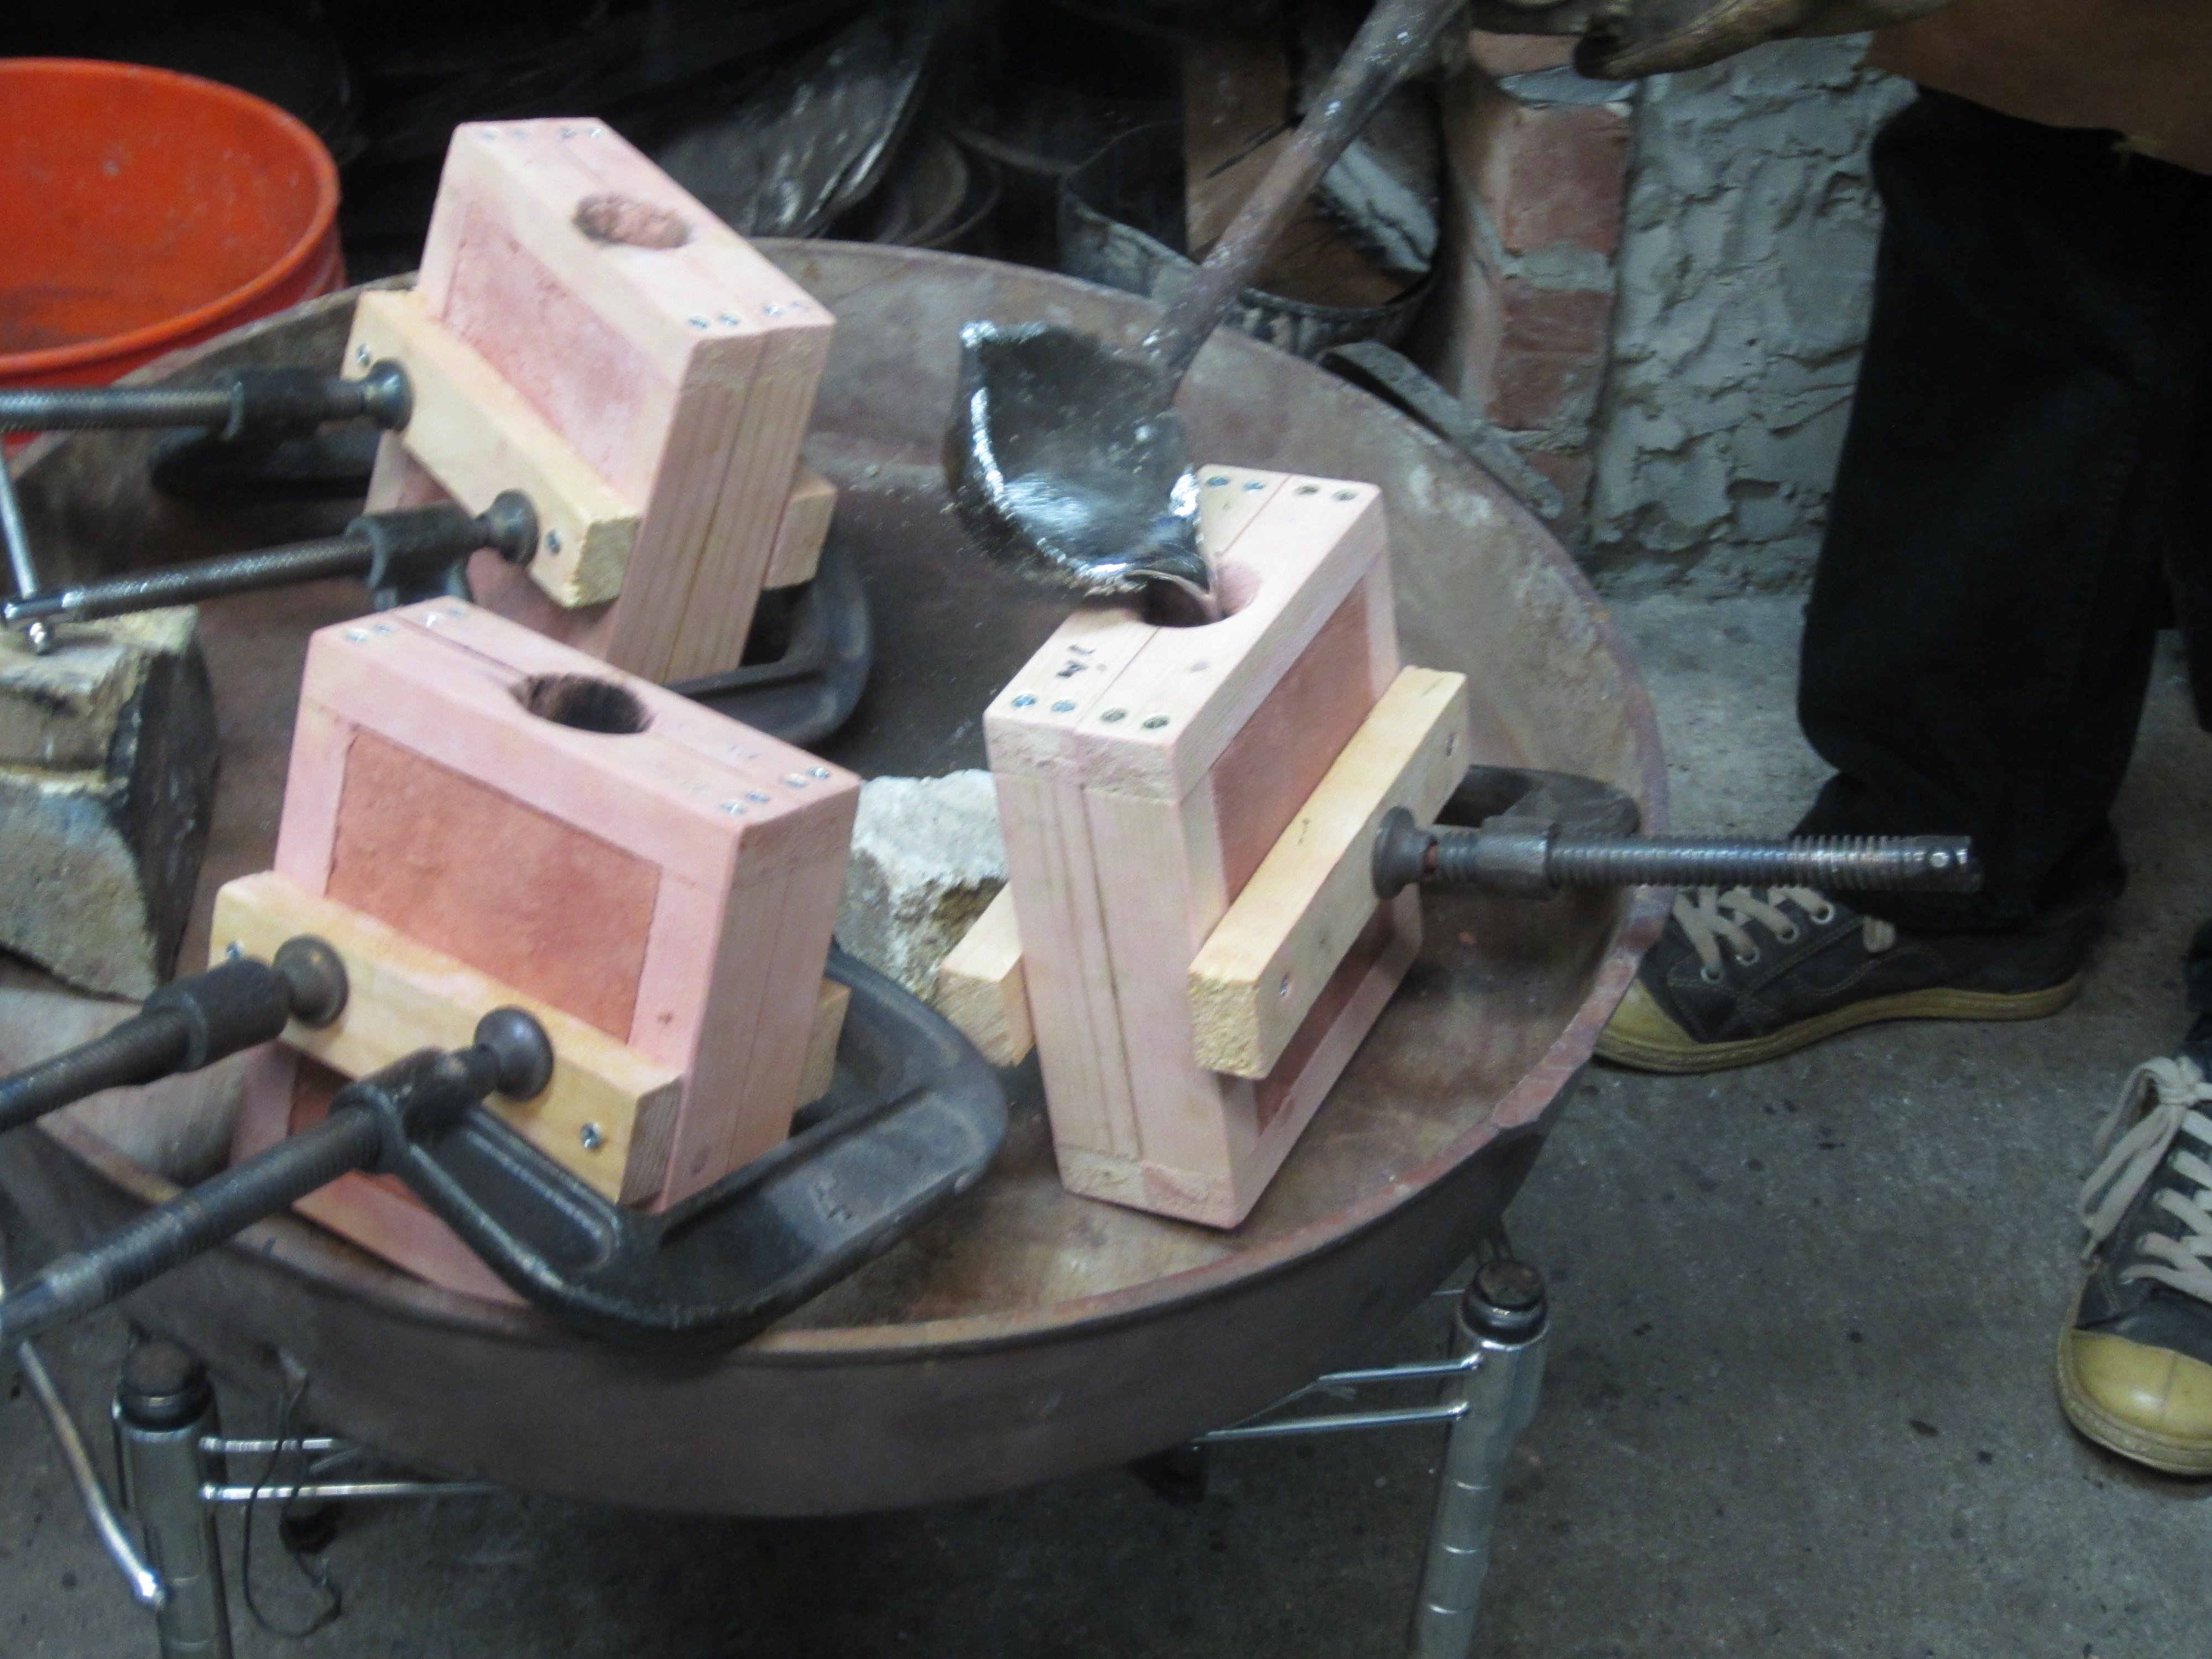
Tonny Beentjes pours the melted pewter into the mold. The liquid metal moves very quickly and does not appear especially viscous.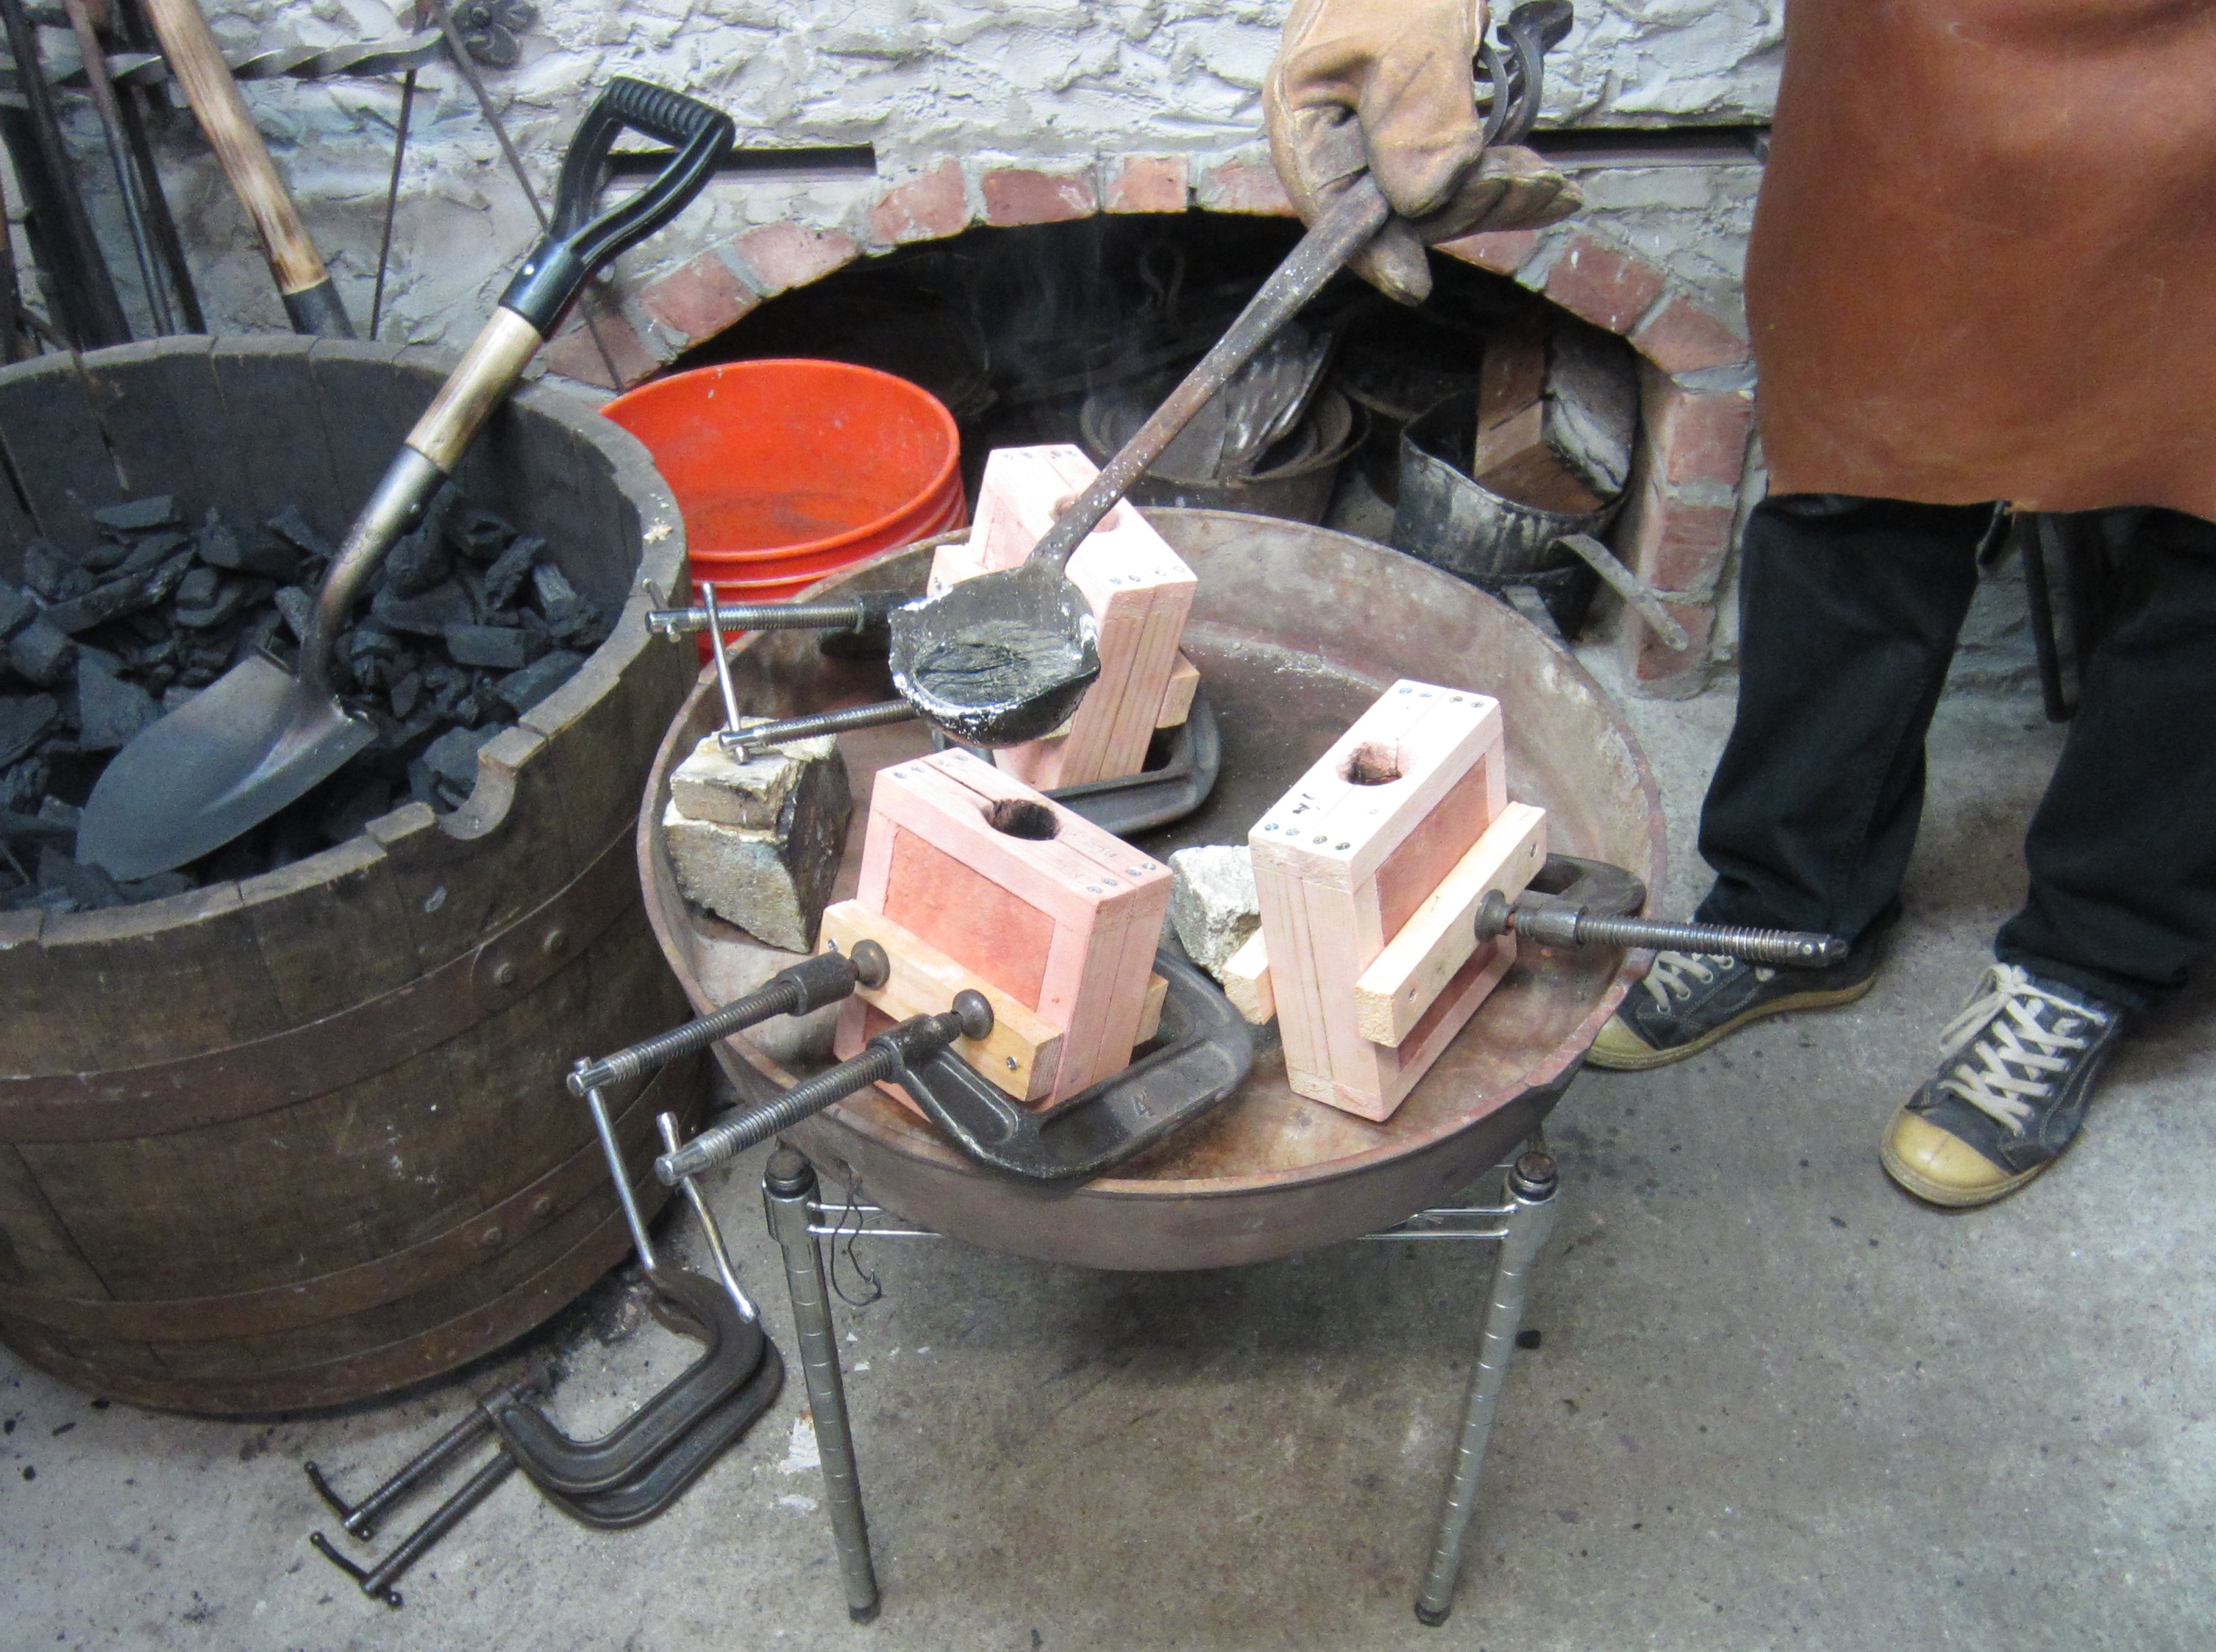
7. Leave mold to dry
I am very anxious to open my mold, but I am informed that we must wait at least an hour. Tonny Beentjes describes the consistency of the metal inside the mold: "right now it's sort of like ice cream."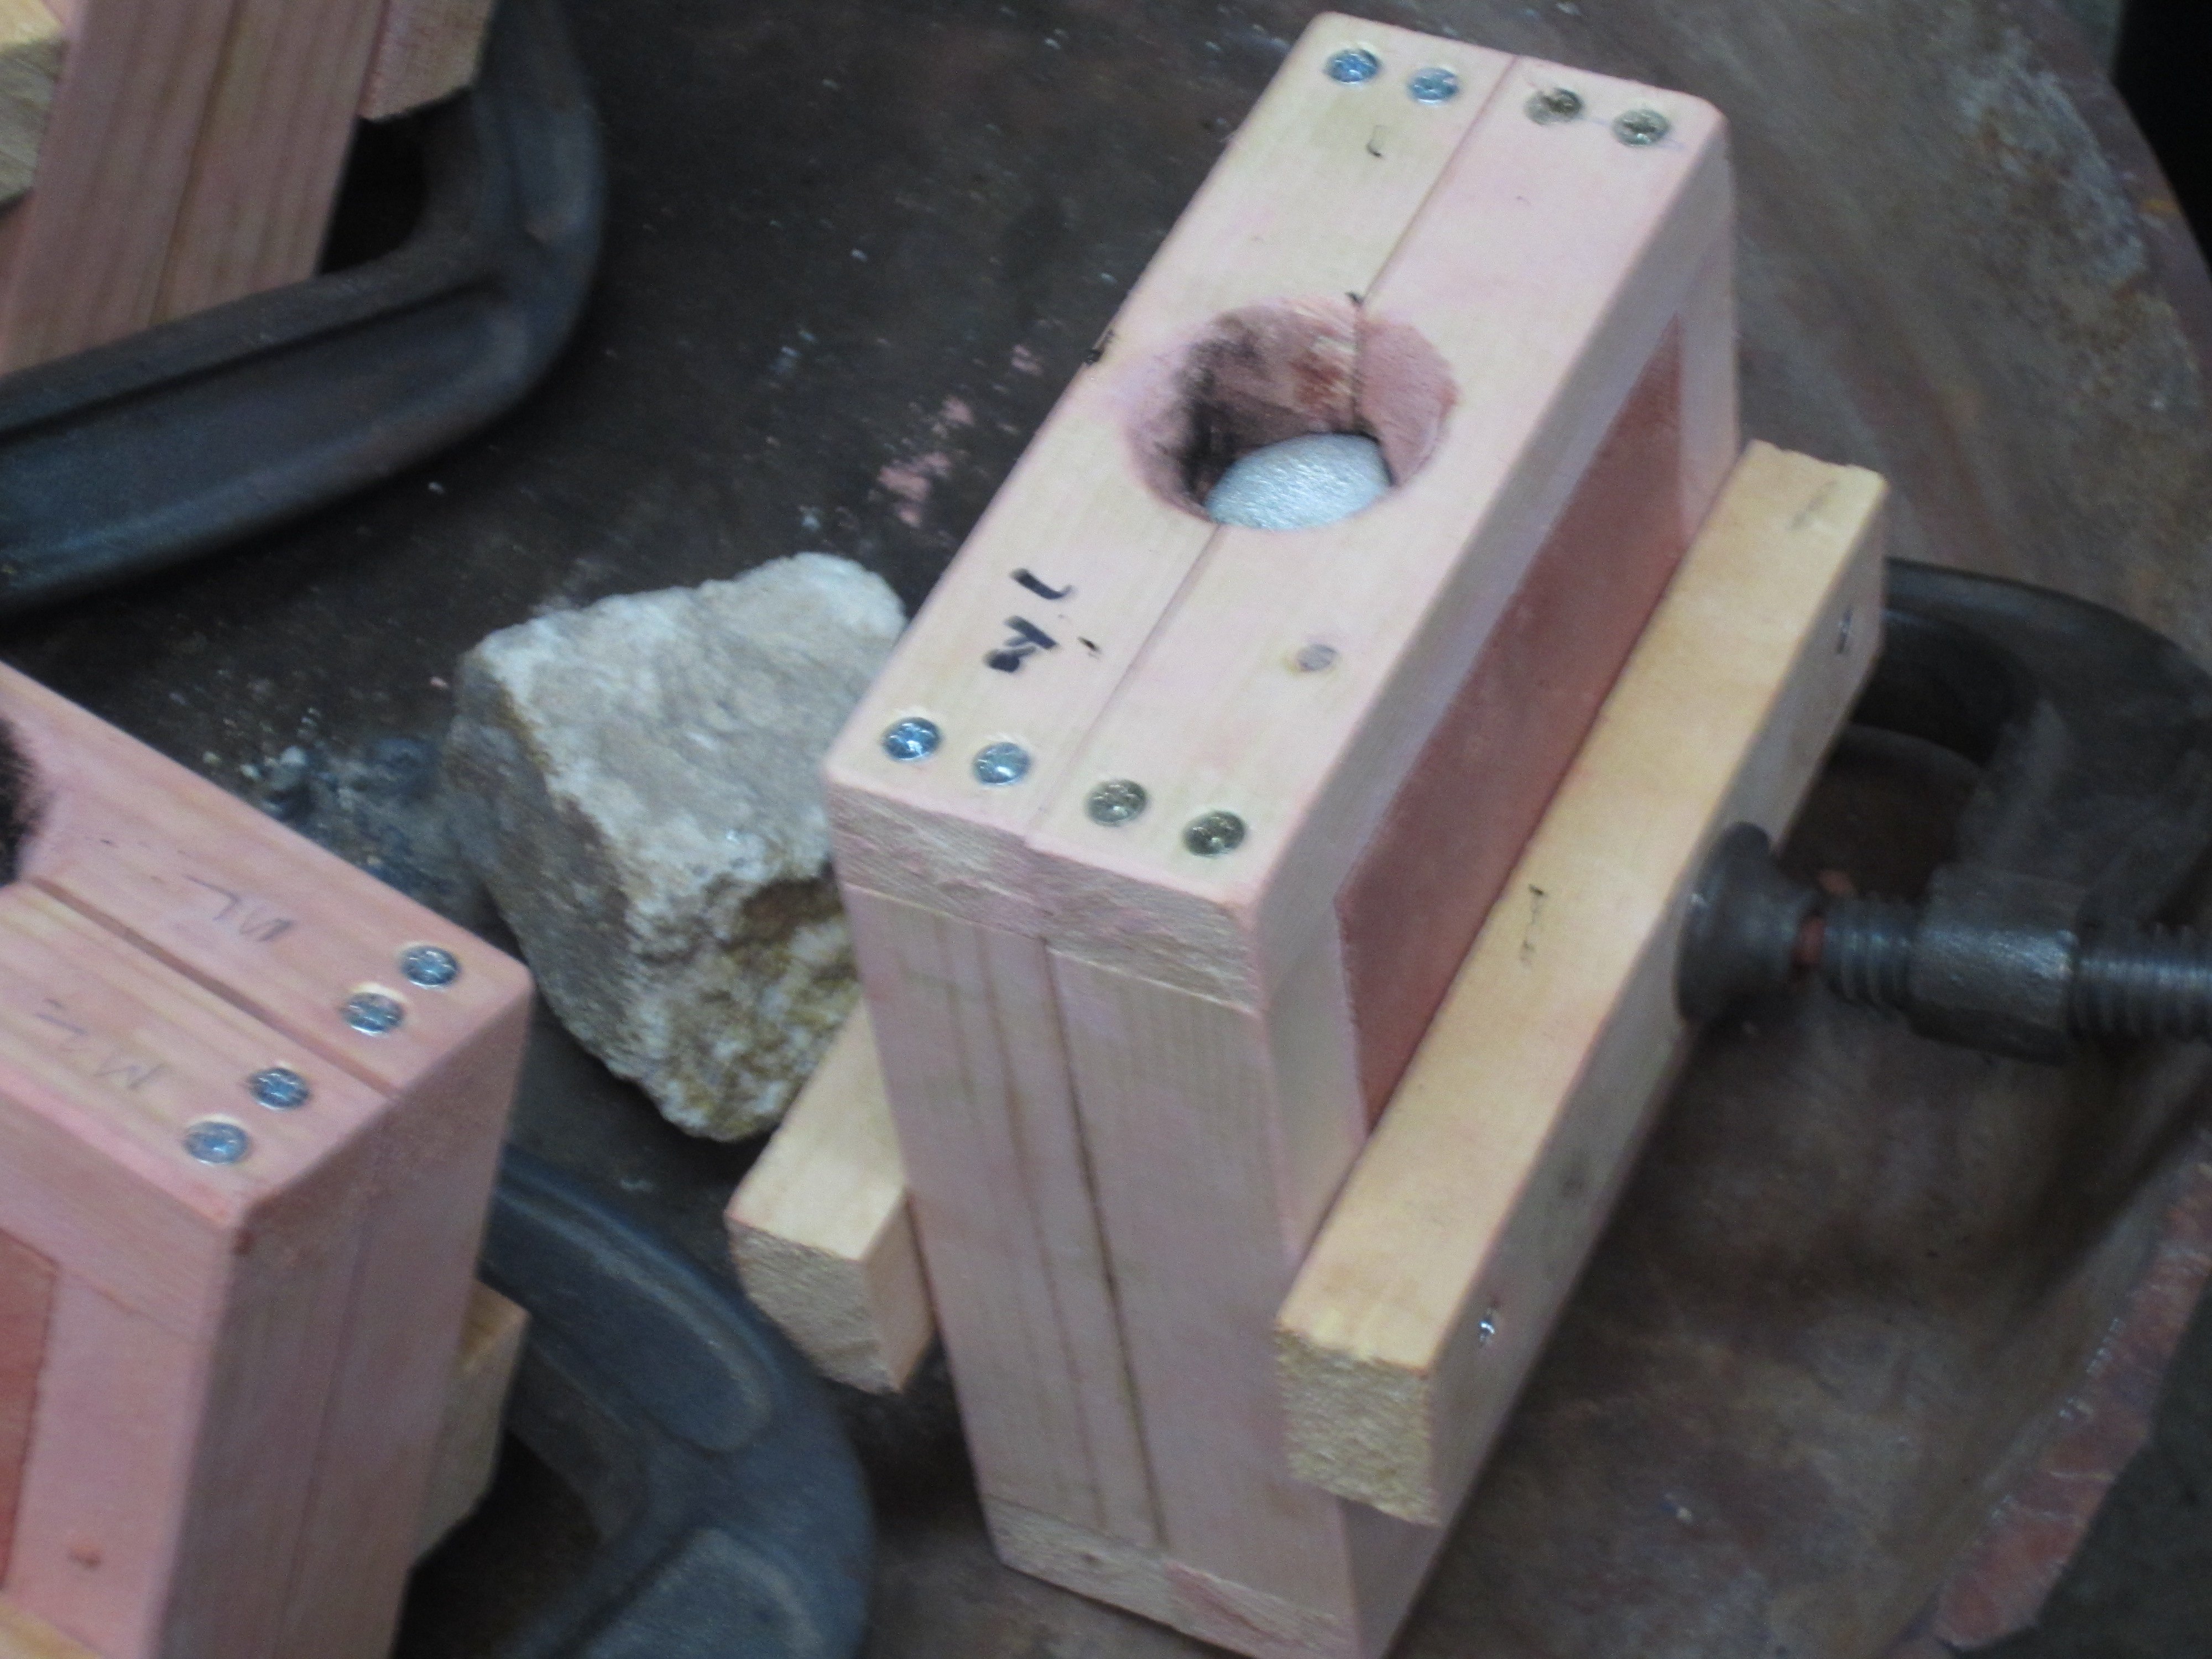
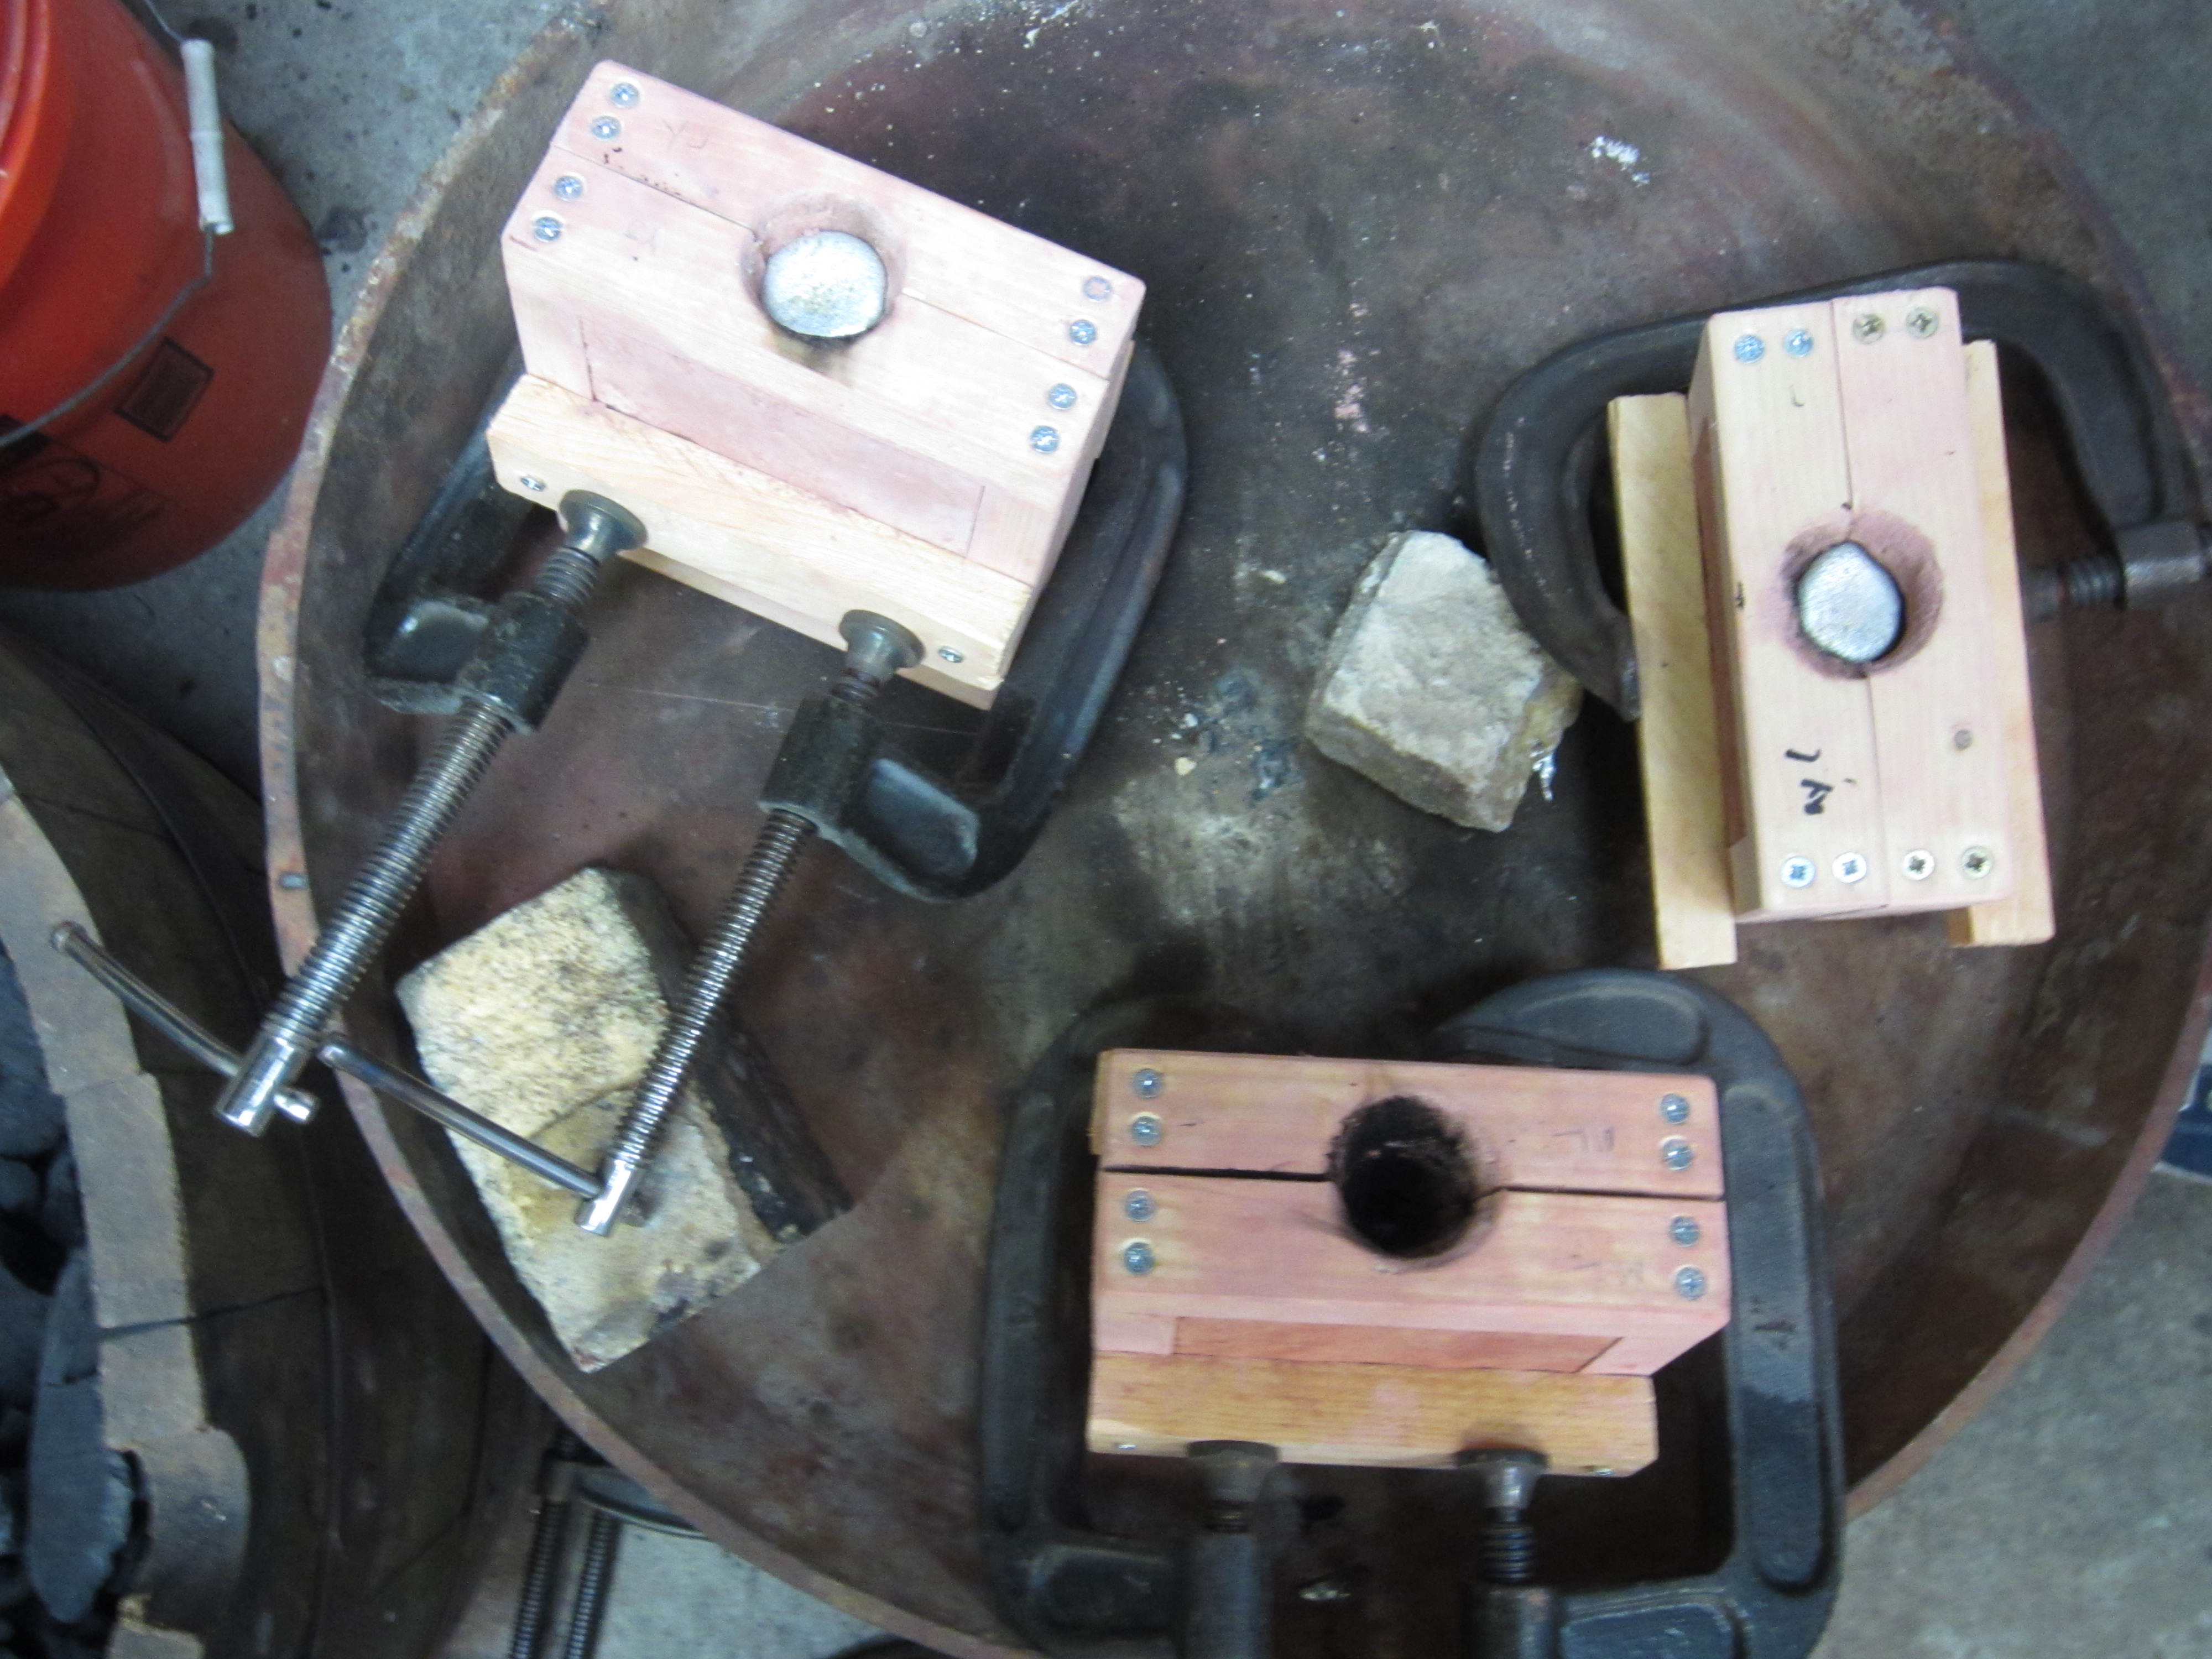
8. Open mold
My patience is rewarded when we open the molds. The medal inside is not especially touch and can easily be touched and turned over with one's fingers. I notice a fair amount of carbonization in the area around the medal itself, and I assume this area is too damaged to cast a second medal.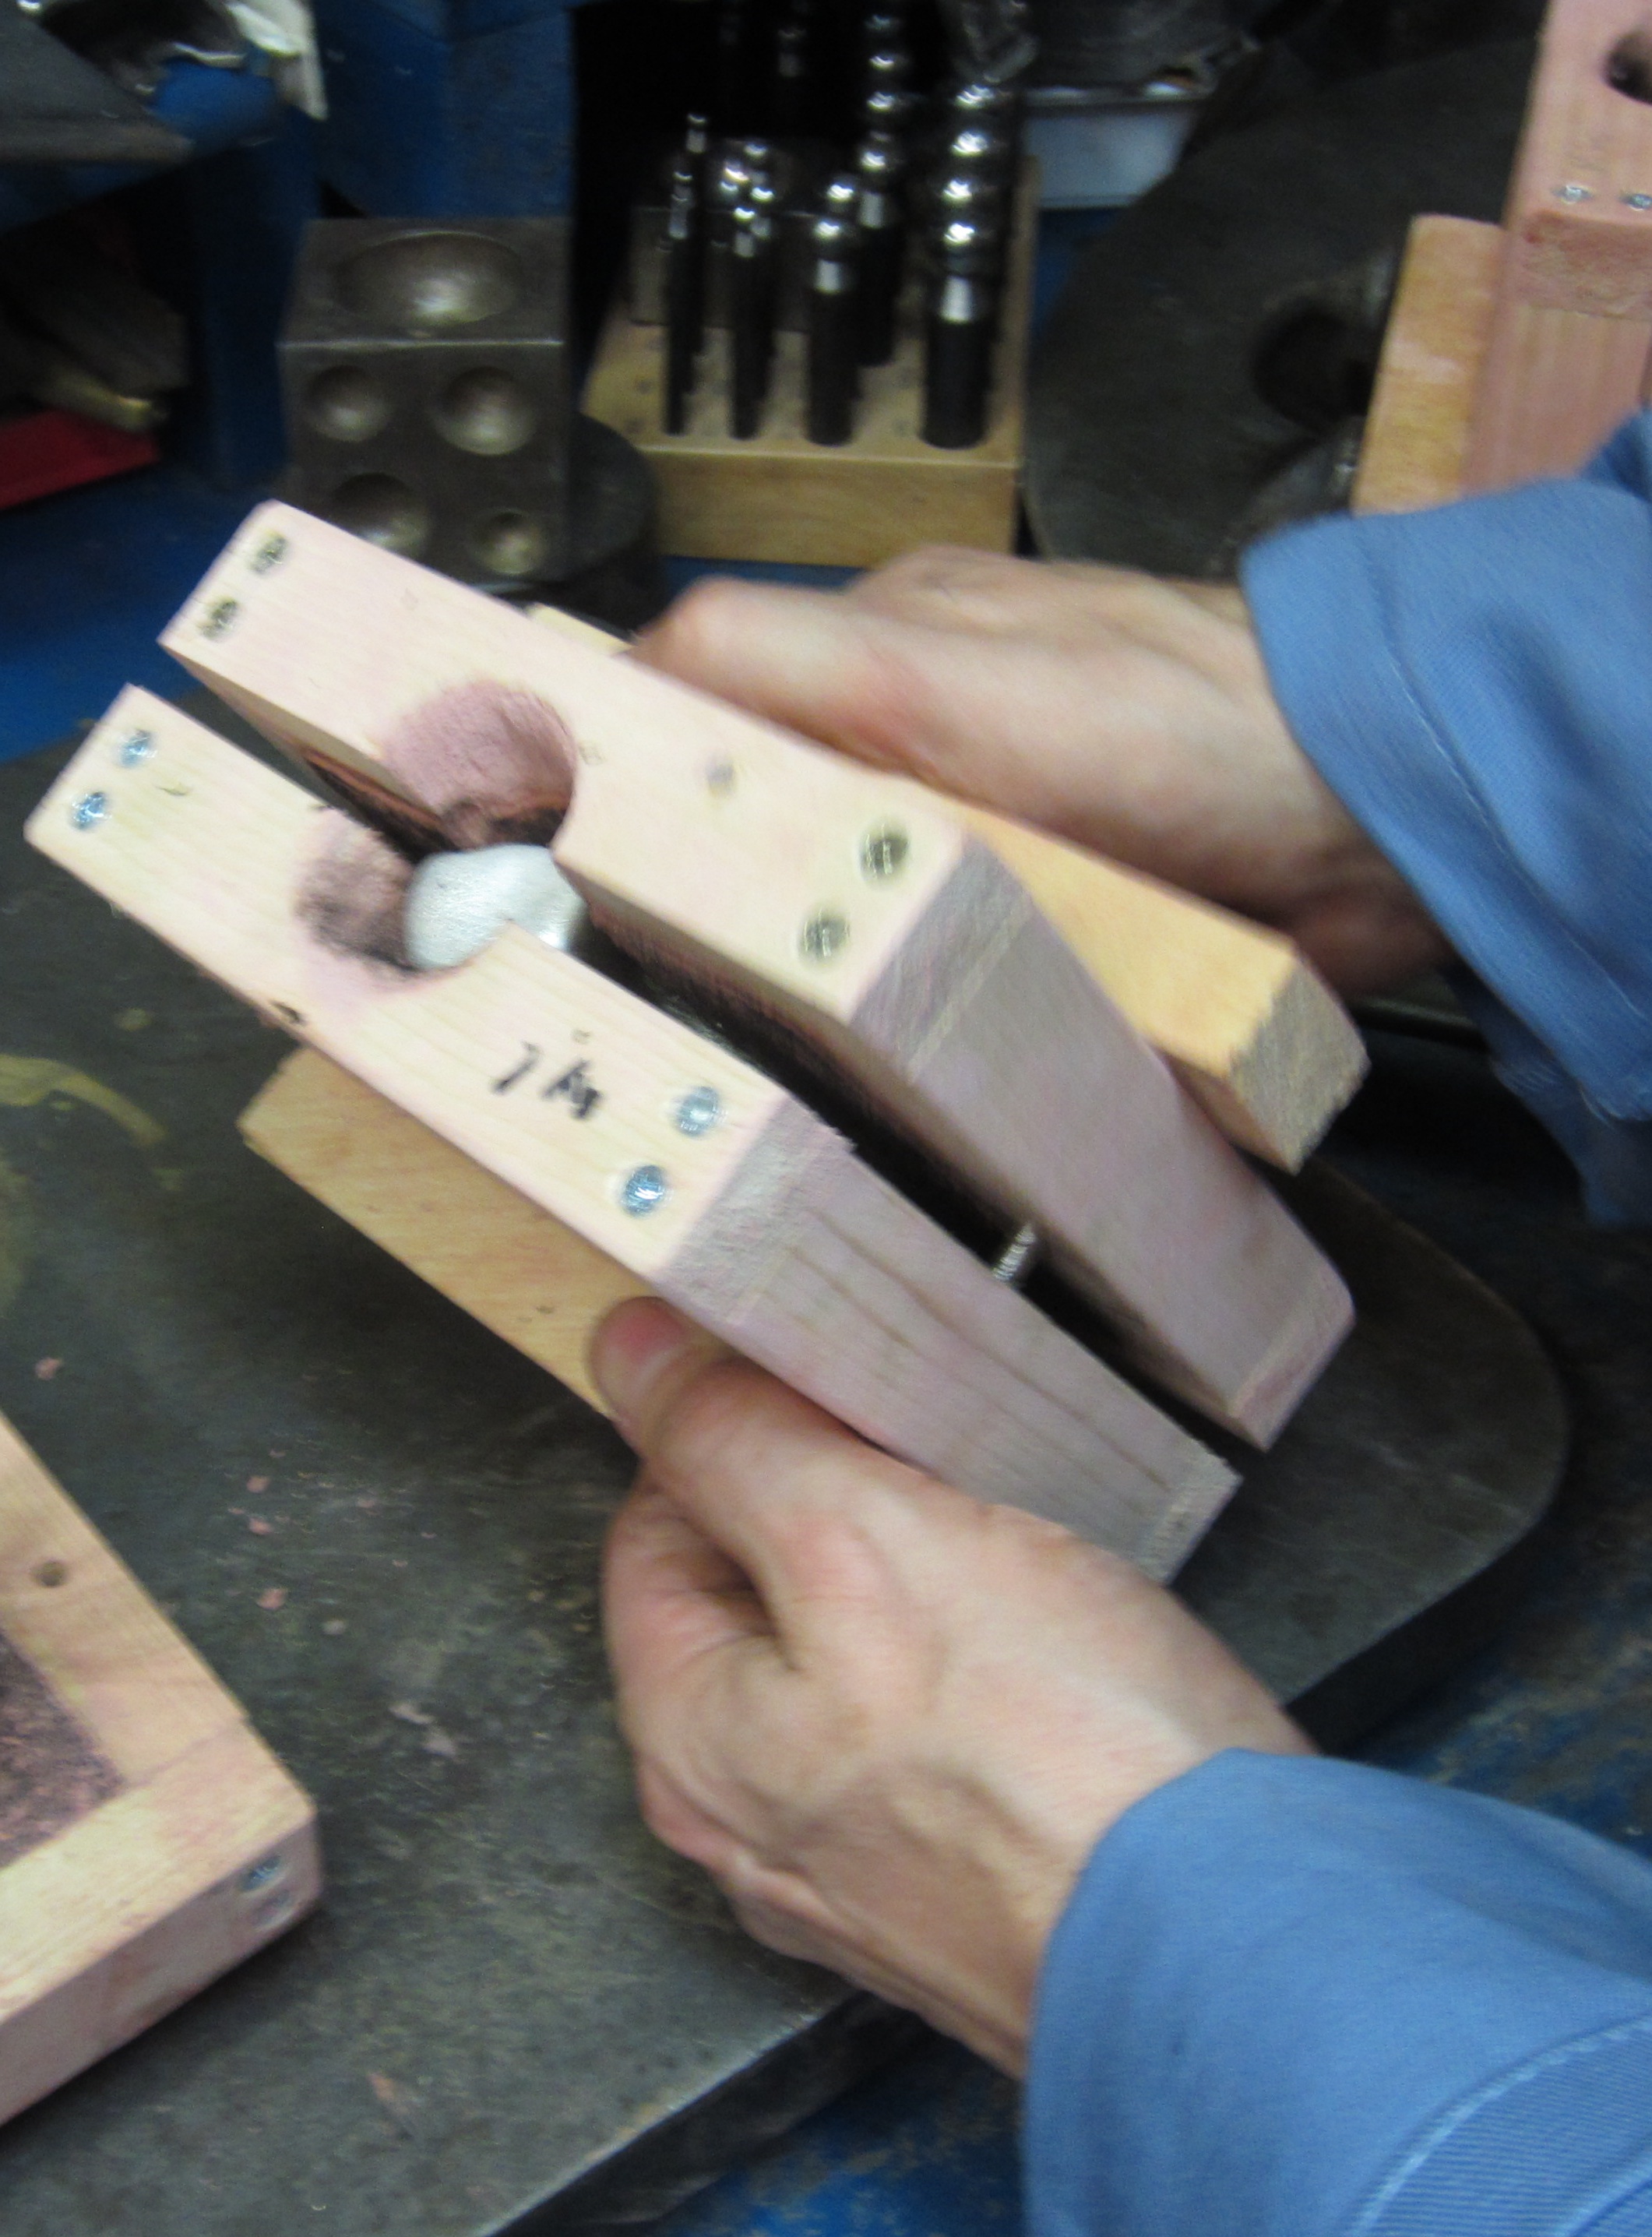
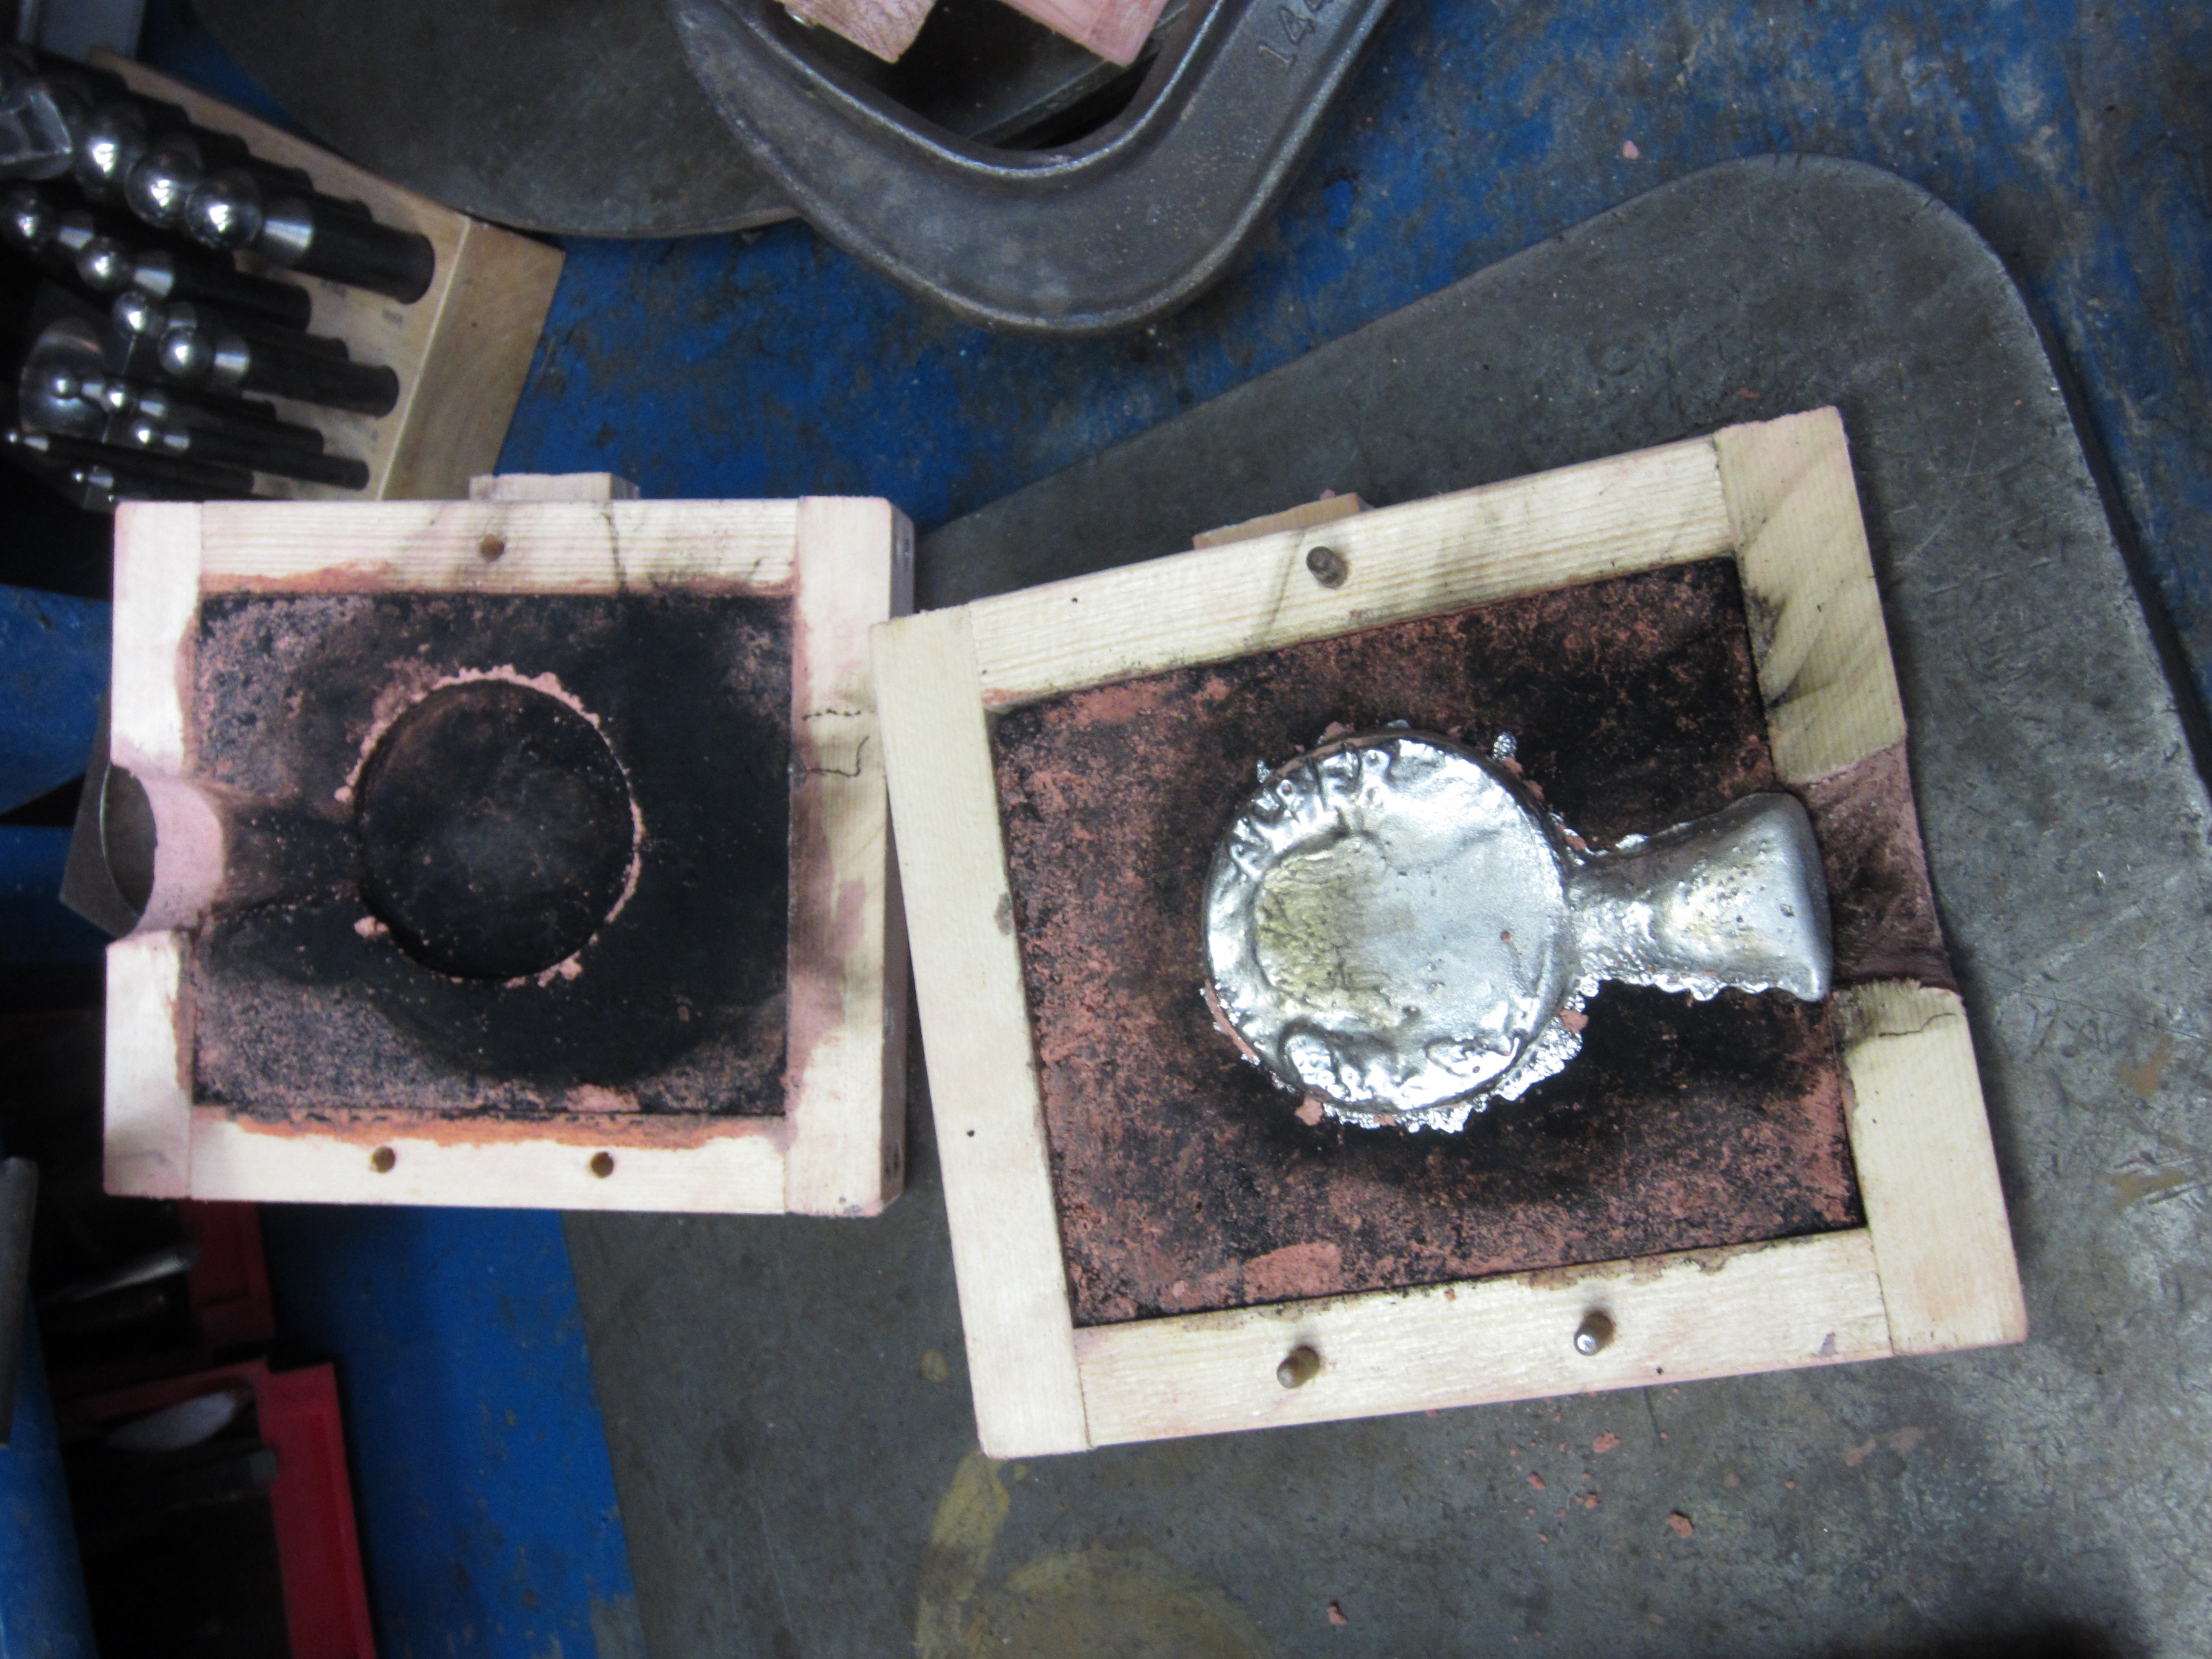
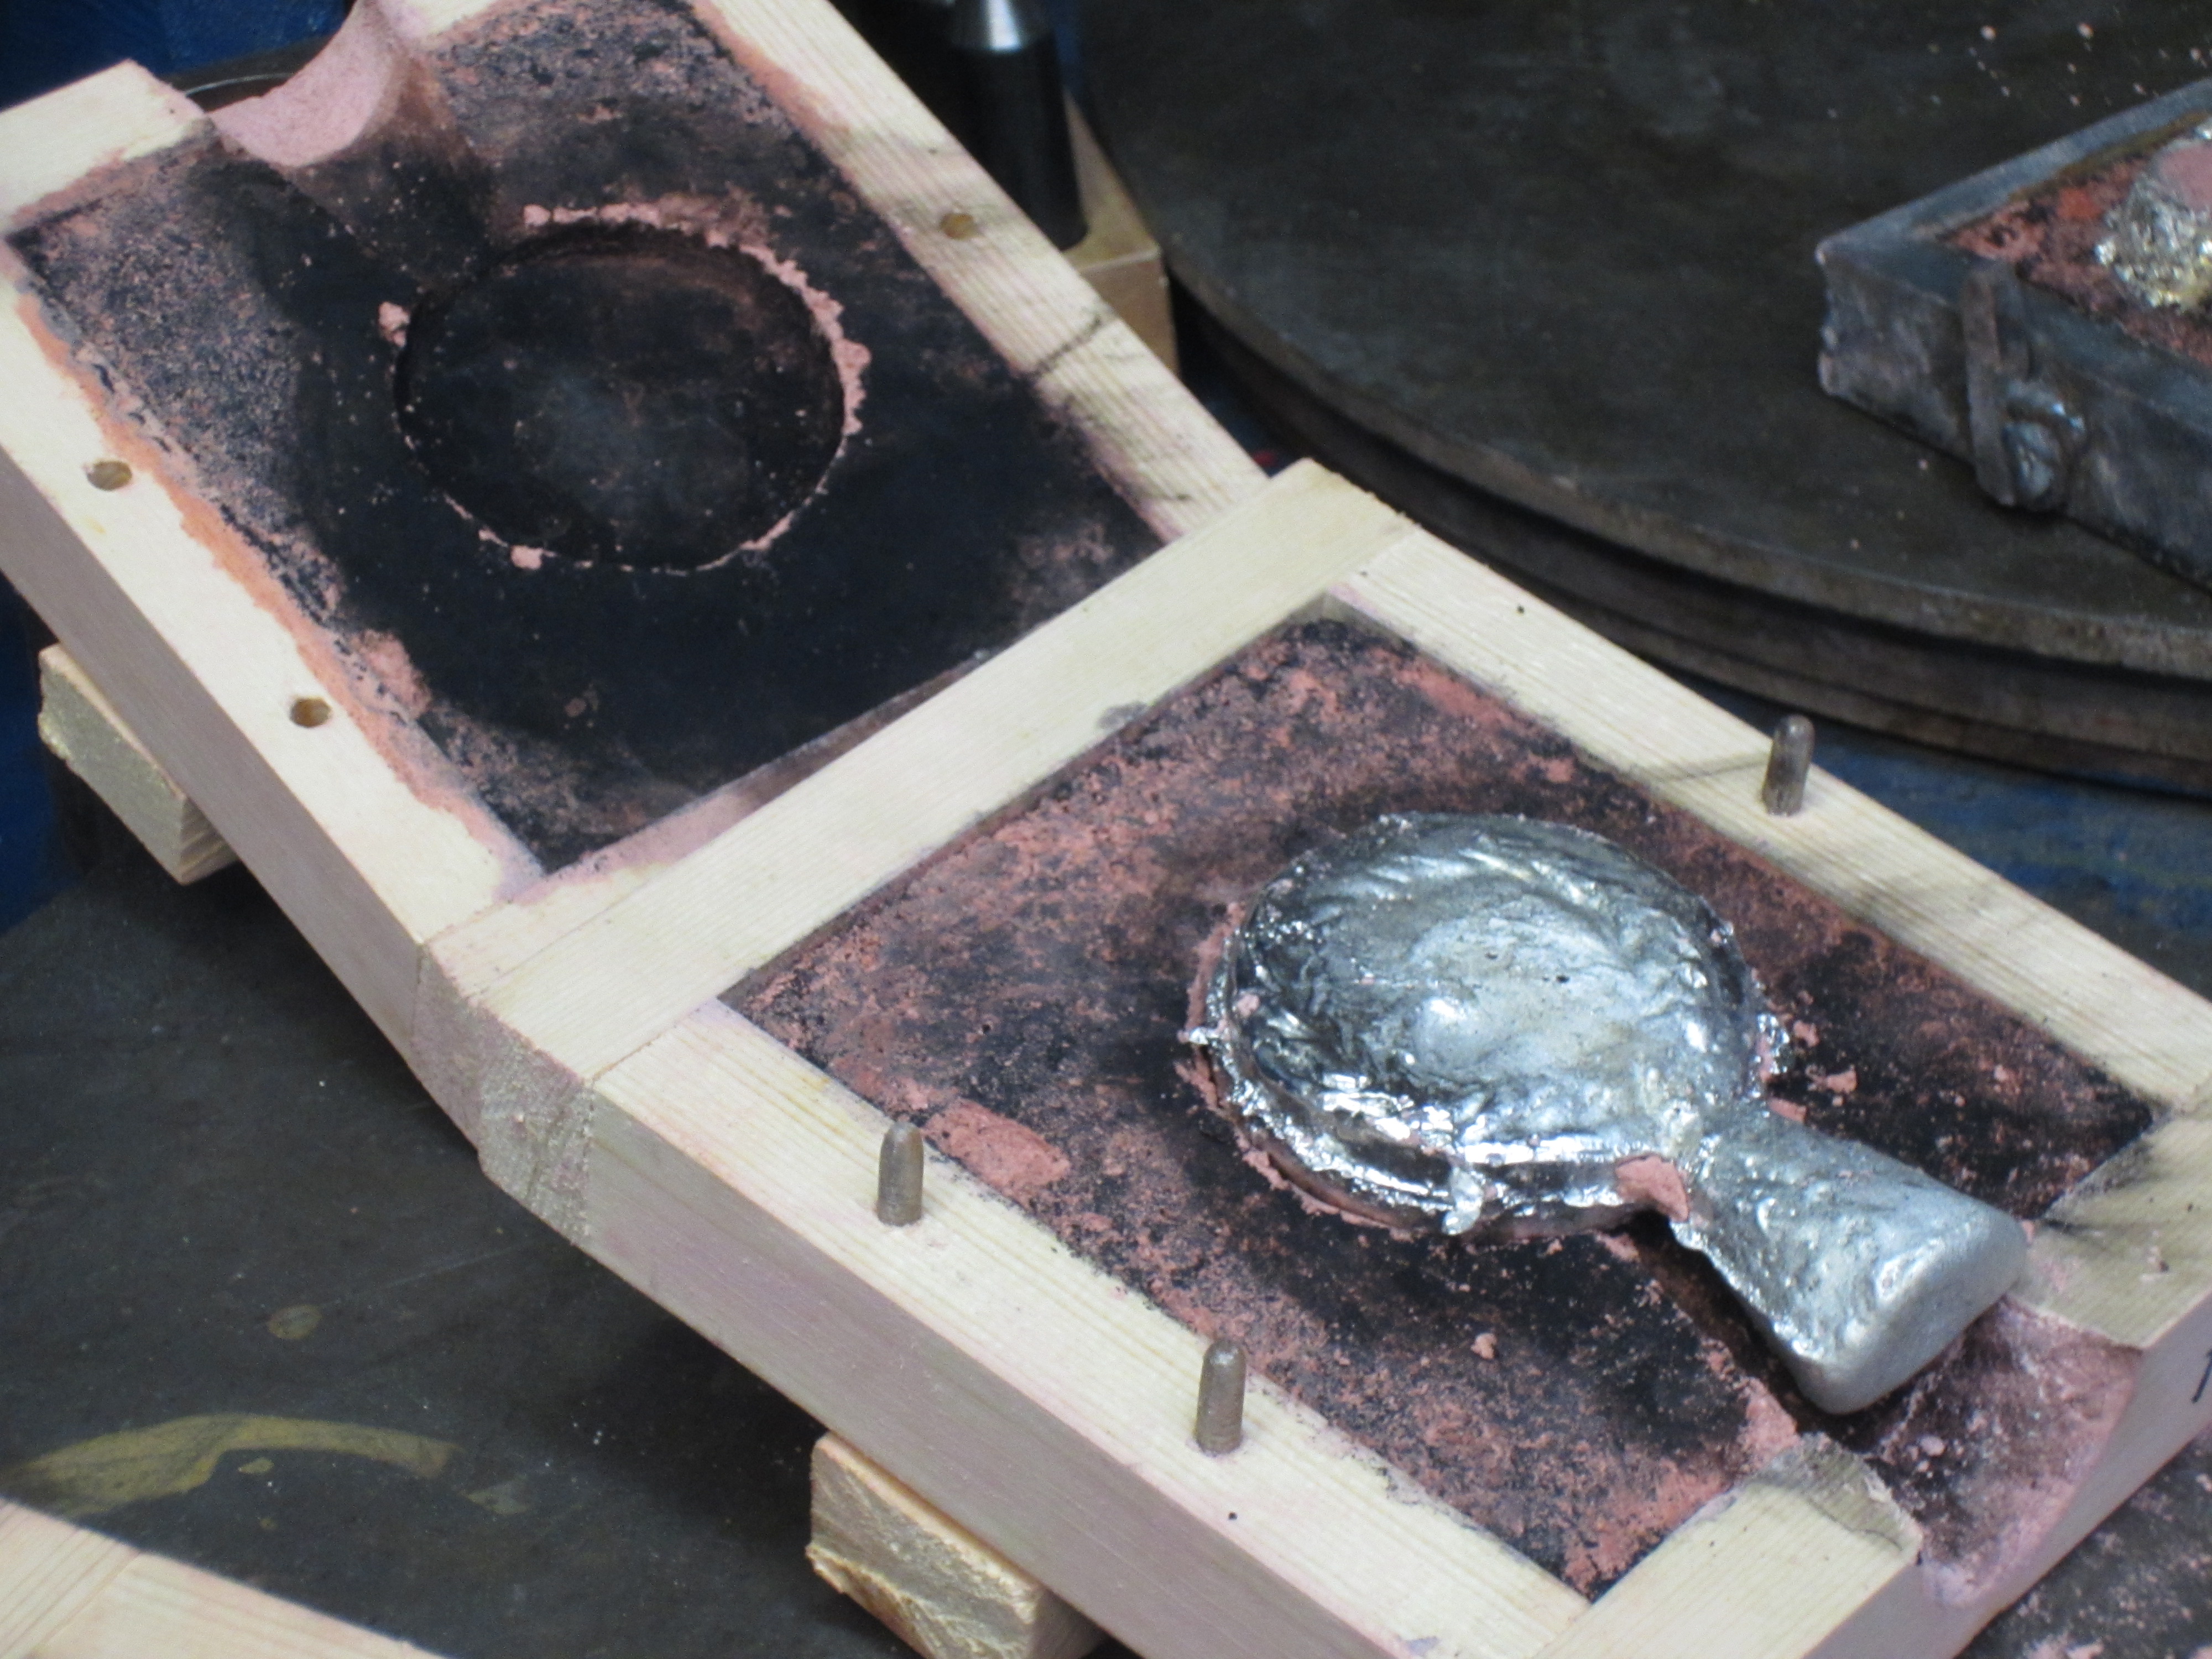
9. Inspect medal
Much of the details in the medal are lost, although certain areas turned out very well. On the recto, one can see the fine details in the hair of the figure of Matteo de' Pasti, and the writing "ALBER" was molded very clearly. There is a certain degree of discoloration, where the medal appears slightly yellow. Below this there is a rather dull, rough area where the most detail is lost. I notice this same discoloration and slightly dull, rough surface appearance in the center of the verso. Still, on the verso, the details of the laurel wreath turned out very clearly throughout all parts of the medal.RECTO:
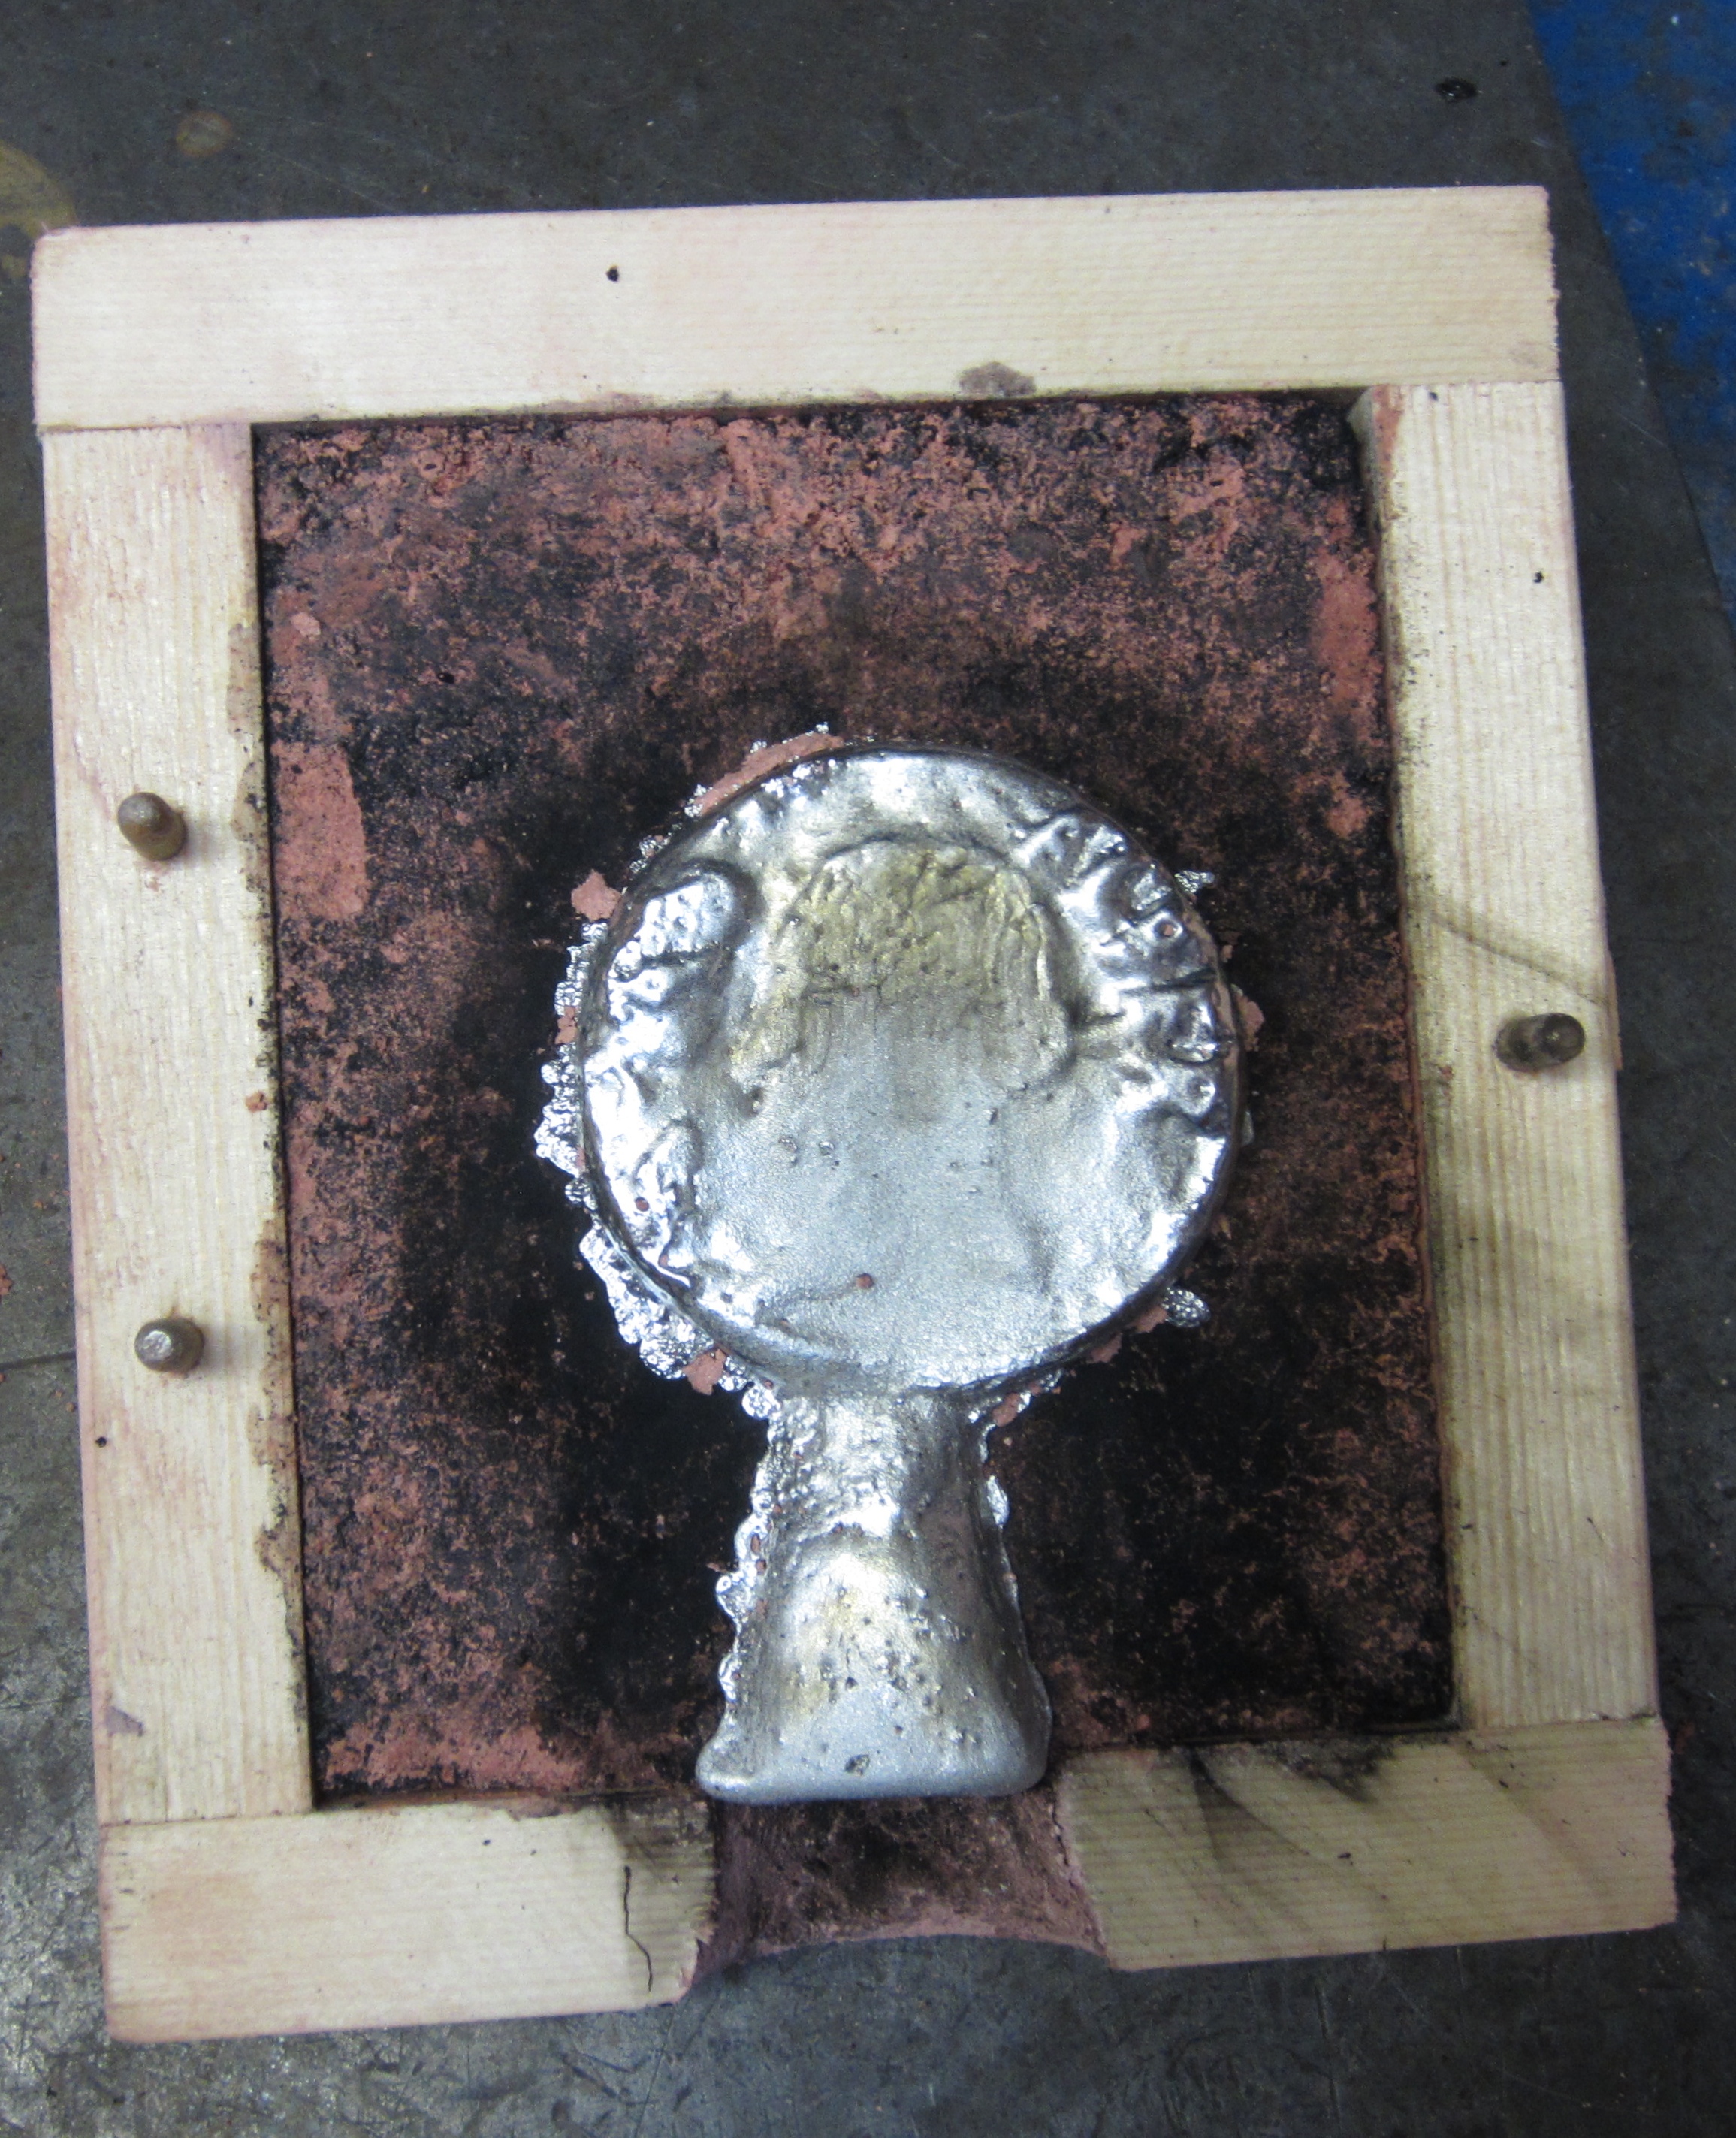
VERSO:

Conclusions
-Authorship of the Manuscript
Below is my first conversation with Ubaldo Vitali:Ubaldo Vitali: "Have you drawn a portrait of the author of your manuscript?"
Me: "No, we do not know exactly who he is."
Ubaldo Vitali: But you can still visualize him, yes?"
Me: "I could try."
Ubaldo Vitali: "Try to visualize him, his surroundings, and how he used to think."
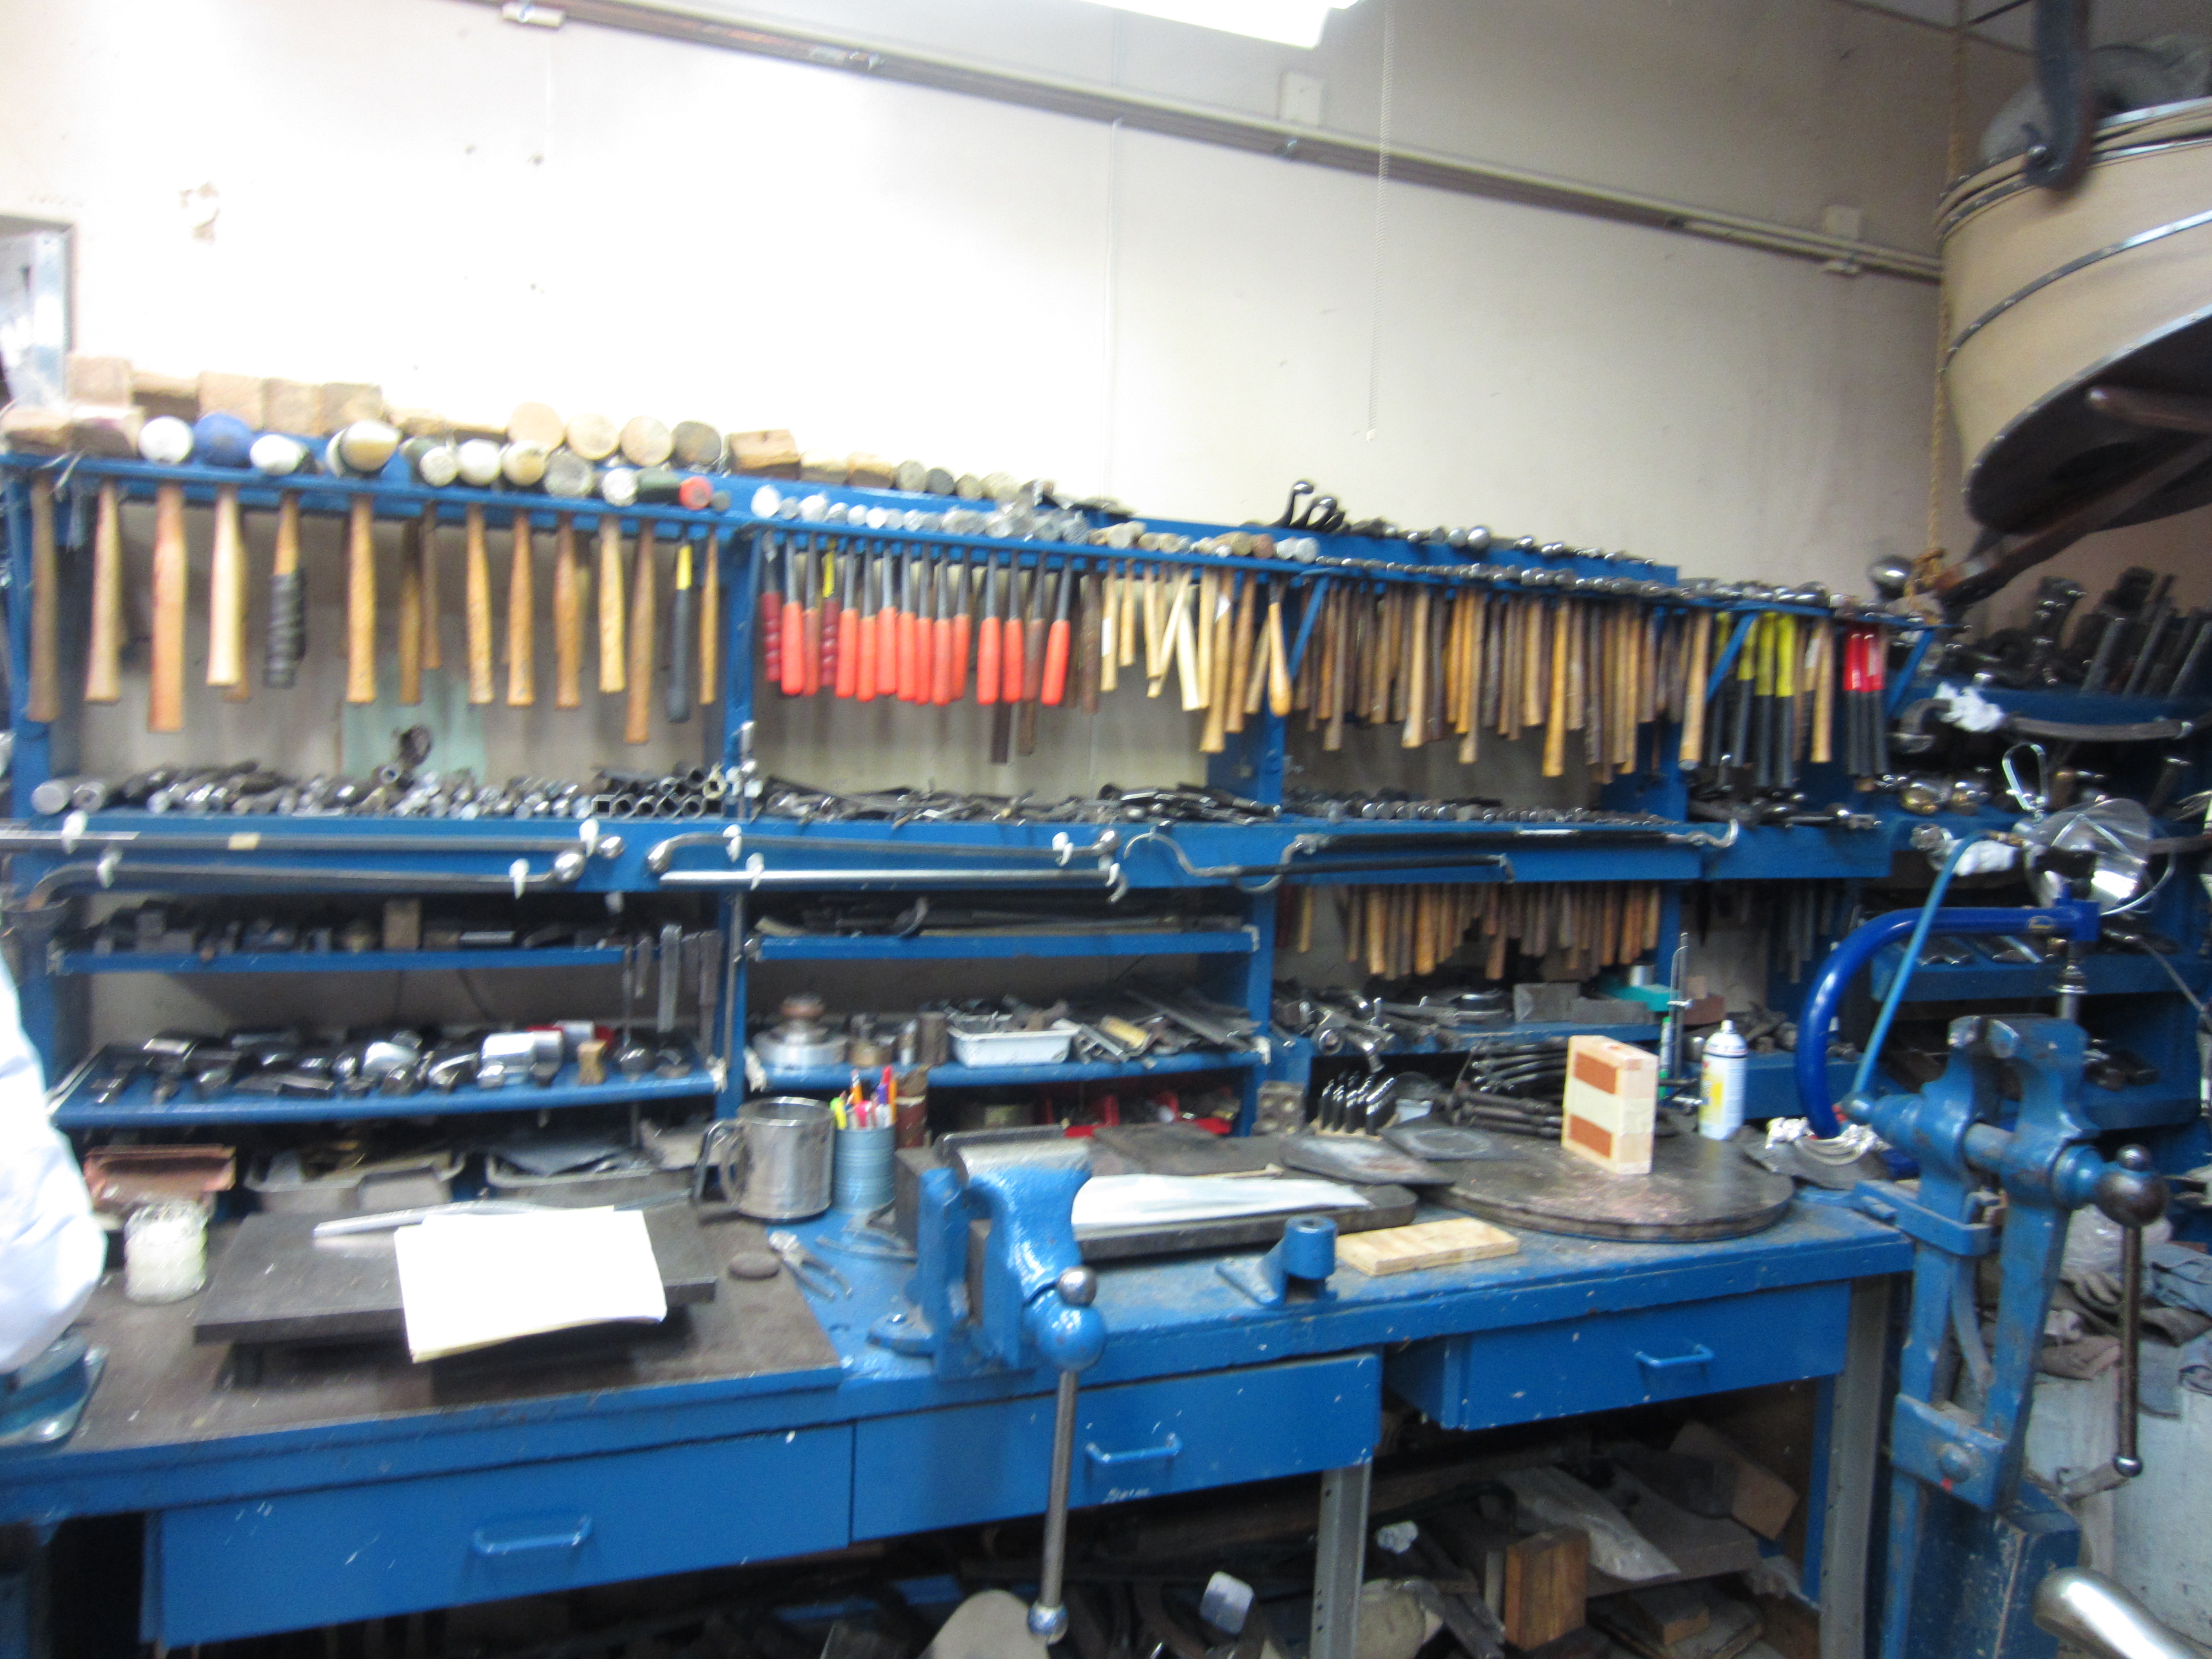
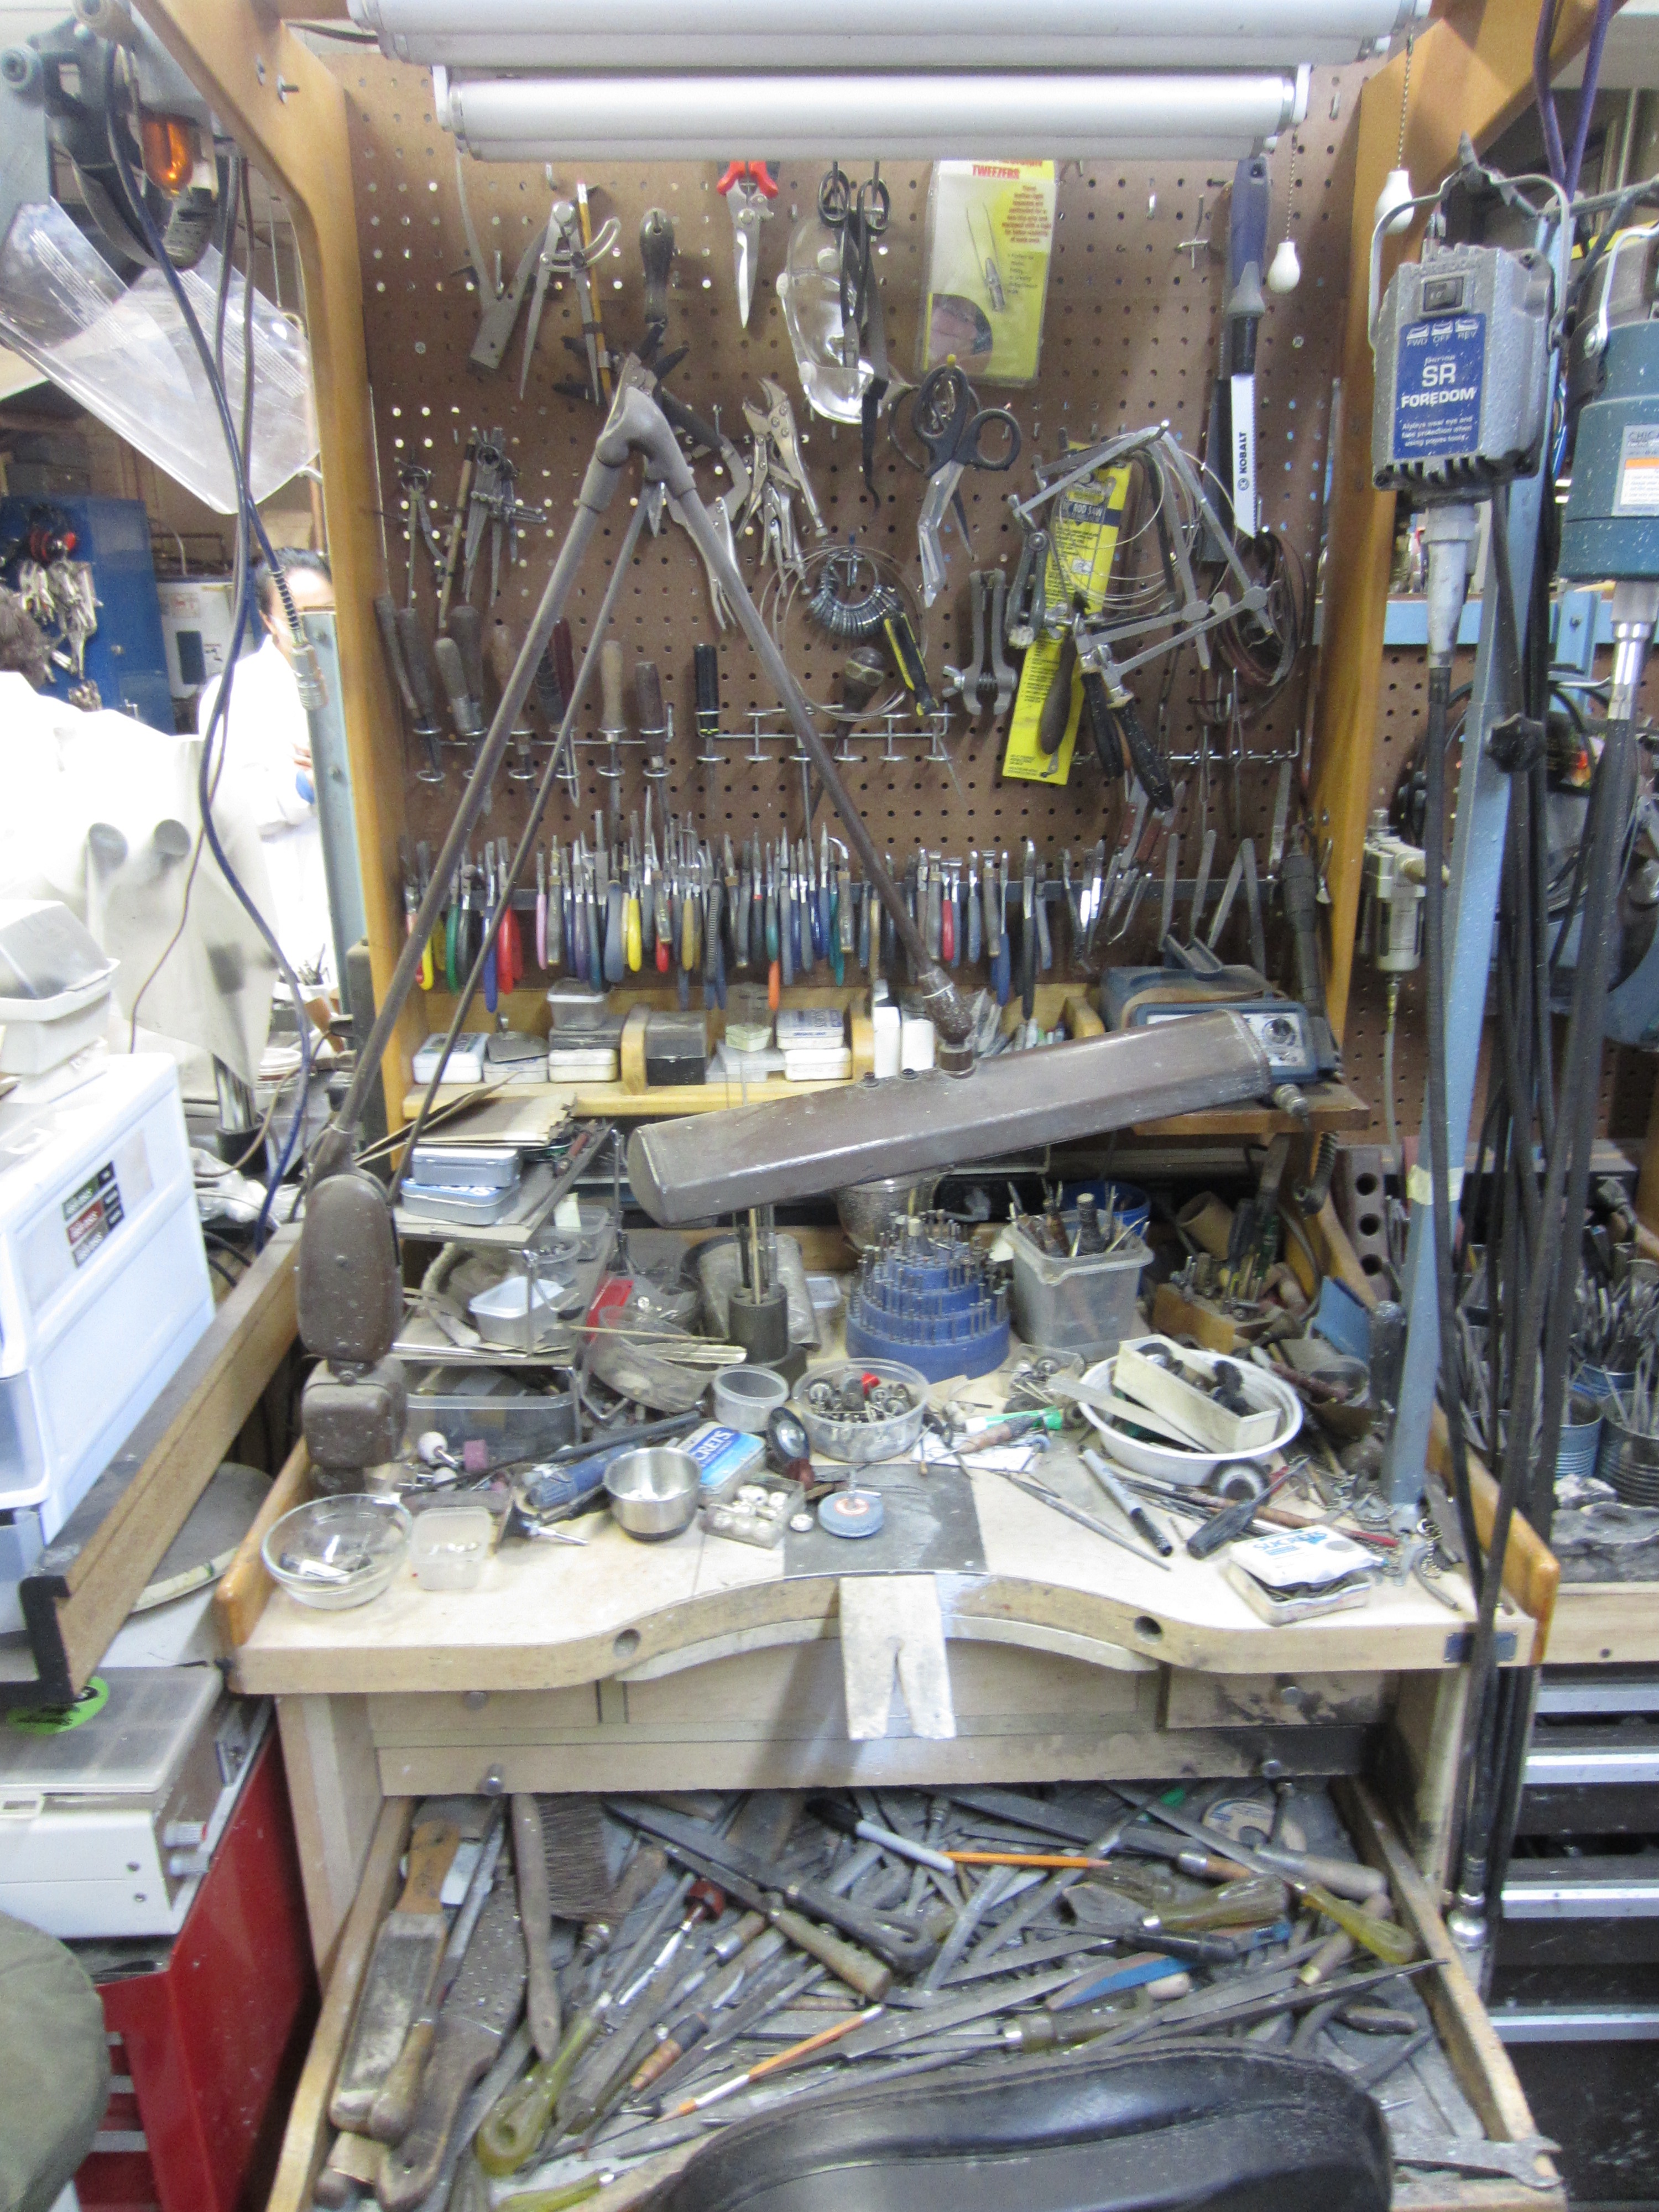
I realize this process of visualization is the principal purpose of my visit today. While it has been possible to retrace the manuscript author's processes of making up until this point, I am now in a permanent, fully functional workshop that replicates a probable setting in which the manuscript author would have worked. I realize that when Ubaldo asks me to visualize a portrait, I can only form this clear image if I also imagine the manuscript author within a physical space -- the workshop. For this reason I take a stroll around the rest of the workshop to observe the organization of tools, and I think of the organization of the goldsmith's workshop in a late 16th-century print by Étienne Delaune.
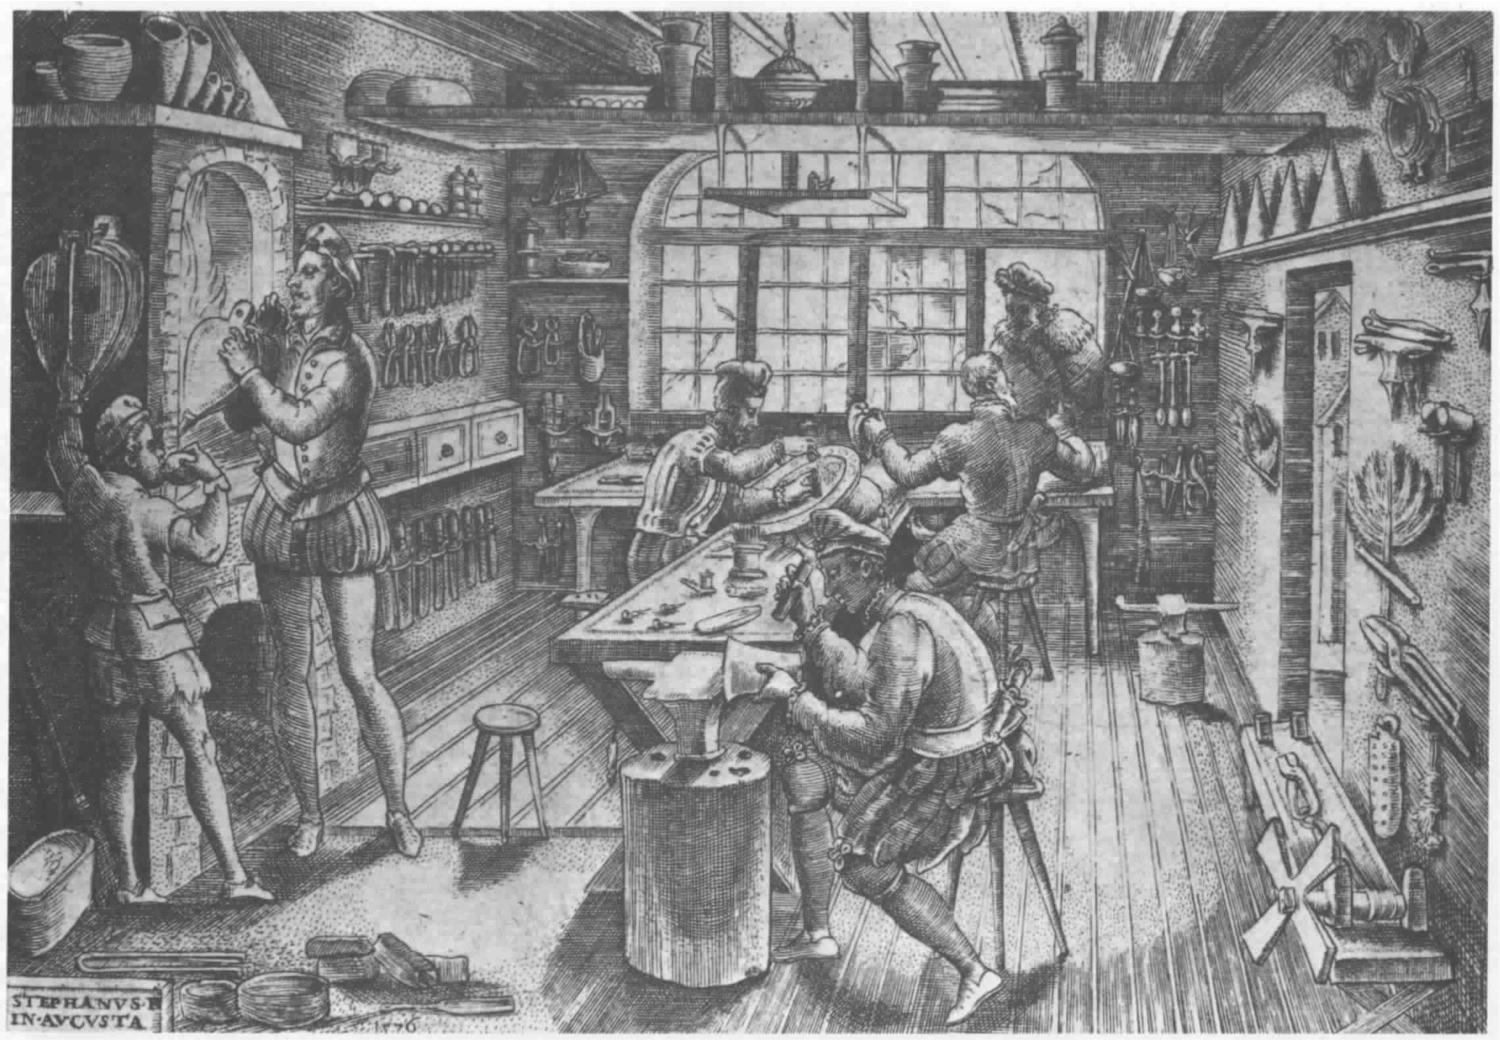
- Isn't fire just fire? Properties of candles.
The substitution of modern wax candles for the tallow candle may seem innocuous, as my initial reaction was that fire is always fire. However, on reflection, I realize that fire burns at different rates based on the material in which the wick is bound. A further question may be what type of wick was used in the 16th century versus the 21st century.- Heating the mold.
At numerous points in the recipe in the manuscript, the author emphasizes the need to heat the mold until it is very hot. The author even makes an illustration for two iron trivets upon which to keep the mold while heating it on ignited pieces of charcoal. By flipping the mold onto its back, it is meant to "take the harshest heat." In a marginal note, the author adds, "to heat is to redden the box mold, which is done for gold and for silver." Because we are using pewter, the decision not to heat the mold to an exceptional degree may seem acceptable, however I nonetheless wonder what advantage may have existed by heating the mold further. The lack of detail in the finished medal may suggest that any residual moisture inside the mold may have affected the finished product.- What happened to the details.
On both the recto and verso of the medal, the greatest amount of detail is lost near the center of the mold. There is also a similar discoloration in this area. Unfortunately, the fundamental parts of both designs (the portrait and the winged eye) are located in the center of the mold. I have two hypotheses. It may be that the center of the mold retained the greatest amount of moisture despite the exposure to heat from the candle. It is also possible that the center of the mold fills up a bit later than the outer areas of the mold, and as the air tries to escape, it causes a problematic reaction with the surface of the mold.