Image URL:
https://www.flickr.com/photos/128418753@N06/51219293765/in/album-72157719320137159/
Mold in crust
Table of Contents
Dark red text has been formatted as certain heading types. To ensure the table of contents is rendered correctly, make sure any edits to these fields does not change their heading type. |
Name: Sophia Macomber
Date and Time:
Location: Home Kitchen
Subject: Bread Molding Attempt 1
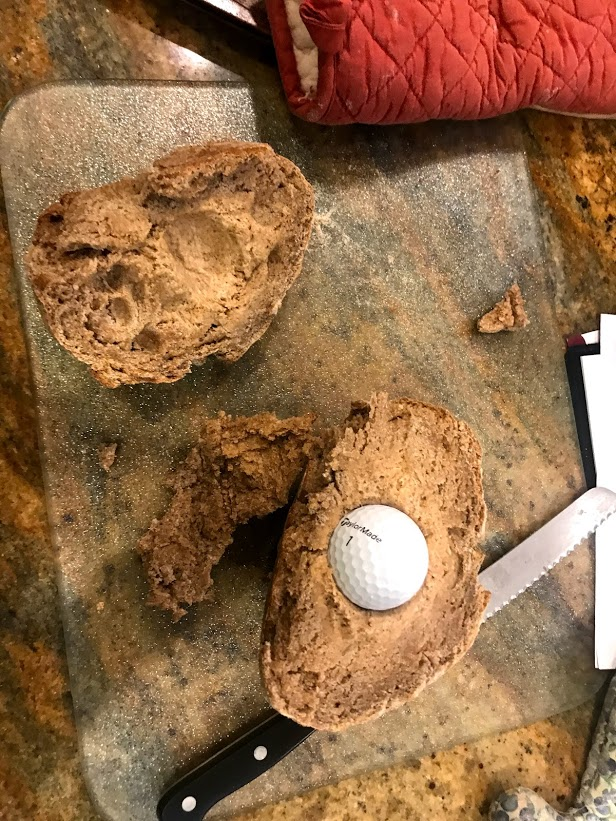
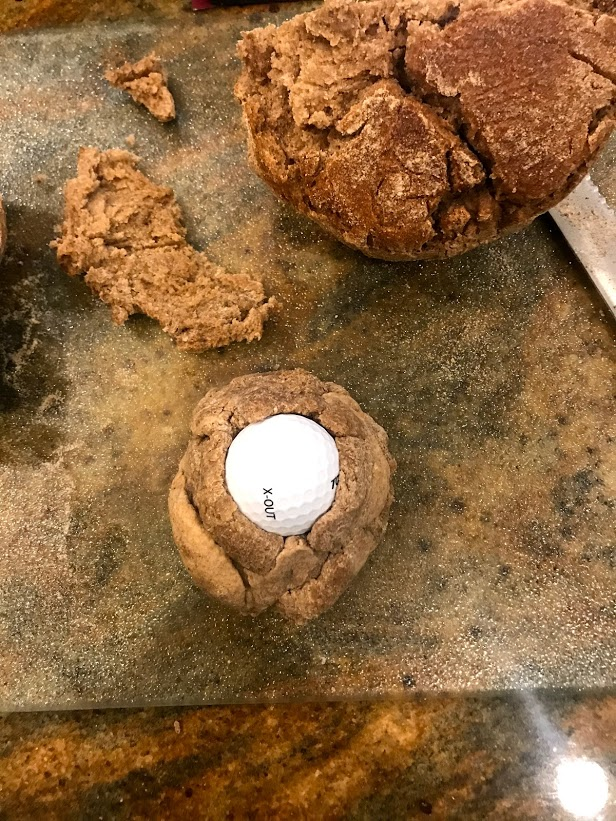
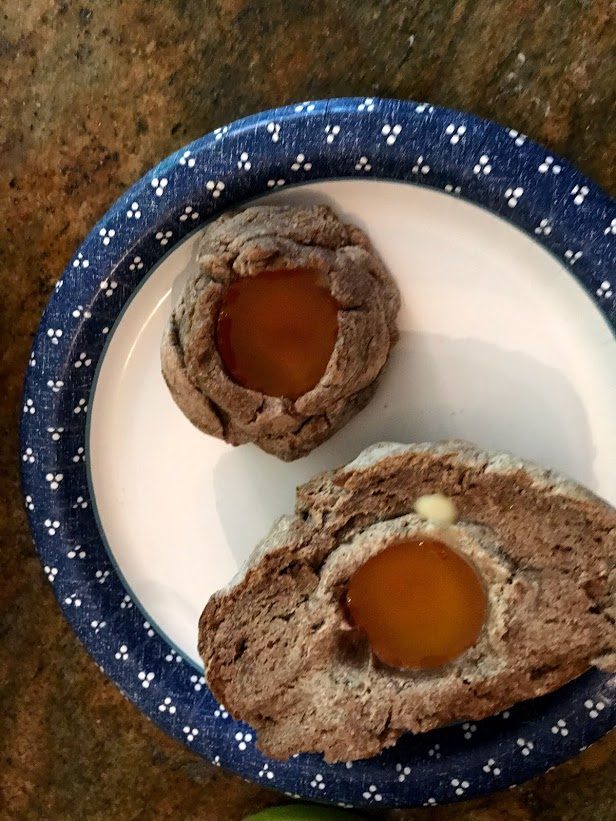
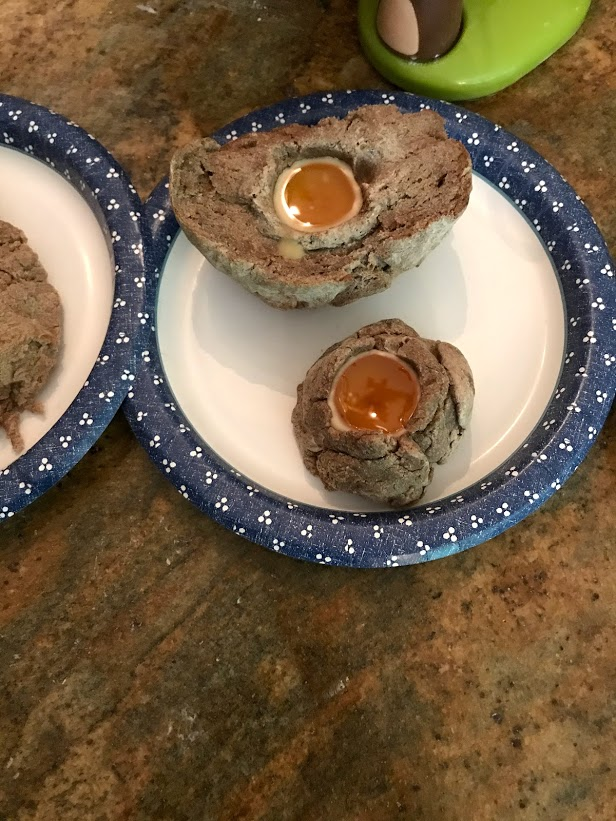
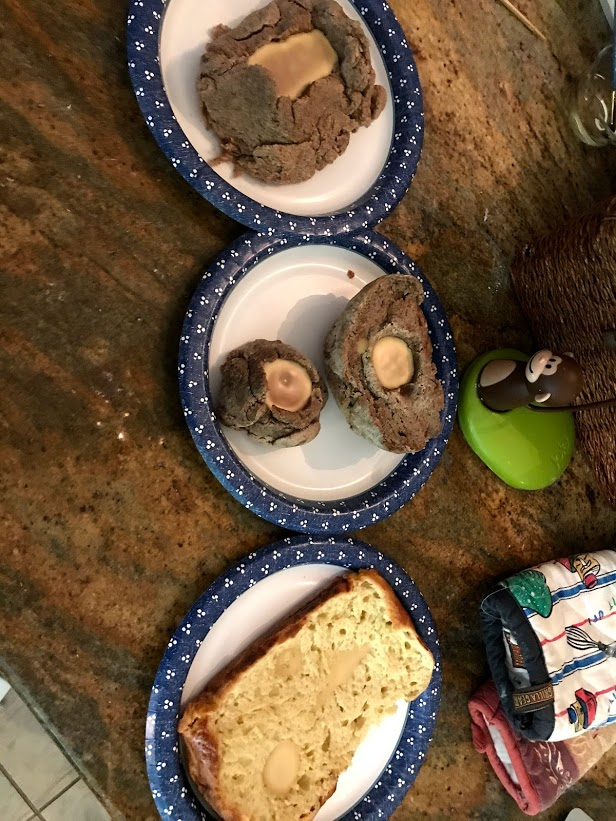
As soon as my bread (from bread making attempt 2) came out of the oven, I cut it in half while wearing oven mitts so that I wouldn’t hurt myself. I wasn’t sure whether to take the pith out or leave it in the crust, so I decided to do half and half. With the half that I left the pith in the crust, I pushed a golf ball into the pith. For the other half, I scooped out the pith while wearing oven mitts as it was still steaming hot. I tried to form a ball with this and pressed my golf ball into the pith. I tried to wrap the edges of the pith around the golf ball. I let these dry out on the counter with the golf balls inside them until we used them on the 18th. Some of the dough was still raw, but that didn’t seem to affect the mold making process.
Image URL: | https://www.flickr.com/photos/128418753@N06/51219293765/in/album-72157719320137159/ |
Mold in crust | |
Image URL: | https://www.flickr.com/photos/128418753@N06/51218224301/in/album-72157719320137159/ |
Golf ball mold in pith without crust | |
Name: Sophie Macomber
Date and Time:
Location: Home Kitchen
Subject: Bread Molding Attempt 2
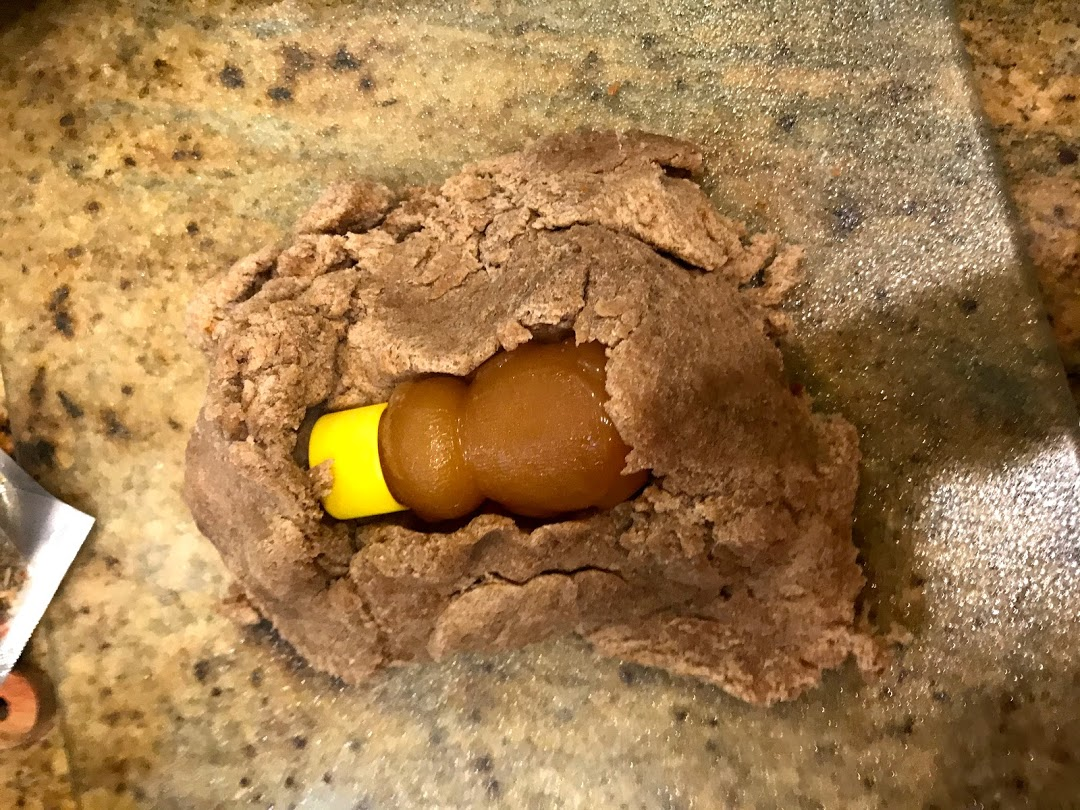
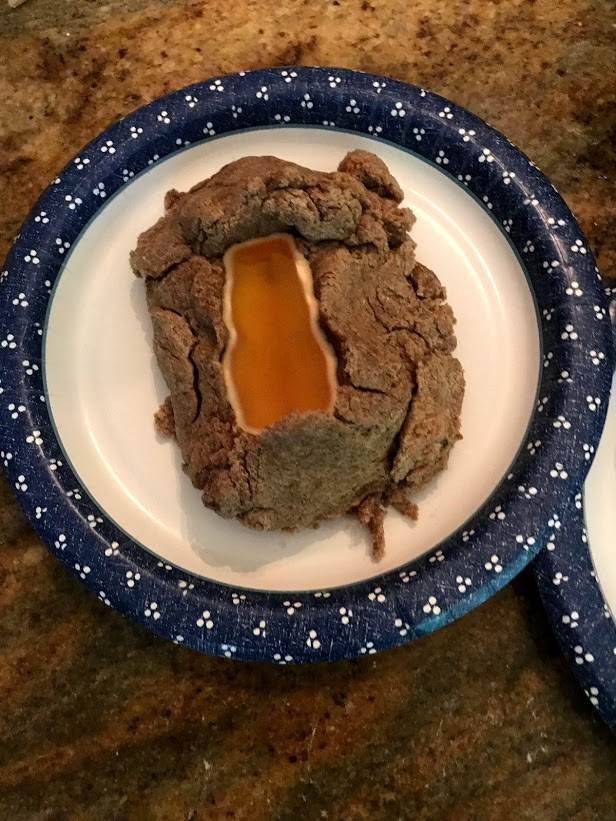
I decided to take the pith out of the bread for this attempt. Once the bread was cooked (see bread attempt 3 in Bread making), I sliced it in half and pulled out the pith with oven mitts. This bread was entirely cooked. I again squished it into a ball-like thing and pressed a honey bear into the pith. I pulled the sides of the pith up around the honey bear. I let this dry out overnight.
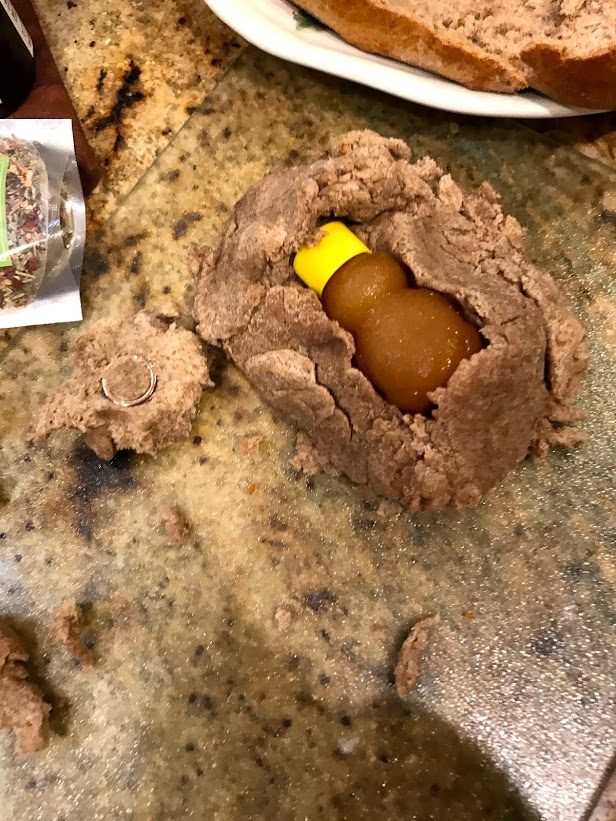
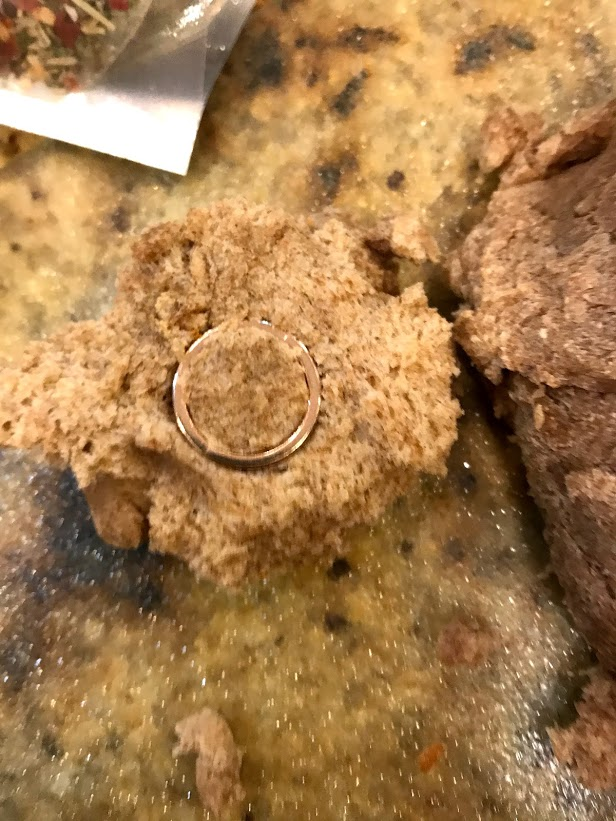
I also tried to use some of the leftover pith to make a ring mold; however, the pith must have cooled because the mold literally fell apart in my hands when I attempted to transfer it to the counter. I decided to discard that mold and save the ring for another attempt.
Image URL: | https://www.flickr.com/photos/128418753@N06/51218224151/in/album-72157719320137159/ |
Honey Bear Mold | |
Image URL: | https://www.flickr.com/photos/128418753@N06/51218989709/in/album-72157719320137159/ |
Ring and honey bear mold together | |
Image URL: | https://www.flickr.com/photos/128418753@N06/51217512857/in/album-72157719320137159/ |
Short Lived ring mold | |
Name: Sophie Macomber
Date and Time:
Location: Home Kitchen
Subject: Bread Molding Attempt 3
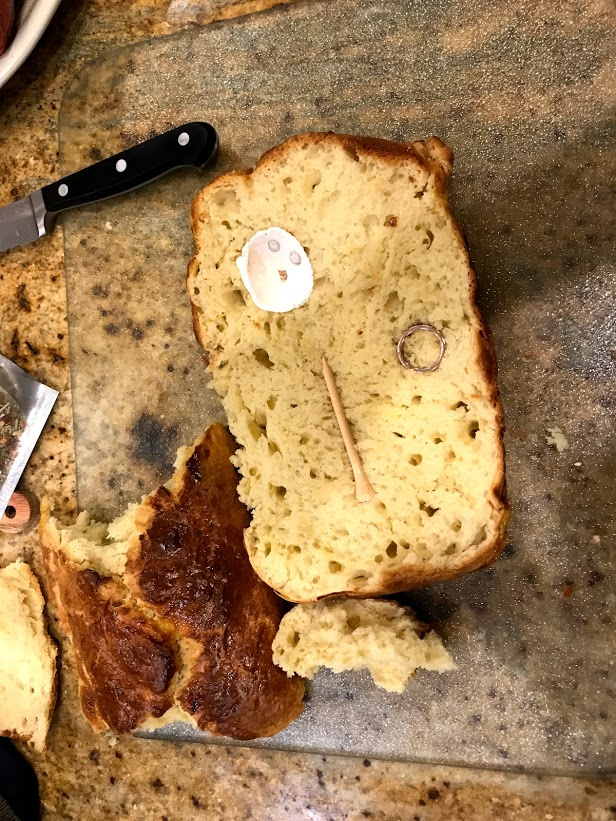
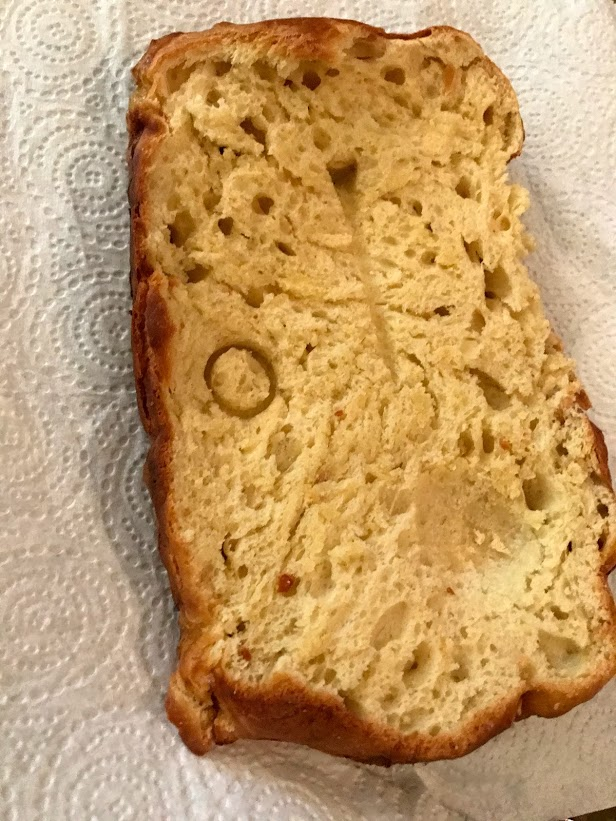
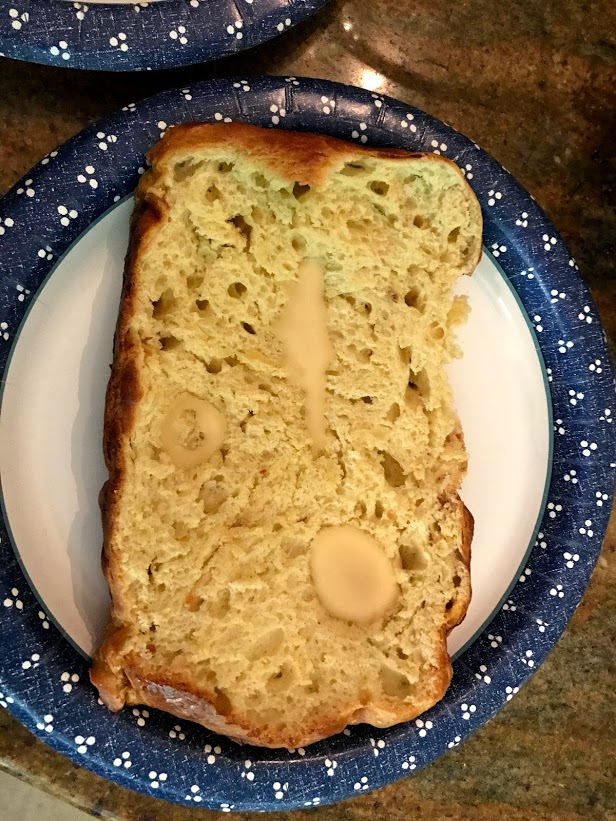
For my last attempt at molding bread, I decided to leave the pith in the bread. For me this worked out really well because the surface was much more stable (and not prone to falling apart or cracking). I cut my bread making attempt 4 bread, my modern brioche, in half and pressed a golf tee, a seashell, and a ring into the pith.
Image URL: | https://www.flickr.com/photos/128418753@N06/51218437368/in/album-72157719320137159/ |
Objects pressed into bread | |
Name: Sophie Macomber
Date and Time:
Location: Home Kitchen
Subject: Casting
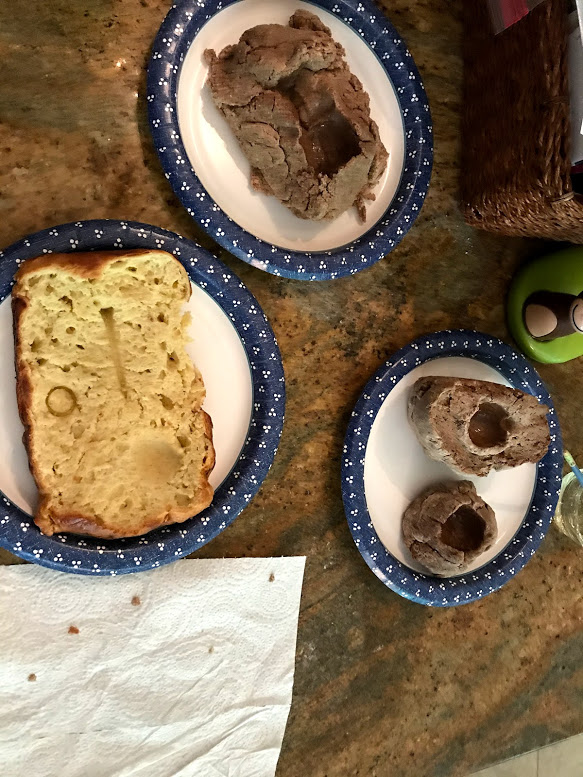
I removed my objects from my bread molds. Those that had remained in the crust seemed to have remained very true to the original object, but the ones that I had removed the pith for had a lot of cracks down the middle. I believe this is from where I had attempted to squish the pith together into one mold. I then placed my bread mold on paper plates. For the golf ball mold that I had done in the crust, I had to cut off the bottom of the crust to create a more stable surface so that I could pour the mold in from above. I brushed vegetable oil over the molds so that I would be able to remove my castings easily.
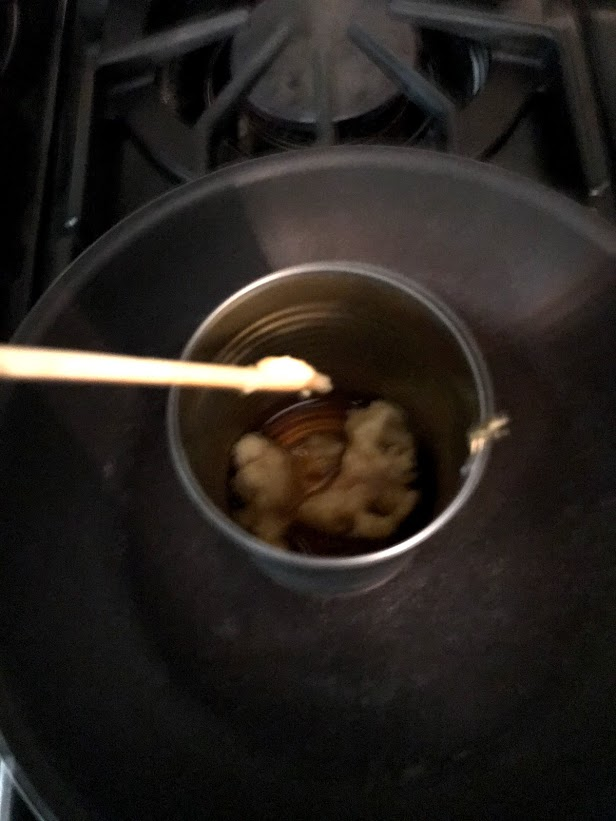
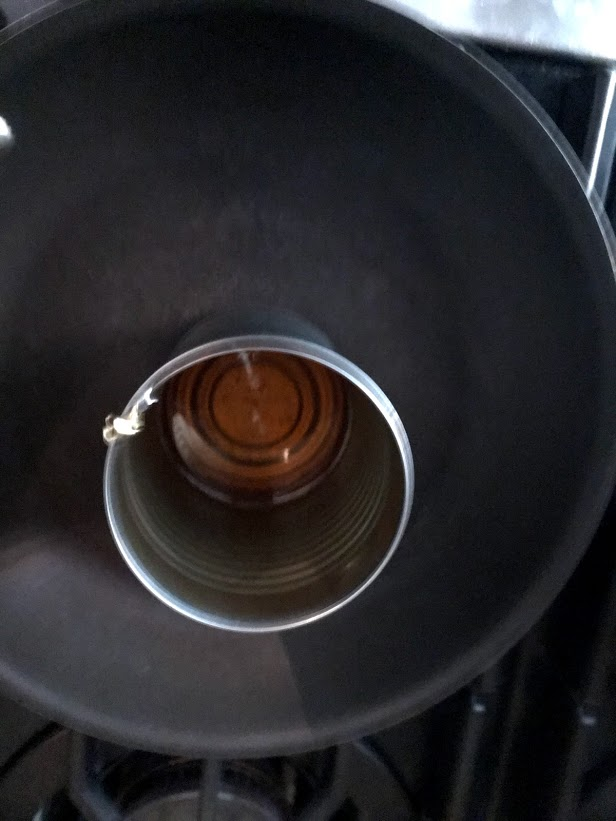
As I was using a gas stove. I put a frying pan over the stovetop so that I could have a flat surface to work with to melt my beeswax so I wouldn’t need to hold the tin can over the flames. I used a tin can I had emptied and taken off the cover the night before that had been used for stewed tomatoes. I poured my beeswax pellets into the can and placed the can over the frying pan. I set the stove to low and stirred the beeswax with chopsticks. I had a bit of trouble figuring out the right temperature to melt it at. When it was on low, it seemed that nothing was really happening. The pellets themselves barely warmed. The best way I could describe it would be not cold. I set the stove to medium low, and this seemed to actually warm the pellets. Some were starting to melt but it was still a very slow process (10-15 minutes). I ultimately decided to set the stove to medium, which finally melted the beeswax.
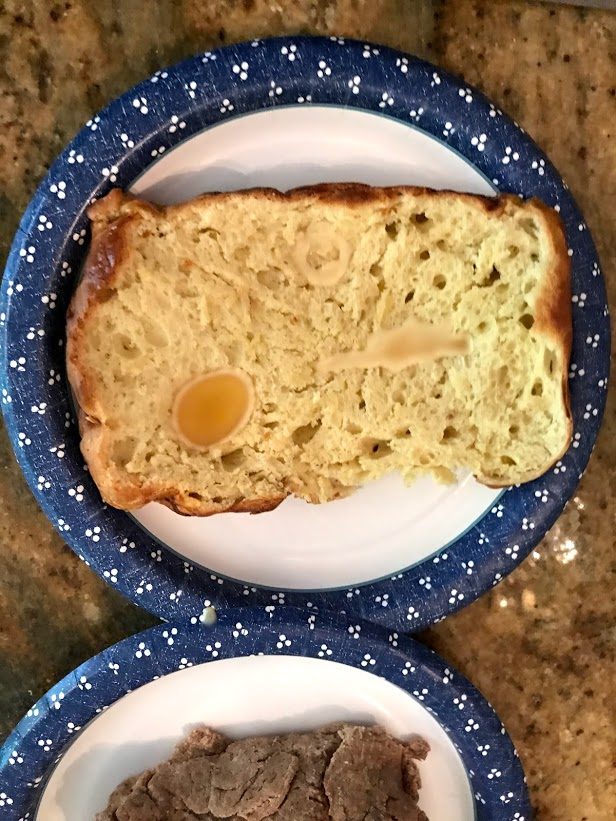
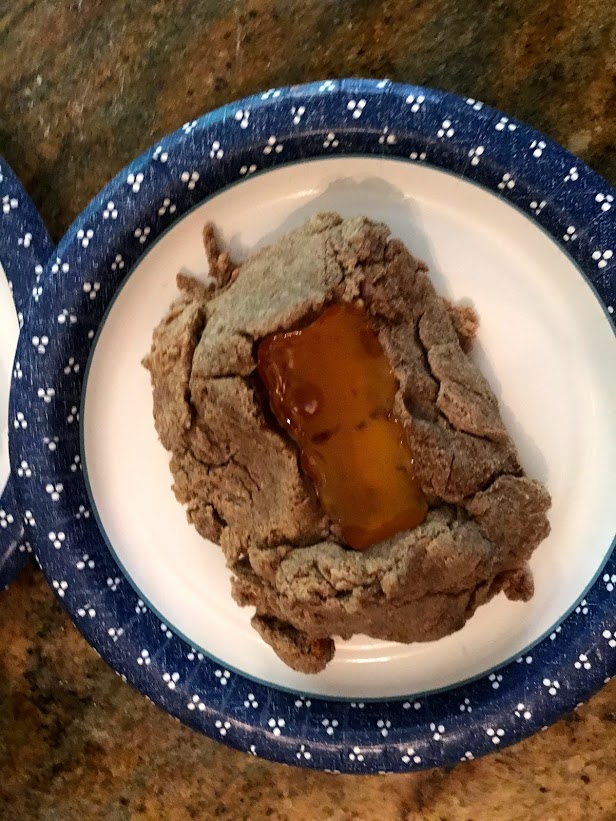
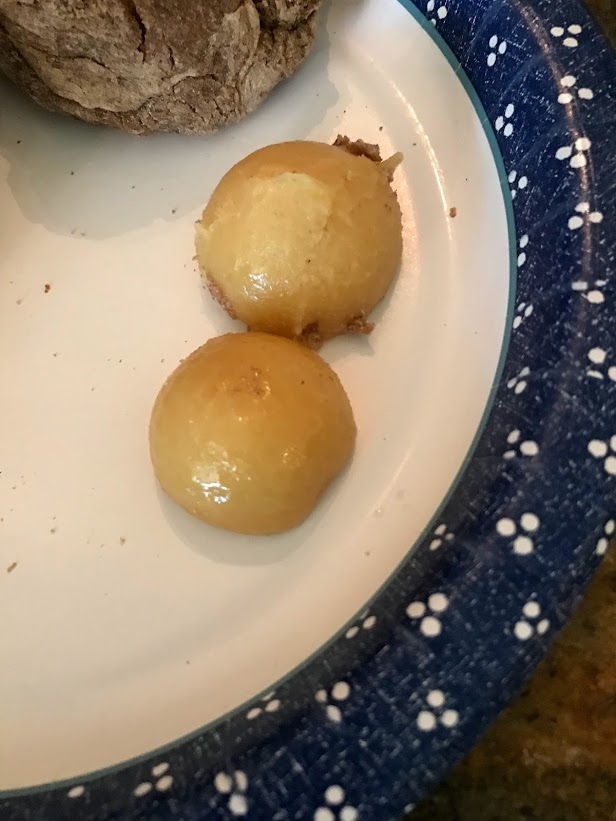
After I melted the beeswax, I poured it into the bread molds. When it was first poured, the beeswax was a dark amber; however as it cooled it turned yellow and then ultimately light yellow, cooling from the outside to the inside. The golf ball castings reminded me of a soft boiled egg yolk. The three smaller castings (ring, golf tee, and seashell) cooled first. The golf balls and the honey bear took longer to cool. When I touched the deeper castings after the top had just solidified, it had a very interesting texture. Although the top was solid, I could tell the inside was not. It was almost like I was touching a membrane. I could tell that they were ready to come out of the molds when they were a light yellow and felt barely warm to the touch.
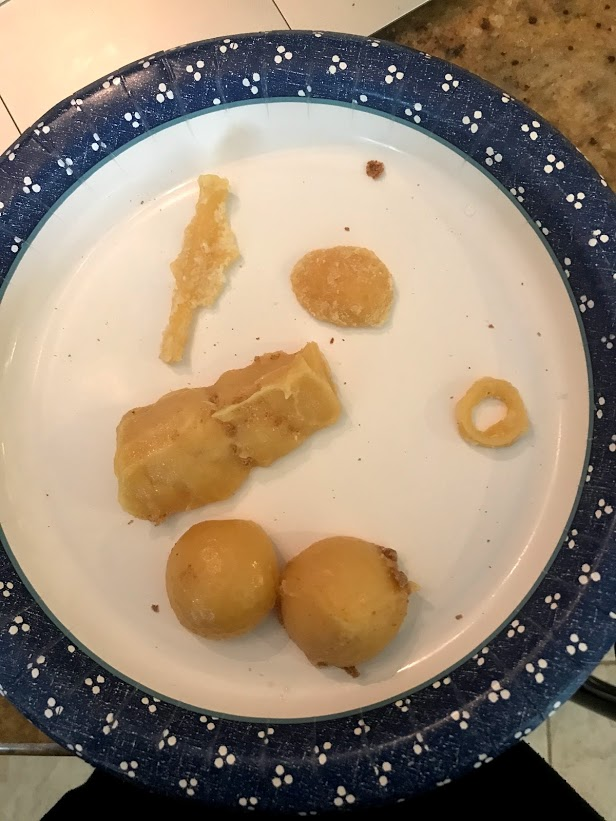
All of my castings came out of the bread fairly easily. The molds that had remained in the crust did not fall apart when I tried to take them out while the ones where I had removed the pith did not hold up as well. Although they came out well, there was still some bread stuck to the castings. The castings that had been in the modern brioche had the most bread stuck to them, probably because that bread’s texture was softer and more cake-like (potentially more likely to have crumbs). I think the deeper the object, the better the casting. The golf tee casting was very shallow so there was a lot of excess due to the lack of a truly deep well. My castings where I had removed the pith all had a ridge where some of the beeswax had fallen through the cracks. My best casting was my golf ball in the pith from the sourdough bread as there were no cracks or excess, and you can even see the little dimples present all around the golf ball!
Image URL: | https://www.flickr.com/photos/128418753@N06/51218437253/in/album-72157719320137159/ |
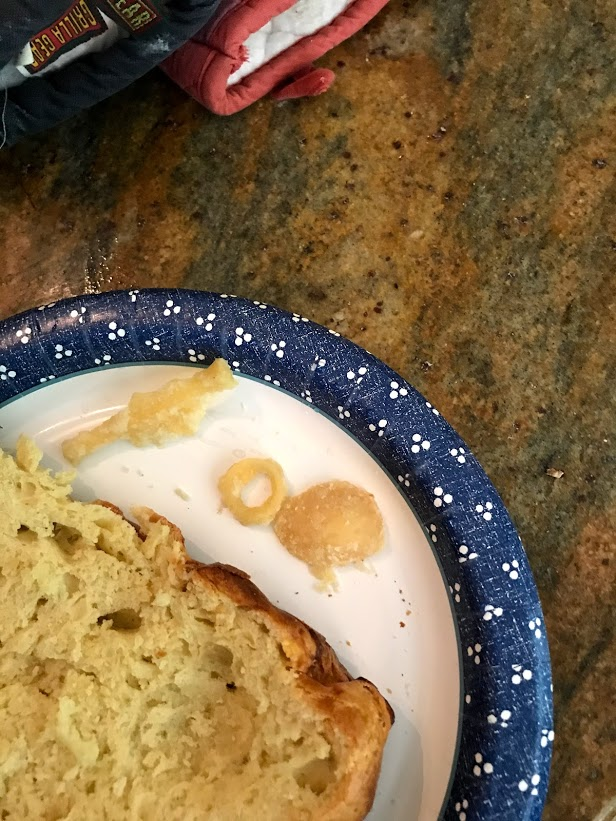
Seashell, golf tee, and ring molds | |
Image URL: | https://www.flickr.com/photos/128418753@N06/51218223821/in/album-72157719320137159/ |
Molds ready to be painted with oil | |
Image URL: | https://www.flickr.com/photos/128418753@N06/51218437183/in/album-72157719320137159/ |
Molds after being painted with oil | |
Image URL: | https://www.flickr.com/photos/128418753@N06/51218989299/in/album-72157719320137159/ |
Beeswax melting setup | |
Image URL: | https://www.flickr.com/photos/128418753@N06/51218437083/in/album-72157719320137159/ |
Stirring beeswax on low | |
Image URL: | https://www.flickr.com/photos/128418753@N06/51217512492/in/album-72157719320137159/ |
Beeswax starting to melt | |
Image URL: | https://www.flickr.com/photos/128418753@N06/51218223601/in/album-72157719320137159/ |
Fully melted beeswax | |
Image URL: | https://www.flickr.com/photos/128418753@N06/51218436963/in/album-72157719320137159/ |
Newly poured beeswax castings in modern brioche | |
Image URL: | https://www.flickr.com/photos/128418753@N06/51218989134/in/album-72157719320137159/ |
Newly poured honey bear casting | |
Image URL: | https://www.flickr.com/photos/128418753@N06/51218223491/in/album-72157719320137159/ |
Newly poured golf ball castings | |
Image URL: | https://www.flickr.com/photos/128418753@N06/51217512187/in/album-72157719320137159/ |
Golf balls starting to cool | |
Image URL: | https://www.flickr.com/photos/128418753@N06/51219294125/in/album-72157719320137159/ |
Honey bear starting to cool | |
Image URL: | https://www.flickr.com/photos/128418753@N06/51217511992/in/album-72157719320137159/ |
Fully cooled beeswax castings in modern brioche | |
Image URL: | https://www.flickr.com/photos/128418753@N06/51218436513/in/album-72157719320137159/ |
Cooling castings | |
Image URL: | https://www.flickr.com/photos/128418753@N06/51217511837/in/album-72157719320137159/ |
Removed brioche castings | |
Image URL: | https://www.flickr.com/photos/128418753@N06/51217511782/in/album-72157719320137159/ |
Finished golf ball castings | |
Image URL: | https://www.flickr.com/photos/128418753@N06/51219293795/in/album-72157719320137159/ |
Completed honey bear casting | |
Image URL: | https://www.flickr.com/photos/128418753@N06/51219293670/in/album-72157719320137159/ |
Completed collection of castings | |