Table of Contents
Dark red text has been formatted as certain heading types. To ensure the table of contents is rendered correctly, make sure any edits to these fields does not change their heading type. |
Name: Angel Jiang
Date and Time:
Location: Jewelry Arts Inc., 22 E. 49th Street
Subject: Studio visit with Jeanette K. Caines, expert jeweler
Toured Jewelry Arts Inc. studio with Jeanette K. Caines.
Lapidary wheels, grits and dopsticks
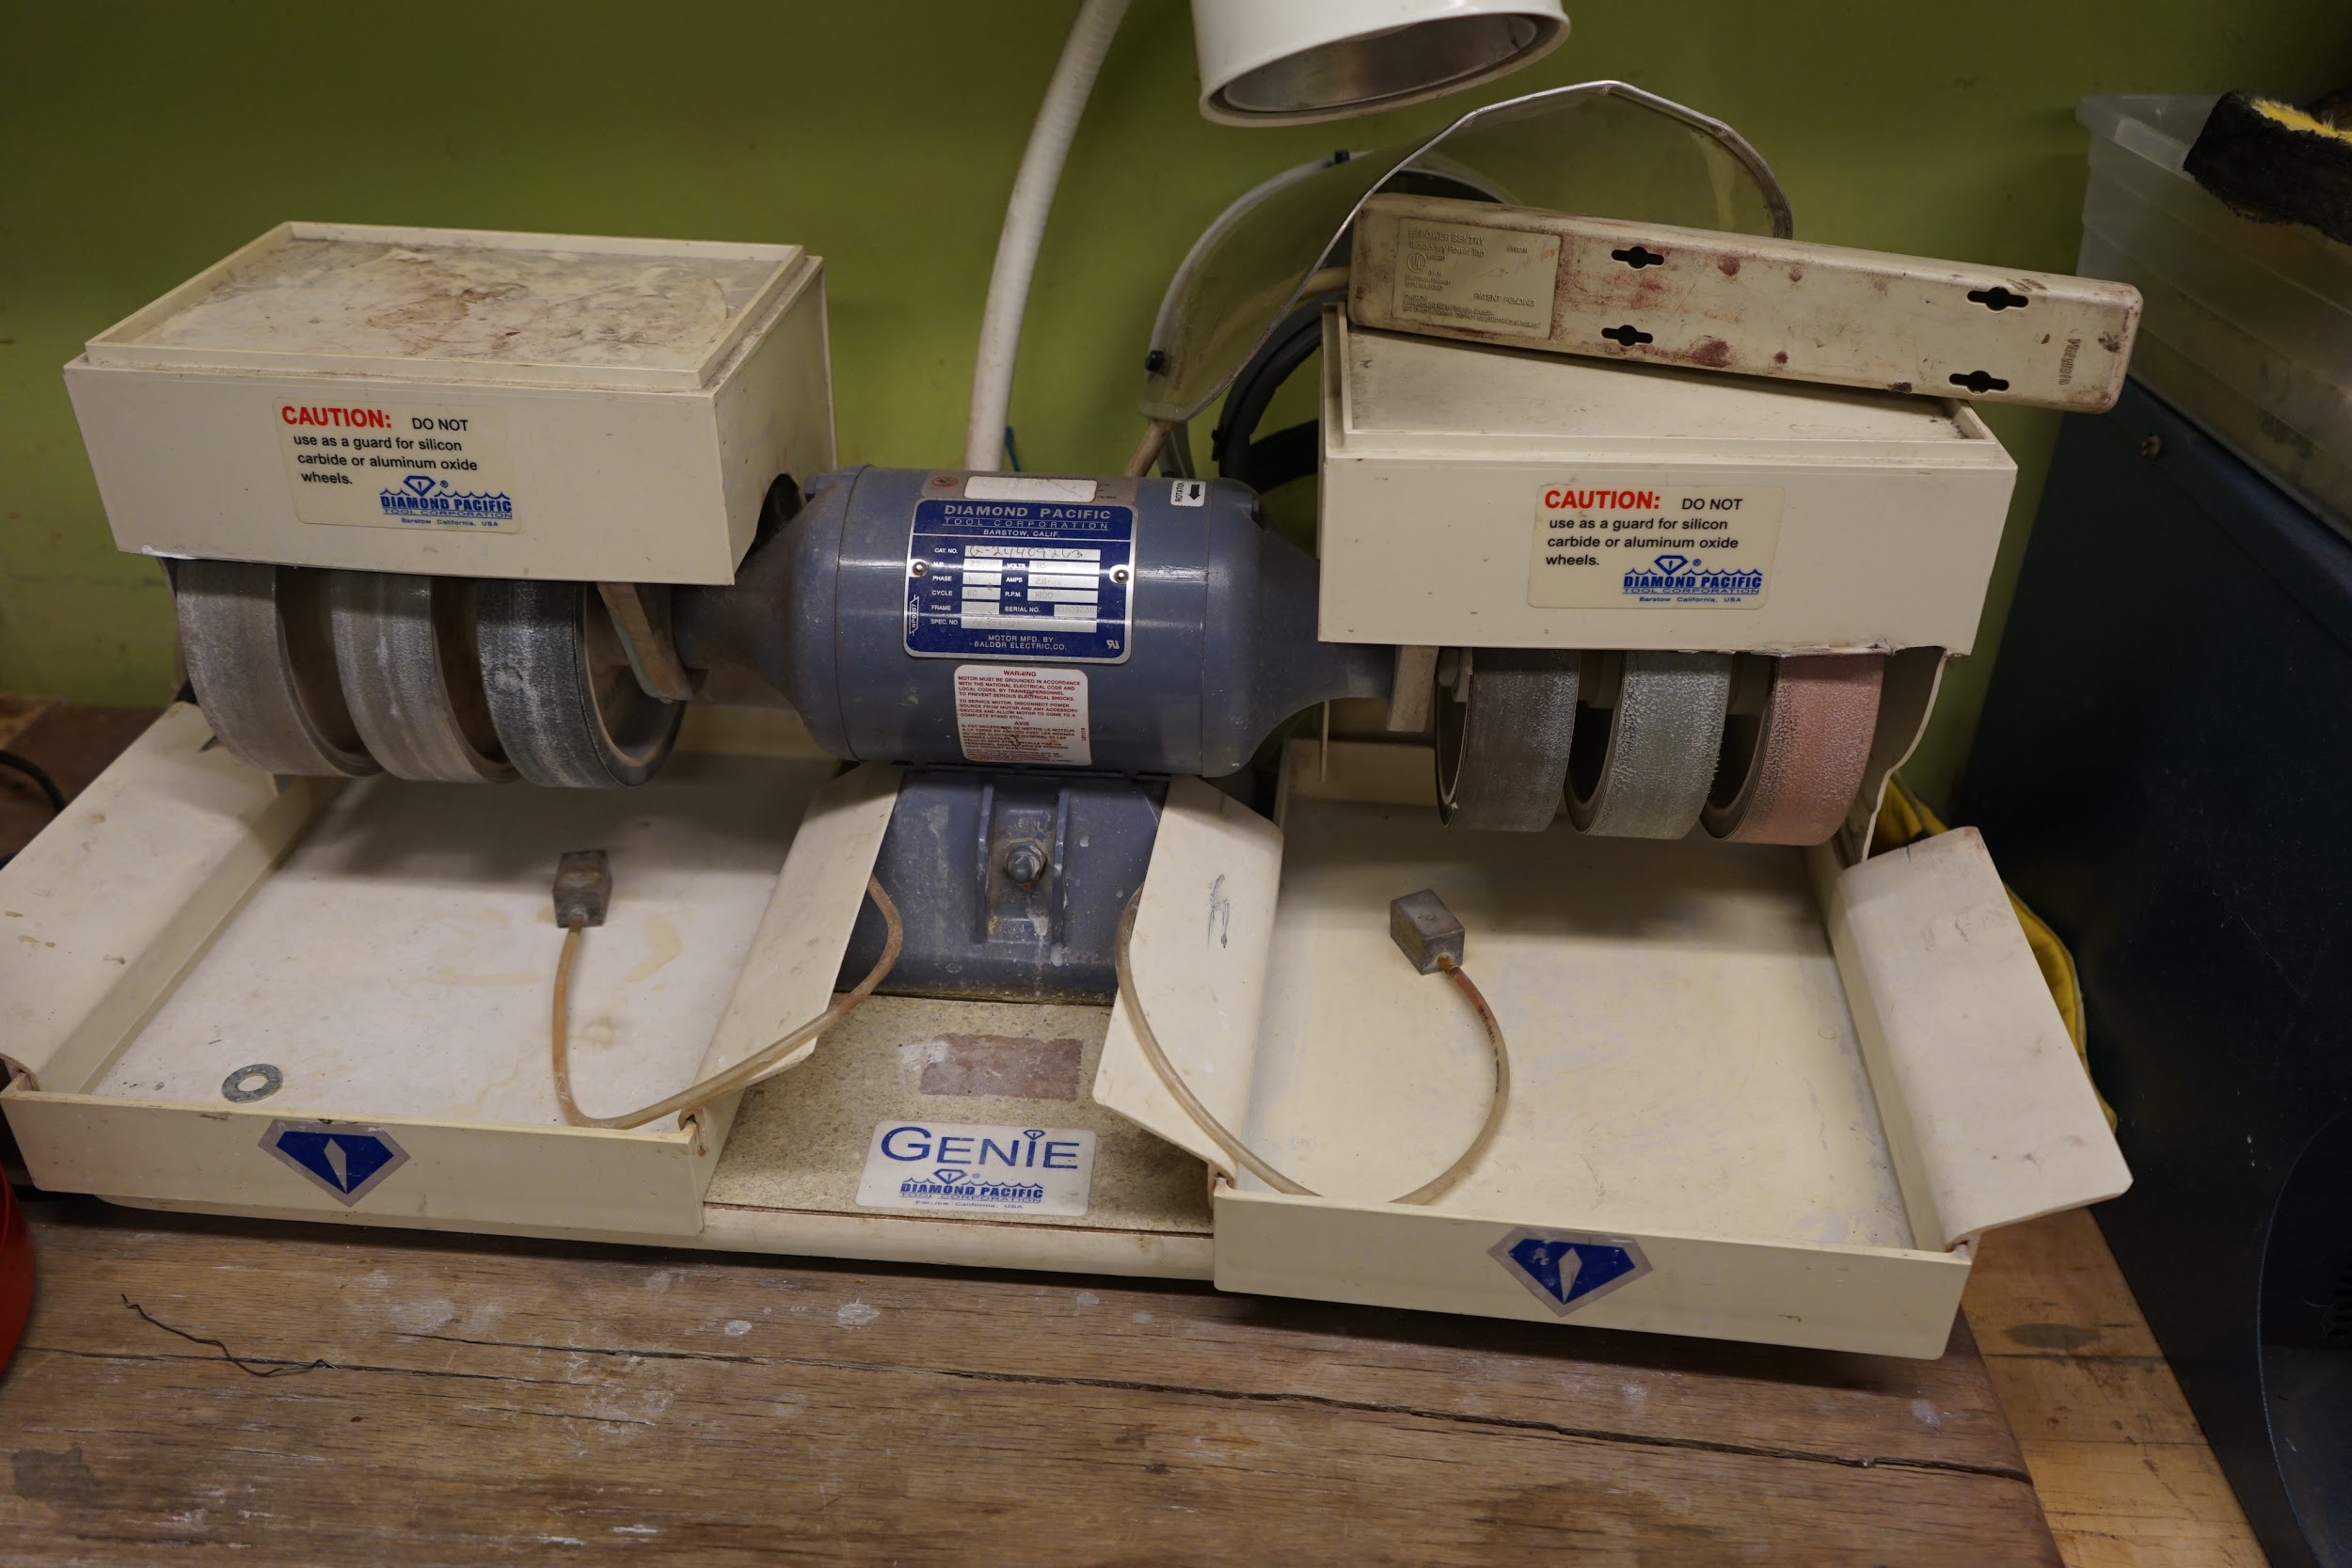
In order to polish stones, modern lapidaries use steel wheels with varying grits and attachments. Polishing is based on the principle that harder substances will scratch softer ones. The stone goes through a progression from the coarsest to finest grit until the scratches made by the abrading its surface are imperceptible to the eye, at which point the stone appears polished. The grit, not the wheel, does the polishing. For this reason, the type of metal used for the wheel is irrelevant.
| Image URL: |
|---|
|
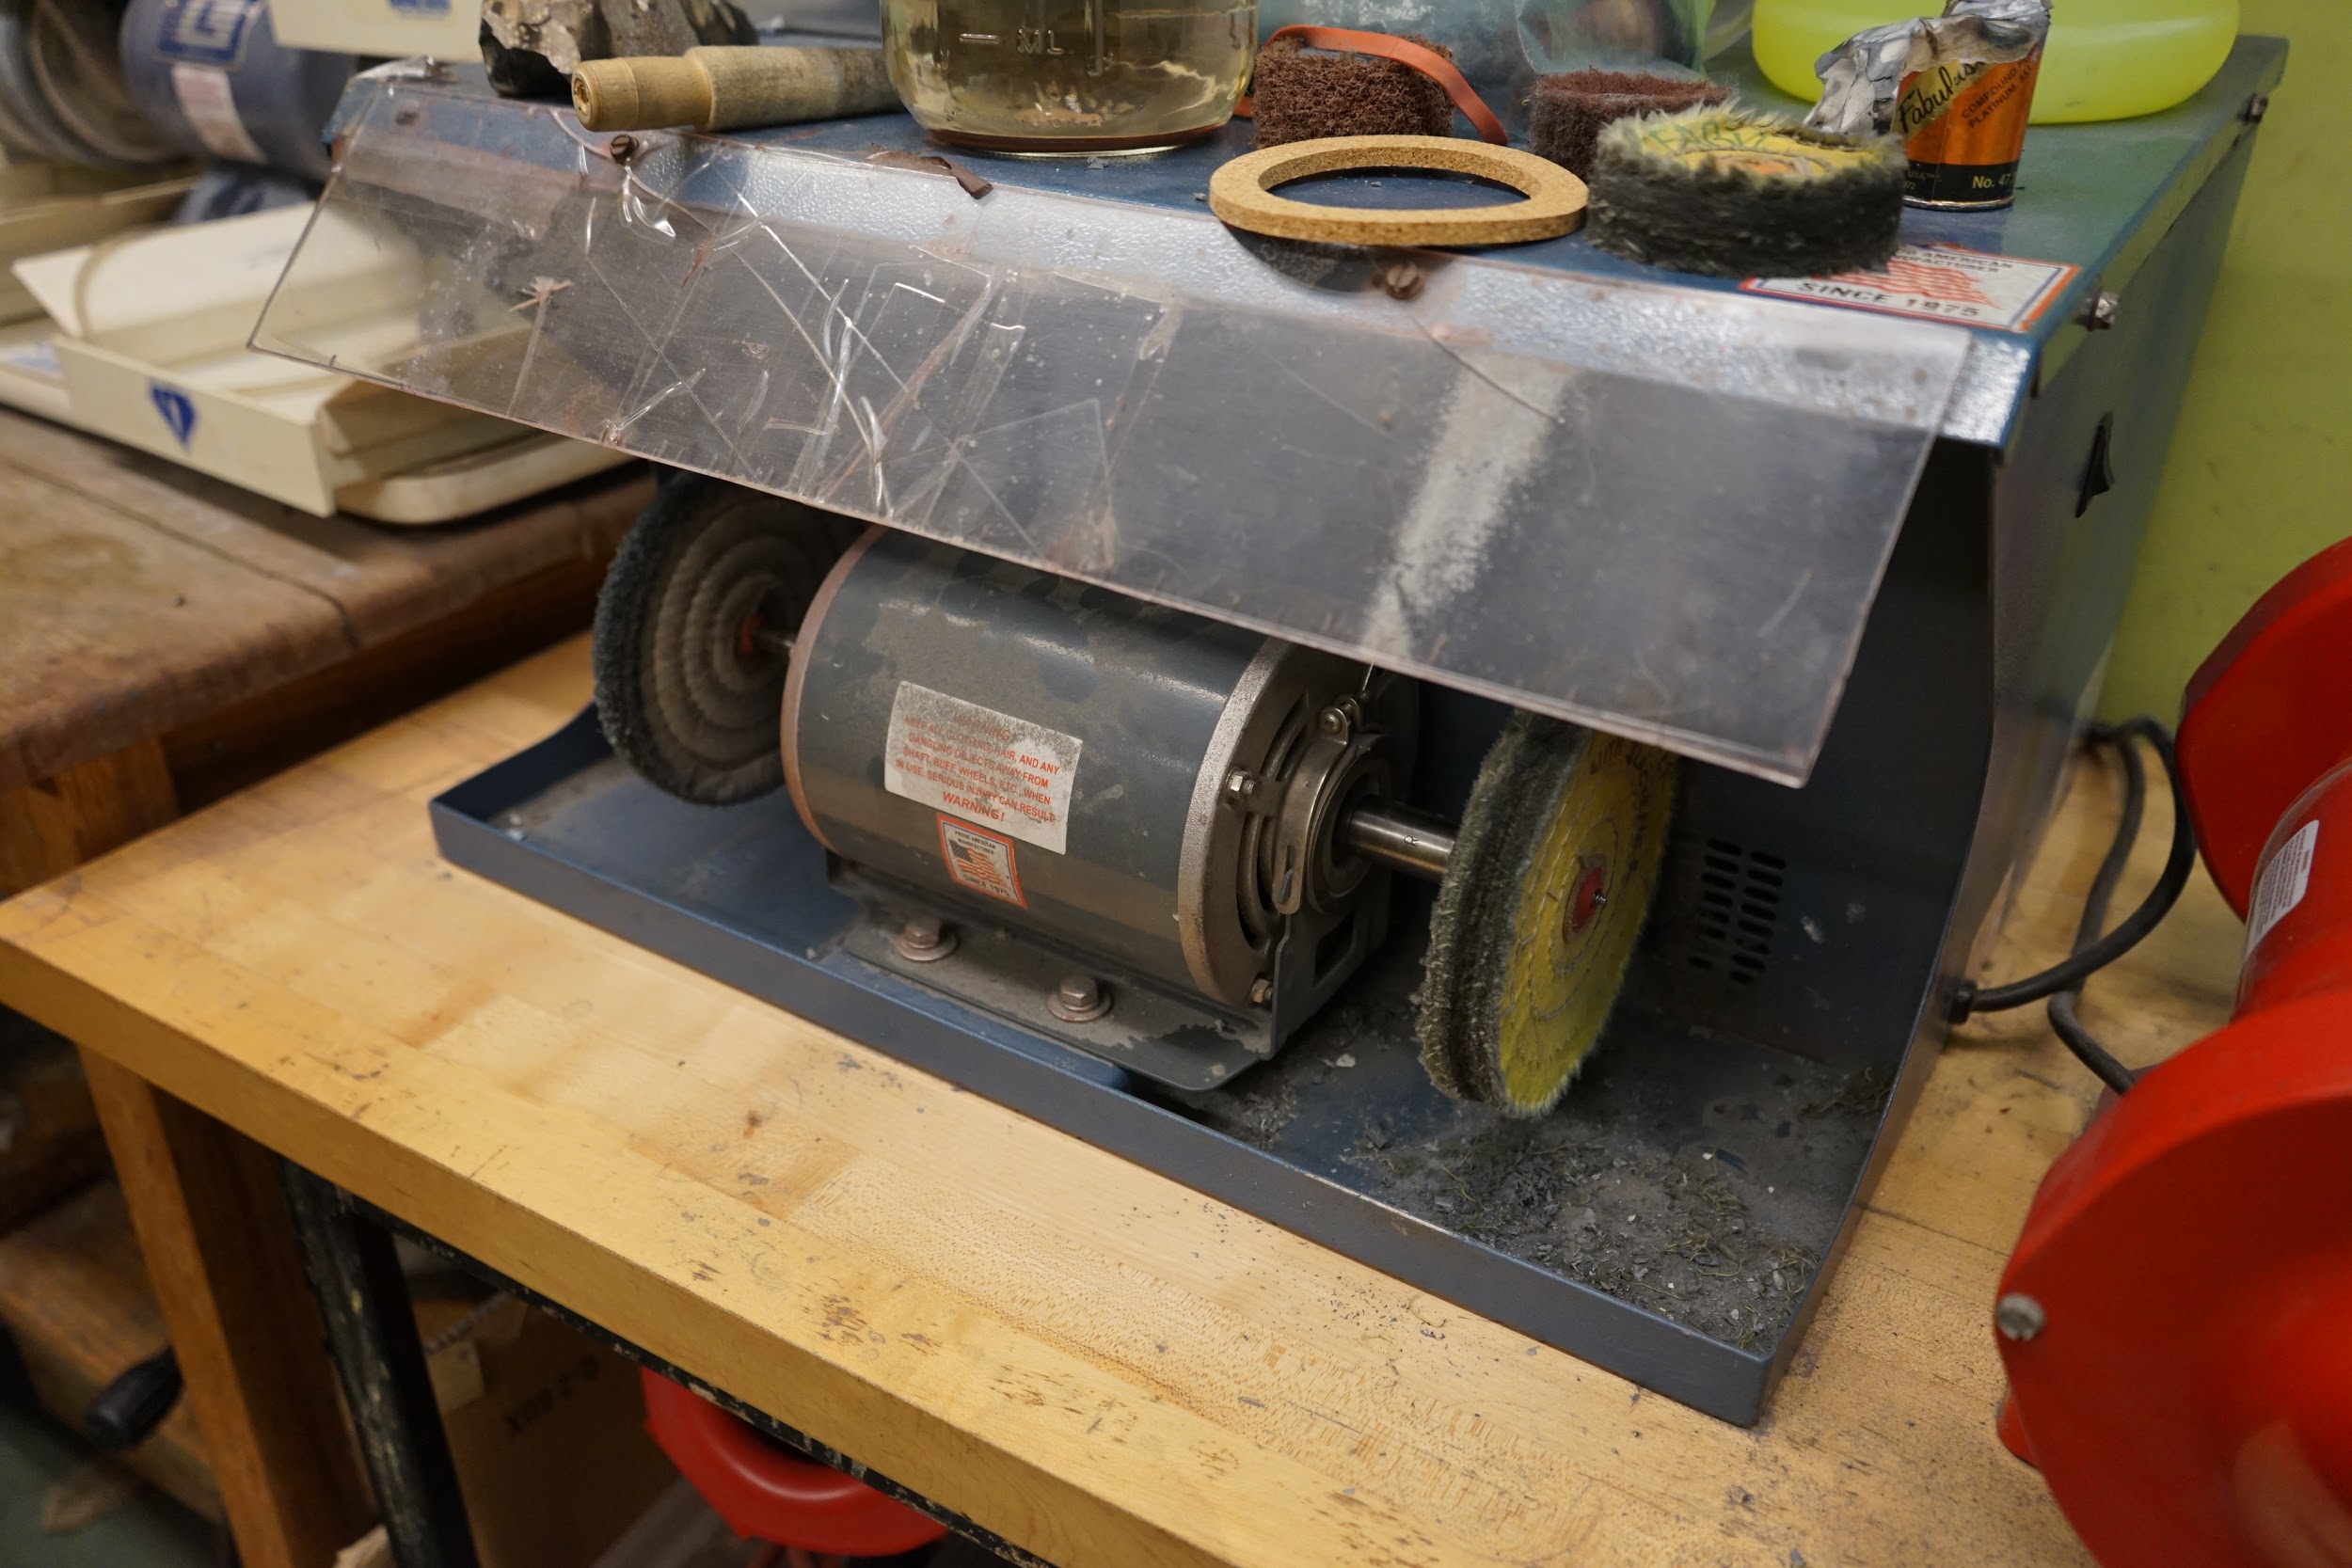
Felt attachments can also be added to lapidary wheels. Polishing compounds (powder + a binder) can be purchased in rectangular blocks that are applied directly to the wheel.
| Image URL: |
|---|
 |
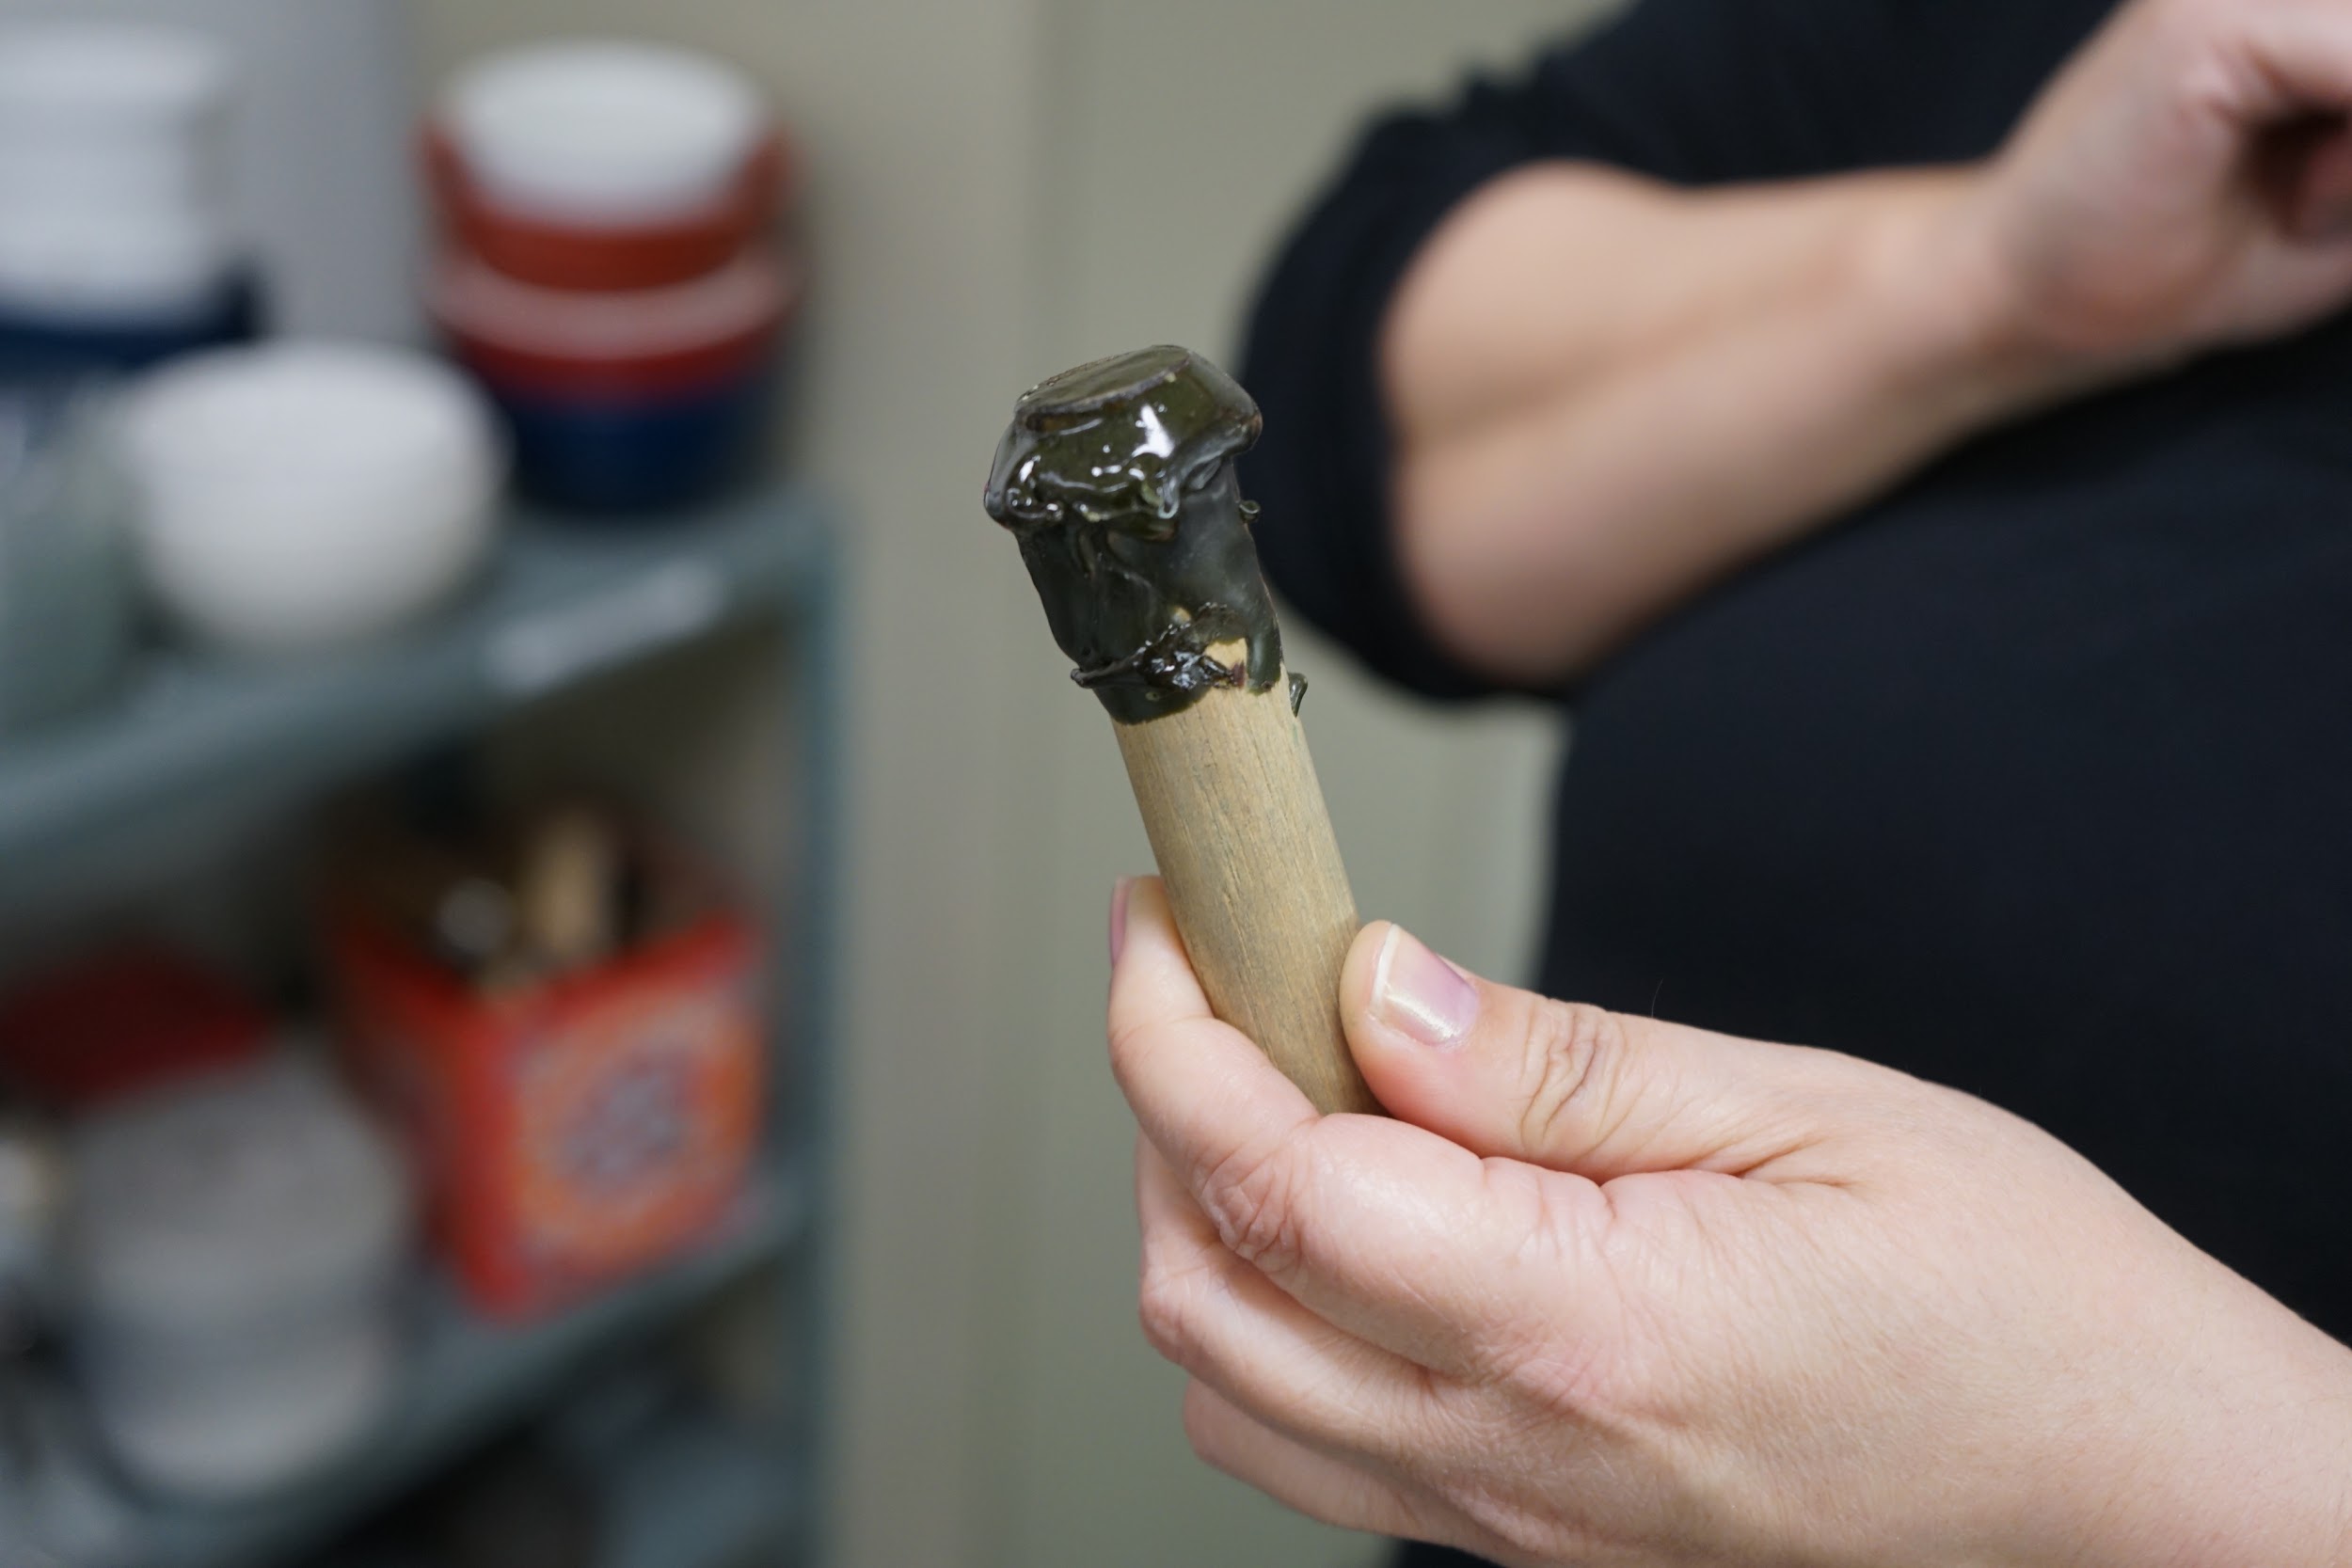
Stones can be held in place by securing them to a dop stick. The dop stick is a wooden stick capped with a wax and resin mixture on the end. The stone is heated then applied to the wax, which melts and adheres to the stone. The stick and stone are then left to cool until the wax hardens.
| Image URL: |
|---|
 |
Name: Angel Jiang
Date and Time:
Location: My apartment
Subject: Drawing design on stone
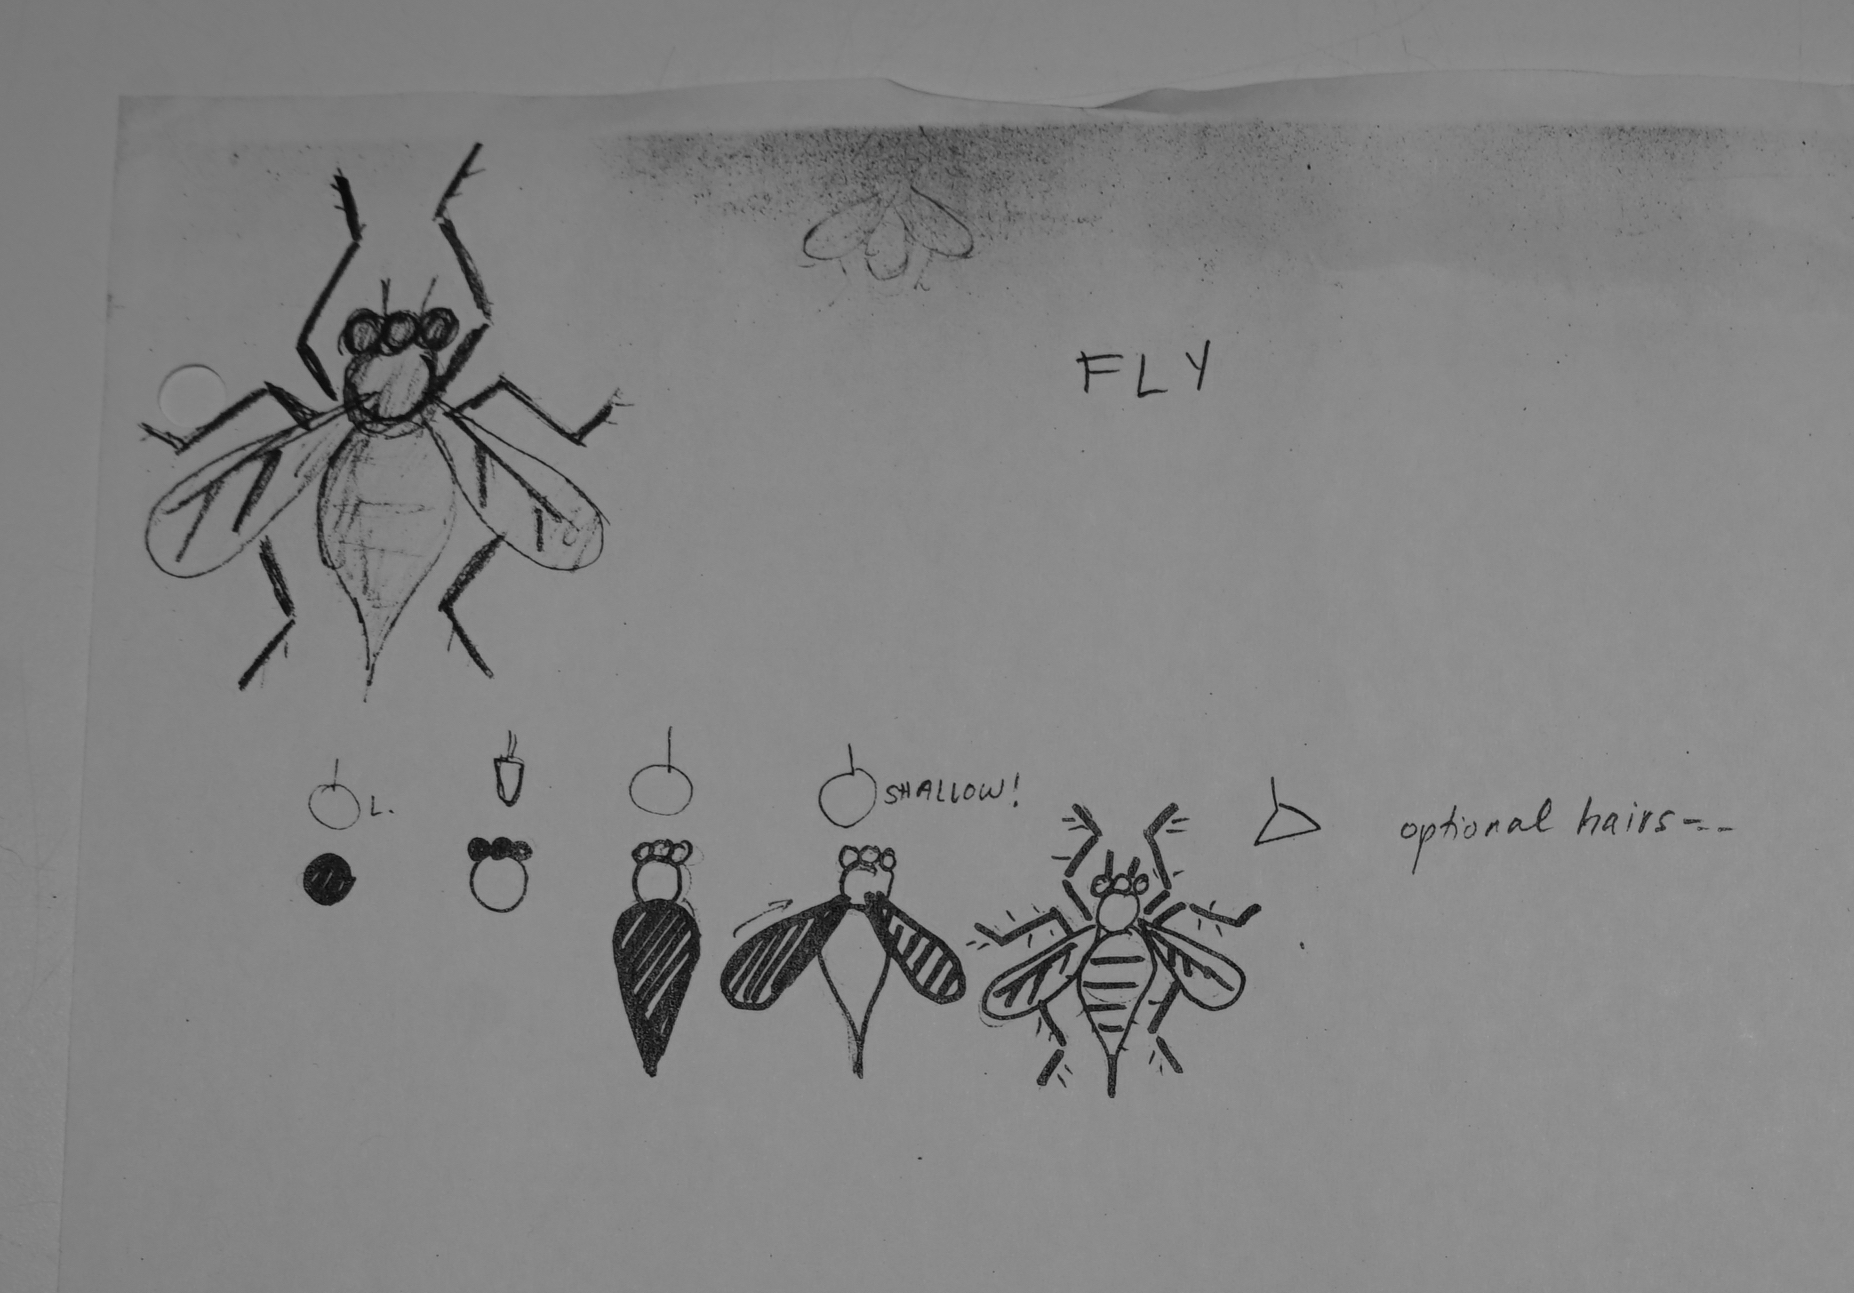
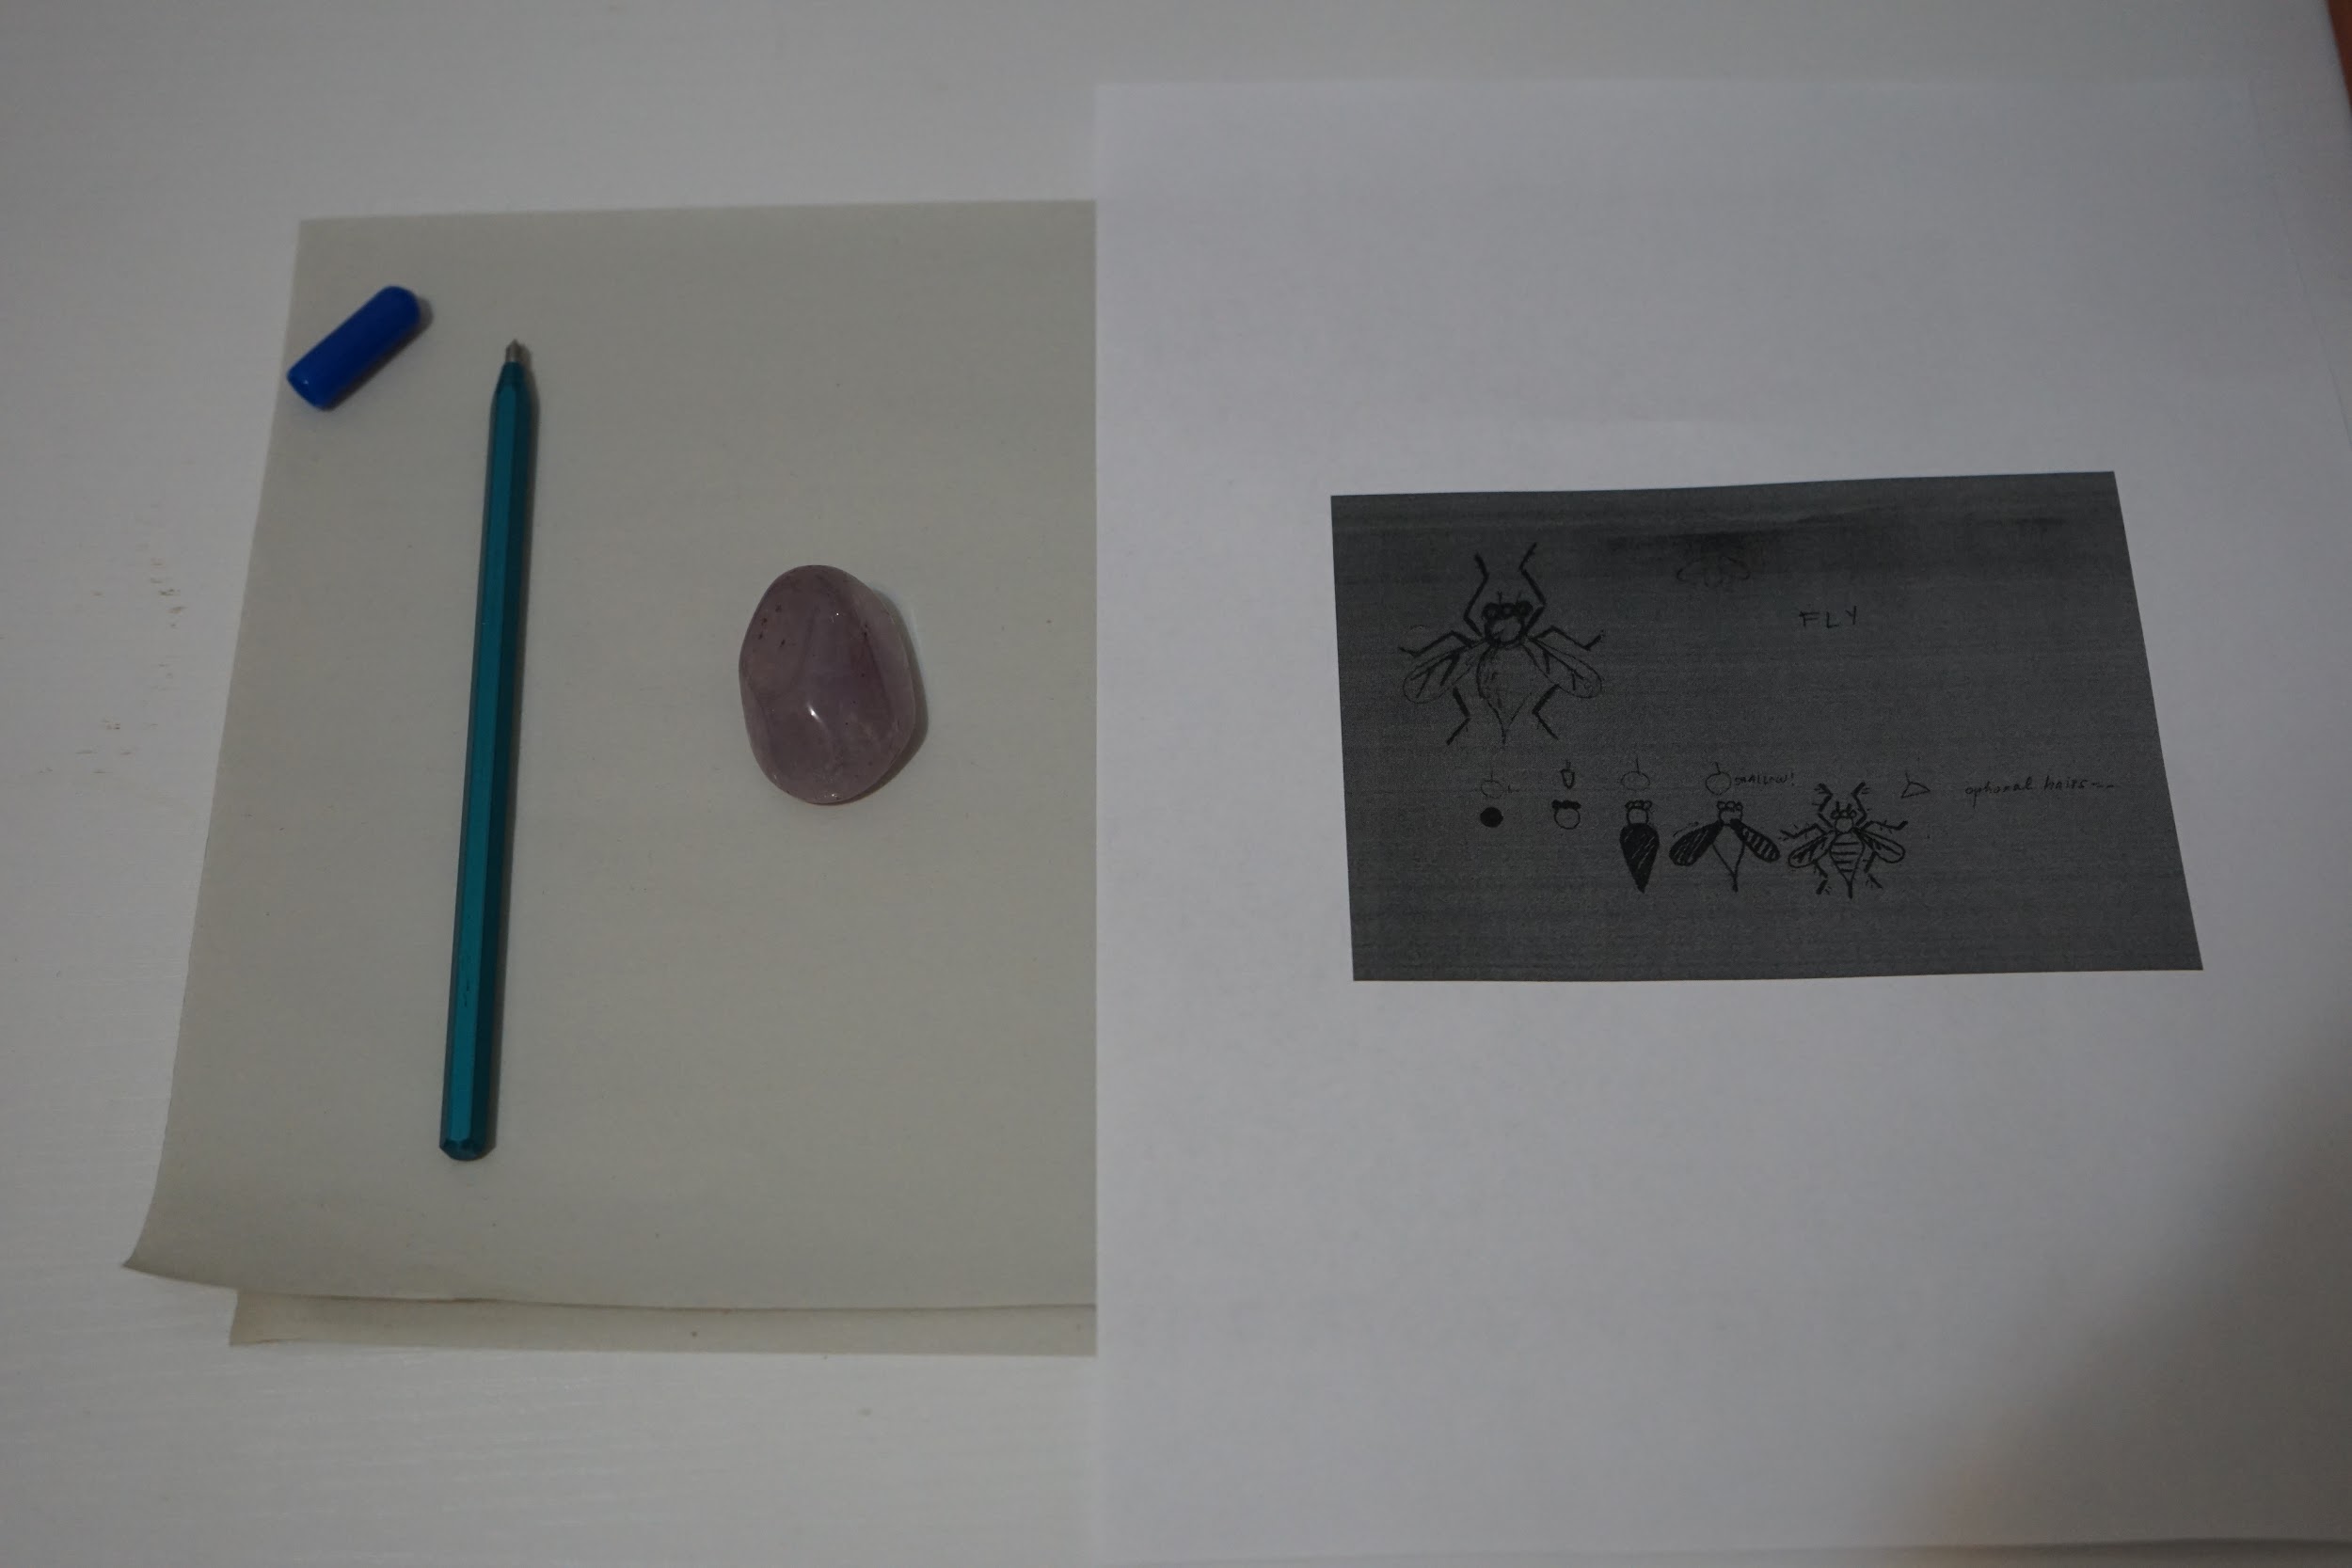
I selected a design for engraving on stone from a selection provided by Jeanette. The diagram indicates the type of burr needed for each part of the fly design. For example, a sphere is used for the eyes and head and the note “shallow!”.
| Image URL: |
|---|
 |
Materials
Amethyst, tumbled
Diamond-tipped scribe (brand: Electron Microscopy Services)
Newsprint, generic
Soap (brand: Ms. Meyers) and water
Procedure
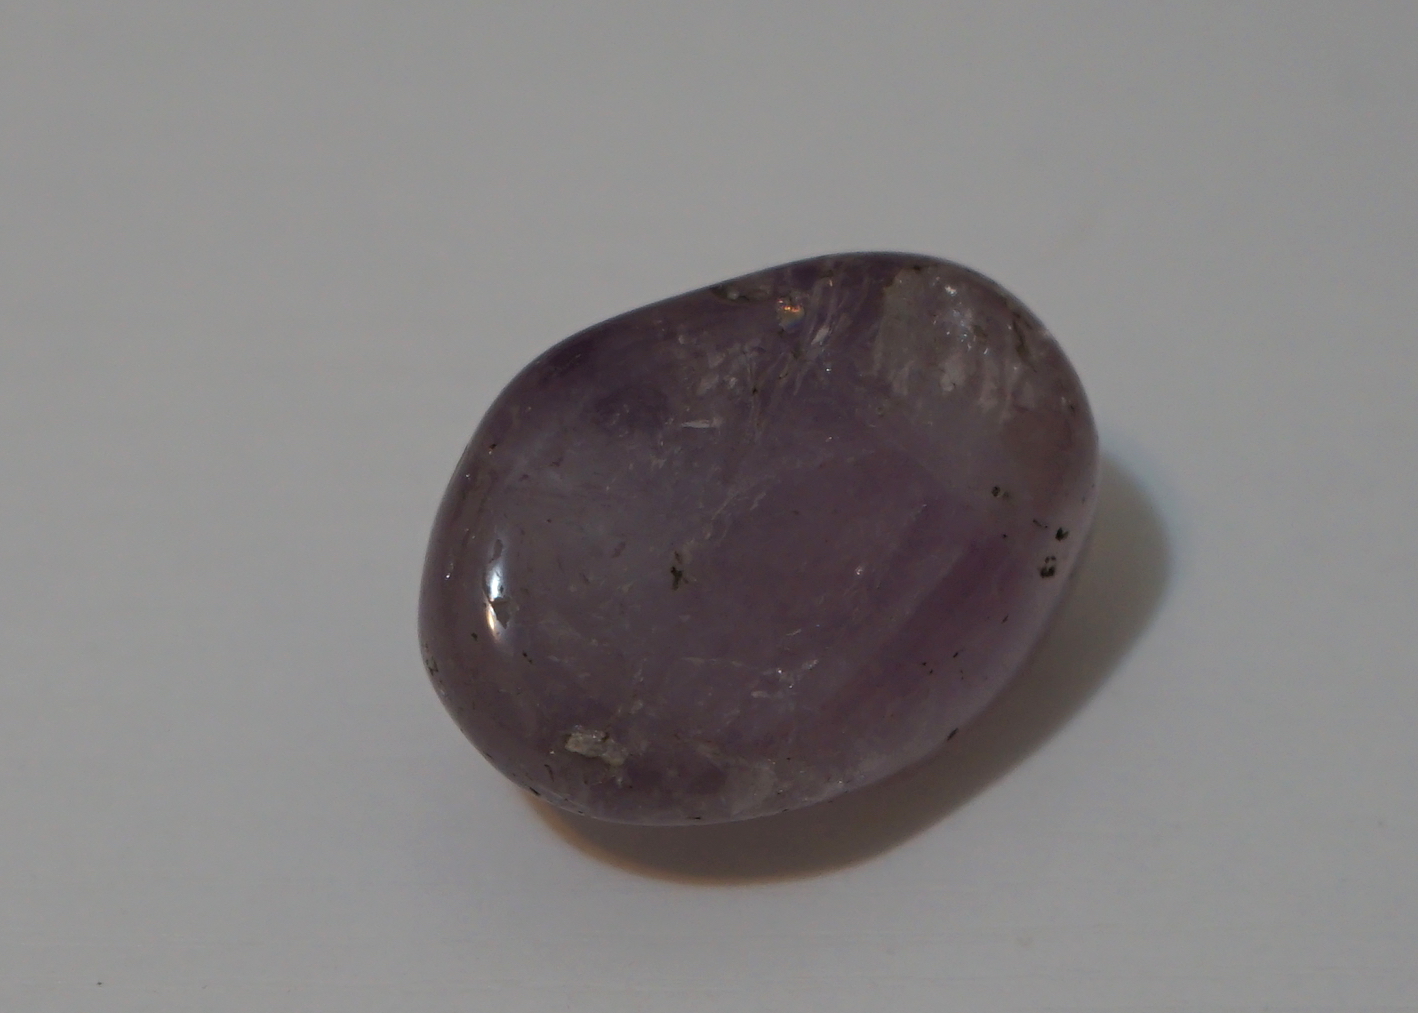
For this reconstruction I used a tumbled amethyst about 1.5 inches long and 1.25 inches wide. This is larger than most ancient and early modern intaglios. I selected this specific stone because it has a flat side.
I washed the amethyst with dish soap and water to remove oils.
The stone has inclusions (materials enclosed within the stone) and small cracks. These affect the clarity of the stone and I believe they may affect my engraving. The stone is otherwise smooth and cool to the touch.
| Image URL: |
|---|
 |
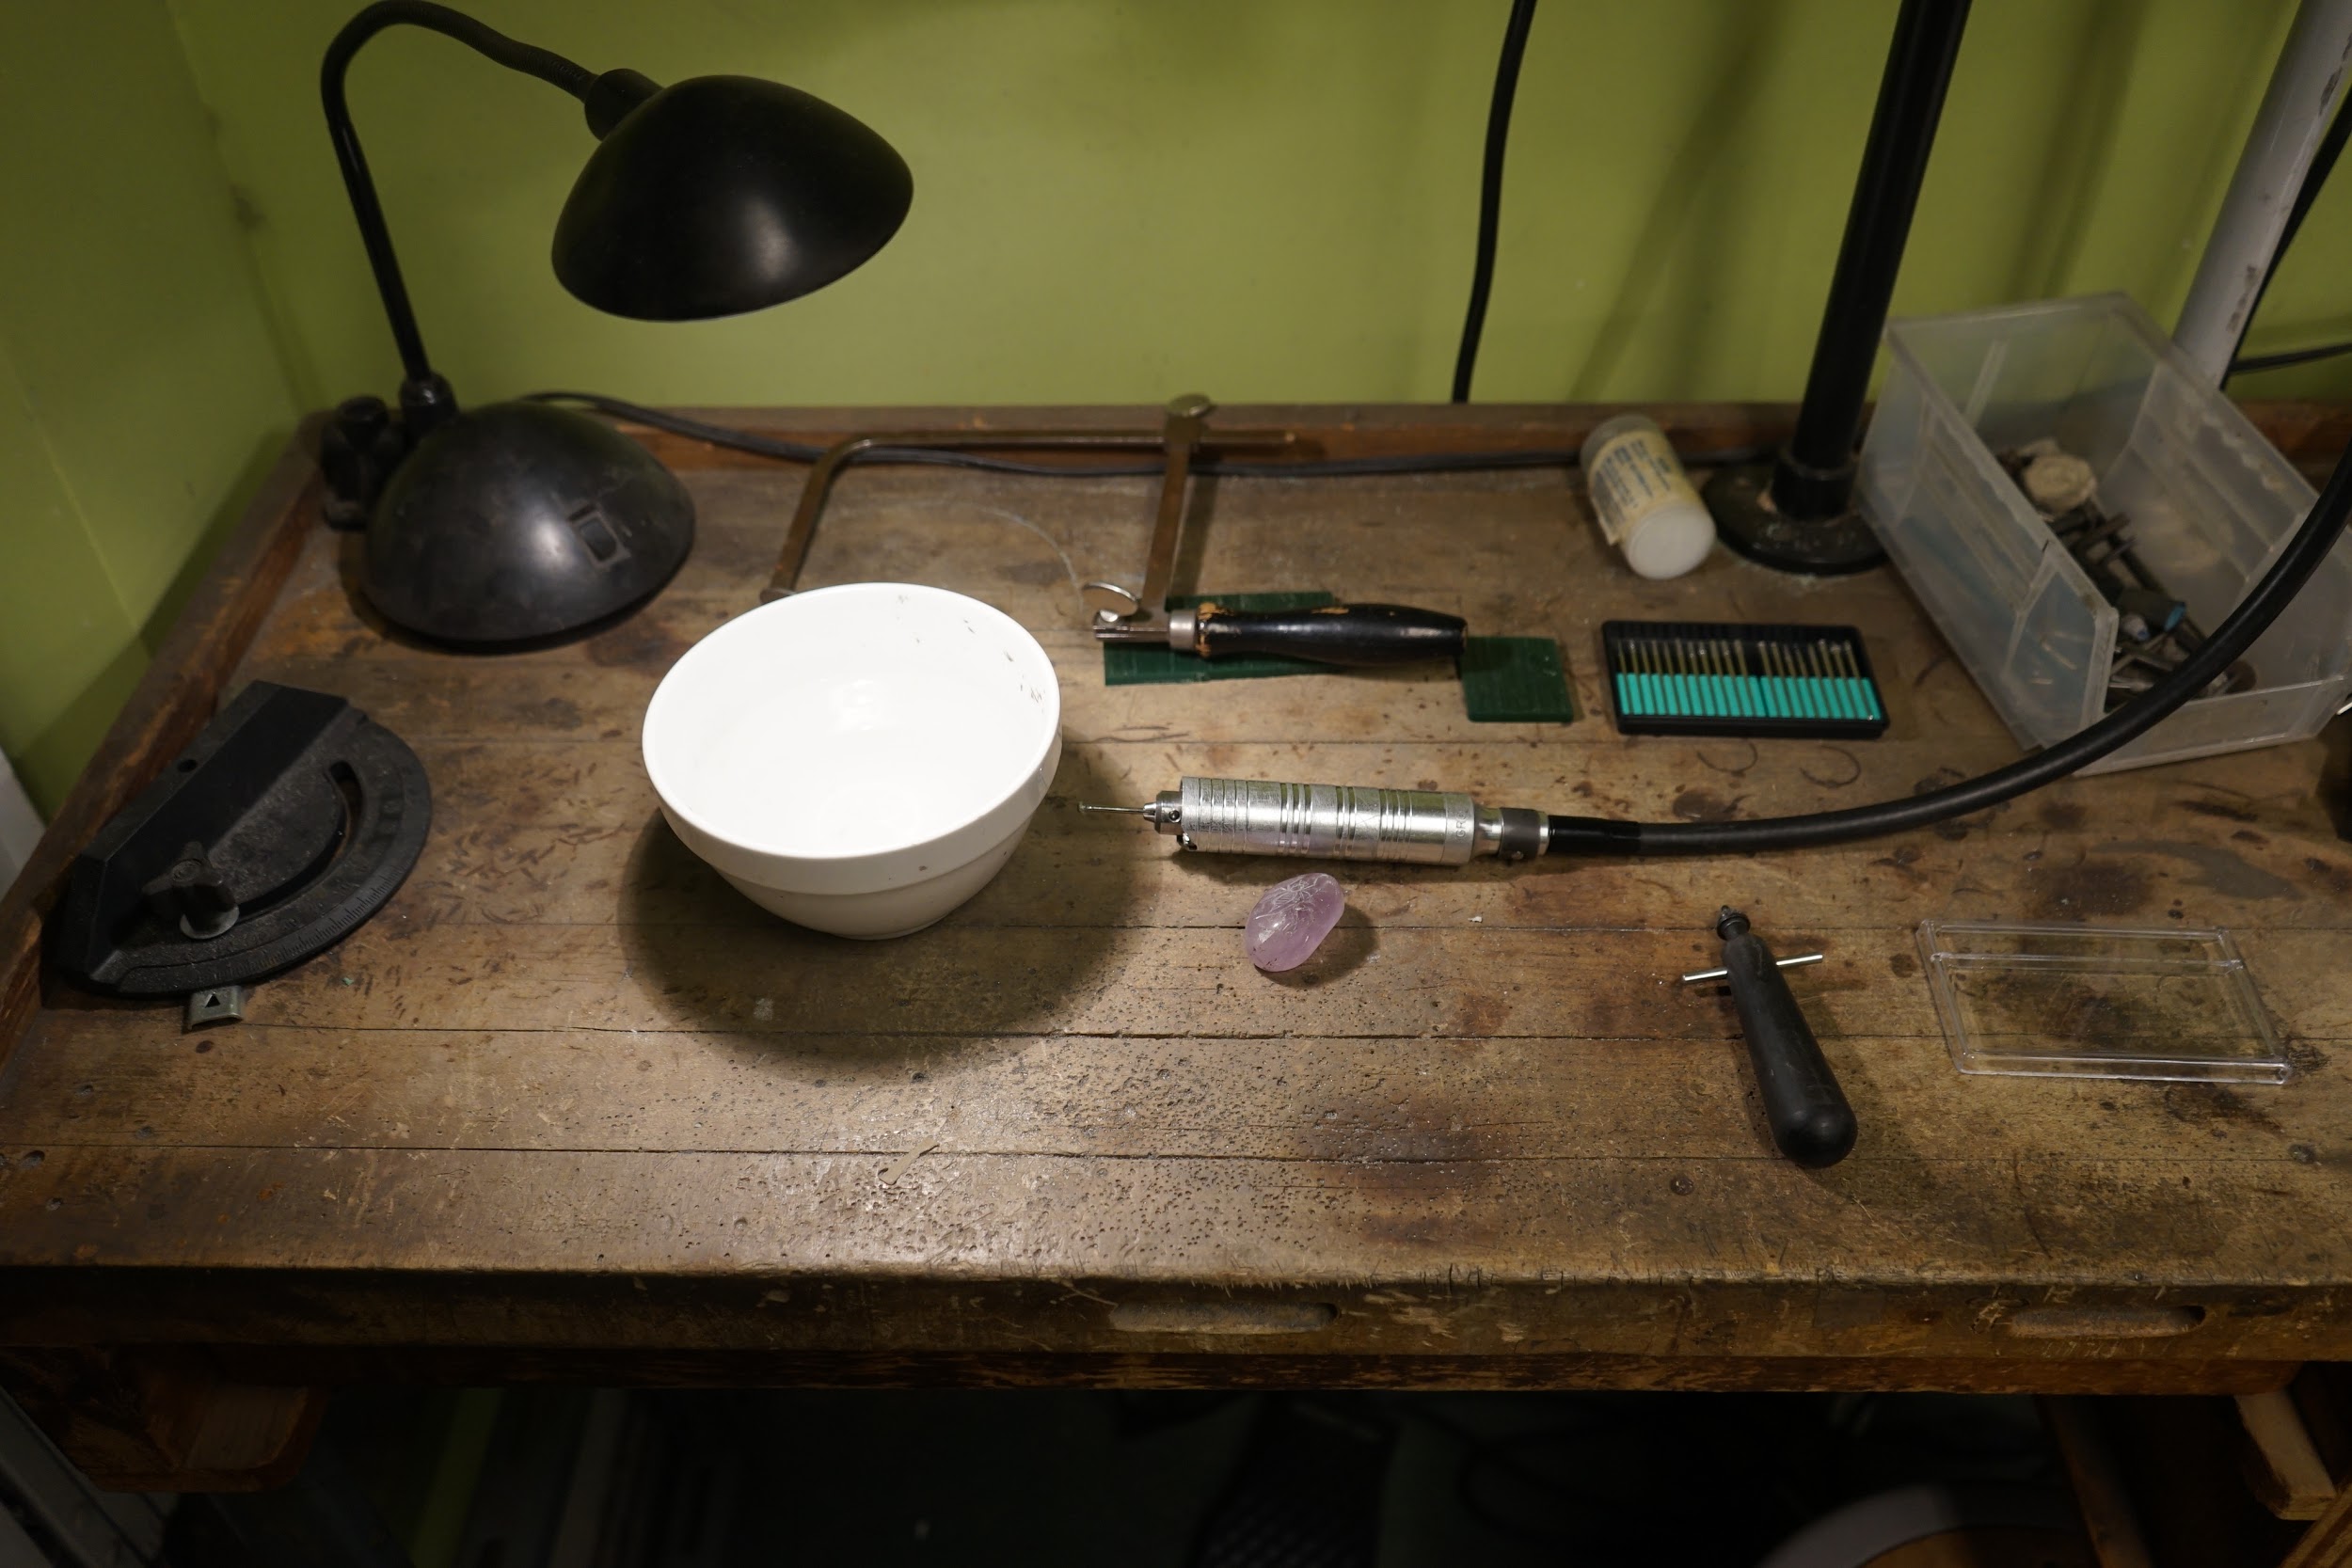
Workstation
I set up my workstation in a well-lighted room in my apartment.
NB: I did not use a magnifying glass - early modern stone engravers did not use magnifying tools.
| Image URL: |
|---|
 |
Drawing the design onto stone with a diamond-tipped scribe did not require a lot of pressure. The scribe scratched away at the surface easily and felt like scratching glass or a chalkboard. Not difficult, but not pleasant. The design was visible as soon as I began drawing onto the stone because of the very fine, very small amount of white powder it yielded. Its consistency was similar to powdered sugar.
This powder, not the scratched design in relief, is what made the design visible the first time around. Once I removed it, it was barely visible. I continued to scratch into the stone.
After “tracing” (the term the author-practitioner uses) for about 15 minutes and wiping it away, the design was legible enough that I could still see it after removing the powder from the surface.
I noticed it was easy to draw in short, quick strokes, and slightly more challenging to draw longer, curved strokes. The three spheres drawn on the head of the insect and legs fall into this category. The body of the insect I drew has a cusped and pointed shape, and I completed this portion by using two sets of short strokes on each side rather than one set of long strokes on each side. Compared to the eyes and head of the insect, the body does not look nearly as round.
| Image URL: |
|---|
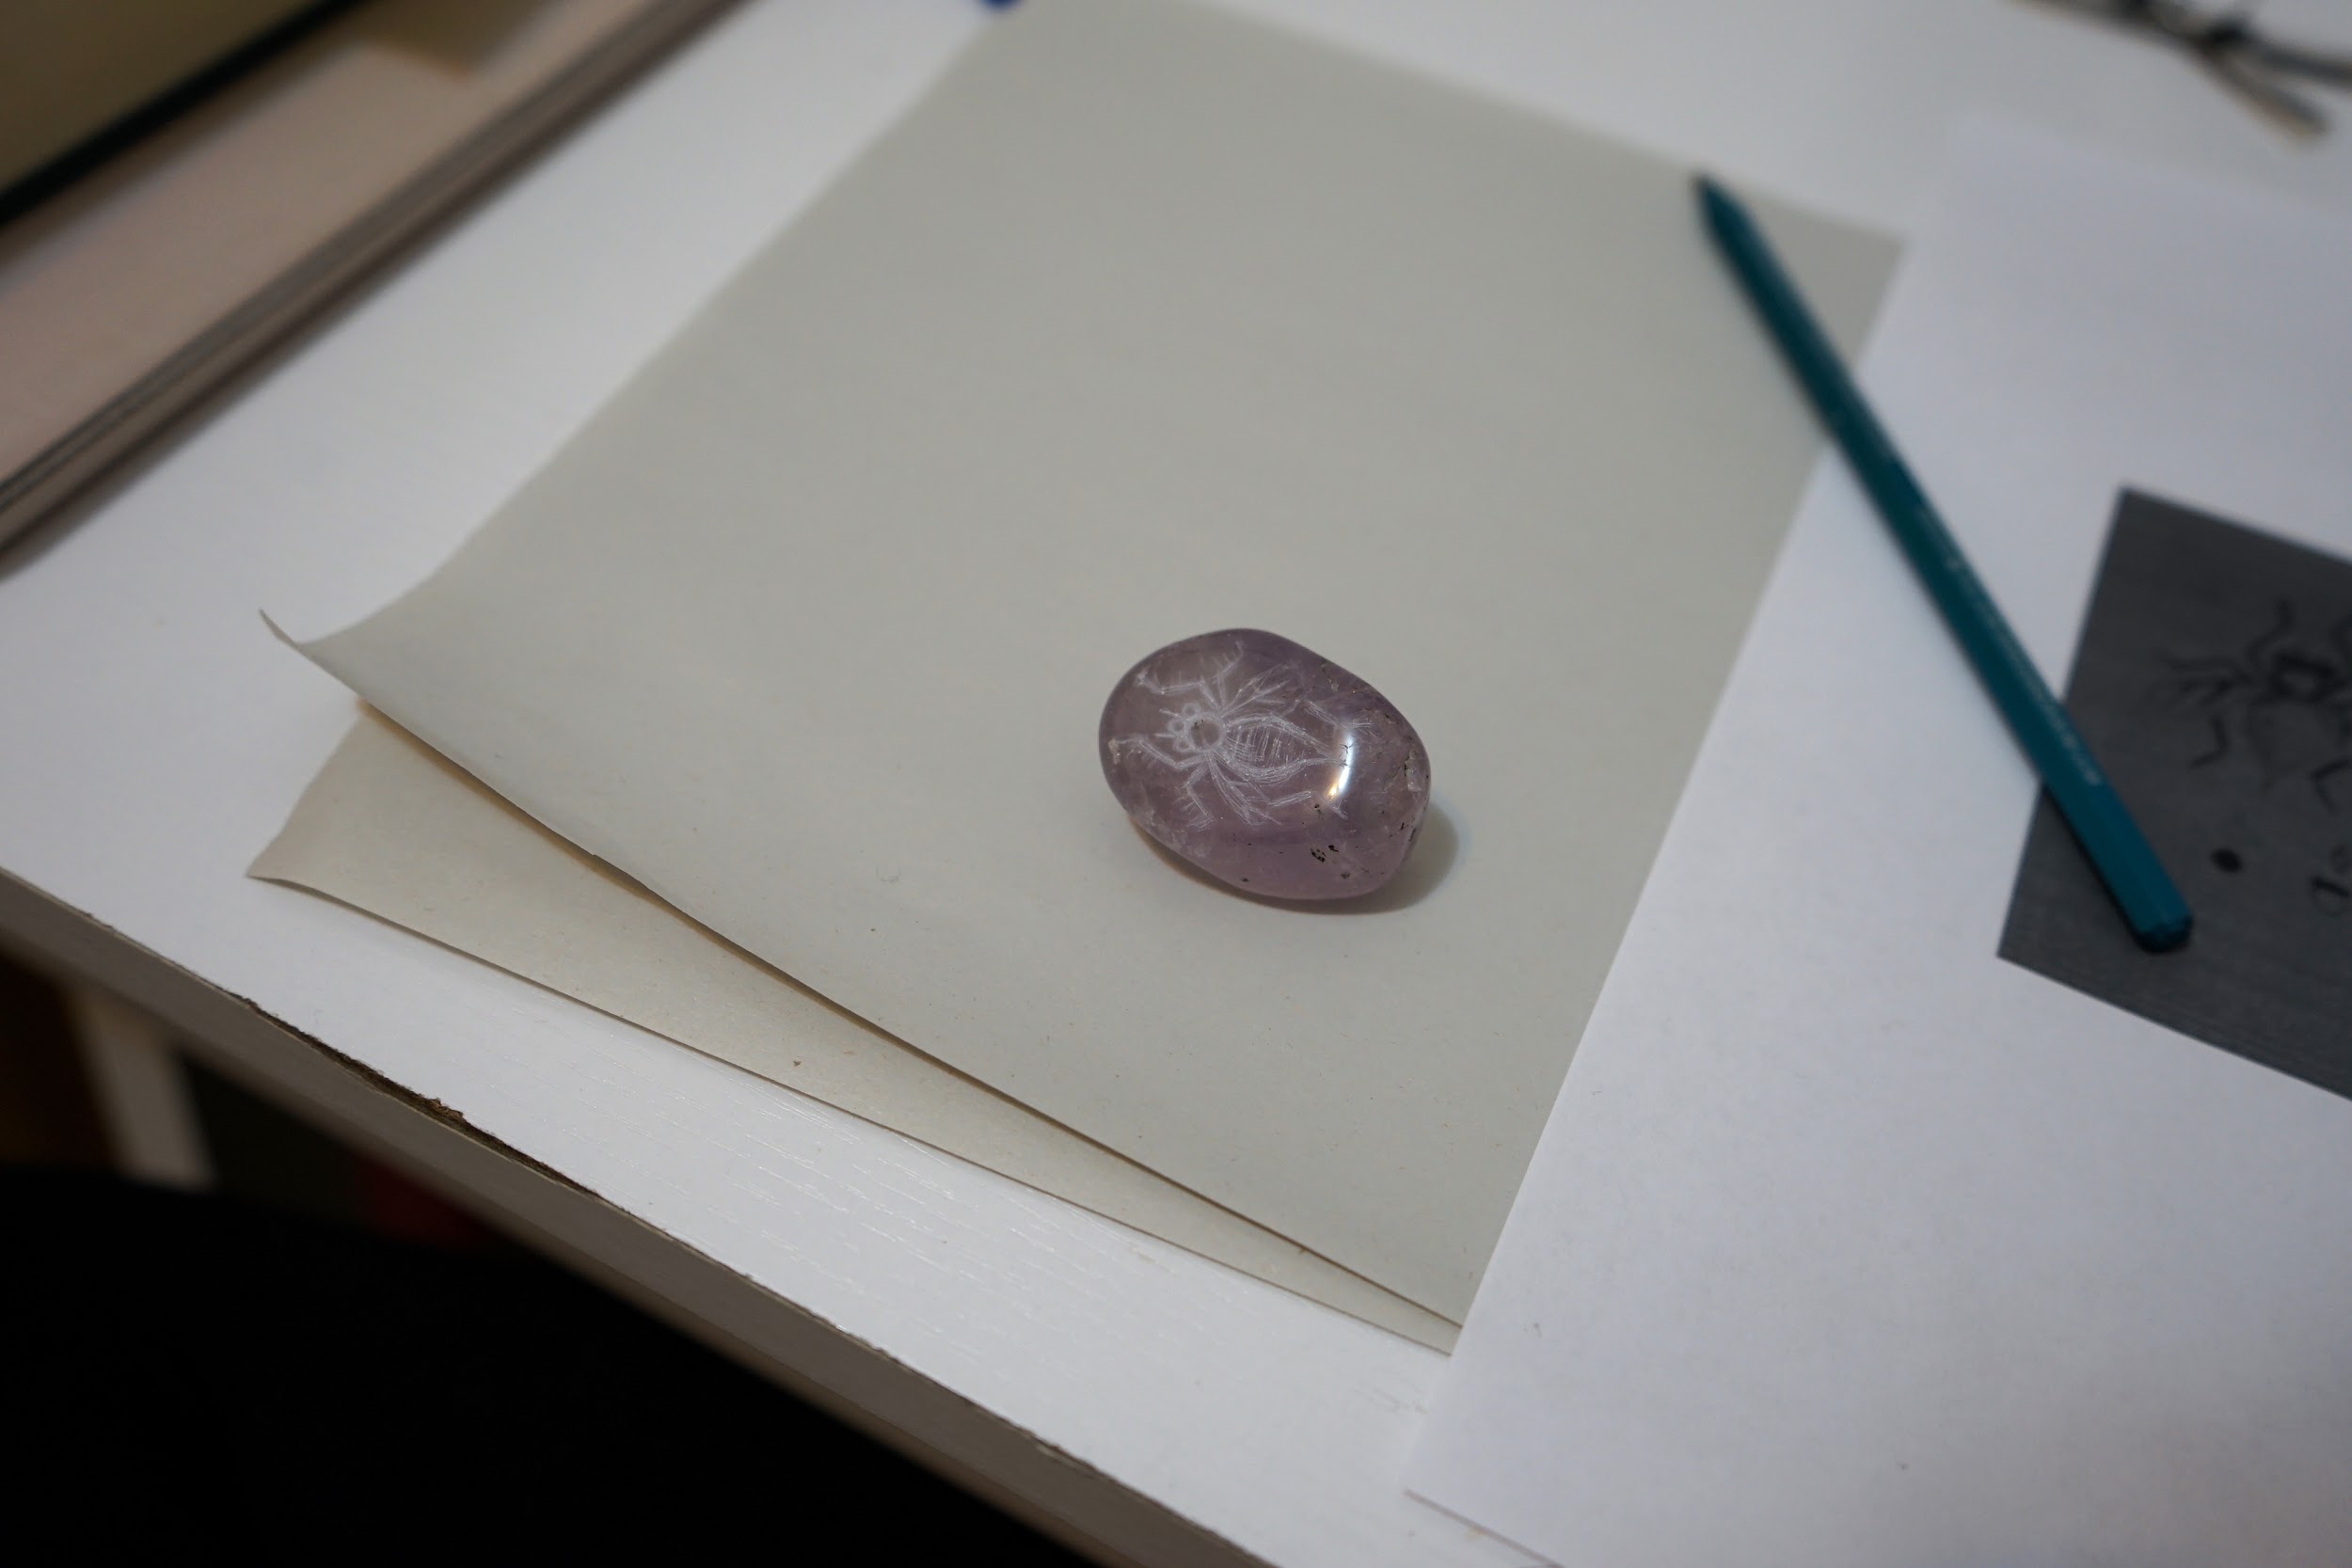 |
The design is visible, but I could not feel the relief at all with my fingertips - the stone still felt smooth and uniformly polished.
| Image URL: |
|---|
 |
Name: Angel Jiang
Date and Time:
Location: Jewelry Arts Inc., 22 E. 49th Street
Subject: Engraving stone
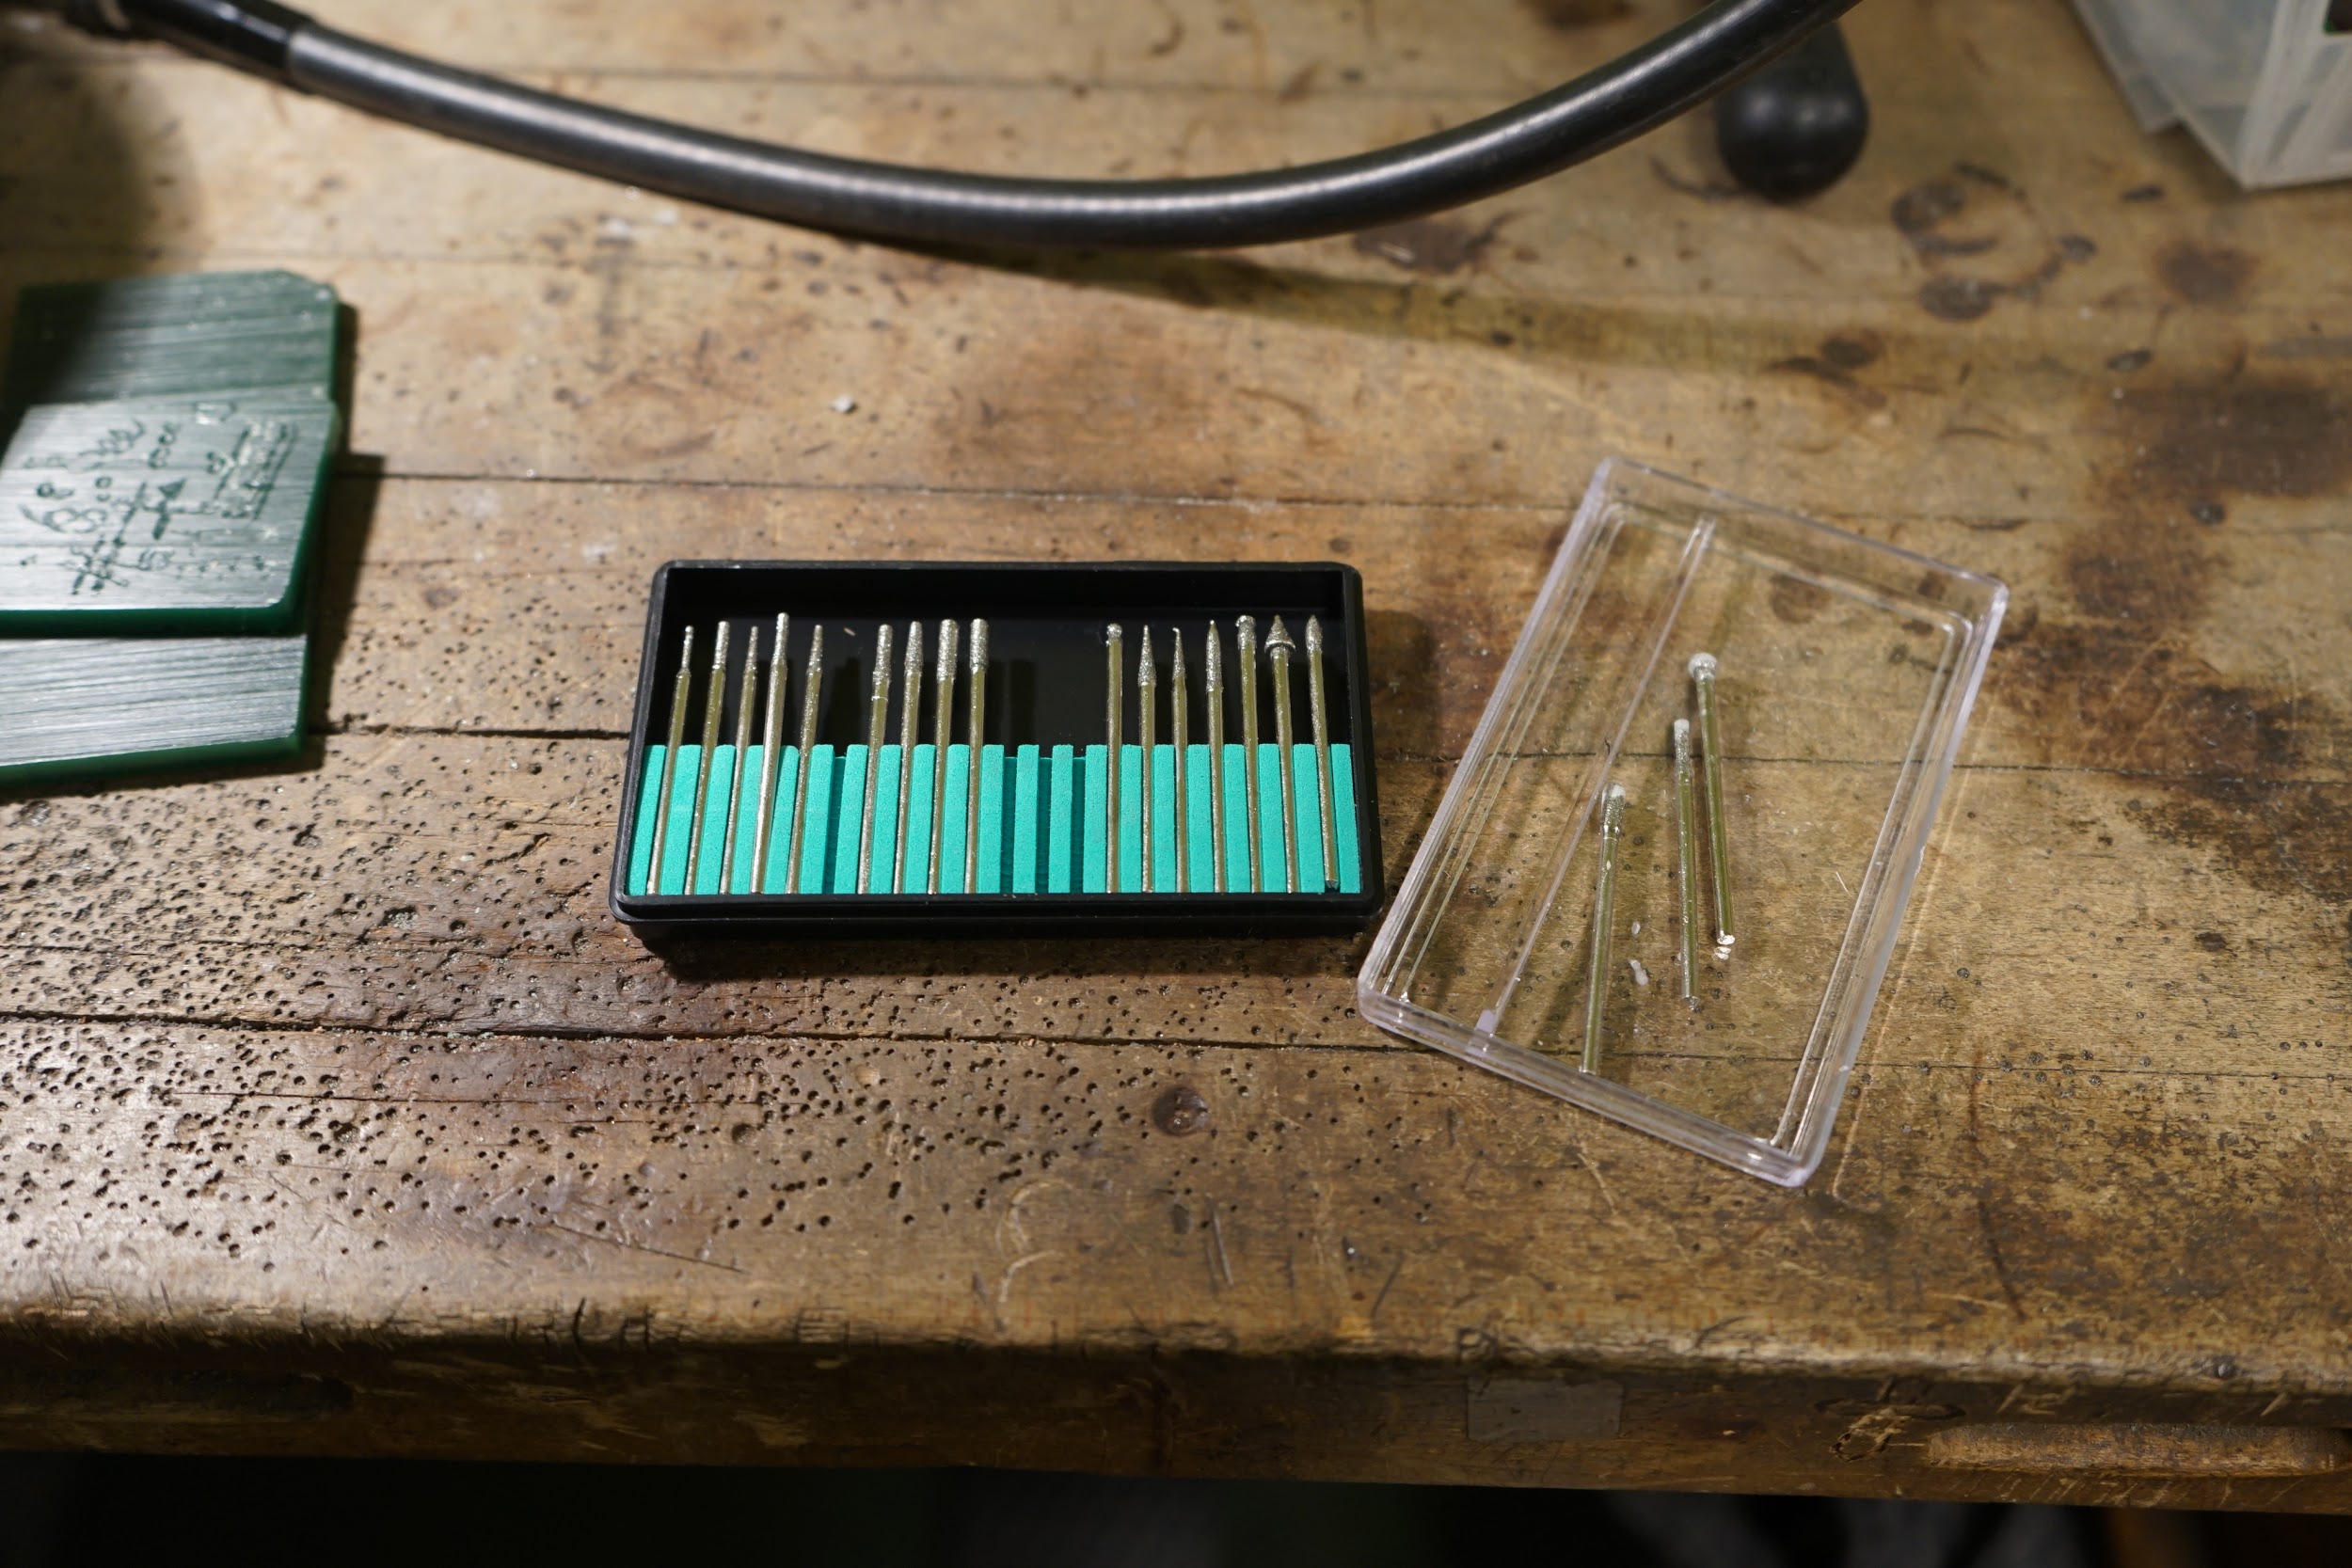
Materials and Tools
Flexible shaft, bench and stool
Diamond grit burrs, 3/32 inch width
Bowl of water
Stone
Hard wax for practicing
Set up workstation. First practiced on a piece of hard green wax.
Diamond burrs are installed in flexible shaft by inserting burr and tightening with tool (pictured at right). Similar idea to inserting blades into linoleum cutters.
Jeanette recommends settling in and getting comfortable before starting. Engraving can take a long time and being tense makes the process more difficult!
| Image URL: |
|---|
 |
| Image URL: |
|---|
 |
Engraving produces heat because of friction. Heat can cause the stone to crack, so the stone must be dipped in cool water frequently.
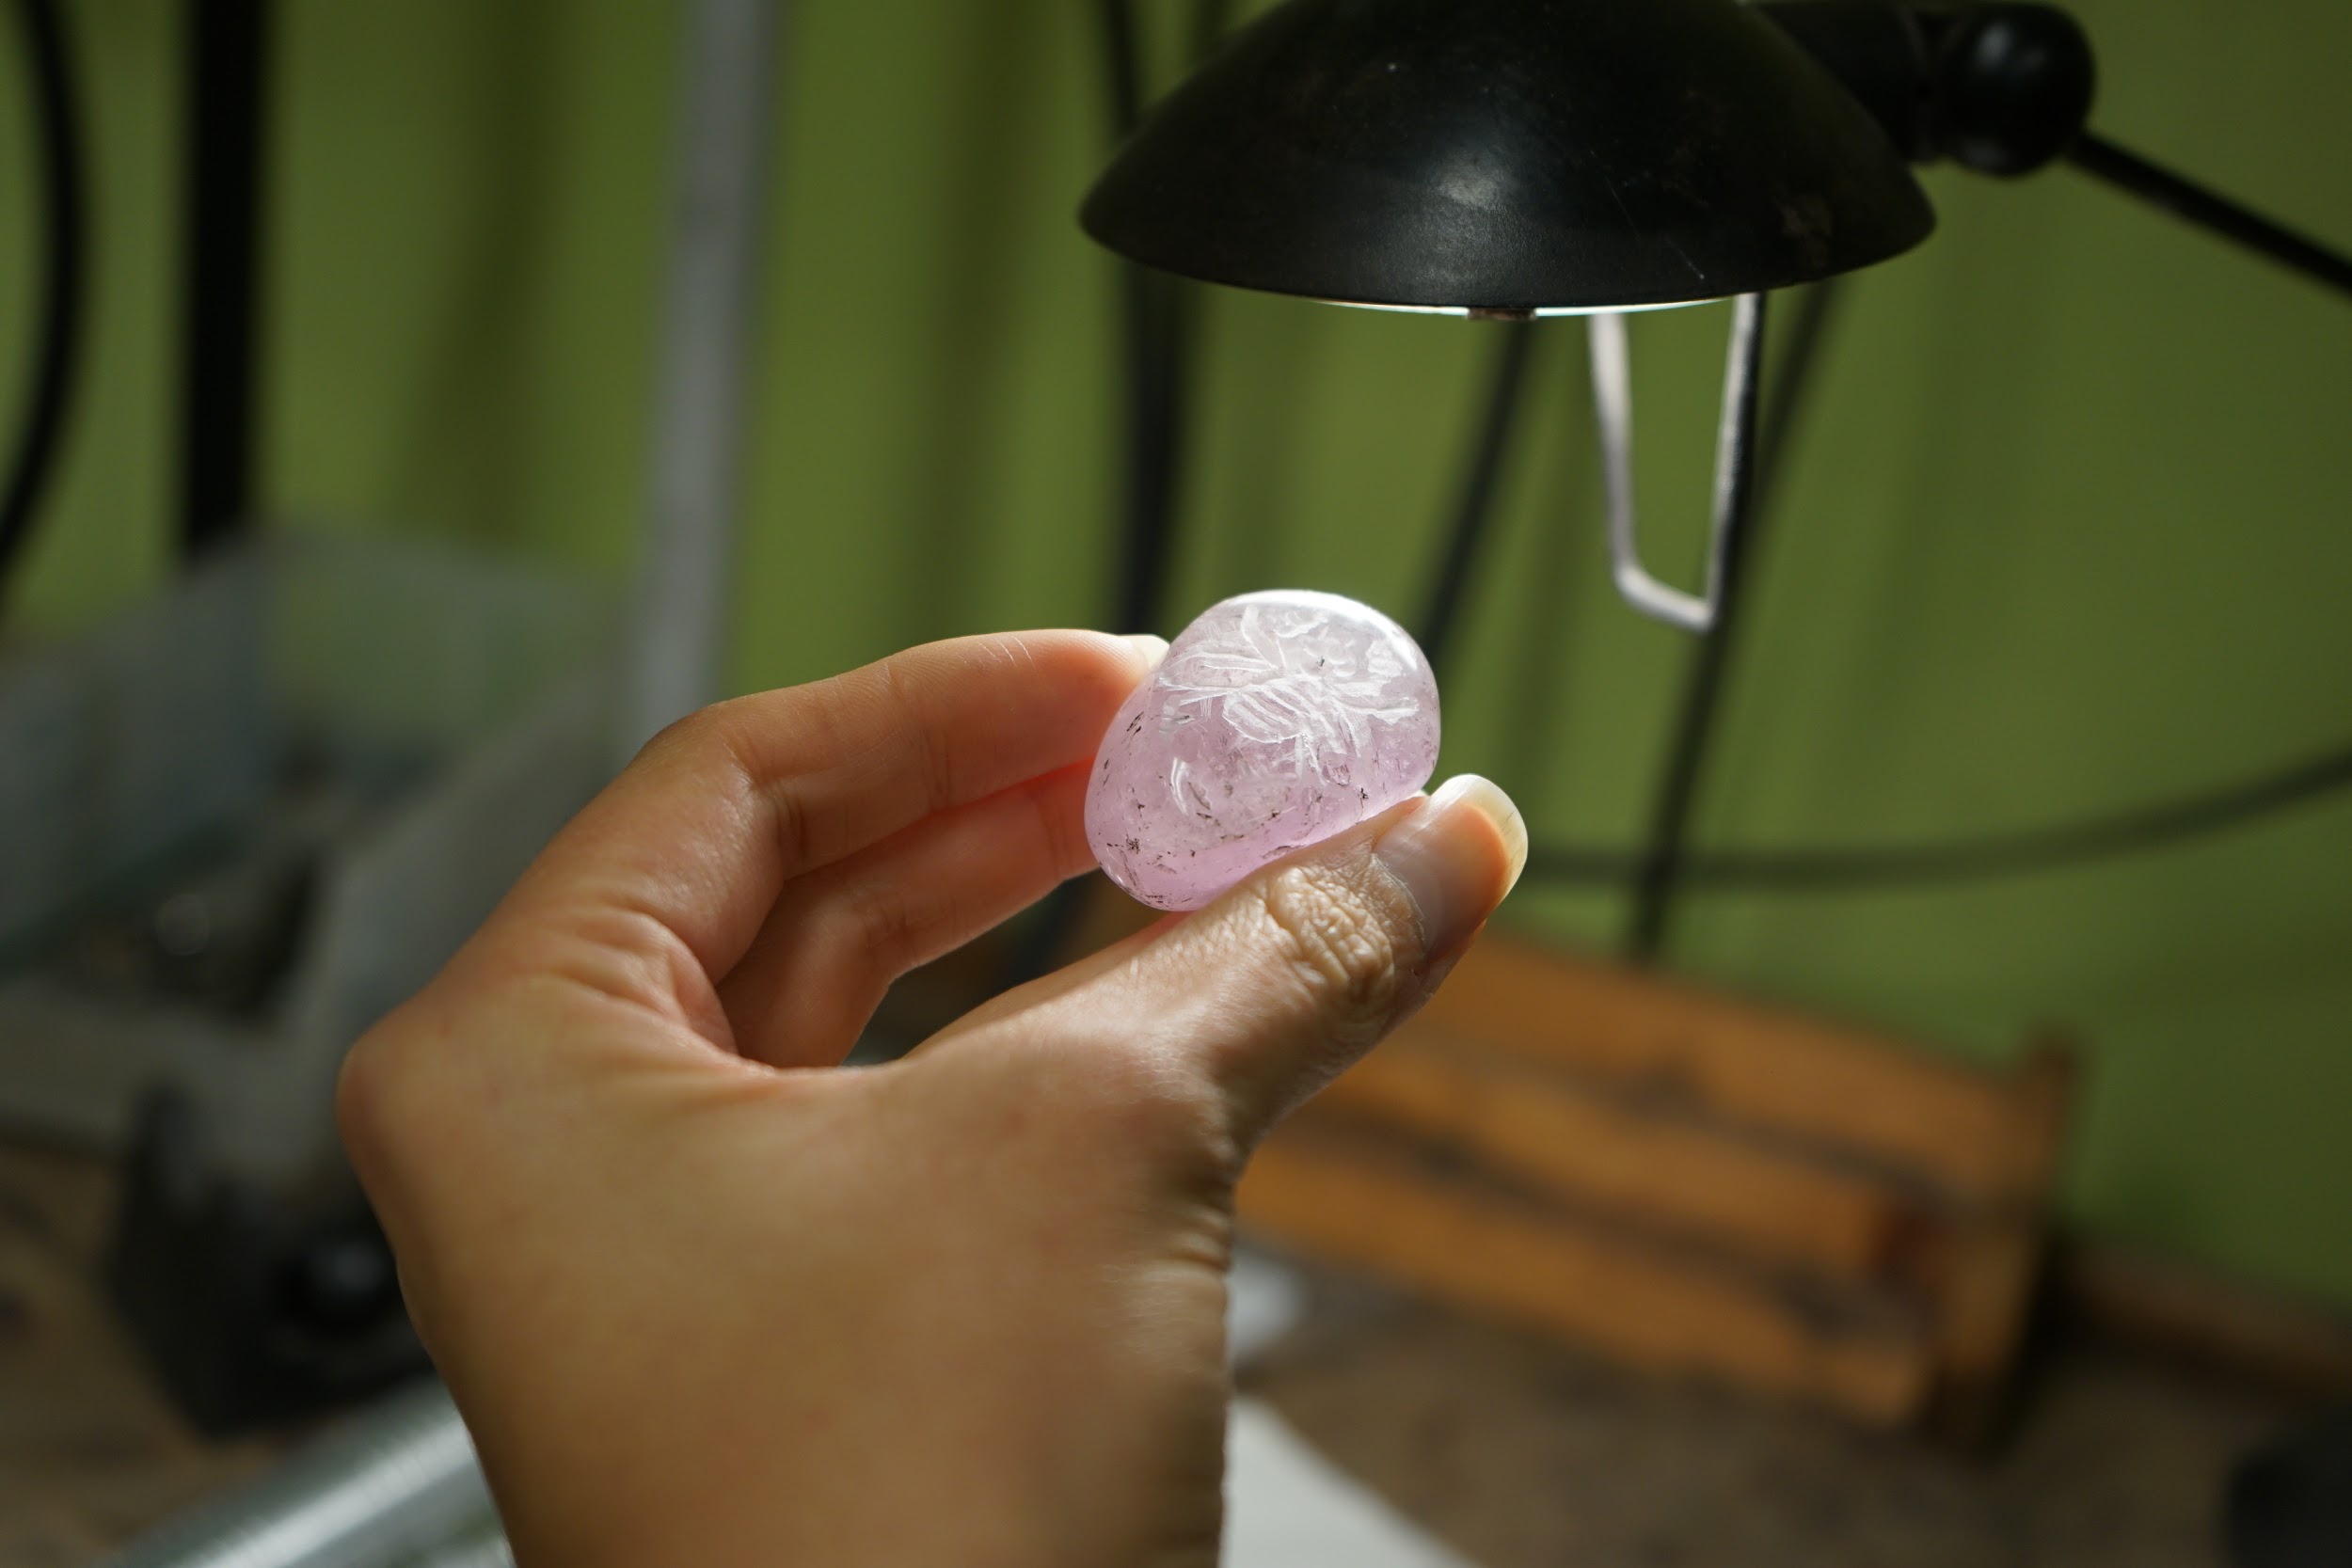
The drawing on stone is visible under direct and raking light while dry.
| Image URL: |
|---|
 |
Jeanette demonstrated the proper technique to hold the object to be polished. The stone is held in the non-dominant hand, but the thumb of the other hand, or the dominant hand holding the handle of the flexible shaft, supports the object from its other side.
| Image URL: |
|---|
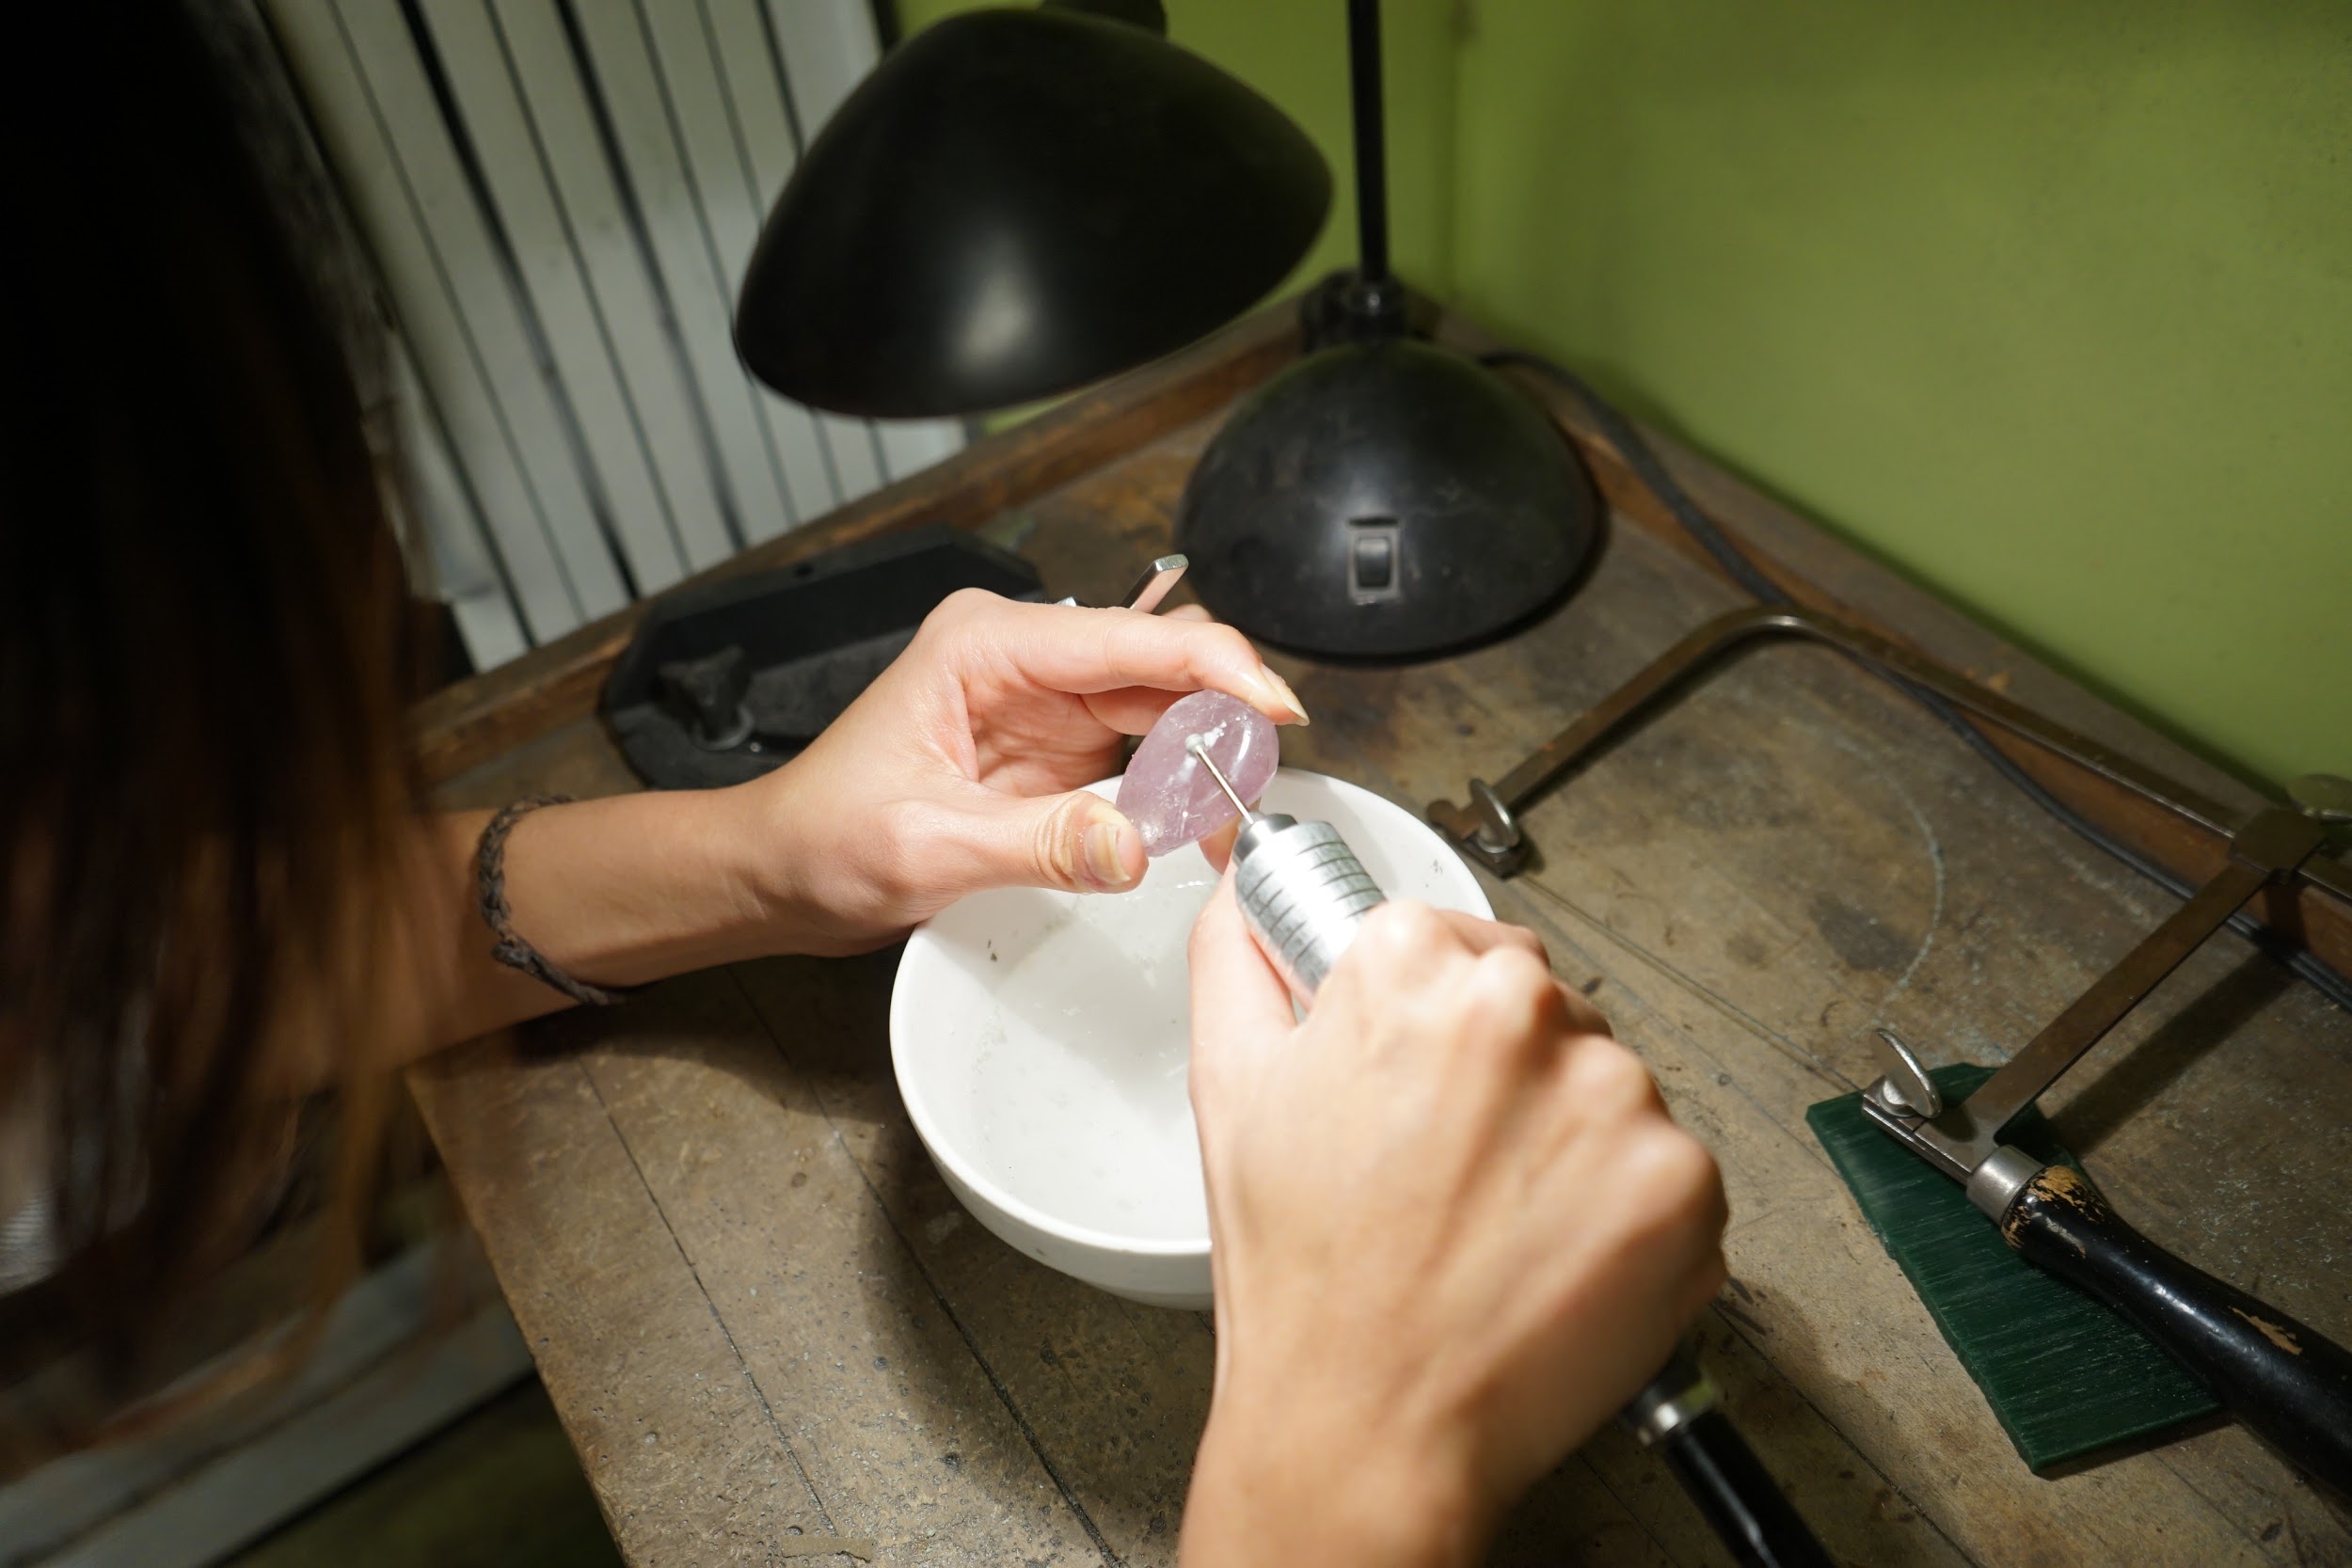 |
The flexible shaft should be held with the thumb under its base and the other four fingers wrapped around the top. (Similar to gripping a bike handle.) The side of the tip of the head carves away at the stone on contact. The flexible shaft was heavier than expected and easier to handle if held close to the head as opposed to the base. It vibrates against the stone, which makes it all the more necessary to secure the stone with both left and right hands. The burr will carve into the stone easily, but it needs to be held steady or it will skip and create uneven grooves. It also does not need to be pushed into the stone, just held against it. In other words, the depth of the groove is determined by the amount of time the head is held into the stone, not the pressure applied.
Jeanette recommends pulling with straight strokes toward the body. She likens it to peeling a carrot. I noticed that using these strokes was indeed easier than pushing the burrs in the opposite direction.
Once the stone is dipped into the cold water, the drawing traced onto the stone is no longer visible. Moreover, a slurry of powder coming off the stone mixed with the water on the surface of the stone obscures the area where the stone is being engraved. This process is done more by touch than sight; I periodically ran my thumb along the grooves I was carving to see if I could feel their depth. I dipped the stone into the water every time I went over one line or dot.
I used three burrs in total. The largest spherical one for circles (the eyes and head of the insect); the large cylindrical one for all straight lines (legs, wings). I first tried using a smaller cylindrical burr before switching to the larger one, but I noticed the side of the smaller one would touch the stone and engrave “outside of the lines.” (NB: I still couldn’t see the lines so I was doing this freehand, but I knew generally what the design looked like and could follow my work by periodically rinsing to view and feel the stone.)
Making the head and eyes with the spherical burr was the easiest to use in my experience since I only used it to make four conjoined circles. I simply had to hold it in place and let it do the work for the small ones (three eyes), and use it to make small, circular motions for the larger ones (one head).
| Image URL: |
|---|
 |
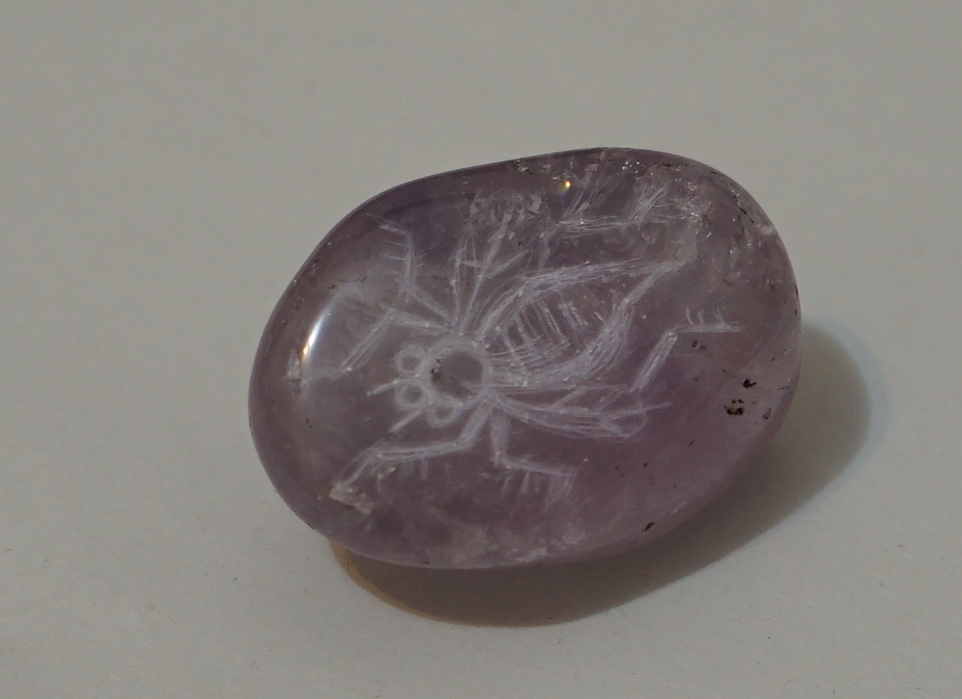
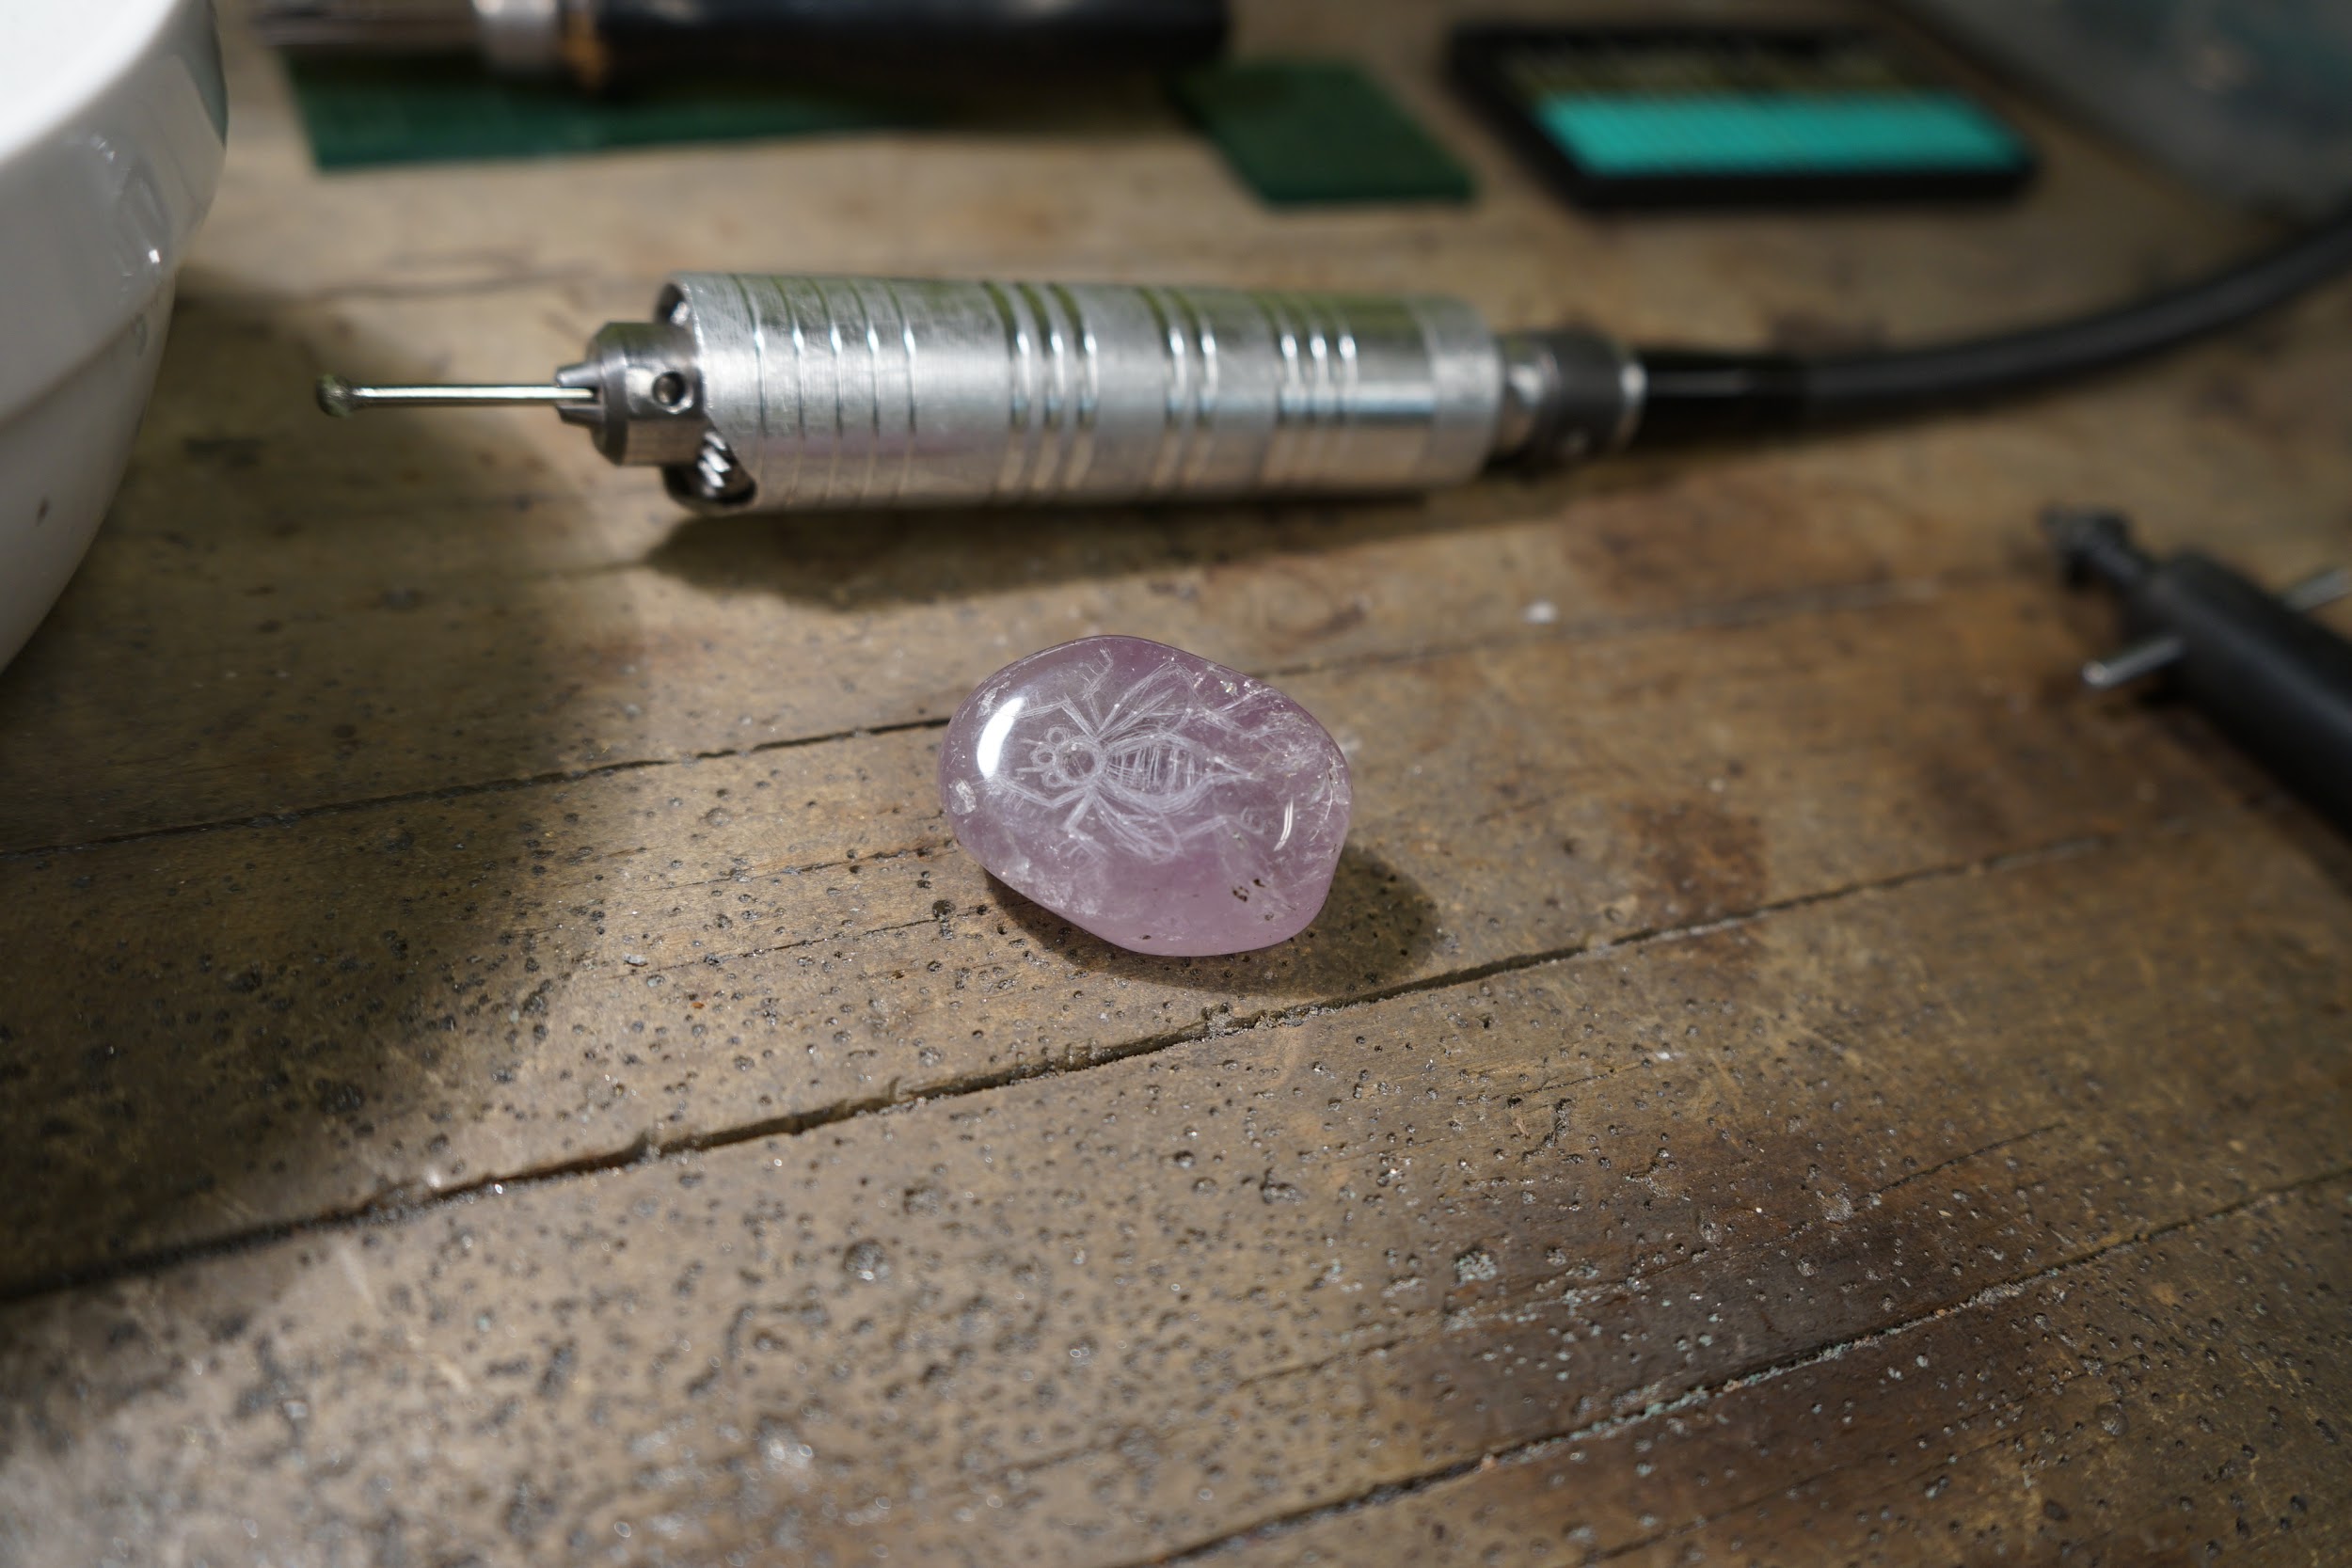
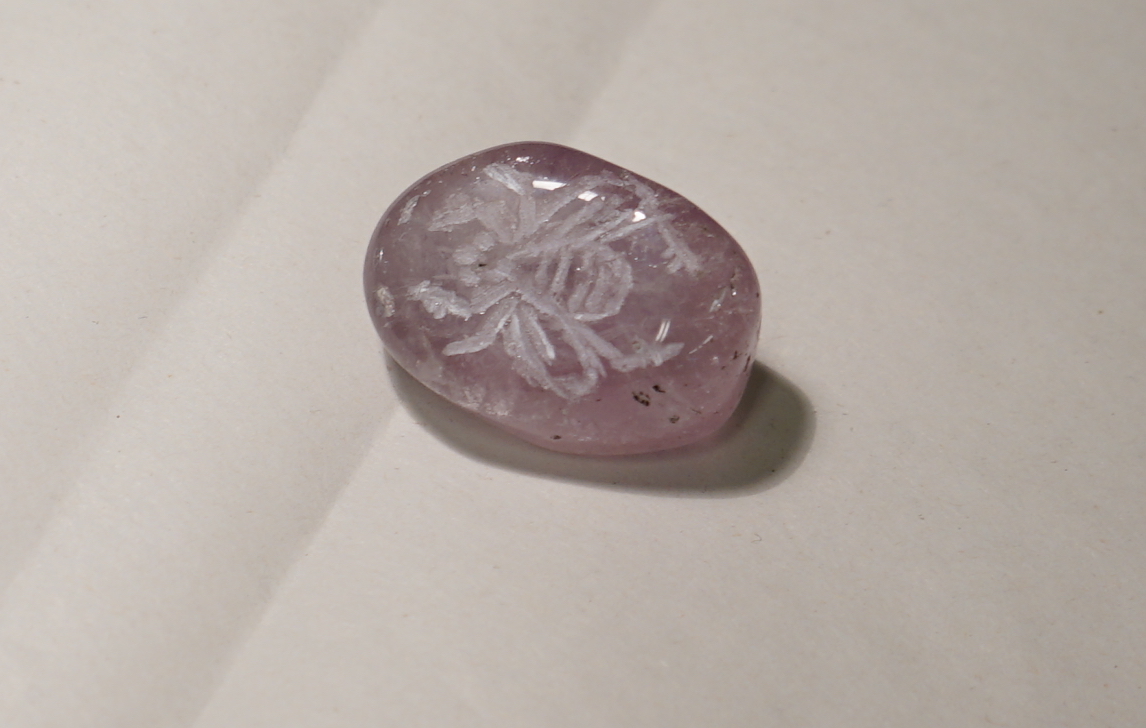
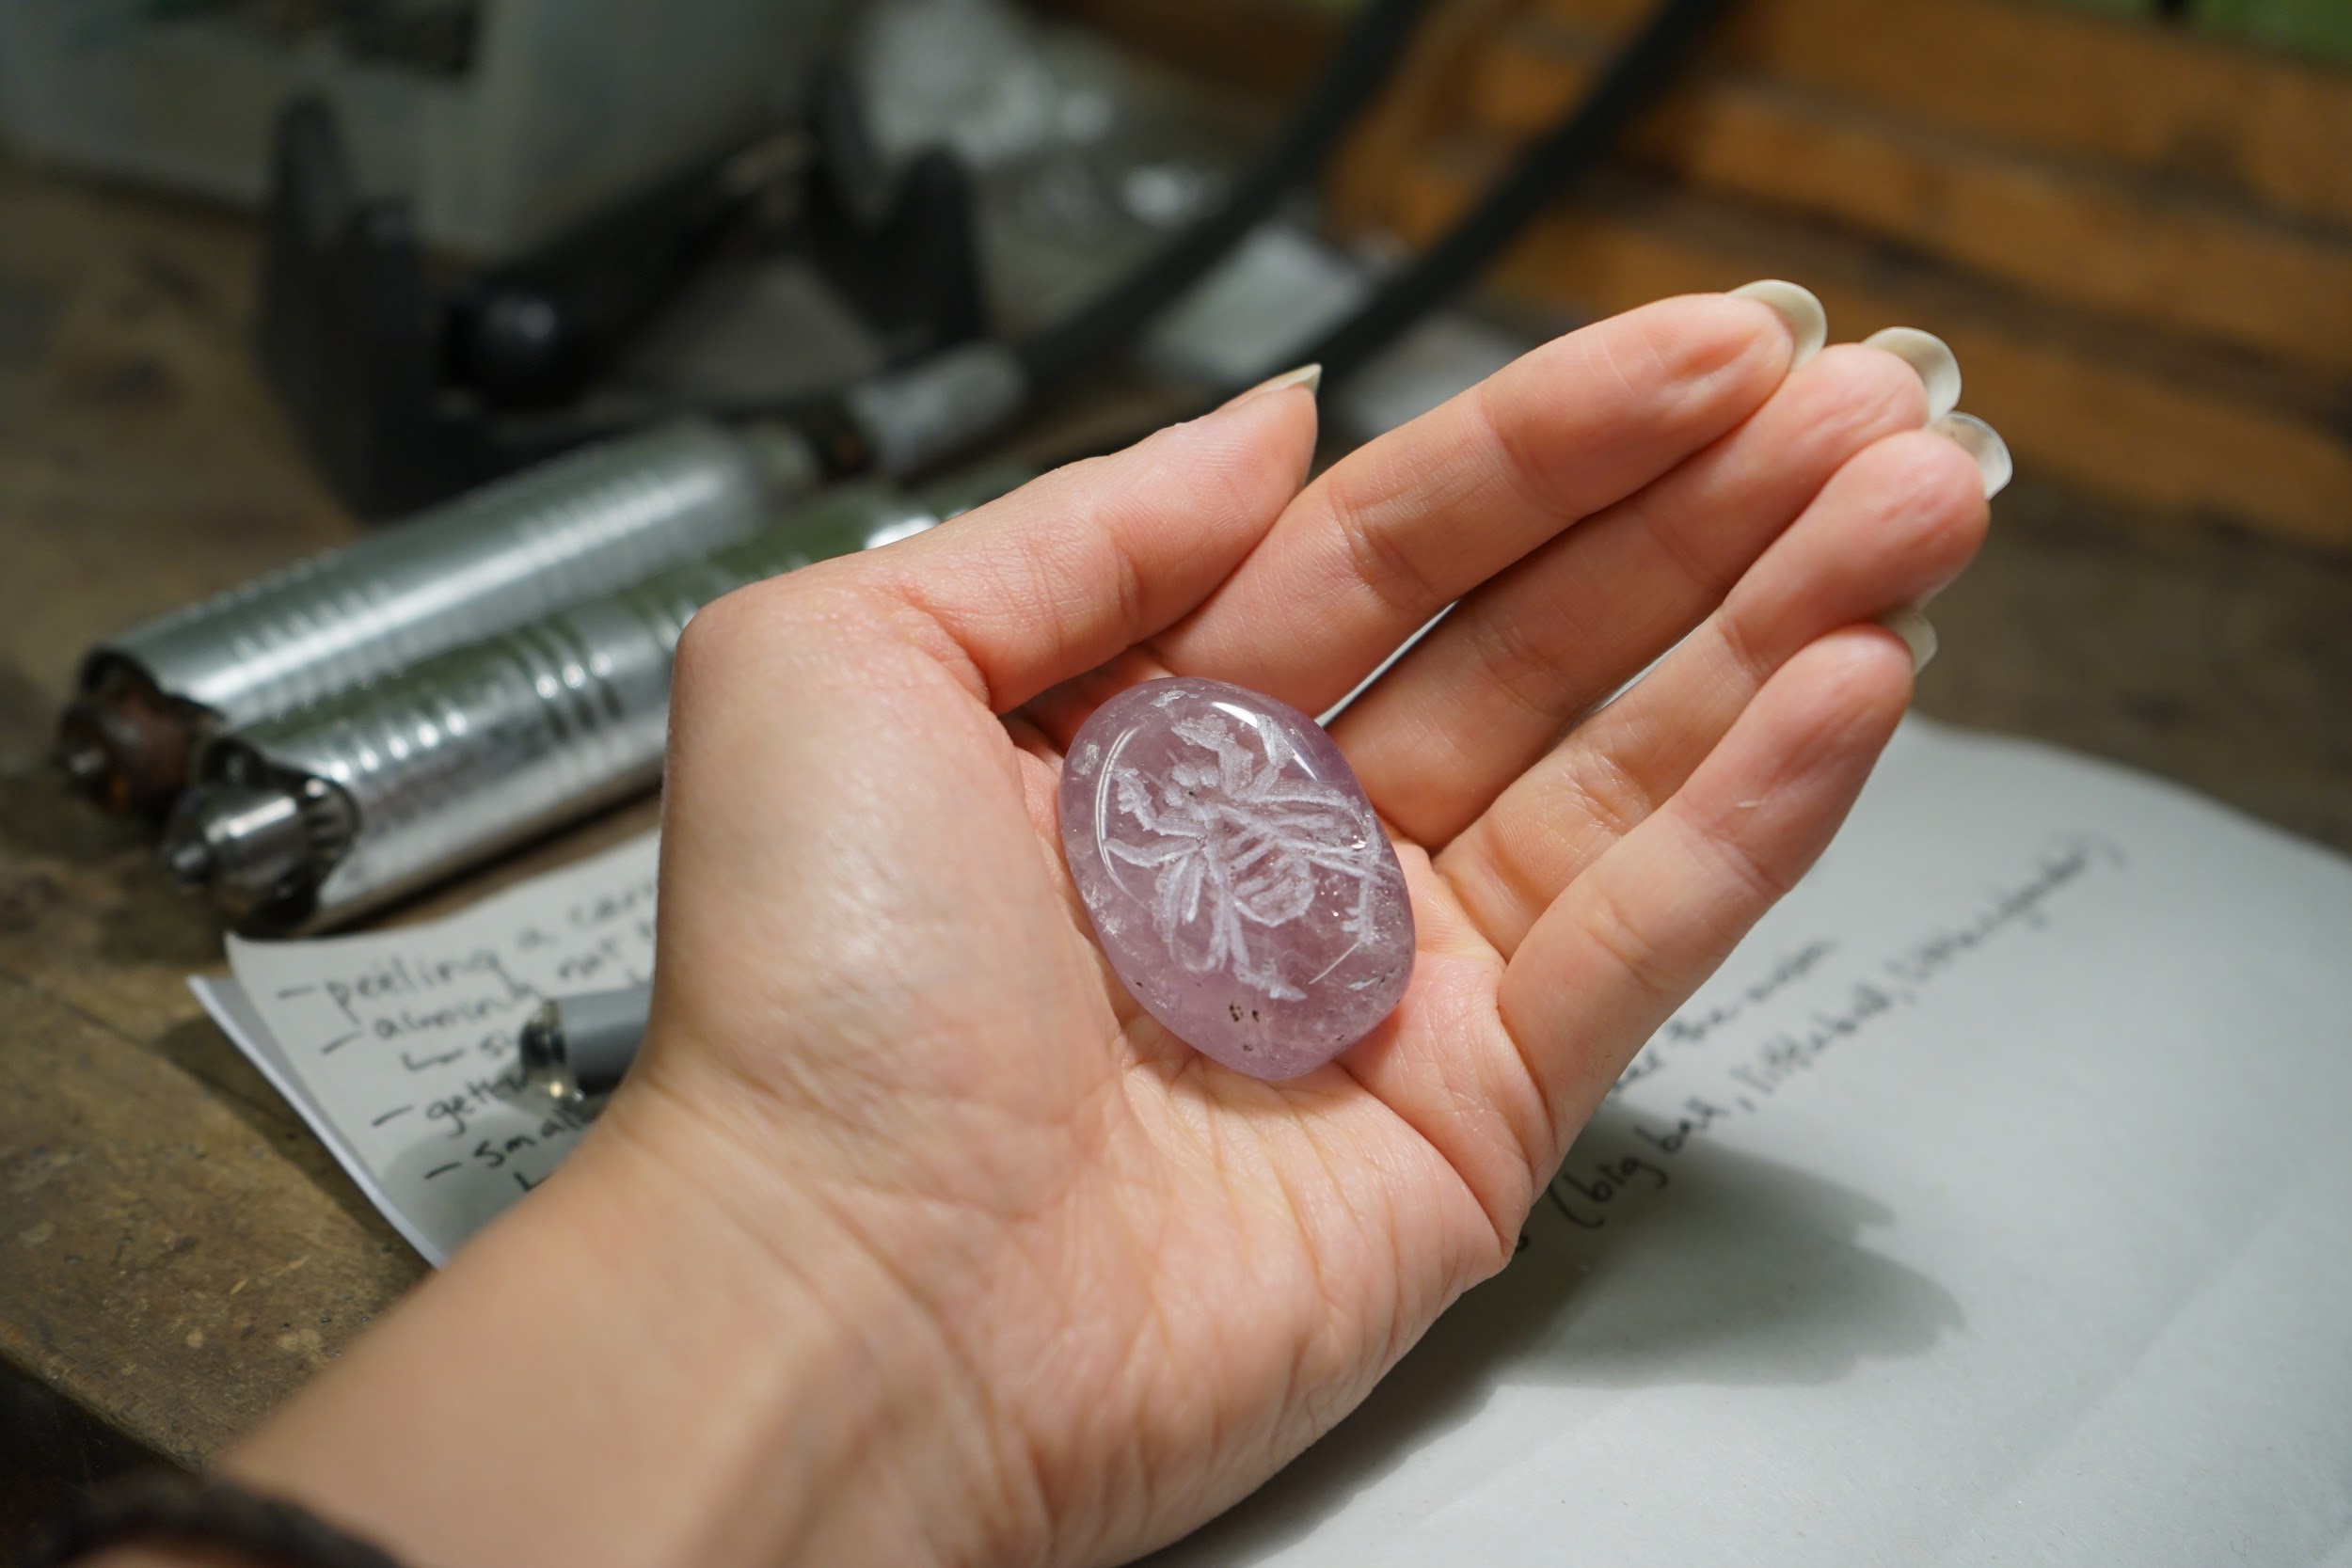
I determined that the engraved stone was finished when the entire design had been engraved. NB: I could have continued to engrave the stone in deeper relief. I also could not necessarily see that I had a finished insect -- instead I remembered which parts (eyes, wings, legs, body) I had gone over with the burrs and checked it periodically by sight and touch for depth.
| Image URL: |
|---|
 |
| Image URL: |
|---|
 |
The actual depth of engraving is fairly shallow.
| Image URL: |
|---|
 |
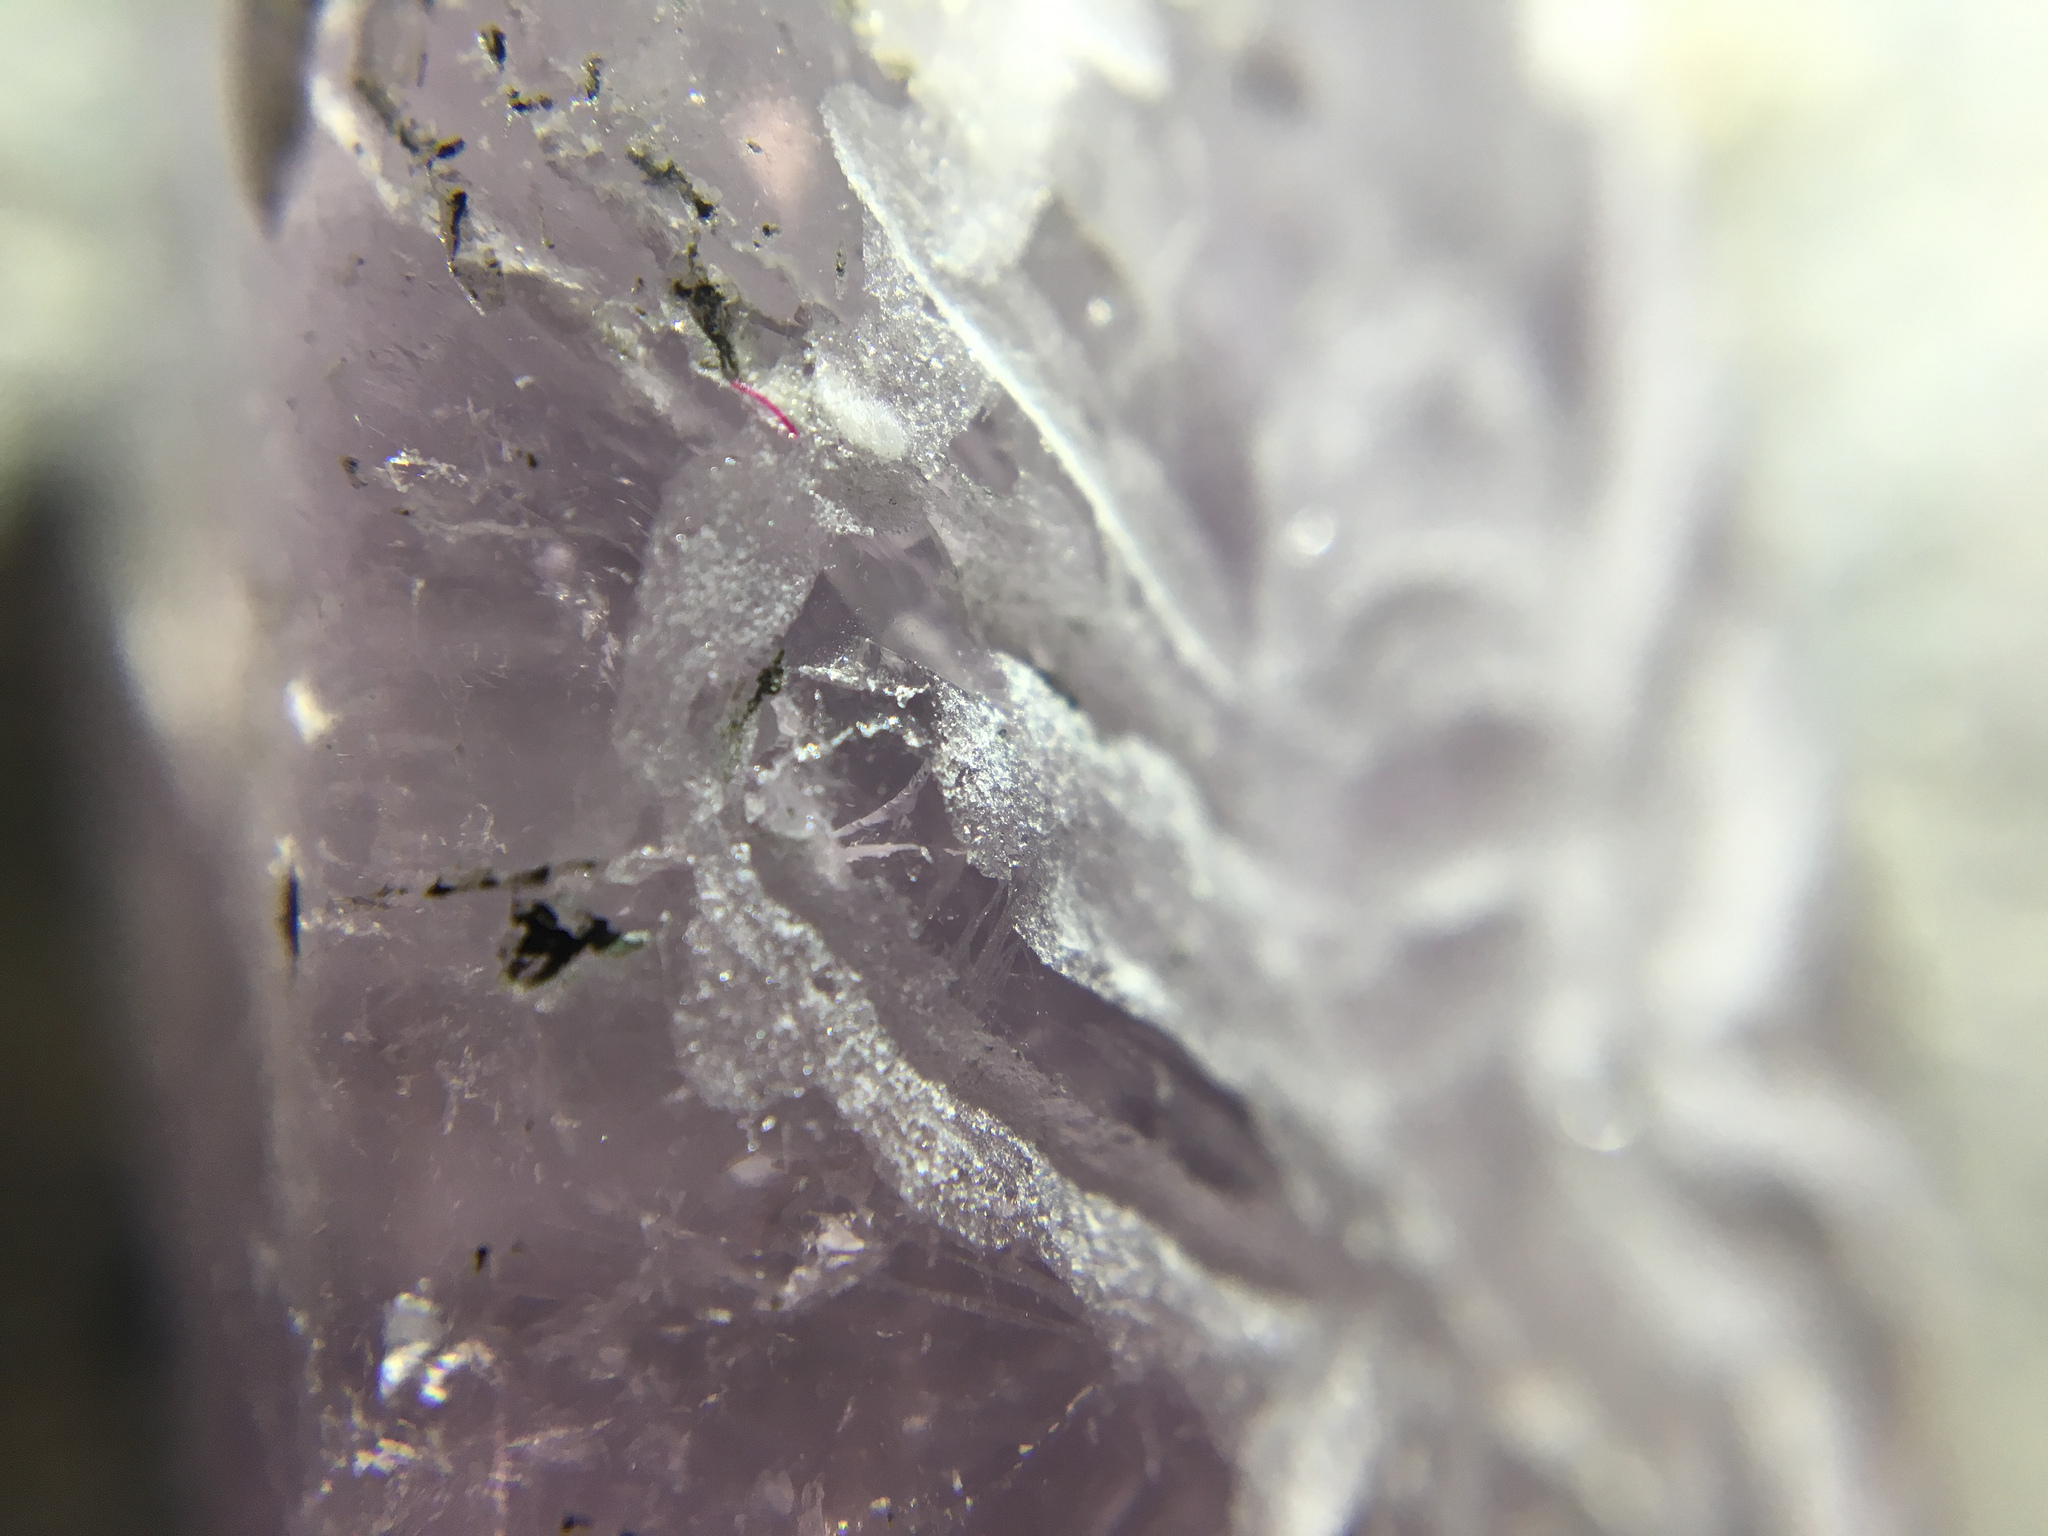
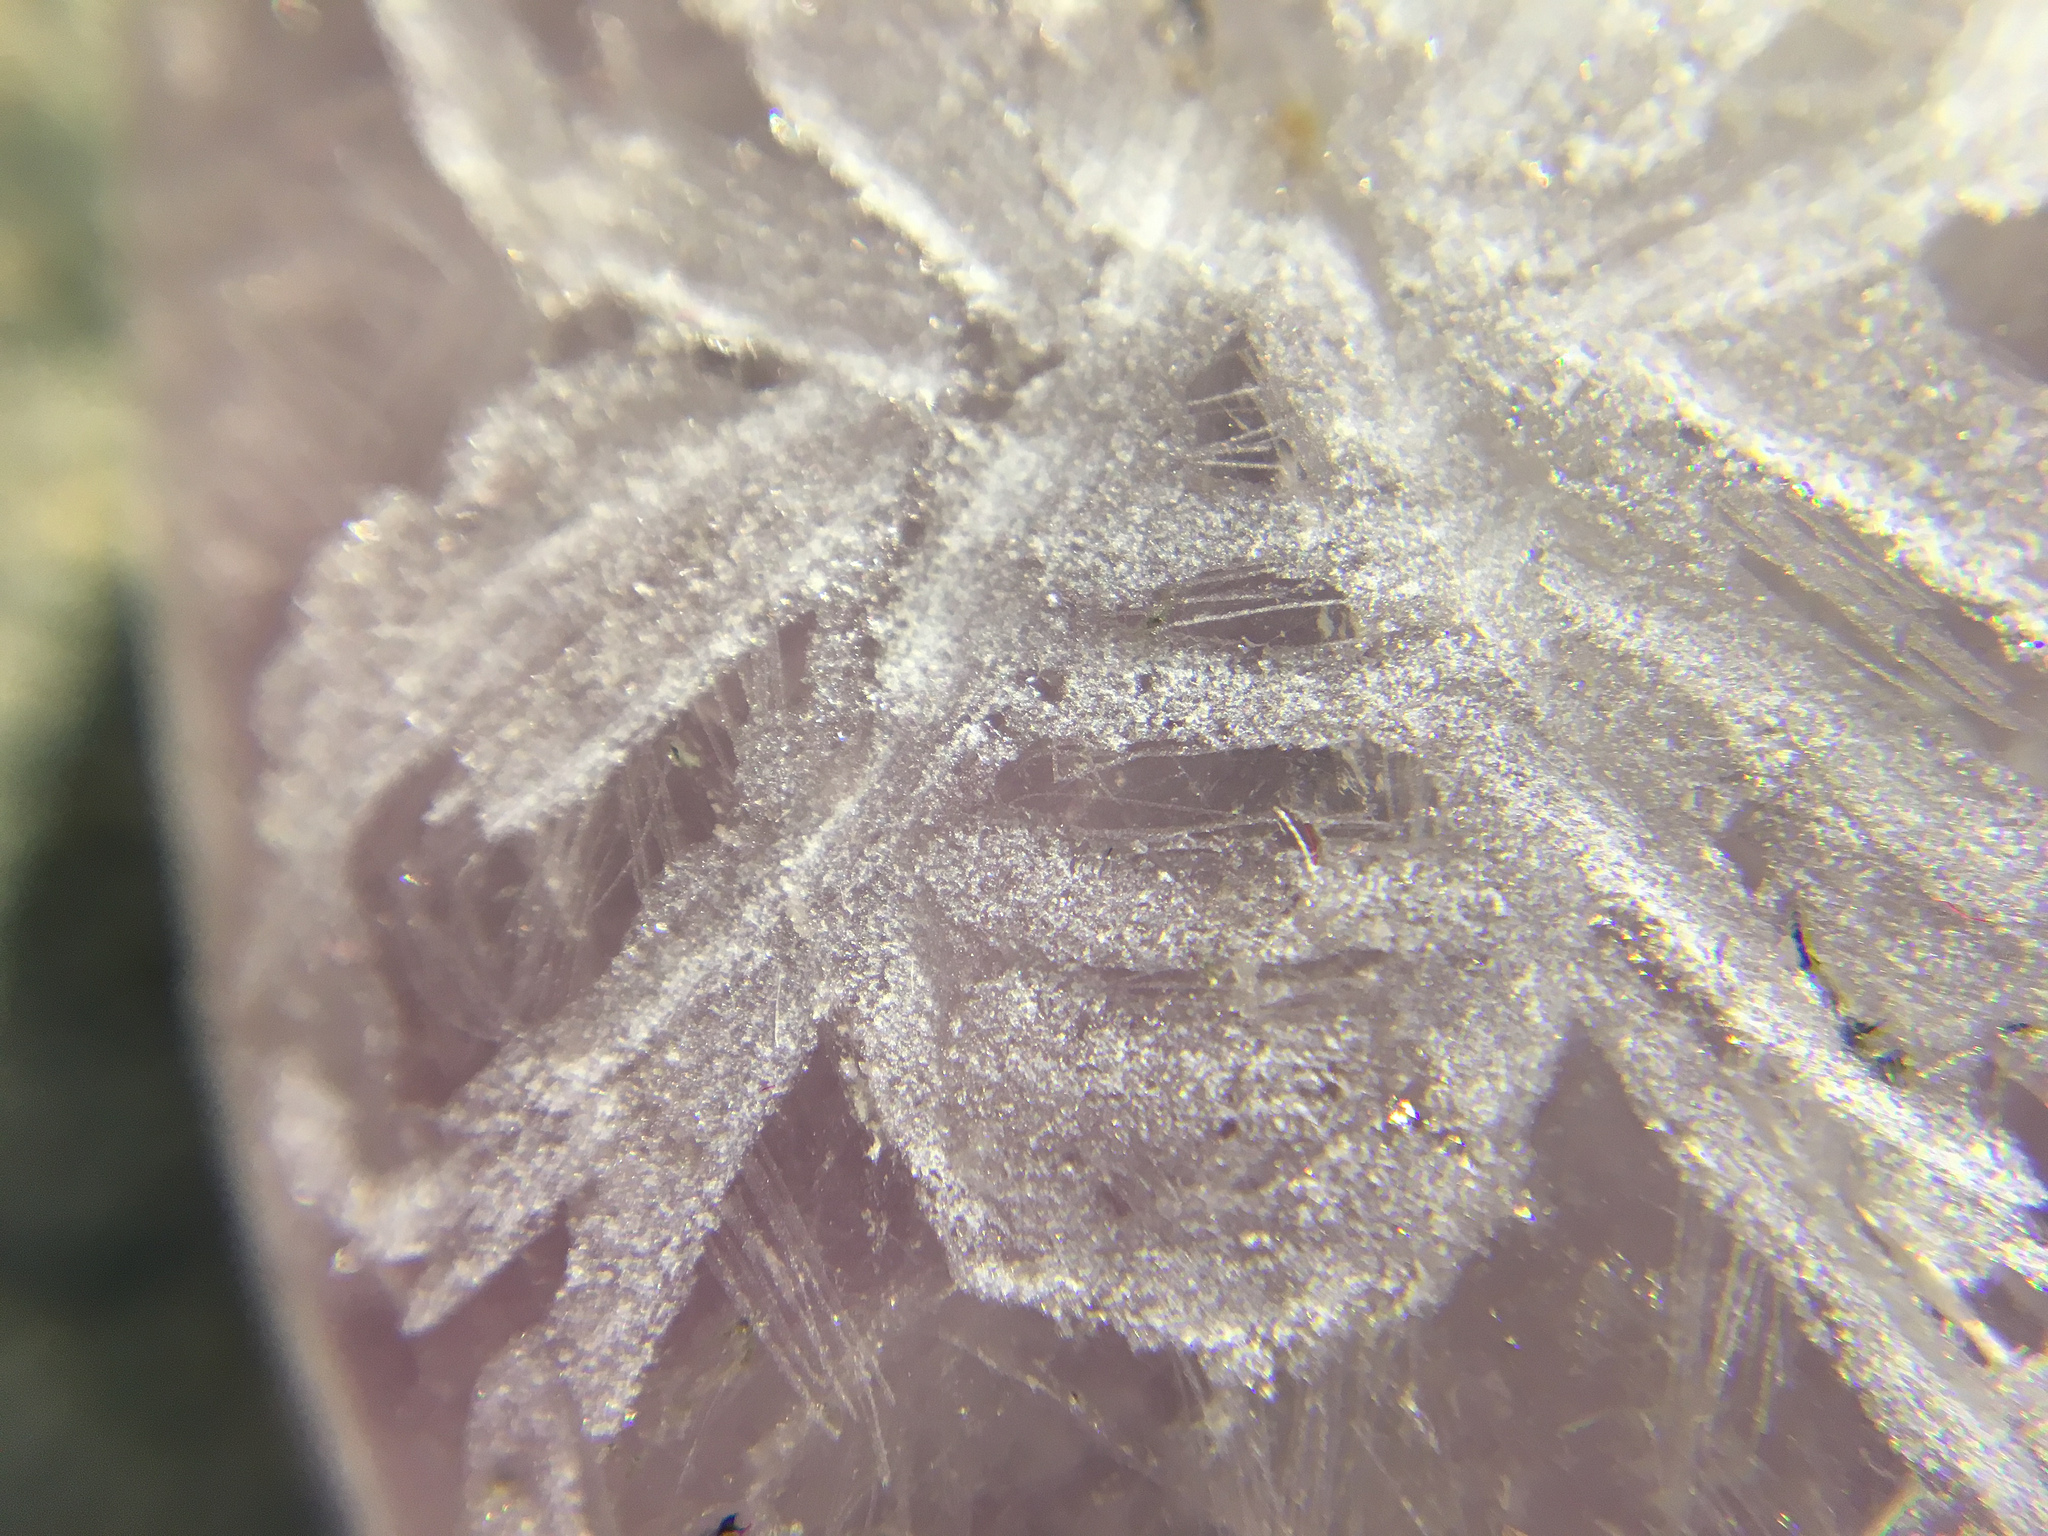
Observations under magnification
Inclusions and cracks enclosed inside the stone, as anticipated, chipped away easily upon contact with the burrs and shaft. This resulted in some removal of material that strayed away from the design on the stone.
Chips and scratches are visible to the naked eye and by touch. Magnification enables closer inspection of the inclusions and cracks in the stone.
| Image URL: |
|---|
 |
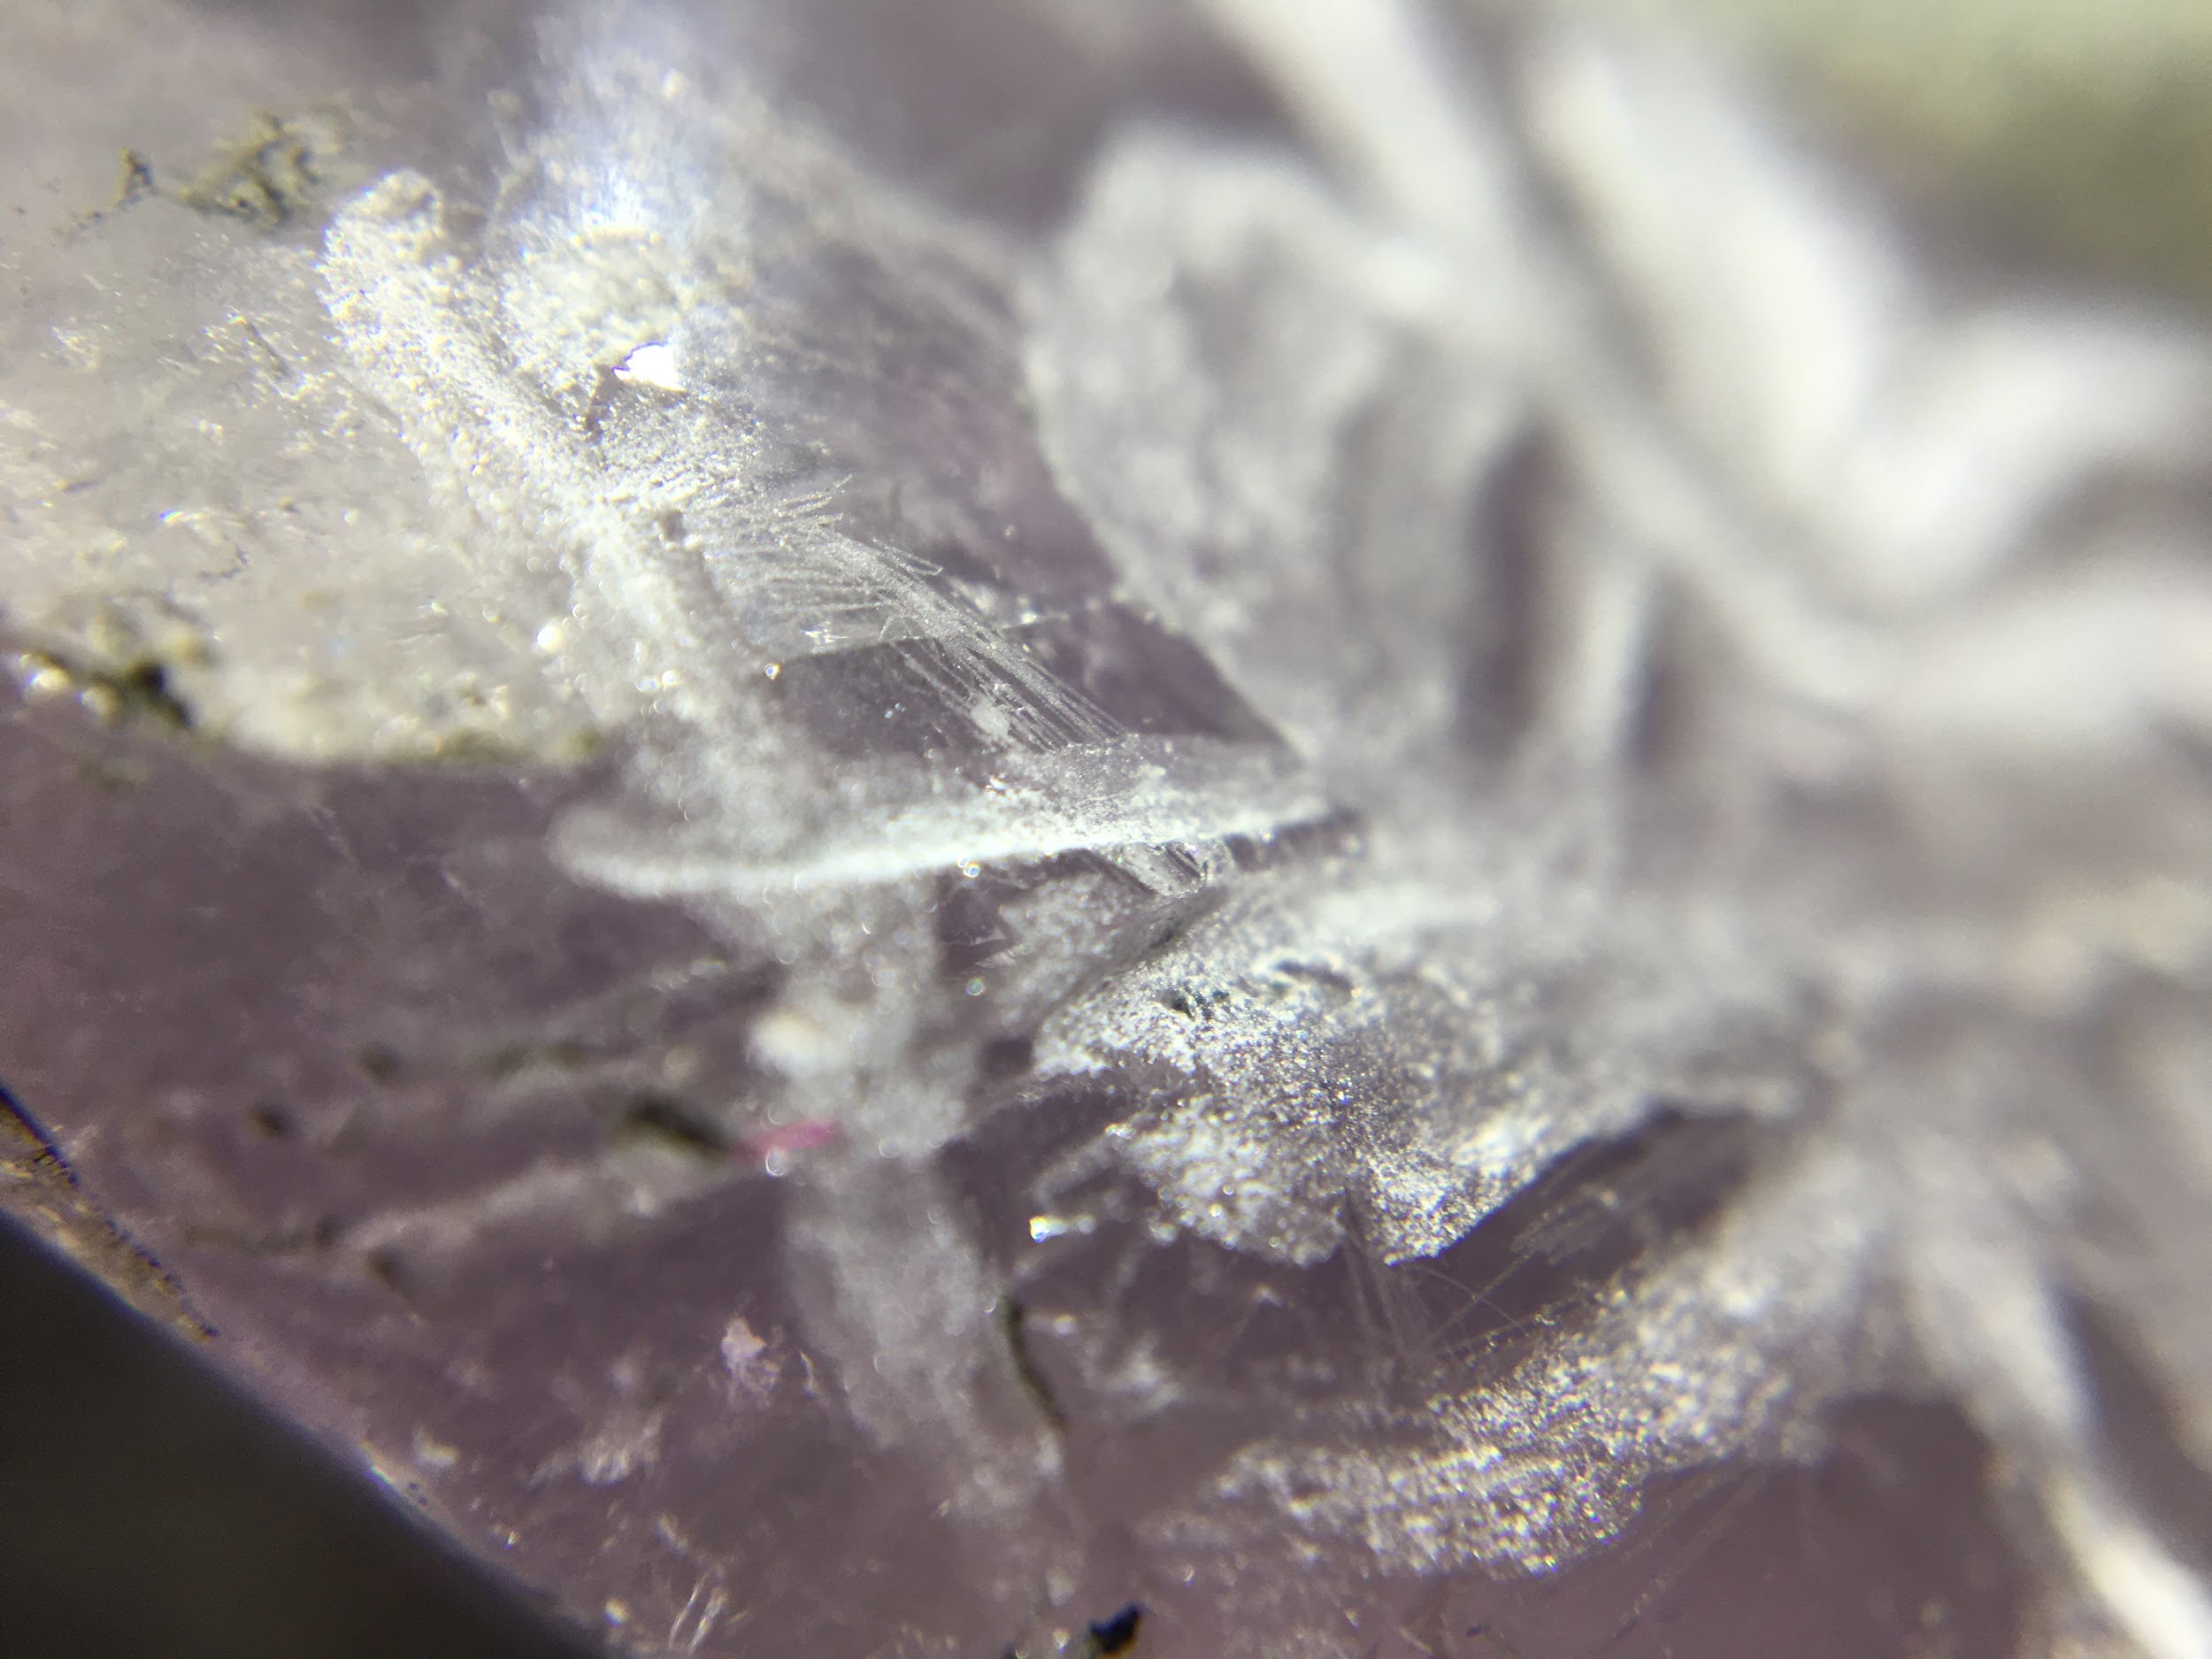
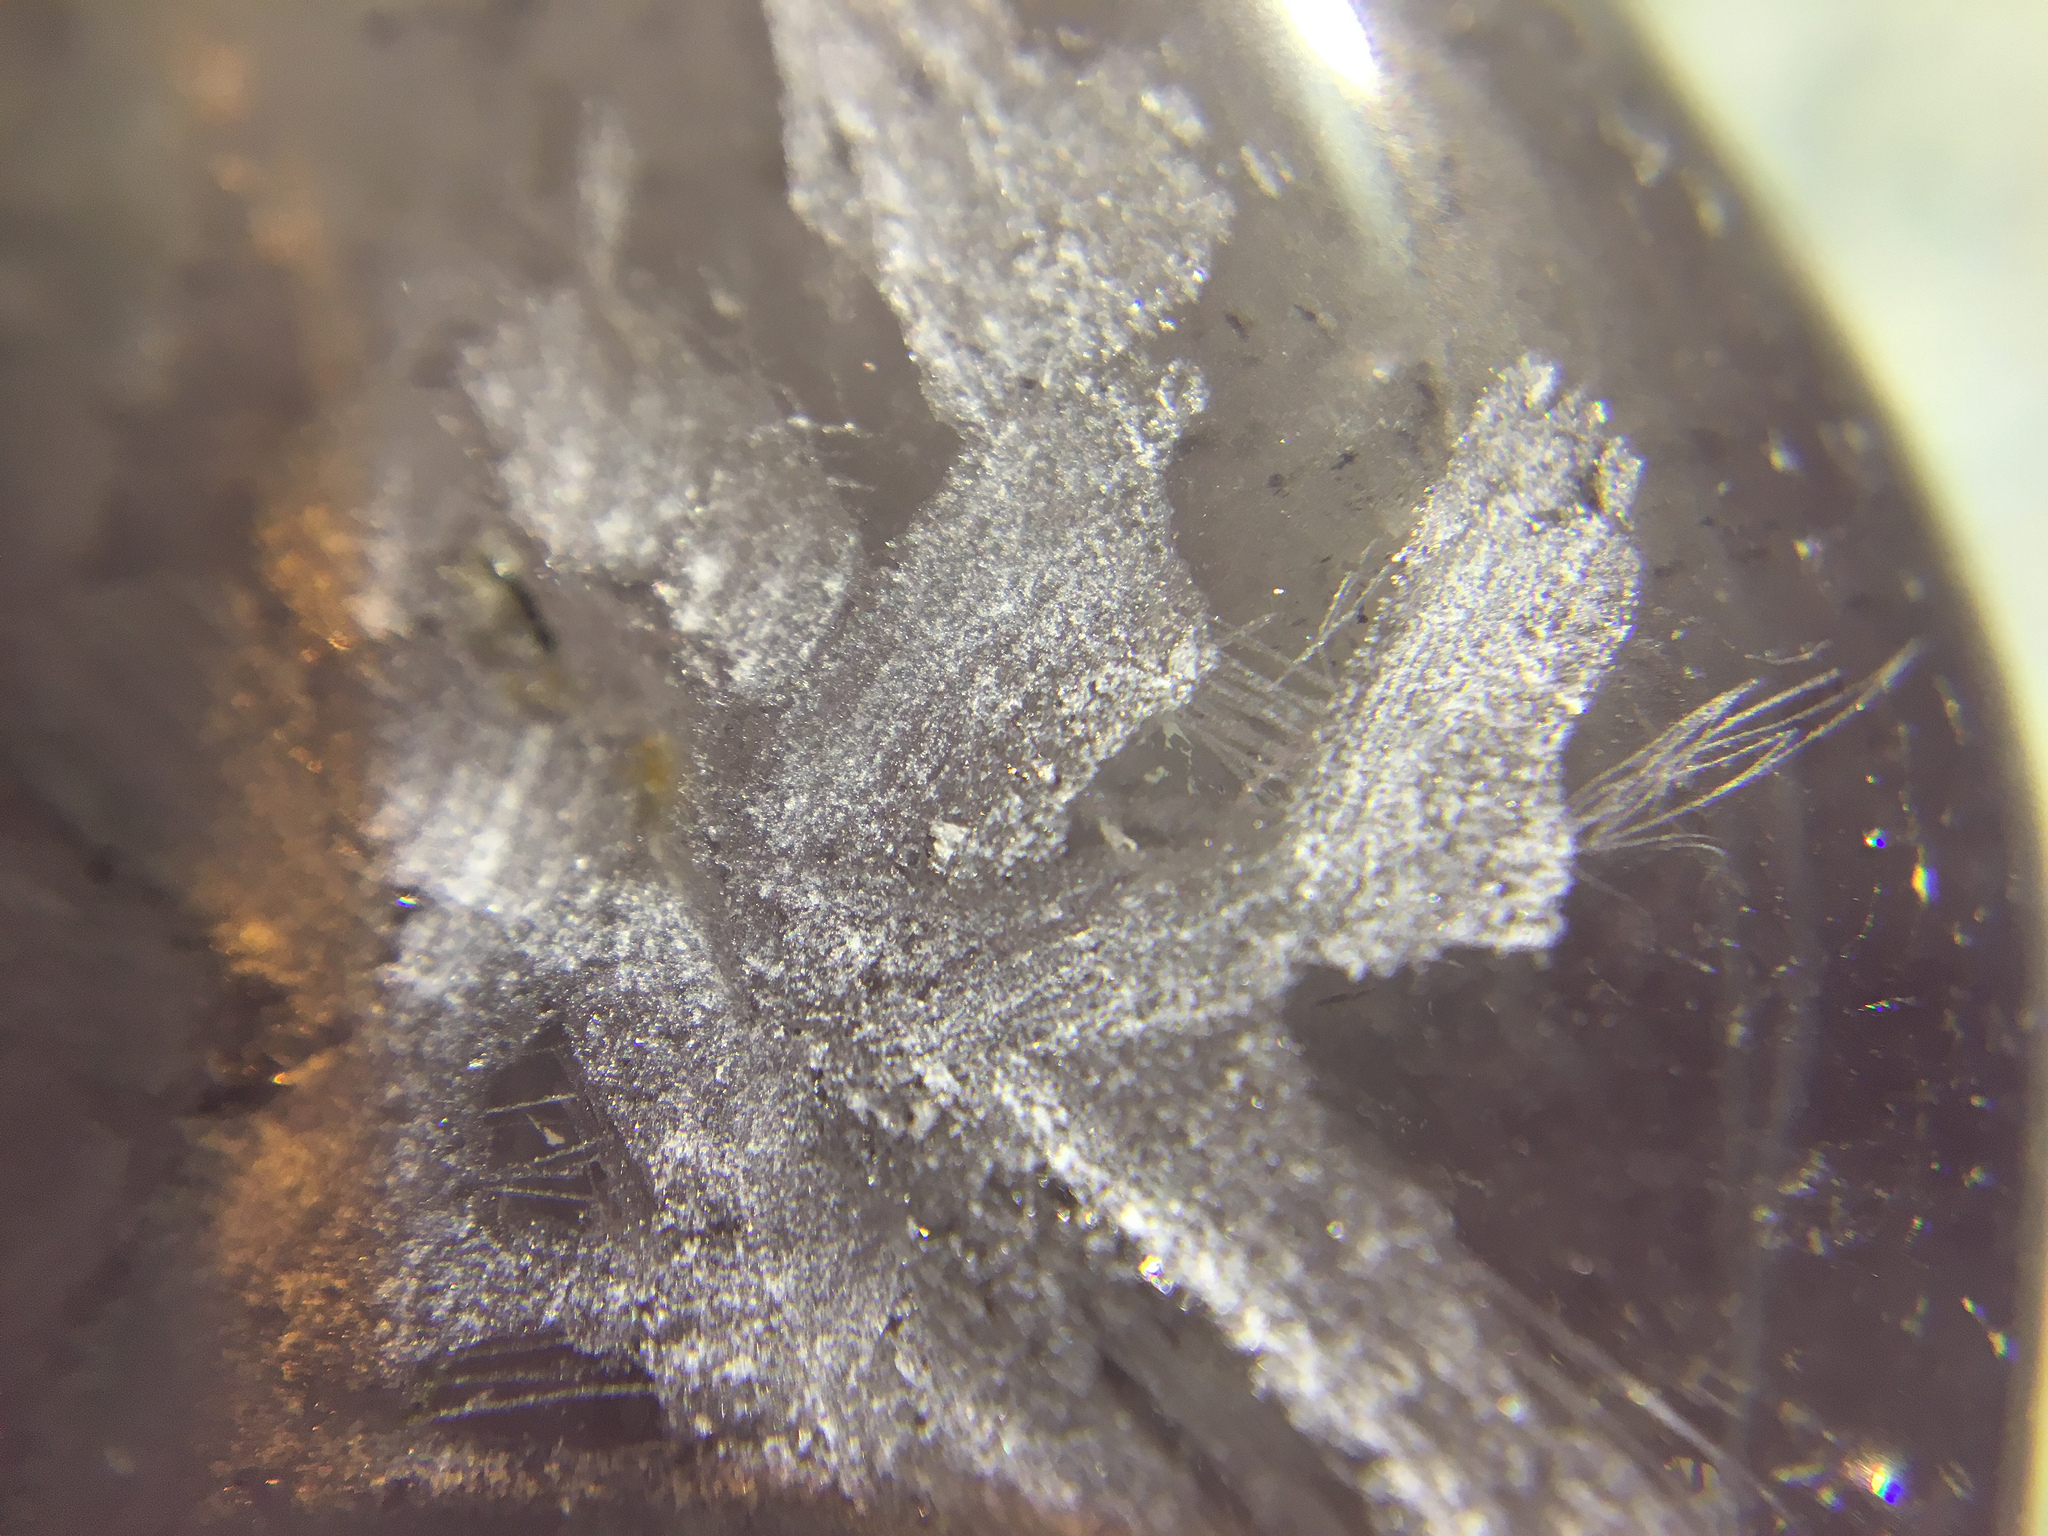
Stray scratches from the diamond-tipped scribe were not visible to the naked eye, but are visible under magnification.
The areas in relief appear rough and dull at this stage, but can be polished to a shine.
The depth of relief is not uniform.
| Image URL: |
|---|
 |
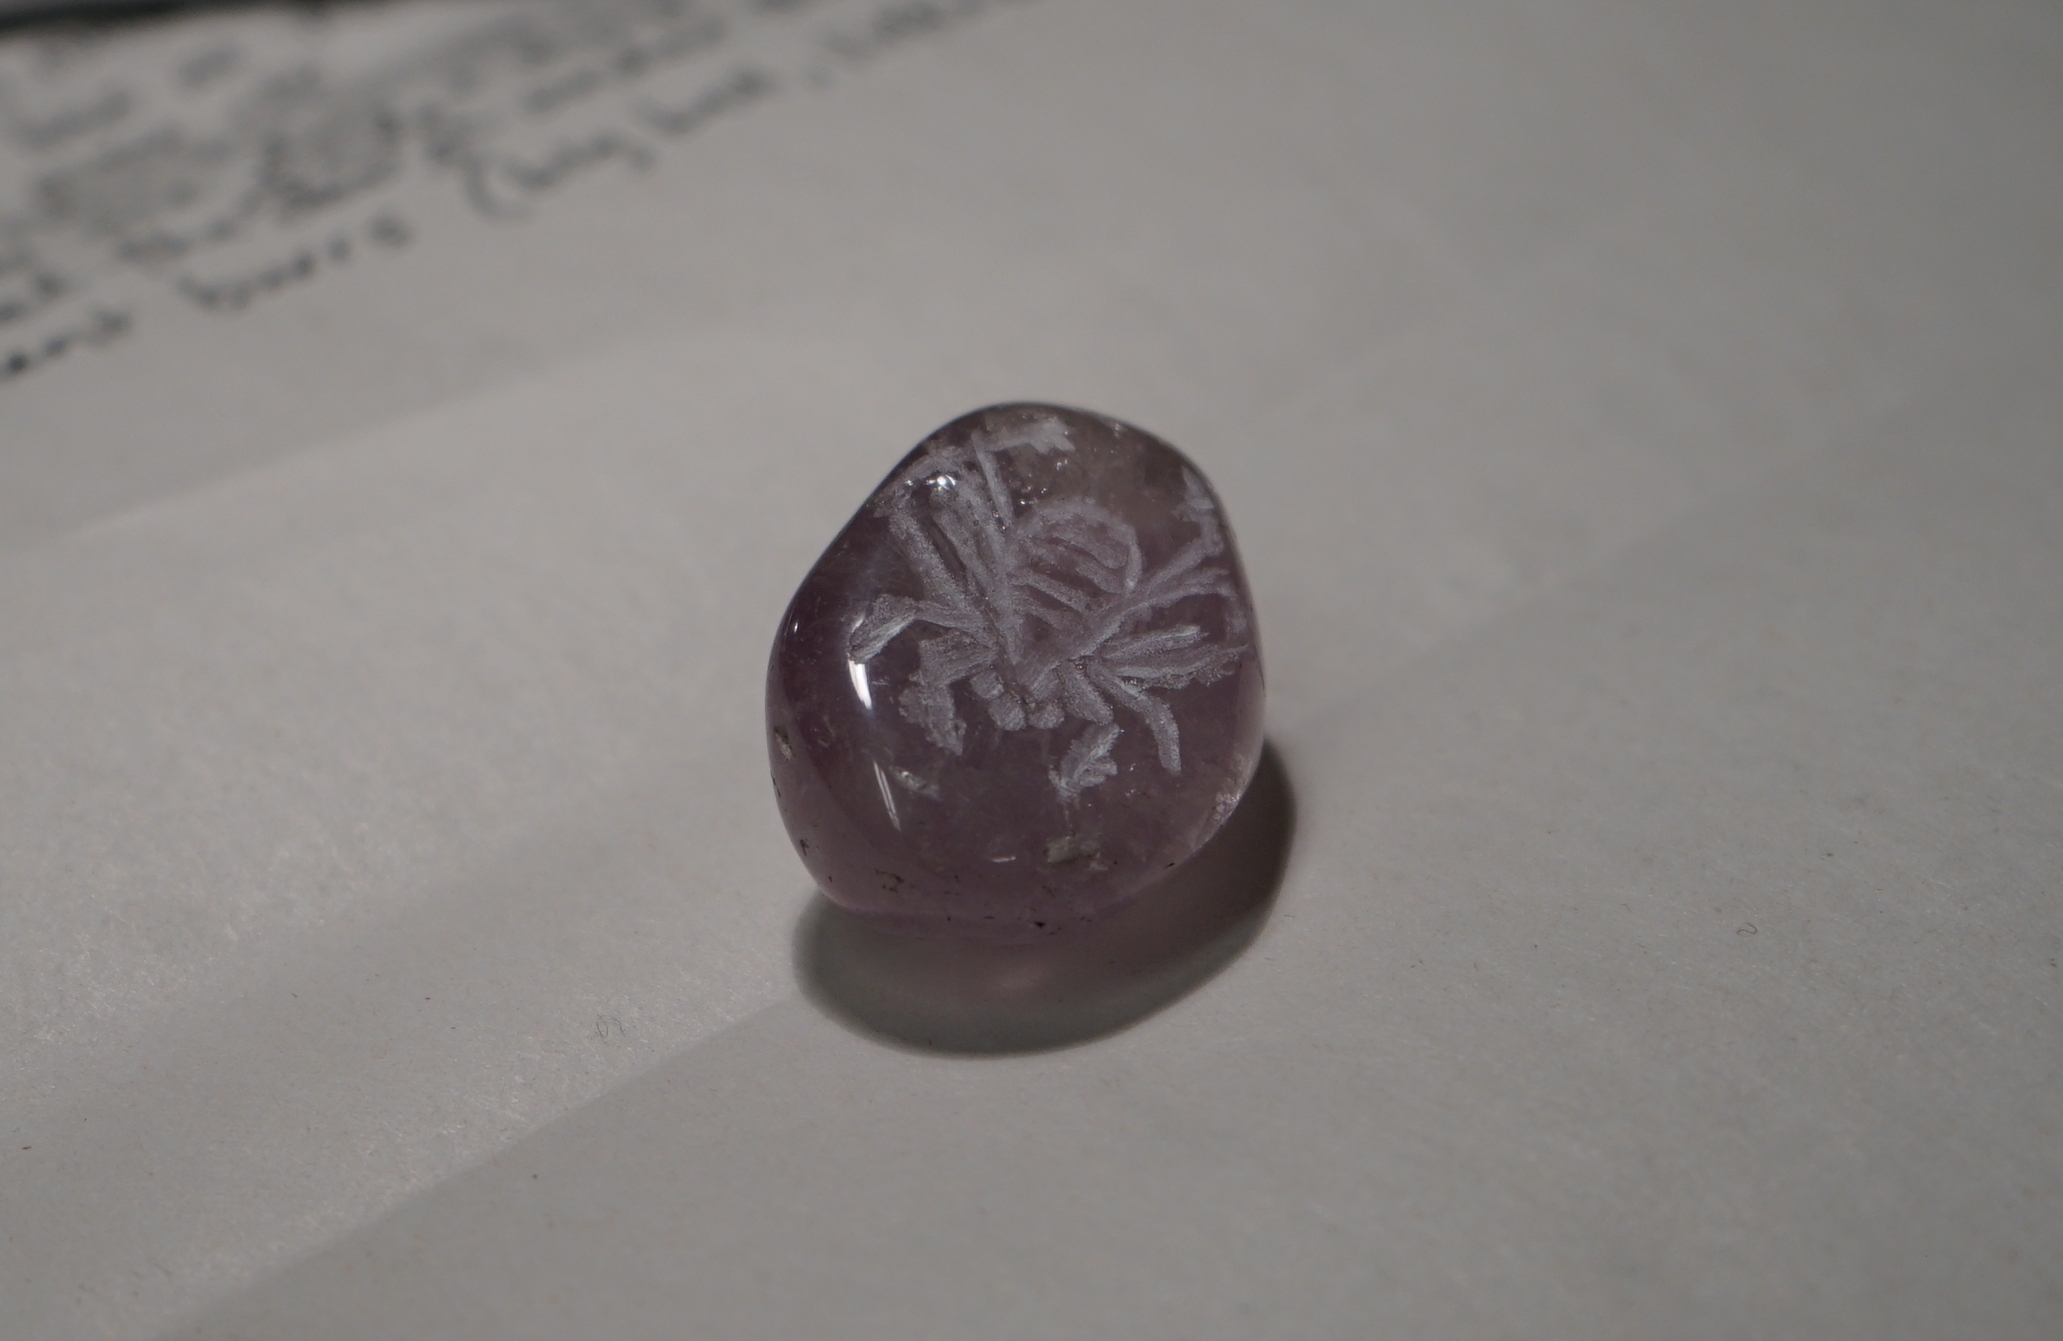
Areas in relief appear lighter against the translucent stone due to their roughness.
| Image URL: |
|---|
 |
Name: Angel Jiang
Date and Time:
Location: 260 Chandler
Subject: Polishing Stone
The author-practitioner mentions the use of tripoli and brushes to polish engraved stones. While this is certainly possible, tripoli, which is a fine powder, is usually reserved for a step further along in the polishing process. Cerium oxide would be a more common polishing agent for a modern lapidary to use in the step immediately after engraving a stone.
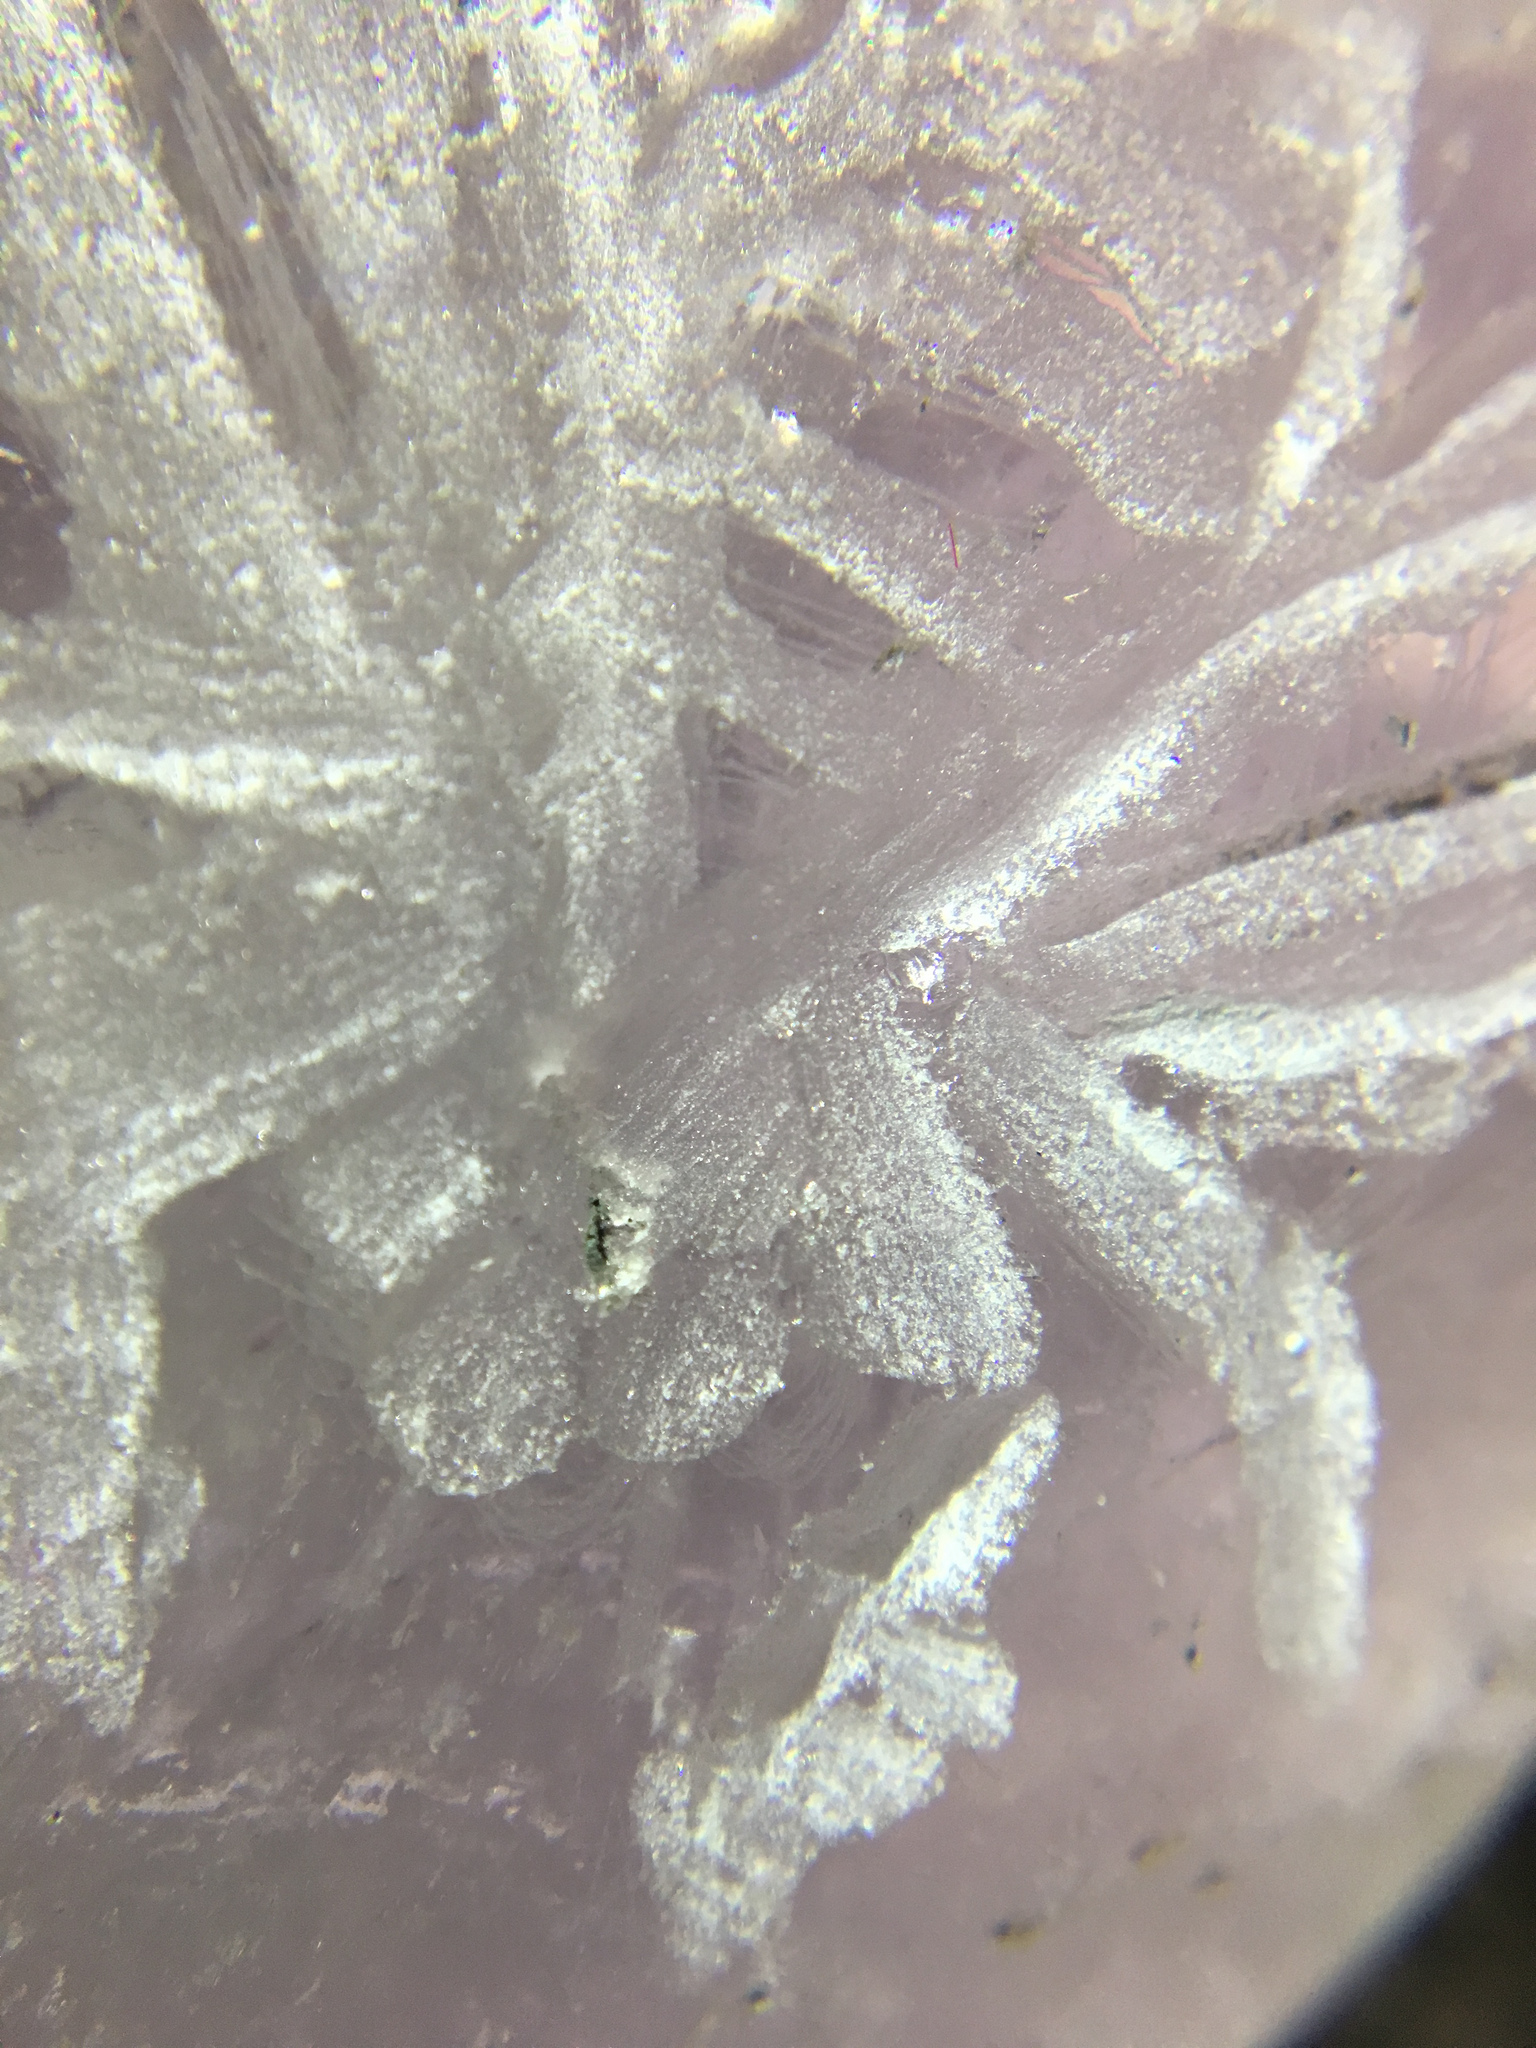
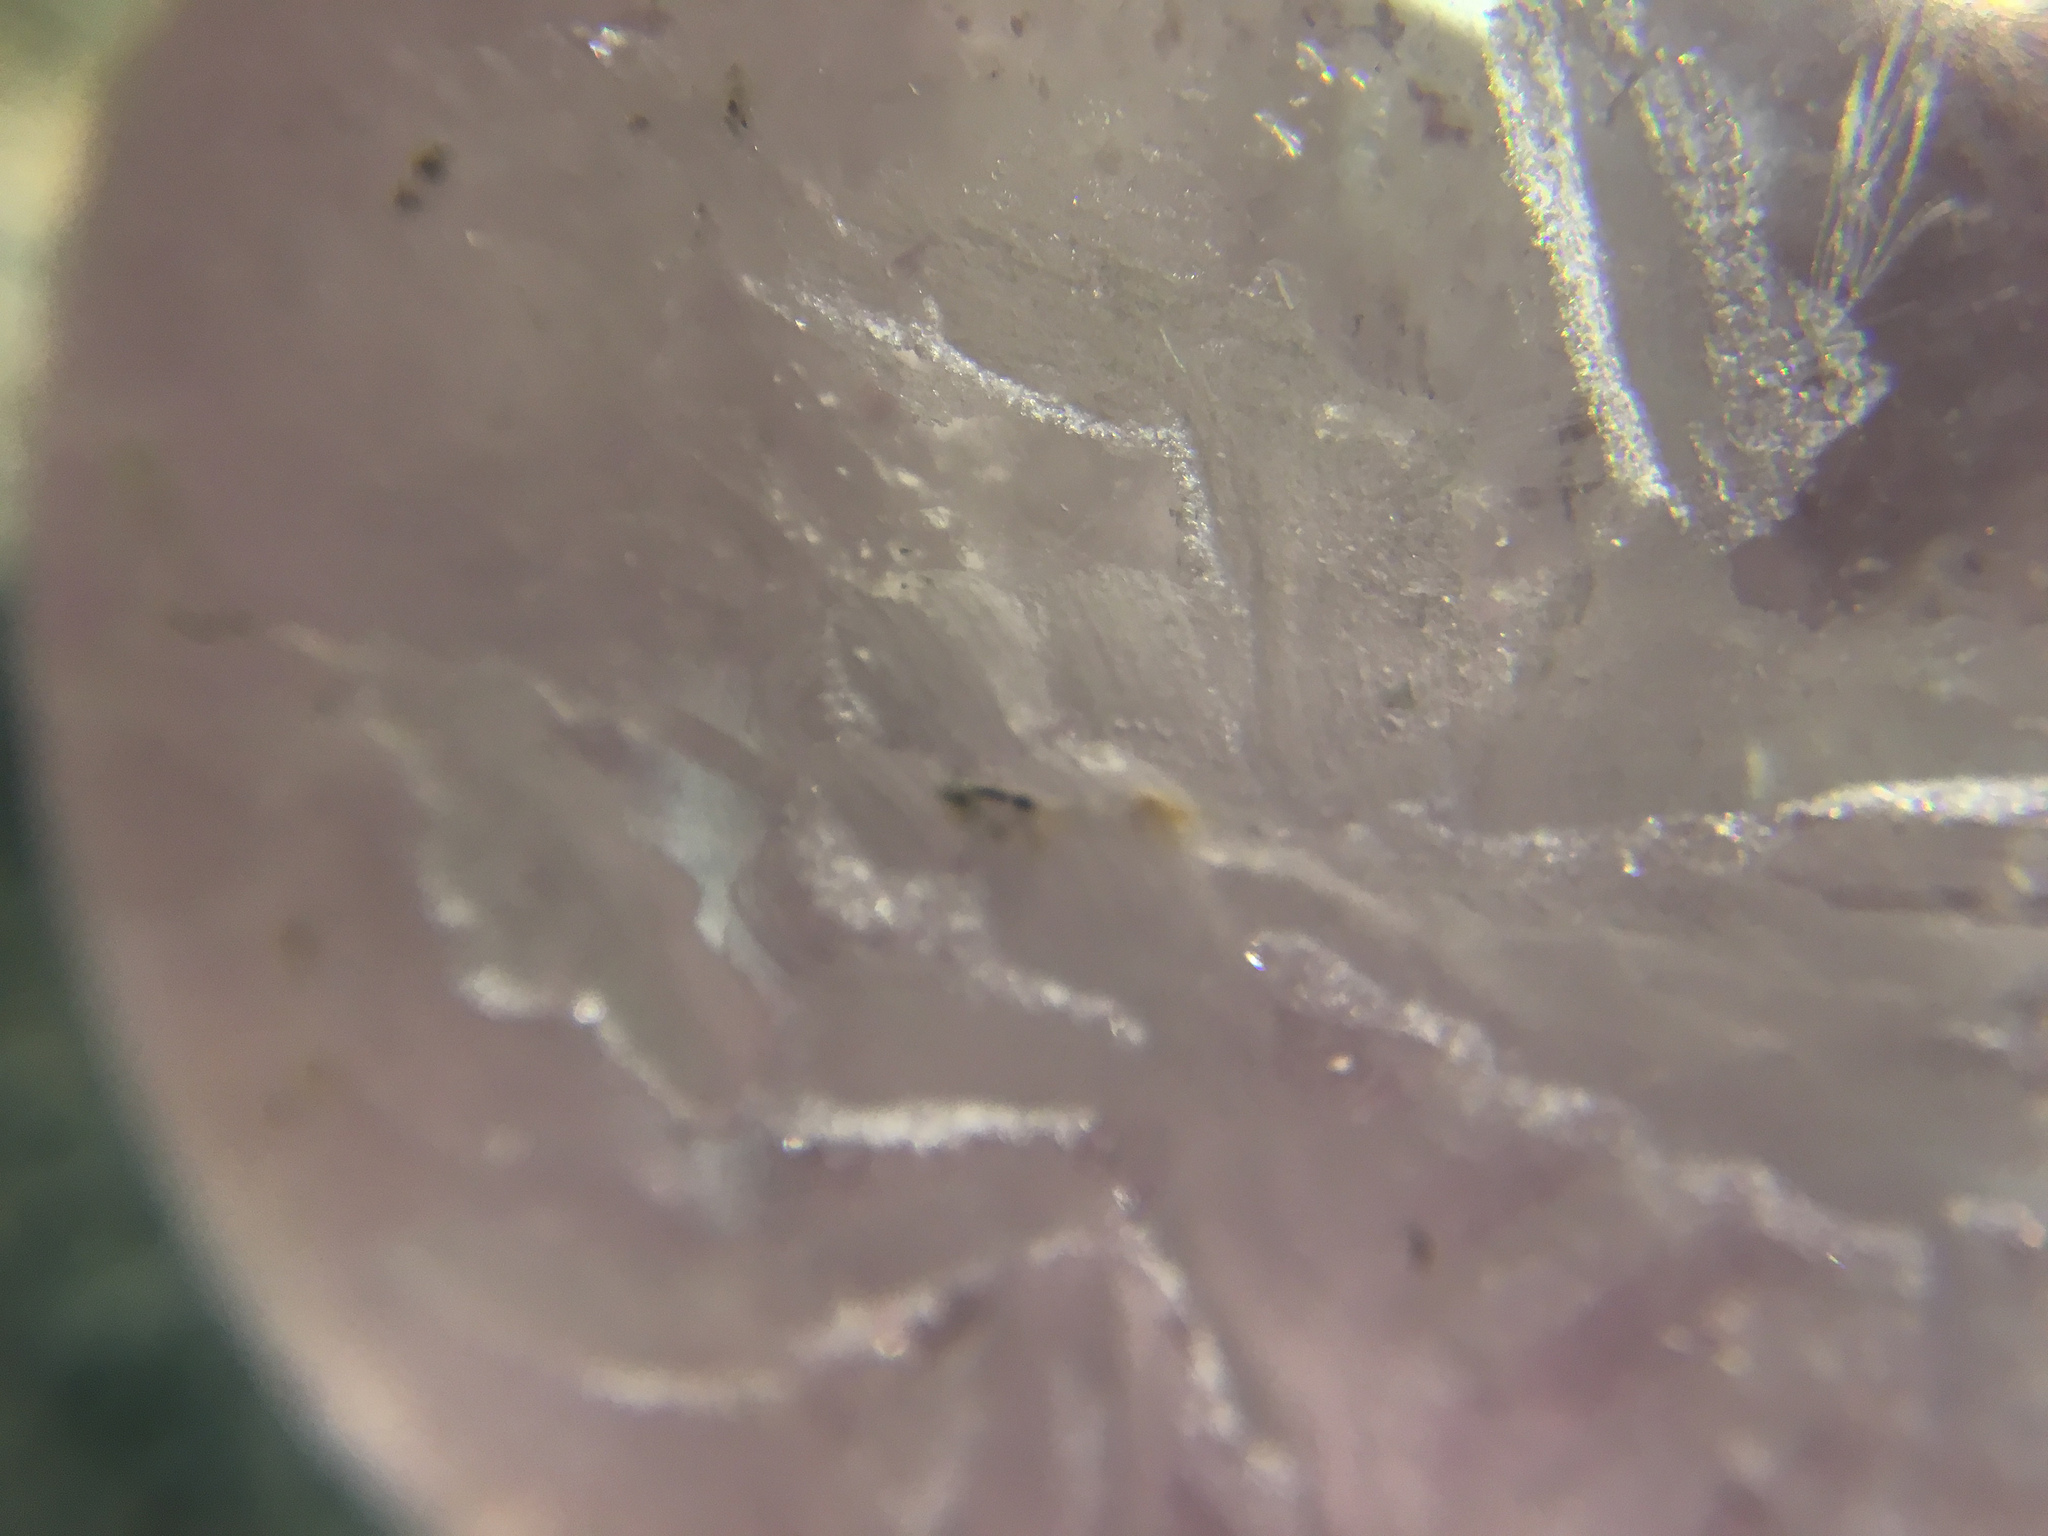
Observation under Magnification Before Polishing
The stone has a granulated, powdery appearance under magnification due to the coarseness of the diamond burr used to engrave. This can be polished with the use of progressively finer grits, until the scratches are imperceptible to the eye. At that point the stone appears shiny or glossy.
| Image URL: |
|---|
 |
Workstation
I worked in the fume hood of 260 Chandler because this reconstruction involved tripoli, which is hazardous when inhaled or ingested.
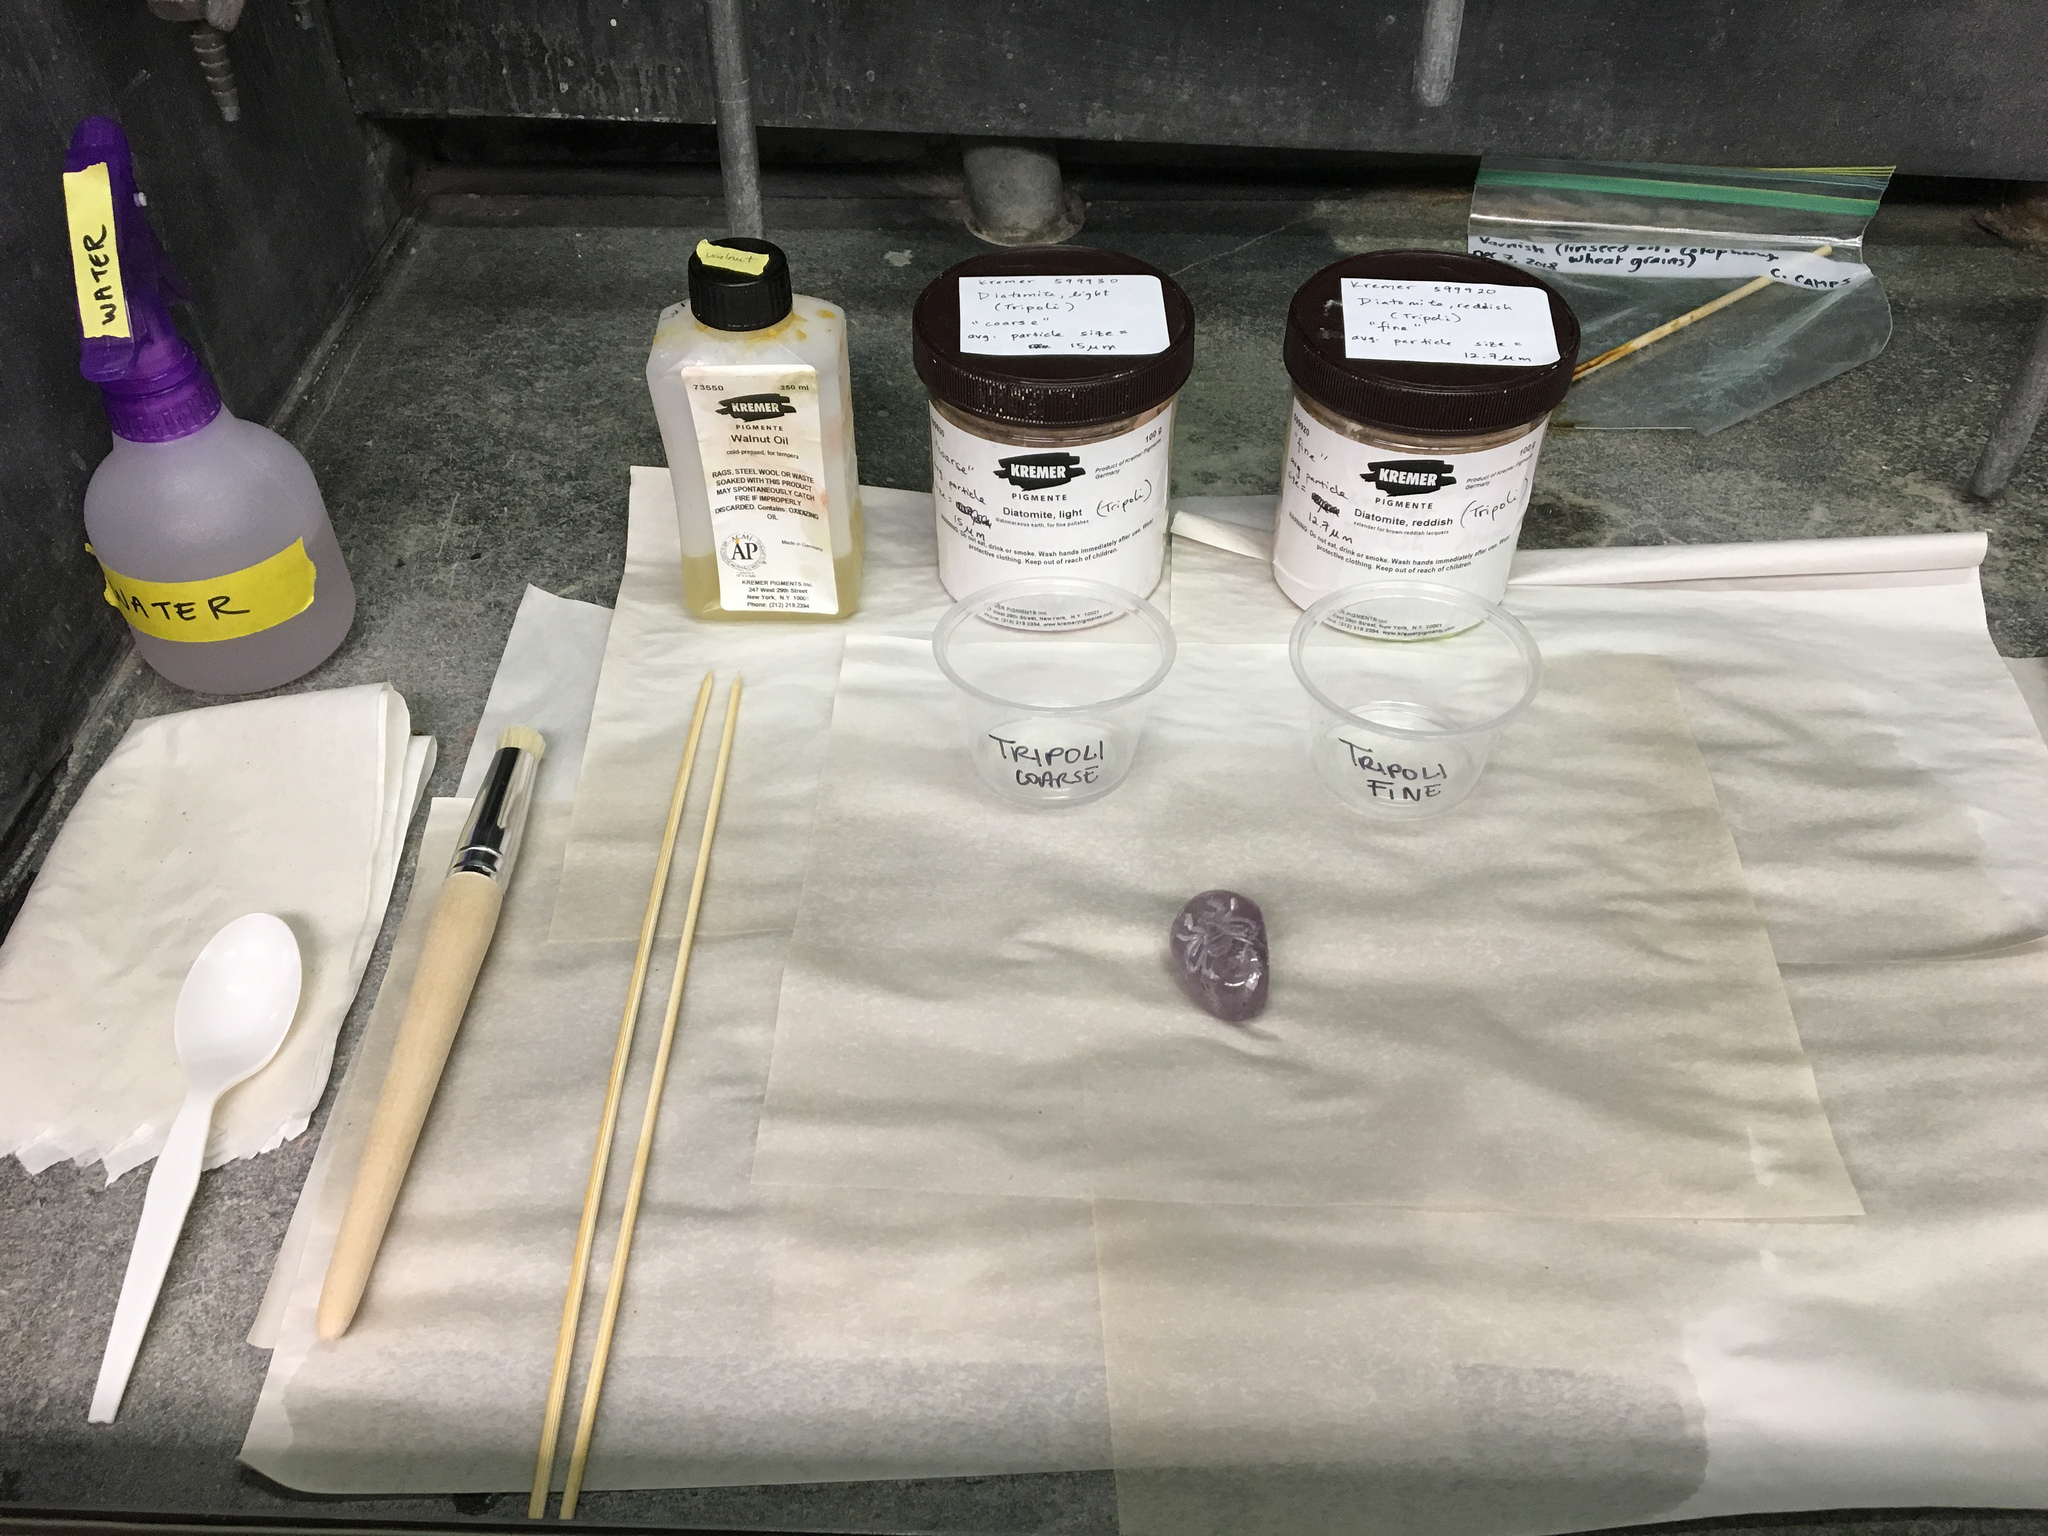
Materials and tools (pictured from left to right)
Paper towels
Water spray bottle
Walnut oil, cold-pressed (from Kremer Pigments)
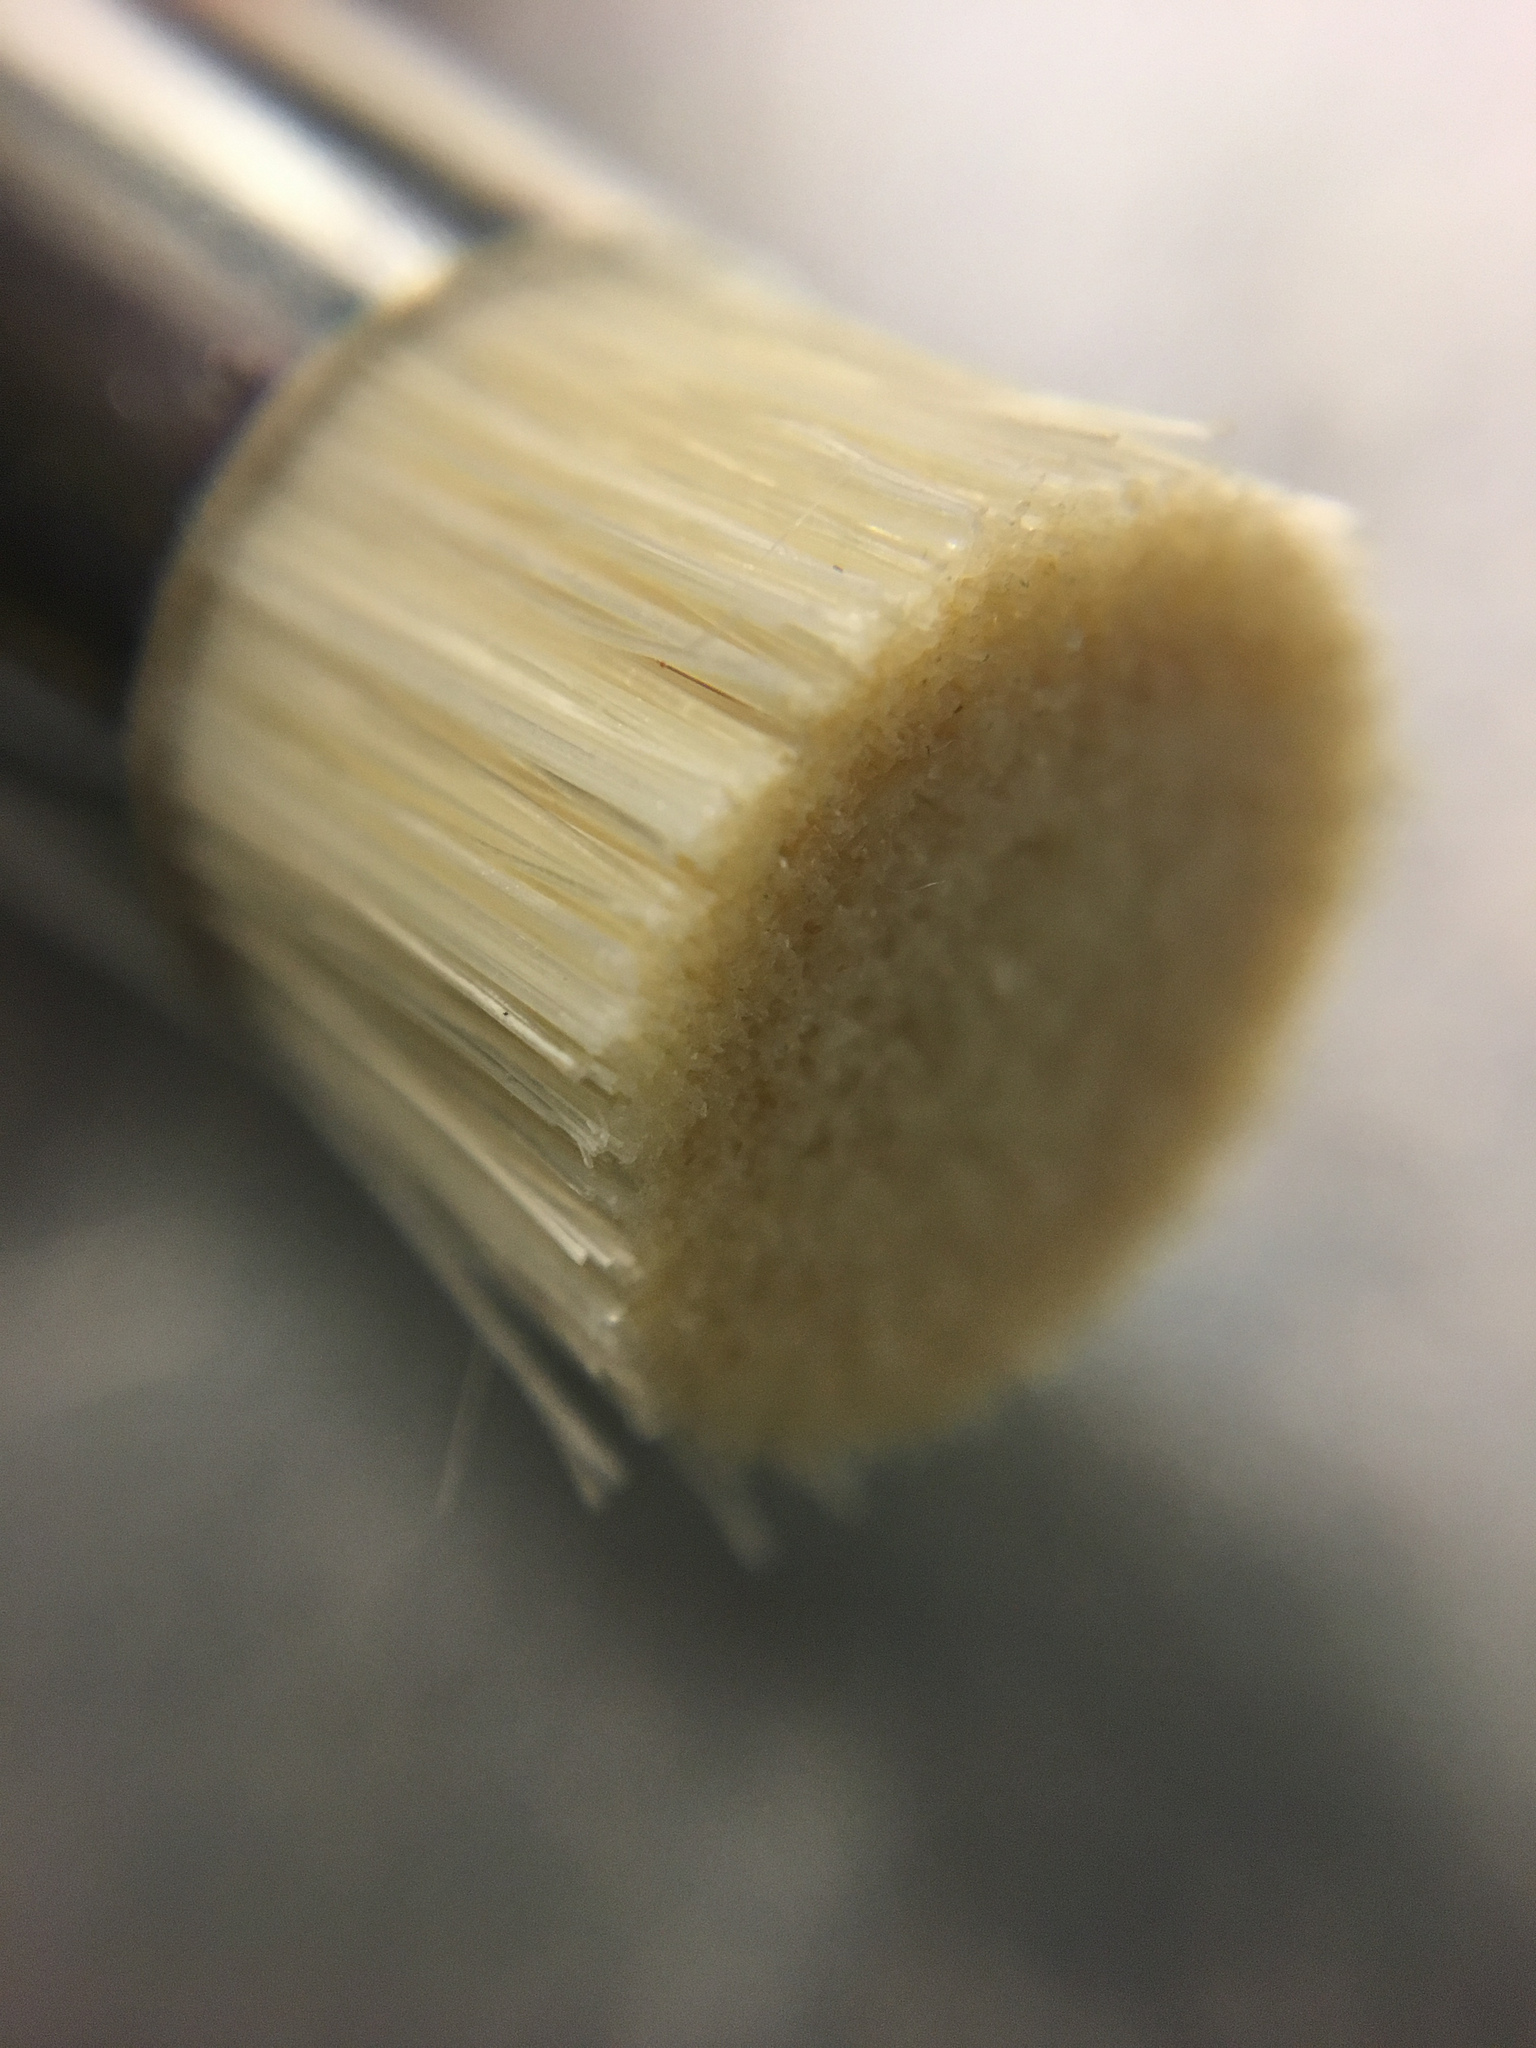
Brush, hog hair
Wooden skewers
Tripoli “coarse” (diatomite, light, average particle size 15μmmeters)
Tripoli “fine” (diatomite, reddish, average particle size 12.7μmmeters)
Plastic containers (2x)
Stone
Mineral spirits
| Image URL: |
|---|
 |
The type of brush is not specified in the entry “Polishing stones” (fol. 13r). I used a stiff hog hair brush because it is mentioned by Peder Månsson, a rough contemporary of the author-practitioner who wrote a handbook on lapidary techniques. Månsson describes the use of a brush in conjunction with a wheel. The brush is made of hog hairs bound with a wire, mounted on a stylus. This brush is then placed in a lathe and rubbed with tripoli. The stone is held against the brush and the lathe is rotated by hand.1 Brushes are necessary for the polishing of engraved stones because the bristles can penetrate into the relief of the engravings.
The author-practitioner, in contrast, makes no mention of a wheel, only the brushes and tripoli.2
| Image URL: |
|---|
 |
Procedure
I set up my workstation and sprayed down the newsprint before starting anything in order to minimize tripoli dust in the air.
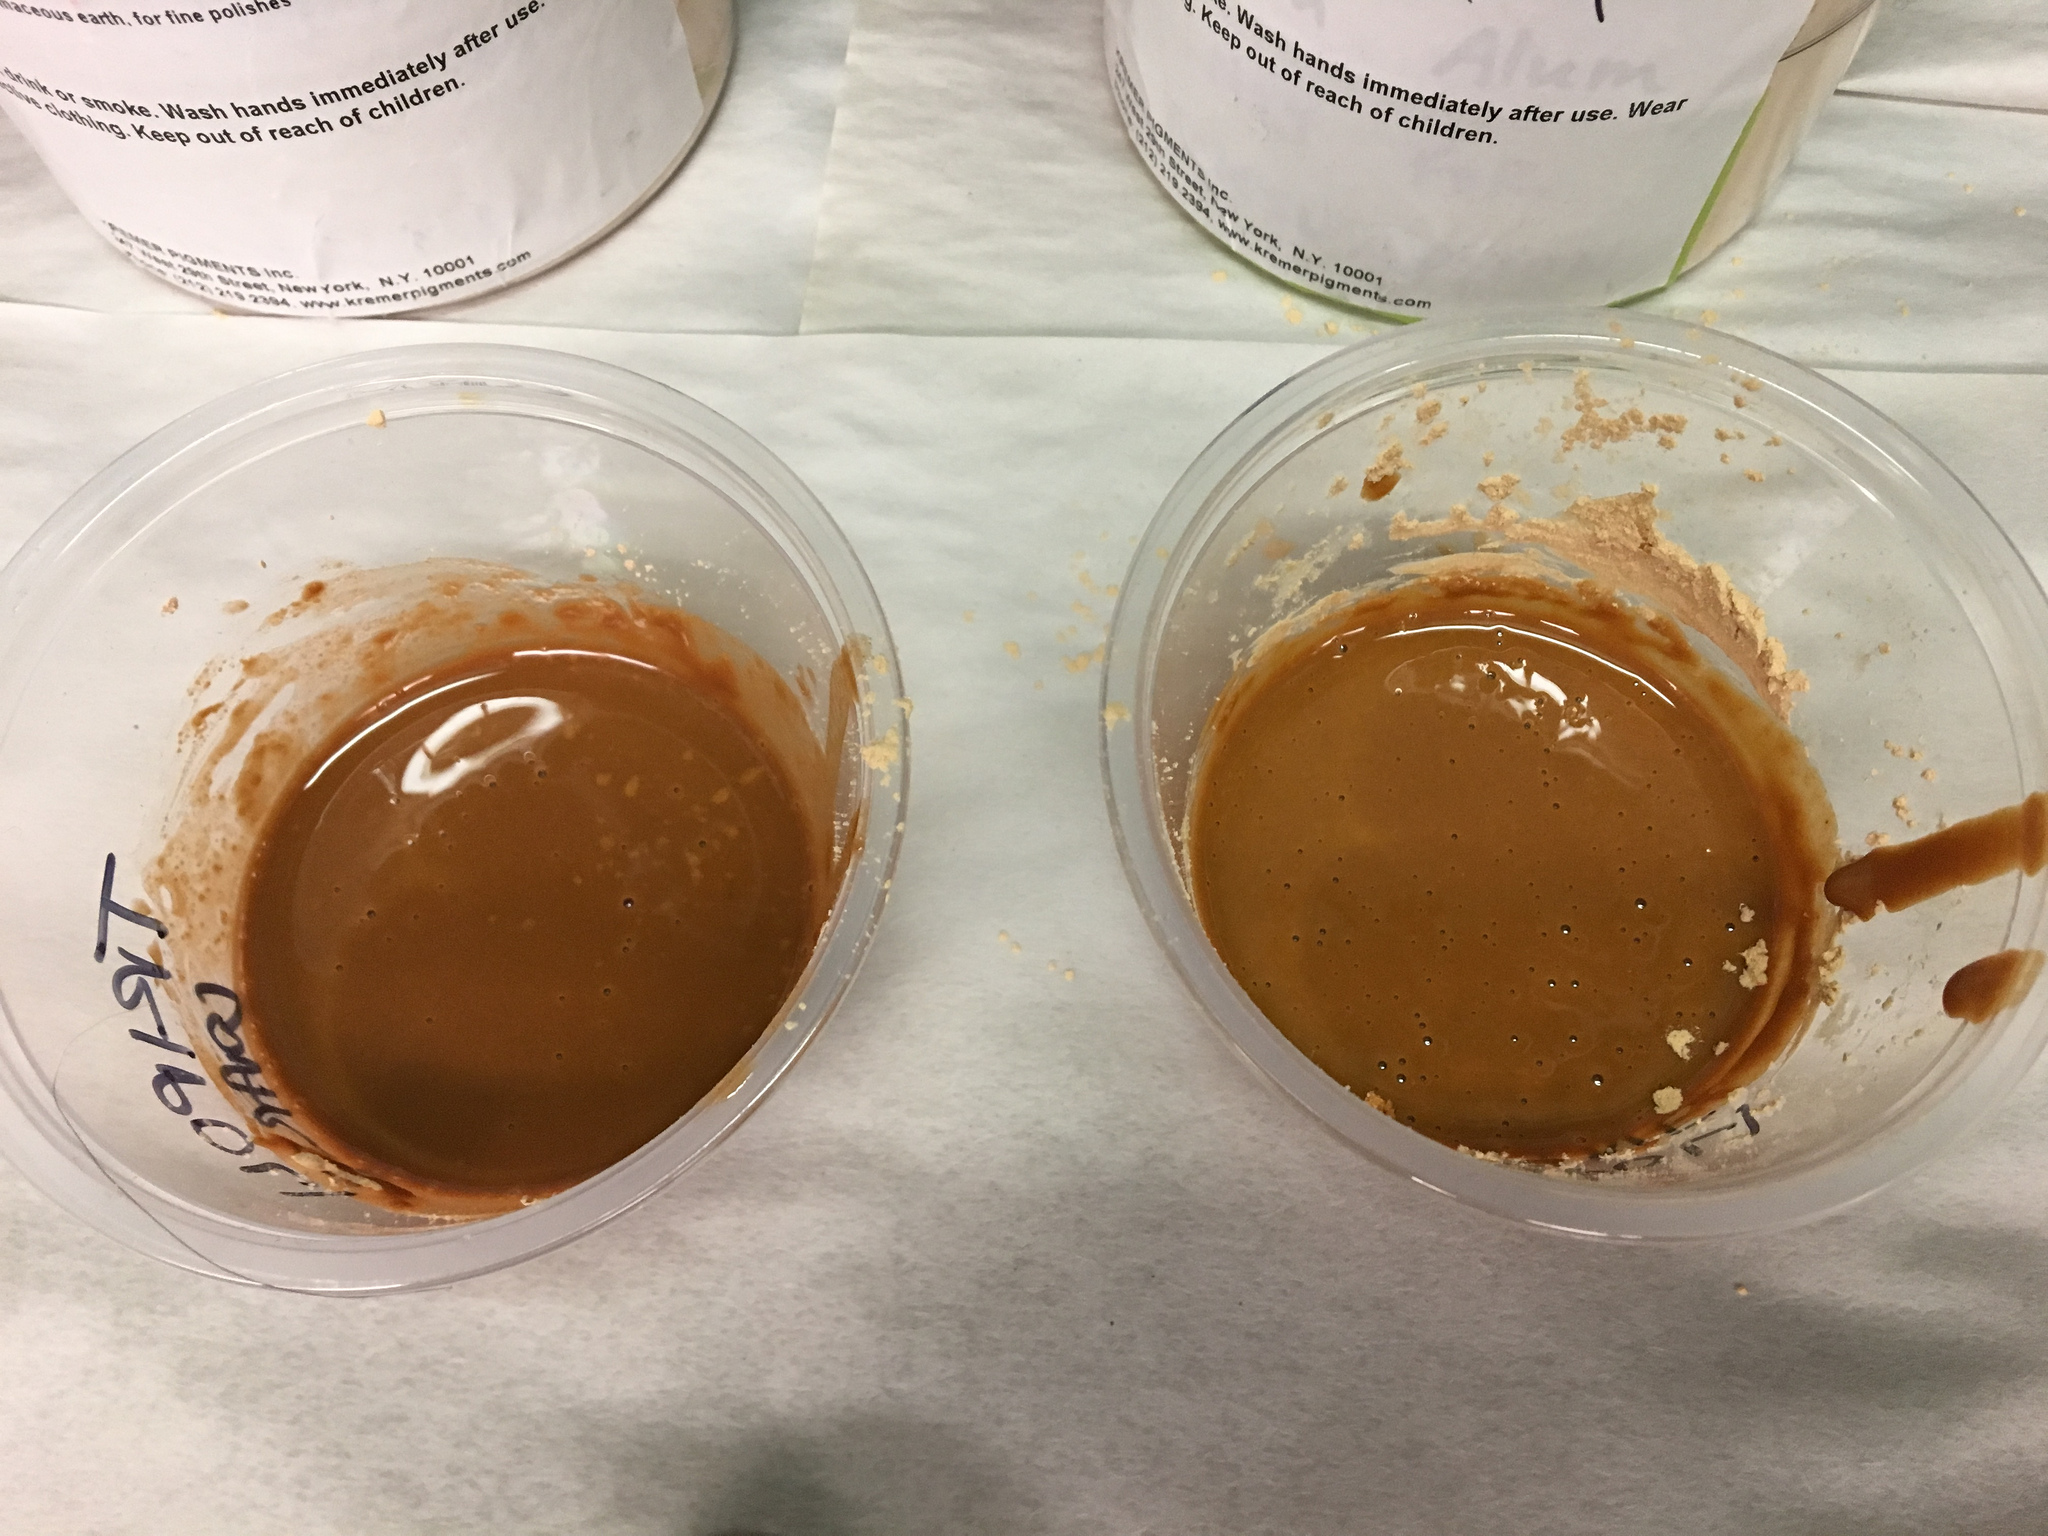
I used two types of tripoli of different particle sizes. I mixed each in a separate container with walnut oil. The polishing agent needs to be mixed with water, oil or saliva. Peder Månsson and Georgius Agricola mention the use of oil, and Theophilus names walnut oil specifically. Since this was an oil specifically named at least once in a lapidary context and used by the author-practitioner many times elsewhere in the manuscript, I chose to use this oil.
I added about equal parts of oil and tripoli, adding the oil first and mixing the tripoli into the oil in spoonful increments. I used about spoonfuls of tripoli for each until I created a “slurry” consistency that was liquid enough that it could be mixed and applied, but thick enough that it wouldn’t slide off the stone too quickly.
| Image URL: |
|---|
 |
I began with the “coarse” tripoli slurry and finished with the “fine” tripoli slurry. NB: these are not described as coarse or fine by the author-practitioner or Kremer. I’m referring here to their relative particle size.
Video linked here.
I polished for half an hour with each mixture, for a total of one hour of polishing. This was a tiring process made more tedious by the lack of discernible difference made by my polishing.
I continuously reapplied the tripoli mixture as it slide off the stone. I used a small amount of the slurry I prepared.
Observations under magnification
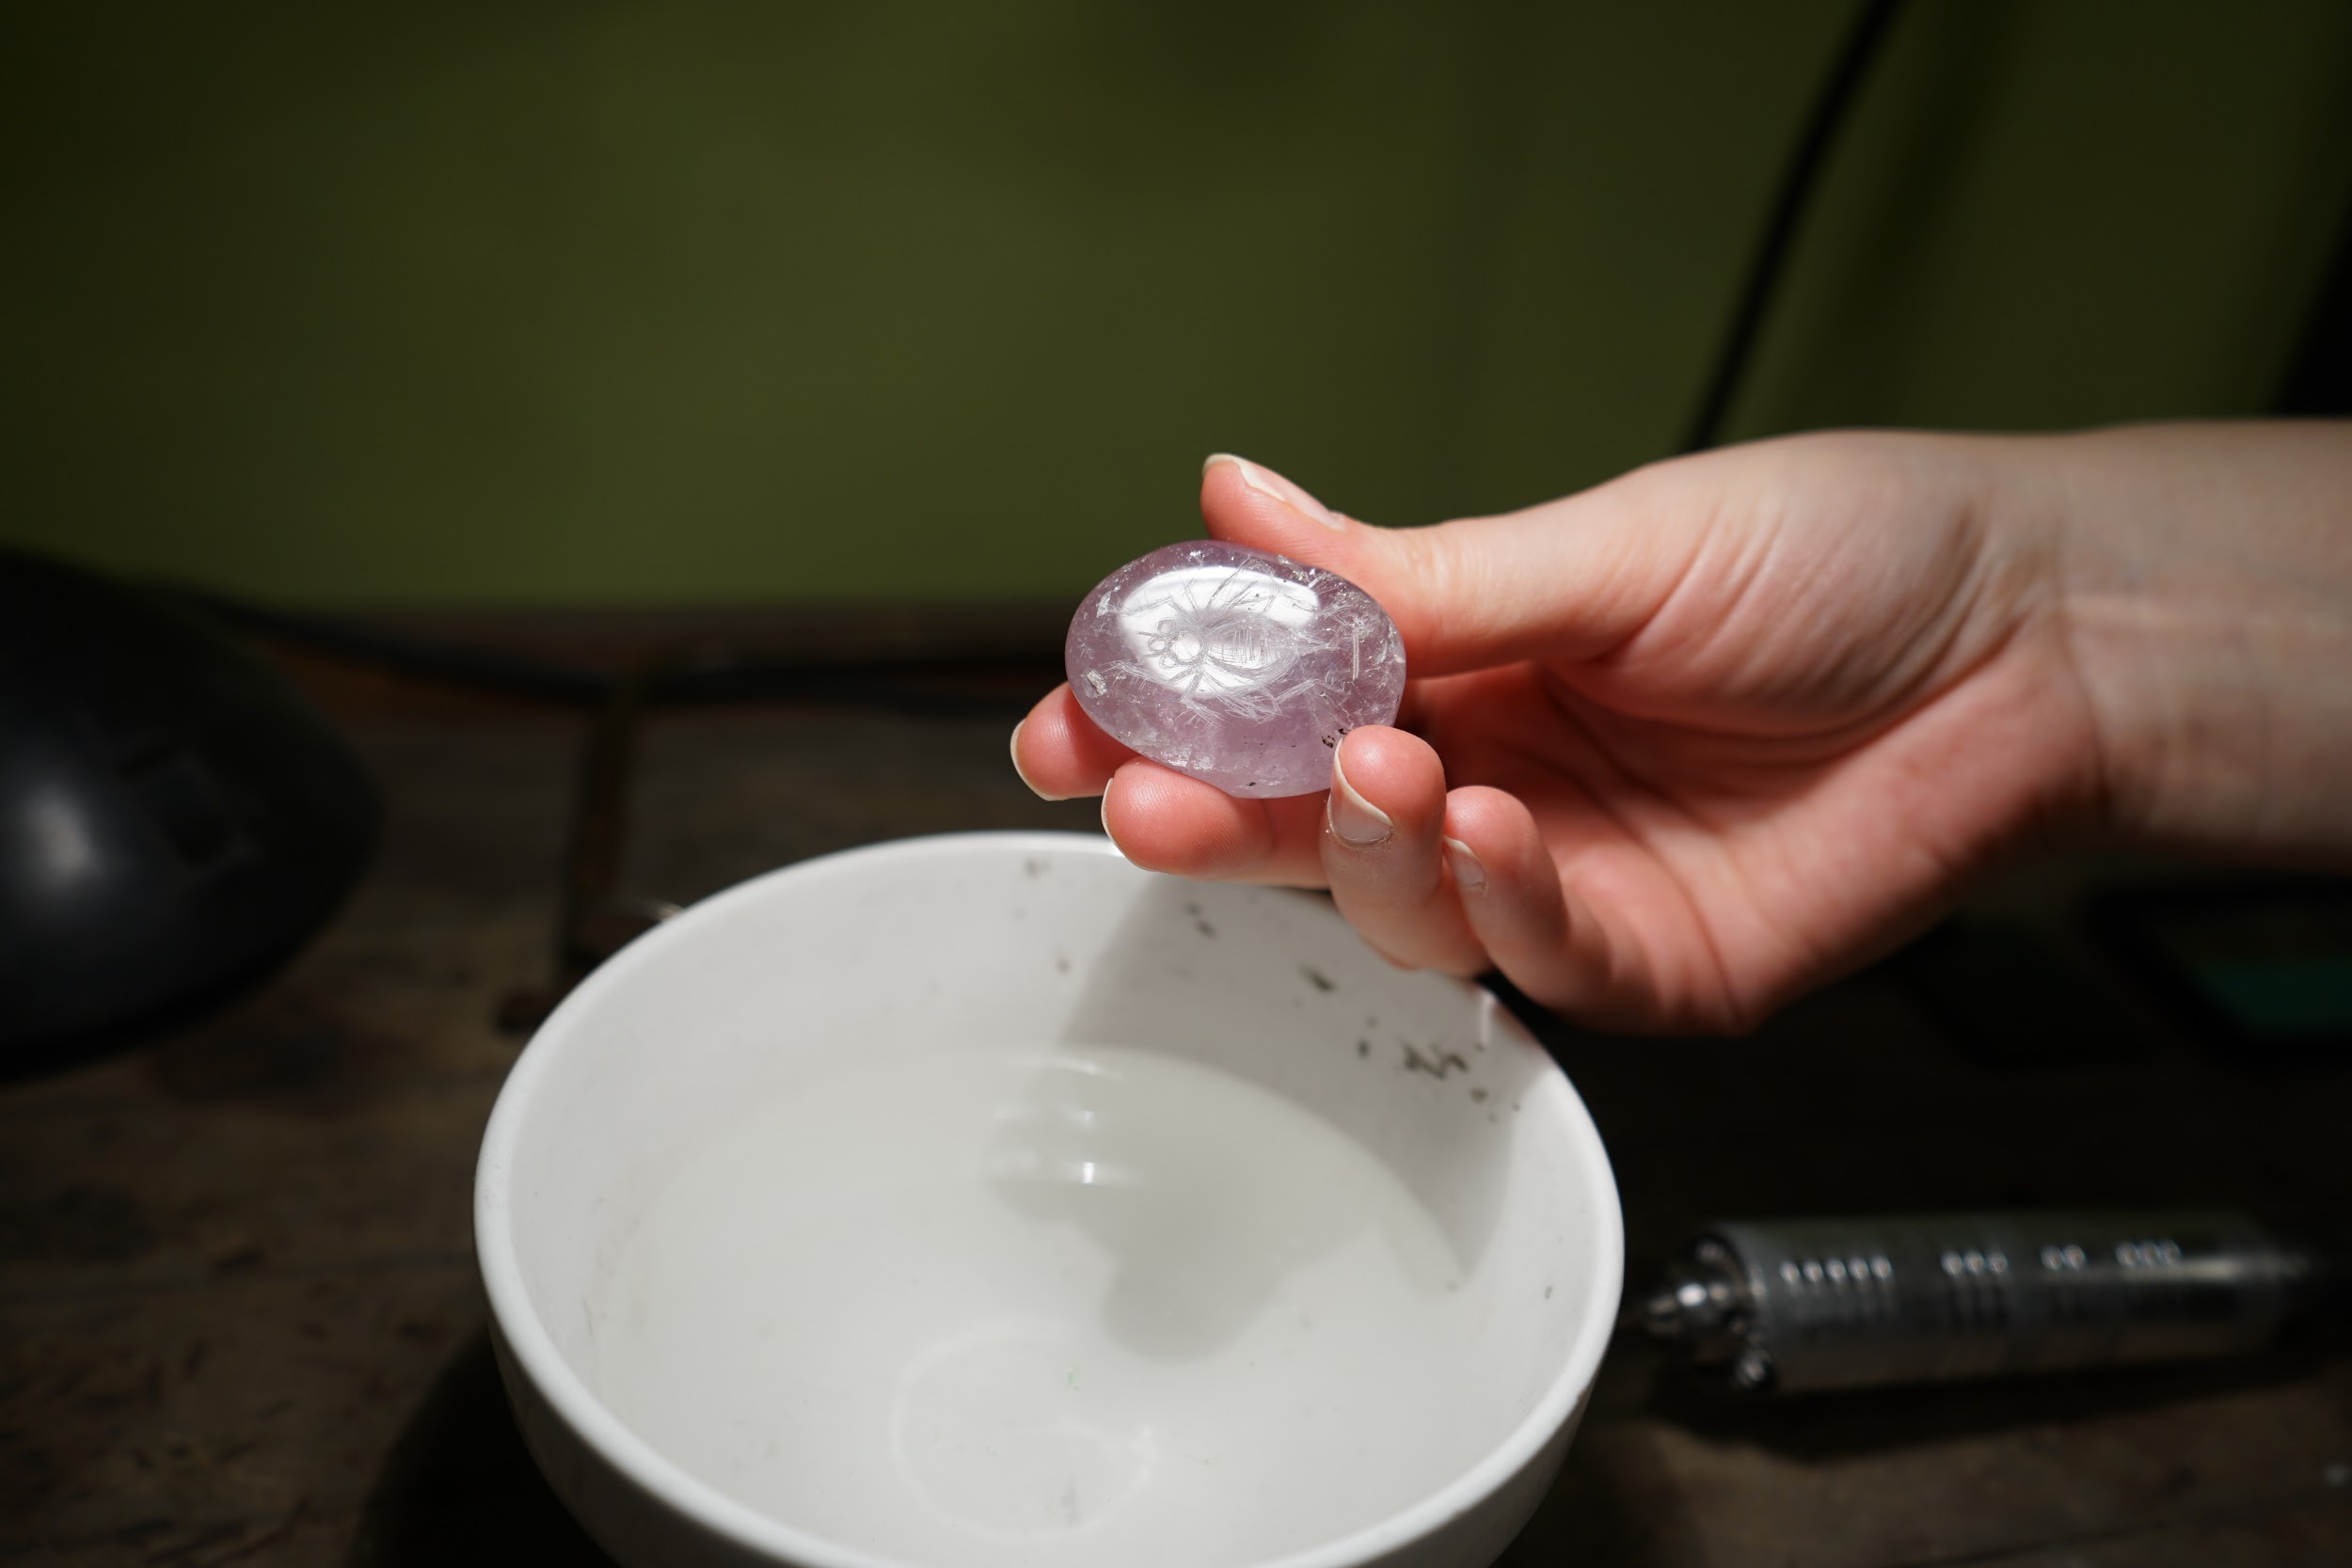
After polishing, I wiped the brushes and stones with paper towels, then cleaned them with mineral spirits. I washed the stone with dish soap and water, then let it air dry.
Photo of stone while air-drying, not under magnification.
| Image URL: |
|---|
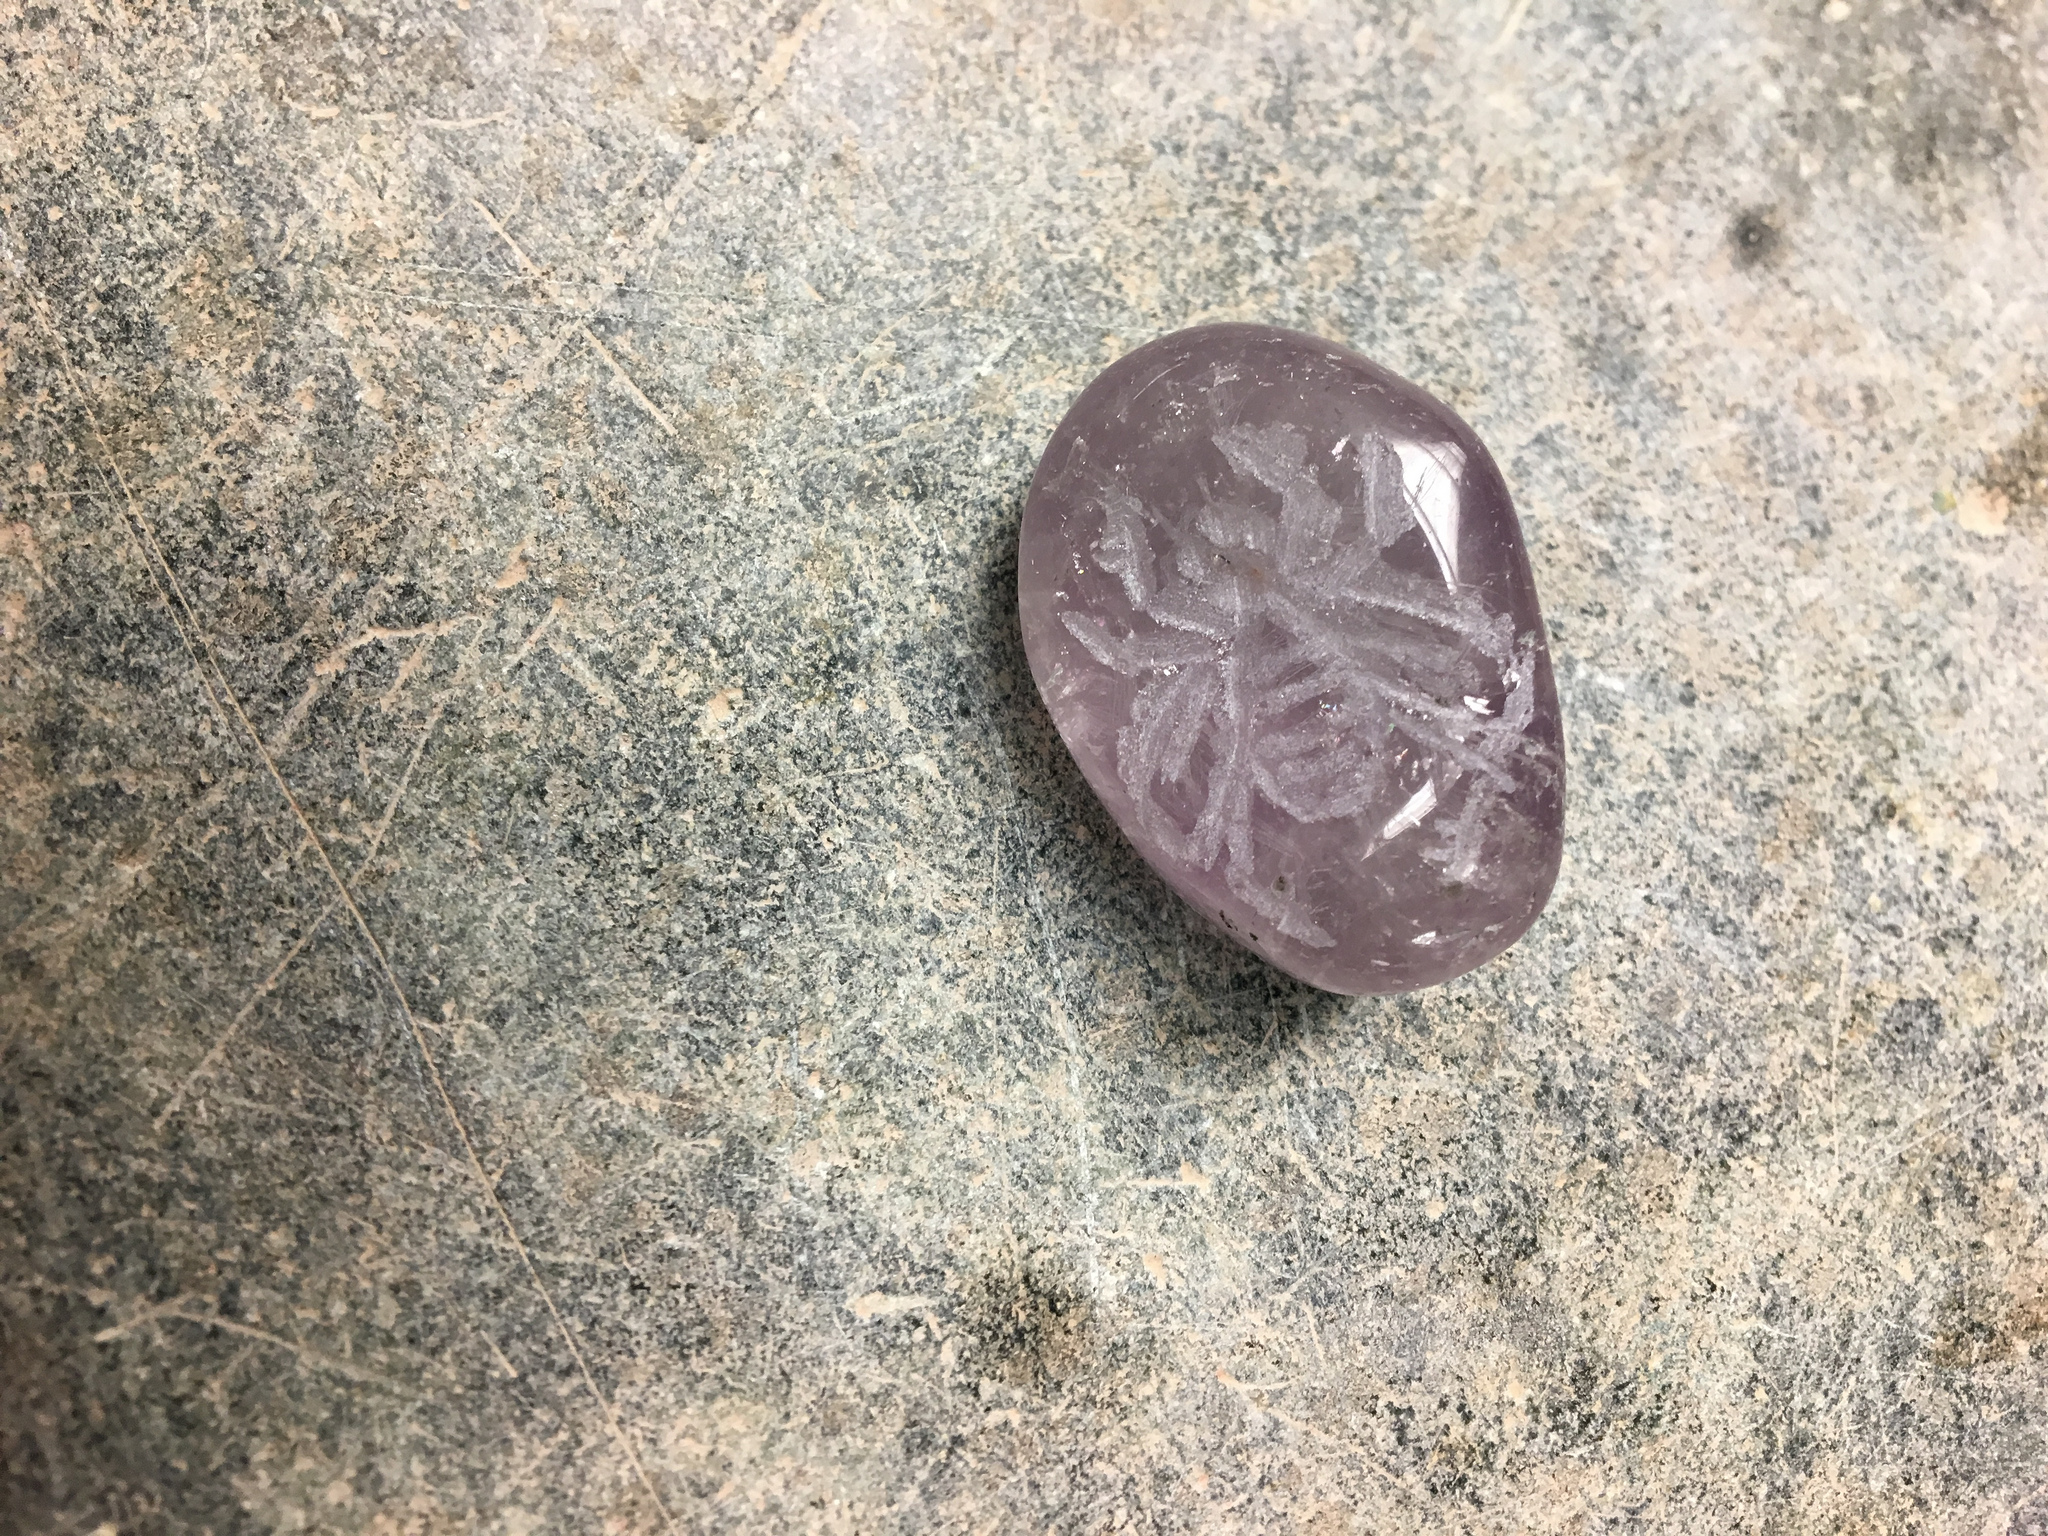 |
Photographs of stone before and after polishing look very similar. The relief still has a granulated appearance and seems to be unaffected by polishing with tripoli. Stray scratches made by diamond-tipped scribe also appear unchanged.
By touch, the stone seems to feel smoother.
| Image URL: |
|---|
 |
| Image URL: |
|---|
 |
| Image URL: |
|---|
 |