Image of materials/supplies
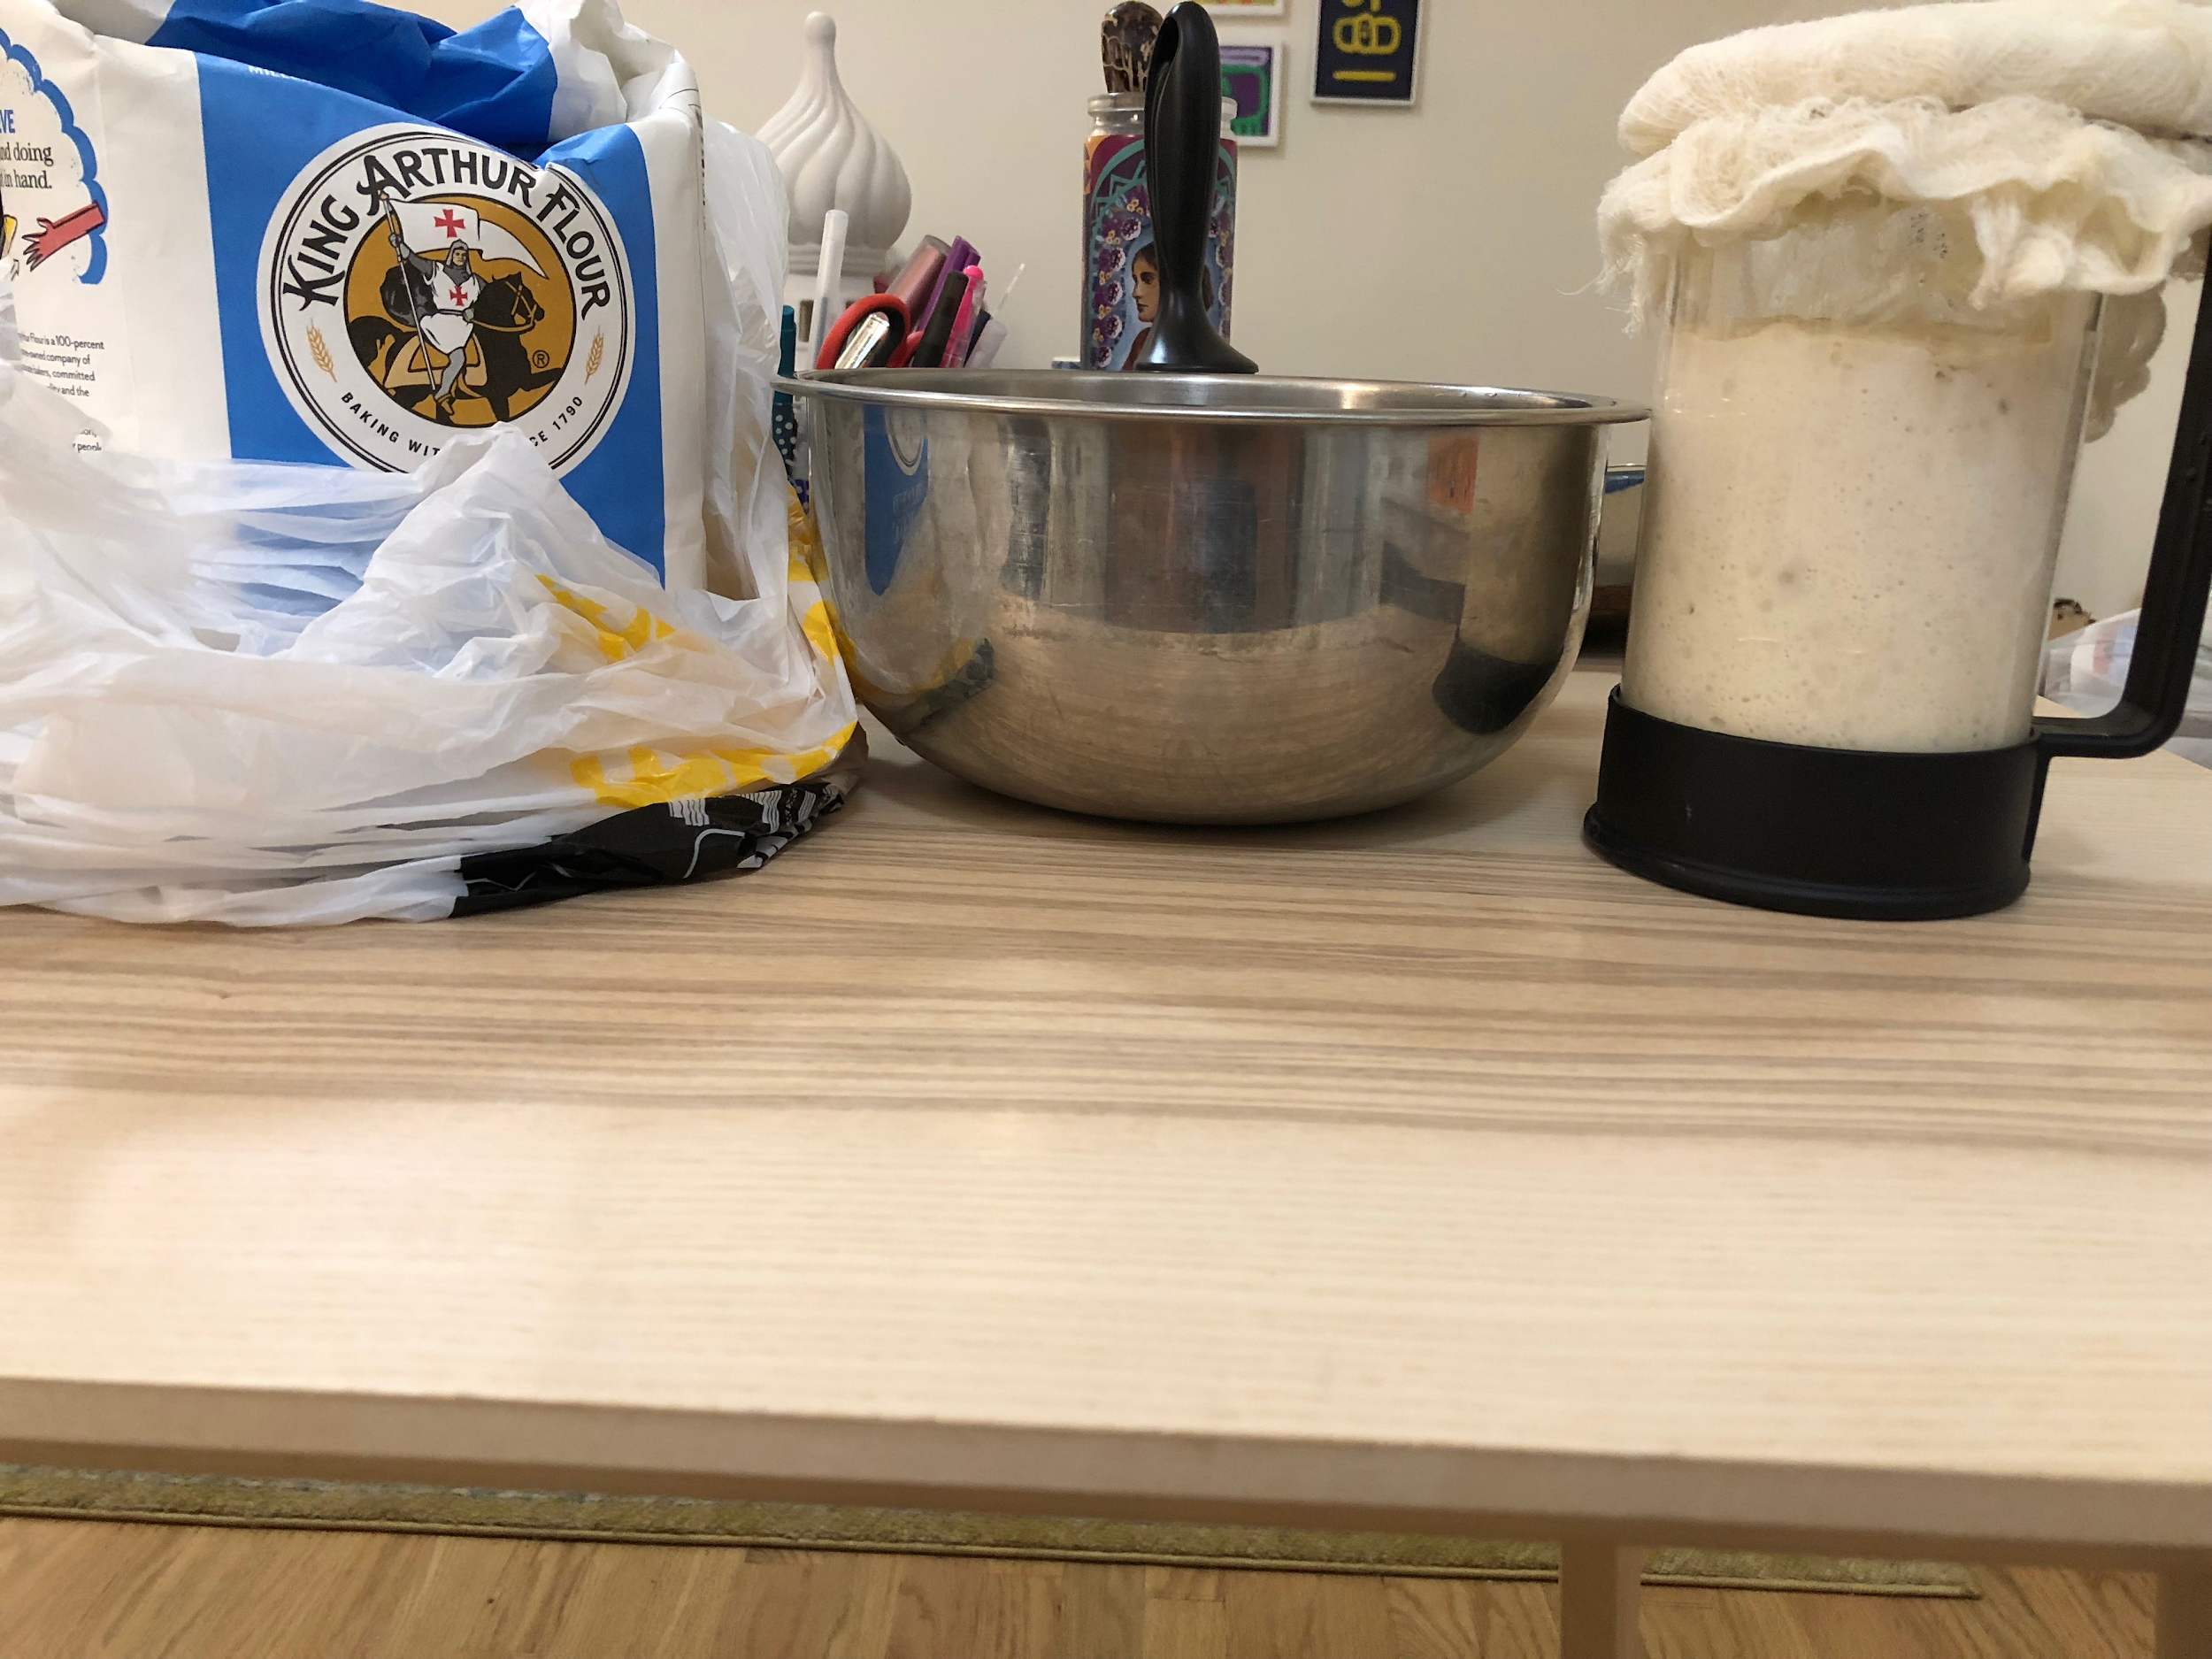
Table of Contents
Dark red text has been formatted as certain heading types. To ensure the table of contents is rendered correctly, make sure any edits to these fields does not change their heading type. |
Name: Olivia Branscum
Date and Time:
Location: 530 Riverside Drive
Subject: Breadmolding Reconstruction
Materials: fed sourdough bread starter; bag of King Arthur bread flour; room temperature water; non-iodized salt.
Please find the reconstruction of the recipe from BnF Ms Fr 640 below.
Translation:
To cast neatly in <m>sulfur</m>, arrange the <m>bread pith</m> under the <tl>brazier</tl>, as you know. Mold in it what you want & let dry & you will have very neat work.</ab>
<ab>
<margin>left-middle</margin>
Try <m>sulfur</m> passed through <m>melted wax</m>, because it no longer inflames & and no longer makes eyelets.</ab>
</div>
<div>
<id>p140v_2</id>
<head>Molding and shrinking a large figure</head>
<ab>
Mold it with <m>bread pith</m>, having come from the <tl>oven</tl>, or as the above, & in drying out it will shrink & consequently the medal that you will cast. You <del>it</del> can, by this means, by elongating and widening the imprinted <m>bread pith</m>, vary the figure & with one image make many various ones. <m>Bread</m> coming from the <tl>oven</tl> is better. And the one that is reheated twice retracts more. You can cast <m>sulphur</m> without leaving the imprint of the <m>bread</m> to dry, if you want to mold as big as it is. But if you want to let it shrink, make it dry, either more or less.</ab>
The recipe for breadmolding in sulfur in p140v seems to indicate two approaches – I am going to try them both. It’s not clear to me that the methodology is meant to differ much since one recipe specifies ways to alter the integrity of the mold in order to produce new shapes, but I’ll try what seem to me to be the two possibilities as detailed below.
Bake [sourdough] bread. This is not specified in the recipe, but since the second method talks about using bread fresh from the oven, I’m filling in this part of the process. I used several ‘artisan’ recipes to learn how to bake bread, following the ingredients listed in John Evelyn’s bread recipe. Please see photos for a record of this process.
Select an object to mold – for the purposes of this experiment, I am trying two things (a symmetrical pendant and a glass prism).
When bread is still warm, cut it and select pieces from the ‘pith’ (center of the bread) to use as a mold. The recipe does not specify using two pieces; based on my experience with casting using sand and plaster, however, I am going to do it that way.
For the pendant, I will place the object in the warm bread and allow it to cool and dry that way. (One question I have concerns how to secure the object and make sure the bread mold stays. This may become obvious once I try executing the plan. I suspect that the soft bread, not being allowed to cool as fully as is usual, will retain its shape around the object.)
For the prism, I will wait for the bread to cool, then ‘toast’ it in a piece of foil in the oven (to mimic toasting under braziers, i.e. coals.)
Name: Olivia Branscum
Date and Time:
Location: 530 Riverside Drive
Subject: Breadmolding Reconstruction
Materials: fed sourdough bread starter; bag of King Arthur bread flour; room temperature water; non-iodized salt.
I am feeding my starter an extra time in order to prepare for baking bread tomorrow.
| Image URL: |
|---|
Image of materials/supplies
|
Name: Olivia Branscum
Date and Time:
Location: 530 Riverside Drive
Subject: Breadmolding Reconstruction
Materials: fed sourdough bread starter; bag of King Arthur bread flour; room temperature water; non-iodized salt.
Today, I am baking my (I hope!) last loaf of bread before molding the objects themselves. I encountered a bit of a hurdle when my first batch of dough, prepared yesterday, did not seem to rise overnight. I have fed my starter in preparation for whipping up another batch if necessary.
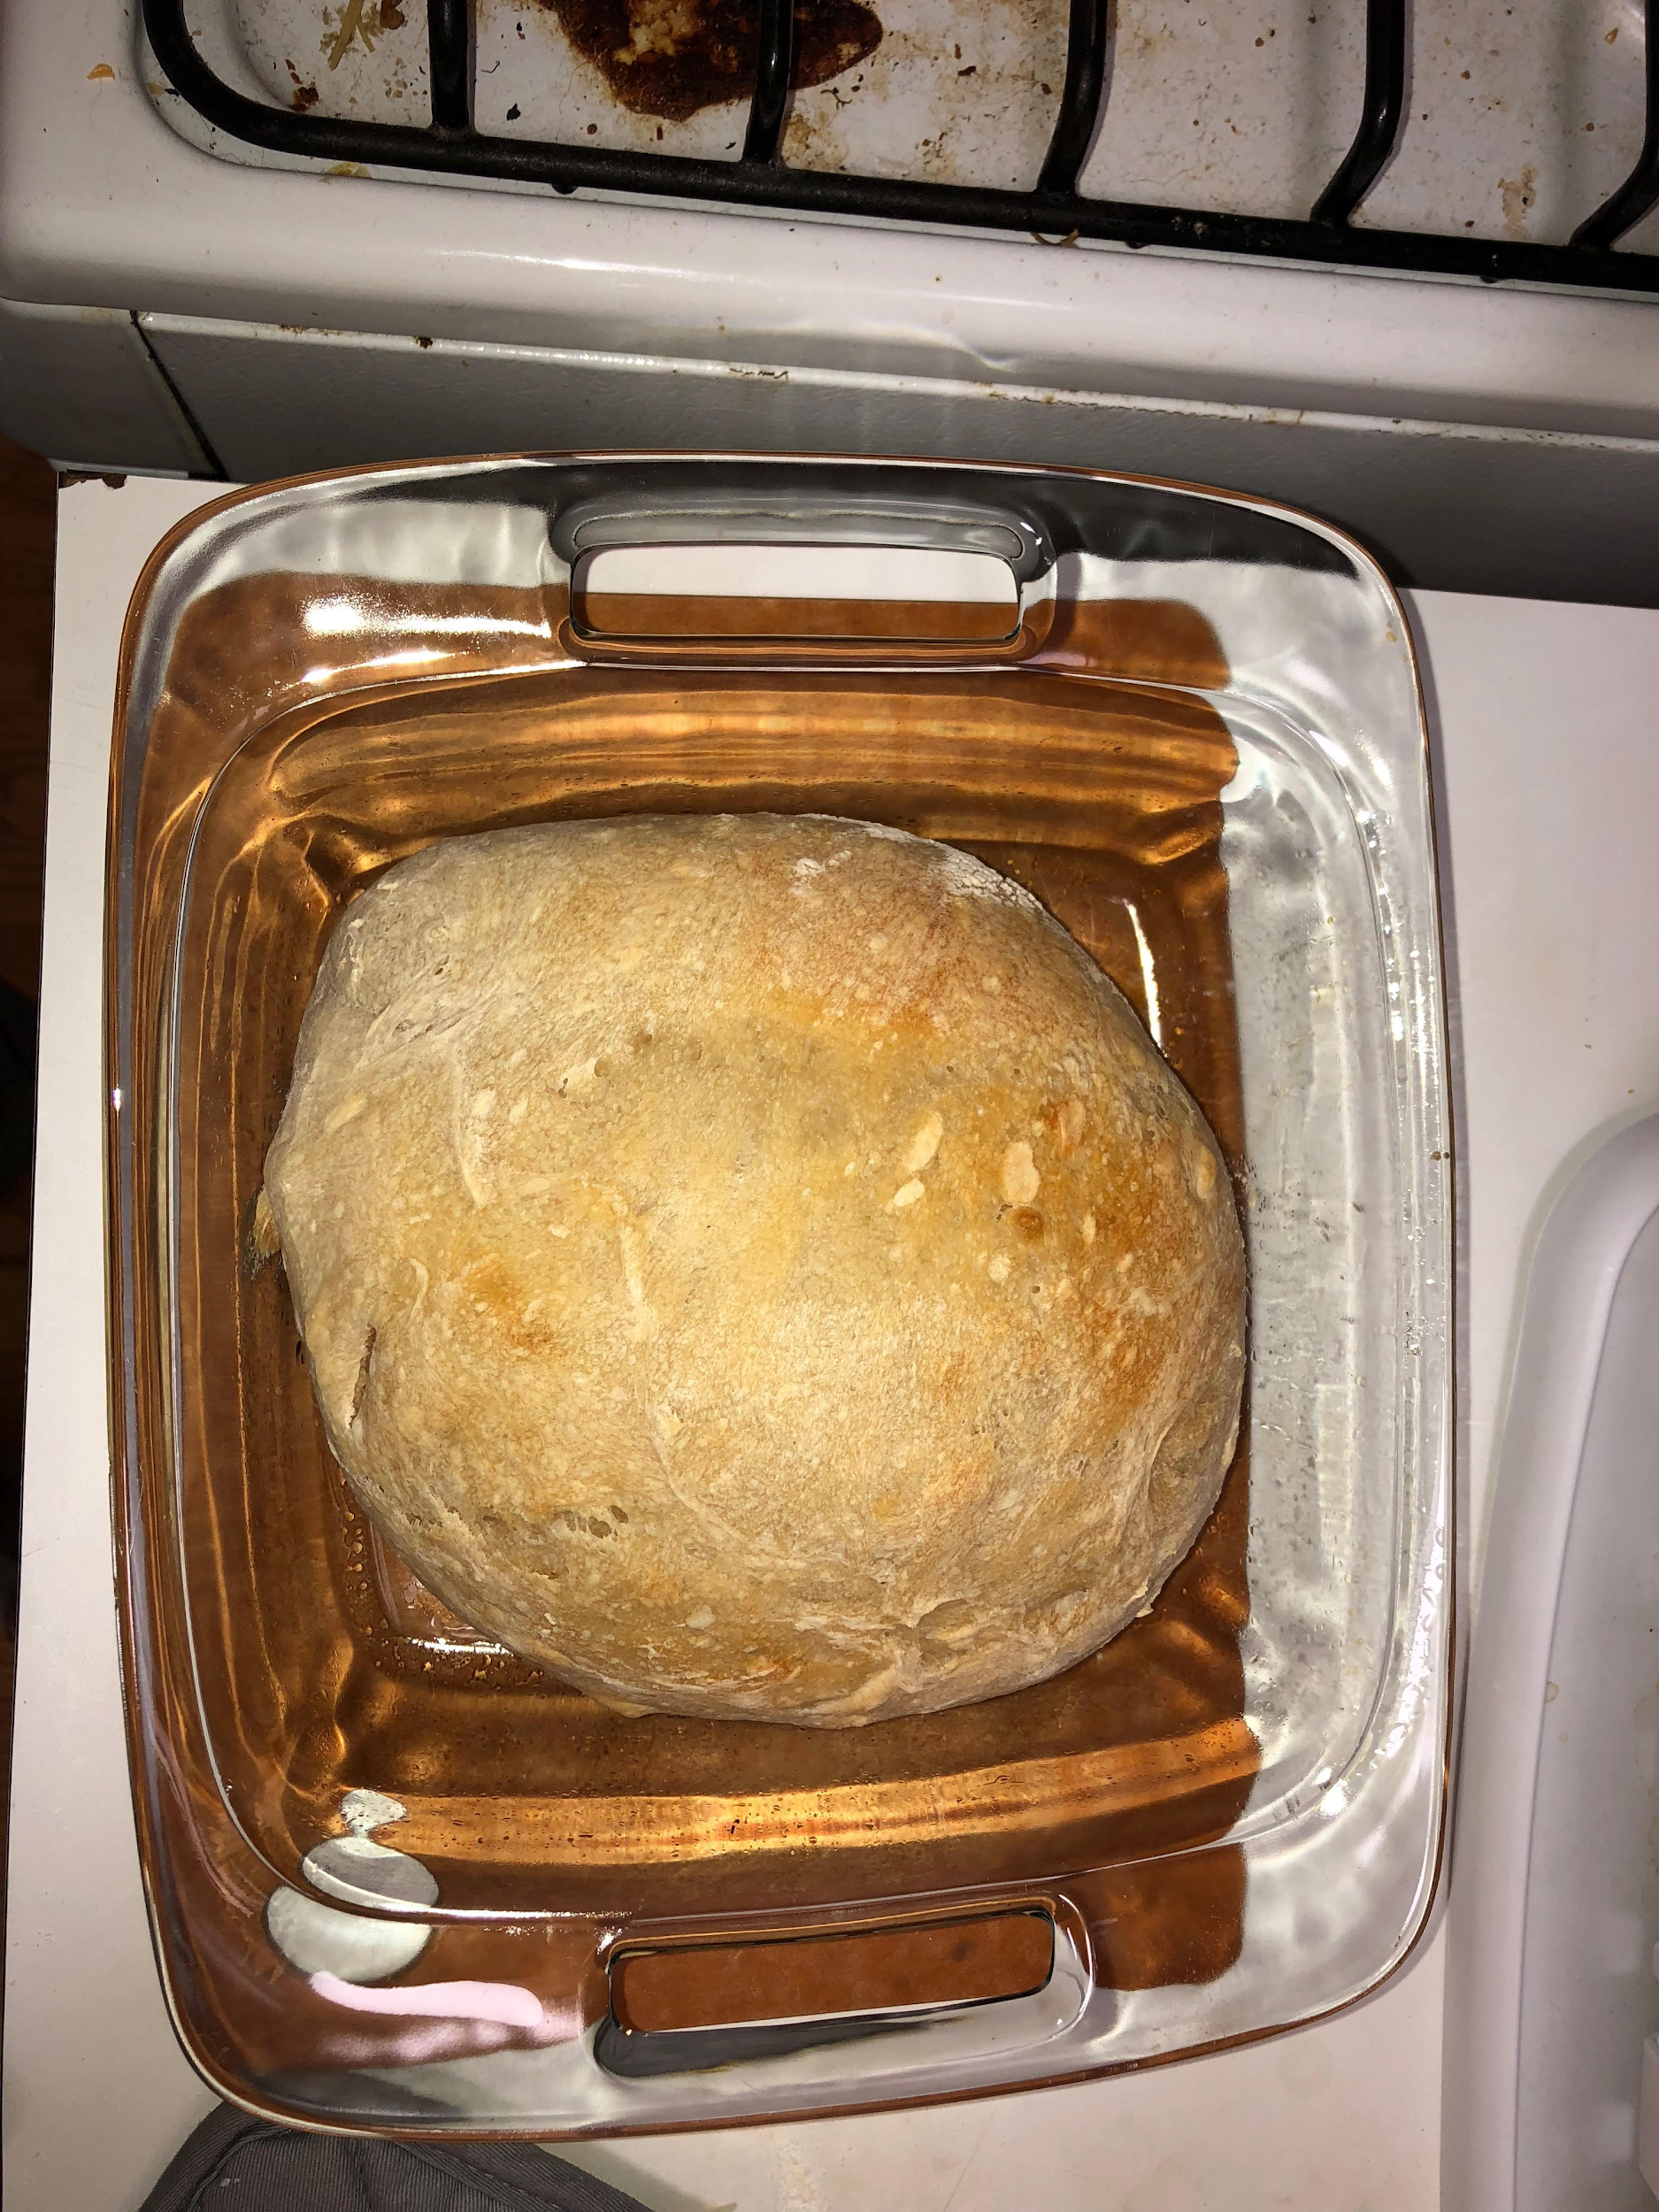
I baked the bread for about 30 minutes in 450 degree heat. I had to use a glass pan, which of course is an anachronistic compromise, as is my gas oven (no bespoke brick ovens here).
Please find notes taken throughout process below
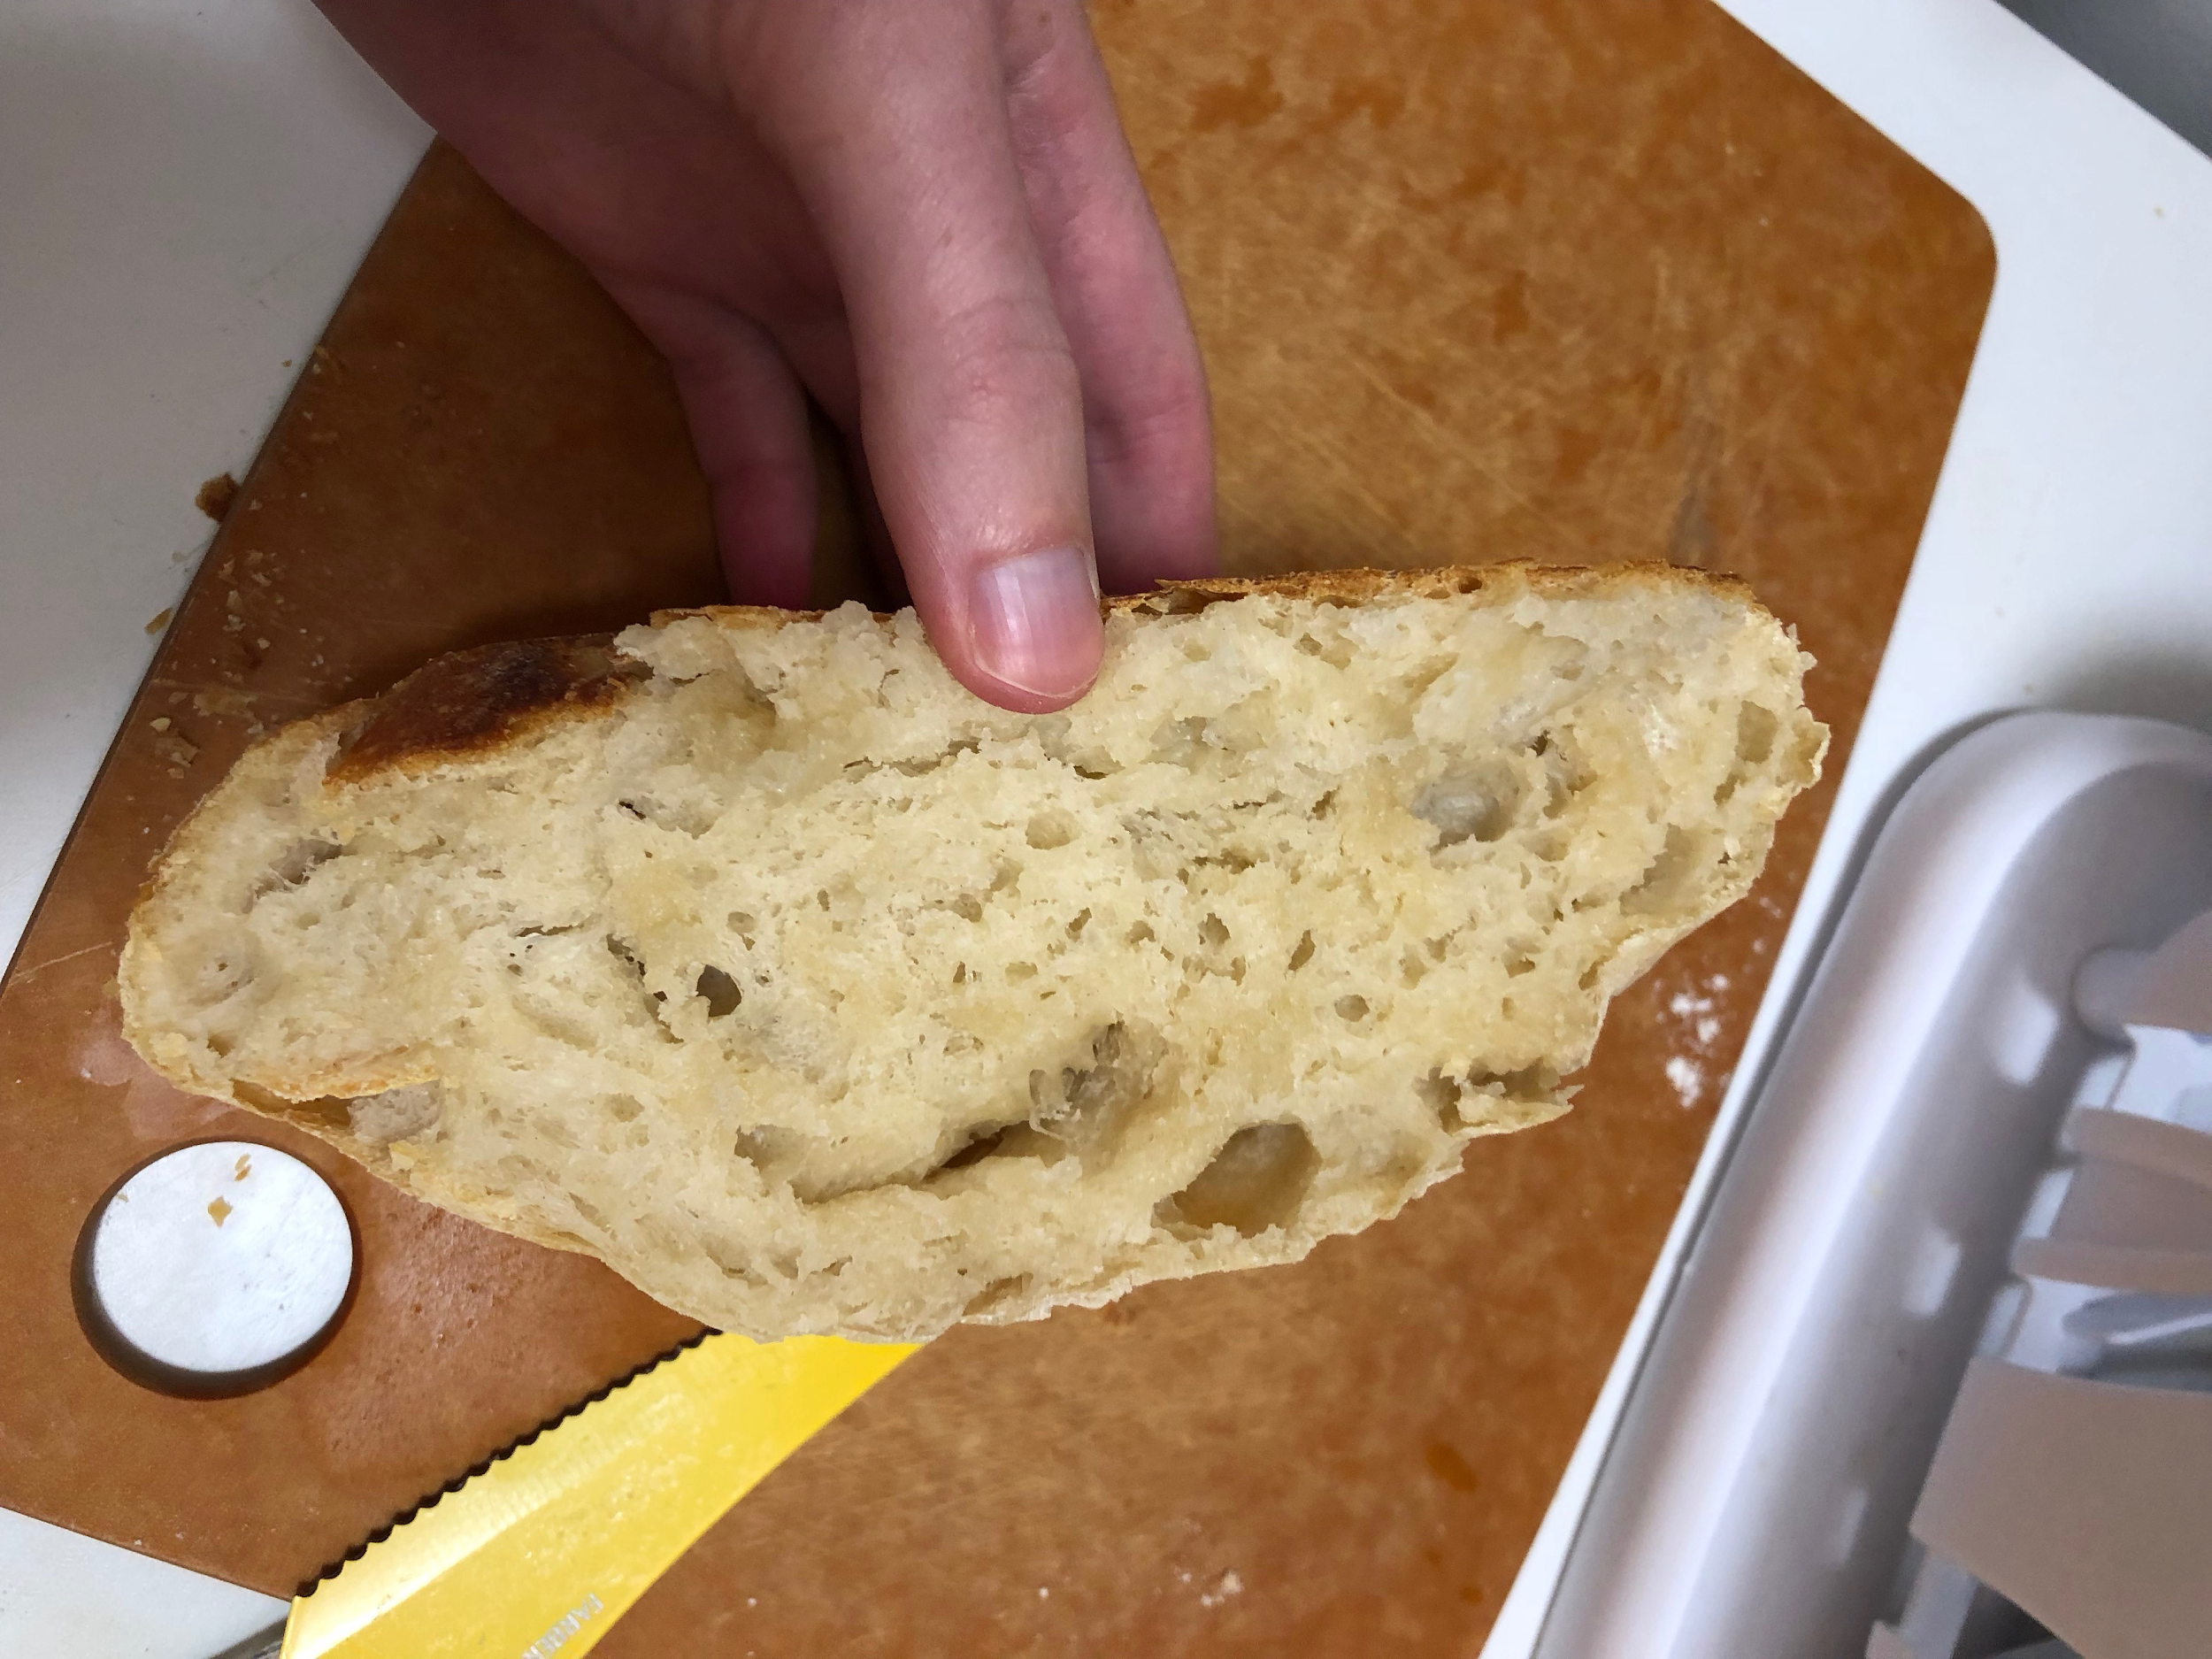
Difficulty with open texture of bread
Didn’t rise a ton, which I know is typical of sourdough; however, made it difficult to fit the items I had selected
Though I had planned to use the two objects described in the entry above, I ended up molding more objects: a rubber heart, a small plastic Buddha sculpture, a small ceramic owl sculpture, a glass prism, and a plastic Ikea chair fitting.
So hard to have patience for second round!
Occurred to me that crust might hinder the molding process, and further that it might help to prepare the pith by manipulating it to get rid of air bubbles. I tried this with the owl.
Question: how structured should the final mold be?
At 5:30pm, I decided to make another loaf of bread. My first loaf of the day looked like a relatively normal sourdough loaf with air bubbles and an open crumb texture. At first, I thought this was a success – it was what I had been aiming for, anyway. But I soon realized that this kind of bread might not be the most effective for its purpose as a molding material. I thought I would try making another loaf with a denser crumb and fewer air bubbles. To that end, I allowed the dough to rise for just four hours before baking it. I then baked it for 45 minutes at 400 degrees.
This time, the bread came out much denser and flatter, but with a more uniform texture inside (see pictures below). I decided to try cutting the loaf in half and 1) using two quarters of the loaf like a clam shell as a mold, and 2) mashing up the pith of the bread without any crust attached.
Both molds felt like they might not offer enough ‘give’ or flexibility to effectively capture the shapes of the objects I selected. I now have a hypothesis about the best kind of object to mold in this situation – it seems to help to have something with texture on the front and back if a two-piece mold happens to be your goal. Perhaps I should have aimed for a single-piece mold!
I departed from my anticipatory reconstruction in two main ways. First, I ended up experimenting with the materiality of the pith much more than I had originally planned. I manipulated it in various ways that I did not describe in my first recipe, trying to get the ‘feel’ of a working mold. This was an intuitive action that I immediately undertook without thinking back to my reconstruction. A similar sub-departure occurred when I molded additional objects and attempted to experiment with different types of molds.
My second major departure is subtle, because it does not clearly contradict a step I set forth in my reconstructed recipe. It concerned my expectations for what bread used for these purposes should be like. Without realizing it, I had been working from a mental image of a certain kind of sourdough bread, a version shaped by baking TV and bread purchased from commercial bakeries. As I tried to manipulate my traditional-looking sourdough loaf into something remotely moldlike, it occurred to me that that particular goal might not be the most appropriate one for this context.
| Image URL: |
|---|
Bread baking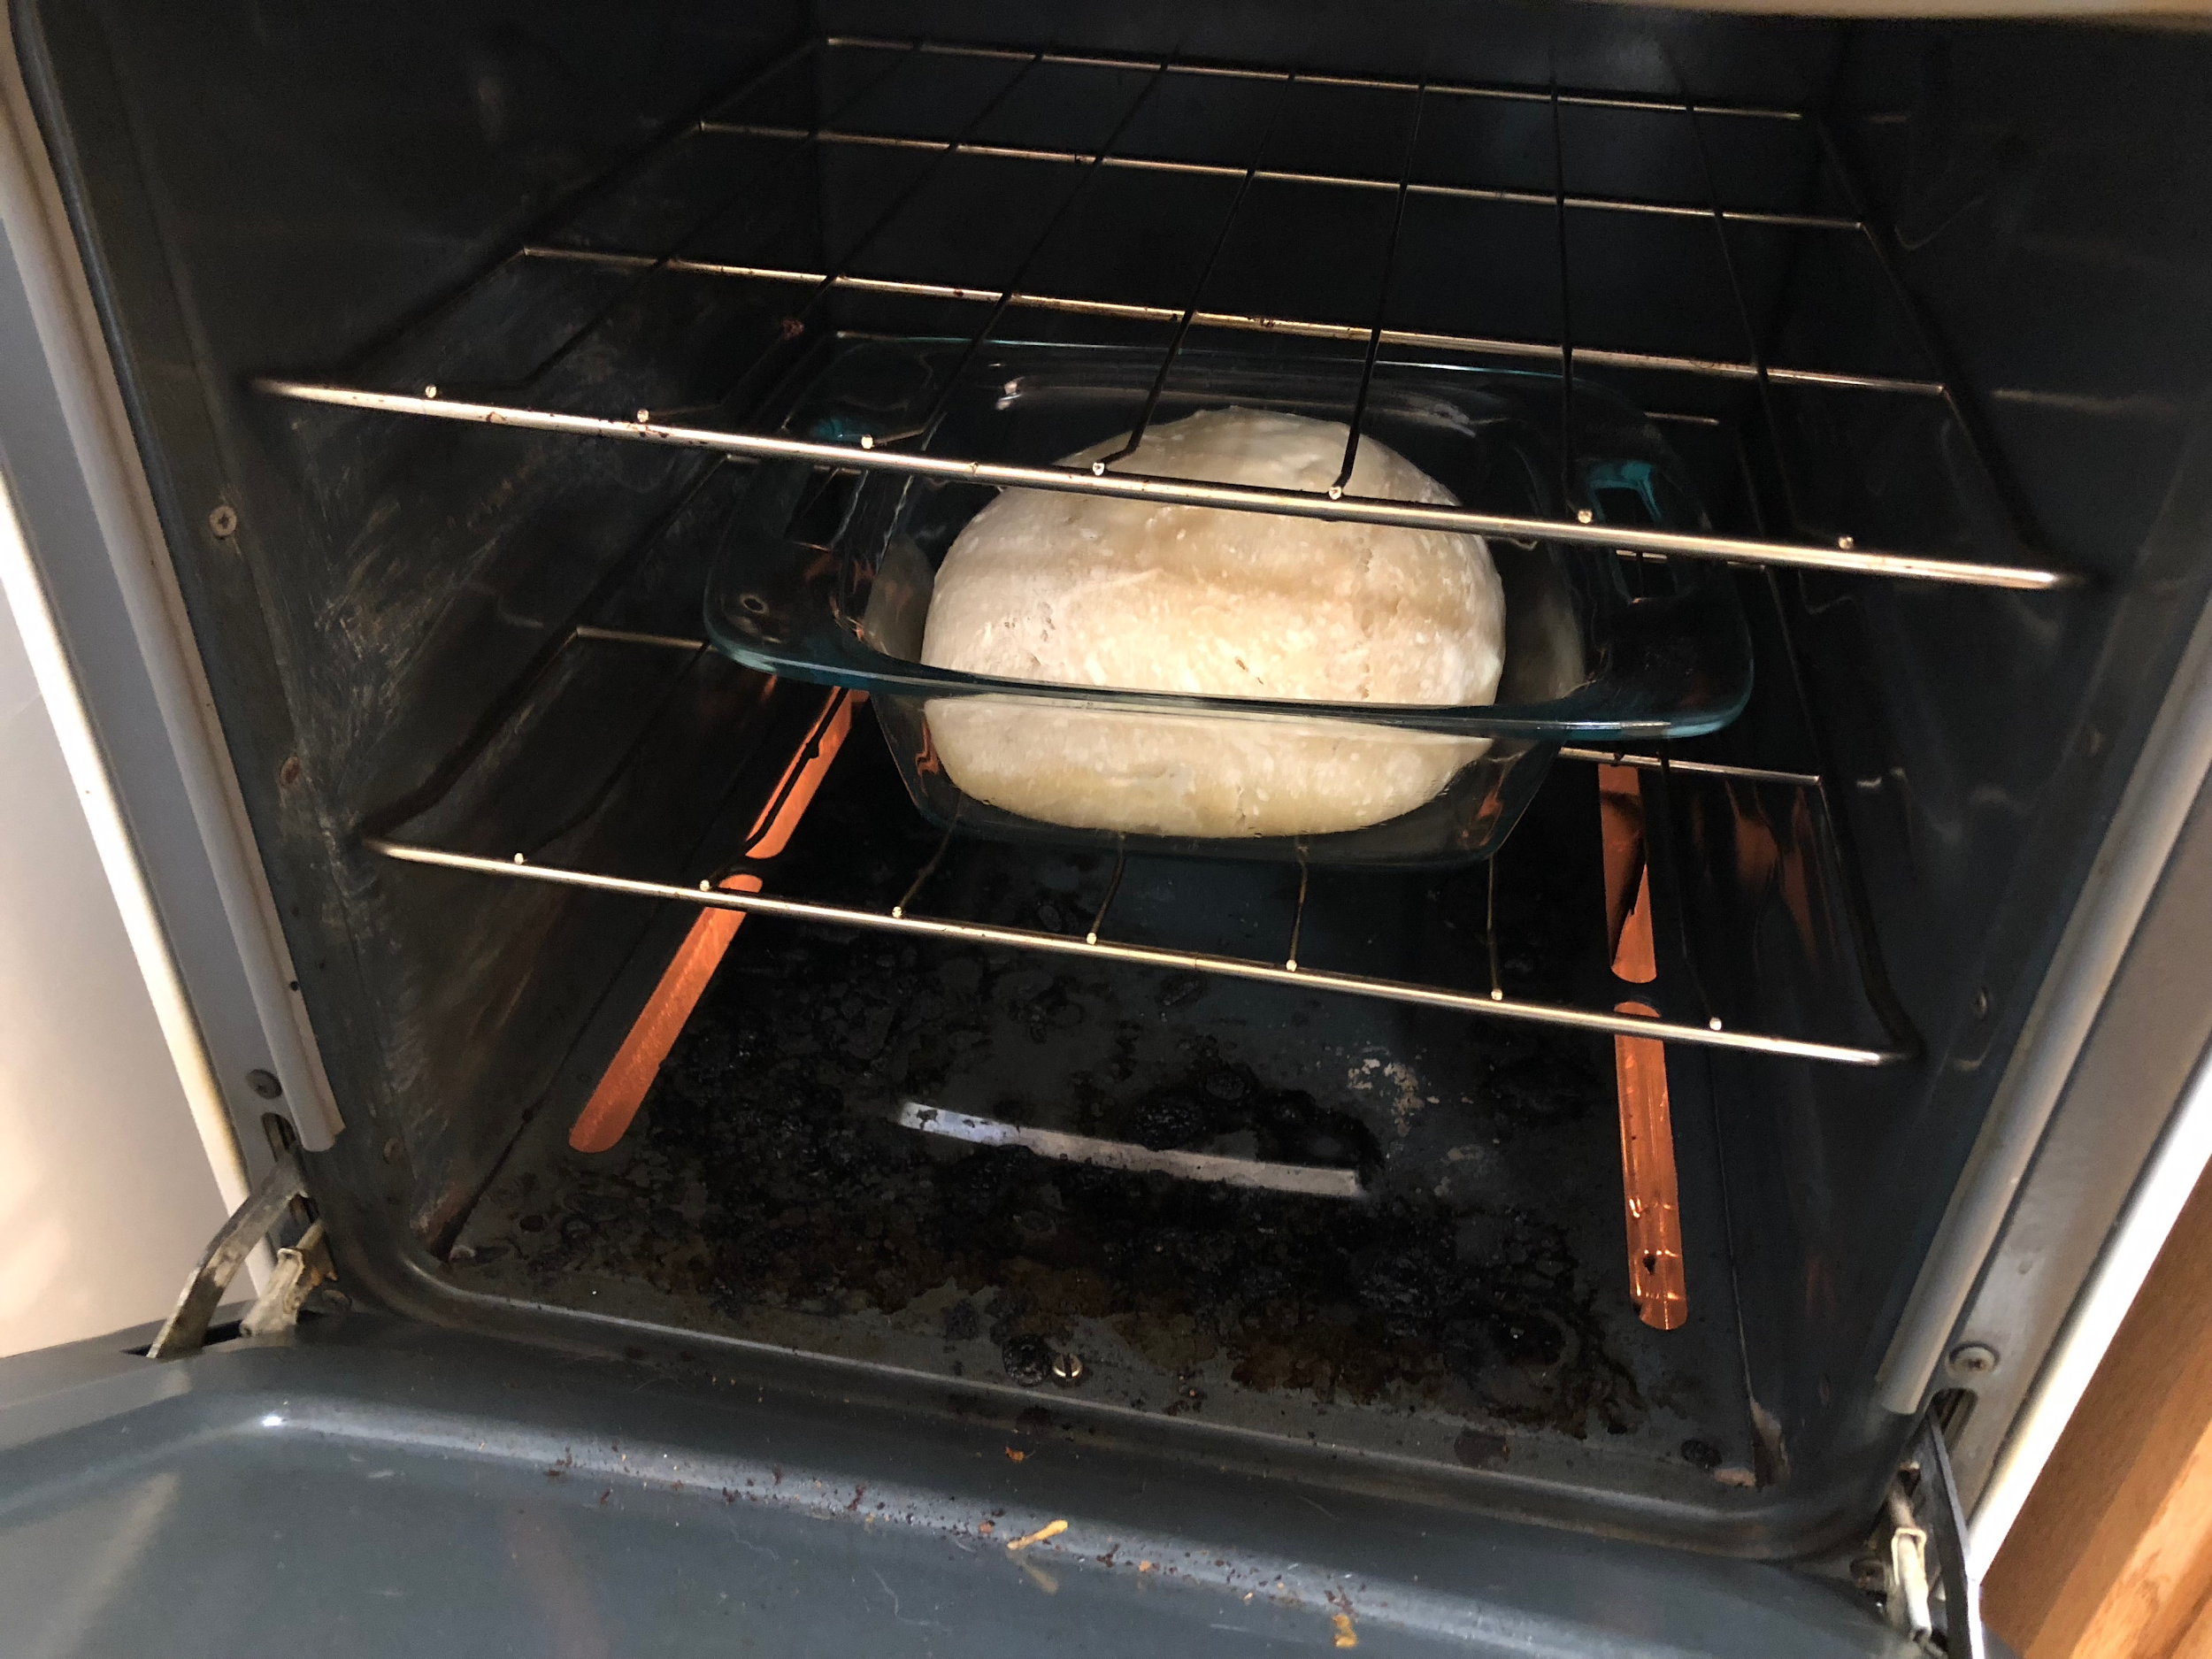 |
| Image URL: |
|---|
Bread out of the oven
|
| Image URL: |
|---|
Crumb of first loaf
|
Name: Olivia Branscum and Baris Gokturk
Date and Time:
Location: Chandler 260, Making & Knowing Lab
Subject: Breadmolding
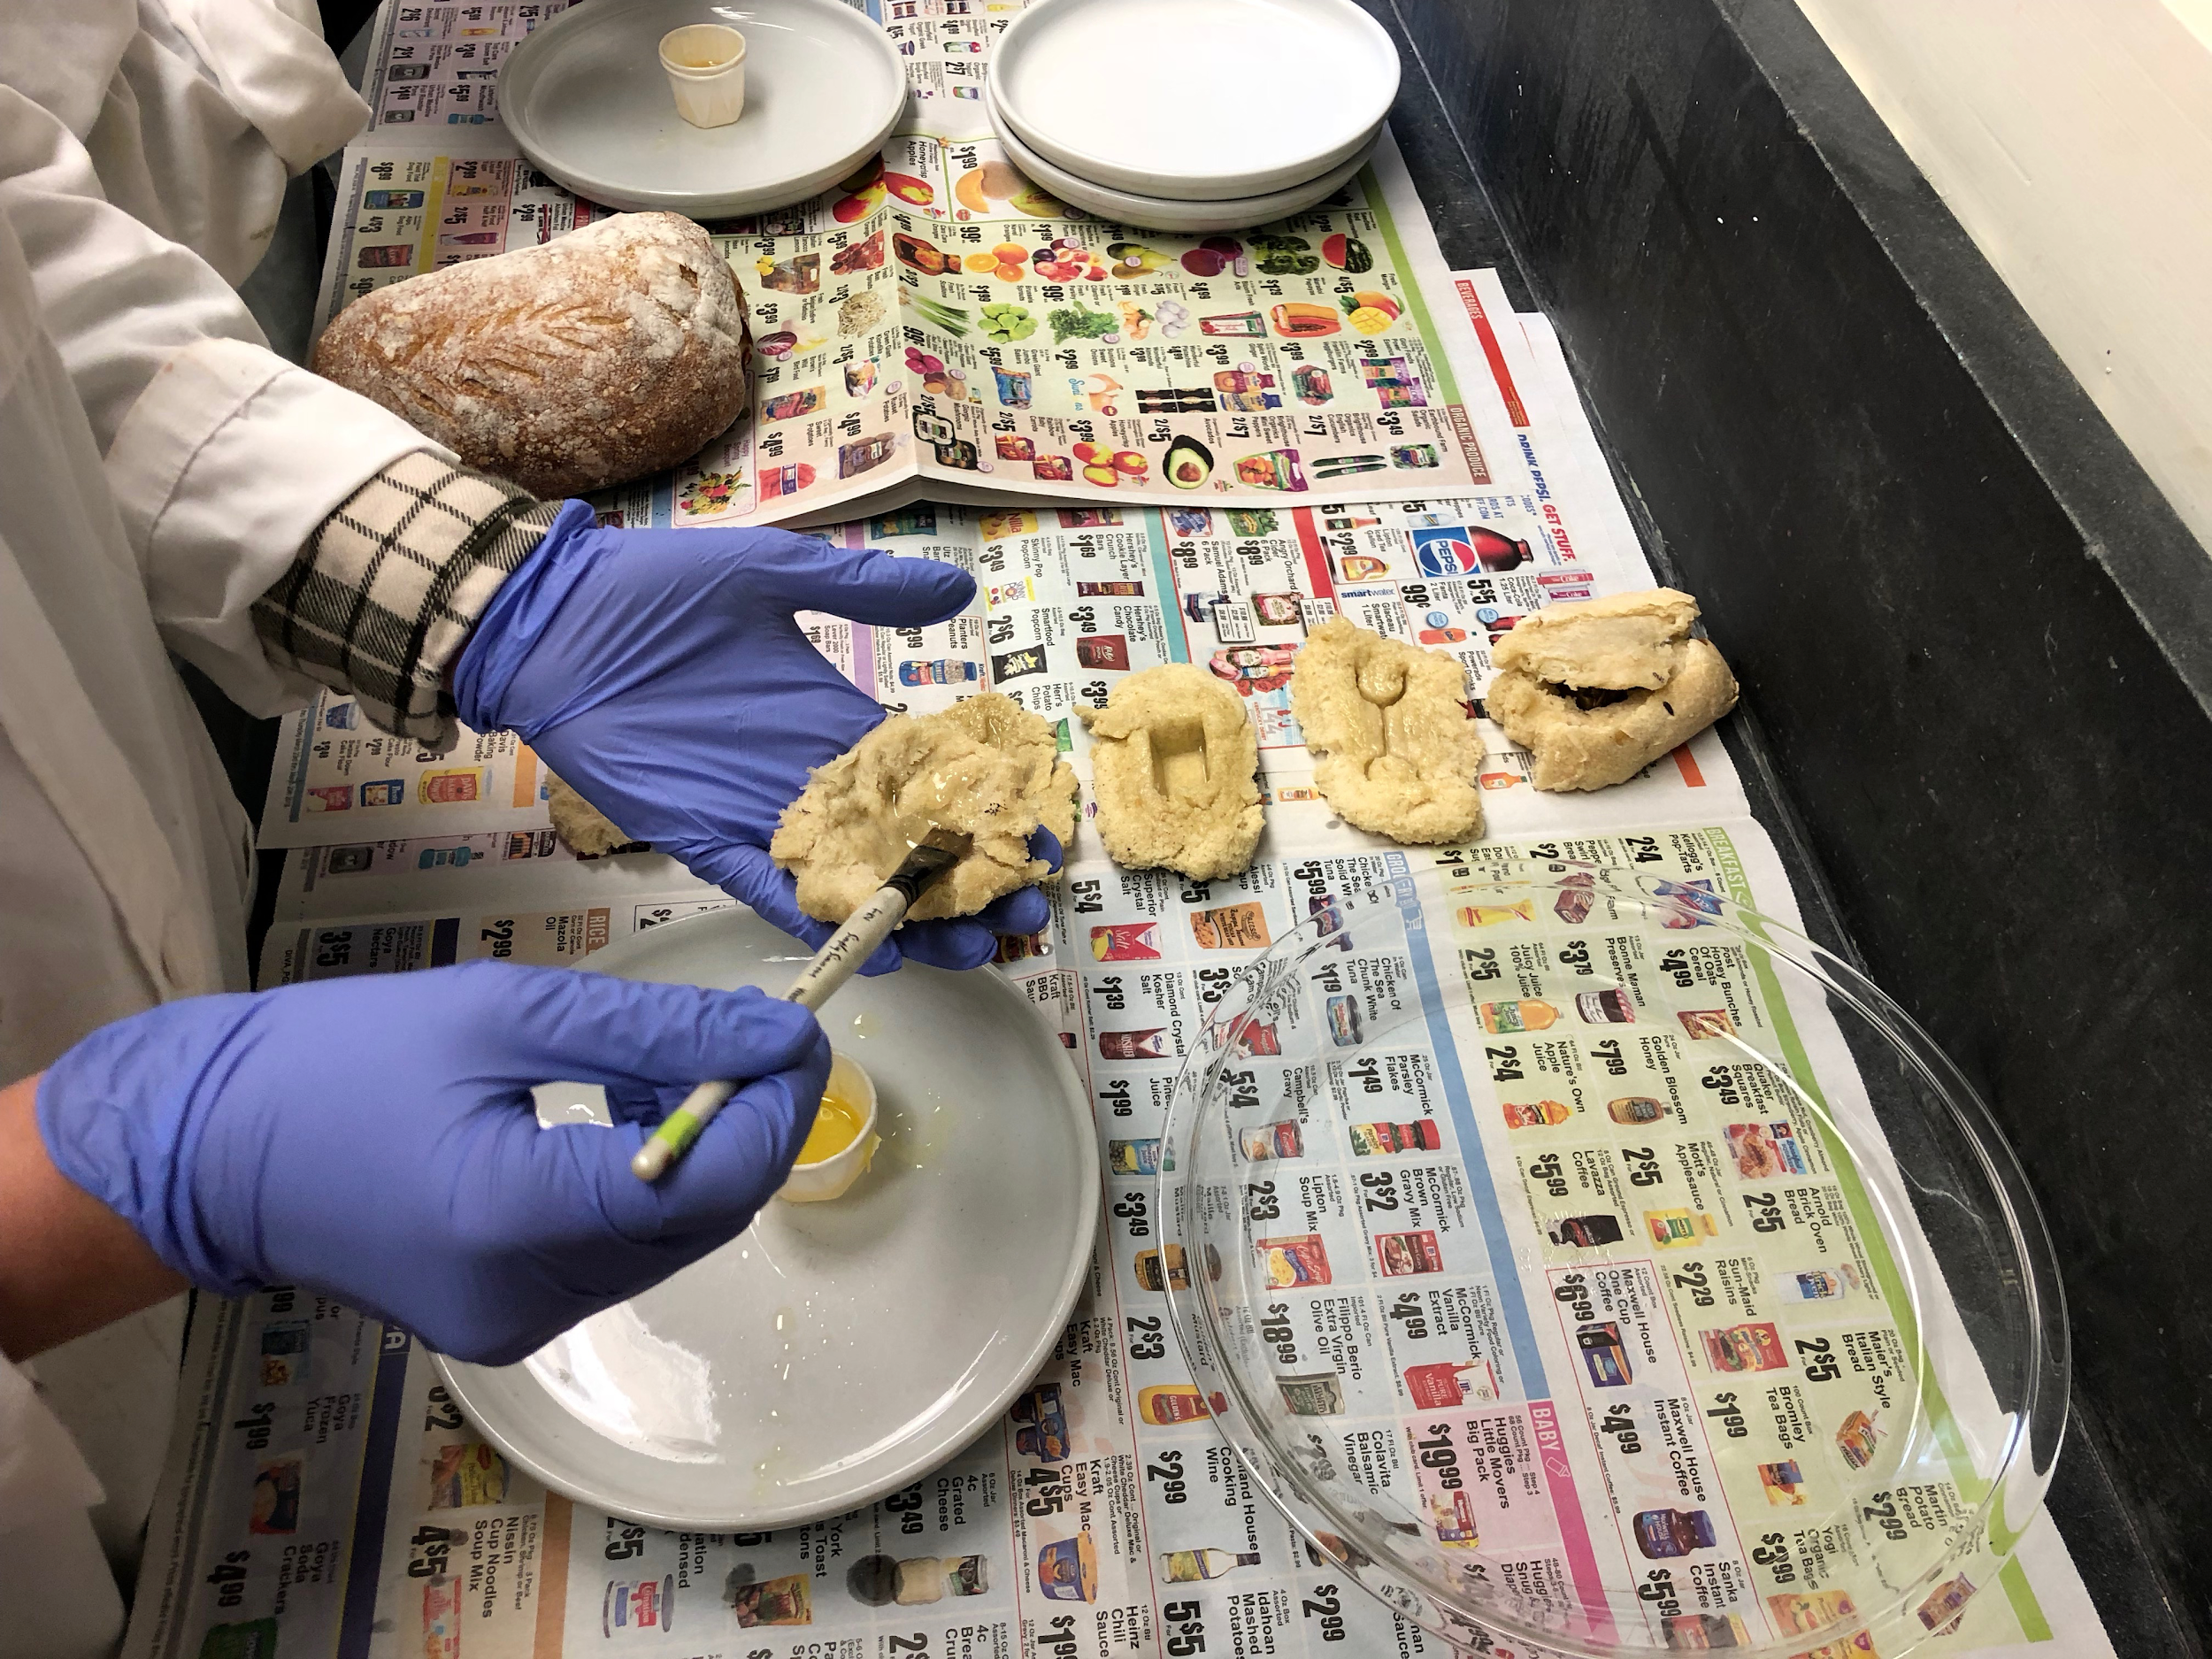
When we began the process of using our molds to create objects out of sulfur and beeswax, several choices needed to be made. First, it was necessary to decide which of my several molds I would try to work with; ultimately, I decided to use the ones with the greatest level of detail in order to test the process to the fullest possible extent (these were my small Buddha statue and my owl trinket). Both of my molds were two-part, which presented a challenge that I’ll explain below. Our next choice concerned whether or not to apply linseed oil as a release agent. Due to my past experience with plaster casting, I decided to use linseed oil on both of my molds.
Baris and I proceeded to ‘paint’ our molds with linseed oil. Per Baris’s suggestion, we were careful to apply the oil past the impression of the objects, covering a few centimeters of the surrounding bread as well. We thought this might help in case our casting material overflowed at all.
At this time, I made the decision to treat my Buddha mold like two one-part molds. The reason for this was that I had used a small amount of bread for each mold instead of leaving a lot of excess bread around the imprinted area. In the future, I might strike a balance between using up an entire loaf of bread on one or two molds and ‘saving’ as much bread as I did in the process of creating my relatively small molds. I chose to tape my owl mold together according to registration lines in order to attempt a two-part, three-dimensional mold.
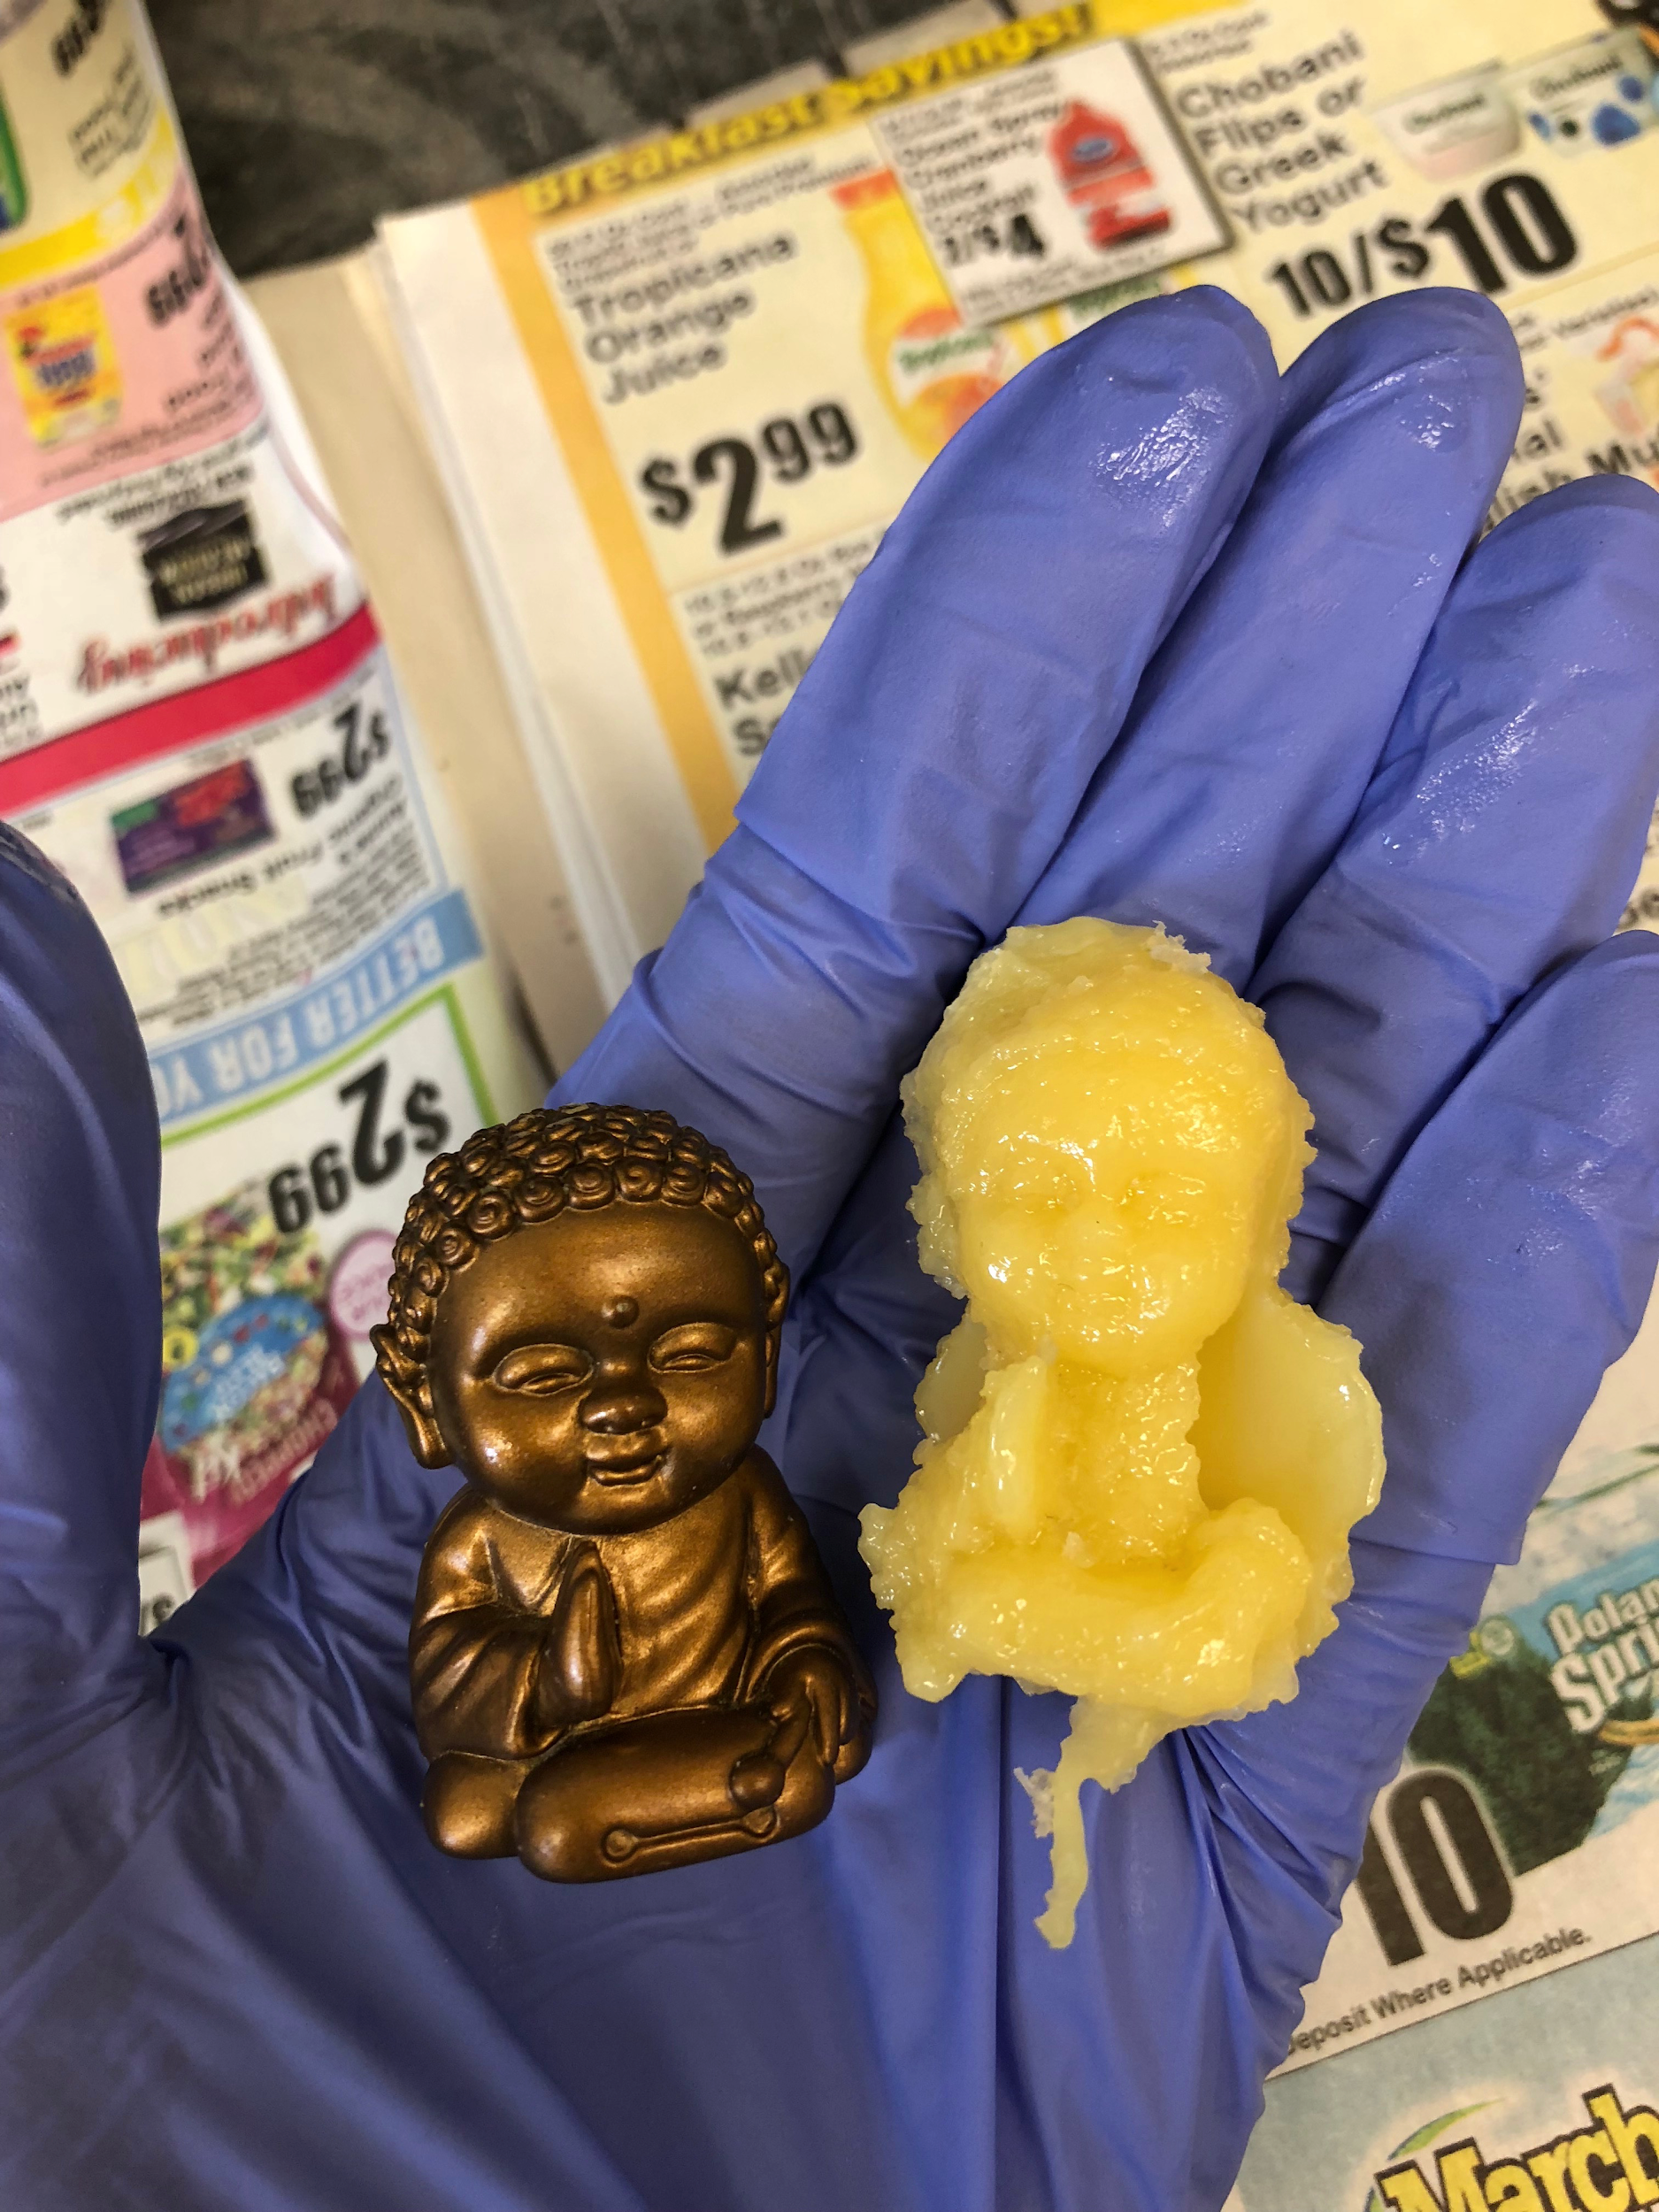
Baris and I then decided which of our molds to cast in beeswax and in sulfur. After looking at the results of experiments done in past years, I chose to cast my Buddha mold using beeswax because it seemed to be the medium best suited to capturing detail. From examining the impressions made by my objects in bread, I judged that this mold had the best chance of coming out relatively well; as a result, I wanted to try it under circumstances that seemed most likely to ‘succeed’ (though the definition of success in this context is up for debate, of course). I had already decided that the owl mold was less likely to come out well, and decided to take a chance on it with sulfur.
Since my Buddha molds were so small and had so little structural support in the form of excess bread, I cradled them in two of my discarded molds (the ones which had contained the rubber heart) as makeshift ‘mold beds.’ Tianna helped me stabilize the molds as I poured beeswax into them. Though I had thought the molds were relatively ‘wax-tight,’ the wax found a hole, and dripped through the mold; fortunately, the runoff was captured by the mold bed. Each half of the Buddha mold was easy to pour. After doing this, I set them aside to cool for about 20 minutes.
I then turned to securing the two halves of my owl mold. While some teams were using putty to do this, I decided to rely on masking tape, and utilized the ‘squishy’ nature of the bread to help seal the seams (see image).
When it was our turn to pour sulfur into the molds, I placed the mold into sand, pressing it about one inch deep until it stood up on its own. Then, working under the fume hood and wearing gloves, I carefully poured the sulfur into the mold. I was able to aim the sulfur into the narrow opening of the mold, but noticed that some leaking did occur. I was not able to join the two halves of the mold as successfully as I had hoped.
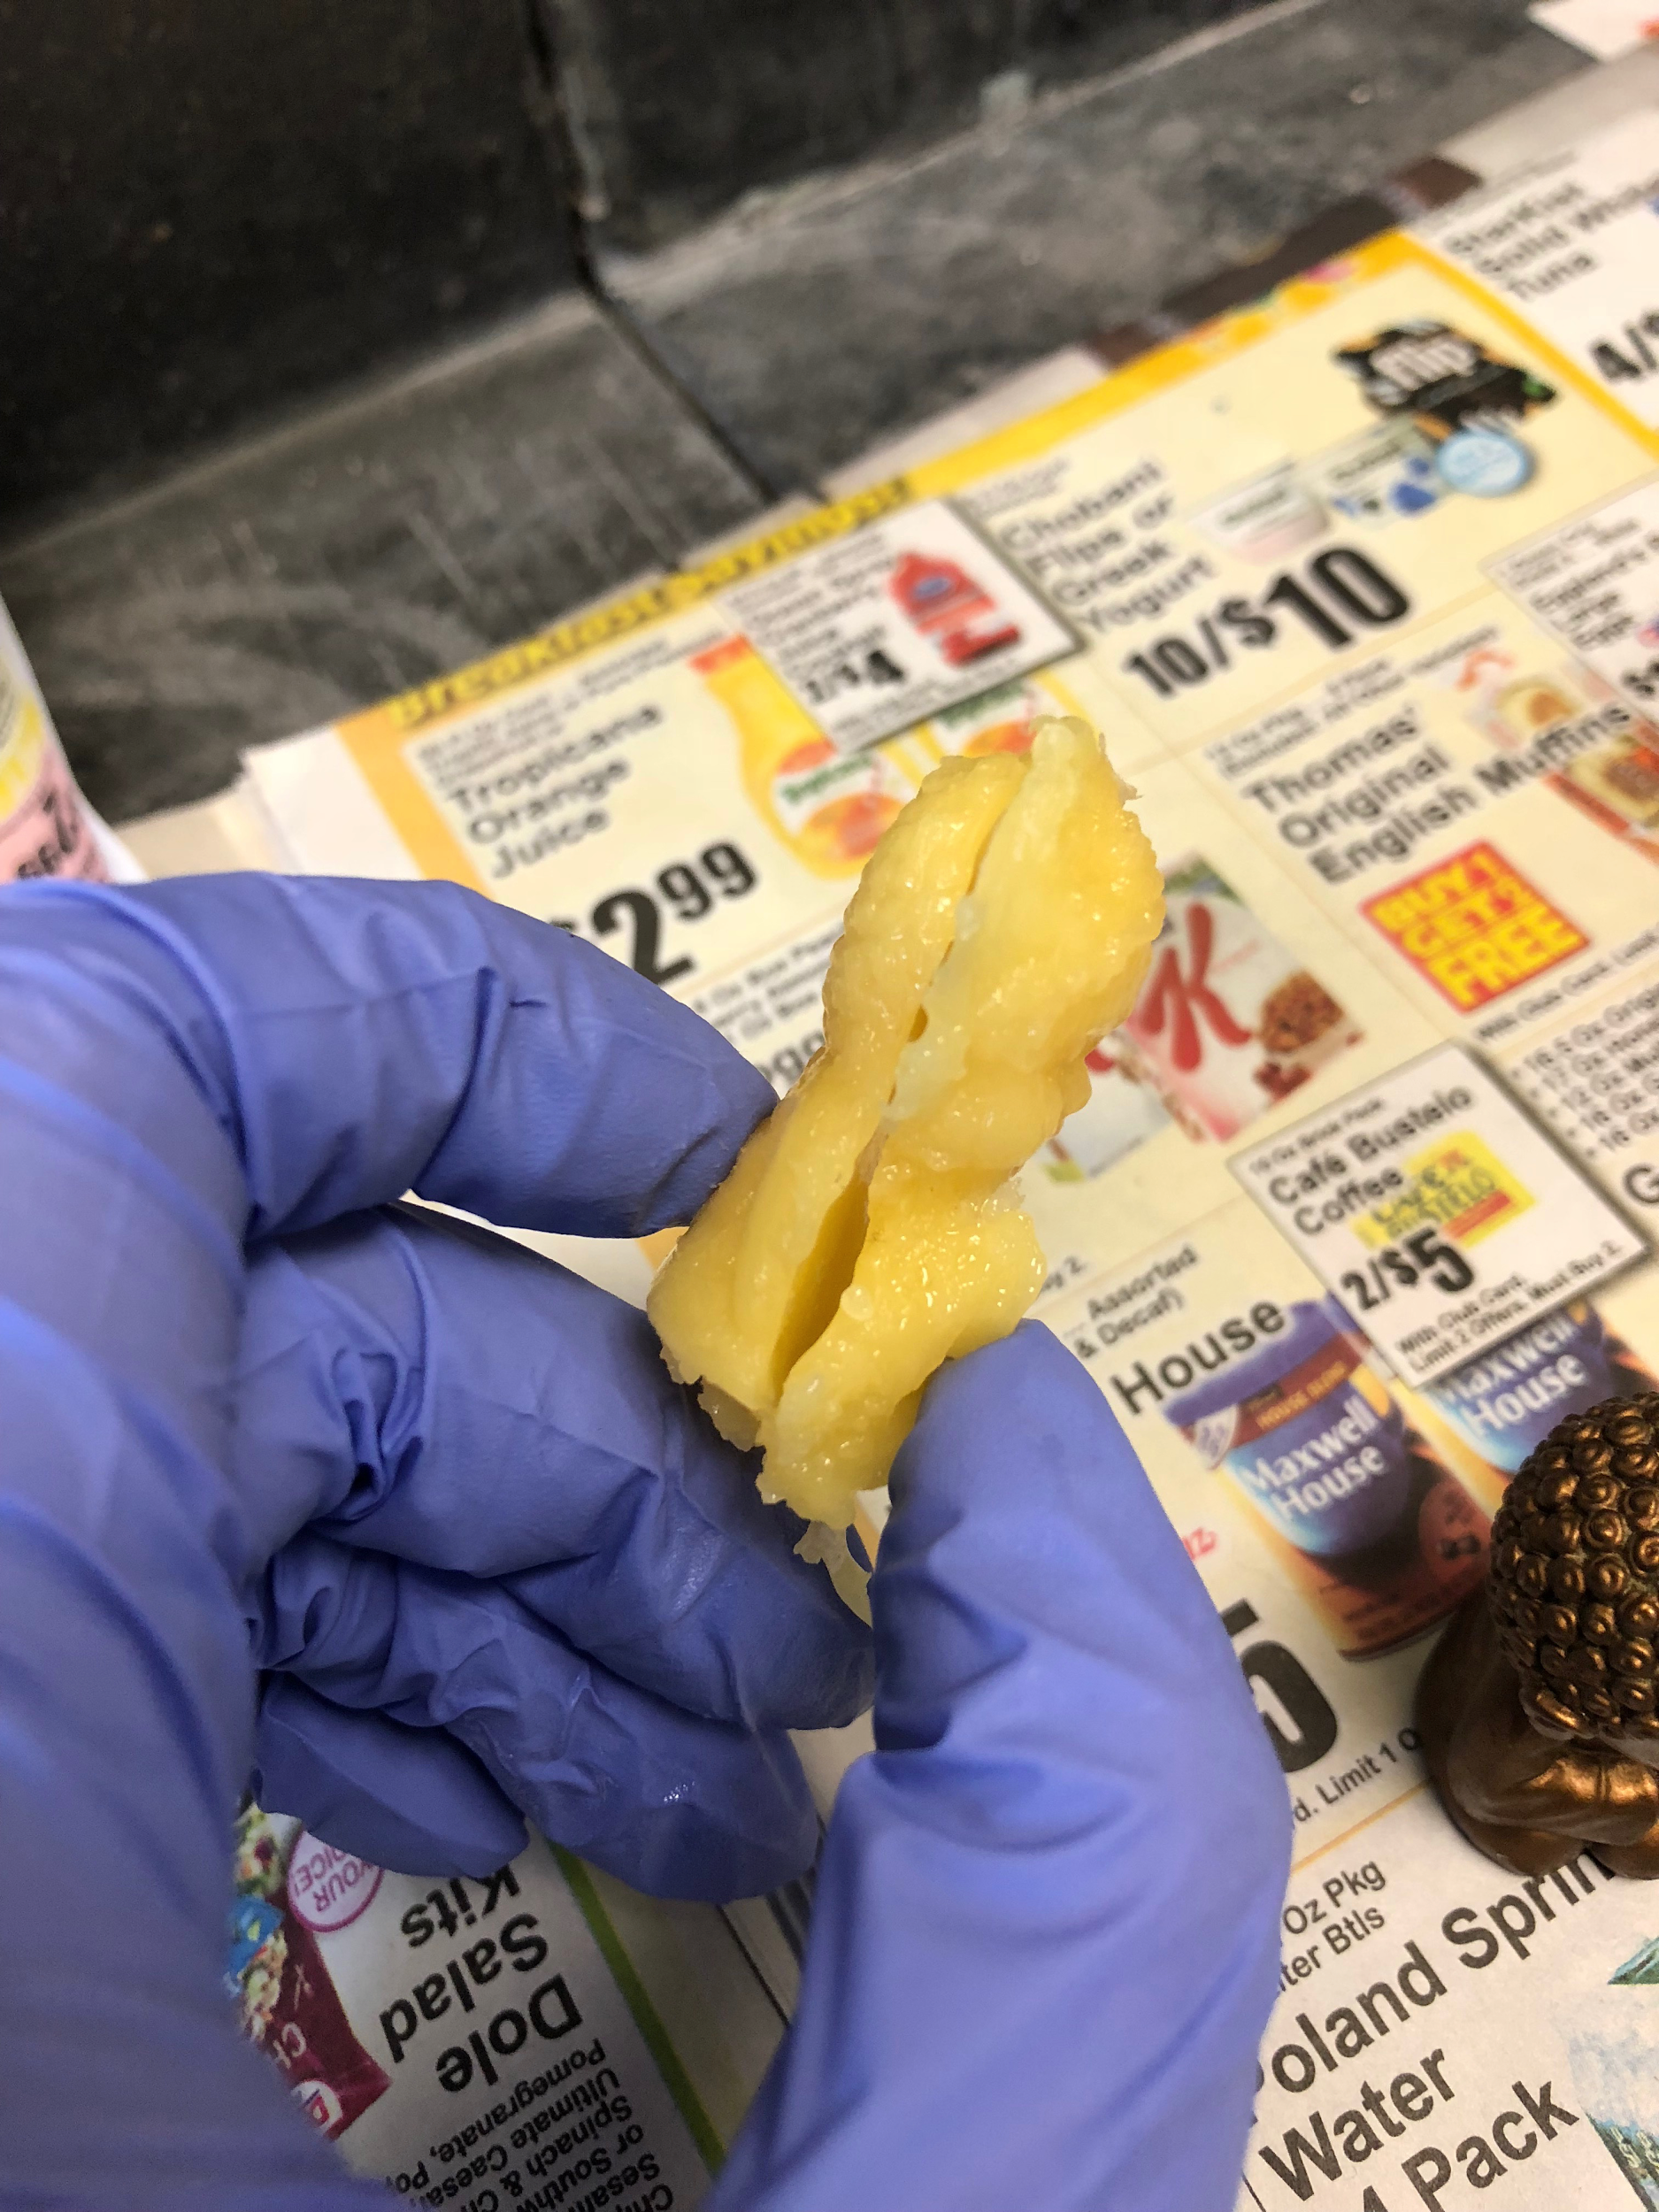
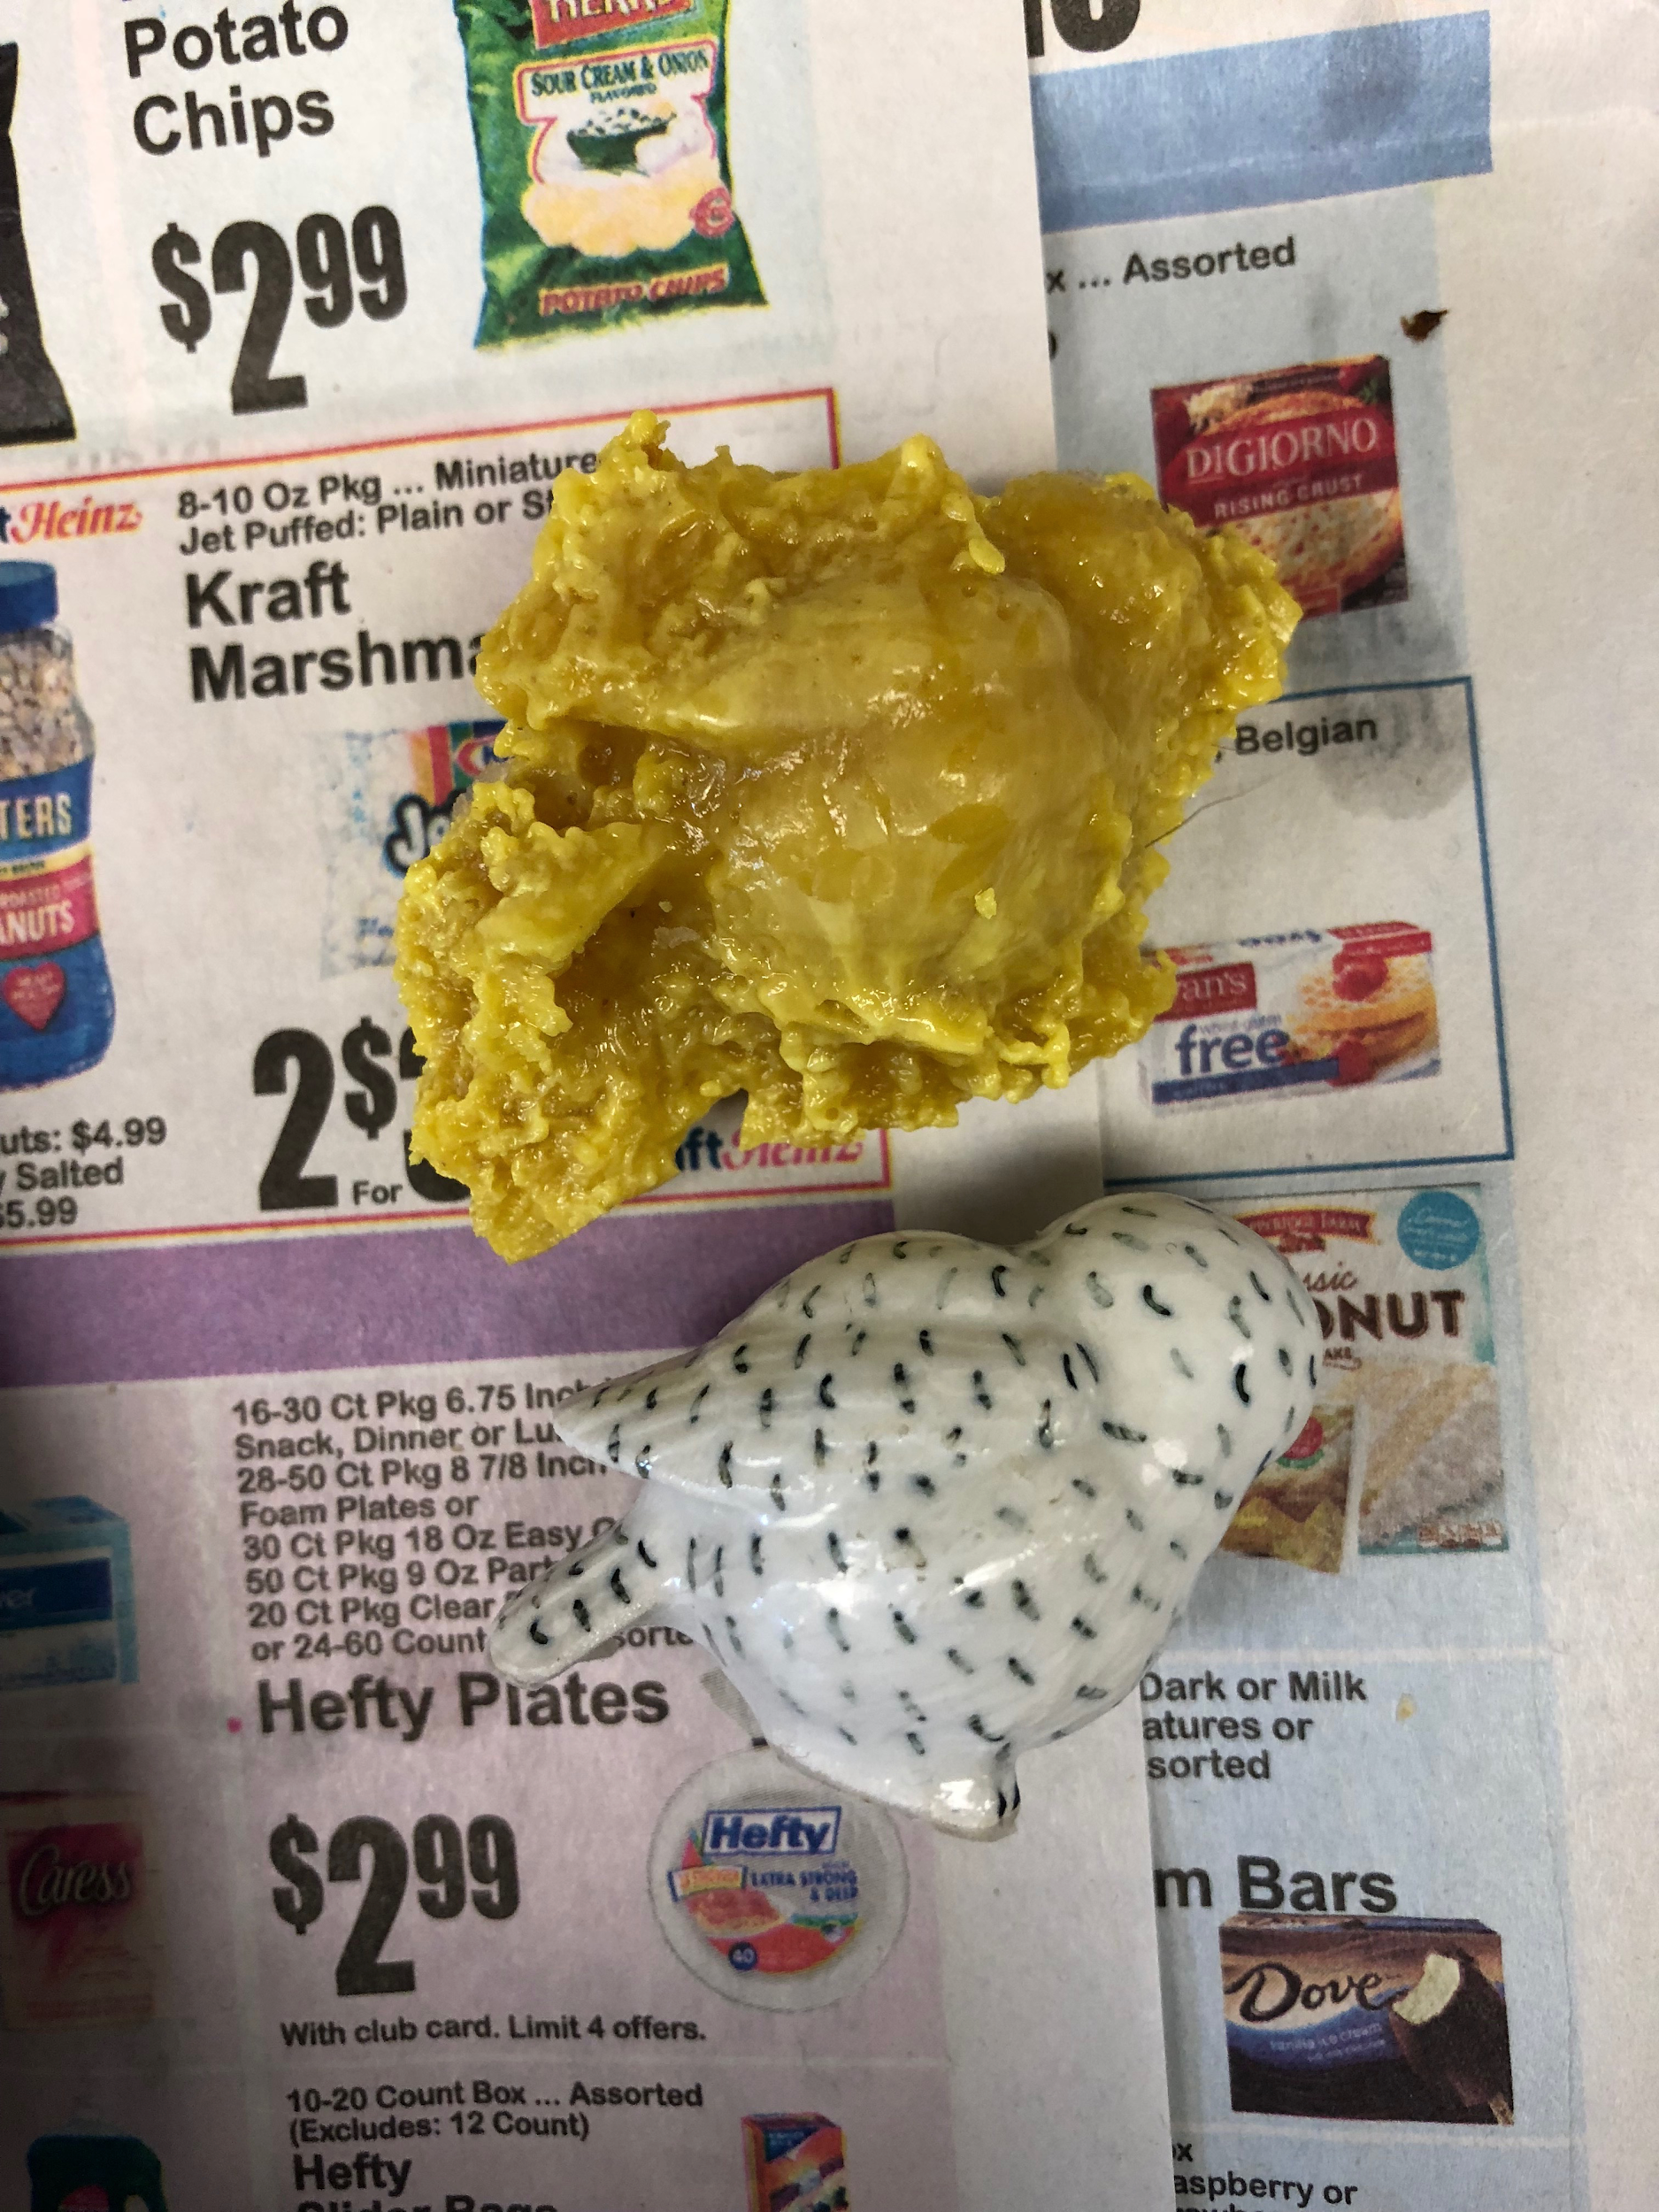
I then allowed the sulfur to cool for a further 20 minutes while I removed the bread from my beeswax mold. Because of the linseed oil release agent, my model came out of the mold with ease. I was delighted to observe that most of the details of the original object had been reproduced in the beeswax. I noticed that the form was slightly shrunken in comparison with the original, and that the mold had not been filled completely. It seems as though the beeswax contracted as it solidified. With one relative success in hand, I turned to the sulfur mold. I found that one more difficult to remove from the model, in part because sulfur had leaked into areas that were not prepared with linseed oil. Once I extracted the sulfur from the bread, I noticed a mistake: I had attached the two halves of my mold incorrectly, so that the ‘head’ of the front of the owl was flush with the bottom of its tail on the back. To the extent that my model did not resemble the original object, I was looking at a failure. However, insofar as the sulfur had produced a faithful reproduction of the negative space created by the impression of the object in bread, I felt it was a success.
| Image URL: |
|---|
Applying linseed oil to the mold
|
| Image URL: |
|---|
Results of casting in beeswax
|
| Image URL: |
|---|
Results of casting in beeswax
|
| Image URL: |
|---|
Results of casting in beeswax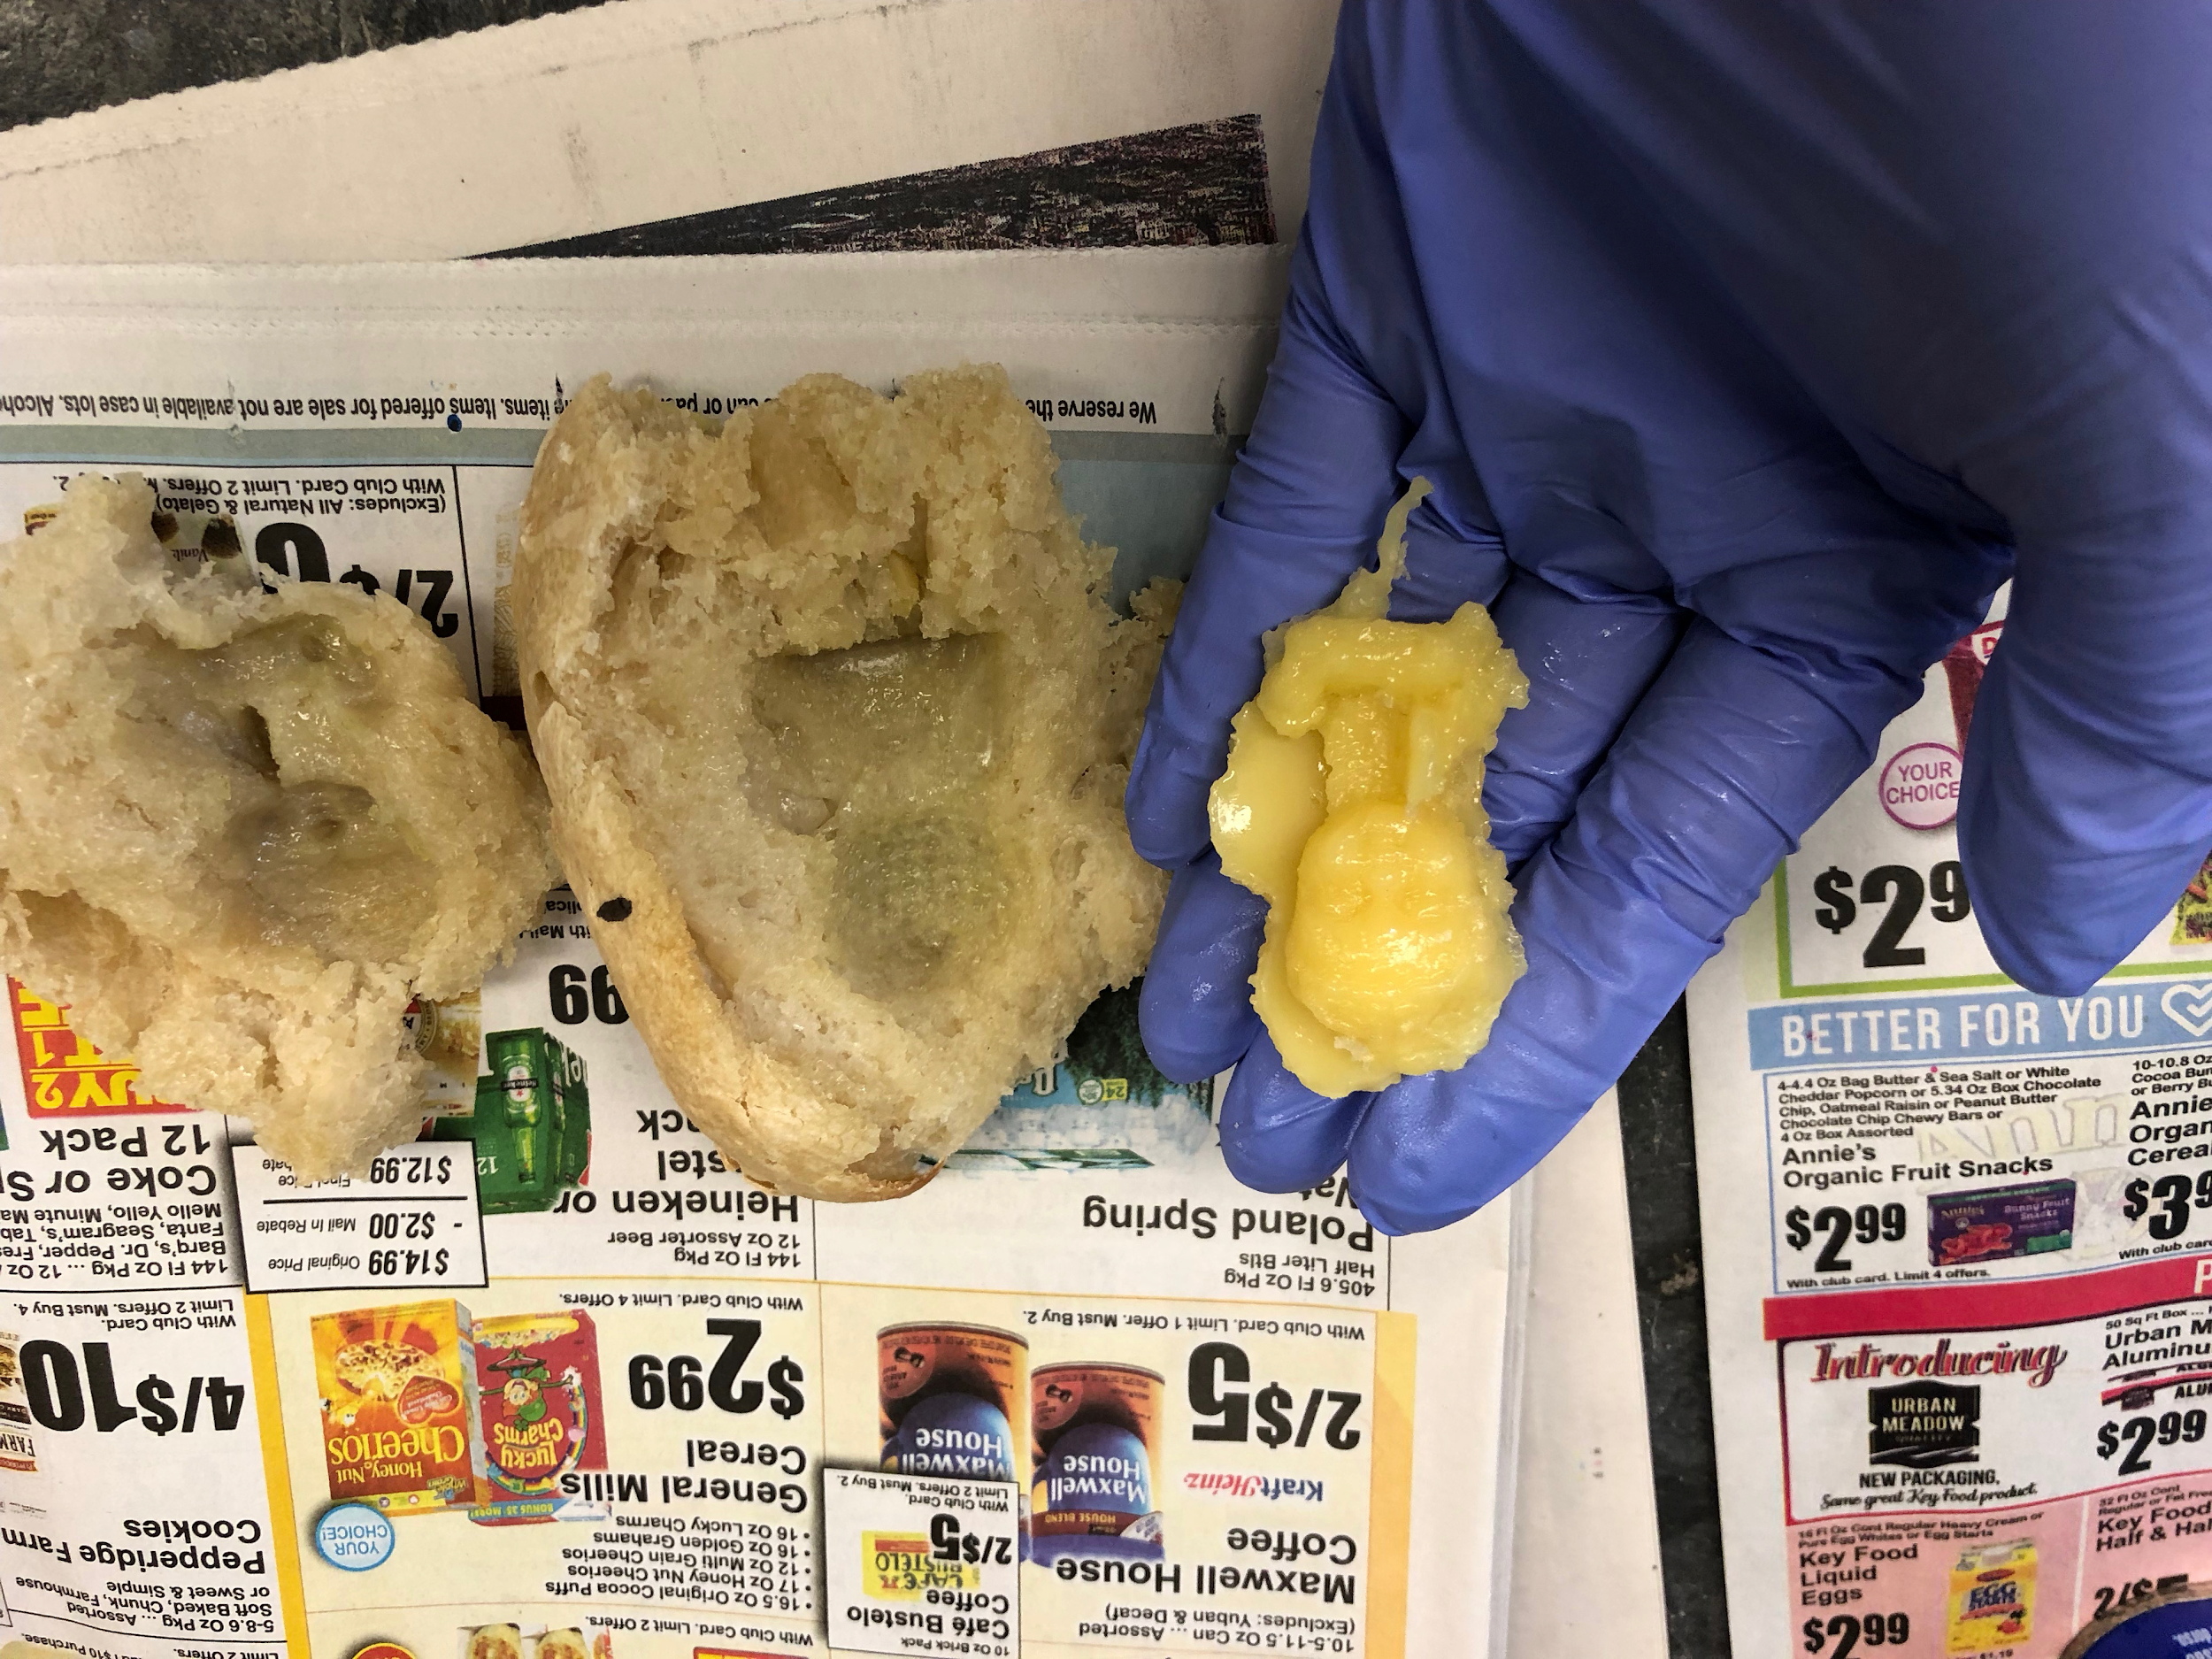 |
| Image URL: |
|---|
Taping two-part mold for sulfur process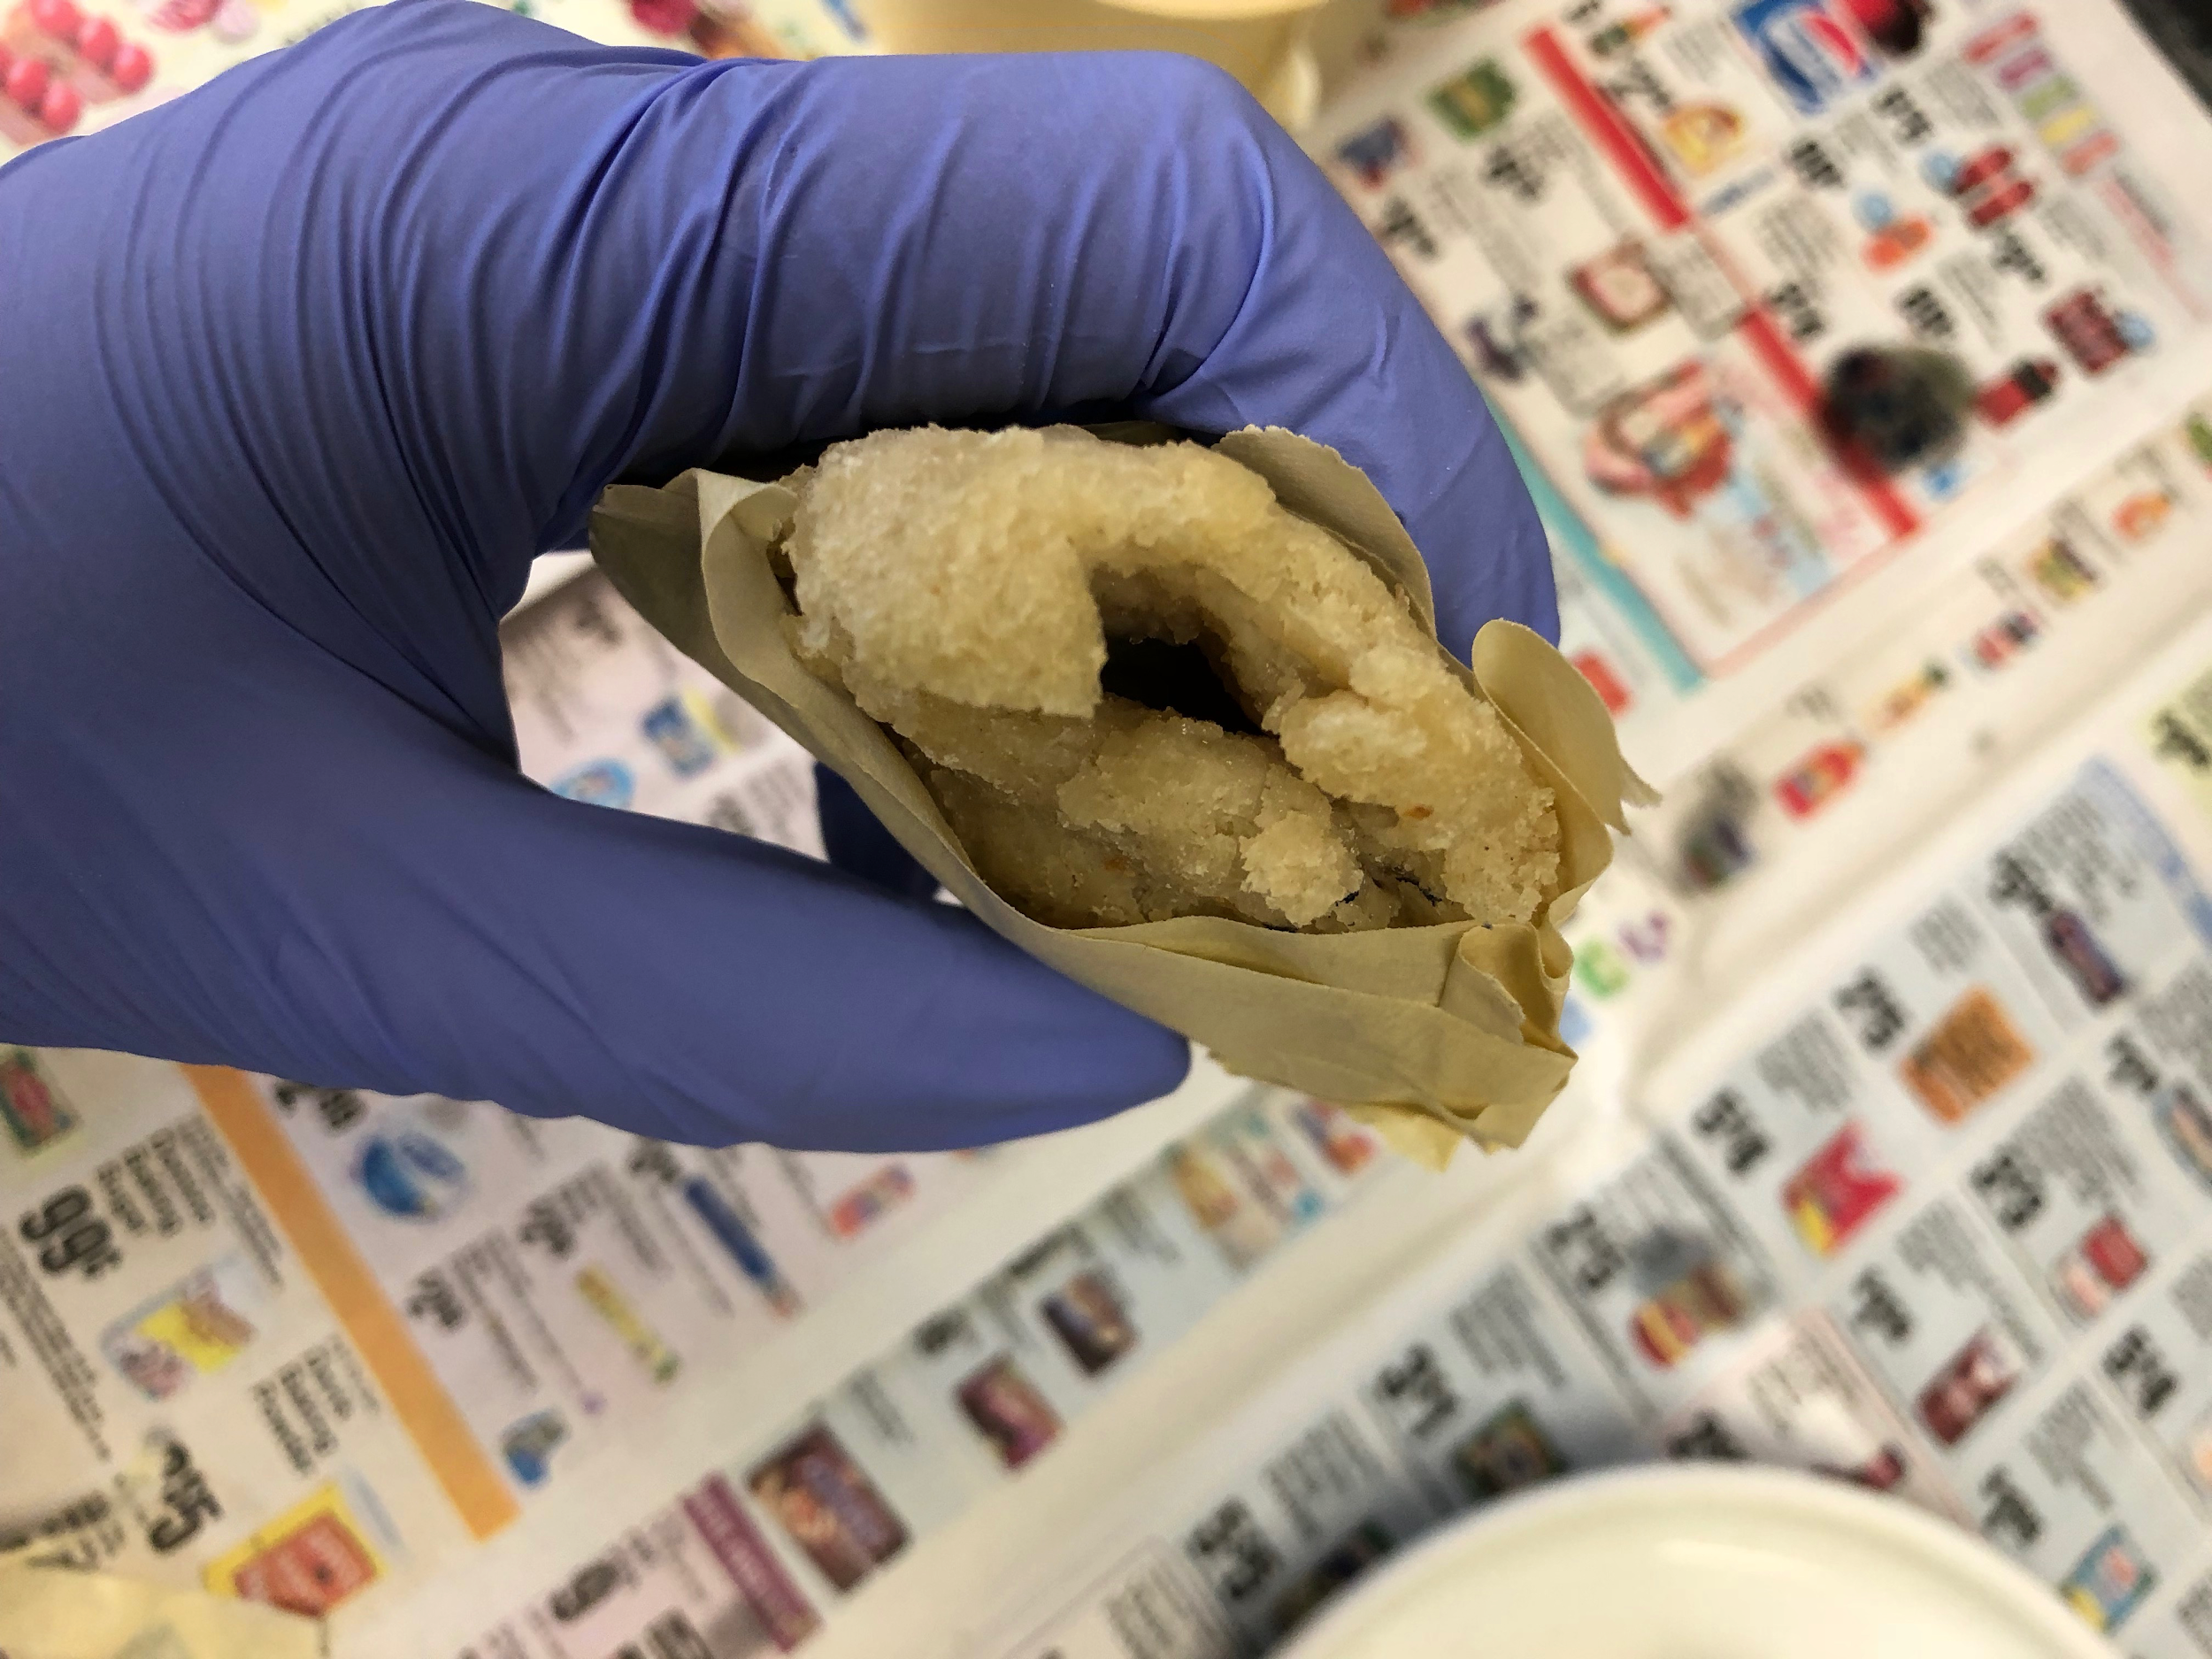 |
| Image URL: |
|---|
Results of casting in sulfur
|